
The Unspoken Truth About Rainy Day Camping Activities

Embrace The Wet Without Losing Your Mind
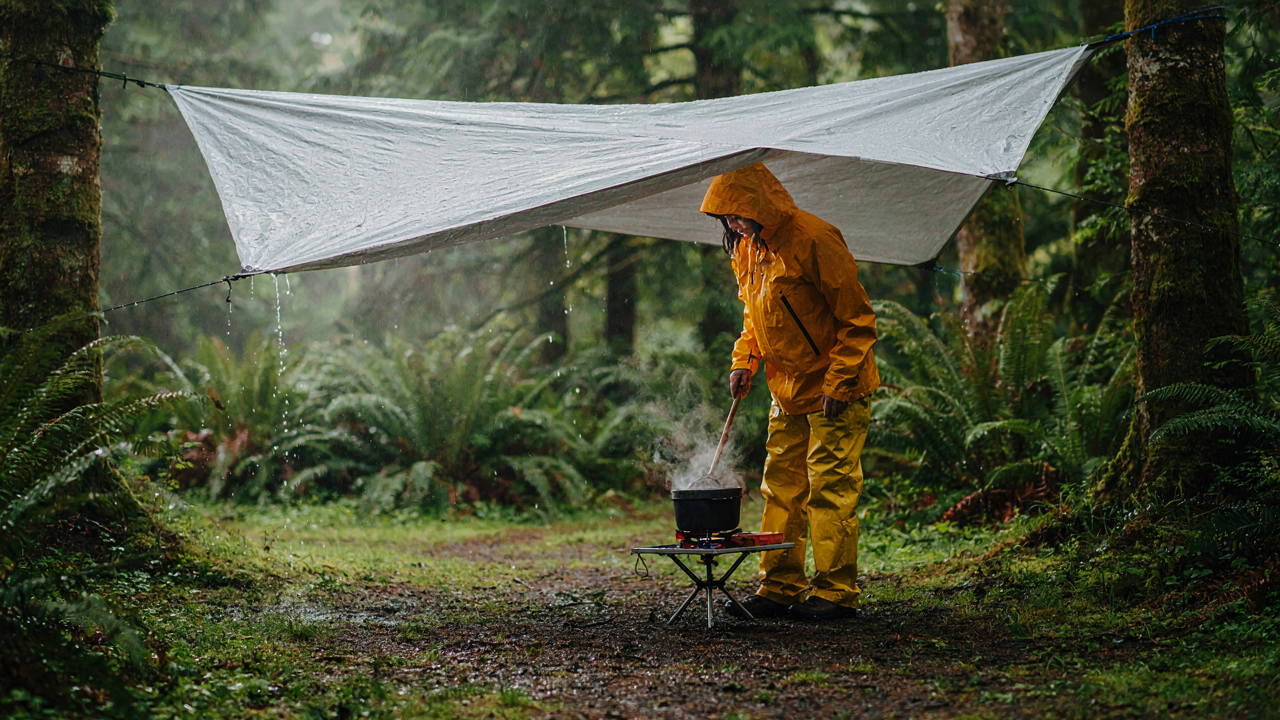
You want rainy camping to feel manageable so you don’t look foolish for choosing this in the first place. The mechanism is simple: rain doesn’t stop activity, it just changes the category. Most people treat wet weather as a cage. They huddle in the tent and call it a day. That’s surrender dressed up as practicality. Rain separates what you actually want to do from what you thought camping required. You can cook under a tarp, read in a dry sleeping bag, play cards at a covered picnic table, or walk trails that empty of other people. The constraint removes the noise.
The real advantage of rainy camping isn’t comfort. It’s access. Fewer campers means shorter lines at water sources, clearer trails, and quieter mornings. Your tent stays warmer when you’re not inside it overheating from boredom. Cooking becomes a deliberate practice instead of rushed fuel consumption. You notice the forest differently when visibility drops and sound amplifies. This isn’t motivation speech. It’s resource allocation. Rain day activities work because they trade one discomfort (wet gear) for multiple gains (solitude, focus, skill building).
Discomfort Teaches Faster Than Comfort Ever Will
Psychology calls this the difficulty principle: struggle builds retention and adaptation. Your body learns faster in rain than in ideal conditions because every action demands intention. Wet knot tying, soaked fire management, pack organization in a downpour, water drainage around your tent, gear inspection for mold—these aren’t obstacles. They’re compressed versions of camping competence. Most people camp in sunshine and never develop the skills that actually matter. You gain them in one rainy trip.
The protocol is straightforward. Pick one skill per rainy day: tent weatherproofing, water management, or stove operation in wind. Practice it deliberately until the motion becomes automatic. Wet conditions force you to slow down and problem-solve instead of relying on muscle memory from fair weather trips. Your next dry camping experience will feel effortless because you’ve already solved the hard version. That’s the real reason to stop treating rain as an interruption.
The “Dry Sanctuary” Protocol: Building Your Rainproof Base
Where Water Actually Goes

You want to feel smart about camping in rain without admitting you’re terrified of waking up soaked. The real mechanic here is drainage—water moves downhill, pooling wherever ground slopes wrong. Most campers pick a flat spot and wonder why their tent becomes a pond. Ground topology determines water behavior before you stake anything. High ground isn’t just safer; it’s the difference between a dry sleeping bag and a hypothesis that becomes a problem at 2 AM.
Slope matters more than you think. A site with even a slight grade—two to three degrees—sheds water naturally. Look for terrain that rises on the uphill side of your camp and drops away on the downhill. Wind also blocks water accumulation by evaporating surface moisture and preventing standing puddles. Broken tree cover works better than dense forest because wind still flows through. Scout for both: terrain that falls away and wind corridors that actually dry things out.
The Layered Roof System
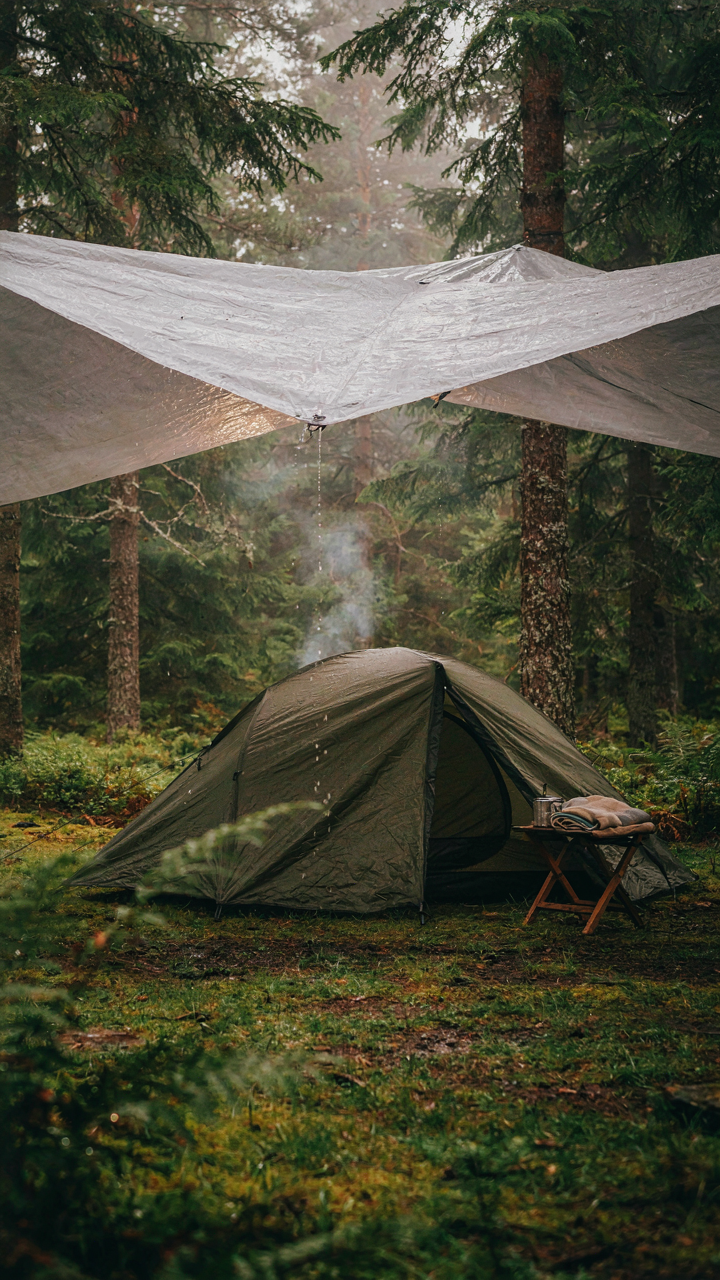
Tarp placement isn’t decorative—it’s structural physics applied to fabric. The common advice is “just throw a tarp over your tent,” which fails because people ignore angle of incidence and water load distribution. A flat tarp pools water. A tarp with no ridge sags in the middle and collapses when rain adds weight. The mechanism is simple: water seeks the lowest point and stays there until gravity overwhelms fabric strength.
- The Primary Ridge: Run your tarp line at 45 degrees minimum from ground level, creating a peak that sheds water downslope fast. Higher angles drain faster but require taller anchor points.
- The Secondary Gutter: Stake the downhill edge of your tarp at least 12 inches below the ridge line so water runs off, not inward toward your tent.
- The Overhang Strategy: Extend tarp edges beyond your tent footprint by 18-24 inches on all sides. This stops wind-driven rain from spraying horizontally into gaps.
- The Anchor Pattern: Use guy lines at angles—not straight down. Angled lines resist wind pressure and reduce the strain on stakes that fail in soft ground.
- The Layering Depth: If rain is sustained and heavy, drape a second tarp underneath the first, offset by 12 inches. This creates an air gap that stops water from seeping through fabric creases.
Tent placement under your tarp matters as much as the tarp itself. Position your tent so its entrance faces away from incoming wind and rain, with the tarp ridge running perpendicular to the wind direction. Leave airflow gaps under the tarp—if you seal it completely, condensation builds inside and defeats the whole system. The goal is moving air, not creating a humid box. Water must run off constantly, never accumulate.
Gear That Matters: Debunking “Waterproof” Myths
The Material Barrier That Actually Works

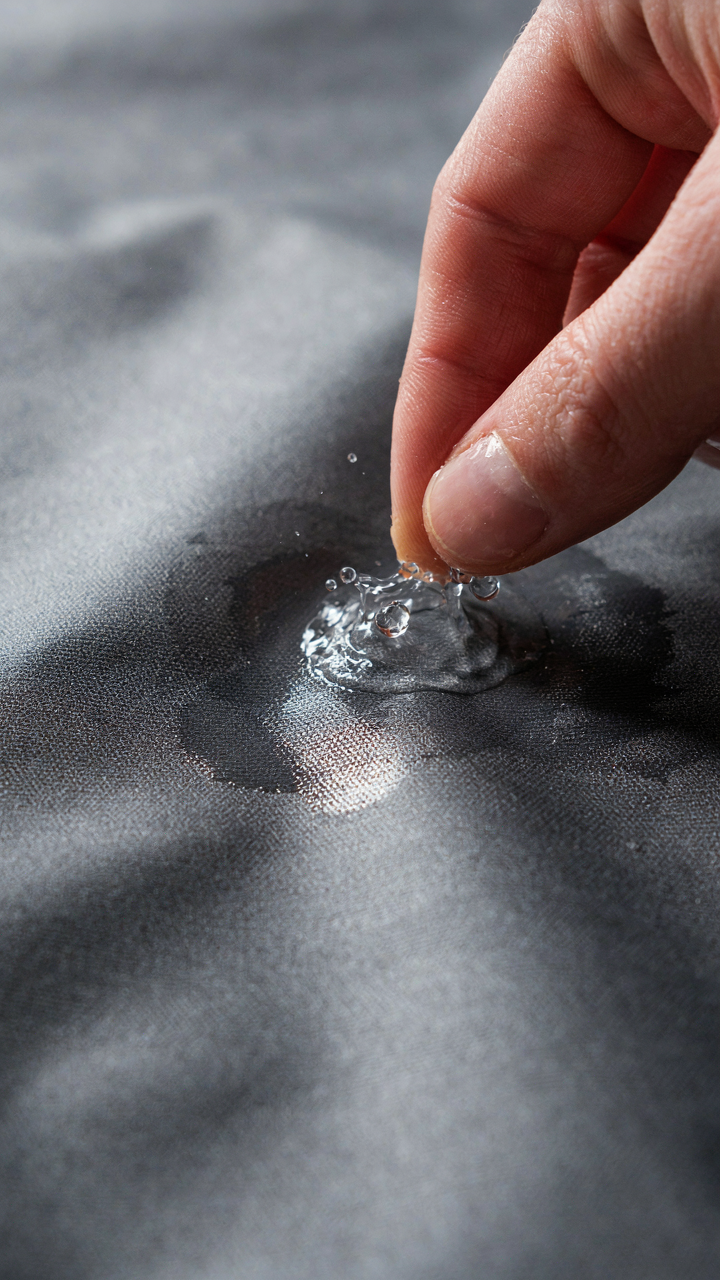
You bought Gore-Tex because the brand name promised you wouldn’t get wet. That’s the real reason. Material science separates water molecules—a physics problem—from water pressure, which is a force problem. Gore-Tex handles one, not both. The membrane blocks vapor and liquid water molecules from passing through its microscopic pores. But pressure—from sitting on wet ground, from rain hitting fabric at velocity, from your own body weight—forces water through regardless of marketing claims.
The distinction matters because “waterproof” is a legal term with no enforcement standard, while “water resistant” at least admits its limits. Coated nylon blocks water under low pressure. Laminated fabrics like Gore-Tex stop vapor transmission better. Sealed seams prevent pooling at joints where pressure concentrates. You need all three working together, not faith in one material name.
What Actually Stays In Your Pack
Most camping advice tells you to bring a waterproof bag for everything. Wrong. You bring protection for the things that fail when wet: sleeping bag, matches, first aid kit, food that spoils. Everything else either dries fast or functions wet anyway. Clothes dry. Rope works wet. Metal tools corrode but operate. Your sleeping system does not recover from moisture.
The packing philosophy is triage, not coverage. Use a waterproof stuff sack only for insulation and fire-starting materials. Layer non-critical gear in stuff sacks made from regular nylon—they shed water and weigh nothing. Leave the heavy dry bags for base camp. This cuts pack weight by five to eight pounds on a three-day trip while protecting what actually matters. Your second shirt doesn’t need a vault.
Rainy Day Camping Activities: The Mental Game Of Wet Weather

Rain As Leverage, Not Failure

You’re worried people will think you’re soft for struggling in bad weather. That’s not the actual problem. The real mechanism is this: your brain treats rain as a constraint on fun rather than a context shift. Psychology calls this cognitive reframing, and it’s the difference between sitting miserable in a tent and actually using weather as a filter for what matters.
Rain removes distraction. No hikes. No fishing. No performative activity. You’re forced to engage with what’s actually in front of you: your group, a fire that might work, books, cards, food you cook slowly. This isn’t settling. This is scarcity forcing you toward the activities that built human bonds before screens existed. The discomfort you feel isn’t failure. It’s the signal that something real is happening.
Adapt Or Negotiate With Misery
Most advice tells you to “stay positive” or “make the best of it.” That’s incomplete. Adaptation isn’t attitude. Adaptation is changing your physiology and your schedule to match the weather. Your body temperature drops. Your hands prune. Your joints stiffen. These aren’t problems to ignore. They’re signals requiring protocol changes.
Start by shifting when you do things. Cook lunch at the wettest part of the day so you’re inside the tent during the worst hours. Layer strategically: base layer that pulls moisture away from skin, insulating layer that works when damp, shell layer that sheds water. Move your sleeping setup higher in your tent to avoid runoff pooling near your feet. The moment you stop expecting comfort and start engineering it, misery stops being an emotional event and becomes a logistics problem you solve.
The Moisture Management Feedback Loop
Your Clothing Is A Control System
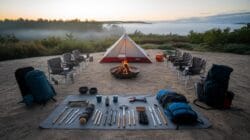
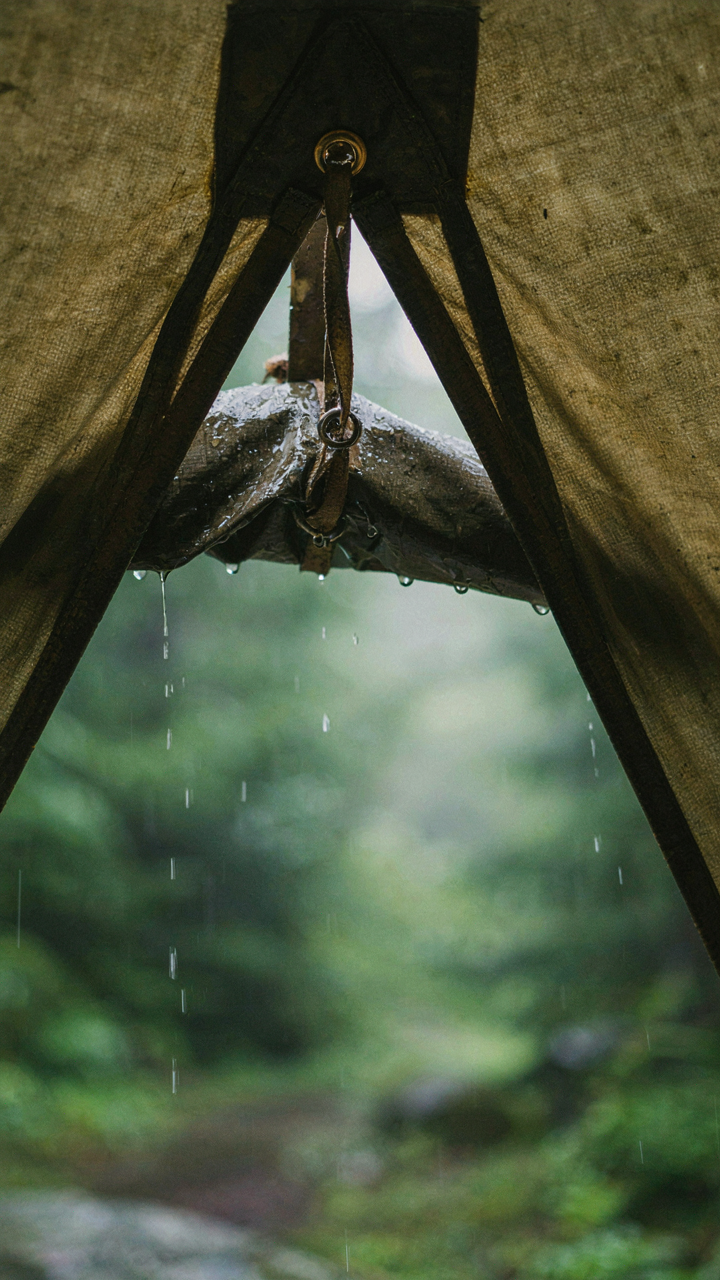
You want to stay dry so you don’t look incompetent in front of your group. But that’s not the real problem. Cybernetics teaches us that any system with feedback can either stabilize or spiral. Your clothing layers function as a moisture regulation mechanism, not just insulation. When sweat or rain enters the system without an exit, humidity traps heat and cold simultaneously. You freeze while drenched. The mechanism: moisture moves inward when there’s no vapor pressure gradient pushing it out. Most people ignore this until they’re already saturated.
The standard advice says “wear synthetic or merino wool, not cotton.” True but incomplete. Those materials only work if you’ve engineered an escape route for moisture. A Gore-Tex shell stops liquid water but lets vapor through, creating the pressure differential that forces moisture out of your inner layers. Without that outer barrier, even the best base layer becomes a moisture trap. The system collapses. Your clothing stops regulating and starts accelerating heat loss. You need the full stack: breathable base, insulating mid-layer, and a vapor-permeable outer shell working in sequence.
Dry The Problem Before It Exists
Most campers wait until they’re visibly wet to act. By then, the feedback loop has accelerated beyond recovery. Prevention means stopping moisture before saturation reaches your core layers. This requires understanding the timeline of moisture ingress, not just the presence of rain. Your sleeping bag loses insulating value at 15 percent moisture content. Your core loses heat at much lower thresholds. The action is: identify where moisture enters your system first, then intercept it there.
Camp setup determines moisture entry points. A tent floor leaks moisture up through capillary action if it touches wet ground. Condensation forms on the inside of your tent from your breath, then drips onto gear. Your rain jacket sheds water onto your backpack straps, which wick it into your pack. Each point has a specific intervention. Use a ground tarp under your tent with a two-inch overhang. Crack your tent vents at night even in rain. Hang your jacket outside on a line, not draped over gear. The protocol: map moisture pathways before rain hits, then execute the blocks systematically.
Best Camping Spots For Rain: Choosing Your Battlefield
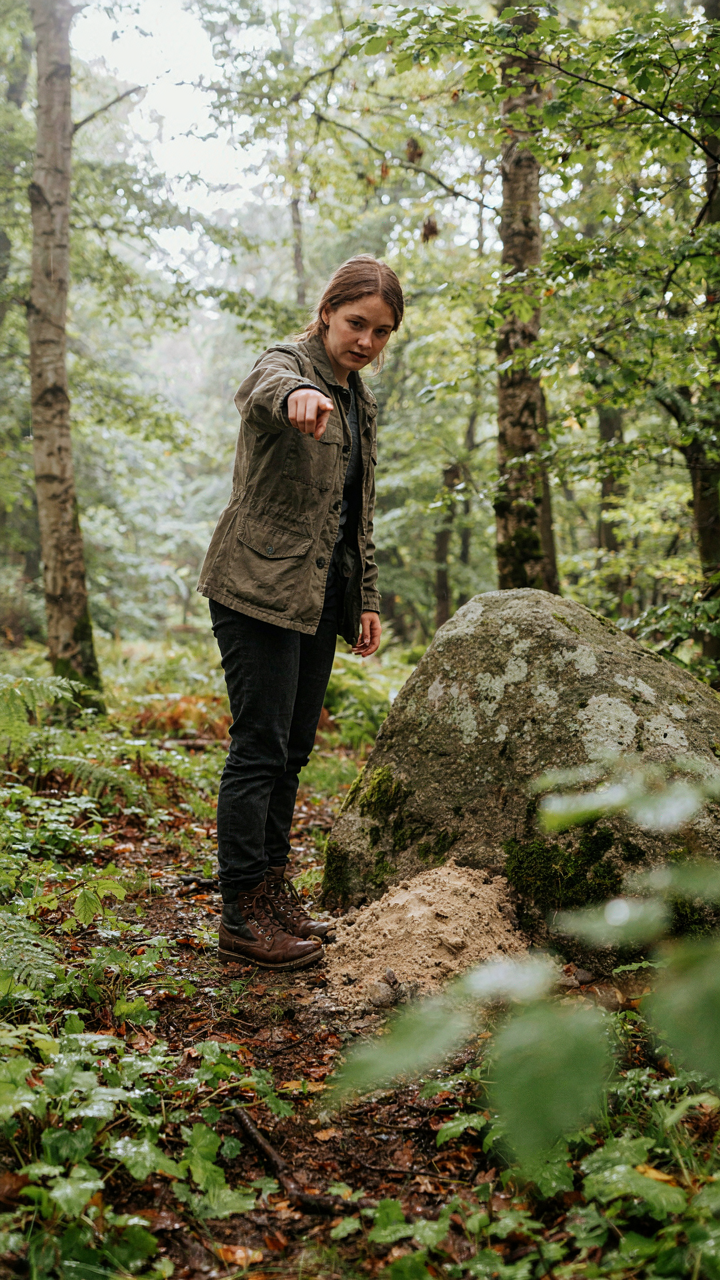
Elevation And Soil Type Shape Your Survival

You want the perfect camp spot because you’re afraid of waking up in a pool. The mechanism is simple: water moves downhill, and soil either holds it or lets it drain. Elevation acts as your first defense. Higher ground sheds water faster. But elevation alone doesn’t matter if you’re sitting on clay or compacted earth that traps moisture like a sponge. Sandy soil drains in hours. Clay takes days.
The real move is reading the ground before you pitch. Look for slope, even slight ones. A two to three percent grade makes the difference between a wet sleeping bag and a dry one. Avoid flat areas near trees where root systems have compressed the soil into an impermeable layer. Rocky ground drains fast but creates hard sleeping surfaces. The win is finding the compromise: slightly elevated terrain with loose, sandy soil and natural rock underneath that lets water pass through.
Reading Weather Patterns Into Spot Selection
Microclimates exist because air and terrain create friction. Wind patterns, tree canopy density, and proximity to water bodies all change local conditions. The same valley can have a dry zone fifty yards from a wet zone. You find these pockets by understanding that cold air sinks and collects moisture. Never camp in a depression where fog and dew accumulate at dawn. Position yourself on mid-slope where air flows but protection remains from wind-driven rain.
Tree coverage matters tactically. Dense conifer stands block overhead rain but funnel water down trunks and create ground saturation. Sparse deciduous trees with high canopies filter rain gently and let air circulate. Scout your spot fifteen minutes before dark. Watch where water runs during setup. If you see rivulets forming, you’ve picked wrong. Move higher. Move to better drainage. Check the ground texture one more time before driving stakes. That single step prevents the three-a-m tent flood.
Camping In Rain Hacks: Fire, Food, And Folly
Starting Fires When Everything Burns Wet

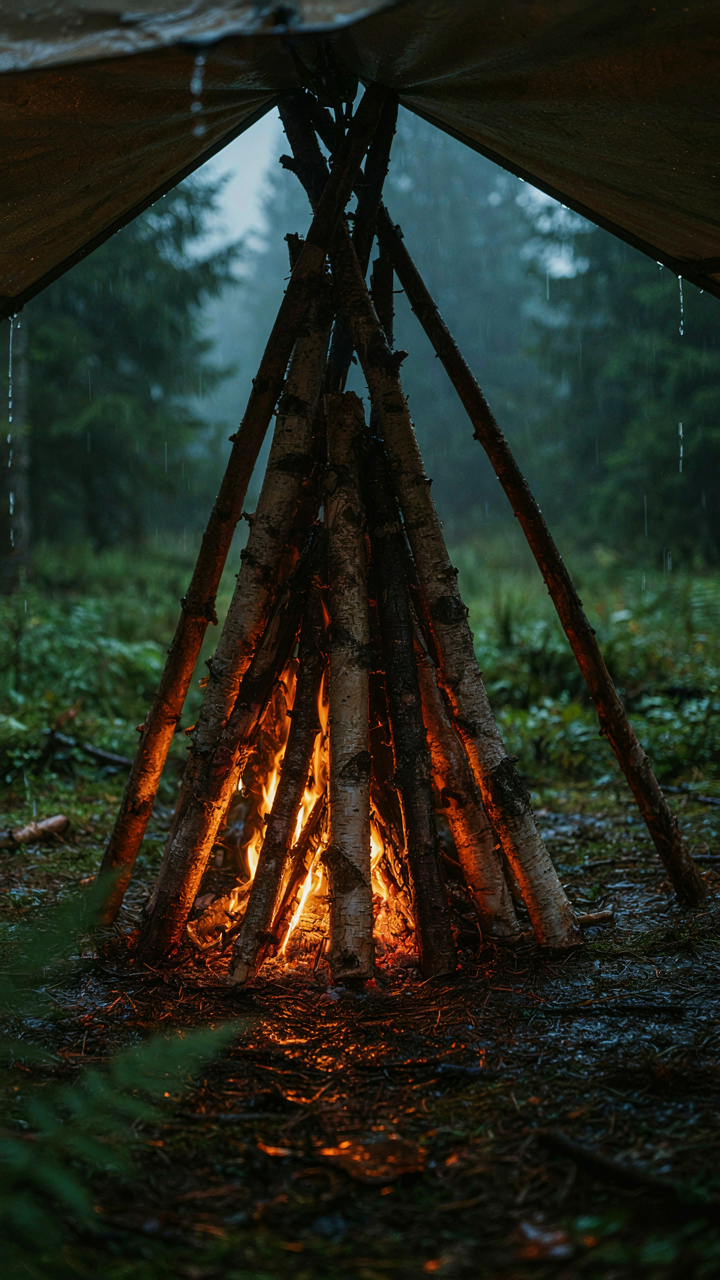
You want to believe you’re the type of person who can conjure flame from nothing. The mechanism is simpler: you need to separate what’s actually wet from what merely looks wet. Wood stays relatively dry inside its core, even after hours of rain. The outer layer absorbs moisture, but strip that away and you expose the dry interior. Moisture kills ignition because it absorbs heat energy meant for combustion, lowering the fuel’s temperature below its ignition point.
Bring cotton balls saturated with petroleum jelly. They weigh almost nothing and ignite reliably even when damp because the jelly repels water and burns hot enough to dry surrounding tinder. Split dead branches lengthwise with a knife or hatchet to expose the dry wood inside. Stack these splits in a tight teepee, light the cotton balls beneath, and let the heat climb. This works because you’re controlling the sequence: start with a fuel source hot enough to vaporize moisture from the next layer up, then layer progressively larger wood.
Cooking Under Cover Without Smoke Choking
The standard advice about cooking near a campfire in rain is wrong. Smoke doesn’t clear in wet air. It drops and pools around your shelter, making food taste like a chimney and your lungs angry. Set up your cooking zone at the shelter entrance with your back to the opening. Use your body as a heat shield for the stove or pan. Position the shelter wall to block wind but leave one side open so smoke exits freely instead of collecting above your head.
A camping stove on a flat rock beats an open fire in rain every time. You control temperature, reduce smoke output by half, and cook faster. Boiling water takes minutes instead of the chaotic heat management of wet wood. Keep your pot, utensils, and ingredients inside the shelter until you need them. This prevents unnecessary water absorption and keeps your prep space from turning into mud. Transfer only what you’re using to the cooking zone.
How To Prepare For Rainy Camping: The Pre Trip Audit
Test Your Gear Before The Trip
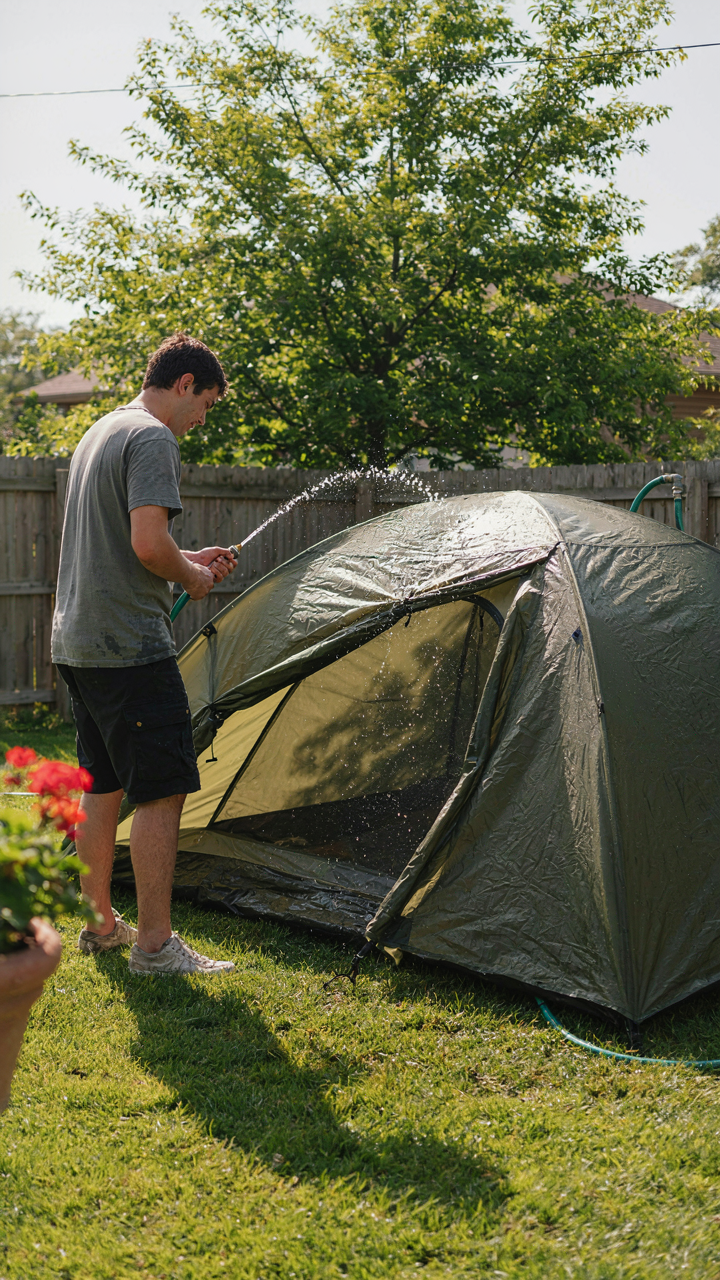
You’re doing this because you don’t want to discover a leak in the middle of a downpour when you’re already committed. The mechanism is simple: fabric degrades, seams fail, and zippers corrode. You find these problems in your backyard, not at elevation. Set up your tent in your yard or driveway and run a hose over it for ten minutes. Watch for drips on the interior. Check seams, floor corners, and the zipper track. If water pools anywhere, mark it and address it before packing.
Sealing compounds work, but they demand precision. Silicone-based tent sealers and seam tape both work, but applying them wrong wastes both time and money. Follow the manufacturer’s drying time exactly. Most seam sealers need 24 hours to cure fully. Don’t rush this step. Test again after sealing. Wetness inside the tent is not a minor inconvenience. It ruins your sleep system, your clothing, and your ability to recover from cold.
Build A Response Protocol For Real Problems
Most advice tells you to “stay calm” or “have a backup plan.” That’s useless. You need a decision tree with specific triggers and actions. Establish the threshold: if rain exceeds your tent’s drainage capacity or water pools around the base, you move. Not tomorrow. During the storm. Pack your gear into waterproof bags immediately, head to your vehicle or shelter, and wait out the worst of it there.
Secondary failures demand preemptive solutions. If your sleeping bag gets damp, you lose insulation and heat retention. Before the trip, identify the nearest town with a motel or car shelter as your bailout point. Know its distance from camp. Carry a lightweight emergency bivy sack as a final layer of protection around your sleeping bag if wetness becomes unavoidable. This is not weakness. This is logistics. A wet night in the mountains ends trips and sometimes ends people.
The Real Problem Isn’t The Rain; It’s Your Flimsy Plan
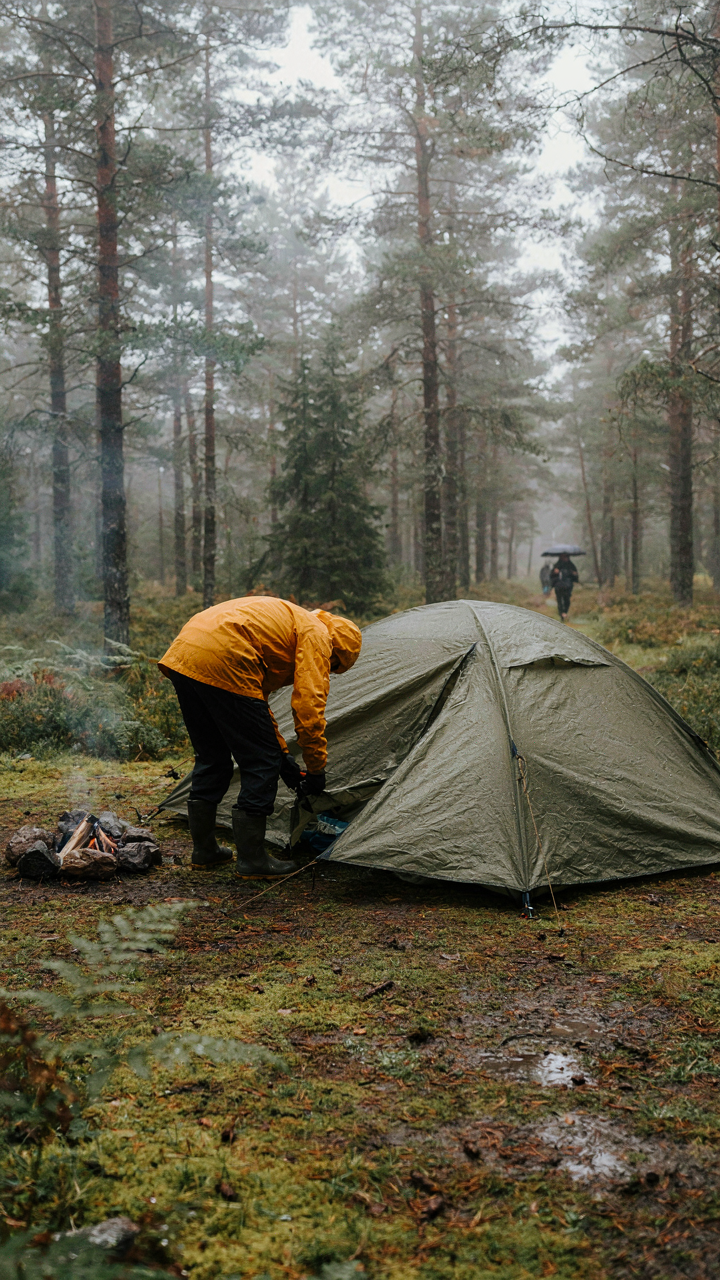

Most people fail at rainy camping because they treat weather as an afterthought instead of a design requirement. Your tent choice, gear placement, and daily rhythm must assume rain will hit. Stop hoping for dry skies and build redundancy into everything. Check your tent’s waterproofing today, not the night before your trip. You don’t have a rain problem; you have a preparation problem.



