
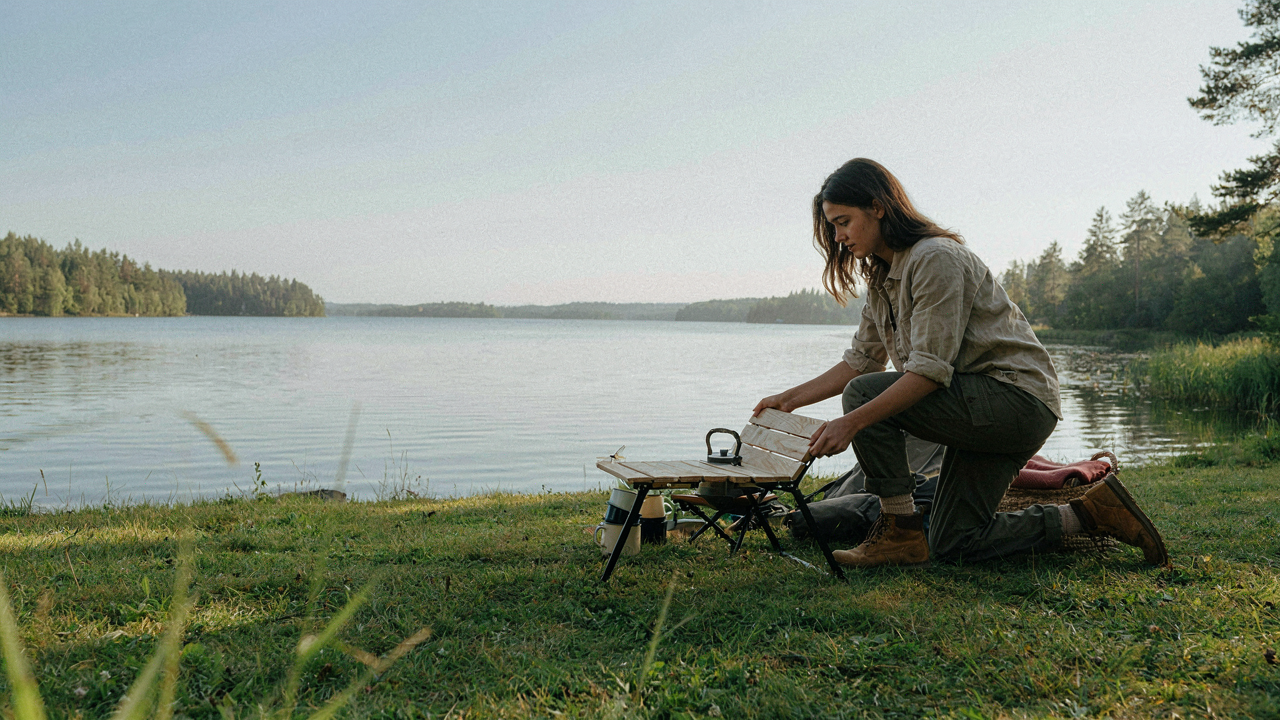
The Myth Of The “Easy” Diy Folding Camping Table

Convenience Is A Trap
You want to believe a folding camp table is simple because admitting otherwise means you’ve wasted time researching something that doesn’t exist. Here’s the mechanism: convenience scales backward. The easier a table appears to build, the more engineering work the designer hid. They didn’t eliminate complexity—they shifted it onto materials, tolerances, and joint geometry that demand precision you won’t notice until the table wobbles at 2 AM in the woods. Simple designs aren’t simpler to execute. They’re just simpler to describe.
Most DIY camp table guides skip the actual barrier: joinery under load. A folding table doesn’t fail because of poor aesthetics. It fails because the hinge point absorbs force that propagates through the frame like a shock wave through a loaded structure. The frame must distribute that energy or collapse. No amount of “easy assembly” language changes the physics happening at the pivot. You either design for this or you build twice.
Hidden Costs Of Simple Designs
The common advice tells you simple designs save money and time. False. They save description length. A frame that folds flat requires either over-engineering one section or under-specifying materials everywhere—both cost more than a traditional rigid table. You either buy premium hinges rated for repeated load cycles, or you replace cheap ones every season. You either use hardwood joinery that holds, or plywood that cups after moisture exposure. The real variable isn’t whether you pay. It’s when and how much.
Material selection carries the hidden bill. A “simple” design that uses aluminum instead of wood costs 40 to 60 percent more upfront but tolerates inconsistent joinery and environmental stress better. A “simple” design using pine or spruce requires dead-accurate cuts and finishes because soft woods compress under repeated folding cycles. You’re not choosing between expensive and cheap. You’re choosing between different expense vectors. Start by specifying what load the table must handle when fully open and partially loaded, then work backward to material thickness and hinge class. That sequence prevents buying mistakes later.
Beyond “Flat”: The Realities Of Camp Table DIY Portability
The Math Of Actual Space

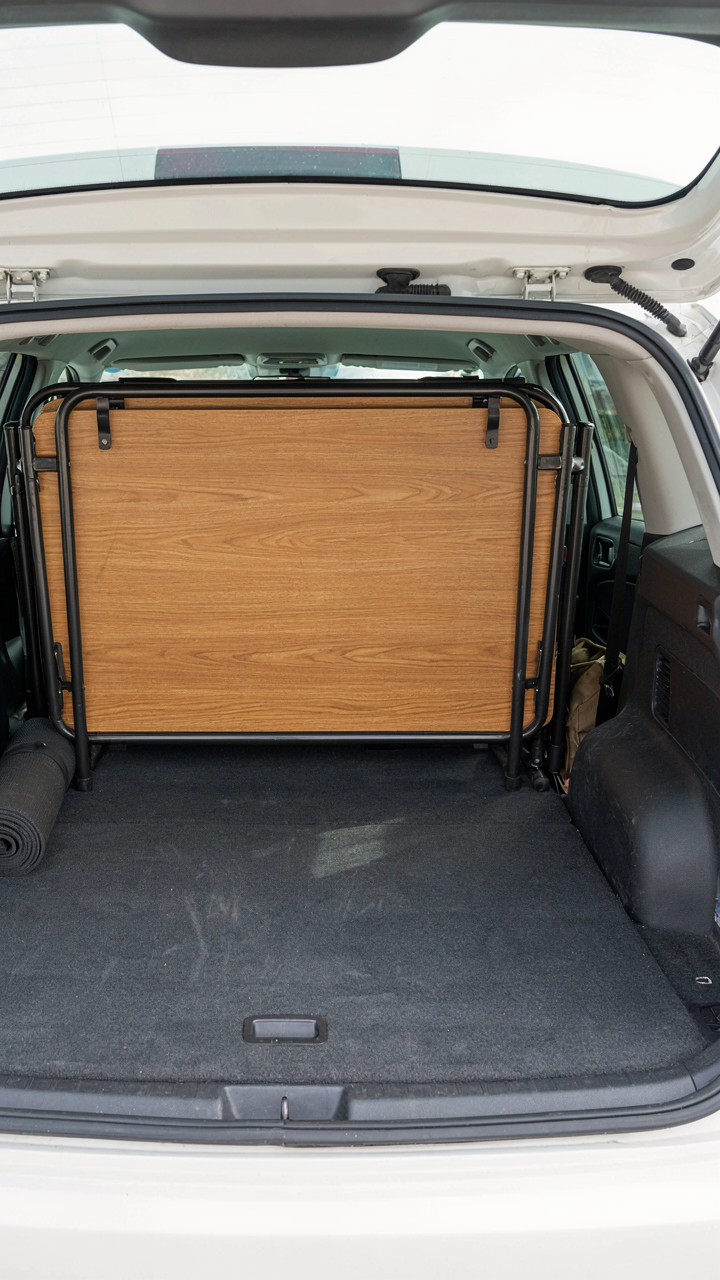
You think flat means solved. It doesn’t. You want to believe a folded table takes minimal space because it collapses to two inches thick, but you’re ignoring volumetric efficiency—the principle from logistics that measures how much actual three-dimensional space an object occupies relative to its footprint. A DIY camp table trades height for length and width the moment you fold it. A 30-inch by 20-inch surface that folds flat still demands 30 by 20 inches of floor space in your vehicle, bag, or storage. Collapsing vertically saves zero horizontal real estate.
The deception runs deeper. Most DIY builds use aluminum tube or wood legs that don’t telescope. They hinge and fold down, but the table deck stays rigid. You’ve created a package that’s thinner but not smaller. A 4-foot by 2-foot table folded to 2 inches high still requires a 4-foot by 2-foot shelf. Vehicle organizers and pack designs reward actual cubic volume reduction, not visual thinness. Measure your storage space first, then design. Don’t reverse-engineer a build around the fantasy of “fitting anywhere.”
Weight That Justifies Nothing
People obsess over shaving ounces while ignoring the real trade-off. A 15-pound aluminum DIY camp table that folds flat demands you carry 15 pounds to save setup time. A lighter 8-pound model uses thinner materials that flex under load or fail after two seasons. The weight-to-utility ratio matters more than either number alone, and nobody talks about it directly. You need to know: what load does your table handle, how often will you move it, and what’s the failure point?
A DIY wood table built from pine or plywood starts around 20 to 25 pounds and gains strength. Aluminum drops that to 12 to 18 pounds but reduces rigidity and increases cost. The mechanism nobody states is this: lighter materials demand better engineering. Thinner aluminum requires precise joinery and cross-bracing. Flimsy wood needs more support structure. A 12-pound table that wobbles under a camp stove or wet gear isn’t portable—it’s just inconvenient. Build to the weight you’ll actually carry and the abuse you’ll actually inflict, then lock in your materials.
The Minimalist Carry Protocol For A Diy Camping Table

What Actually Needs To Happen

You want this to feel intentional, not like you’re just carrying less stuff. Here’s the mechanism: function creep destroys portability. Most DIY camp tables fail because builders add features “just in case” without naming what problem each one solves. Industrial design calls this “form follows function”—but the inverse kills tables: when you can’t articulate why a leg angle exists or why the top needs beveled edges, you’ve added weight without purpose. Strip every feature and ask one question: does this solve the problem I actually face in the field?
A functional camp table does three things only. It holds food and gear at waist height without tipping. It packs small enough to carry one-handed. It breaks down in under thirty seconds. Everything else is decoration masquerading as utility. Most builds fail the third requirement because people design for assembly convenience, not disassembly speed. The table that takes two minutes to set up but eight to break down teaches you a lesson on the second trip you won’t forget.
Design That Works Across Multiple Tasks
Borrowing from mechanical engineering, a modular system distributes load across independent parts, each capable of solo function. Your table legs shouldn’t be table legs only. Each leg becomes a walking stick, a tent stake anchor, or a pack support pole. The tabletop isn’t a surface; it’s also a wind shield, a gear organizer tray, or emergency kindling platform. This isn’t clever design—it’s the only design that justifies the weight you’re carrying.
The real constraint is this: any component that serves one purpose is ballast. Angle the legs at forty-five degrees and they lock into a self-bracing frame that needs no hardware. Use the same angle for a stove windbreak panel. Attach legs via pinned joints instead of bolts, and those pins become firestarter bundlers. Make the top from thin hardwood strips that interlock without fasteners, and loose strips work as trivets or pot stands. The test is simple: after a three-day trip, you should forget what your table components looked like, because you’ve repurposed them into the camp rhythm.
Engineering Durability: Why Your DIY Camping Table Will Fail
Where Joints Betray You

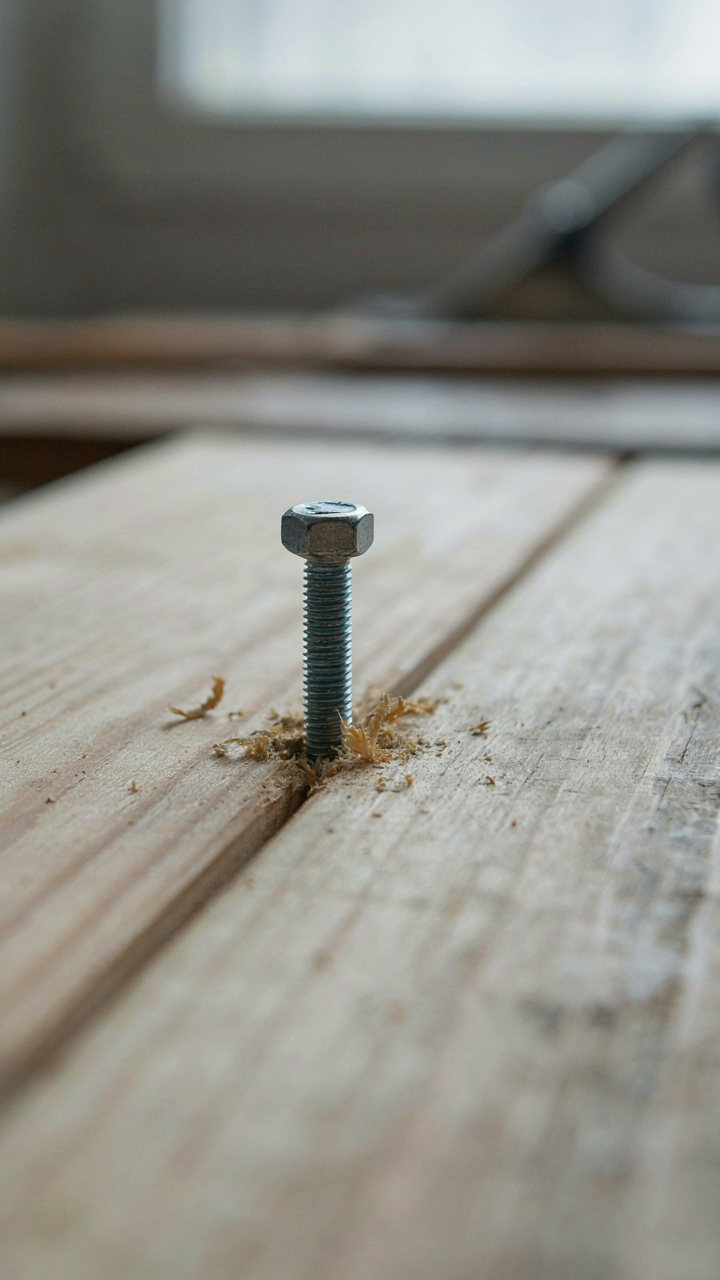
You want to build a table that lasts because you don’t want to admit you might have designed it wrong. The real mechanism at work here is shear stress, borrowed from structural engineering. Joints fail because they concentrate force at a single plane rather than distributing it across a surface. Your DIY camp table collapses at the corners because you’re using bolts or screws like fasteners when they actually function as stress amplifiers. The connection point becomes the weakest link the moment load hits it unevenly.
Most builders glue joints and call it done. That’s incomplete. Wood moves with temperature and humidity. A mortise and tenon joint survives this because the mechanical lock absorbs seasonal shift. A bolted connection on a flat surface does not. Bolts loosen. Glue fails at the glue line, not the wood. Your table fails because the joint was never designed to handle dynamic load, only static compression. Test your joints by applying sideways force before assembly. If the connection rocks or flexes, you’ve already lost.
Material Selection Determines Collapse Timeline
Pine costs less but absorbs water and loses rigidity fast. Hardwoods like oak and maple hold their shape longer but demand precision in the joint. The common advice to use pressure treated wood misses the point entirely. Pressure treated lumber is meant for ground contact where rot is the enemy. For a camp table, your real enemy is fatigue from repeated loading and unloading, plus moisture cycling. Pressure treatment adds weight and makes joints harder to execute cleanly.
Use kiln dried hardwood for the frame. Kiln drying removes water that would otherwise cause dimensional shift during use. The drier the wood at assembly, the tighter your joints stay. Choose wood with straight grain and consistent color, which signals stable wood less prone to warping. Laminated construction beats solid wood for long spans because laminate distributes stress across multiple layers. A DIY camp table lives or dies based on material selection made before the first cut.
Diy Camping Table Setup: The “Battlefield Logistics” Framework
Rapid Deployment And Breakdown Principles
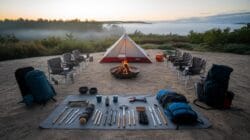
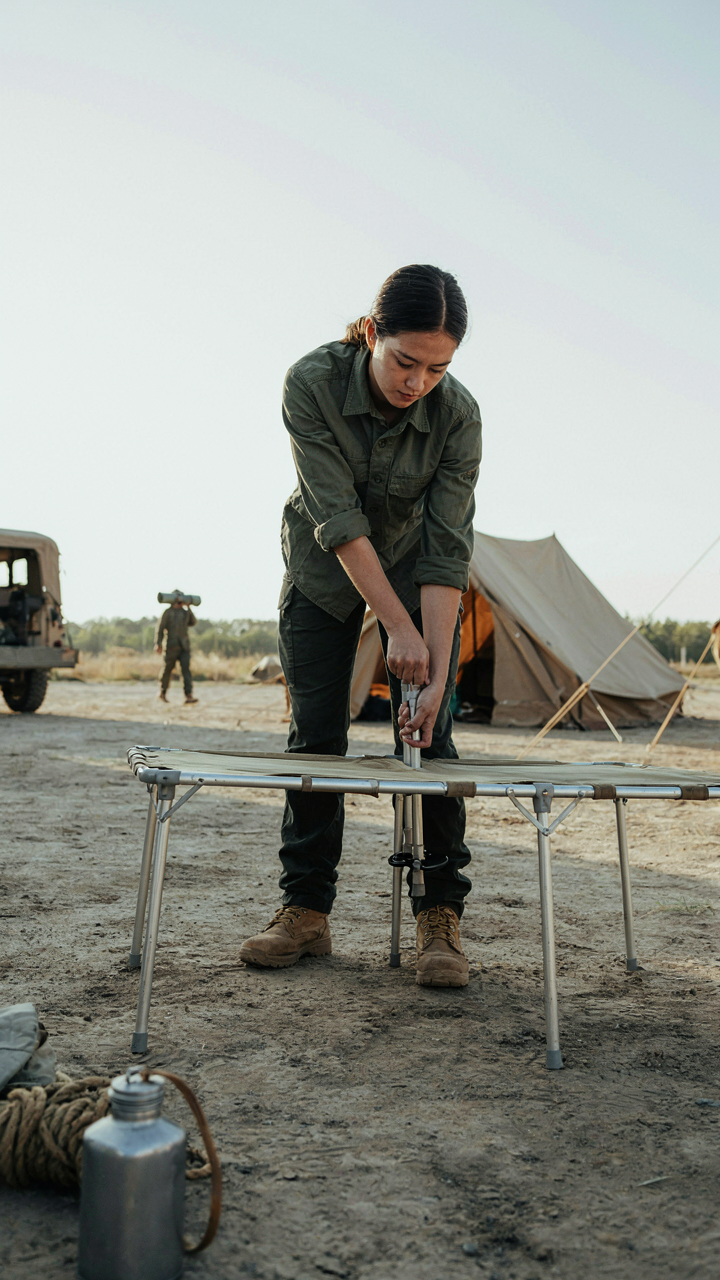
You want this section to make you feel competent. The real mechanism is this: military logistics borrowed the concept of “supply line efficiency” which means eliminating wasted motion between setup and usability. Your DIY camp table either reduces friction at every step or it doesn’t. There’s no middle ground.
The common mistake is treating setup and breakdown as separate problems. They’re the same problem viewed from opposite angles. A table that takes eight minutes to assemble will take eight minutes to disassemble, and that’s time you’re not eating, resting, or breaking camp. Military field operations solved this by designing for reversible steps. Each connection point on your table should work the same way forward and backward. This means hinges that don’t require tools, legs that seat themselves through gravity alone, and a folding sequence that a tired person can execute without thinking.
Field Efficiency Through Positioning
Ergonomics in military strategy means placing each component where the operator’s body expects it to be, not where it’s convenient to manufacture. Apply this directly to your camp table: the height, the leg spread, and the surface angle all affect how efficiently you work. A table that’s two inches too high forces your shoulders up. A table with legs too close together creates an unstable stance when you lean forward to cut food or write. You lose efficiency with every compensation your body makes.
The structural requirement is a table height between 28 and 32 inches from ground to work surface. This matches the ergonomic standard for standing work stations because your elbows should bend at roughly 90 degrees when your arms rest naturally. Legs should spread at least 70 percent of the table’s length and width to resist tipping when weight concentrates on one corner. Test this before you finalize your design by actually standing at your table and reaching across it. If your back rounds or your shoulders lift, adjust the geometry. Your comfort isn’t the goal. Efficiency is the goal.
The Illusion Of Customization In Camping Table Diy
When Bespoke Becomes Burdensome

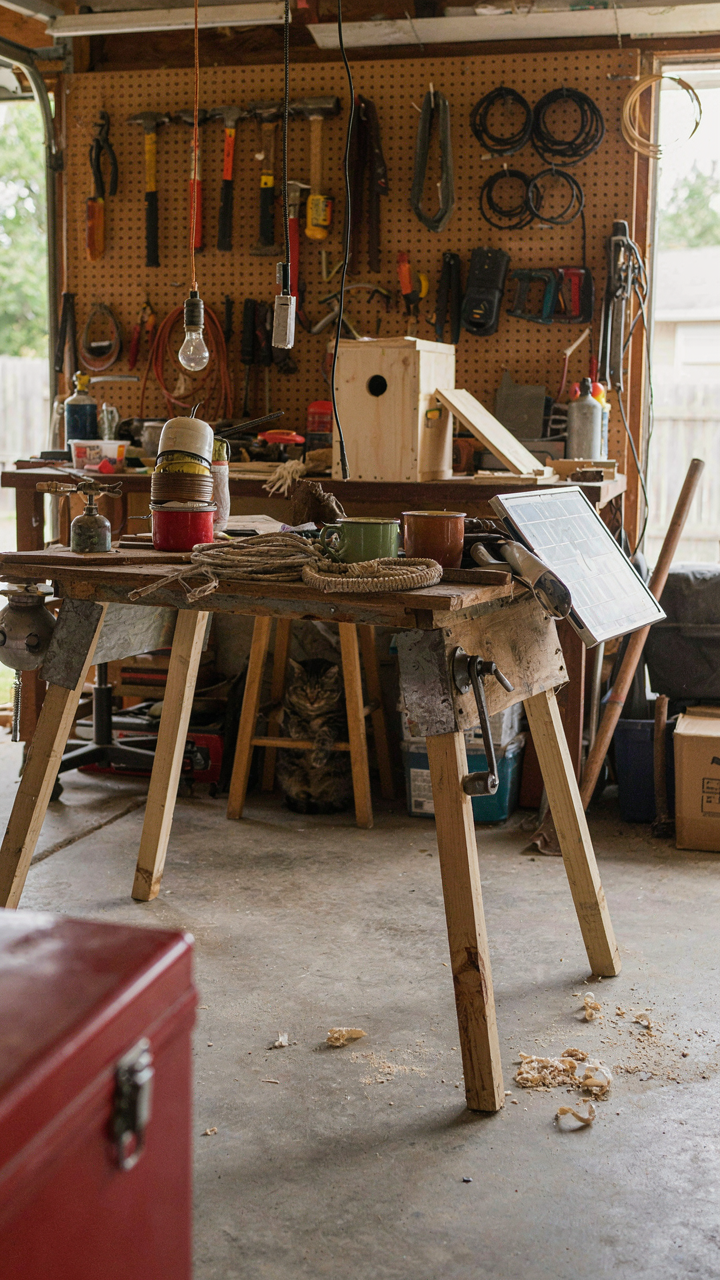
You want to believe a custom table proves you solved a problem nobody else could see. The mechanism is simpler: you’re confusing personalization with engineering. Most DIY builders add features they’ll never use, then spend twice as long troubleshooting joints that didn’t need to exist. The gap between “I could modify this” and “I should modify this” is where projects die in the garage.
Every added feature increases failure points. A table with removable legs folds flat. A table with removable legs plus adjustable shelving plus cup holders plus storage compartments becomes a system where one loose bolt cascades into three others. The customization doesn’t make it better—it makes it fragile. Stop adding options. Start removing them.
Optimizing For Future Modifications
The best DIY camp table design borrows from systems thinking: build constraint into the frame, not flexibility. You design for one future state, not infinite ones. Most guides tell you to use modular joints and universal measurements so you can “adapt later.” That’s wrong. Later never comes, and when it does, you’ve forgotten why you built it that way.
Design your table around the two configurations you’ll actually use: deployed and folded. Everything else is waste. Use bolt patterns that match commercial hardware. Choose wood dimensions that align with standard lumber sizes. Make the base symmetrical so you can swap damaged parts without redesigning. The protocol is simple: build the folded state first, then work backward to deployment. This forces you to eliminate decoration.
Diy Camping Table Ideas: Beyond The Pinterest Aesthetic

Weight Beats Beauty Every Time

You want a table that looks intentional because you’re tired of looking like you don’t have your life together. That’s not the mechanism at work here. Weight distribution determines whether your table collapses under a cast iron skillet or holds steady on uneven ground. A DIY camp table succeeds or fails on load capacity first, aesthetics never. Build for the worst terrain you’ll encounter, not the Instagram photo you want to take.
The common mistake is copying designs from camping blogs without understanding why those dimensions exist. A 24-inch height works because it matches typical cooler dimensions and allows comfortable food prep. Leg angle matters because it spreads load across a wider footprint on soft ground. Surface material choice comes down to moisture wicking and heat resistance, not color coordination. Test your frame under actual cooking weight before finalizing the design.
Leverage Points Trump Clever Hinges
Mechanical engineering teaches leverage: multiply force by increasing distance from the fulcrum. Your DIY camp table’s fold mechanism works the same way. Most designs fail because they prioritize compact storage over the actual mechanical advantage needed to support weight while partially deployed. A single hinge at the table’s center creates a mechanical disadvantage. Dual hinges or offset joint placement redistribute stress and prevent the sudden collapse that happens when weight concentrates on one point.
The real move is understanding that your table doesn’t fold flat because hinges are clever. It folds flat because you’ve eliminated unnecessary support structure and used gravity as an active part of the locking mechanism. A wedge leg that slides into a slot doesn’t need a spring or latch. The table’s own weight holds it rigid when fully deployed. Design the collapse sequence in reverse: imagine the table already flat, then work backward to understand which components prevent it from staying that way.
Camping Furniture DIY: Integrating The Table Into A System

Your Gear Doesn’t Work In Isolation
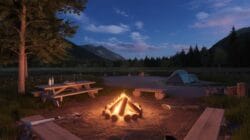
You want this section because you’re tired of owning separate pieces that fight each other in your truck bed. Here’s the mechanism: a camp table isn’t furniture—it’s infrastructure. In systems thinking, the term is “node,” a connection point that either amplifies or degrades everything touching it. Your DIY table either becomes the hub that makes other gear work better or it becomes dead weight that forces workarounds. Most builders treat tables as standalone objects and wonder why their setup feels inefficient.
The table’s real job is creating intentional constraints that improve adjacent decisions. Height, surface area, and weight distribution all dictate what you can stack nearby, what cooking methods become viable, and how many people can actually function in your camp zone. When you design the table first without considering the rest of your system, you end up with a piece that works in isolation but creates friction everywhere else. The table must earn its place by making your stove placement better, your food prep faster, and your storage more accessible.
Modular Design For Shifting Demands
Nobody tells you that “modular” is code for “you were wrong about what you needed.” People build fixed tables, then get frustrated when trips change and the table no longer fits the mission. True modularity means the table components serve multiple configurations without modification. Legs that bolt on and off aren’t modular if removing them takes fifteen minutes and three wrenches. The mechanism is interchangeability at the protocol level—every connection point uses the same fastening method.
Your next trip might require more counter space and less storage, or vice versa. A surface that attaches and detaches in under two minutes from a standard frame creates genuine flexibility. The frame itself should accept different top configurations without adapting hardware. This means designing your fastening system first, before you even cut wood. Your table becomes a platform, not an artifact—something that evolves as your camping needs shift, not something you replace entirely.
Folding Camp Table Plans: Decoding The Advanced Simplicity
When Engineering Vanishes Into Function

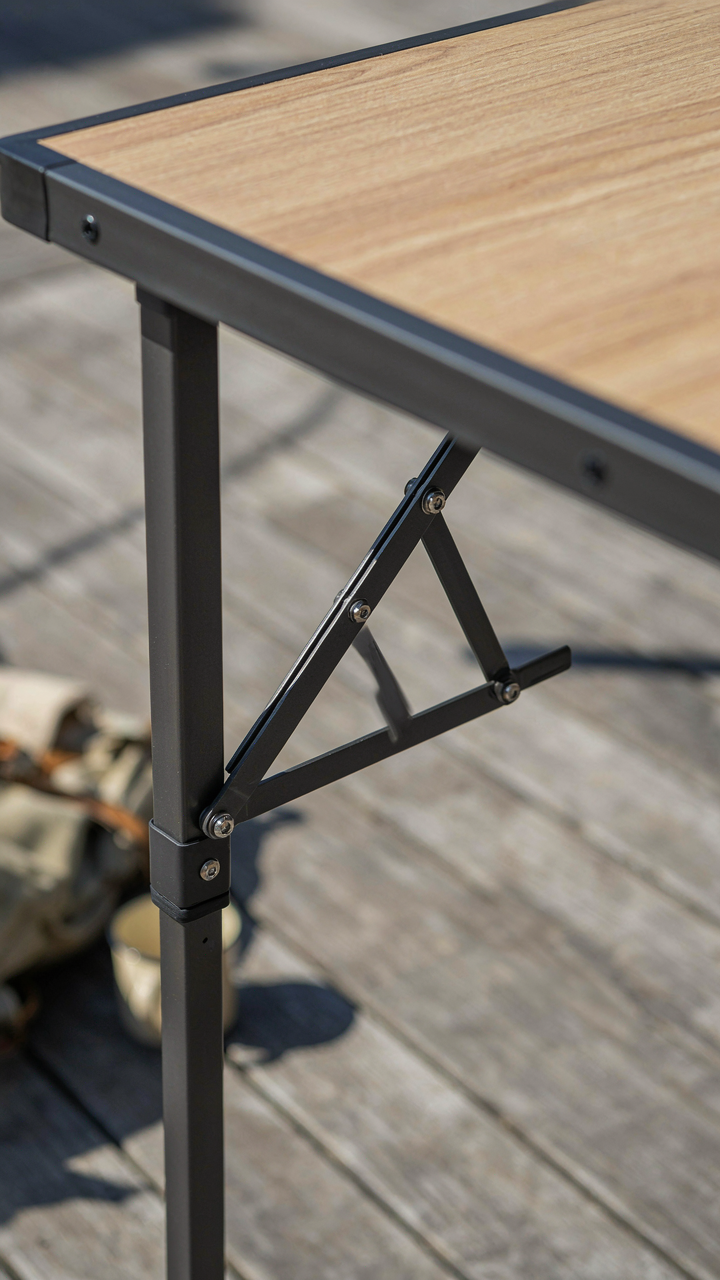
You want to build something that looks simple because you think simplicity means you’re clever enough to design it. The real mechanism at work here is load distribution across a collapsing geometry. Think of it like structural biology: a skeleton’s joints don’t exist to be seen, they exist to transfer force without breaking. A folding camp table works the same way. The complexity isn’t in the materials or the cut list. It’s hidden in how the frame transfers your weight through pivot points without binding or wobbling when compressed flat.
Most DIY plans show you the final shape and call it done. They skip the part that actually matters: why certain angles create stability while others create flex. A 90-degree frame leg braced at 45 degrees to the tabletop creates a triangulated load path. Remove that brace and you get a wobbly surface that feels cheap. The engineering work happens before you pick up a saw.
Fasteners That Hold Or Fail
The common advice treats fasteners as interchangeable. That’s wrong. Your choice of bolt, rivet, or screw determines whether your table stays rigid or gradually develops play. Bolts with lock washers handle repeated folding because they allow micro-adjustments under load. Self-tapping screws in wood create a temporary hold that loosens over time as the wood fibers compress around the shaft.
- Carriage Bolts With Nyloc Washers: Thread locks through deformation. They maintain clamping force even after fifty fold cycles without requiring re-tightening.
- Machine Screws In Threaded Inserts: Distribute clamping force across a wider area than wood fibers alone. Critical for repeated assembly and disassembly without stripping.
- Rivets (Solid Or Pop): Create permanent joints with zero play. Use where the joint never needs disassembly. Pop rivets allow field assembly without access to both sides.
- Cabinet Hinges (Not Door Hinges): Built with tighter tolerances than standard hinges. They lock tighter and hold alignment through repeated motion cycles.
- Cross-Dowels With Bolts: Provide clamping force perpendicular to grain. Stronger than fasteners that rely on wood fiber grip alone, especially in repeated-use joints.
Selection depends on whether your table folds weekly or monthly. Weekly use demands bolts with locking mechanisms. Monthly use tolerates quality screws in inserts. The fastener you pick determines your maintenance schedule, not the other way around.
The Unspoken Truth About Your Foldable Wooden Table Diy

Wood Rot Doesn’t Care About Your Intentions
You want to believe building your own camp table makes you environmentally conscious. It doesn’t, not by default. The real mechanism is material decay. Untreated wood exposed to moisture cycles breaks down faster than manufactured alternatives, meaning your DIY table becomes landfill sooner than the store-bought competitor you felt superior to.
Pressure-treated lumber extends life but introduces chemicals into soil when it fails. Hardwoods resist rot naturally but require harvesting mature trees. The honest choice is acknowledging the trade-off: a DIY table trades upfront carbon in transportation for localized material waste at end-of-life. Most builders skip this calculation entirely and tell themselves the story instead of checking the facts.
The Competence Trap
Building a foldable table yourself isn’t about saving money or learning skills. It’s about proving you’re the type of person who builds things. That narrative is what you’re buying, and it’s worth something psychologically, but pretending otherwise keeps you from optimizing for what actually matters to you.
The mechanism works like this: completing a functional object produces measurable confidence gain because you’ve converted abstract capability into concrete proof. This feels different from buying the same object because ownership without creation leaves that gap unfilled. The build process matters more than the table. Once you name that, you can decide if the time investment aligns with your actual goals or if you’re chasing a version of yourself that doesn’t exist yet.
Your So-called Portable Table Is Just More Stuff You Own. The Problem Isn’t The Table; It’s Your Relationship To Permanence

You don’t need a better diy camp table. You need to stop treating camping like moving your living room outdoors. Build one table. Use it until it breaks. Replace it. That’s the whole game. The trap isn’t portability. It’s the voice in your head telling you that more options mean more freedom. They don’t. Constraints force creativity. Permanence forces commitment. Pick your design today and stop shopping for the perfect fold. The best table is the one you actually use.



