
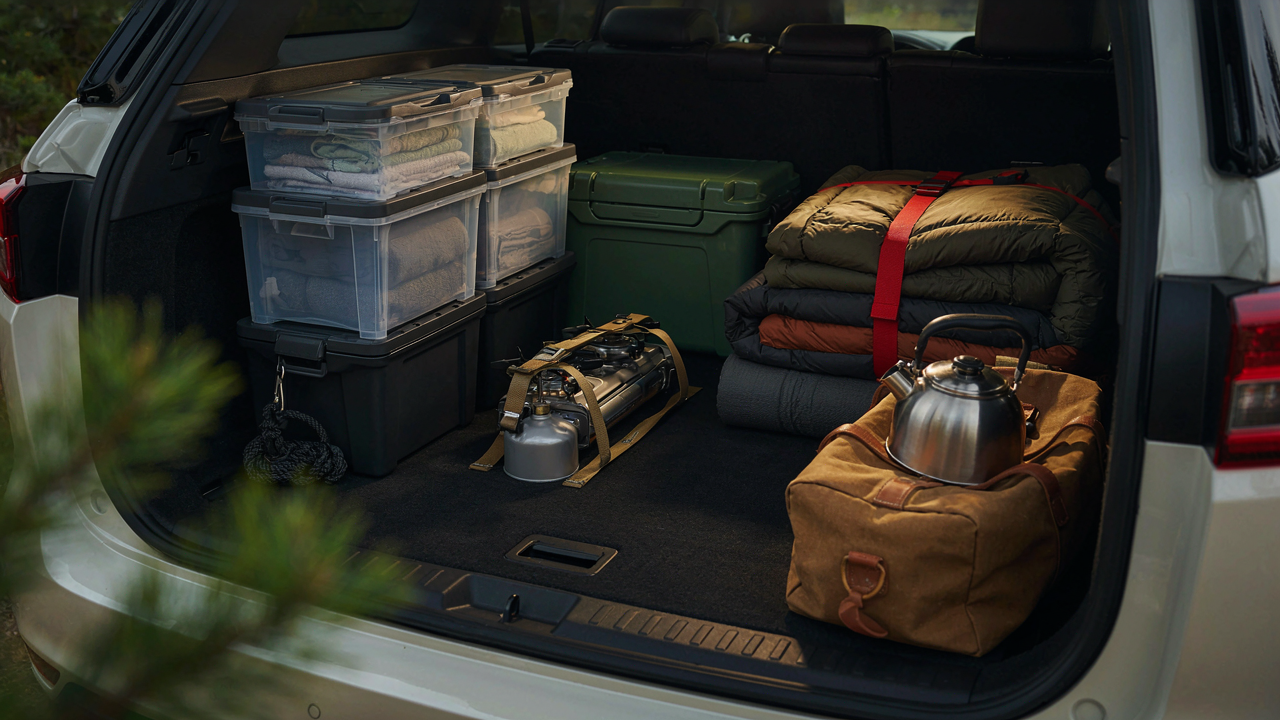
The “Accessibility Over Volume” Protocol For Camping Storage

What Actually Gets Used First
You’re buying a camping trunk organizer because you’re afraid you’ll forget something critical mid-trip and look unprepared. That fear is backwards. The real problem is you’ll waste fifteen minutes digging through bags while your group stands around waiting. The mechanism is simple: items you access repeatedly during a trip occupy disproportionate mental and physical space. A camping trunk organizer fails the moment you optimize for fitting more gear instead of optimizing for retrieval speed under mild stress.
Think of trunk organization like triage in emergency medicine. Medics don’t sort supplies by category alone—they sort by decision speed. Your trunk needs the same logic. First aid, fire-starting, and weather protection live in the most accessible zone because you’ll need them without planning. Everything else gets tiered by frequency of use during an actual camping day, not by logical category. That frequency changes the moment you’re cold or it rains.
Where Things Actually Live
Stop organizing by item type. That’s what everyone does and it’s the reason people can’t find their flashlight at dusk. Organize by use-moment instead. Your trunk organizer should have a “current conditions” section that holds only what handles today’s weather and activity level. This section changes before each trip, not after. The rest of the gear lives behind it, stacked deliberately so you never touch it unless the first layer fails.
The compartmentalization matters more than size. A camping trunk organizer with three medium sections beats one with eight tiny pockets because you move entire sections, not individual items. When you need the rain gear, you grab that whole bin. When you need cooking supplies, you grab that bin. When you need the backup layer, you grab that bin. You’re not performing archaeological digs through overlapping bags. You execute one decision and move forward.
Beyond Boxes: The Modularity Mandate For Car Trunk Organization

When Components Talk To Each Other

You want your gear organized so you don’t waste time digging through chaos on the campground. The real mechanism at work here is modularity, borrowed from systems design: the ability of parts to function independently while connecting seamlessly to form a larger whole. Most camping trunk organizers fail because they treat the trunk as a fixed container instead of a dynamic ecosystem. Individual components need to work standalone and stack without forcing you to reorganize everything when plans change.
Rigid solutions lock you into one trip pattern. Soft-sided bins, dividers with adjustable panels, and stackable containers with modular attachment points let you reconfigure based on what you’re actually bringing. A cooler doesn’t always need to occupy the same spot. Sleeping bags don’t always require the same vertical clearance. The trunk organizer that survives multiple trip types is the one built so each element slides, clips, or nests without depending on everything else staying put.
Systems Beat Setups
Most people buy a camping trunk organizer as if it’s furniture. It’s not. It’s infrastructure. The difference matters because furniture gets installed once; infrastructure adapts to changing demands. A setup mentality leads to buying a fixed tray system, filling it with your current trip, then abandoning it when your next trip looks different. A systems mentality means choosing organizers with interchangeable dividers, removable partitions, and components that work in multiple configurations.
Adaptable systems use modular walls, adjustable shelving, or interlocking containers that you recombine trip to trip. Bungee straps, cargo nets, and hook-and-loop fasteners let you secure different loads without rebuilding the structure. Test whether your organizer components work independently first. If every piece depends on the others for stability, you’ve bought a setup, not a system. Evaluate your organizer’s reconfigurability before the first trip, not after you discover it fails on trip two.
The Damage Control Doctrine: Protecting Your Investment In Camping
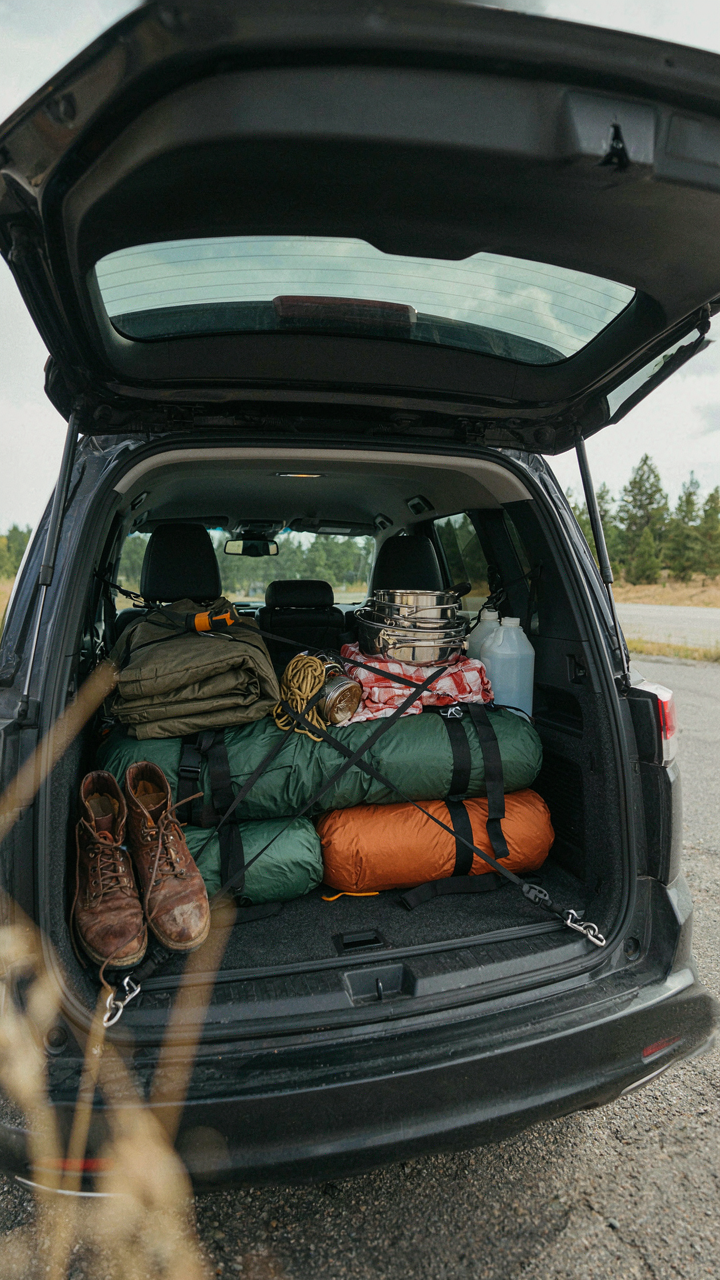
Stop Gear From Moving During The Drive

You’re afraid of arriving at camp with broken equipment because replacing it costs money and ruins the trip before it starts. That’s the real lever here. The mechanism is simple physics: vibration amplitude increases with vehicle speed and road surface irregularity. A camping trunk organizer becomes a vibration dampening system when you treat it that way. Your job is eliminating the gap between items and the container walls. Friction is your only tool.
Pack dense items around fragile gear, not air. Sleeping bags, rolled tents, and extra clothes act as shock absorbers. Secure everything with straps or bungee cords so nothing shifts during turns or sudden stops. The goal isn’t neat organization for Instagram. The goal is immobilization. Each item should resist movement in all directions before you close the trunk.
Sealed Storage Against Weather Infiltration
Weatherproofing fails because people think it means keeping rain out of the tent. Wrong target. The real threat is moisture seeping into your organizer during loading, transit, and unloading when the trunk is open in changing weather. Sealed containers and waterproof liners inside your organizer catch this before it reaches your gear. Most trunk organizers use fabric or mesh that absorbs water like a sponge.
Your move is simple: add a waterproof layer between the organizer and its contents. Heavy-duty plastic liners or dry bags for smaller compartments work. Check seals on any compartments with zippers before you load anything. Moisture doesn’t need a hole to travel. It moves through fabric over time. Position your organizer where air flows through the trunk during the drive to prevent condensation buildup inside the container itself.
The “No Dig” Method For Essential Camping Organization

Top Layer Stays Hot, Bottom Layer Stays Cold

You want to avoid that panicked five-minute trunk search while your group stands around waiting. The real mechanism here is retrieval friction: every second spent digging is a second of wasted group energy and visible incompetence. Pack your trunk vertically, not horizontally. Top layer holds only what you need in the first two hours: cooking fuel, water, first aid, flashlights. Everything else goes below, compressed and organized by category. This isn’t arbitrary. It’s triage based on when you actually need the item, not sentiment about what feels important.
The spatial logic mirrors inventory management from retail: fast-moving stock at eye level, slow-moving stock in reserve. Your camping trunk follows the same principle. Sleeping bags, tents, and backup gear belong underneath because you unpack them once and leave them alone. Top layer items you’ll access multiple times during setup. Stack them in the order you’ll grab them. Fuel before tent stakes. Water before cooking utensils. The trunk becomes a predictable system instead of a mystery box.
One Reach Per Item, No Exceptions
Most camping advice tells you to use separate bins and organize by category. That’s incomplete. The real win is designing your trunk so a single motion grabs what you need. Use shallow, stackable bins for top-layer items. Keep each bin narrow enough that you never dig through three layers to find one thing. Wide, deep bins create dead zones where items hide and get forgotten.
Position your bins at angles rather than flat stacking. Tilt them slightly forward so contents sit visible. Label the front, not the top. Your eyes track horizontal lines faster than reading top labels when your hands are full and the sun’s in your face. The protocol: one bin per category, one motion per retrieval, items inside ordered by grab frequency. That discipline eliminates the chaos.
Debunking The “More Bins, Better” Fallacy: The Real Outdoor Storage Box Strategy
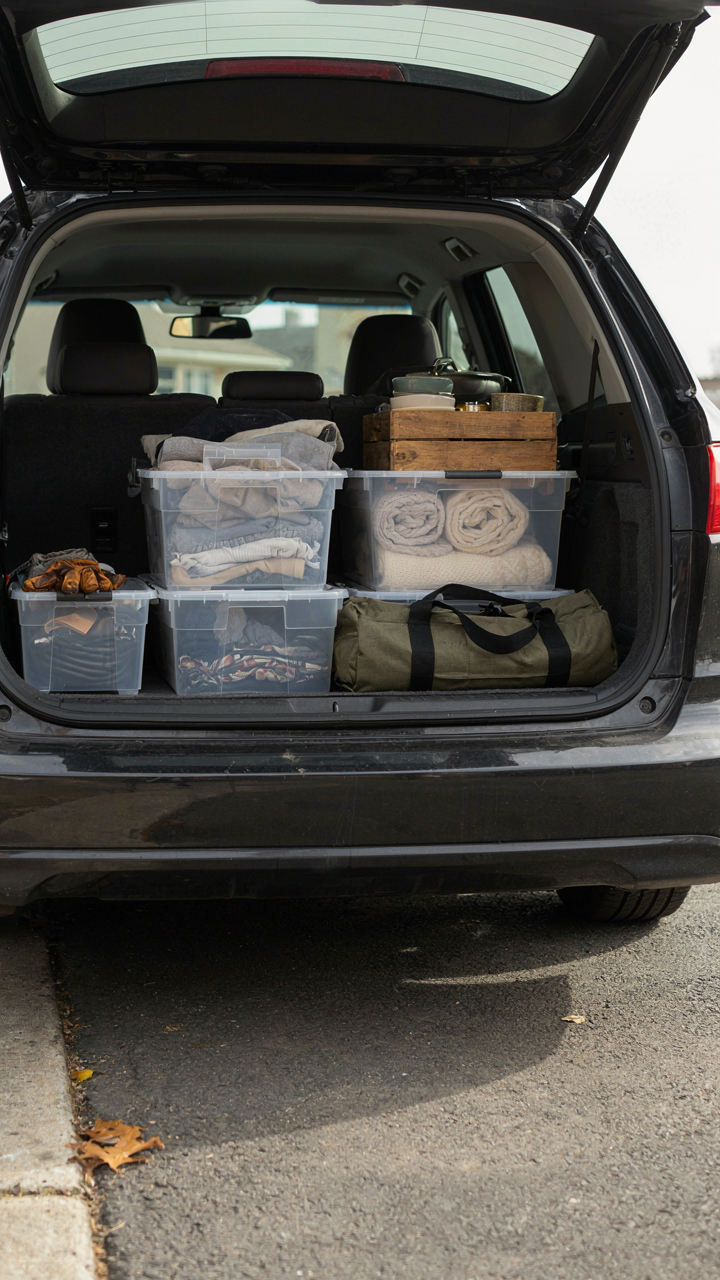
Select Containers By Function, Not Impulse

You want to feel organized because disorganization feels like failure. Here’s what actually matters: every container you buy should solve a specific problem in your packing sequence, not just sit there looking neat. This is ergonomic design thinking applied to your trunk. You’re not decorating. You’re building a retrieval system.
Most people buy bins based on color coordination or what fits in the store display. Wrong move. Start by listing what you actually pack: cooking gear, safety equipment, clothing, repair tools. Each category has different access patterns. Cooking equipment you grab once per trip. First aid you hope never to touch. Repair tools you access randomly. The container type, size, and placement should match how often and when you need each item, not aesthetic preference.
Empty Space Is Active Space
People hate wasted space the way they hate wasted money. But empty space in a trunk organizer isn’t waste. It’s your shock absorber. It’s the difference between items shifting during braking and items staying locked in place.
Overstuffing containers creates pressure points that degrade materials and crushes delicate gear. It also makes repacking harder on return trips when you’re tired. Design your trunk with 20 to 30 percent intentional void. This means selecting containers slightly larger than your category requires. Load the container, then assess the empty zones. Those gaps stabilize your load during acceleration, turns, and stops. They also let you quickly redistribute weight if one side of the trunk gets heavy during a trip.
The “Quick Deploy” Blueprint For Car Camping Storage Efficiency
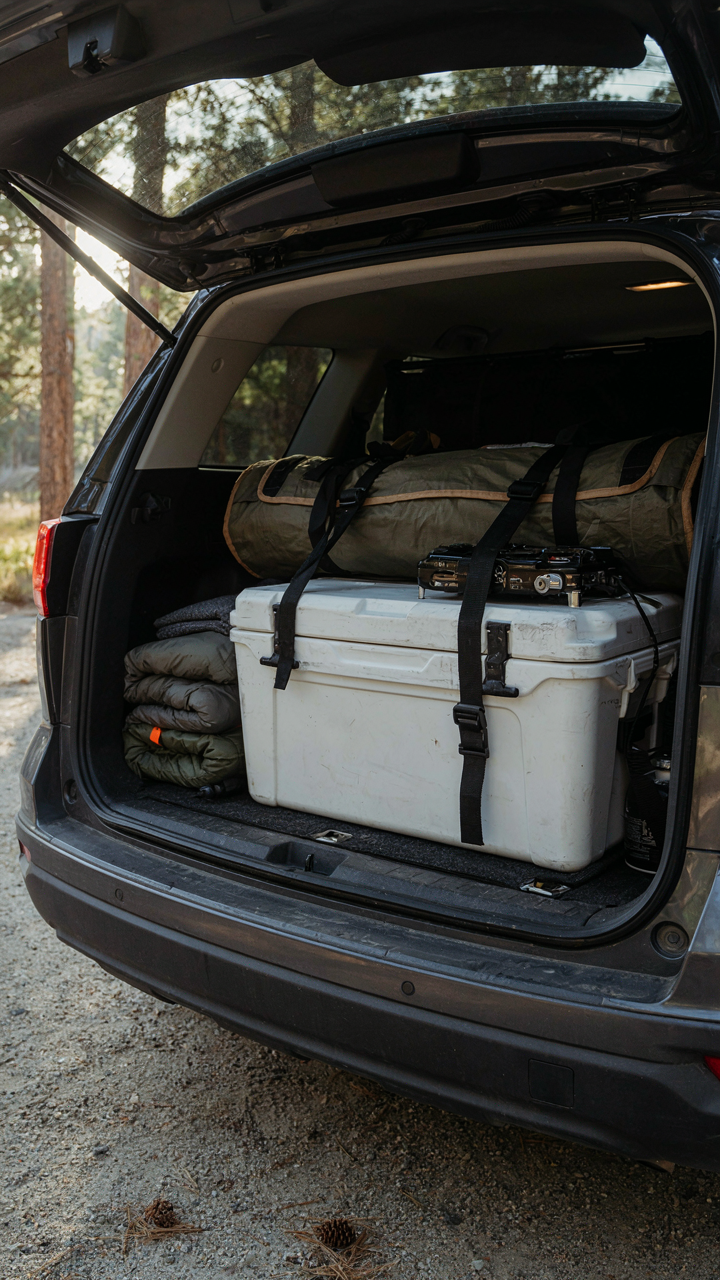
Weight Distribution Beats Organization

You want your trunk organizer to look like you have your life together. That’s not why it matters. Physics dictates that force equals mass times acceleration, and in a car trunk, weight placement determines handling, braking, and whether your vehicle pulls left on the highway. A camping trunk organizer only works if it anchors mass low and centered, not if it looks neat.
Most people organize by category: cooking gear here, sleeping stuff there. Wrong move. Load heavy items first, directly over the axle or forward of it. Use a trunk organizer with a low profile and wide base to distribute weight across the trunk floor, not stack it vertically. This prevents weight transfer during turns and stops. Secure everything so nothing shifts during braking.
Pre Camp Logistics Pyramid
Setup speed determines whether you waste daylight fumbling with gear or drinking coffee before the tent goes up. Military field operations use the principle of load-out sequencing: pack the last thing you’ll need first, deepest in the truck. A camping trunk organizer should mirror this exact logic.
- Last-minute items on top: Cooler, keys, phone charger, and anything you access before leaving the car. Keep these visible and accessible without moving other gear.
- Mid-tier quick-access compartments: Cooking stove, fuel, utensils, and fire-starting supplies. Organize these in their own sections so you grab one compartment, not dig through everything.
- Shelter and sleep system at base: Tent, sleeping bags, sleeping pads. These stay packed and move as a unit from organizer to campsite.
- Utilities and repair scattered throughout: Rope, duct tape, multi-tool, first aid. Distribute these across compartments so you never hunt for one thing in an overstuffed section.
- Liquids and consumables in sealed containers: Water, food, cleaning supplies. Group these by trip phase so you restock once, not during setup.
The organizer itself must have dividers or compartments that let you grab one section without touching others. A single-chamber trunk organizer defeats the purpose entirely. You’ll dismantle the whole thing just to find your stove. Build your organizer choice around the three-tier load sequence, not around how many pockets it has.
Beyond Aesthetics: The Functional Imperative Of Trunk Organization

Wasted Space Costs You Time

You think this is about looking organized. It’s actually about not hunting for gear in the dark while your family waits. Trunk organization applies the physics principle of “density” to packing—maximizing usable volume per square foot directly reduces retrieval time. When items scatter across empty space, finding them requires scanning and moving other gear. Compression-based organizers and vertical stacking collapse dead zones, forcing everything into a grid where location becomes predictable.
The difference between a chaotic trunk and an organized one isn’t visual. It’s mechanical. A camping trunk organizer with compartments or dividers eliminates the mental load of remembering where things sit. You don’t search. You reach. This compounds: faster access means faster setup, faster teardown, and faster moving between camp locations. One trip to grab firewood doesn’t become two because you couldn’t locate the kindling starter. Purposeful placement—not pretty placement—determines how efficiently your entire camping day unfolds.
Streamlined Access Beats Rearrangement
Most people organize by category and call it done. Wrong. Real optimization mirrors workflow, not product type. You need to arrange your trunk around the sequence of tasks you actually perform, not how items naturally group together. First aid kit goes near the door. Cooking gear goes near the tailgate where you’ll set up your camp stove. Sleeping bags go deepest in, accessed once. This isn’t intuitive because it violates our default filing-cabinet logic.
The mechanism is simple: organize for retrieval order, not storage comfort. When you pull into camp, you grab three specific items before anything else. Put those three closest to exit points. The items you’ll need mid-trip sit in the middle tier. Deep storage holds your backup supplies and sleeping systems. This protocol eliminates the friction of rearranging items to reach what’s beneath them. One deliberate sequence at packing time saves dozens of small negotiations during your trip.
The SUV Camping Advantage: Leveraging Your Vehicle’s Native Design
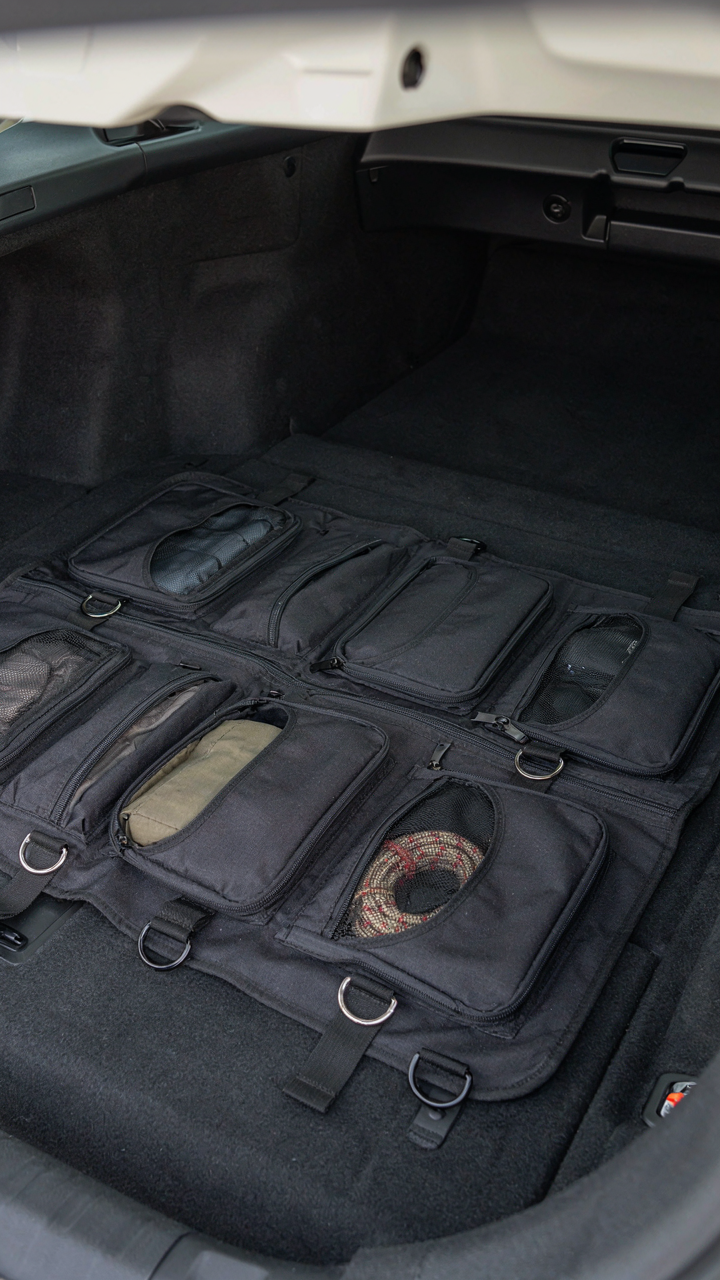
Built In Anchor Points You’re Ignoring

You want to believe your trunk organizer choice matters more than it actually does because it feels like control. The real mechanism is load distribution through fixed anchor geometry. Think of your vehicle’s architecture like a tensile structure in engineering: the existing tie-down points, D-rings, and rail systems were engineered to handle specific weight vectors. Most people bolt organizers to the trunk floor and call it done. Your SUV already has integrated hard points designed for exactly this. The factory anchor system exists because engineers calculated force distribution across the frame. Using those points instead of fighting them reduces shifting, load sway, and the cascade failure that happens when a poorly anchored organizer becomes a 50-pound projectile on hard braking.
The mechanism is simple: manufacturers place anchor points where the vehicle’s structural load path runs strongest. A roof rail doesn’t exist for aesthetics. That rail connects to the roof frame which ties into the A-pillar structure. When you anchor your organizer to factory D-rings mounted on the frame rails instead of the trunk floor, you’re routing loads through the vehicle’s actual load-bearing skeleton. This is why organizers secured to frame anchor points stay put under acceleration and braking. The trunk floor is sheet metal with minimal structural depth. The frame rails are hollow tubes designed to handle dynamic force. Match your organizer attachment to where force actually transfers through the vehicle.
Purpose Built Organizers For Your Model
The common advice says modular organizers work for everything because they’re “flexible.” That’s half true and half expensive. Vehicle-specific organizers exist because your car’s geometry is unique. The distance between wheel wells, the angle of the rear quarter panel, the trunk height, the curve of the sidewall—these dimensions vary across platforms. A Ford Explorer has different proportions than a Subaru Outback. A generic organizer wastes 15-25% of your trunk space because it doesn’t match your vehicle’s actual shape.
The real play is using organizers built for your specific model or body style category. Manufacturers like Husky, Weathertech, and brand-specific designers measure the exact interior dimensions of target vehicles, then design organizers to fit those parameters without gaps or dead space. When the organizer’s side wall follows your trunk’s curve, when the height of compartments aligns with your wheel well depth, when the width matches the space between structural supports, you gain usable capacity and prevent items from shifting into voids. This is why model-specific options cost more upfront but eliminate the frustrating shuffle of rearranging to prevent items from rolling. Measure your vehicle’s model year, trim level, and interior width before buying. Then buy for that exact spec, not a generalized category. That precision is how you stop wasting trunk real estate.
The “Post Trip Reset” System For Seamless Repacking & Trunk Organization

Clean And Restock Before Muscle Memory Sets In

You’re avoiding the reset because you think you’ll remember where everything goes next time. You won’t. The mechanism is simple: your brain encodes spatial memory fastest when conditions are fresh, not weeks later when details blur. Empty your trunk organizer within 48 hours of returning. Wipe down compartments, remove debris, and return items to their designated zones while the trip is still recent enough to highlight what actually worked.
This prevents the cascade effect where one misplaced item becomes the new default location. Dirty gear spreads damage to clean storage areas. Restocking immediately also exposes whether your organizer’s layout needs adjustment before you forget what frustrated you. You’re not cleaning for cleanliness. You’re encoding the system while it’s hot.
Setup Your Next Trip Before The Current One Fades
The common advice says “pack light and only bring what you need.” That’s true but incomplete. The real win is pre staging the organizer with non perishable essentials before your next trip arrives on the calendar. Establish a permanent core: first aid kit in the same spot, multi tool drawer unchanged, emergency flashlight always ready. This reduces packing friction from scratch-building every single time.
When you return from a trip, photograph your organizer’s layout before dismantling it. Use that photo as your baseline template for the next trip. This eliminates the decision fatigue of recreating a functional system from memory. Your trunk organizer becomes a system with slots that have assigned purposes, not a box that changes shape every time you load it. Photograph the layout, restock the anchors, and next packing session becomes assembly instead of design.
Your Overpacked Trunk Isn’t A Sign Of Preparedness, It’s A Monument To Avoidable Stress

Most people treat a camping trunk organizer like a security blanket instead of a tool. They cram it full and call it done. The real shift happens when you flip the question: what can I leave behind? A solid camping trunk organizer forces you to commit. Pull everything out today. Put back only what you’d actually use. The difference between smart packing and anxiety packing isn’t more gear. It’s knowing exactly why each item travels with you.



