

The Myth Of “More Panels Equals More Power”

Panel First Thinking Is A Trap
You want to believe that buying the biggest solar array solves the problem because it feels like taking action. It doesn’t. The real mechanism at work here is constraint theory from operations management: the system output is limited by its most restrictive component, not its most visible one. In camper trailer solar, panels are visible. Batteries are hidden. Everyone fixates on panels.
Adding panels without a matching battery bank creates waste. A 400-watt panel array charging into a undersized 100-amp-hour battery fills it in hours, then the excess solar production goes unused. You generate power you cannot store. The panel sits idle while the sun peaks. This is not a power problem disguised as an equipment problem. It is a design sequencing problem masquerading as a shopping decision.
Battery Bank As The True Power Bottleneck
Your battery is the actual constraint. Think of it like a water tank fed by a hose. No matter how wide the hose gets, the tank still empties at the rate your loads demand and refills at the rate the panels charge it. If your tank is too small, you run dry at night. If your charging hose is oversized, water overflows and you waste it.
The voltage regulator (charge controller) acts as the valve. It prevents the battery from overcharging by limiting current from the panels. A properly sized battery bank means your controller actually uses panel output across the day. A small battery with huge panels means the controller throttles the panels by noon. Size the battery first. Then choose panels that charge it in the time you have available. This sequence makes every watt count instead of throwing expensive watts at a broken system design.
The “Energy Budget” Protocol: Your Real Power Needs

How To Track What You Actually Use

You want to skip this part because it feels like accounting work, and you’re buying solar to escape spreadsheets. That’s the real reason. But the mechanism is simple: you can’t size a system for power you don’t measure. Most people guess instead, then buy twice.
Start by listing every device you run. Write down its wattage, then estimate how many hours per day you use it. Multiply watts by hours to get watt-hours per device. Add them all up. This number is your daily energy consumption, and it’s the only input that matters for everything downstream.
Understanding What Your Devices Actually Demand
Watt-hours are the unit that matters, not watts alone. Think of it like distance and speed in physics: watts are your speed at a moment, but watt-hours are the total distance traveled. A 1000-watt microwave running for 6 minutes uses 100 watt-hours. A 50-watt fridge running 24 hours uses 1200 watt-hours. One pulls hard and fast, the other pulls weak and long. You need to account for both.
Check your device manuals or the labels on the back. If you can’t find specs, use conservative estimates: LED lights draw 5-15 watts, laptops 40-100 watts, water pumps 10-30 watts, inverters lose 5-15 percent of power passing through them. Round up when you guess. Undersizing your system costs you far more than the extra battery capacity you’ll actually use.
Sizing Your Solar Trailer For Camping System: The Inverter First Approach

Matching Inverter Size To Peak Loads

You want the magic number because you think it proves you’ve done the math right. The real mechanism is this: your inverter must handle the highest instantaneous power draw your trailer demands, not your average consumption. Most people size backward, starting with solar panels. That’s wrong. Appliances dictate the inverter. A microwave pulls 1200 watts. A water heater pulls 4000 watts. Your inverter must surge above these peaks for 5-10 seconds without shutting down or degrading.
List your every 120-volt appliance you’ll actually run. Write down its wattage from the nameplate. Add the devices you’ll use simultaneously, not sequentially. If you run a coffee maker and charge a laptop at the same time, add both. Most inverters handle 150-200% surge capacity for short durations. So if your true peak load is 3000 watts, you need a 3500 to 4000-watt inverter minimum. Buy the inverter first. Everything else scales from that decision.
Battery Voltage Impacts Inverter Choice
Battery voltage is economics applied to camper trailer solar. Higher voltage systems lose less power in the wiring itself. A 12-volt system sending 100 amps through cable loses more energy to resistance than a 48-volt system sending 25 amps to the same inverter. Voltage and current have an inverse relationship: same power, but different wire heating. This matters because your battery sits 20-40 feet from your inverter through undersized camping trailer wiring.
Standard camper trailers ship with 12-volt systems, so that’s the floor. 24-volt systems offer middle-ground efficiency and lower inverter costs than 48-volt. But 48-volt systems let you use smaller gauge wire, cheaper wiring overall, and inverters that cost less per watt. The inverter you selected in the previous step determines which voltage you’ll actually use. A 3500-watt 12-volt inverter demands 291 amps from your battery bank. A 3500-watt 48-volt inverter demands 73 amps. The thinner the current, the smaller your cable gauge can be.
DIY Solar Trailer Batteries: The Unsung Heroes

Lead Acid Versus Lithium: Real Trade Offs

You want the answer that makes you look smart at the campfire. Here’s the mechanism: lead-acid costs less upfront but demands active maintenance and replacement cycles every 3-5 years. Lithium costs 3-4x more initially but lasts 10+ years with zero maintenance. The real decision is whether you’re optimizing for cash now or total cost over a decade.
Lead-acid batteries discharge faster under load, meaning you need more capacity to run the same equipment. They tolerate overcharging better, which simplifies your charge controller setup. Lithium requires a battery management system to prevent cell damage, adding complexity. If you’re building a trailer you’ll own long-term, lithium eliminates the replacement hassle. If you’re testing the lifestyle first, lead-acid lets you bail without sunk cost regret.
Deep Cycle Batteries Versus Starting Batteries: The Critical Mistake
Everyone bundles these together. They don’t belong in the same category. Deep cycle batteries have thicker plates and tolerate repeated full discharge cycles. Starting batteries deliver maximum current in short bursts, then expect a full recharge immediately. Using a starting battery in a camper trailer will dead-end it in weeks because the discharge pattern destroys the plates.
Deep cycle batteries handle partial discharge daily without degradation. That’s the economic advantage: you can run them down to 50% capacity repeatedly without lifespan penalty. Check the battery specs for cycle rating at 50% depth of discharge, not the marketing number at 100%. This single metric tells you how many years the battery will actually last in your trailer setup.
The Charge Controller: Your System’s Brain

PWM Vs MPPT: Efficiency Matters

You want to believe a cheaper controller works fine. The truth is simpler than the marketing: one technology extracts more power from your panels, the other doesn’t. PWM (Pulse Width Modulation) switches the panel connection on and off, dumping excess voltage as heat. MPPT (Maximum Power Point Tracking) uses a DC-to-DC converter to track the panel’s optimal operating voltage and convert it down to match your battery voltage. MPPT recovers 20 to 30 percent more energy in real conditions.
The mechanism matters most when your panels run cold or cloudy. A 100-watt panel on PWM might deliver 70 actual watts to your battery. That same panel on MPPT delivers closer to 90. In a camper, you live on constrained solar input, so MPPT isn’t luxury—it’s math. The cost premium (roughly 50 to 100 dollars more) vanishes inside your first full season of use.
Preventing Overcharging And Battery Damage
Most beginners trust the controller to handle this and then wonder why their battery swells or dies early. The controller’s job is precise: stop charging when the battery reaches setpoint voltage, then hold it there. Your battery dies from chronic overcharging, not from one overage. If your controller’s setpoint runs high (14.8V on a 12V lithium system, for example), the battery accepts current for longer than it should. Every cycle shaves lifespan.
The real protocol lives in your charge controller settings, not assumptions. Set absorption voltage to manufacturer spec (typically 14.4V for lithium, 14.6V for lead-acid). Set float voltage lower—usually 13.8V for lead-acid, 13.2V for lithium. Set the timer so the controller exits absorption after 2 to 3 hours and drops to float. These three numbers determine whether your battery lasts three years or seven. No guessing.
Wiring Your Camper Trailer With Solar Panels: The Electrical Grid Mental Model

Wire Gauge And Voltage Drop

You want confidence that your system won’t fail mid-trip, so you’re looking for permission to buy thinner, cheaper wire. That’s the real motive here. Voltage drop is mechanical loss, not theoretical. Current moving through resistance generates heat. The thinner your wire, the more resistance it carries, and the more voltage you lose between your panels and battery.
The National Electrical Code provides wire gauge tables based on current and distance. For a 400-watt solar array 20 feet from your battery bank running 48 volts, you need 4 AWG copper wire minimum. Run 10 AWG and you’ll lose 5 to 8 percent of your power to heat alone. That’s not acceptable. Calculate voltage drop using this formula: (2 x length x current) divided by (conductor area x conductivity). Then size up one gauge category when the result exceeds 3 percent.
Series And Parallel Panel Configurations
You’ll encounter this choice immediately, and the wrong call compounds into wiring complexity and efficiency loss later. Series stacking increases voltage while keeping current the same. Parallel wiring increases current while keeping voltage the same. Your choice determines your wire gauge, controller requirements, and charge speed.
- Series Configuration: Adds voltage outputs together (two 400-watt 48V panels become 96V). Reduces wire gauge needs and current stress. Requires higher-input MPPT controllers. One shaded panel kills the entire string.
- Parallel Configuration: Adds current outputs together (two 400-watt panels at 20A each become 40A). Increases wire gauge requirements substantially. Each panel operates independently. Partial shading on one panel doesn’t affect others.
- Series-Parallel Hybrid: Combines two series strings in parallel. Balances voltage and current trade-offs. Provides partial redundancy if one string fails. Most common setup for camper trailers above 800 watts.
- Voltage System Match: Your choice must align with your battery bank voltage (12V, 24V, or 48V). Mismatched voltage requires expensive DC-to-DC converters. Most modern camper systems run 48V for efficiency and component availability.
- Temperature Effects: Cold panels produce higher voltage. Hot panels produce lower voltage. Oversizing in series configuration causes voltage spikes that damage controllers in winter climates. Verify your panel Voc rating against controller input limits.
Most beginners wire parallel because they fear one shaded panel. That fear is valid in dense campgrounds. But parallel demands thicker cable from panels to controller, eating cost and installation complexity. Series works better when you control panel placement and shade patterns. Match your configuration to your actual camping habits, not theoretical worst-case scenarios.
Mounting Your Solar Panel Trailer Design: Angles And Obstructions

The Math Behind Your Panel Angle

You want the setup to work without thinking about it again until next season. That’s the real motive here. The mechanism comes from solar geometry: panels generate maximum power when perpendicular to incoming sunlight. Your latitude determines the optimal tilt year-round, but the sun’s path shifts dramatically between winter and summer. Most beginners mount panels flat or at a single compromise angle and wonder why winter production craters.
The rule is straightforward. At your latitude, add 15 degrees to that number for winter optimization, or subtract 15 degrees for summer optimization. For year-round camping in temperate zones, mounting at your latitude angle splits the difference. A 40-degree latitude location runs panels at roughly 40 degrees. Seasonal adjustments with an adjustable mount recover 10 to 20 percent of lost production, but they demand manual changes. Fixed mounts trade flexibility for simplicity and lower cost.
Shade Destroys Output Faster Than You Think
Shade on solar panels isn’t a efficiency loss problem. It’s a circuit failure. String-wired panels (most trailers use this setup) work like Christmas lights: one bad bulb dims the whole strand. A shadow covering just 25 percent of one panel can cut total system output by 50 percent. The common advice to “find a shady spot for your rig” misses the point entirely. You’re protecting your trailer from heat, not your panels.
Map the sun’s path during your camping season and position your trailer to keep panels clear from dawn until afternoon. Trees, awnings, neighboring rigs, and your own equipment cast shadows that move throughout the day. During winter, the sun sits lower, casting longer shadows. A tree line 100 feet away might block nothing in July but shadow your panels for hours in December. Check your setup during the lowest sun angle you’ll experience, not the highest.
Monitoring Your Portable Solar Power Trailer: Data Driven Decisions
What You Actually Need To Watch

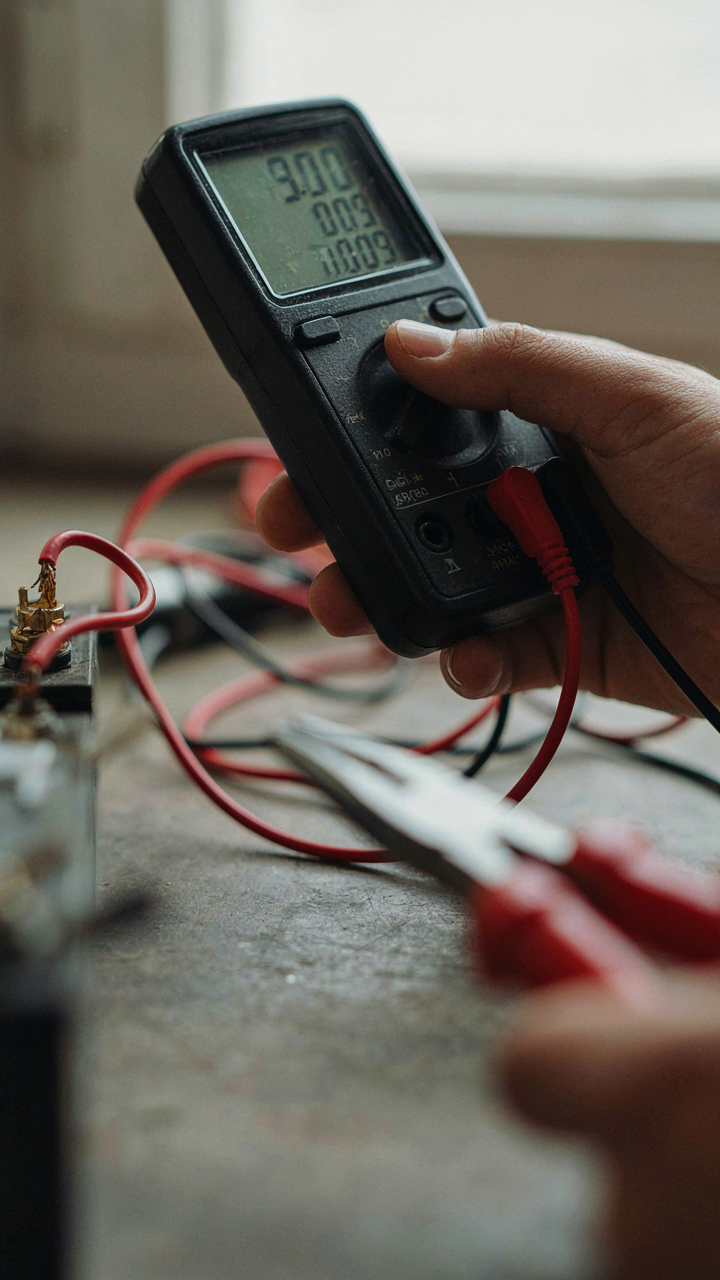
You want monitoring data so you feel in control and can avoid the shame of a dead battery mid-trip. The real mechanism is simpler: you need three numbers to make decisions, and everything else is noise. Battery state of charge, solar input watts, and load draw watts. These three metrics tell you if your system is in deficit, neutral, or surplus on any given day. A basic LCD display from your charge controller gives you this. Upgrade to a dedicated monitor only if you’re running lithium or managing multiple battery banks, which most beginners aren’t.
The mistake everyone makes is obsessing over voltage readings. Voltage lies. A lithium battery holds 13.2 volts even when it’s nearly empty because of how chemistry works. A lead acid battery at 12.4 volts might have 50 percent charge or 20 percent charge depending on load history and temperature. Amp hours used and amp hours returned matter more than voltage alone. Track these through your charge controller’s built-in data or a shunt-based monitor, not guesswork.
Reading What Charge And Discharge Actually Tells You
Charge and discharge cycles operate on a conservation principle borrowed from thermodynamics: energy input must equal energy stored plus energy lost. Your solar system gains charge when panels produce more watts than your trailer consumes. It loses charge when consumption exceeds production. The cycle completes when you restore what you drew. Most beginners misread this by assuming a full charge means they’re safe. A full charge only matters if your usage pattern stays predictable.
Watch your discharge pattern over three to five days, not one day. A single day tells you nothing because cloud cover, season, and usage vary. After a week, you’ll see the real cycle: how many amp hours you actually pull daily, how long solar takes to replenish them, and whether you have surplus or deficit by day’s end. This data reveals whether your system is oversized, undersized, or balanced for your actual behavior. Adjust battery capacity or solar wattage based on this cycle, not on worst-case fantasy scenarios. The goal is knowing exactly when you’ll hit zero and planning refill or usage cuts accordingly.
Beyond The Basics: Communications Solar Trailer Integration

When Shore Power And Generators Collide

You want to look like you’ve got a sophisticated system. The mechanism is simpler than you think: most people wire shore power and generators as backup sources only, which wastes the solar component and creates charging conflicts. Borrow the load balancing principle from electrical grid management. Your trailer needs a charge controller that prioritizes inputs by cost and efficiency, not by whatever’s plugged in first.
Install a multi-input charge controller or battery management system that accepts solar, shore power, and generator simultaneously. The controller ranks these sources by voltage output and your programmed hierarchy, then routes power accordingly. Shore power typically wins on reliability but costs money when you’re docked. Solar wins on daily operation when sun exists. The generator enters only when battery voltage drops below a threshold you set. This stacking prevents the alternator from fighting the solar panels and keeps your battery charge curve consistent.
Design Your System For Components That Don’t Exist Yet
Stop treating your solar setup as static. The real constraint isn’t today’s battery capacity or panel wattage; it’s the connection architecture you build now. Future upgrades fail when you hardwire everything into fixed positions with inadequate wire sizing and no modular charge controller.
Oversize your main battery bus by one gauge from what you calculate today. Run all inputs through a single combiner box with individual breakers, not daisy-chained connections. Choose a charge controller with programmable input priority and expandable battery monitoring via CAN bus or Modbus protocols. This removes the need to rebuild the electrical backbone when you add a second battery bank or upgrade panels in three years. The mechanism is protocol flexibility over physical capacity.
Your Real Problem Isn’t Solar Power; It’s A Lack Of System Thinking

Most people buy panels and batteries in isolation, wondering why their setup fails. They never ask how consumption, generation, and storage actually talk to each other. You need to map your daily power draw first. Today, write down everything that runs on 12V in your trailer for one week. Not estimates. Actual numbers. Once you see the real picture, the solar system builds itself. You can’t engineer what you refuse to measure.



