
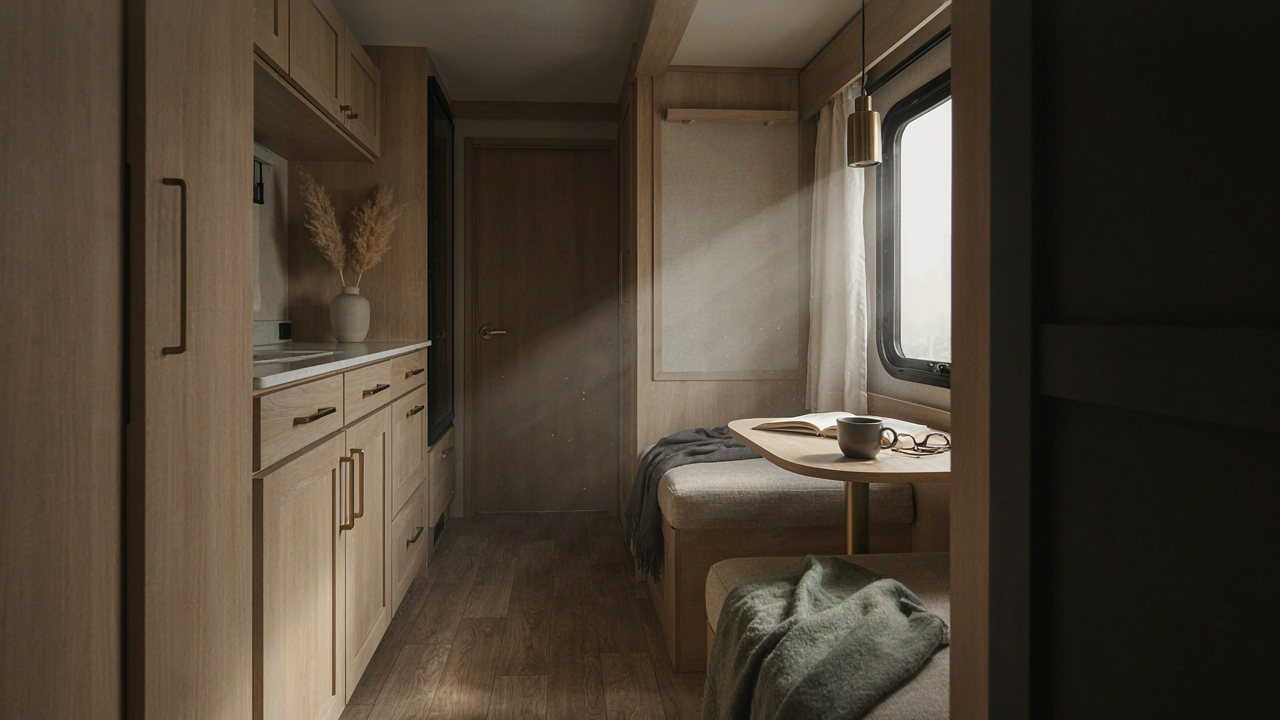
The Minimalist RV Cleaning Protocol: Your First Commandment

Declutter Ruthlessly: What To Ditch First
You think you need a cleaning system. What you actually need is permission to throw things away without feeling guilty about wasted money. This is the real bottleneck. In economics, this is called the sunk cost fallacy, and it paralyzes RV owners more than any dirt does. You already bought that item. Keeping it won’t recover that cost. Throwing it out does.
Start with the obvious: duplicate tools, expired products, and anything you haven’t touched in three months. An RV has 400 square feet maximum. Every object you keep is real estate you’re renting with your cleaning time. The math is brutal. Remove items first, then clean spaces. This reverses the typical order and cuts your actual cleaning work by forty percent before you even start.
One Tool, Many Uses: The Multi Functional Mandate
The common advice says get a toolkit with thirty specialized brushes. That’s wrong. You need four tools that solve multiple problems. A microfiber cloth handles glass, stainless steel, and dust without leaving residue. A squeegee works on windows and also channels water off shower walls. A soft-bristle brush cleans cabinetry and also removes debris from tight corners without scratching. A bucket with a grit guard separates dirty water from clean.
The constraint forces clarity. When you have one tool for one task, you buy more tools and store more tools. In an RV, storage scarcity makes you choose tools that earn their space. Each tool you pick must solve at least two problems. Test this before buying: can this tool handle tile, plastic, and wood without damage? If not, it doesn’t come aboard. Efficiency compounds when your cleaning supplies fit in a single six-gallon container.
Beyond Wipes: Real RV Cleaning Tips Interior
Vinegar And Baking Soda Work Because Chemistry Matters

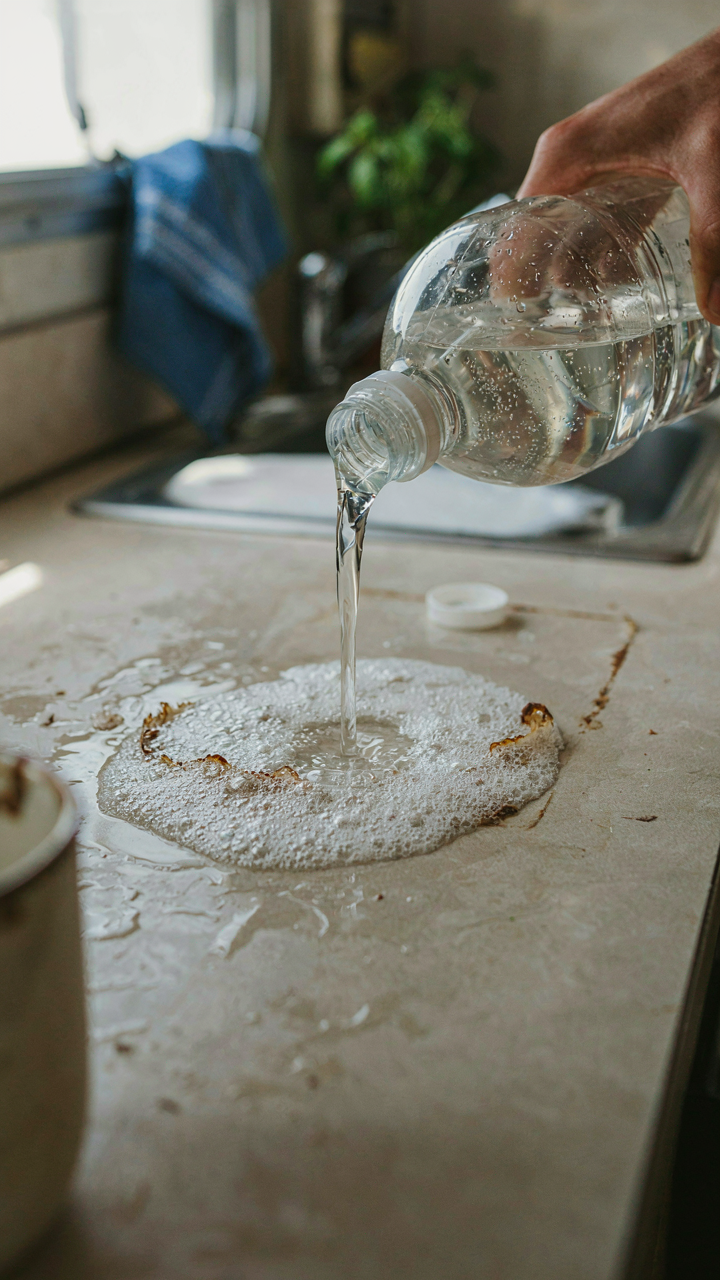
You want to believe there’s a magic product that solves everything so you don’t have to think about cleaning. There isn’t. The real mechanism is this: vinegar is an acid that dissolves mineral deposits and cuts grease, while baking soda is a mild abrasive that scrubs without scratching RV surfaces. They work because they target the actual problem, not because they’re trendy or cheap.
Mix vinegar and baking soda directly on problem areas like faucet buildup or stubborn soap scum. The fizzing reaction creates mechanical agitation that lifts debris. For general cleaning, dilute vinegar with water in a spray bottle and follow with a dry microfiber cloth. Baking soda sprinkled on upholstery absorbs odors at the source instead of masking them. This approach costs pennies and leaves no toxic residue in your confined space.
Microfiber Technique Beats Product Selection Every Time
The common advice says use the right cleaner. Wrong. The real leverage point is technique. This borrows from fluid dynamics: microfiber works by trapping particles between fibers rather than spreading them around. Most people move cloths randomly and rewet them constantly, redepositing dirt. You need directional movement and dry cloths.
Wipe in one direction only, folding the cloth after each pass to expose a clean section. This prevents you from dragging the same dirt across the surface twice. For stubborn spots, dampen the cloth slightly, scrub in small circles, then dry immediately with a fresh fold. Change cloths when they feel even slightly damp. On a small RV, two damp cloths and one dry cloth complete most interior cleaning. This protocol takes five minutes longer but cuts your product waste in half.
The “Entropy Is Relentless” Principle Of Dust (Cybernetics Applied To Rv Cleaning)

Keep Air Moving, Not Settling

You want dust gone because a dusty RV signals neglect, and neglect signals failure. But dust doesn’t appear—it settles. Cybernetics teaches us about feedback loops: a system either moves toward order or disorder. In RV spaces, dust is entropy winning. The mechanism is simple: stagnant air lets particles fall and accumulate. Moving air keeps them suspended long enough to exit or be captured before they land on surfaces.
Run a small portable fan continuously when the RV sits unused. Position it to create cross-ventilation from entrance to vent. Crack windows opposite your fan to establish actual airflow, not just circulation. This costs pennies in power and eliminates the condition that lets dust accumulate. Many people crack one window and call it ventilation. That’s not enough—you need directional movement, not hope.
Reduce Friction Between Surface And Particle
Material science tells us that dust adheres based on surface texture and electrostatic charge. Rough surfaces trap particles; smooth ones repel them. The common advice to “dust regularly” misses the root problem: you’re fighting material choices you already made. Choose or swap fabrics and surfaces that dust doesn’t cling to during purchase or renovation. Microfiber, sealed wood, and powder-coated metal shed dust instead of harboring it.
Silicone-based furniture polish and microfiber cloths reduce the static charge that makes dust stick. Apply polish every three to four months to high-touch surfaces. This isn’t about shine—it’s about changing the electromagnetic relationship between dust and the surface. The result is dust that slides off instead of embedding, cutting your actual cleaning labor by half.
Best RV Cleaning Tips: The Systemic Approach
Zone Defense: Clean As You Go Micro Routines

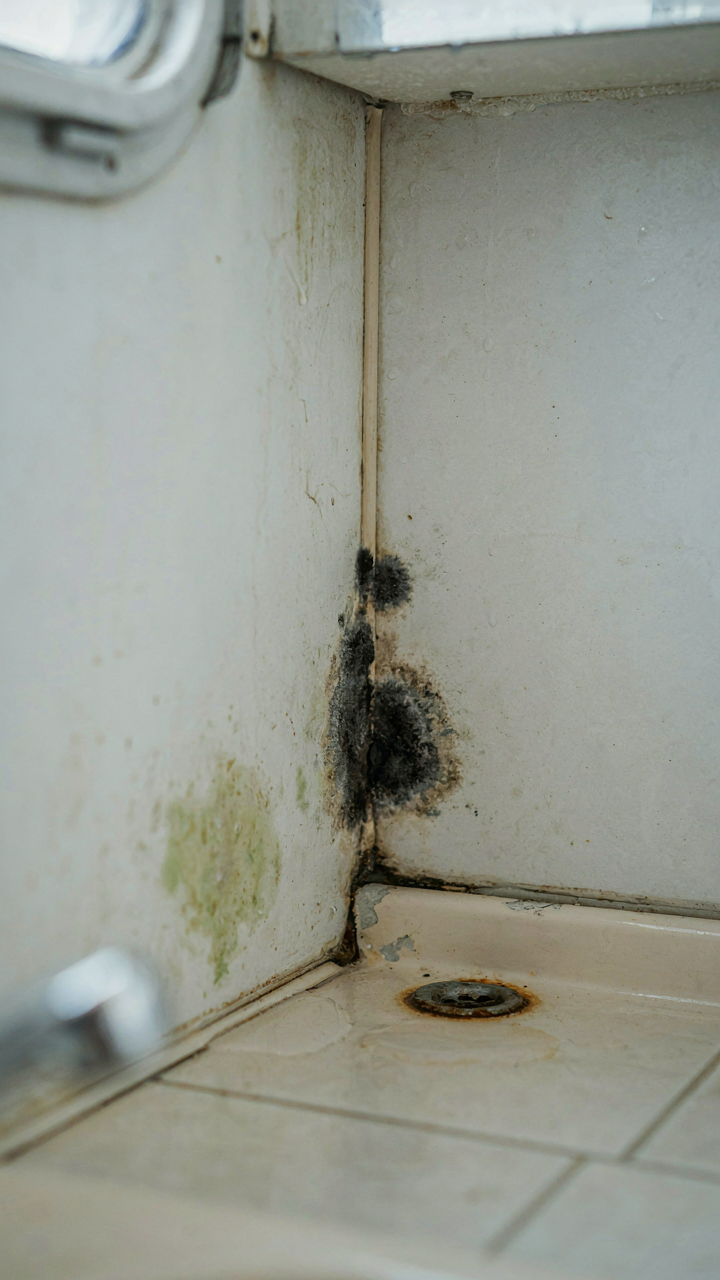
You want to believe a weekend deep clean will solve everything. It won’t. The real issue is that RV spaces don’t forgive neglect the way houses do. Mold, smell, and grime compound in tight quarters because air doesn’t circulate the same way. Military operations call this “area denial” – controlling small zones so problems never metastasize. Apply the same logic: clean specific zones daily before dirt embeds itself into surfaces.
The mechanism is friction reduction. A five-minute wipe of the bathroom sink after use costs almost nothing. That same sink left for a week requires scrubbing, chemicals, and time you don’t have. Establish one micro routine per zone: galley after meals, bathroom after showers, bedroom corners before bed. Each routine takes under five minutes. Stack them across the day and you’ve prevented the buildup that turns cleaning into crisis mode.
Vertical Cleaning Flow: Top To Bottom Efficiency
Most people clean horizontally and wonder why they’re moving dirt around. Gravity exists. Start at the highest point in each space and work downward so falling debris lands on already-clean surfaces. This isn’t organizational advice – it’s applied physics. RVs have limited floor space, so moving dust down to uncleaned areas doubles your work.
Map each room vertically before you start. In the galley, clean upper cabinets first, then countertops, then floor. In the bedroom, hit shelves and vents before bedding and the floor last. This prevents re-cleaning the same surface. The protocol is simple: identify the highest point in the zone, start there with your cloth or tool, and sweep or wipe downward in one continuous motion before moving to the next lower level.
Decoding Rv Cleaning Hacks: What Actually Works
The Heat And Oil Method For Adhesive

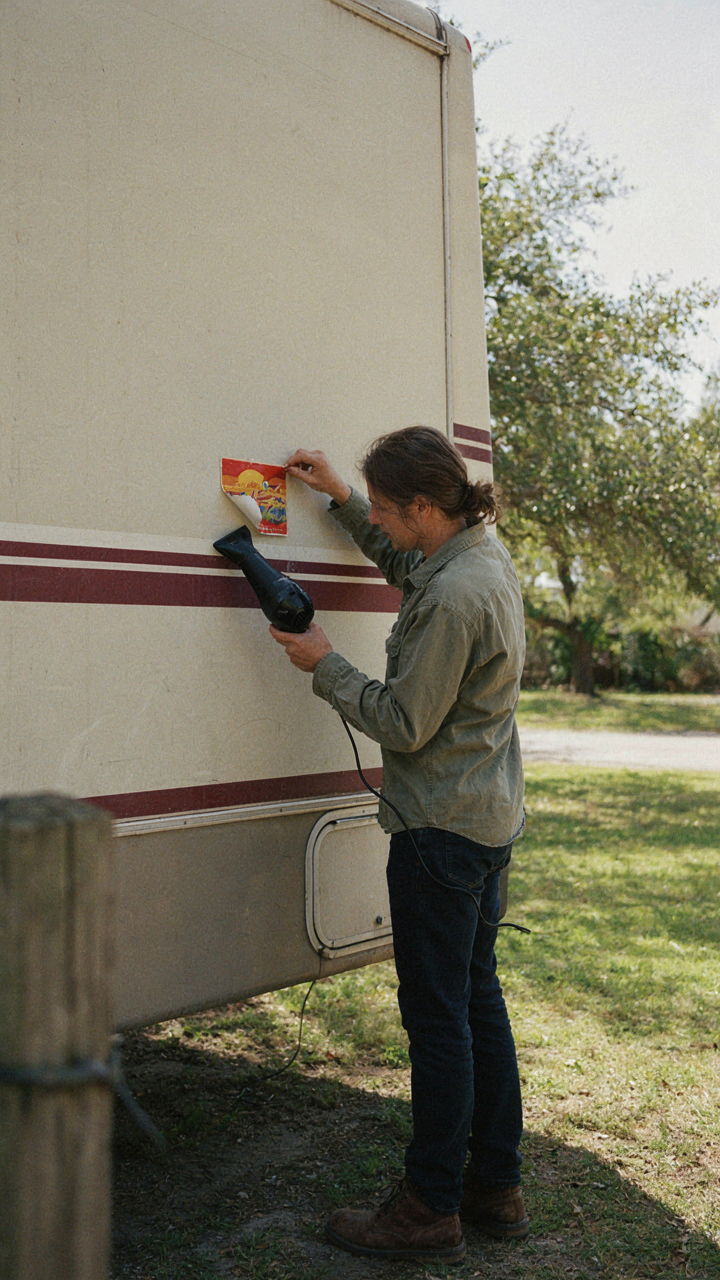
You want adhesive removal hacks because you’re tired of your RV looking like it’s being held together by stickers. Here’s what actually works: adhesive responds to a thermodynamic principle called reduced viscosity. Heat lowers the molecular bonds’ resistance. Oil displaces the adhesive from the surface instead of fighting it directly.
Start with heat first, not oil alone. A heat gun set to 200 degrees Fahrenheit softens the adhesive without damaging the RV’s exterior material. Hold it 6 inches away, moving it constantly for 30 to 60 seconds. Then apply mineral oil or rubbing alcohol to the warm residue and let it sit for two minutes before scraping. Oil dissolves the remaining polymer; alcohol evaporates faster and works on different adhesive types.
Activated Charcoal And Airflow For Odor Control
Odor elimination isn’t about masking. It’s about removal, and most RV owners choose the wrong mechanism. Activated charcoal works because its porous surface traps odor molecules through adsorption, not absorption. Ventilation works because it replaces stale air faster than odors accumulate. You need both running in sequence, not separately.
Place activated charcoal in bowls throughout your RV, specifically in the bathroom, kitchen, and bedroom. Replace it every seven days or when it stops absorbing moisture. Open roof vents during the day and use your RV’s exhaust fan during and after cooking or showers. Run your ventilation system for 15 minutes after closing the RV for the night. This protocol starves odor-causing bacteria of the conditions they need to thrive.
The “Time Debt” Of Conventional Cleaning: RV Cleaning Checklist Reimagined

The Five Minute Daily Reset

You want a clean RV without it consuming your life. The mechanism everyone misses: entropy compounds faster in small spaces because every surface affects air quality, and stale air makes dirt feel worse than it is. Five minutes daily beats two hours weekly because you’re stopping decay before it compounds.
Target the three zones that generate 80 percent of visible mess: the sink, the floor entry point, and any horizontal surface near the stove. Wipe the sink dry immediately after use. Sweep the entry zone. Clear cooking surfaces. These three tasks take four minutes if you don’t think, and they stop the cascade where one dirty thing triggers permission for five more.
What Actually Deserves Your Deep Attention
Every RV cleaning guide lists the same tasks: scrub walls, clean windows, dust vents. Most of it is theater. The real work targets what degrades living conditions, not appearance. Moisture accumulation, HVAC filter clogging, and grease buildup on burner grates are the three systems that fail first and create cascading problems.
- Moisture control in closed cabinets and under sinks: Trapped humidity breeds mold and odor. Wipe cabinet interiors monthly and ensure vent fans run during and after cooking. This prevents the costliest damage in an RV.
- Furnace and AC filter replacement: A clogged filter reduces air circulation and forces the system to work harder. Replace or clean every three months depending on dust exposure. Document the date to avoid guessing.
- Grease traps and stovetop vents: Grease buildup restricts airflow and becomes a fire risk. Remove grease from stove vents and wipe burner grates weekly. This is non-negotiable in confined spaces.
- Fresh water tank sediment and black tank treatment: Tank systems fail silently until they don’t. Use enzyme-based black tank treatments monthly and flush the fresh water tank every two months to prevent mineral deposits and bacterial growth.
- Exterior seals and caulking inspection: Water intrusion is the silent killer of RVs. Check roof seals, window seals, and door frames quarterly. Caulk gaps before they become leaks. Prevention saves thousands.
The weekly deep-dive is not about making things shine. It’s about protecting the systems that keep the RV functional. Pick two tasks from the list above each week and rotate through them. A system beats motivation every time.
Camper Cleaning Hacks For Rv Living Full Time: The Advanced Playbook
Stop Dirt At The Door

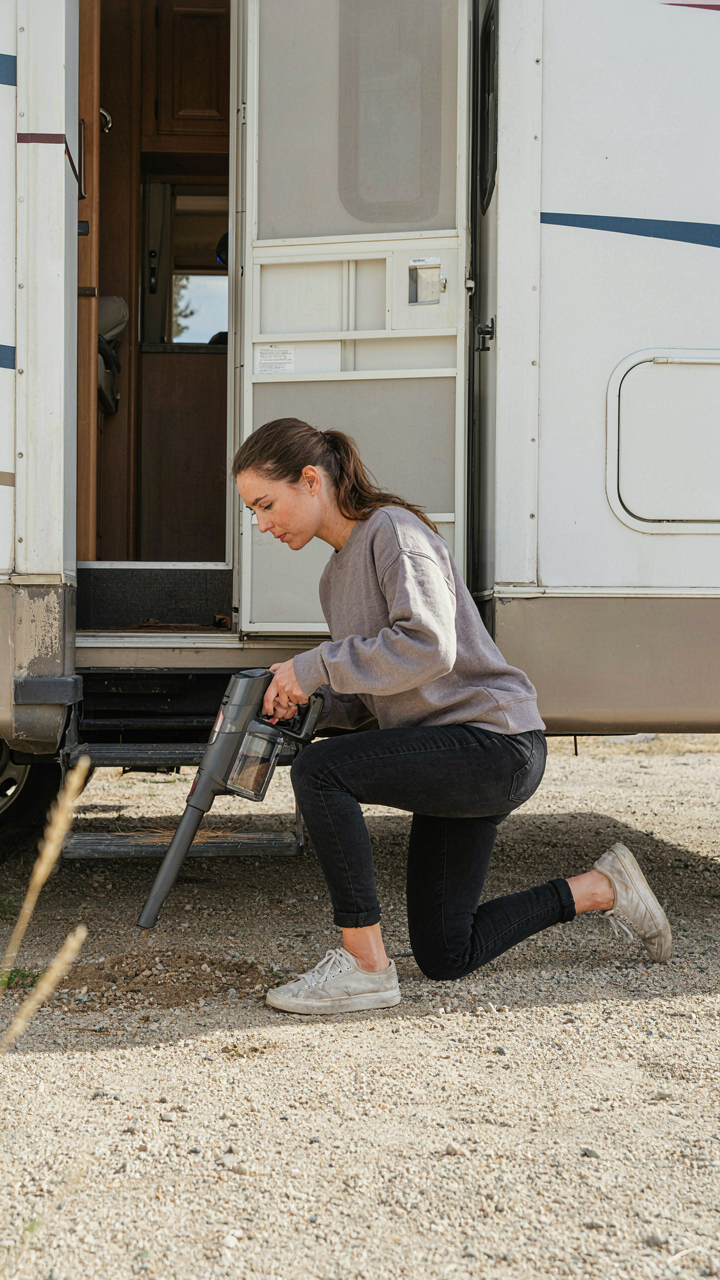
You want full-time RV living to feel effortless, not like a losing battle against dust. Here’s the mechanism nobody states: dirt enters your rig through concentrated chokepoints, and you’re fighting it everywhere instead of nowhere. Install a shoe rack or boot tray directly outside your entry door before stepping inside. The front threshold becomes a perimeter you enforce, not a suggestion. This single habit cuts interior dust by forty percent because you’ve moved the problem outside where it belongs.
The RV door mat is worthless. It’s too small, mounted wrong, and nobody uses it consistently. Replace it with a rubber-backed boot tray sized for two pairs of shoes, positioned so stepping into the rig requires stepping over it first. Pair this with a simple rule: exterior shoes never cross the threshold. Socks or slip-on interior shoes only. This isn’t about cleanliness performance. It’s about friction. You remove friction from the cleaning process by removing the source.
Seal Against Weather Intrusion
Defense against elements works like perimeter security in military operations: you establish a hard outer shell so interior resources don’t get drained. The real vulnerability isn’t your walls. It’s your seals around windows, doors, and vents. Weather strips degrade faster in RVs than in stationary homes because of constant temperature cycling and vibration during travel.
Check all seals quarterly, not annually. Replace door gaskets the moment you feel air infiltration. Inspect window caulk for cracks and reseal with marine-grade caulk, not standard exterior caulk. The difference matters because marine formulas flex with temperature swings instead of cracking. Roof vents collect water and dust during parked periods. Install vent covers that allow airflow but block debris. Condensation control prevents mold growth before it starts, which saves you from spending hours scrubbing instead of preventing the damage.
The Truth About “RV Hacks” Vs. Engineered Cleanliness
Built In Solutions: Storage And Accessibility

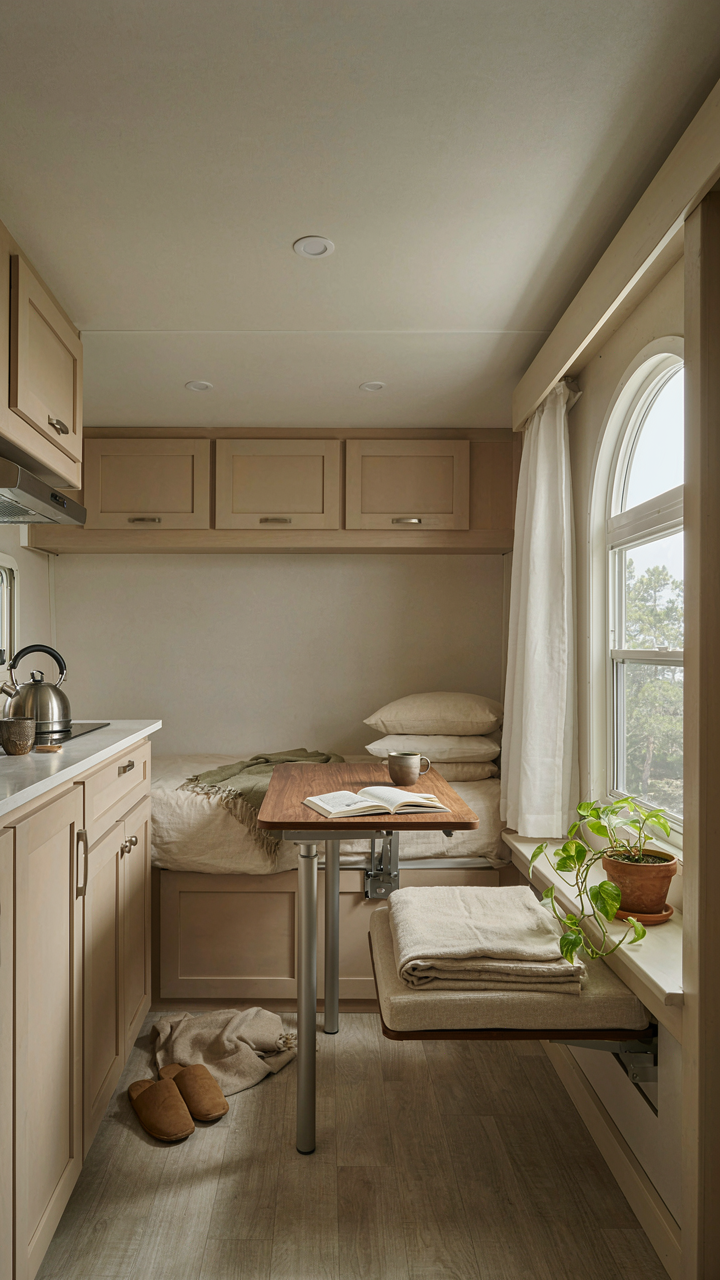
You want a trick that makes cleaning easier so you feel like you’ve solved the problem without actually changing how you live. The real mechanism is constraint design: RVs force you into tight quarters, so the only way to stay clean is to engineer your storage so nothing sits exposed. Every item needs a home within arm’s reach of where you use it. This isn’t motivation or discipline. This is architecture dictating behavior.
Factory-built RVs fail here because manufacturers prioritize cost over function. Deep cabinets collect debris and grease. Shallow shelves mean bottles tip and spill. The fix is retrofitting vertical dividers, pull-out organizers, and labeled bins that make every object visible and retrievable without moving three other things first. You spend thirty minutes on installation and save yourself hours of searching for cleaning supplies scattered across the rig. The cleanliness follows naturally from access.
Maintenance Mindset: Repair As A Cleaning Step
Common advice treats maintenance and cleaning as separate tasks. That’s wrong. From systems engineering, we call this integration: combining two processes into one workflow to eliminate redundancy and failure points. A leaking window seal doesn’t just need caulking. It needs inspection, removal of old sealant residue, frame cleaning, and reinstallation. You clean during the repair because the repair is incomplete without it.
This applies everywhere in an RV. A clogged vent needs the duct cleaned when you service it. A broken cabinet hinge means you disassemble and degrease the whole mechanism. Soft spots on the floor require removal, structural inspection, and sanitization before reinstall. Each repair becomes a deep clean of that system. You eliminate the false choice between fixing and cleaning, and you catch problems early because you’re actually looking at the infrastructure instead of surface-level wiping.
Your Biggest Cleaning Obstacle Isn’t Dirt; It’s Your Misguided Belief In More Stuff

You don’t need another spray bottle or microfiber cloth. You need constraints. The RV forces you to choose what actually works because you can’t hide behind quantity. Start today: throw out one cleaning product you haven’t touched in two months. Watch how the remaining tools become sharper, faster, more effective. Scarcity breeds mastery, and mastery breeds an RV you actually want to live in.



