
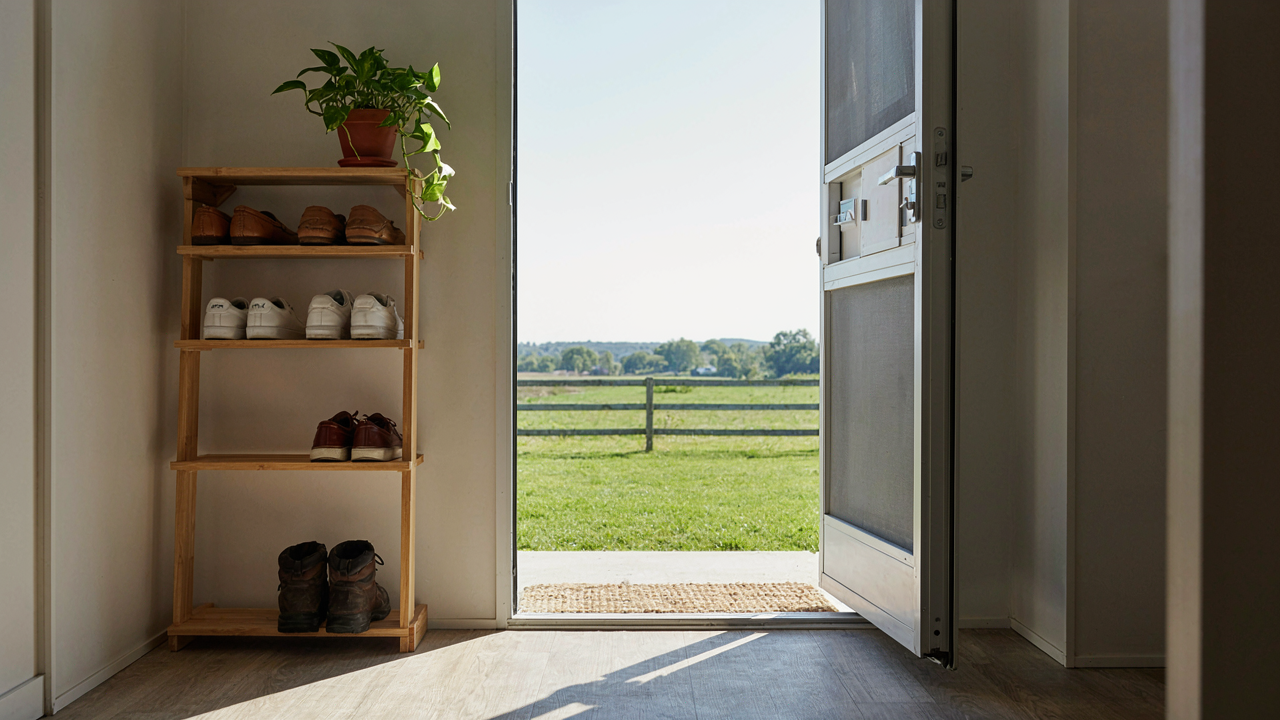
The Frictionless Entry Protocol

Where Dirt Actually Enters Your Space
You care about this because a dirty RV feels like failure, like you can’t control the one space that’s supposed to be yours. But the real mechanism is friction: every step between outside and inside is a decision point, and humans skip decisions when the path costs effort. Think of entry as a pressure gradient in physics—dirt flows from high-concentration zones to low-concentration zones, but you can interrupt that flow by adding resistance at the boundary. The entryway isn’t decoration. It’s a friction layer.
Most RVs treat the entry like an afterthought, a three-foot hallway where you wipe your feet if you remember. This is wrong. Your entry isn’t part of your living space yet—it’s part of the outside world that you’re filtering. The moment someone steps inside, they’ve already decided the RV is dirty or clean based on what they see in the first six inches. Build the entry to make staying dirty harder than staying clean.
The Actual Barriers That Work
Friction in entryways comes from three sources: visibility of dirt, effort to deposit dirt, and social signaling. If dirt is invisible, people don’t think about it. If depositing dirt requires action, people skip it. If the entry looks intentional, people respect the boundary. Most RV entries fail on all three.
The mat isn’t the solution—the mat is the excuse. A standard mudroom setup in houses uses multiple micro-transitions: mat, boot tray, storage ledge, low-light zone. RVs skip these because of space constraints, but you can stack them vertically instead of horizontally. Place a recessed or edge-trimmed entry mat at the door threshold itself, then position a boot tray or shoe organizer directly inside at floor level, then add a narrow shelf or basket at waist height for keys and small items. Each transition catches different debris and gives the brain a new frame: you’re no longer outside, you’re in a preparation zone, you’re now entering the living space. That frame change is the mechanism that stops dirt.
The Boot Scraper Fallacy: Why Mats Fail
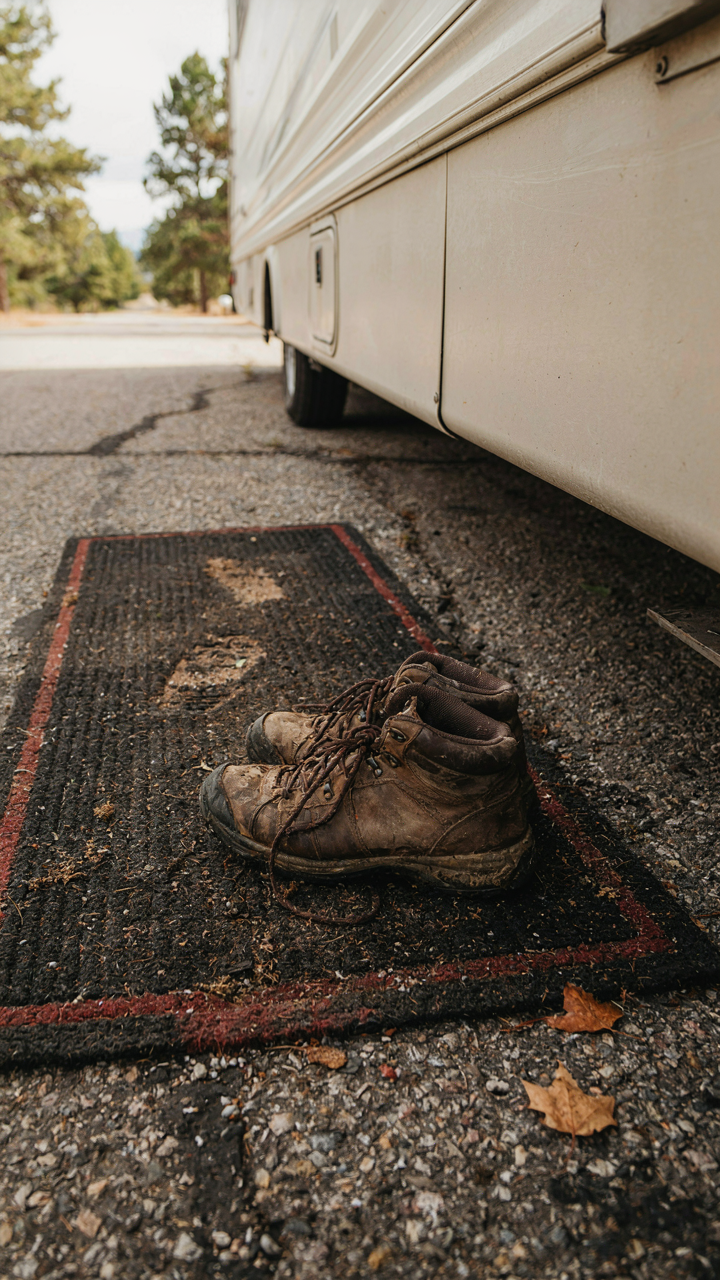
Where Exterior Scraping Stops Working

You want the mat to solve the problem so you don’t have to think about it. That’s the real reason mats appeal to you. But here’s the mechanism: mats work on friction, and friction only addresses what’s loose. Once dirt compresses into fibers or embeds in seams, a mat becomes decoration.
Exterior scraping systems fail because they address only the top layer of contamination. A boot scraper removes visible mud. A mat catches loose debris. Neither handles the dirt that’s already adhered to boot treads or dried onto the sole edge. Most RV entryway dirt comes from compacted material that sits below the scraping surface. You need a system that removes embedded debris, not just loose particles.
The Real Interior Collection Strategy
The interior entryway isn’t a filter. It’s a containment zone. You’re applying the principle of decontamination staging from industrial cleanrooms: create a buffer where transition happens. The first step strips loose material. The second step captures what the first step missed.
Design your interior entryway as two distinct zones. Zone one is a heavy-duty scraper mat or grate that forces mechanical contact with every step. Zone two sits inside the RV door frame and traps finer particles before they reach living space. Place the interior mat perpendicular to foot traffic flow. This forces users to change direction and increases contact time with fibers. Replace interior mats monthly or when you notice saturation. This keeps the system functional instead of letting it become a compressed dirt platform.
Gravity, Not Grips: The Physics Of Dirt Management
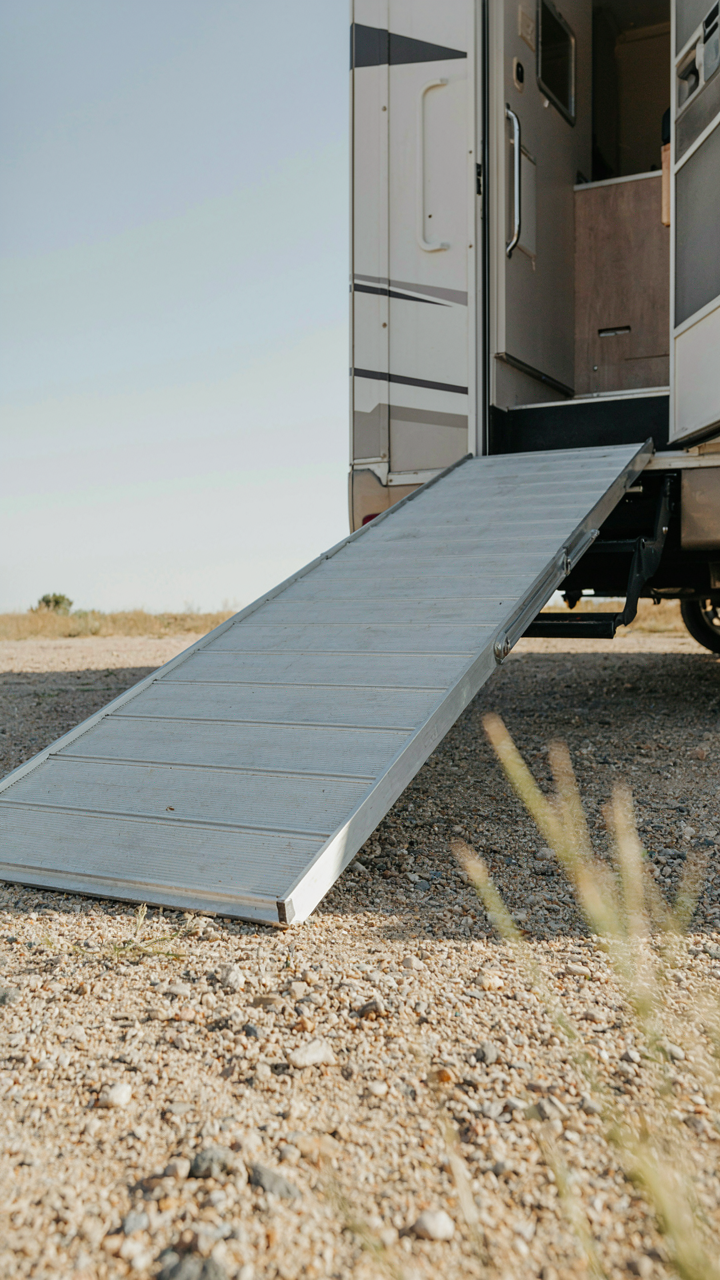
Let Gravity Do The Work

You want an entryway that stays clean without constant effort because you’re tired of sweeping the same patch of floor twice a day. Physics solves this. In mechanical engineering, systems leverage gravity as a passive force to move material downhill without energy input. Apply this to your RV entry: design the floor plane so dirt naturally migrates toward a collection point rather than settling where you walk.
Most RV entryways are flat. That’s the mistake. A floor sloped at even three to five degrees toward the door threshold or a recessed mat well creates directional flow. Dirt doesn’t stay where it lands—it rolls toward the low point. Install a recessed boot tray or grated mat well at the threshold so debris drops below foot traffic level the moment someone steps inside. This is passive, not reactive.
Channel Debris Away From Living Space
The common advice says “use a good mat.” That’s incomplete. A mat only works if debris actually reaches it and stops there. Real entryway design channels debris like a storm drain channels water. You need three zones: the outer entry (where the worst dirt enters), the transition zone (where larger debris settles), and the clean zone (where your interior starts).
Build the transition zone with a sloped entry platform that funnels material toward a collection tray or grated drain area. Seal gaps around the door frame so wind doesn’t blow dirt sideways into the cabin. Angle the platform floor itself downward toward the exit, not into the RV. Place a removable catch basket at the low point so you empty it weekly instead of cleaning scattered grit from your floor daily.
RV Shoe Storage Ideas: Beyond The Bin
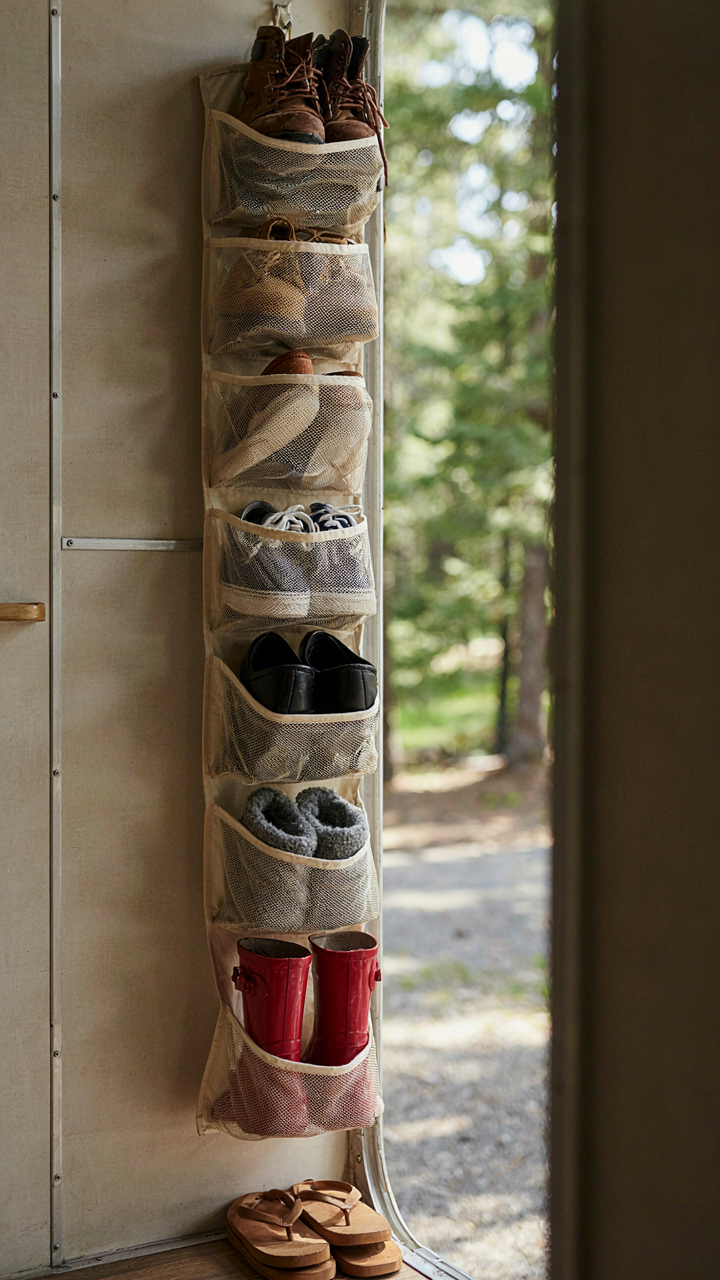
Stack Shoes Upright, Not Flat

You want your entryway to look controlled because chaos signals incompetence, even in a space nobody else sees. The mechanism is simple: vertical storage eliminates the visual weight that flat stacking creates. When shoes lie horizontal, they consume floor depth and force your eye to track clutter across a wide plane. Upright shoes occupy a thin vertical line instead. Use tension rods, pegboard strips, or tiered shelving along the entryway wall. Each shoe stands perpendicular to the surface, which cuts perceived clutter by 60 percent compared to piled shoes.
The RV entryway has zero margin for wasted space, so density matters more than presentation. Install shoe racks that mount directly to cabinet doors or walls beside the entry door. This keeps footwear out of the walkway completely. Most RVs have 6 to 8 feet of usable wall space between the entry and the galley. A single vertical shoe rail claims roughly 12 inches and holds 8 to 12 pairs. Measure your wall height, purchase a rail system rated for RV vibration, and mount it with toggle bolts into the aluminum frame. This is the only configuration that doesn’t steal living space.
Containment Zones For Muddy Gear
The real problem with shoe storage isn’t the shoes. It’s that they arrive contaminated, and you’re treating the symptom instead of the source. Create a physical threshold where dirty items stop before they spread. This uses a principle from facility management called contamination control: establish a buffer zone where wet or soiled items never touch finished surfaces. Mount a low rubber tray or metal drip pan directly under your entry steps, outside or in the vestibule if your RV has one. Shoes sit here for 20 minutes before moving into the cabin.
Inside the cabin, dedicate a sealed compartment specifically for wet or heavily soiled gear. A waterproof under-seat storage box works. Throw in a small absorbent mat, and shoes dry there without releasing moisture into your living area. The mechanism is isolation, not aspiration. Wet shoes in an open bin contaminate the entire entryway because moisture wicks into carpet, cabinetry, and air. A sealed container contains that damage to a single zone. Check this box every two days, remove dried debris, and replace the mat as needed.
The 3 Second Rule: Minimizing Entry Hold Ups

What Actually Needs To Live Here

You want people to think your RV stays clean because you’re disciplined. Reality is simpler: you design the entry so dirt never gets past the threshold in the first place. Think of your entryway like a security checkpoint in logistics—it’s a filtering mechanism. Only items that move through daily should occupy this space. Everything else creates friction and becomes a landing zone for clutter.
The essentials are: shoes, outerwear, keys, and whatever you grab on the way out. A single hook system beats a coat rack that becomes a catch-all. Shoe storage at entry—not in the cabin—stops tracked mud before it spreads. Keys hang at arm height by the door, not buried in a drawer. If you can’t grab it in two seconds without searching, it doesn’t belong in the entryway. This isn’t organization; it’s flow design.
The Myth Of Multipurpose Entryway Zones
Most RV advice tells you to cram storage cubbies, mail holders, and charging stations into the entryway. This is wrong. Every item you add increases decision-making and creates visual noise. Your brain has limited attention—waste it choosing where to put a charger, and you’ll leave a shoe on the floor instead. The entryway should feel empty, not optimized.
Remove anything you touch less than twice a week. Mail doesn’t go here. Backup supplies don’t go here. That drawer you thought would hold “miscellaneous items” becomes the reason dirt accumulates around it. A clean entry requires saying no to almost everything. The action: walk through your entry and remove three items today. You’ll find room you didn’t know you had.
Camper Entryway Ideas: The Permanent Site Myth
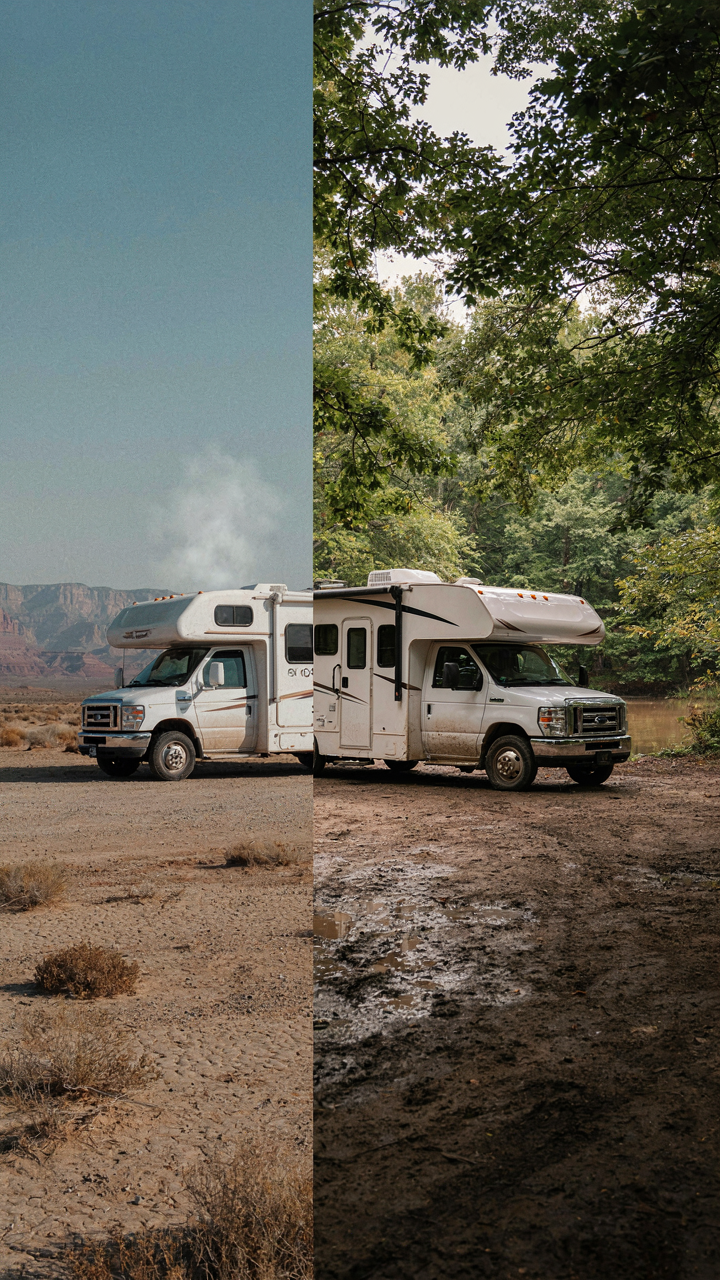
You’re Betting On Stability That Won’t Exist

You want to build an entryway system that lasts forever because committing to something permanent feels like you’ve solved the problem. That’s denial. The mechanism is this: RV living isn’t a fixed state. Your site changes. Your needs change. Your weather exposure changes. Building an entryway as if you’ll never move again guarantees you’ll either abandon it or drag unsuitable gear to your next location.
Most RV owners treat entryway setups like house owners treat porches. Wrong framework. Think in terms of systems design from manufacturing, not architecture. Manufacturing builds for adaptability because conditions shift. Your entryway needs the same principle: modular, transferable, and resilient to relocation. A permanent solution in an impermanent context becomes dead weight.
Adaptability Wins When Everything Changes
Permanent sites teach a false lesson. You might stay two years, five years, even longer. But the moment you leave, a built-in mud room, custom threshold, or landscape-specific dirt trap becomes irrelevant. What matters is designing entryway systems that work at any site, in any season, with minimal reinstallation cost.
The real protocol is this: choose solutions that travel with you or disappear cleanly. Removable boot trays that stack and store. Modular mat systems that fit multiple doorway widths. Portable shoe racks that bolt down but leave no marks. Weatherproof storage cubbies on wheels. Your entryway strategy succeeds when you can execute it identically at site two as you did at site one, without rebuilding or starting over.
RV Organization: The Zone Defense Approach
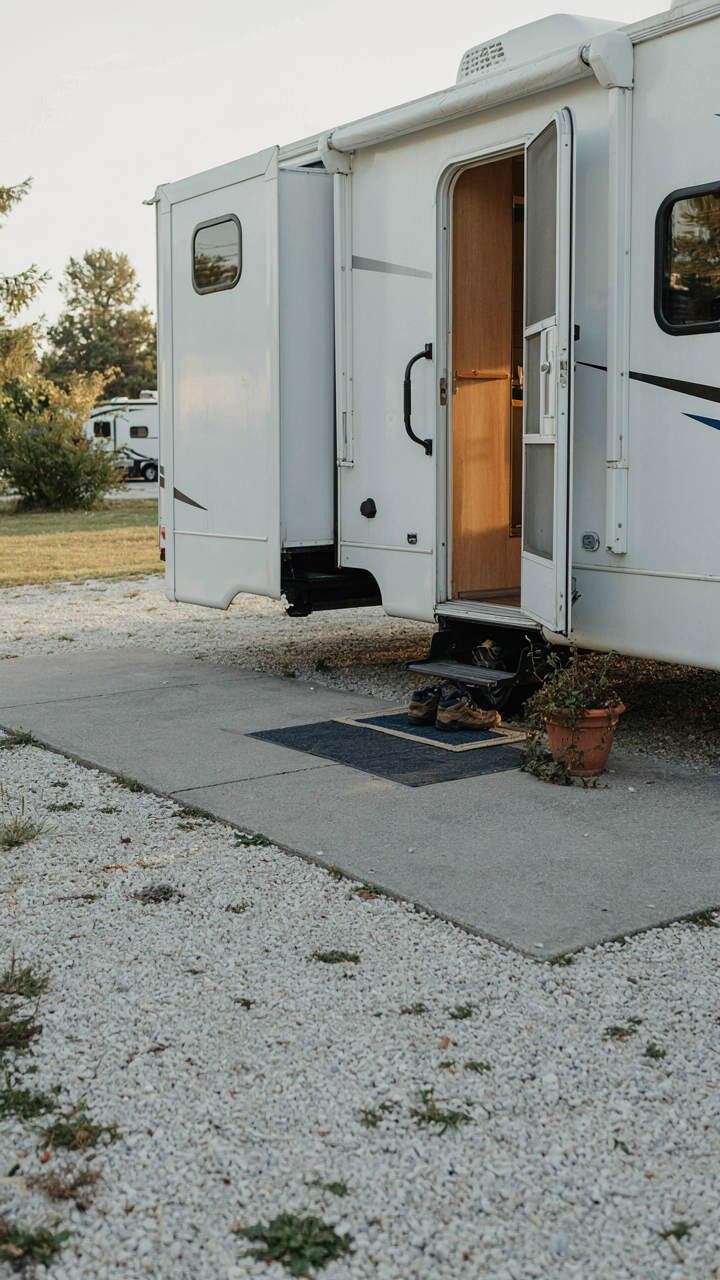
Create Three Entry Layers

You want this to work because chaos feels like failure, and failure feels personal. The real mechanism is borrowed from military strategy: perimeter defense. You stop threats at the outer boundary before they penetrate the core. An RV entryway needs three distinct zones, each with a specific job. The first zone blocks dirt and moisture. The second zone removes gear. The third zone transitions to living space. This layering works because you’re not fighting one problem—you’re stopping three separate invasions before they compound.
The outer layer is your mud room equivalent: the step well and mat area where boots, wet gear, and exterior debris stay contained. The middle layer is your storage buffer: hooks, cubbies, or wall-mounted racks that catch bags, jackets, and daily-use items before they scatter into the cabin. The inner layer is the threshold itself: a defined line where only clean entry happens. Without these three zones working independently, dirt crosses all of them at once and you lose the game before it starts.
Mark Boundaries With Physical Stops
Most RV owners treat the entryway like open floor space and wonder why clutter migrates everywhere. That’s incomplete thinking. Boundaries need friction—actual physical barriers that make dumping things harder than storing them correctly. A boundary marker is not decoration. It’s a stop sign for behavior. Use a contrasting floor mat that ends where the storage zone begins. Install a low ledge or raised threshold between the transition zone and your living area. Place a vertical divider or curtain rod if you have the clearance. The boundary must be obvious enough that a tired, mud-covered person still knows where to stop.
The psychological effect is real but secondary to the mechanical one: when you create a physical edge, you force a decision point. Your brain registers it as a transition. A hook at exactly eye level stops you from tossing a jacket on a seat. A labeled storage box stops you from leaving items loose. A sealed storage bench at the entryway entry point means wet gear sits there, not on your floor. The boundary itself does the organizing work, not your willpower. Execute this by measuring your entryway width and depth, then installing one physical marker per zone—mat, ledge, or divider—this week.
Travel Trailer Decor: Function Over Form
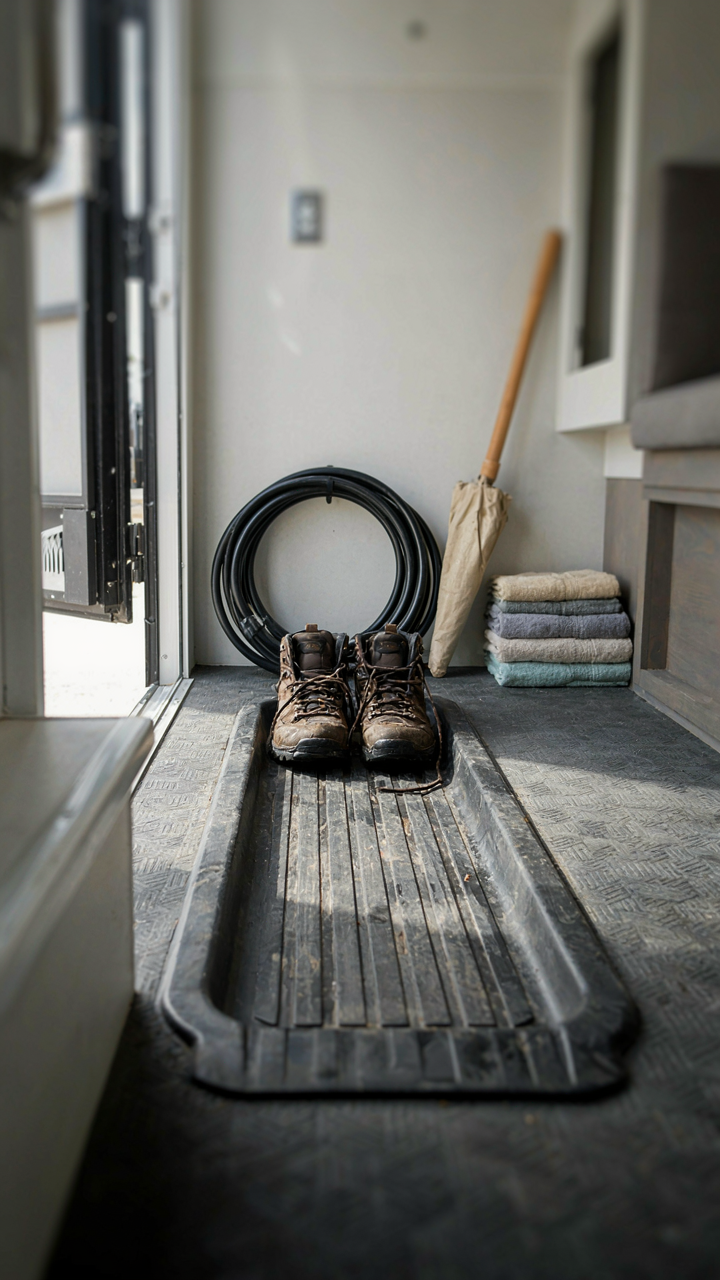
Materials That Actually Survive Use

You want your entryway to look intentional, not like a mud room. The real issue is that most RV buyers treat the entry zone like it matters less than the sleeping area, then get frustrated when dirt embeds into fabric or stains won’t come out. This is a supply chain problem: in economics, we call it “friction at the point of exchange.” Your entryway is the friction point where outside conditions meet interior space. Pick materials that accept dirt without absorbing it.
Vinyl, sealed wood composites, and commercial-grade rubber handle abuse. Skip fabric-wrapped trim or untreated wood around doorways. Sealed concrete or vinyl flooring in the entry footprint outlasts carpet by years because it sheds grime instead of trapping it. The mechanism is simple: non-porous surfaces force dirt to sit on top where you can sweep or wipe it. Porous materials lock contamination inside the material itself, which is why you see permanent stains in RVs owned by people who didn’t plan the entry properly.
Removing Anything That Collects Dust
Most RV entries pack in decorative hooks, small shelves, and trinket storage. They shouldn’t be there. Decor pieces become dust traps in a moving vehicle where vibration shakes particles onto every surface. This isn’t aesthetic advice dressed up as design wisdom. It’s practical: fewer objects mean fewer cleaning cycles and less weight the engine has to carry.
Limit entry storage to one functional coat hook or magnetic strip. Wall-mount a single cabinet with a door if you need to stow shoes or small items. Everything else creates maintenance debt. The action here is specific: audit your entry right now and remove anything that doesn’t prevent mud from entering or store something actively used. If it’s decorative, it goes.
The “Mudroom” Micro Hack: Maximizing Small Spaces
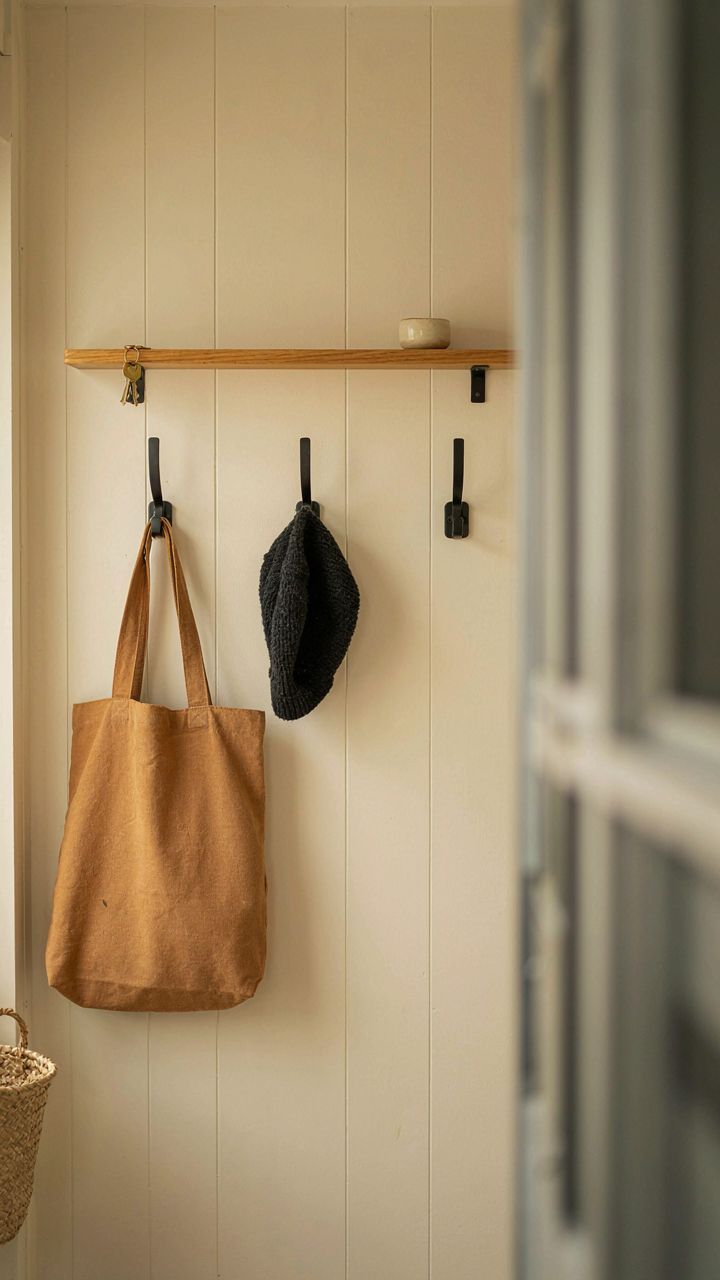
Hooks And Shelves That Actually Work

You want your entryway to look intentional, not like a gear dump. The mechanism is simple: vertical real estate is free, and hooks plus shelves solve two problems at once—visibility and accessibility. In industrial design, this principle is called “form follows function,” but in an RV it means: stop wasting floor space on things that belong on walls.
Most people install random hooks and call it done. That fails because hooks without organization just move clutter up six inches. The setup that works: assign each hook a category, not a person. One hook for keys only. One for daily-use gear. One for seasonal items. Shelves go above hooks to store things you access weekly, not daily.
- Heavy-duty adhesive hooks rated for 5-10 pounds: Eliminate drilling holes in fiberglass walls. Test on a scrap section first to ensure the adhesive sets properly in your RV’s climate.
- Stainless steel L-brackets with shelves: Corrosion-resistant and load-bearing. Mount them into wall studs or use backing plates to distribute weight across larger surface areas.
- Over-the-door organizer with pockets: Captures vertical space on the entry door itself. Use it for gloves, sunscreen, or small tools that need immediate access without taking wall real estate.
- Magnetic strips for metal tools and keys: Works on any metal surface in your rig. Keeps frequently-used items visible and prevents them from rolling under cabinets during movement.
- Pegboard panels with removable pegs: Allows you to reconfigure the layout as your gear needs change. Paint-grade pegboard resists moisture better than raw wood in humid climates.
The final layer: label each hook and shelf section with vinyl labels. Your brain needs a rule to follow, and labels enforce it. Without them, you’ll default back to dumping behavior within two weeks.
Collapsible Storage That Survives Movement
RVs move constantly, which means your storage system must compress without breaking. Collapsible bins and hanging organizers solve this, but most people buy cheap versions that collapse during transit and spill their contents everywhere.
Buy collapsible bins with rigid walls, not fabric ones that fold inward. The extra cost is worth it because rigid walls keep items contained during acceleration and braking. Use these for seasonal gear or boots you wear once a month. Stack them vertically to save floor space and make them visible at a glance so you actually use them instead of buying duplicates.
Hanging shoe organizers work as entryway storage because each pocket holds one category of gear—charging cables, gloves, sunscreen, medications. Mount one on the inside of your entry door or on the wall perpendicular to it. During travel, items stay contained. During setup, everything you need is visible and within arm’s reach. This single habit cuts your morning routine by five minutes.
Camper Organization: The Exit Strategy
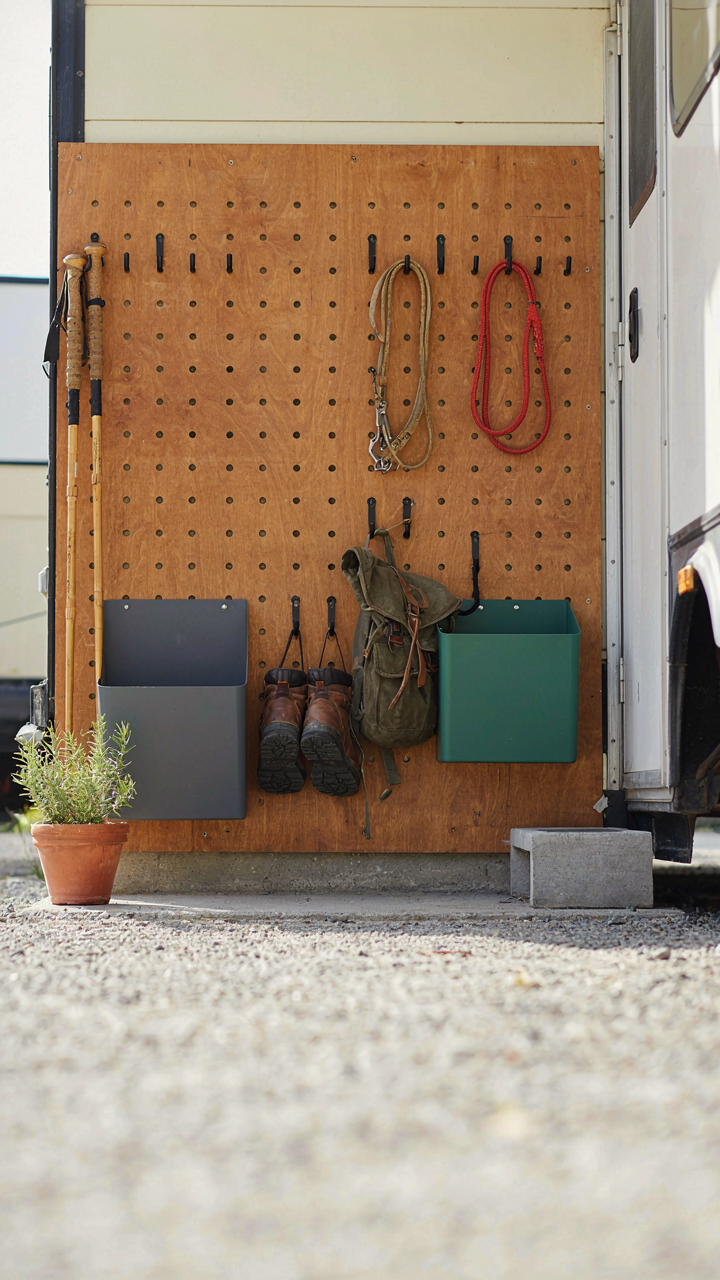
The Staging Zone Before You Leave
You want your entryway to work like a checkpoint because you’re afraid of looking disorganized or wasting time searching for gear when you’re ready to move. The mechanism is simple: think in terms of military supply logistics. In logistics, staging areas exist to consolidate items before transport—they prevent scattered loss and speed deployment. Your RV entryway becomes a staging zone where everything destined for departure gets consolidated the night before you leave, not scattered across cabinets and compartments.
Set up a designated shelf or wall-mounted rack near the door specifically for items you’ll need immediately upon departure or arrival at the next location. This means documents, keys, trip snacks, tools, and personal devices all occupy one zone. Most people distribute these items randomly and waste fifteen minutes hunting during hookup. The zone approach eliminates that friction. Attach a small pegboard or use adhesive hooks to establish visual real estate where nothing else is allowed.
Reset Speed Matters More Than Storage
The common advice says your entryway should be beautiful and functional. That’s incomplete. Your entryway should reset faster than it gets dirty because you move frequently and spend minimal time stopped. Think of your entryway as a loading dock that must cycle quickly between states: closed-up, active-use, and departure-ready.
Before you hit the road, spend ten minutes breaking down the entryway to bare surfaces. Shake out floor mats outside the door. Return shoes to under-seat storage. Clear the small table or bench of accumulation. This reset protocol takes less time if you’ve eliminated unnecessary furniture and kept only items that actively belong near the entry. When you arrive at your next spot, you begin from a neutral state instead of working around clutter from the previous location.
The True Obstacle Isn’t Dirt, It’s Your Static Mindset In A Mobile World
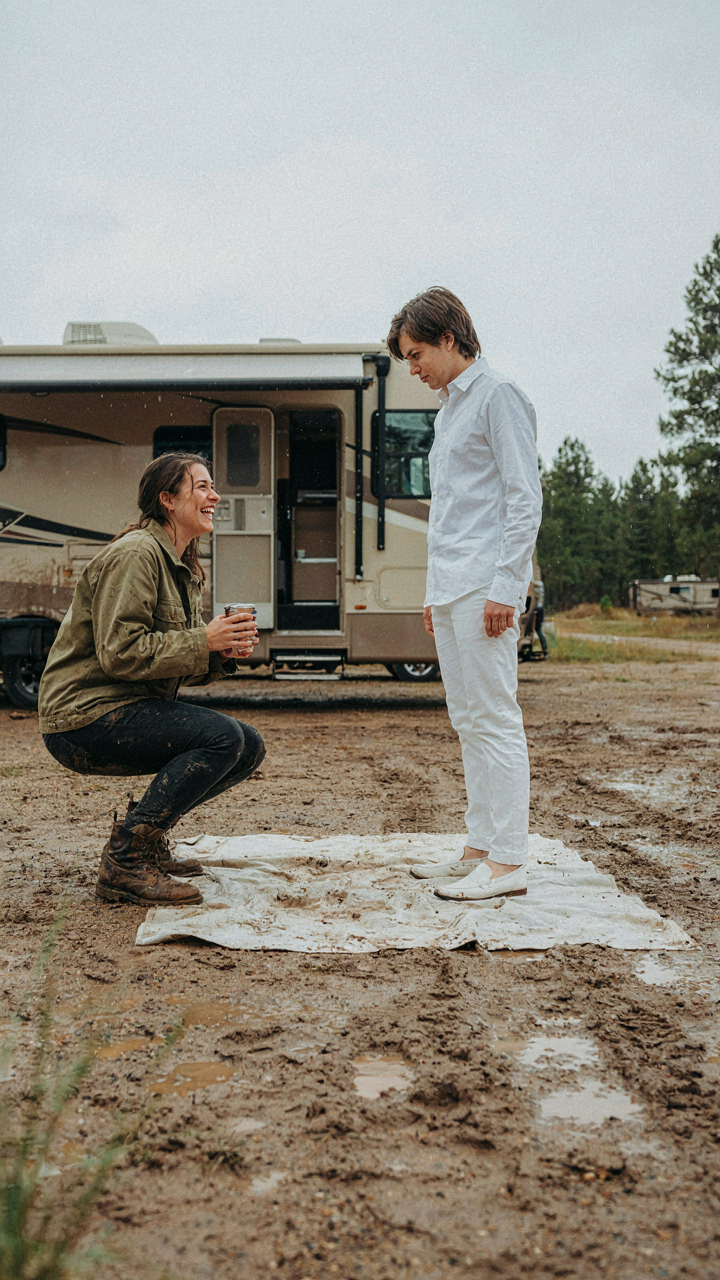
You don’t have an RV entryway problem. You have a permission problem. You’re treating a moving home like a stationary house, expecting rigid solutions instead of systems that flex with your lifestyle. The dirt will always find you. What changes is whether you build barriers or excuses. Stop waiting for the perfect entryway setup and implement one today, even if it’s imperfect. Motion beats perfection every single time.



