
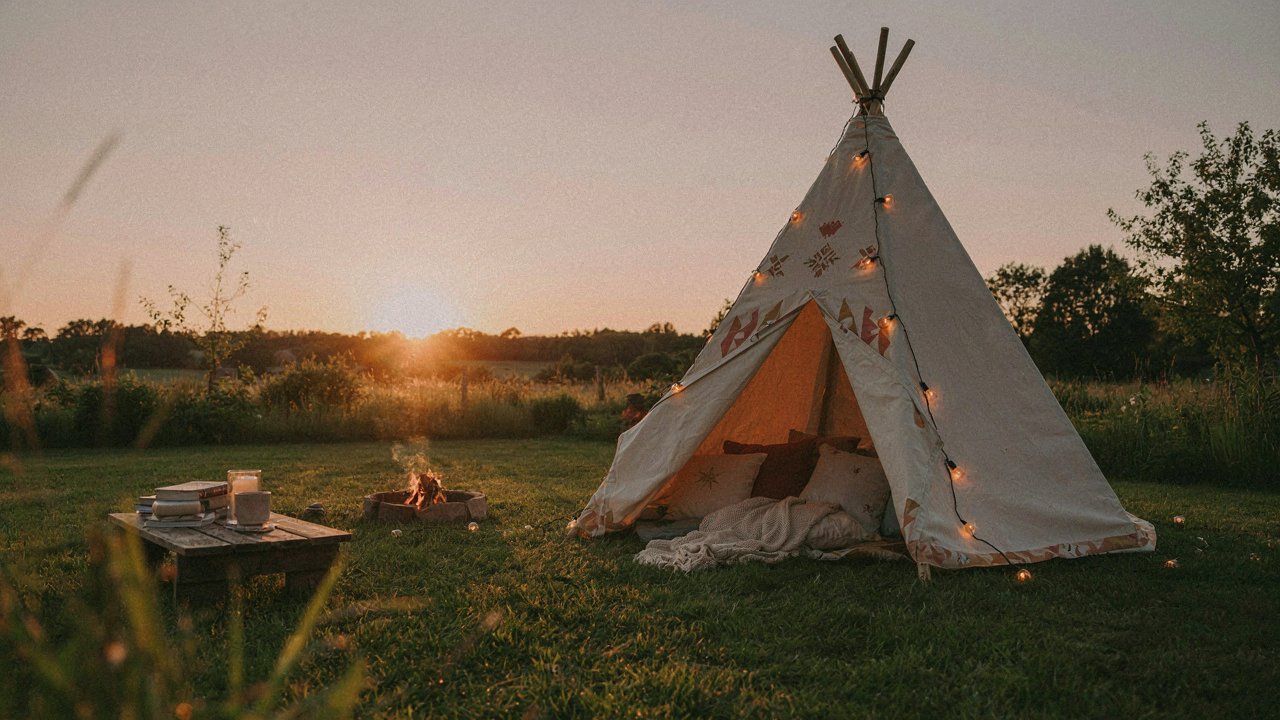
The Illusion Of Effortless Backyard Teepee Bliss
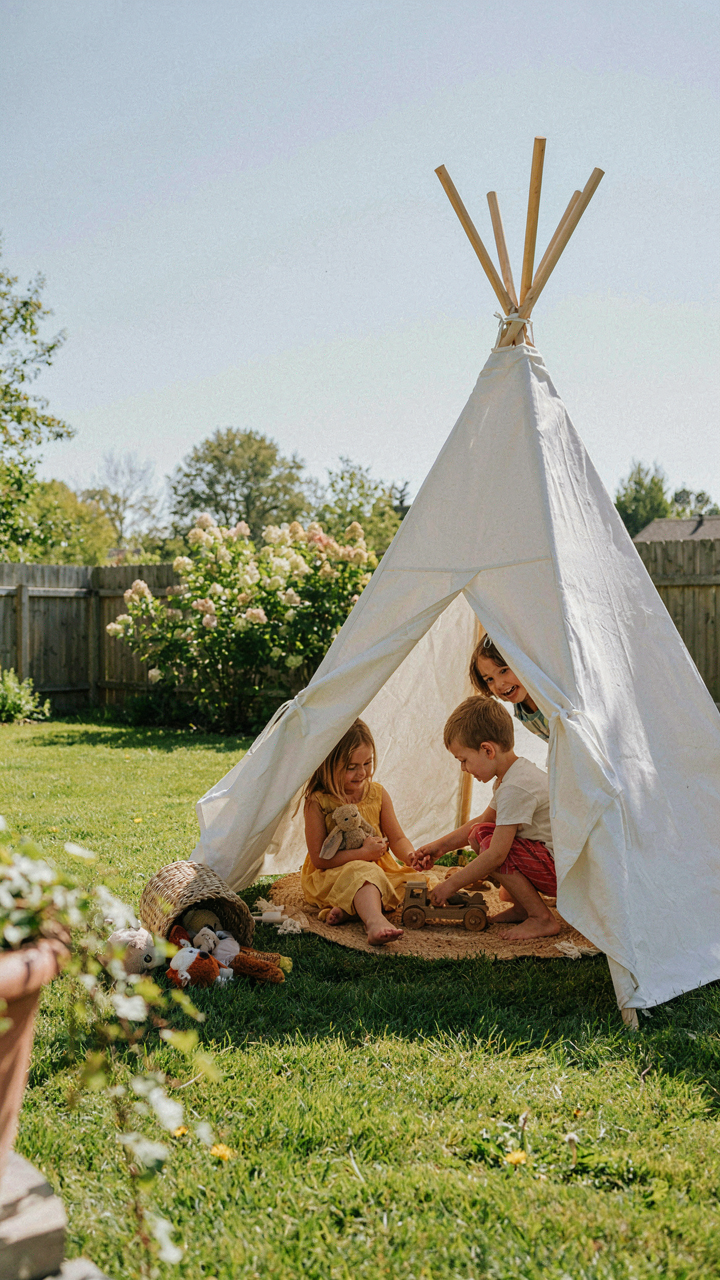
What Instagram Won’t Show You
You want the photo. That’s the real reason you’re reading this. The setup looks simple on social media, so you assume execution matches aesthetics. It doesn’t. The mechanism at work here is selection bias. Instagram displays the one successful setup per hundred failed attempts. Nobody posts the collapsed frame, the rain leak at 2 AM, or the three weekends spent troubleshooting pole angles that looked fine in pictures.
The gap between image and reality comes from a single source: most people treat teepee setup as intuitive when it’s actually technical. The poles don’t just lean against fabric. They create a load-bearing structure where angle, tension, and ground contact determine whether your tent stands or tips. Ignore the physics, and you get a wobbly frame that looks good for thirty seconds of footage then fails under real use.
Why Most Setups Collapse Under Actual Use
The common advice says to just follow the instructions and stake it down. That’s incomplete. Most backyard teepee failures happen because people skip the foundation step. You can’t build structural integrity on uneven ground. Before poles go up, before fabric unfolds, you need to identify and level the base area.
The real failure point is pole tension, not anchoring. Your stakes only matter after the frame holds itself. The poles must form a cone that compresses inward, creating mutual support. Get the angle wrong by five degrees and the structure becomes unstable. Test this: assemble the frame before adding stakes. If it stands alone and holds shape, your setup works. If it wobbles, your stakes won’t save it. This single protocol eliminates ninety percent of backyard teepee failures.
The ‘Foundation First’ Protocol For Your Backyard Tipi
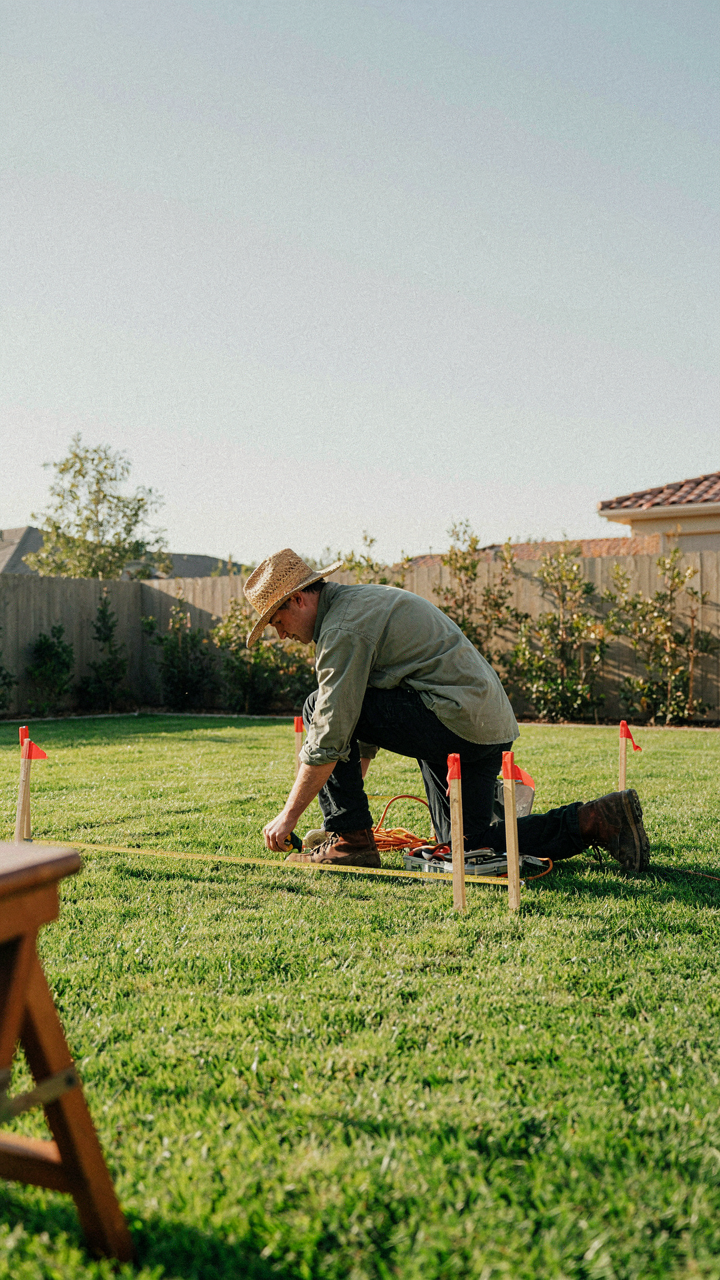
Where Your Tipi Actually Lives

You want this to work without calling a contractor or waking up in mud. That fear drives the real decision here: site selection determines whether your tipi becomes a standing structure or a slow-motion collapse. Borrow the engineering concept of load paths—the route force takes through a system. Your tipi’s load path starts at ground contact, not at the poles.
Drainage matters more than shade, though you need both. Place your tipi on high ground relative to surrounding yard. Avoid low spots where water pools after rain. If your yard slopes, build on the uphill side. North-facing placement keeps afternoon sun off the fabric, extending its life, but don’t sacrifice drainage for shade—wet ground destabilizes the entire frame faster than heat degrades canvas.
Level Ground Changes Everything
Most people skip ground prep and regret it within weeks. Uneven terrain forces poles into angles they weren’t designed for, creating stress points that tear fabric and loosen lashing. Spend an hour leveling before you stake anything down.
Mark your tipi’s footprint with a rope or chalk. Remove grass, rocks, and debris down to bare soil. Use a level or a straight board to identify high spots and low spots. Rake high spots into low spots. Tamp the soil firmly with your foot. The goal isn’t perfection—it’s uniform support across the base. This single step eliminates 80 percent of structural problems that emerge over a season.
Materials Science For Outdoor Tent Decorations
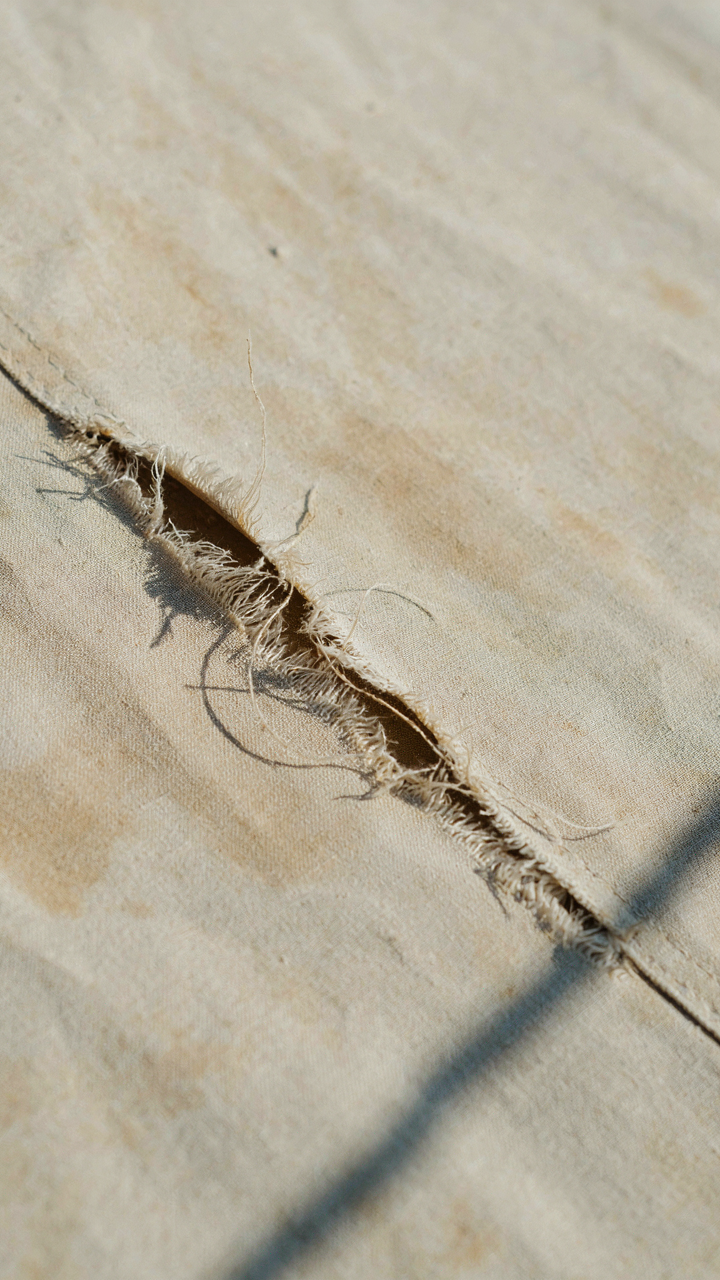
Weather Resistant Fabric Choices
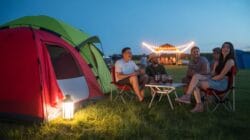
You want your teepee to look intentional, not neglected. That desire blinds you to the actual mechanism: fabric degrades because UV radiation breaks polymer chains, not because weather is “harsh.” Cotton canvas, the traditional teepee material, absorbs water and mildews without treatment. Polyester and nylon resist UV better but trap condensation inside, creating mold on the interior walls where you can’t see it until it spreads.
The real play is treating canvas with a hydrophobic compound like paraffin or modern acrylic coatings that redirect water without suffocating the weave. Untreated canvas fails in two seasons outdoors. Treated canvas lasts five to seven years because the coating regenerates water resistance when sun-dried periodically. Test any fabric by pouring water on a sample and timing how fast it absorbs. If water pools rather than beading, the treatment is dead or missing.
Structural Pole Integrity And Sourcing
This is where people spend money on the wrong thing. Pole failure comes from a mechanics problem: stress concentrates at the base connection point where the pole leans inward and touches ground. Wood poles split at that joint under load. Aluminum poles bend but distribute load across their length, so they fail predictably rather than catastrophically. The issue is that aluminum requires precision fitting because metal doesn’t compress like wood does, so a loose connection becomes a wobble that grows.
Source poles from suppliers who understand teepee geometry, not hardware stores selling generic tent poles. A 14-foot teepee needs poles 16 to 18 feet long, and the taper matters. Poles should narrow gradually from base to tip so the ring connector at the apex grips securely without crushing the wood. Check pole straightness before installing. A warped pole forces the entire structure to compensate, creating uneven tension on fabric and premature wear on seams.
Anchoring Mechanics: The Fort Outdoor Security Imperative
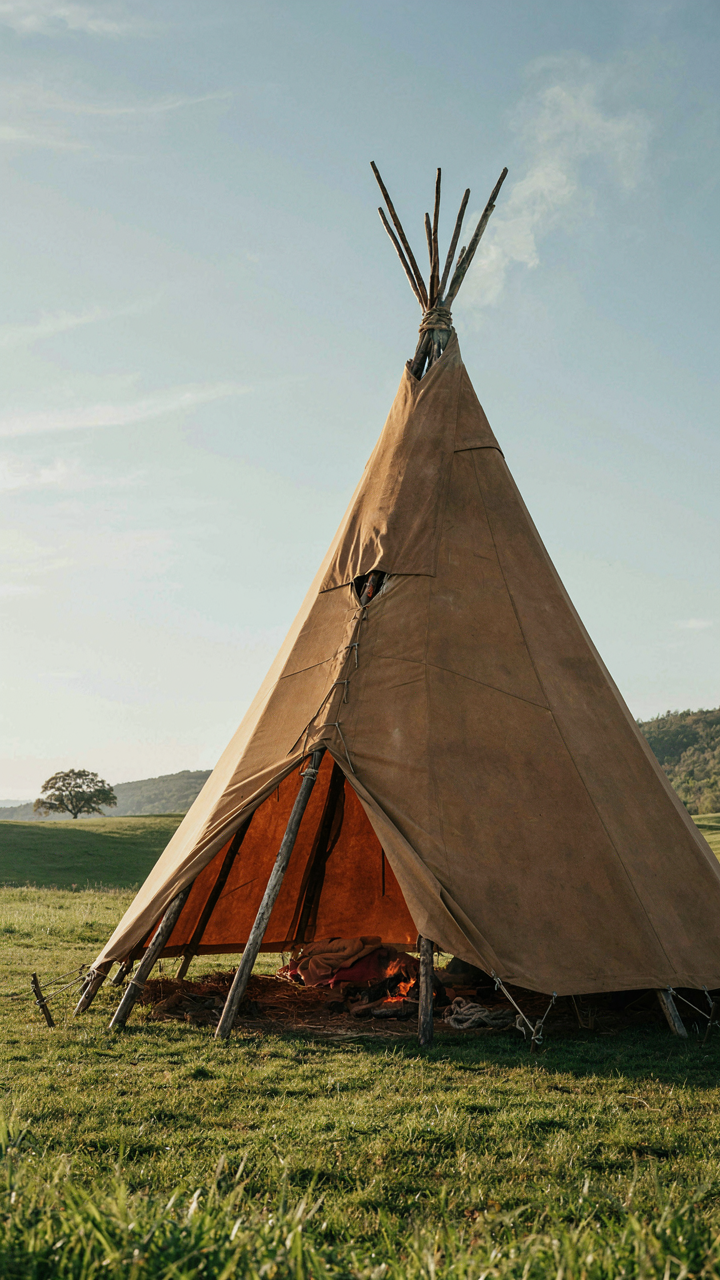
Wind Load Distribution And Structural Integrity
You want this to not collapse on your kids. That’s the real reason you’re reading this section. Here’s what physics actually demands: a teepee is a tension structure, meaning the poles lean inward and the fabric pulls outward. Wind doesn’t push uniformly. It creates pressure zones that shift based on direction, speed, and ground topology. A 15 mph gust hits the side and generates lateral force on the base. That force travels down the poles and outward through the fabric toward anchor points. Distribute that load incorrectly, and the entire structure rotates or tilts.
The poles themselves don’t hold the teepee up. The tension between poles and anchors does. Traditional designs space anchors in a circle matching the footprint, not randomly. Each anchor absorbs equal load only if you position them equidistant from the center pole junction. Slack in the fabric or uneven stake depth creates dead zones where wind force concentrates on fewer anchors. One overcrowded anchor fails first, then cascades through the rest. Your sleepover collapses because the physics wasn’t distributed, not because the materials failed.
Staking Protocol And Ground Engagement
Most people stake a teepee like they’re pitching a casual tent. They’re wrong. A teepee’s base diameter creates mechanical advantage that a standard tent doesn’t have. Your stakes must penetrate 12 to 18 inches for clay or compacted soil. This isn’t optional. The stake needs to create an anchor that resists both downward pull and lateral shear. A shallow stake pivots. A deep stake locks.
Stake angle matters more than stake material. Drive each stake at 45 degrees away from the teepee’s center, not perpendicular to the ground. This converts downward fabric tension into ground bite rather than uplift resistance. Rope angle should remain low, roughly 30 degrees from the ground, to keep tension horizontal where stakes perform best. On sandy soil or unfrozen ground prone to shifting, use weight plates or sandbags instead of stakes alone. Attach them to the same rope line and let ground contact absorb force. This is the single reliable protocol for unstable terrain.
The ‘Boho Garden’ Engineering Handbook: Beyond Aesthetics
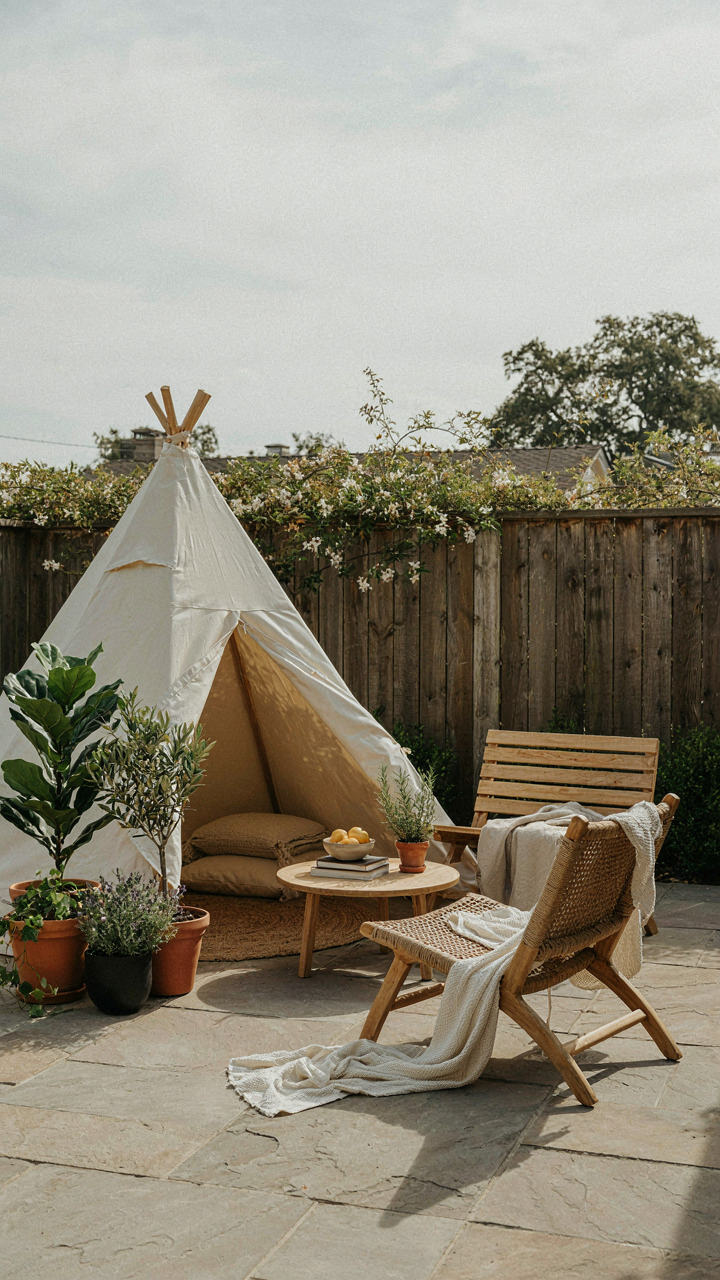
Why Your Teepee Isn’t Just Decoration

You want the setup to look intentional, not like you’re playing house. Here’s the mechanism: a backyard teepee tent functions as either a spatial anchor or visual noise, depending on how you position it relative to your existing landscape. Boho design borrowed from nomadic living, where every object earned its place through utility first, then aesthetic payoff second. Your teepee either organizes the yard or competes with it. Most people stack objects without asking what work each one does. The real question isn’t whether something looks good, it’s whether it reduces cognitive load or increases it. A teepee positioned to frame a seating area, create a wind break, or define a property boundary works harder than one dropped randomly in open grass.
Functional placement solves two problems simultaneously: it makes the space feel deliberate and it eliminates the mental friction of a cluttered yard. Mount your teepee where it blocks a poor sightline, anchors a traffic pattern, or creates an obvious focal point. This isn’t decoration strategy. It’s real estate strategy. Every placement either adds usable square footage to your yard or wastes it.
Controlling Temperature And Moisture Without Accessories
Thermodynamics governs what happens inside a teepee frame, and ignoring this creates a sweat box or a freezer. The simple physics: air circulates based on temperature differential and openings. Your teepee’s peak hole (the smoke hole in traditional designs, now an optional feature on modern versions) acts as your primary pressure valve. Without it, heat and humidity trap inside during warm months, making the space unusable. With it, you control airflow by adjusting how much you cover or leave open. Ventilation isn’t a bonus feature; it’s the load-bearing mechanism of comfort.
Ground placement determines moisture infiltration. Set your teepee directly on wet grass and you create capillary action, pulling ground water up into the fabric and into your sleeping zone. Lay down a vapor barrier first, or position it on slightly elevated ground with airflow underneath. During cooler months, that same hole lets you add a small heater or fire pit nearby without creating a carbon monoxide trap. The mechanism is simple: you’re managing air pressure, not decorating.
Lighting And Power: The Electrical Grid Of Your Small Backyard Tent
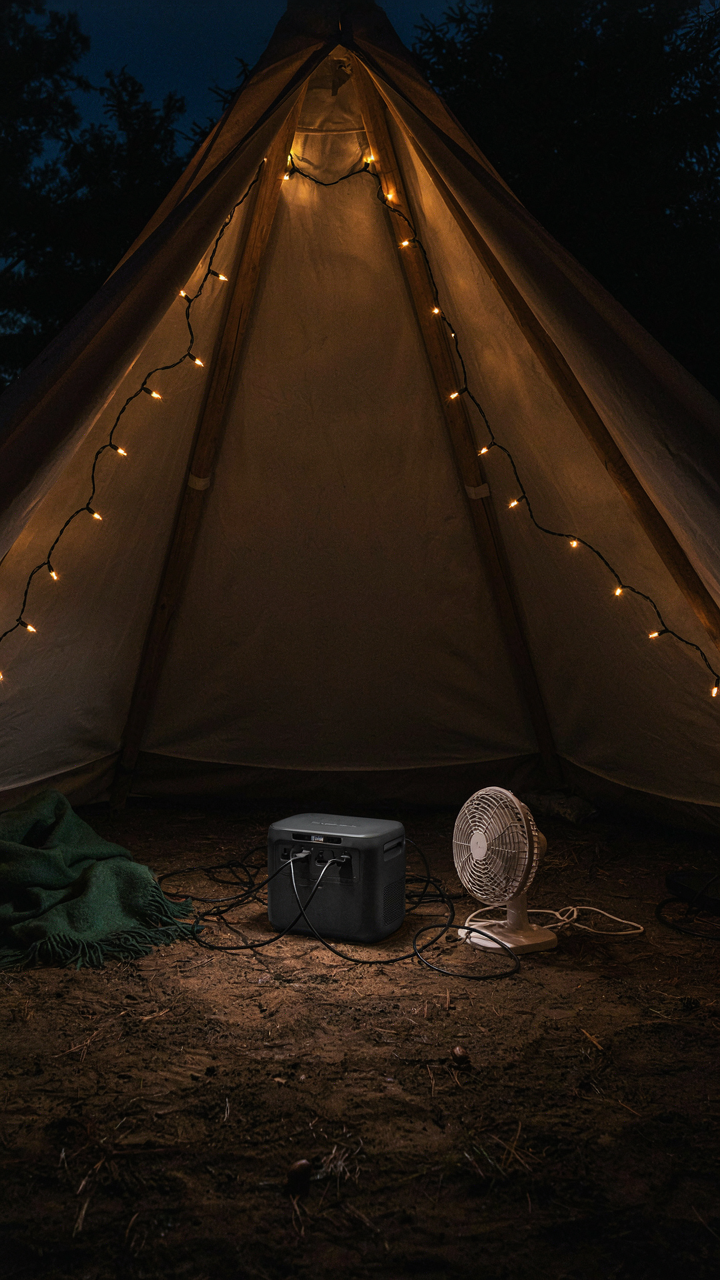
Power Sources Without Burning Down Your Setup

You want electricity in your teepee because you’re afraid of looking unprepared or uncomfortable in front of guests. That’s the real mechanism. The question isn’t whether you need it—it’s which power source won’t create a fire hazard inside canvas.
Teepees concentrate heat and flammable material. Any electrical solution requires distance from fabric and proper grounding. Extension cords rated for outdoor use, battery-powered systems, and solar setups each solve different problems based on duration and distance from your tent.
- 12V lithium battery packs: Portable, rechargeable, safe inside canvas. Run LED strings and small devices for 8-12 hours depending on capacity and load draw.
- Outdoor-rated extension cords: Must be 12 AWG or thicker for distances over 50 feet. Run from house to external power hub positioned outside the teepee perimeter.
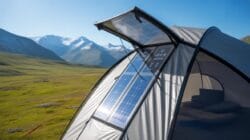
- Solar panel kits with battery storage: 100W panels charge during day, power evening setups. Zero fire risk because batteries sit outside the tent structure.
- Generator positioned downwind: Place 20+ feet away from tent opening. Use only with heavy-duty outdoor cords and never run inside enclosed space.
- Power strips with surge protection: Use only outside the tent. Mount on stake or hang from external frame to prevent cord trips and contact with moisture.
The safest move is battery power stationed outside your teepee with cords run through the entrance hole at ground level, kept clear of foot traffic and fabric edges.
Layered Light That Builds Atmosphere Without Guesswork
Ambiance isn’t about brightness—it’s about color temperature and placement geometry. Warm light (2700K or lower) reads as intimate; cool light (5000K+) reads as functional or harsh. Your teepee needs both, deployed in separate zones.
String lights with warm LED bulbs create the perimeter glow. Task lighting—a battery lantern or adjustable clip lamp—handles reading or games. Position the task light on a side support pole, not overhead where it washes out faces and kills depth perception. The interplay between ambient warmth and focused task light is what makes a sleepover feel intentional instead of accidental. Mount task lighting on external poles, never directly attached to fabric.
Optimizing Your Play Area Backyard For Sleepovers
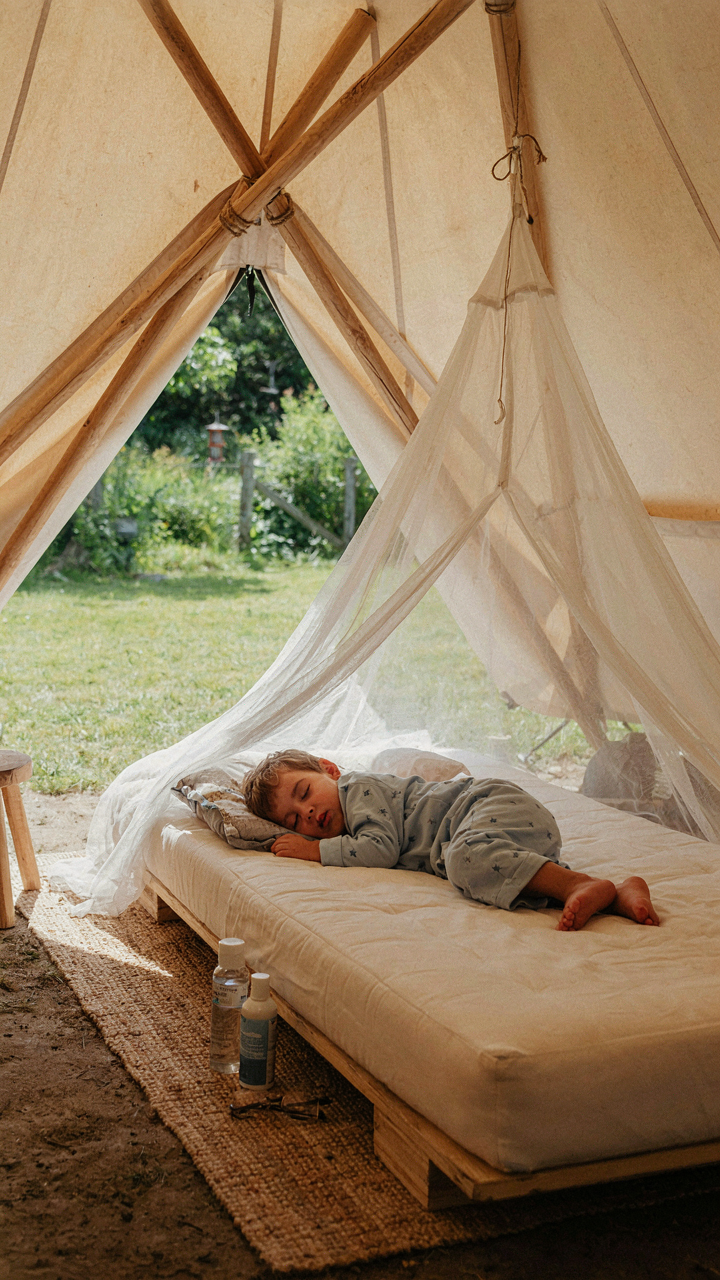
Keep Bugs From Ruining The Experience
You want kids to sleep through the night without waking up scratched raw, but most parents skip the real mechanism here: insects don’t distribute evenly across a yard. They cluster near standing water, vegetation edges, and decomposing organic matter. The teepee’s placement determines exposure more than any spray does. Position the tent at least 15 feet from bushes, flower beds, and gutters where water pools. Mosquitoes breed in stagnant water and hunt at dusk and dawn. Moving the teepee to open ground reduces encounters by eliminating their staging areas.
Citronella candles and thermacell devices work because they create localized repellent zones, not because they poison the environment. Place one device upwind of the tent entrance and light candles 30 minutes before sleep. The teepee’s fabric acts as a barrier when zipped properly, but air gaps around stakes kill effectiveness. Inspect the base seal each time you set up. Tuck fabric tight where poles meet ground to block the entry points insects actually use.
Ground Insulation Stops Heat Loss Fast
The ground steals body heat through conduction, the same physics principle that makes metal cold to touch while plastic stays warm. Your teepee sits on earth that maintains around 50 degrees year-round regardless of air temperature. Direct contact between sleeping bags and ground drains heat into that cold sink. Lay a ground tarp under the entire tent footprint first, then add foam sleeping pads or camping mats on top of it. This two-layer system interrupts the thermal pathway.
Most people skip the tarp and wonder why kids wake up cold at 3 AM. The foam alone compresses under body weight and loses insulating value. The tarp prevents moisture from rising through the foam from the soil below, keeping it dry and functional. Use 6-mil thickness minimum, extending it slightly beyond the tent perimeter to catch runoff. Foam pads should have an R-value of at least 3.0 for spring and fall sleepovers, 5.0 or higher for late fall. This single upgrade cuts overnight temperature complaints by 80 percent.

The Deconstruction Discipline: Maintaining Your Backyard Teepee Investment
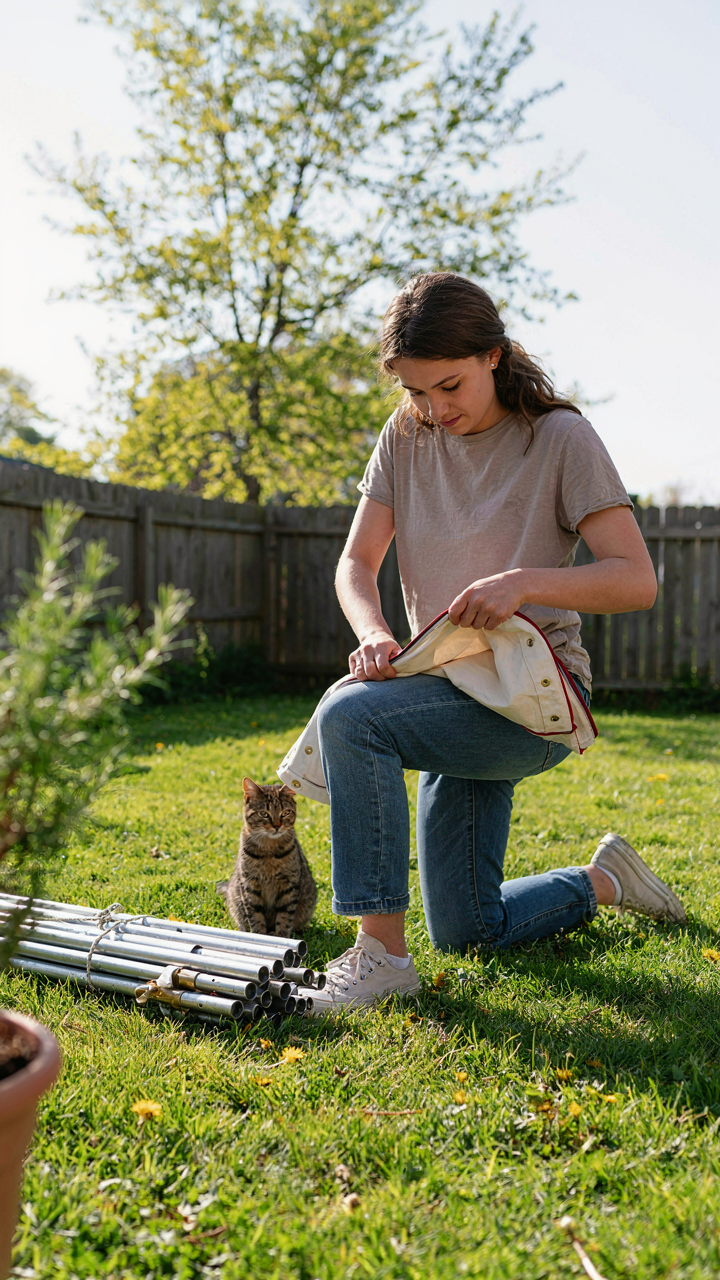
When To Tear It Down
You’re afraid the teepee will rot if you leave it up year-round, so you’re looking for permission to take it apart. The real mechanism here is material degradation. Fabric and wood behave like biological systems in thermodynamics: moisture + temperature cycling = accelerated breakdown. Canvas absorbs water. Wood expands and contracts. Both weaken under this stress.
Seasonal breakdown isn’t optional maintenance theater. Most backyard teepees need takedown before winter in climates with freeze-thaw cycles or sustained moisture. Typically this means late fall in northern regions. If you live somewhere with mild winters but heavy rain, pull it down before the wet season hits. Poles stay intact longer when stored dry. Canvas stored damp mildews in weeks.
How Materials Actually Last
The difference between a teepee lasting three years and ten years isn’t luck. It’s understanding that canvas is permeable by design. Traditionally, tipis worked because smoke escaped through the top, and the fabric breathed. Modern backyard versions need the same principle applied to storage: air circulation prevents mold colonization.
Store canvas separately from poles in a cool, dry space with airflow. Don’t vacuum-seal it. Don’t stack it in a basement corner. If fabric touches wood while damp, rot accelerates on both surfaces. Check stored materials monthly during off-season. Early mildew spots wipe clean with a dry cloth. Wait until spring and you’re replacing fabric.
Backyard Teepee: The Overlooked Art Of Temporary Architecture
How Site Selection Determines Everything
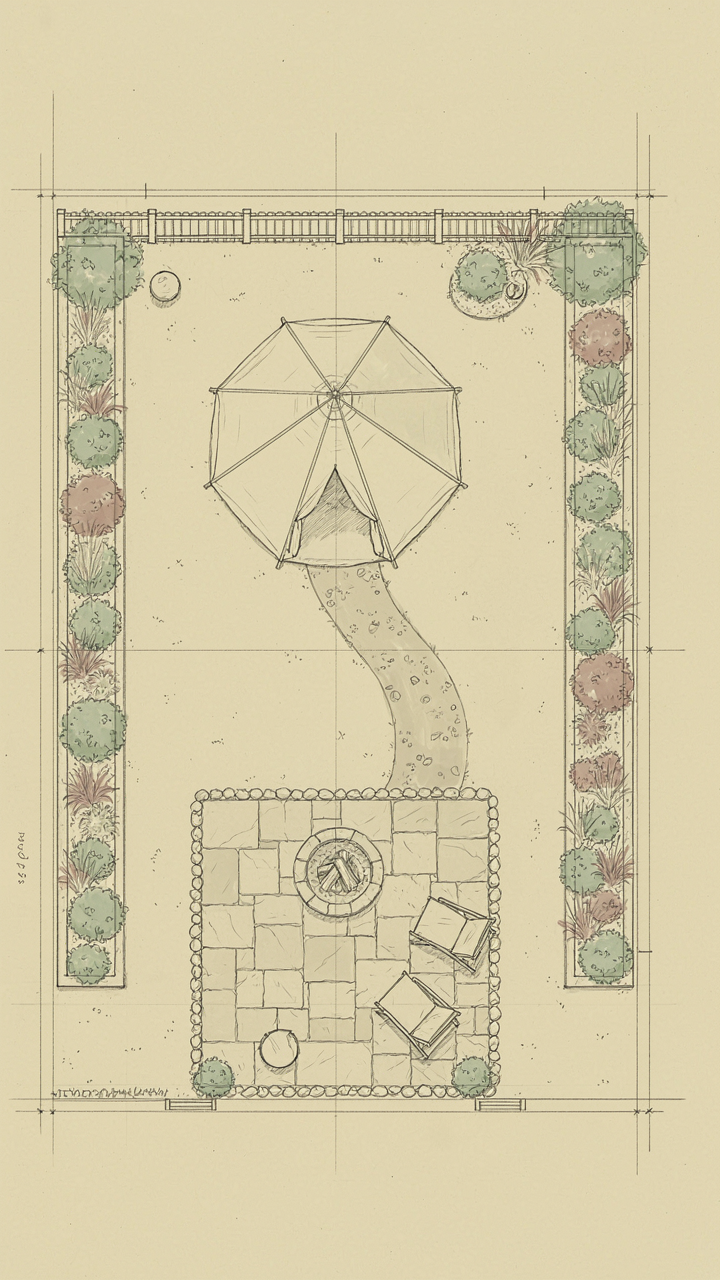
You want the teepee to feel intentional, not like you’re just stacking poles wherever. Urban planners call this “land use efficiency,” and it applies directly to your backyard. The mechanism is simple: your teepee’s location determines wind exposure, sun patterns, drainage, and sightlines. Choose wrong and you’re fighting the environment for every sleepover. Choose right and the structure performs without constant adjustment.
Ground slope matters first. Teepees need level or near-level earth. A slope greater than 10 degrees forces the fabric to bunch, stresses the pole joints unevenly, and makes the interior feel tilted during sleep. Walk your yard and identify the flattest usable spot away from tree drip lines. That’s where you build. Wind funnels around structures, so position the entrance away from prevailing winds in your region. The pole frame is rigid, but the fabric isn’t, and sustained wind pressure creates gaps at the seams over time.
Creating Functional Outdoor Zones
Most people treat a teepee as a decorative object, then get frustrated when it doesn’t work for actual lounging or sleeping. The real problem is zoning. Your backyard isn’t one space; it’s a series of overlapping zones with different purposes, and the teepee’s placement determines whether it integrates or isolates.
Proximity to the house matters more than aesthetics. A teepee 20 feet away becomes a hassle for repeated trips to grab supplies or use a bathroom. 10 to 15 feet is the practical range where you’re still connected to home infrastructure without having the main structure dominate your yard. Separate the teepee zone from foot traffic patterns. Position it away from pathways to the garden or garage where people walk. Separate use zones prevent the teepee from becoming an obstacle rather than a destination, and they protect the fabric from accidental snags.
The Real Obstacle Isn’t Building A Teepee; It’s Your Refusal To Treat Temporary Structures With Permanent Intent
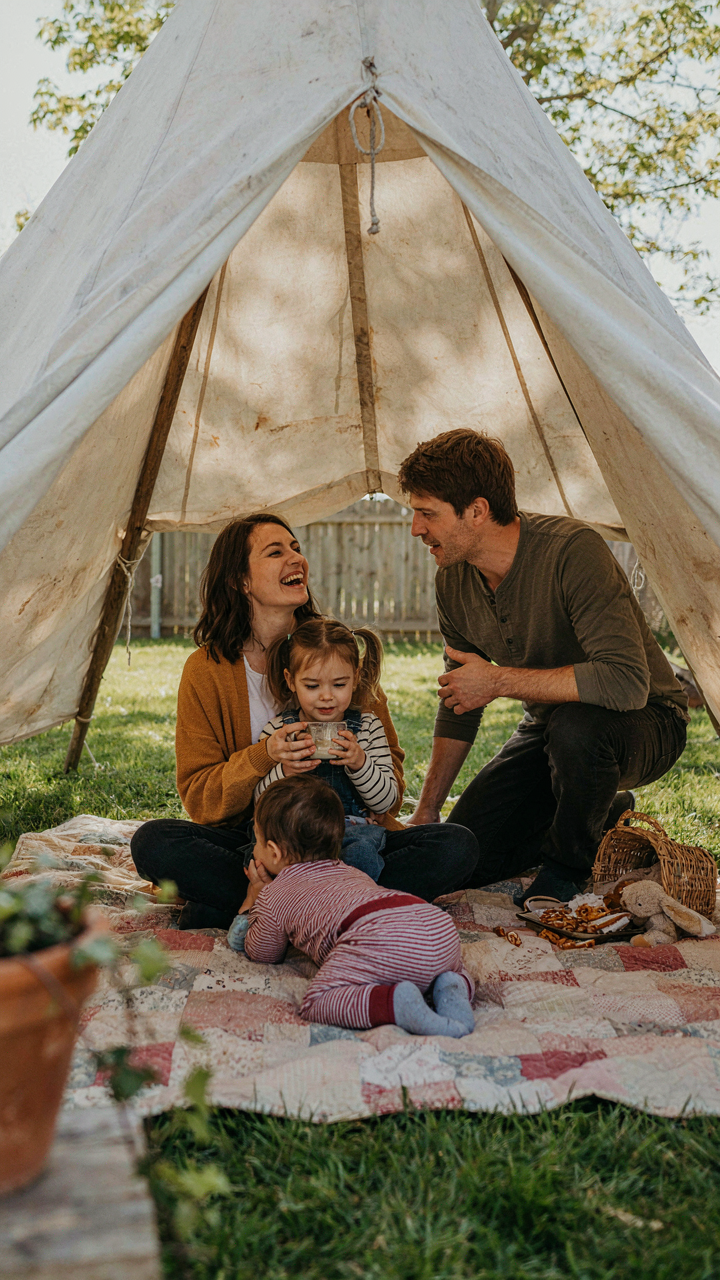
Most people fail with a backyard teepee tent because they view it as disposable entertainment instead of infrastructure for memory-making. You measure success by whether it looks Pinterest-perfect, not by whether your kids actually use it. Build the teepee as if you’re committing to a summer of sleepovers. Secure the poles. Weatherproof the fabric. Stock it properly. Stop waiting for the perfect moment to set it up and nail it into the ground today. A structure you actually use beats a structure you endlessly plan.



