
The Minimalist’s Campfire Cooking Tools Selection Protocol

The Real Cost Of Gear You Don’t Use
You want permission to buy less because you’re tired of hauling dead weight and pretending it matters. Here’s the mechanism: every tool you bring creates a decision point. At the fire, you stand there choosing between three spatulas when you need one. The cognitive load isn’t the tool’s fault—it’s yours for treating gear collection as a substitute for knowing what you actually cook. Strip this down. You own a cast iron skillet at home. You own a knife. You own a pot. Start there and add only what solves a real problem, not a theoretical one.
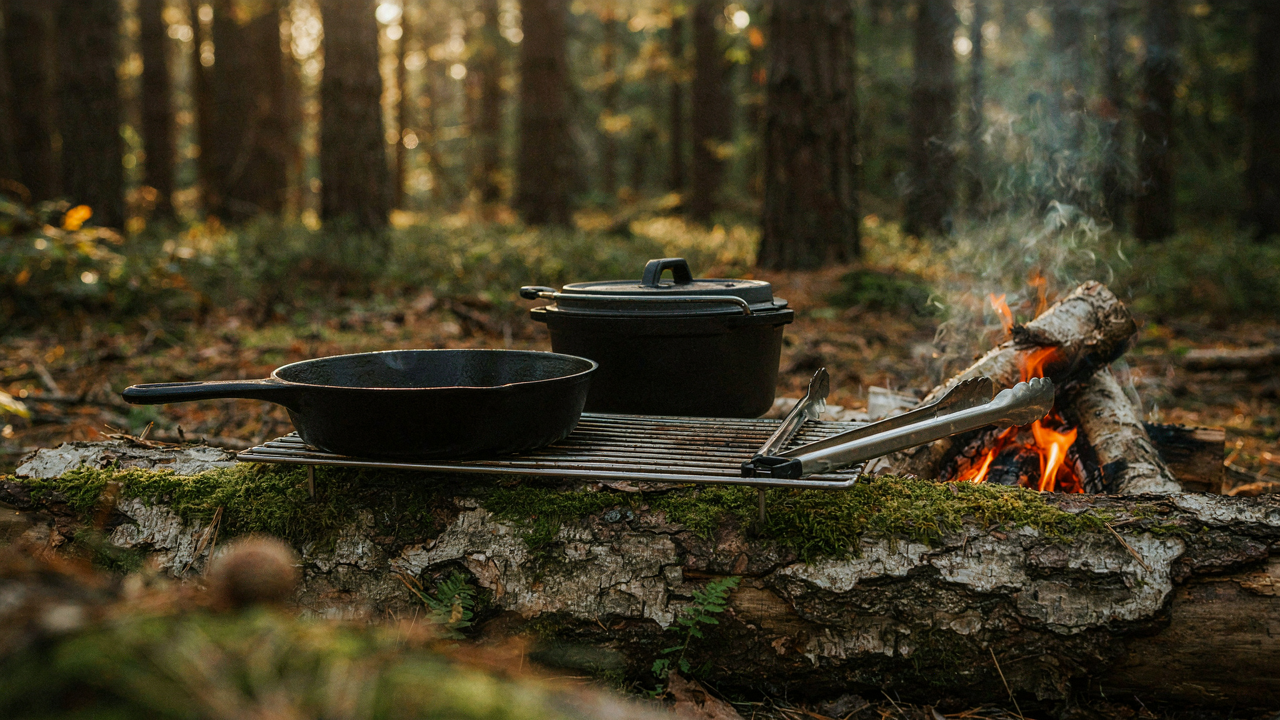
The common advice says “pack light.” That’s incomplete. The real protocol is audit your actual meals first, then match tools to those meals, then remove anything that duplicates function. A tripod and grill grate handle 80 percent of campfire cooking scenarios. A long-handled fork, a metal spatula, tongs, and a pot or two handle the rest. Everything else is you buying confidence instead of building competence. Spend a weekend cooking over fire with five pieces of gear. You’ll know faster than you think what’s missing.
Tools That Do The Work Of Many
Economics calls this “comparative advantage”—one actor does what they do best while other tasks collapse into that same tool. A cast iron Dutch oven isn’t just for stews. It bakes bread, sears meat, boils water, and stores cooked food. A long-handled fork spears food and manages fire. Tongs grip, flip, and rearrange coals. Each tool earns its space by handling multiple demands without requiring a specialized replacement.
The mistake here is buying single-purpose tools because they look professional. A camping tripod with a rotating arm costs fifteen dollars and replaces a grill grate, a hanging crane, and half your frustration. A stainless steel chain with S-hooks adjusts heat without needing three different stands. A wide, flat shovel moves coals, ashes, and debris with one tool instead of a broom and a poker and a rake. The pattern is: examine what the tool actually does, then ask what else needs doing in that same space, then buy the tool that handles both.
Beyond The Gadgets: Essential Campfire Cooking Gear You Actually Need
Cast Iron: The Timeless Workhorse

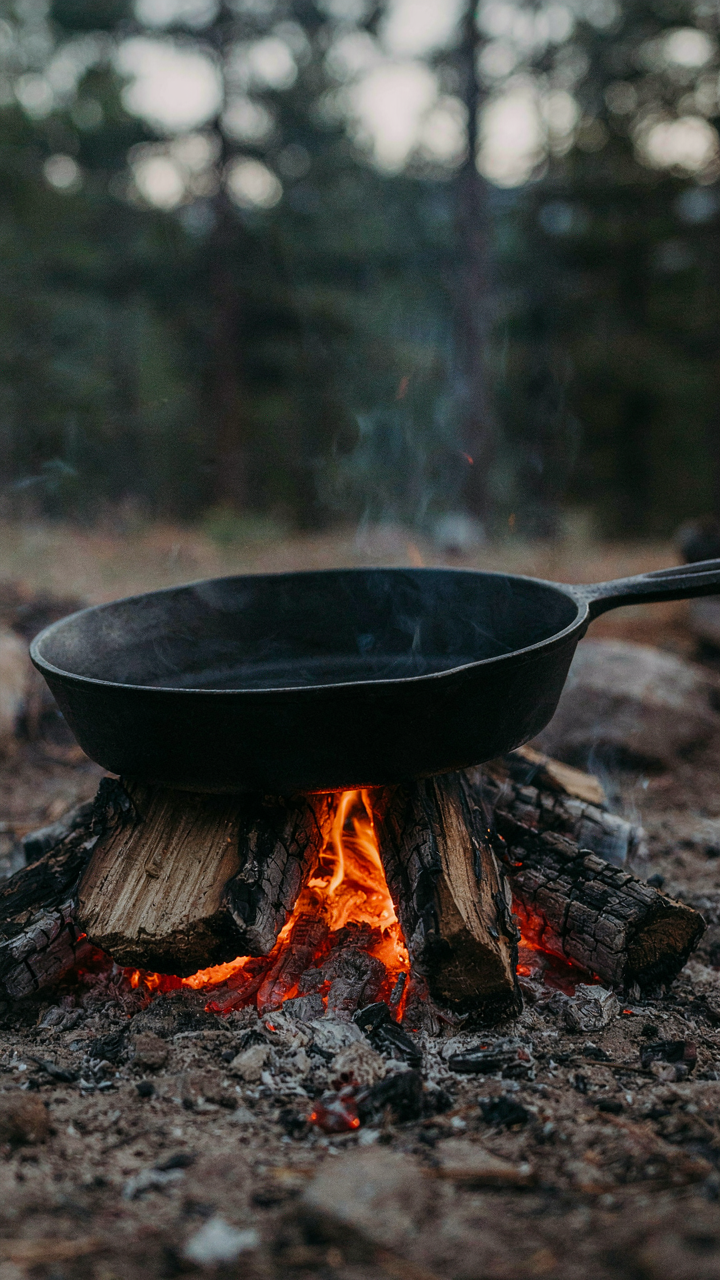
You want cast iron because it signals you know what you’re doing. But that’s not why you need it. Cast iron works through thermal mass, the physics principle that dense materials absorb and distribute heat evenly. No other camping cookware does this at scale without electricity. A cast iron skillet or Dutch oven holds temperature across its entire surface, which means you cook food consistently instead of fighting hot spots and dead zones.
Cast iron requires actual maintenance, which filters out people who treat gear as disposable. Seasoning creates a patina that improves with use, turning the pan into a tool that performs better over time instead of degrading. You strip rust with salt and oil, dry it completely, and store it dry. This one protocol separates functional cast iron from rusted hunks abandoned in garages.
Forged Camping Gear: Durability Over Disposability
The common advice says buy lightweight titanium and aluminum to save your back. That’s incomplete. Forged steel tools, particularly grates and tripod legs, handle repeated heat cycling better than lighter metals because their molecular structure resists warping. A forged steel grate stays flat after fifty campfires. An aluminum grate bends after ten and never fully recovers.
Forged gear costs more upfront because it requires skilled labor to hammer and shape metal properly. You pay once and use it for decades. Disposable gear costs less but you replace it constantly, which compounds into higher lifetime spending plus the friction of managing broken equipment mid-trip. Buy forged tripod legs, forged grates, and forged utensils. Check the weight against the durability spec before deciding lighter always means better.
The Chaos To Cohesion Organization Method For Campfire Cooking Equipment
One Container Holds Everything

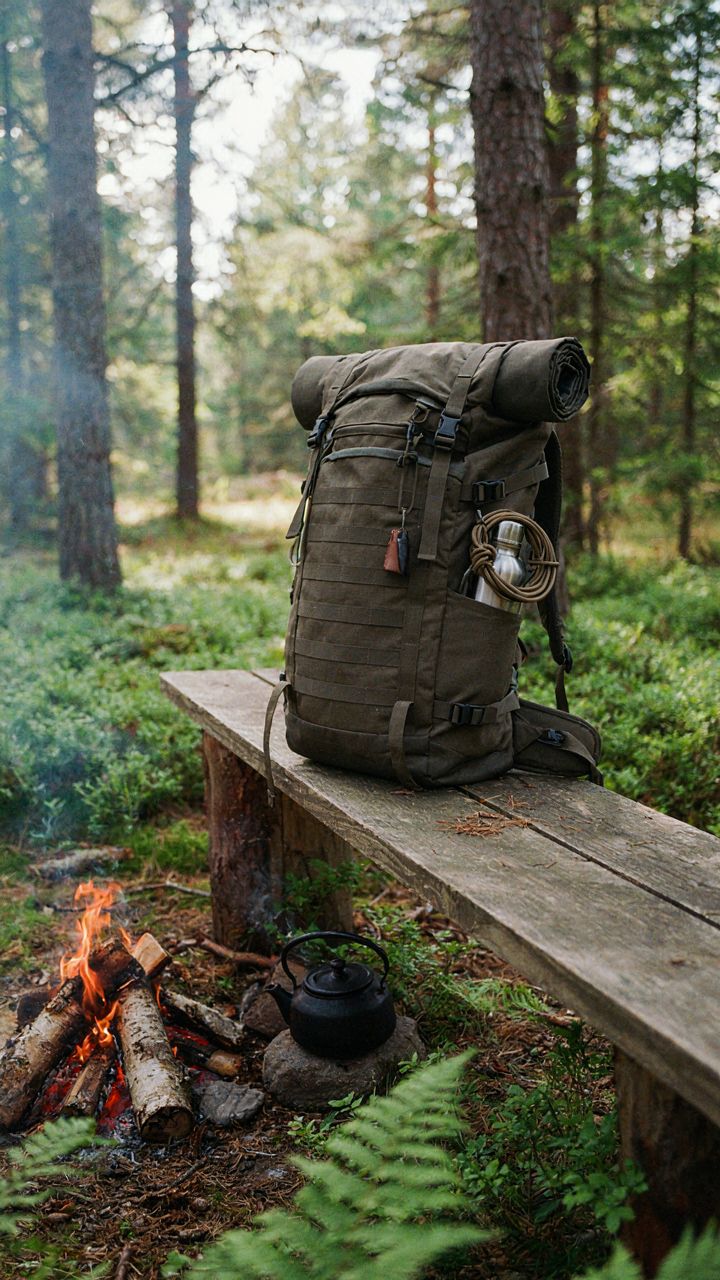
You want the feeling of control without admitting you’re afraid of losing tools in the dark. Here’s the mechanism: constraint forces prioritization. A single bag or box creates a hard boundary. You can’t throw in every tool you might need someday. You pick what actually gets used. This is inventory management borrowed from manufacturing, where a “single-point-of-failure” constraint paradoxically increases reliability by eliminating waste. One bag means one place to check, one place to pack, one place to secure against theft or weather.
The best single container for campfire cooking tools is a canvas apron with deep pockets, a canvas tool roll, or a medium canvas tote with reinforced handles. Avoid soft-sided bags without structure, they collapse and tangle tools. The container itself becomes part of your system, not an afterthought. When you grab it, you know you have everything. No second trips to the car. No forgotten tongs at the campsite last week.
Immediate Access Trumps Completeness
Most camp cooks organize by category: grilling tools together, utensils together, trivets together. Wrong. You organize by frequency of use during the actual cook. The tools you reach for in the first five minutes go up front. Spatula, tongs, heat-resistant gloves. These sit where your hand lands first. Tools you use once or twice go deeper. Fire starters, replacement grates, specialized skewers.
This is pure operational efficiency. During a cook, speed matters more than having everything visible at once. Your hands know where to find what you need without your eyes searching. Build a mental map tied to hand movement, not to what type of tool it is. When you grab your container at the campsite, the first three things you touch should be the three things you’ll use in the opening minutes.
Optimizing Your Campfire Cooking Set Up: Fire As The Primary Tool
Heat Zones And Ember Management

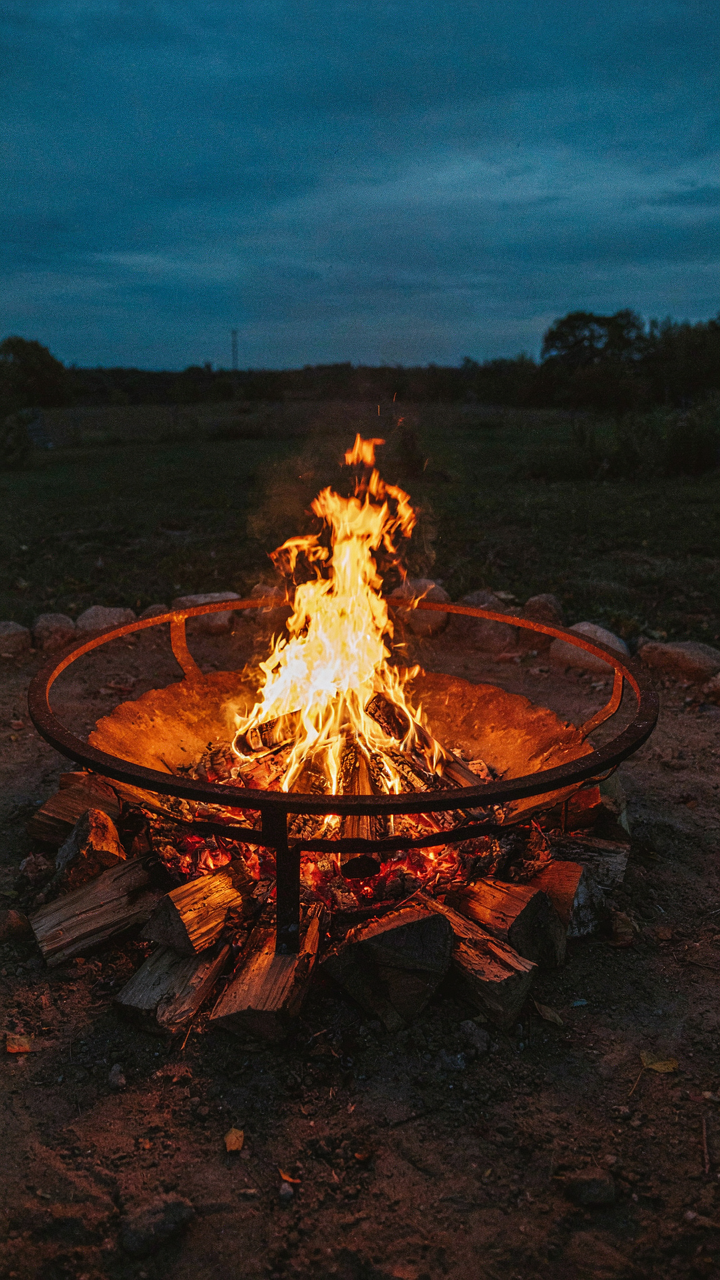
You want to believe gear matters more than it does. The truth is simpler: fire physics determines everything, and most people waste tools by ignoring heat zones. Think of fire like a manufacturing plant with distinct production floors. The hottest zone sits directly above the coals. The medium zone sits 12 to 18 inches above them. The cool zone exists at the fire’s perimeter. Your tools only work if you place them in the right zone.
Ember management separates competent camp cooks from frustrated ones. You don’t cook with flame. You cook with radiant heat from established coals. Push hot coals to one side of your fire pit to create a temperature gradient. Use a stick or metal poker to rake coals forward or backward as your food cooks. This lets you adjust temperature without moving pans or grates. Most people keep their fire too hot and too centered, then blame their tools for uneven cooking.
Creating Dynamic Cooking Surfaces
The standard advice here is wrong: you don’t need multiple specialized tools for different cooking methods. What you need is stageable positioning. A single grate becomes a searing surface when placed low over hot coals, a slow-roasting platform when raised higher, and a warming rack when positioned at the fire’s edge. The mechanism is leverage and height adjustment, not tool multiplication.
Build a staging system using rocks or fire-safe metal stands to raise or lower your cooking surface. Cast iron works best because it holds and radiates heat evenly across zones. Keep your primary grate adjustable, not fixed. This transforms a single tool into three cooking surfaces with just repositioning. The goal is thermal responsiveness: move the surface, change the heat intensity, control the outcome.
Camp Fire Cooking Equipment: The “Less To More” Acquisition Strategy
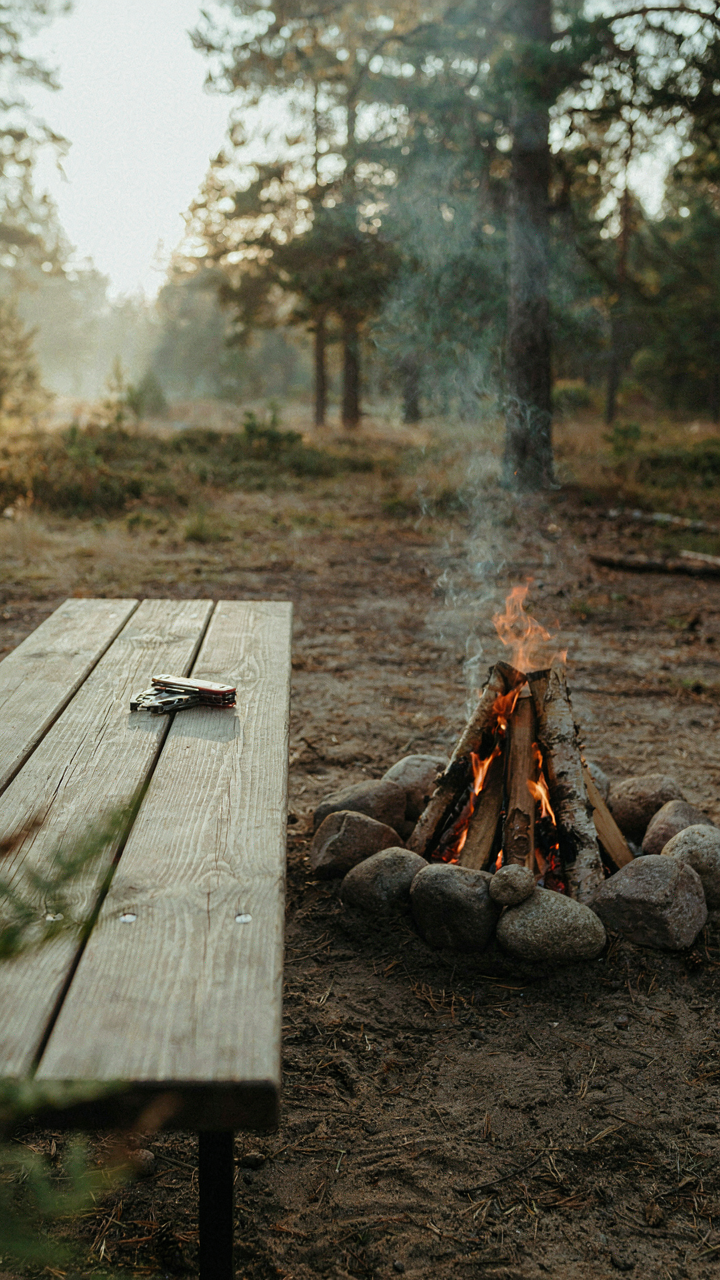
Start With What You Actually Use
You want to feel prepared and equipped because you think it prevents failure. It doesn’t. The real mechanism here is inventory cost: every tool you own but don’t use is dead capital taking up pack space and mental load. Start by cooking over fire three times with only a grill grate and tongs. Document what you actually reach for. Most people buy a cast iron Dutch oven before they’ve learned to manage heat zones. That’s the gap you’re hunting—between what you think you need and what the fire teaches you that you do.
The mistake isn’t owning quality tools. The mistake is owning them before you’ve earned the knowledge to use them well. A forged steel tripod costs real money. Using it wrong costs you a meal and confidence. Spend your first five trips identifying actual friction points. Do you struggle with heat control? Can’t suspend cookware at the right height? Burning food on one side? Each gap maps to a specific tool, not a category of tools. Buy to solve a problem you’ve already encountered, not one you’ve imagined.
Invest In Steel, Not Variety
The common advice is “buy versatile tools.” Wrong. Versatility is a trap that breeds mediocrity. A tool that does five things does none of them well. A cast iron skillet that’s 12 inches wide performs better than a 10-inch “compact” version designed to also work as a griddle. Forged steel hand tools outlast stamped alternatives by years because the grain structure is denser. Buy one excellent grill grate with properly spaced bars instead of three mediocre grates with different configurations. Steel that’s been through proper heat treatment won’t warp or fail when you push it. The price difference is real but the replacement cost of failure is higher.
Your acquisition protocol is this: identify the single tool that solves your current problem, research the version that performs that function best, buy it once. A quality tripod with a chain and hook system costs thirty to fifty dollars more than a cheap one. You’ll use it for years without adjustment. Cheap tripods develop wobble and require constant repositioning. After ten trips, you’ve already repaid the difference in time saved and frustration avoided. This is how you build a kit that actually works instead of a collection that frustrates you.
Mastering The Campfire Grill: Techniques, Not Tools
Direct Heat Searing Versus Indirect Roasting

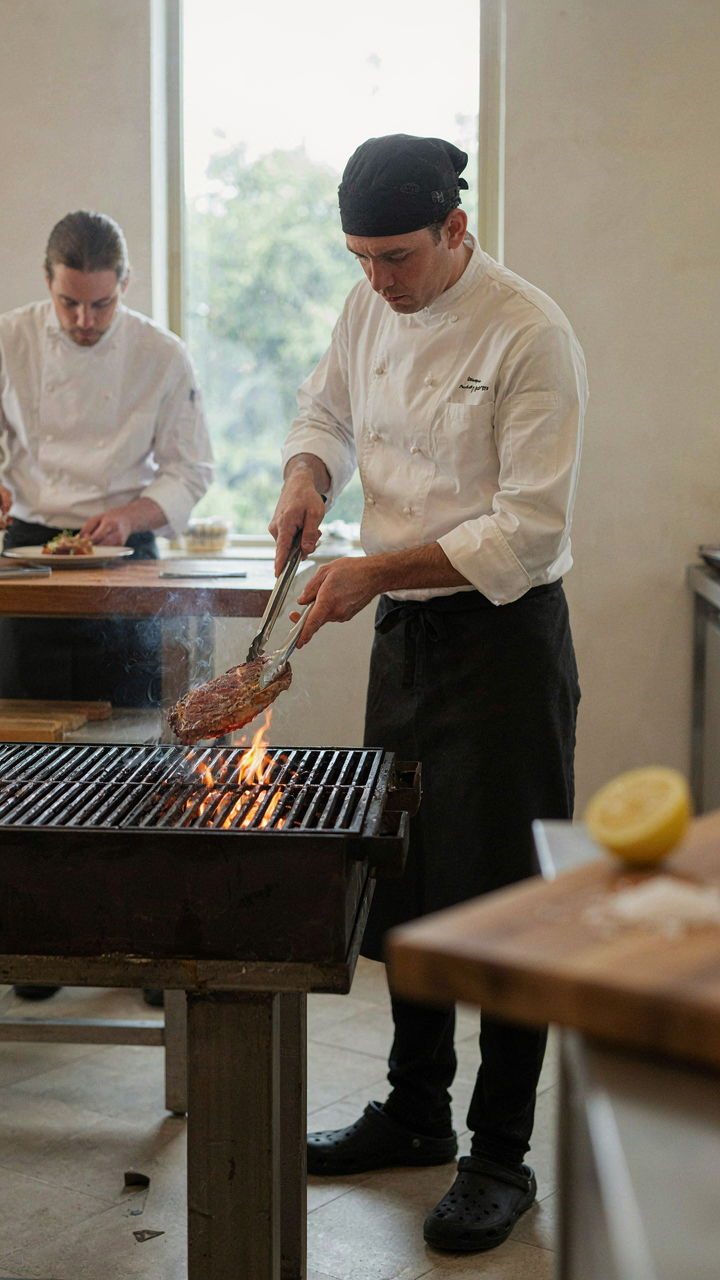
You want to look like you know what you’re doing without actually learning the physics. The real mechanism here comes from thermodynamics: direct heat means radiant energy hits food straight on, indirect means heat circulates around it. A grill grate positioned three inches above coals sears. Move that same grate eighteen inches up, and you roast. The tool doesn’t change. The distance and coal placement do.
Direct searing works when you need a crust on meat or vegetables. The high temperature causes the Maillard reaction, which builds flavor compounds through chemical change, not time. Indirect roasting cooks chicken through or draws moisture from root vegetables without charring the outside. Most people own grills but default to one method because they never tested the second. You need both in your repertoire to stop wasting food.
Temperature Control: The Art Of The Coals
Everyone talks about coal management like it’s mystical. It’s not. It’s resource allocation, borrowed straight from military logistics: positioning your supply determines your firepower in each zone. A campfire cooking grill functions because you control where heat concentrates, not because of the grate itself. Three hot zones on one grill serve different purposes simultaneously.
Build your coals into mounds of varying density. A dense mound under one section delivers extreme heat for searing. Spread coals thin ten inches away and you get low, steady roasting temperature. Leave a bare patch with no coals directly underneath and you have an emergency cool zone. Rotate meat through these zones based on what it needs at each stage. This is how you cook deliberately instead of gambling with flame and timing.
Campfire Cooking Accessories: The Optional, The Useless, The Essential
What Actually Works Versus What Sells

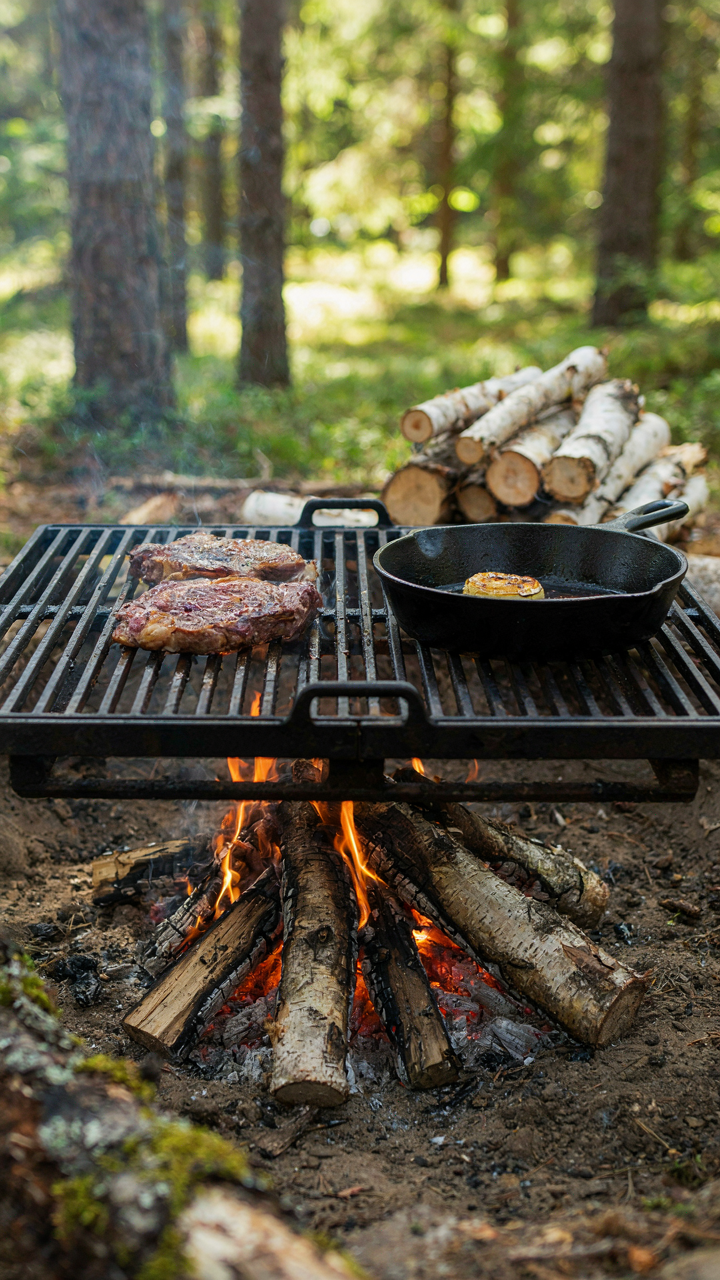
You want a tool that makes you feel prepared without admitting you’re anxious about looking incompetent at the fire. The real mechanism is friction: tools solve friction between intention and outcome. A grill grate reduces friction between raw meat and heat. A tripod reduces friction between hanging a pot and it tipping sideways. Everything else competes for pack space and attention. Most accessories exist because someone monetized a minor inconvenience, not because they solve a real problem.
The industry built around campfire cooking treats accessories like camping treated ultralight gear: marginal improvements get marketed as essential. You don’t need a rotating skewer or a specialized camp griddle to cook over fire. People cooked for millennia without them. But you do need items that directly control heat transfer, suspension, or containment. That’s the line. Everything on the market sits somewhere on a spectrum between those two poles.
The Forgotten Items That Actually Matter
Thermal dynamics borrowed from metallurgy applies here: expansion and contraction under heat stress determines tool longevity and safety. A tripod handle wrapper made of raw leather prevents burns and cracking of the metal beneath it. Most people buy tripods and learn this the hard way. Small items prevent accidents and wasted meals more reliably than flashy gear.
- Heat-resistant leather gloves or mitts: Protect hands from radiant heat and accidental contact with hot metal. Wool or suede works better than cotton, which ignites. Most people grab whatever’s closest and regret it immediately.
- Grate lifter or hook: A simple bent metal rod lets you adjust cooking grates without plunging your hand into smoke. Saves knuckles and prevents spills. Often overlooked because it seems too basic to matter.
- Metal skewers with flat cross-sections: Round skewers let meat rotate freely as you turn them, requiring constant correction. Flat skewers lock food in place. The difference between even cooking and charred-outside-raw-inside.
- Ash shovel or dustpan: A small metal scoop moves coals without scattering ash into food or eyes. Beats using sticks and improves heat management precision significantly. Most people improvise and lose control of their fire layout.
- Pot stand or trivet: A flat metal platform raises cookware slightly above coals, stabilizes uneven bottoms, and prevents direct contact that causes sticking. Works on stone, dirt, or uneven ground where legs alone fail.
These five items collapse multiple problems into single solutions. Skip any one and you’re managing workarounds instead of cooking. The protocol is simple: acquire each tool only when you experience the friction it removes, not before.
The “Post Cook” Cleanup Protocol For Campfire Cooking Tools
Immediate Care Extends Tool Lifespan
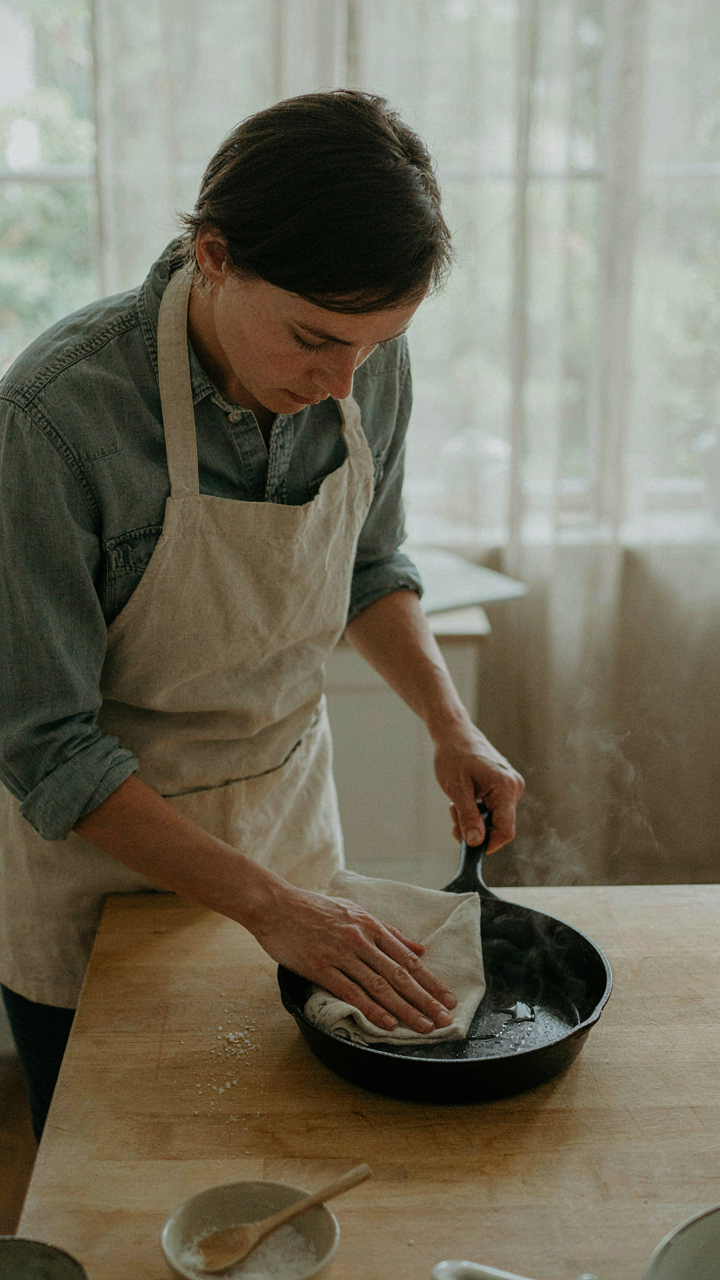
You want your tools to work next season without replacing them. The mechanism is simple: carbon buildup and moisture exposure degrade metal faster than time alone. Clean cast iron and steel while they’re still warm. Heat opens the metal’s pores. A dry cloth or stiff brush removes food residue before it hardens into a protective layer that later turns to rust. Work fast. The window closes within thirty minutes of the fire dying down.
Seasoning cast iron immediately after cleaning matters more than most people admit. Apply a thin coat of oil to warm metal. The heat helps the oil bond at a molecular level instead of just sitting on the surface. This isn’t tradition. It’s material science. Steel tools need the same treatment. Wipe them down, let residual heat dry any moisture, then oil them. Store them dry. Moisture is the enemy, not time.
Storage Solutions Preventing Rust And Damage
The common advice says hang your tools somewhere dry. That’s incomplete. Location matters less than what you’re storing them next to. Cast iron and steel rust faster near salt, acidic materials, or high-humidity zones. The electrochemistry of corrosion accelerates around certain compounds. Store cookware away from food waste, ash pits, and damp canvas. Use a dedicated, breathable container. Airtight storage traps moisture and guarantees rust.
Wrap individual tools in cloth or paper to prevent them from contacting each other during transport. Metal-on-metal contact in damp conditions creates a corrosion cell between the two pieces. Separate them. Use silica packets or crumpled newspaper in your storage box to absorb residual moisture. Check your tools before each trip. If you spot surface rust, scrub it off with steel wool or a wire brush before it penetrates the base metal.
The True Cost Of Over Organizing Your Campfire Cooking Tools
Setup And Breakdown Eats Your Actual Cooking Time

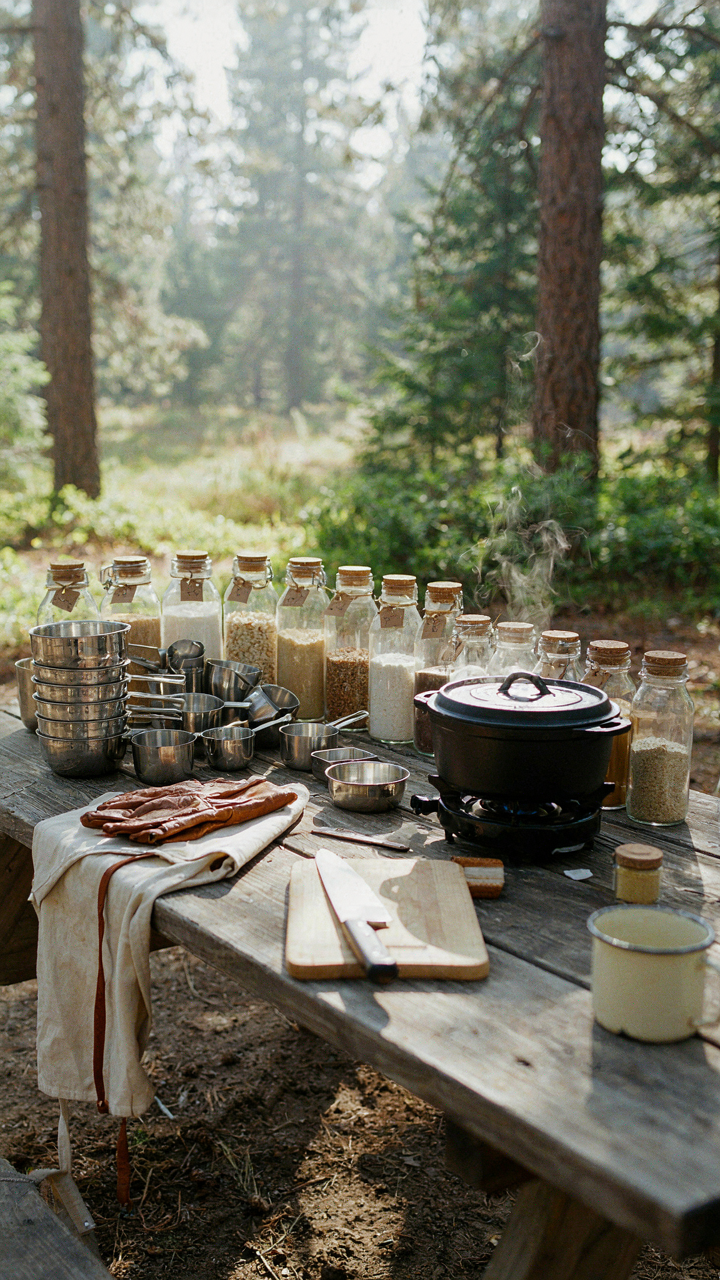
You want a system that makes you look competent. That’s the real reason you’re reading this. The mechanism is simple: every organizational layer you add multiplies the time between “I want to cook” and “food is ready.” A cast iron skillet and tongs require thirty seconds to access. A color coded storage system with compartments requires five minutes minimum to locate, arrange, and validate placement. You lose cooking time you’ll never get back.
Most people think organization saves time. It doesn’t. It creates the illusion of control while stealing the minutes that matter. A single canvas bag holding your essentials beats a curated toolkit every time. You grab it, you cook, you clean one bag. Done. The organization myth promises efficiency but delivers friction at every transition point between camp tasks.
The Weight Of Remembering What You Own
Cognitive load works like physics: more objects require more mental processing power to track and maintain. This applies directly to campfire tools. You don’t need to memorize where seventeen pieces of equipment live. That burden accumulates across every trip, every setup, every evening you spend mentally auditing your kit instead of cooking or relaxing.
The real answer isn’t better labeling or prettier containers. It’s subtraction. Reduce your tool count to core functionality: a grill grate, a tripod or adjustable rack, cast iron, long-handled utensils, and a heat source management tool. Your brain stops working when it has fewer decisions to make. Your campfire cooking stops when you spend mental energy on organization instead of technique.
The Illusion Of Perfect Gear Blinds You To The Mastery Of Fire Itself

Most people buy campfire cooking tools to avoid learning fire. They think the right equipment replaces skill. It doesn’t. A cast iron skillet in incompetent hands produces rubber. Your next campfire, forget the gear. Spend two hours understanding heat zones, wood types, and timing instead. Master those. Then your tools become extensions of something real. Everything else is just shopping.



