
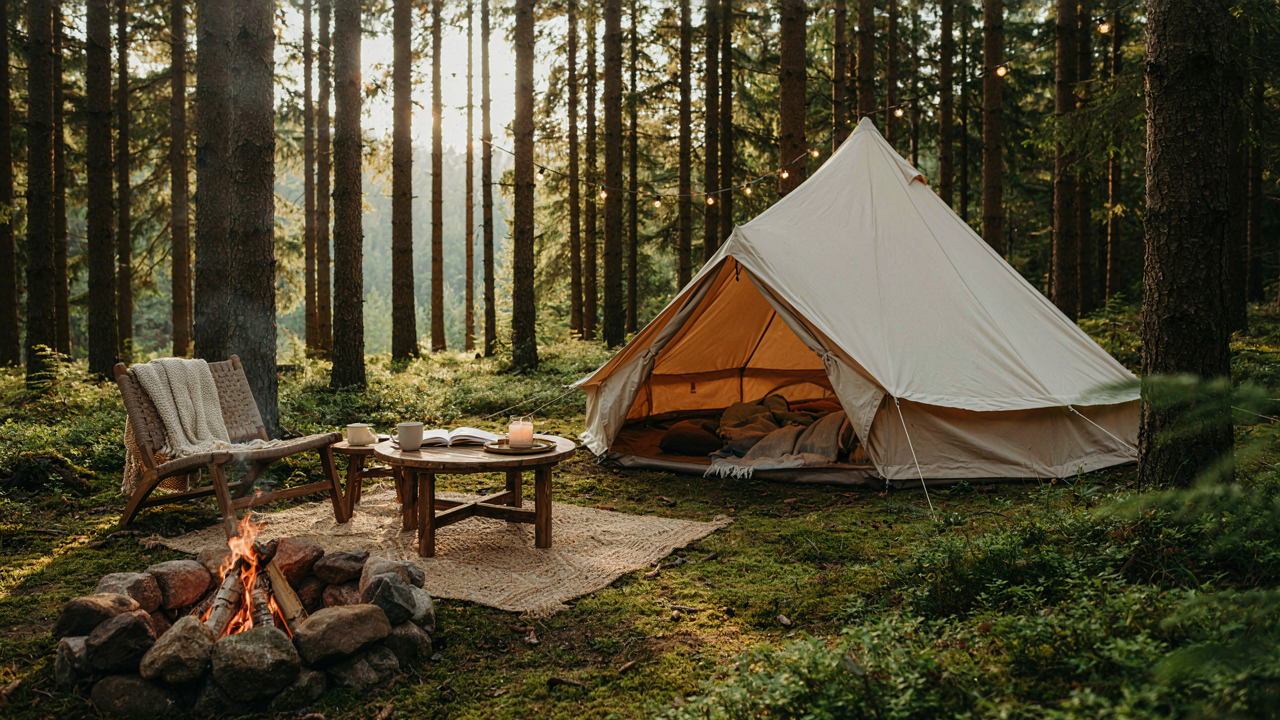
The Experience First Protocol For Luxury Glamping

Identify What Actually Breaks The Experience
You want people to think you’re comfortable out there, and you’re worried you’ll fail at it. That fear makes you buy the wrong stuff. The mechanism is simple: comfort isn’t about quantity of gear—it’s about removing friction from the specific activities you’ll actually do.
Most luxury camping advice treats comfort like a checklist. It’s not. It’s about identifying which single thing, if missing or broken, would make you leave early. For some people it’s temperature control. For others it’s a bad mattress or no hot water. Find yours first, then engineer around it. Everything else is negotiable.
Maximize Impact Per Dollar Spent
Economics calls this marginal utility—the value you gain from one additional unit of input drops as you add more units. Your first quality sleeping pad delivers ten times more comfort than your fifth throw pillow. This principle cuts through luxury camping setup directly: one excellent thing beats five mediocre things.
Start by spending heavily on items that contact your body for extended periods. Sleeping systems, seating, and bedding return the highest comfort-per-dollar. A quality cot with a thick mattress topper costs less than a premium glamping tent but changes everything. Lighting, storage, and aesthetics come next. Food prep and temperature systems come last if budget tightens. Spend where friction lives, not where Instagram does.
Repurposing: Your Secret Weapon For Cozy Camping
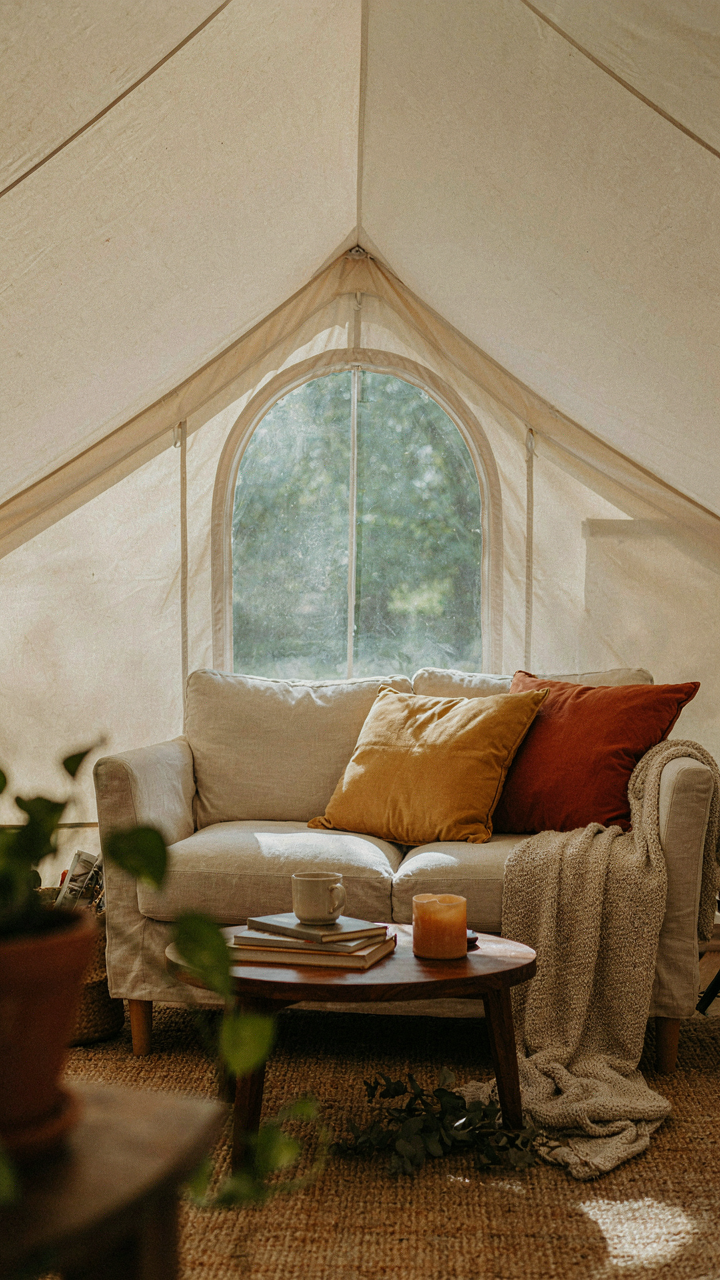
The Home Inventory Strategy

You want luxury without the price tag, which really means you want status without the financial risk. The mechanism is simple: high-end camping comfort already exists in your house. You’re not buying new gear. You’re identifying what you own that solves a problem better than cheap camping equipment does.
Start with bedding. A quality duvet and pillow from your bedroom outperforms a thin camping blanket because the materials are engineered for comfort, not weight savings. Wool blankets, quality cotton sheets, and memory foam pillows transfer directly to your tent setup. Your home already contains the solution. Bring it with you instead of buying budget versions marketed as “camping gear.”
Overlooked Sources Beat Retail
Everyone talks about buying camping stores out. That’s backward. The real leverage comes from hospitality surplus, restaurant supply, and vintage outdoor furniture that was built before “camping industry” became a marketing category. A quality wool military blanket costs less than half a branded camping blanket and performs identically. A stainless steel camp table from estate sales runs cheaper than REI equivalents.
Thrift stores and Facebook Marketplace carry genuine vintage Coleman stoves, cast iron cookware, and canvas tarps priced at a fraction of new. These items were designed for actual use in austere conditions, not Instagram aesthetics. Check military surplus shops for heavy-duty tarps, rope, and storage solutions. The pattern holds: older, functional gear built for durability costs less than modern gear built for convenience.
Strategic Lighting: The Aesthetic Multiplier In Your Camping Set Up
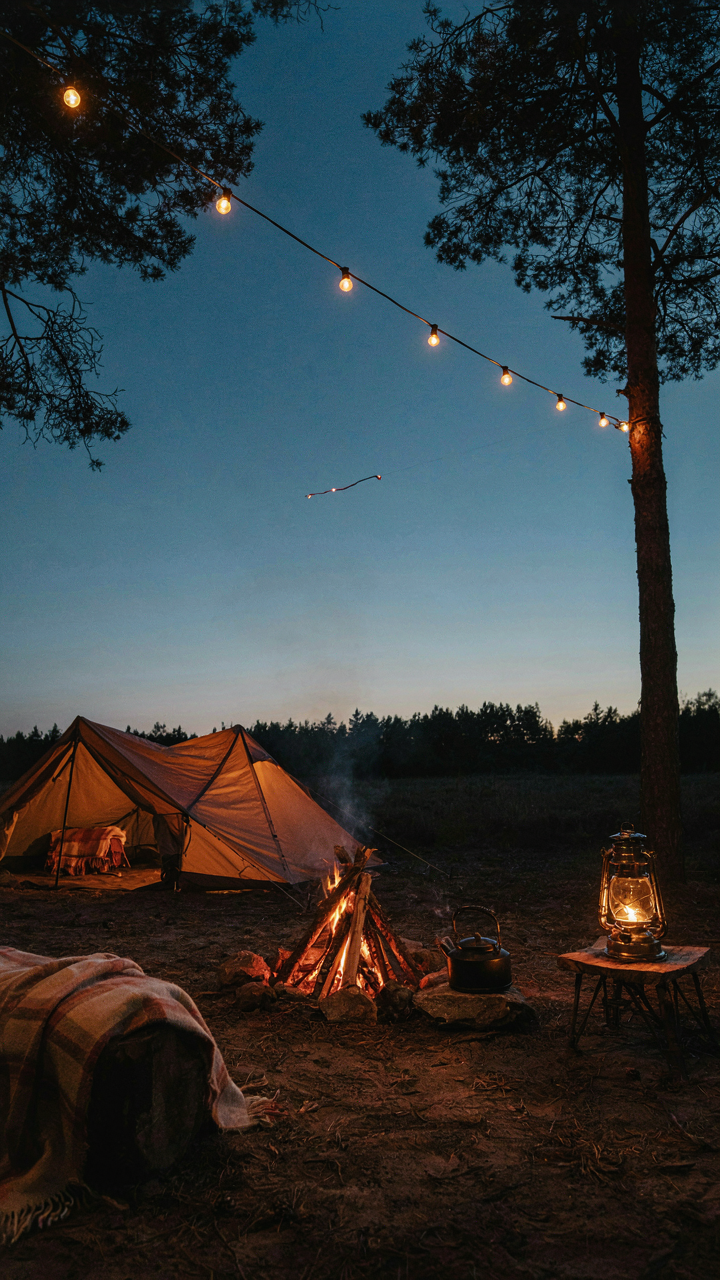
Layered Illumination For Ambiance, Not Just Utility

You want people to think you’re sophisticated without trying too hard. That’s why lighting matters—it signals competence and intention before anyone speaks. Lighting design borrows from architecture’s principle of layered depth: ambient light provides the base, task light handles function, and accent light creates hierarchy. In a camping setup, this means separating your overhead brightness from your directional glow from your subtle perimeter definition. Most people throw one bright lantern in the center and call it done. They’re wrong. That creates a spotlight effect that flattens everything visually and exhausts your battery.
The real move is spacing light sources so they reinforce each other without competing. A warm lantern at 40 percent brightness near your seating, a string of smaller lights marking your perimeter, and a focused reading light at your sleeping area create depth that makes your entire setup feel intentional. Warm color temperature (2700K or lower) compounds the effect because human psychology associates it with safety and quality. Start by mapping where people naturally gather, then position one light source 6 to 8 feet from that zone rather than directly above it. This single shift transforms how your space reads without spending more money.
Dramatic Effect Through Constraint And Reflection
DIY lighting hacks aren’t about ingenuity—they’re about redirecting light you already have instead of adding more. The constraint is your budget and power. Reflective surfaces are your mechanism. A simple white or silver backdrop behind a single light source throws illumination across a wider area than the light alone could cover, giving the illusion of brightness without doubling your power draw. Aluminum emergency blankets, white canvas panels, or even a pale tent wall work. Position them behind or beside your light source at a 45-degree angle to the area you want lit.
Lanterns with adjustable reflector bowls amplify this effect more than most people realize. A standard camping lantern at full brightness with an internal reflector can feel dimmer than the same lantern at 60 percent with the reflector adjusted to direct light outward. Test this yourself: rotate the reflector bowl inside any quality lantern and watch how the perceived brightness changes without touching the power dial. Battery-powered rope lights clipped to a tent frame create visual interest at minimal cost and power consumption. The key is never placing light sources where they shine directly into people’s eyes—that kills ambiance and wastes energy. Position all sources 3 to 4 feet above ground level and angled downward or outward.
The Biology Of Comfort: Sleep Optimization In Luxury Tents
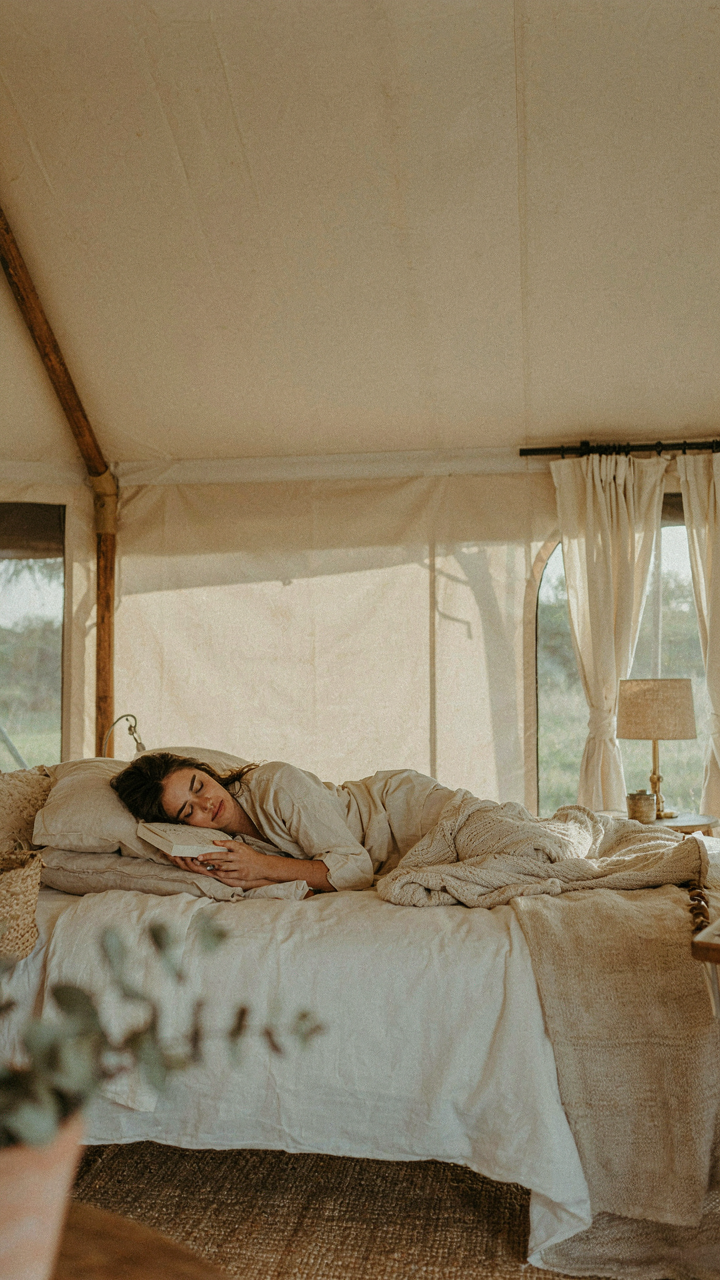
Circadian Alignment Under Canvas
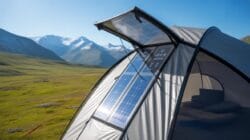
You want to sleep like you’re at home because you’re afraid camping ruins your recovery. Here’s what actually matters: chronobiology is the study of biological rhythms, and your circadian rhythm is the system that governs sleep onset and quality. Light exposure is the primary regulator of this system, not comfort alone. In a luxury tent setup, controlling light timing becomes your first-order lever for sleep performance.
Most camping advice misses this entirely. You don’t need blackout curtains just to feel cozy. You need them to suppress melatonin suppression from external light sources. When you control the light environment, your body’s internal clock stays stable despite the external camp setting. Set your tent to natural sunrise timing by positioning the entrance away from artificial camp lighting. This single decision compounds sleep quality faster than any mattress upgrade.
Temperature As Sleep Architecture
Temperature regulation isn’t about comfort—it’s about physiology. Your core body temperature must drop 2 to 3 degrees Fahrenheit to initiate sleep onset. A cold tent forces your body to waste metabolic energy maintaining warmth instead of cycling through sleep stages properly. The mechanism is straightforward: heat loss drives melatonin production and sleep consolidation.
The common mistake is layering too much insulation. This traps body heat and prevents the necessary temperature drop. Instead, use a sleeping system that allows active temperature adjustment without disruption. A quality sleeping bag rated 15 degrees below your expected low temperature gives you the margin to breathe and shed excess heat. Pair this with a closed-cell foam pad that insulates from ground moisture without trapping body heat. Your tent climate becomes a controllable variable, not a gamble.
Culinary Craft: Elevating Camp Meals Beyond Basic

The Setup That Actually Scales
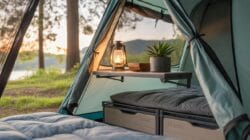
You want camp food to feel intentional because a mediocre meal erases the entire experience. That’s the real mechanism at work. A cast iron skillet and a quality cooler aren’t luxury items—they’re infrastructure. They compress what would take three pieces of equipment into one functional tool. Dutch ovens work the same way. One vessel handles bread, roasted vegetables, and braised meat. The common advice is to bring a camping stove and call it done. Wrong. A stove solves heating. A Dutch oven solves complexity. Temperature control comes from understanding heat retention, not from fancier burners. Bring a thermometer. Place your heat source off-center under the Dutch oven. Adjust placement, not intensity, to manage temperature zones inside the pot.
The equipment choice determines your prep speed and output quality. Most people underestimate how much better food tastes when you cook it properly instead of rushing it over an undersized burner. Invest in cast iron that’s already seasoned, not raw. Learn to clean it with salt and oil, never soap. This takes sixty seconds. Your meals will taste progressively better every trip because the seasoning compounds. The gear pays for itself in flavor alone.
Building Layers Without Complexity
Flavor comes from contrast and acid, not from carrying more jars. This applies a principle from chemistry: reaction, not volume, drives taste. Bring three items: quality salt, fresh lime or lemon, and one fat you actually like. Olive oil if you eat Mediterranean. Butter if you cook French. Ghee if you want heat stability. That’s your flavor foundation. Most camping meals taste flat because people skip acid and rely on heavy seasoning blends. Salt a steak properly. Add acid at the end. The acid wakes up every other flavor on the plate without making food taste sour. Your cooler holds fresh ingredients longer than most people realize because the temperature stays stable if you pack it right.
Build your meal around temperature contrast and texture variation. Serve something crispy with something soft. Serve something hot with something cool. A grilled piece of fish with a cold salad and warm bread creates the mental effect of a full meal, not monotony. Prepare one component per day so you’re not cooking for three hours on any single night. Day one: make stock or marinate meat. Day two: use that stock for a braise. Day three: use the braised meat for a different application. Rotate your cooler’s ice every morning to maintain temperature consistency throughout your stay.
Micro Environments Designing Zones For Relaxation In Luxury Camping
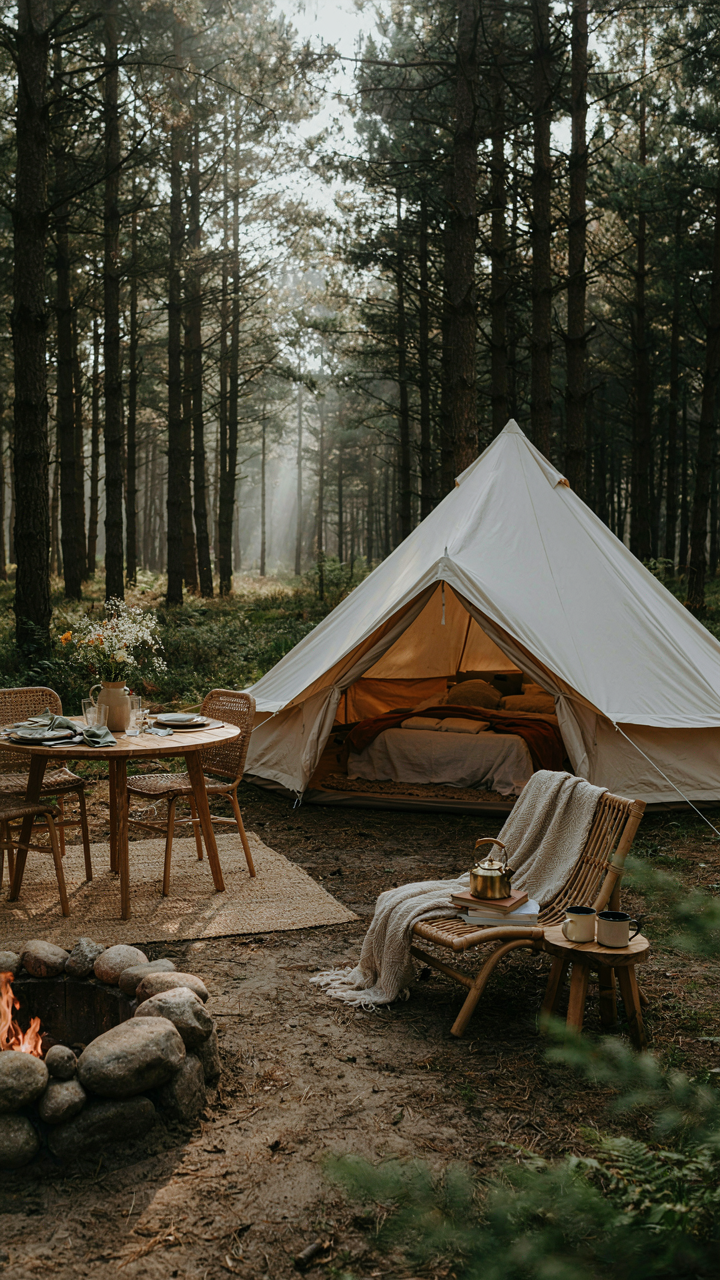
Distinct Areas For Activity And Rest

You want this because scattered comfort feels cheap, and your brain knows it. Zoning works on the same principle as real estate: value concentrates where function clarifies. When you separate sleeping, eating, and lounging into intentional zones, each space performs better and costs less to furnish because you’re not buying multipurpose mediocrity.
The mechanism is cognitive load reduction. Your nervous system doesn’t relax in a space doing five jobs at once. A dedicated fire pit zone with seating tells your body it’s time to sit. A sleeping zone removed from activity lets your parasympathetic system engage. You don’t need vast acreage. Twenty feet of separation between your tent and your gathering area creates the psychological distance that makes both zones feel more intentional than a clustered setup ever could.
Boundaries Created Through Natural Elements
Forget the idea that luxury camping means manicured perfection. The opposite is true: you use what’s already there. Trees, elevation changes, and rock formations are free barriers that work better than rope or fencing because they feel organic to the landscape, not imposed on it. This is ecological design applied to camping—working with existing topography instead of against it.
Deploy natural boundaries strategically: position your tent platform on higher ground away from the communal fire zone, let standing trees frame the perimeter of your rest area, use rock outcroppings or dense shrub lines to shield the sleeping zone from sight lines. These physical separations signal to your body and guests which spaces demand which behaviors. The setup takes no extra material cost. You’re reading the land and placing your infrastructure accordingly.
DIY Decor For A High End Camping Aesthetic

Inexpensive Accents That Signal Quality
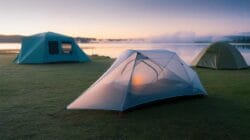
You want people to notice you’re doing something intentional out here, not just roughing it like everyone else. The mechanism is constraint signaling: luxury isn’t about quantity or price tags, it’s about deliberate choices in a resource-limited environment. When you curate instead of accumulate, people read it as taste.
The real mistake most people make is buying camping-specific decor. That stuff screams “I bought a bundle.” Instead, source items that work anywhere: linen throws, mismatched vintage glass holders, copper or brass accents. These pieces cost little individually but land harder because they’re not designed to scream camping.
- Linen table runners and napkins: Drape over camp tables to define the eating space. Linen wrinkles intentionally, which reads as natural, not neglected. Cost per piece ranges from three to eight dollars.
- Glass hurricane lanterns with candles: Skip LED fake flames. Real flame provides both light and warmth cues the brain reads as intentional luxury. Twenty to forty dollars per pair.
- Brass or copper camp cookware: Functional pieces that double as decor. Hanging cast iron or copper pots on a frame above the fire becomes a focal point, not clutter.
- Vintage or thrifted blankets: Layer on seating or drape from tent openings. Hunt thrift stores for wool blankets in solid tones rather than matching sets, which look corporate.
- Natural fiber placemats and coasters: Jute or rattan pieces ground the table visually. They’re cheap, replaceable, and their texture adds depth without fussiness.
The second layer is restraint. Pick five accent colors maximum and repeat them across items. A monochromatic scheme in khaki, cream, and bronze reads more expensive than rainbow variety because it requires editing. Editing costs nothing but attention.
Natural Elements As Design Focal Points
Wood, stone, and water become your architecture when you stop fighting the landscape. This is borrowed from landscape architecture, which uses the concept of “borrowed scenery”—framing what already exists rather than adding to it. Your camp setup should frame and amplify existing trees, rock formations, or water, not compete with them.
Most people treat the natural setting as background. They should treat it as the primary design element. Position your tent opening toward a view. Arrange seating to face water or mountain lines. Build your fire circle where the backdrop is strongest. The site location becomes the art, and your setup becomes the frame.

The fire pit itself can anchor the whole aesthetic without extra work. A simple ring of stones already there, or stones you source locally, creates geometry. Arrange camp chairs in a semi circle facing the fire rather than scattered. String a single line of Edison bulbs between two trees if you want lighting that doesn’t fight the natural light pattern at dawn and dusk. That’s one intervention, not ten.
The rule is simple: remove before you add. Clear dead branches from your immediate area. Rake leaves to define the perimeter. These acts cost zero dollars and signal intention. You’re not camper-dumping, you’re claiming the space with respect. That distinction lands harder than any store bought decoration.
The Minimalist Maximization Approach To Camping Inspiration
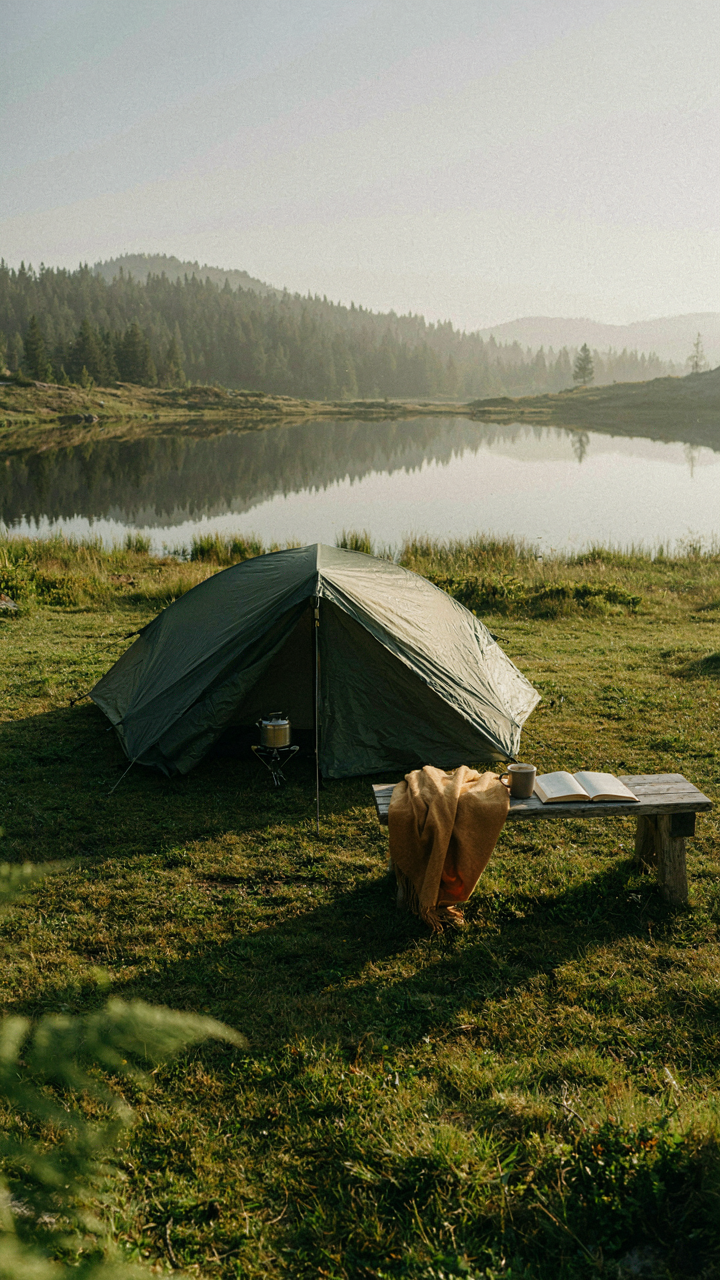
One Piece Does Three Jobs
You want the aesthetic of luxury without the garage full of single-use gear. That’s the real motive here, and it’s not about being frugal—it’s about not being stupid with space and money.
The mechanism is leverage from industrial design. A cargo item’s “load factor” in engineering terms is the ratio of useful work it performs relative to its weight and volume. A sleeping pad that inflates into a daybed frame, then deflates into a portable seat cushion, has a three-to-one load factor. Most camping gear has a one-to-one factor: it does one thing. This is the gap where waste lives.

The Coleman cooler with the hinged flat top isn’t luxurious. But it becomes luxury infrastructure when it functions as a counter surface, a bench, a storage locker, and temperature control. A canvas cot with heavy-duty fabric doesn’t look premium until you realize it stores 40 pounds of gear underneath, elevates you off wet ground, and serves as a second sitting surface around the fire. A tripod lamp with adjustable arms replaces both task lighting and ambient lighting—two separate purchases. Start here: identify what you already plan to do at camp, then find single pieces that service multiple activities.
The rule is simple: no item earns its place without serving at least two distinct functions during your trip. This cuts clutter by 40 to 50 percent while forcing you to buy better-constructed pieces since they’re working harder.
Anchor Spending On Real Durability
Generic advice says buy cheap, replace often. That’s how you end up buying a tent three times in five years while thinking you’re being smart. The actual mechanism is material science and failure patterns.
Nylon degrades under UV exposure. Canvas resists it. Aluminum corrodes near salt water. Stainless steel doesn’t. A 400-dollar canvas bell tent lasts 10 to 15 years with basic maintenance. A 150-dollar nylon tent fails at seams and zippers in three years. The per-year cost isn’t lower on the cheap option—it’s higher, plus the friction of replacing it repeatedly. This math breaks the “save money by buying budget” narrative people accept without checking.
Foundational pieces are the frame of your setup: your tent, your sleeping system (pad plus bag), and your shelter from elements. These touch your body and protect your gear daily. Invest here first. A quality sleeping pad costs 200 to 300 dollars but lasts eight years. A budget pad costs 40 dollars and fails in 18 months. Secondary items—cooking equipment, storage, lighting—can stay mid-range because they see less stress and weather exposure. Identify which pieces you’ll use every trip, then pay for longevity on those. Everything else can stay affordable. Your anchor purchases create the reliability floor. Everything else builds on it.
Weatherproofing Your Comfort: Practical Resilience For Luxury Camping
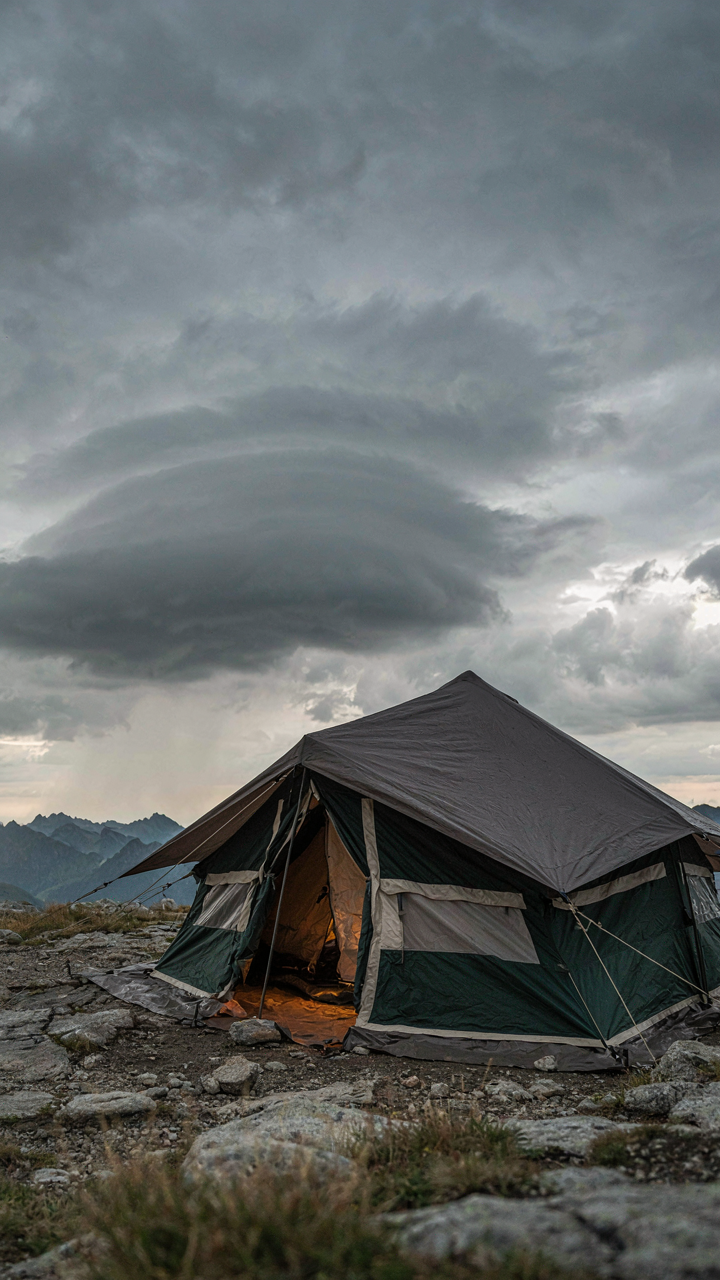
Shelter Augmentation Against The Elements
You’re worried about looking foolish when your expensive tent fails in the rain. The real mechanism is this: most luxury camping setups fail because people treat the tent as the only barrier instead of a layered system. Military field operations use redundancy doctrine—multiple defensive layers so one failure doesn’t collapse the mission. Your shelter needs the same approach.
Start with your tent’s weak points: seams, zippers, and the floor bathtub. Pre-seal seams before the first trip using a purpose-built seam sealer, not caulk. Add a ground tarp underneath that extends beyond the tent’s footprint by 12 inches minimum. Position the tent on high ground away from runoff channels. These aren’t optional upgrades—they’re the difference between a dry night and replacing gear.
Gear Protection And Quick Response Strategies
Most people pack expensive equipment and hope it stays dry. That’s not a strategy. Use dry bags for electronics, documents, and clothing—not because they’re trendy, but because they compartmentalize risk. Wet gear doesn’t just ruin one item; it ruins your entire trip through domino failures.
Set up a gear staging area under your canopy or secondary tarp before weather hits. Keep frequently accessed items in waterproof pouches within arm’s reach. Establish a protocol: when wind speed rises or clouds darken, move exposed equipment under cover within five minutes. This prevents scrambling in actual bad weather. Pack backup batteries and a manual fire starter in separate sealed containers so you maintain function when primary systems fail.
The Real Obstacle Isn’t Your Budget; It’s Your Imagination. Break Free From Generic Glamping Expectations

You already own half of what you need. A decent tent. Blankets. A cooler. The gap between camping and luxury camping isn’t money, it’s intentionality. Stop buying Instagram setups and start stealing from five-star hotels instead. Today, screenshot one luxury hotel room you’d actually sleep in, then reverse engineer it into your next trip. The difference between broke camping and rich camping is deciding your comfort matters before you leave home.



