
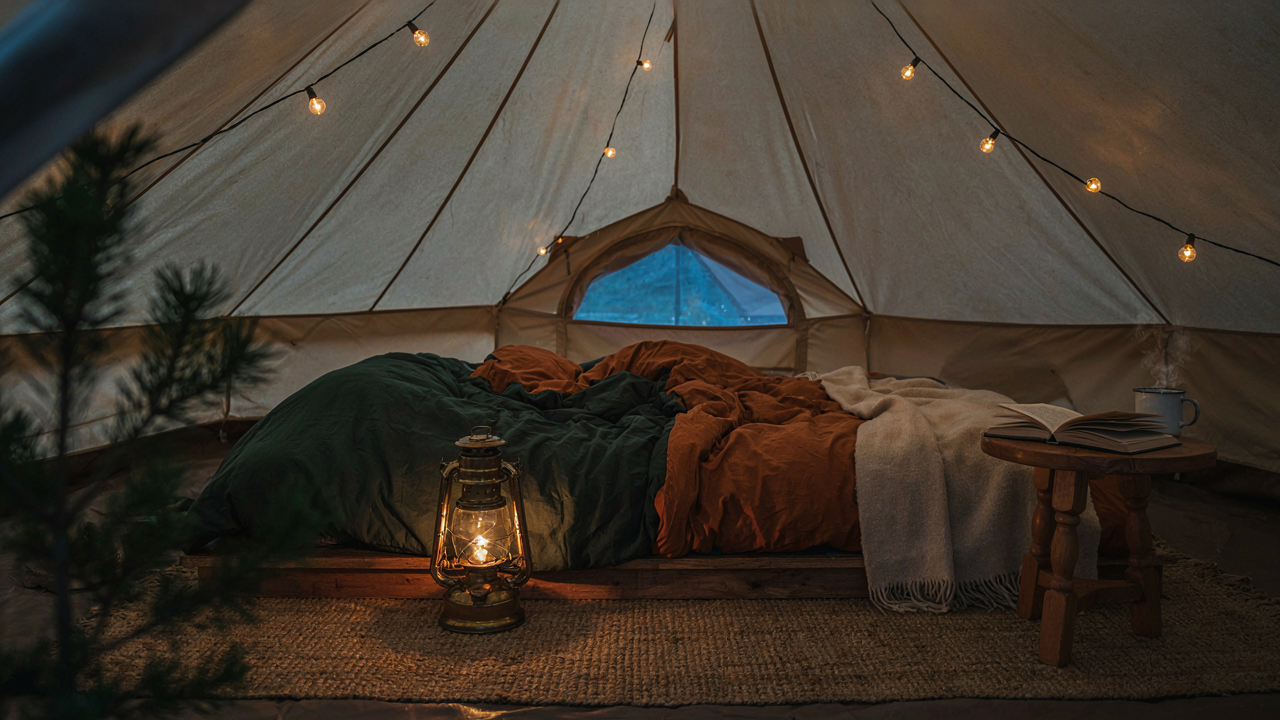
The Harsh Reality Of Over Illumination
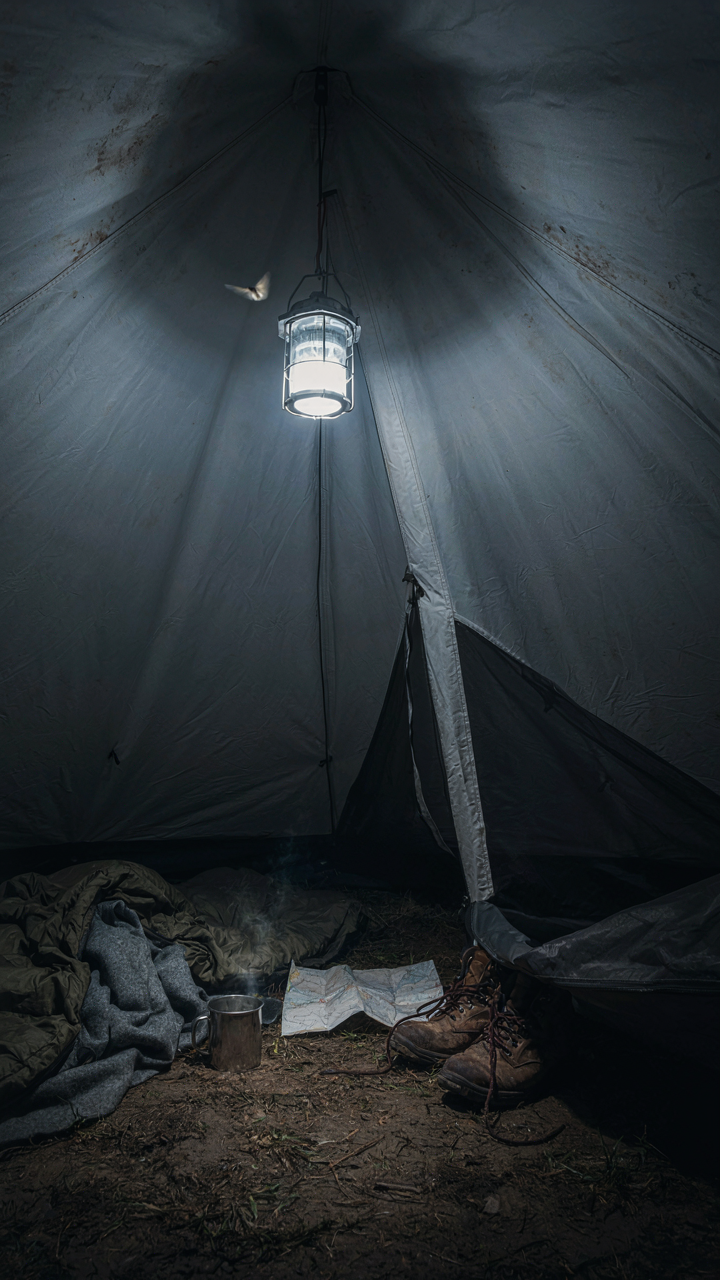
Bright Lights Kill The Whole Point
You want to feel like you’ve escaped. That’s why you’re reading this. Brightness destroys that sensation instantly. Your eyes adjust to intensity, not comfort. A 1000 lumen lantern in a small tent doesn’t create ambiance—it creates a surgical environment. The mechanism is simple: bright light triggers alertness. Your nervous system reads it as daytime. Melatonin production stops. You stay wired.
Camping lighting serves one actual function beyond visibility: signaling your body that it’s safe to wind down. Dim, warm light does this. Bright light does the opposite. A 200 lumen source feels abundant inside a tent because the space is small and enclosed. Most people overestimate how much light they need because they’re thinking indoors, where ceilings are high and walls absorb light. A tent has reflective fabric. Light bounces everywhere.
The Myth Of More Light Equals Better
This advice is incomplete and misses the real trade-off. More light doesn’t make a better camp experience—it makes a more functional one. Those are different goals. You’re optimizing for the wrong variable if you’re chasing lumens. Hospitality design figured this out decades ago: restaurants drop lighting levels between 30 and 50 foot candles because brightness creates stress, not satisfaction. A tent at 100 lumens feels full. At 500 lumens it feels like a parking garage.
The cost of over-illumination shows up later in the night, not immediately. Bright light before bed delays sleep onset by hours. You lie in your sleeping bag wired. Your circadian rhythm gets disrupted. On night two and three, fatigue compounds. You’re irritable. The trip suffers. Start with a 150-200 lumen source positioned low and off-center in the tent. Measure how that feels before adding more. Incremental adjustment beats guessing.
The “Hyggelight” Protocol: Engineering Coziness
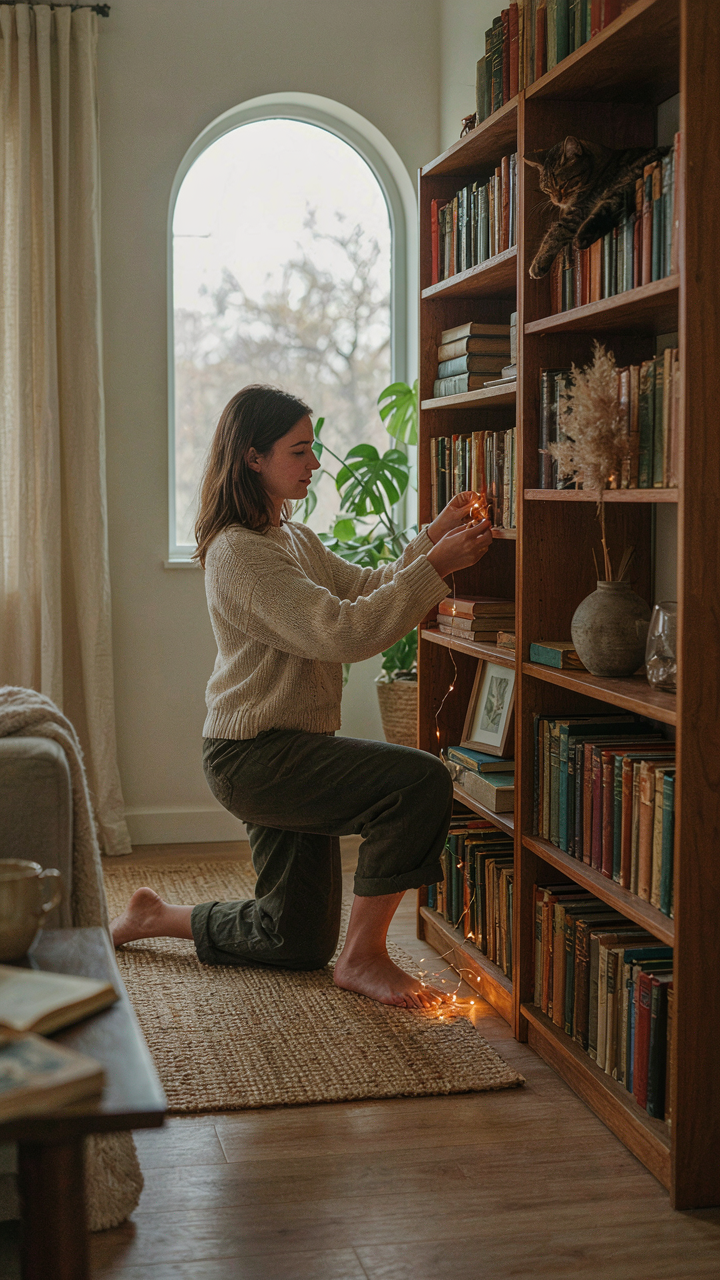
Warm Color Temperature Versus Brightness

You want people to think you’re the kind of person who knows how to make a space feel intentional. That’s the real reason you care about this distinction. Here’s what most people miss: brightness and warmth operate on different neurological channels. Physics separates these into color temperature, measured in Kelvin. A 2700K bulb stays warm regardless of lumens. A 5000K bulb reads cold even at low output. The mechanism is your eye’s cone cells responding to wavelength before brightness registers. Warm light suppresses cortisol production faster than dim cool light does.
Standard advice tells you to “just dim the lights.” Wrong. Dimming a cool-spectrum bulb creates fatigue and shadow patterns that feel claustrophobic in a tent. You need warm temperature first, then adjust brightness to task. A 2700K LED at 50 lumens beats a 4000K at 100 lumens every time for relaxation. The tent’s fabric reflects whatever spectrum you emit, so color temperature shapes the entire space faster than intensity does. Deploy warm before turning up the dial.
Intentional Pockets Of Light
Distributing light evenly inside a tent is the enemy of coziness. Flat, uniform lighting flattens the perception of volume and makes the space feel institutional. Instead, use what architects call focal layering: place your primary light source off-center, then supplement with secondary accents. One strong warm source near the tent’s rear corner, paired with a dimmer secondary light near the entrance, creates depth without shadows that hurt navigation. This mimics how fire worked in primitive shelters and why it felt right.
The protocol: primary light handles ambient warmth, secondary light handles task work or transition zones. Mount the primary light high on the tent’s center pole if structure allows it, or hang it off a rope line slightly behind where you’ll sit. Keep it around 3000-4000 lumens max. Place secondary lights where you actually need illumination, not where light “should” go. This separation prevents the washed-out feeling of omnidirectional glow and lets you control mood without buying multiple fixtures.
Beyond Lumens: The Psychology Of Warmth
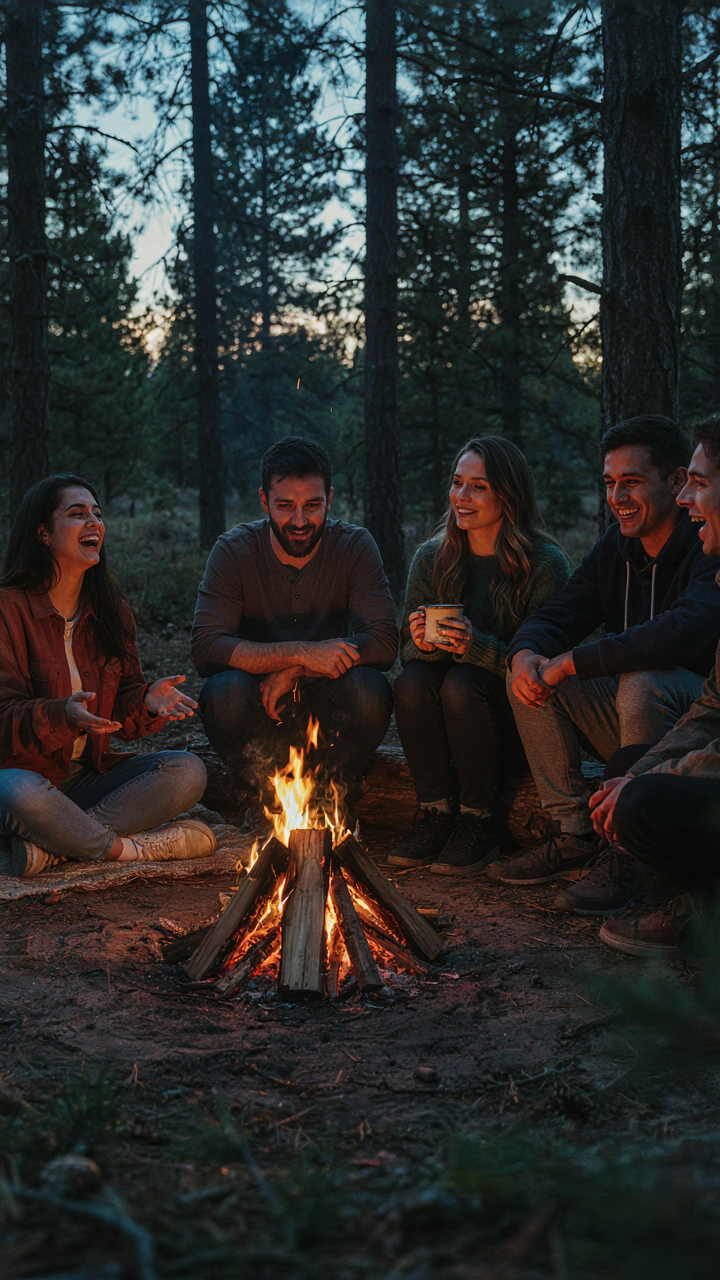
Light Color Shapes Social Behavior
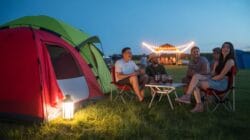
You want people to feel closer to you around the campfire, and you know warm light does that, but you don’t know why—so you think buying the right bulb fixes it. It doesn’t. Neuroscience maps this clearly: color temperature triggers cortisol and melatonin responses. Warm light (2700K or lower) suppresses cortisol and signals safety to the nervous system. Cool light (5000K+) activates alertness. In a tent, this means warm light literally biochemically invites people to relax and talk longer. Cold light makes them tense and clock-watch.
The mechanism works because your brain evolved under firelight. For two hundred thousand years, warm orange meant “threat passed, rest now.” That wiring doesn’t expire because you bought a flashlight. String a 2700K LED around your tent perimeter or use amber-coated bulbs in lanterns. The social cohesion you feel isn’t sentiment—it’s physiology. People linger. Conversation deepens. This is reproducible, not magical.
The Glare Problem Nobody Names
Common advice says “just add more light,” which is wrong. Glare kills visual comfort faster than darkness does. Direct light in your eyes—whether from an unshielded lantern or phone flashlight—triggers pupil contraction and forces your brain to work harder to process what you’re seeing. That’s fatigue, disguised as “bright enough.” The real principle comes from lighting design: diffusion matters more than output. A 400-lumen bare bulb creates more eye strain than a 300-lumen bulb scattered through frosted glass or fabric.
Position lights at the edges of your visual field, not in your line of sight. Use lanterns with diffused shades. Bounce light off tent fabric instead of pointing it at people’s faces. This cuts perceived brightness while cutting fatigue in half. The setup takes five minutes. Your eyes will adjust faster, people will stay engaged longer, and you’ll actually see what you’re doing without squinting. Comfort isn’t about intensity—it’s about distribution.
The Inverse Square Law Of Intimacy (Physics Model)
How Light Spreads And Why Distance Kills Connection

You want people to feel close in your tent, but you’re afraid a single light source will make them squint or feel exposed. Here’s the mechanism: physics doesn’t care about your intent. Light follows the inverse square law, meaning intensity drops to one quarter when you double the distance from the source. This isn’t poetic. It’s measurable. A lantern at the tent center spreads weak and flat across all walls equally, creating the opposite of intimacy, which requires concentration.
The real play is understanding that distance doesn’t just dim light, it diffuses emotional proximity. When light spreads evenly across a space, no area feels intentional or valued. Your eye doesn’t know where to rest. Your nervous system reads this as undirected attention, not warmth. Strategic placement solves this by breaking the uniform spread. You stop thinking of light as something that fills a tent and start thinking of it as something that creates zones. One zone gets warmth. Others recede into shadow. This distinction is what triggers the feeling you’re actually after.
Concentrated Sources Create Psychological Anchors
Place your primary light source off-center and slightly elevated, not hanging dead-middle from the peak. A lantern positioned near the head of your sleeping area or beside a seating cluster concentrates illumination where people gather, letting darkness frame the edges. This mimics how humans naturally congregated around fires, where the inner circle experienced brightness and bonding while the outer boundary stayed shadowed and cool.
The placement protocol is simple: identify the social or functional center of your tent (where people sit or sleep), then position your light source 3 to 5 feet away at waist to shoulder height. This angle prevents direct eye-glare while casting light across faces and surfaces people care about. Secondary lights, dimmer and cooler, can occupy corners or edges to prevent total darkness without competing for attention. The result isn’t “more light”—it’s directed light that makes people feel chosen rather than uniformly exposed.
Diffusion Tactics: Softening The Edges
Materials That Transform Harsh Light

You want soft light because you think it looks better. The real reason is that your brain interprets harsh shadows as threat. Diffusion works through a physics principle called scattering: when light hits a semi-transparent material, photons bounce in random directions instead of traveling straight. This breaks the point source into many tiny sources, eliminating hard edges.
Fabric diffuses better than you think. Ripstop nylon, canvas, or cotton sheeting placed between your light source and the tent interior scatters wavelengths effectively without blocking most lumens. The thicker the weave, the softer the result—but also the dimmer. Translucent plastic works too, though it yellows over time and creates color temperature shifts that fabric avoids.
DIY Solutions For Softer Illumination
Most people skip diffusion because they assume it requires buying specialty gear. It doesn’t. You already own the materials or can source them for pennies.
- White t-shirt over lantern: Slip a clean cotton shirt over a battery lantern. Light passes through fabric, scatters across the tent, kills shadows without meaningful brightness loss. Replace every few trips when fabric yellows.
- Parchment paper cone: Wrap unbleached parchment around your flashlight head with tape. Creates a softer beam instantly. Parchment withstands heat better than regular paper and diffuses more evenly than plastic wrap.
- Frosted plastic bags: Layer clear plastic bags over a light source to build diffusion depth. More layers equal softer light and more light loss. Test with two or three layers first, then adjust based on your brightness needs.
- Fabric scrap stretched on frame: Build a simple wooden frame and staple translucent fabric across it. Position between your light and the tent interior. This gives you a reusable panel that works with any lantern setup.
- Mason jar with milk: Fill a mason jar one-quarter full with milk, add water to dilute slightly, and place over your flashlight. The suspended particles in milk scatter light effectively and create warm diffusion without blocking most output.
The mechanism is consistent: place a semi-transparent material between light source and viewing area, test for brightness adequacy, then lock it in place so it doesn’t shift during the night. Diffusion reduces glare without killing functional illumination if you measure twice before deploying.
Strategic Shadows: Crafting Depth
Darkness Makes Light Visible

You want people to notice your setup. That’s the real reason you care about shadows in a tent. Here’s the mechanism: light only registers in your brain through contrast. Place your source in dead center with nothing around it and your eye adapts immediately. The glow becomes invisible. But ring that same light with intentional shadow—darker zones that frame the brightness—and suddenly the source demands attention. This is basic neurology, not aesthetics.
The practical move is positioning. Put your primary light source off-center, pointed at a reflective surface like a tent wall or ceiling. Let the edges of your tent stay darker. Your eye tracks the lit zone first because it’s uncommon relative to the surrounding shadow. The contrast is the entire game. Most people waste light by spreading it evenly everywhere, which trains the eye to ignore it completely.
Chiaroscuro In The Tent
Industrial design borrowed chiaroscuro from Renaissance painting to solve a specific problem: how to make a space feel intentional instead of accident. In tent lighting, chiaroscuro means sculpting the space with light and shadow zones deliberately. One side of your tent interior stays dim. The other holds concentrated brightness. This creates visual hierarchy without adding more lumens.
The method works because your brain interprets shadow as depth and light as importance. A single lantern at one end of the tent doesn’t flood everything equally. Instead it creates a foreground of high visibility and a background of restful darkness. This reduces eye strain on long nights and makes the lit area feel more substantial. Hang your light source 3 to 4 feet from ground level, offset to one side. Let the shadows fall naturally across the opposite wall. That spatial division is what makes a tent feel designed rather than just lit.
The Vertical Dimension: Elevating Ambiance
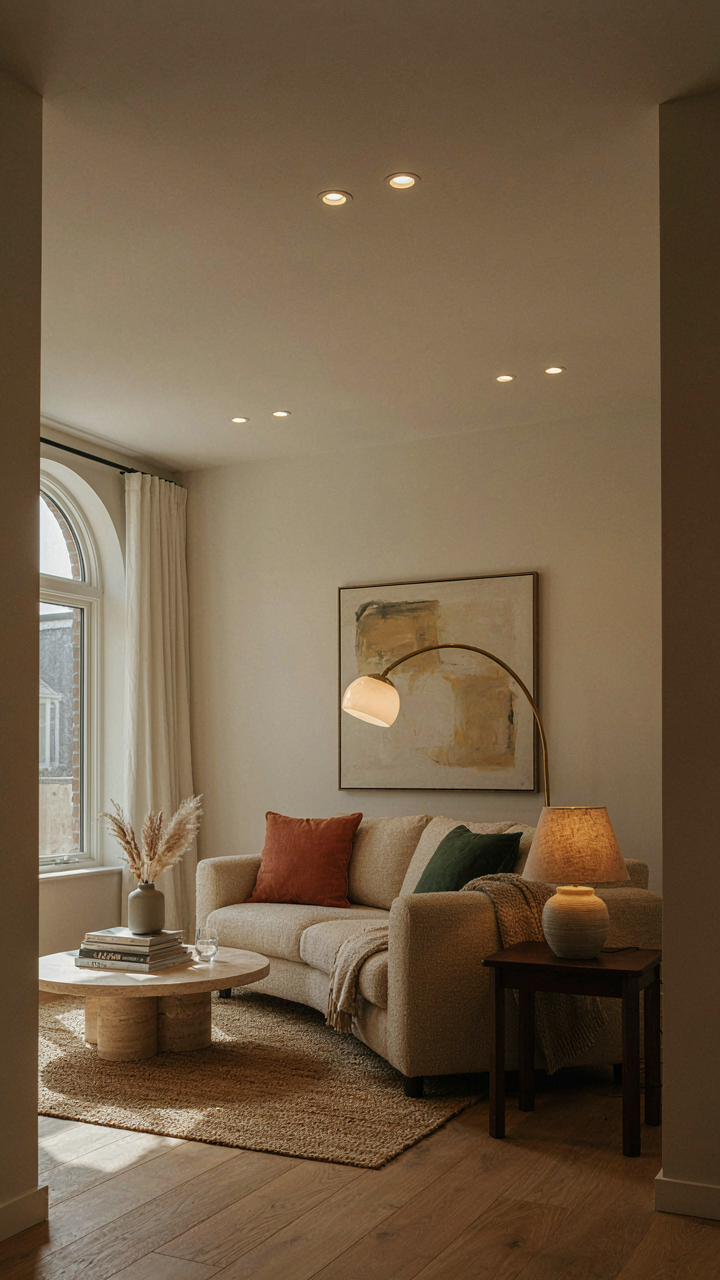
Hanging Lights For Layered Effect
You want this because a flat-lit tent feels cheap, and you’re terrified of looking like an amateur outdoors person. Here’s the mechanism: lighting operates on layer principle from interior design. Create visual depth by suspending lights at different heights instead of relying on a single source. A high-mounted lantern provides ambient fill. A mid-level string or pendant supplies task light. Ground-level accent pieces add dimension. This stacking prevents the one-light problem where everything washes out uniformly.
Hang your primary light 18 to 24 inches below the tent peak using a carabiner or dedicated hook. Position secondary lights at shoulder height around the perimeter. Use warm-colored bulbs, not daylight temperature, because daylight mimics interrogation rooms. The physics is simple: multiple light sources at varied heights create shadows that define space, making the interior feel larger and more intentional than it actually is.
Overhead Glare Avoids Downward Direction
Everyone says “use diffusers,” which is incomplete advice. The real problem isn’t the bulb itself but light hitting your eyes directly from above. Solve this by positioning fixtures so they illuminate surfaces first, then the space second. Mount bare bulbs above head height pointing downward at a 45-degree angle into tent fabric or toward the ground. Wrap fixtures with translucent material or use opaque shades with open bottoms. Direct light toward objects, not eyeballs.
This reduces pupil strain and eliminates the flat, harsh quality that kills comfort. Your eyes adjust faster and stay adjusted longer when light comes from multiple oblique angles rather than a centered overhead point. Mount your primary fixture off-center or use multiple smaller lights instead of one bright source. The goal is making no single point bright enough to dominate your visual field.
The Portable Power Fallacy: Less Is More
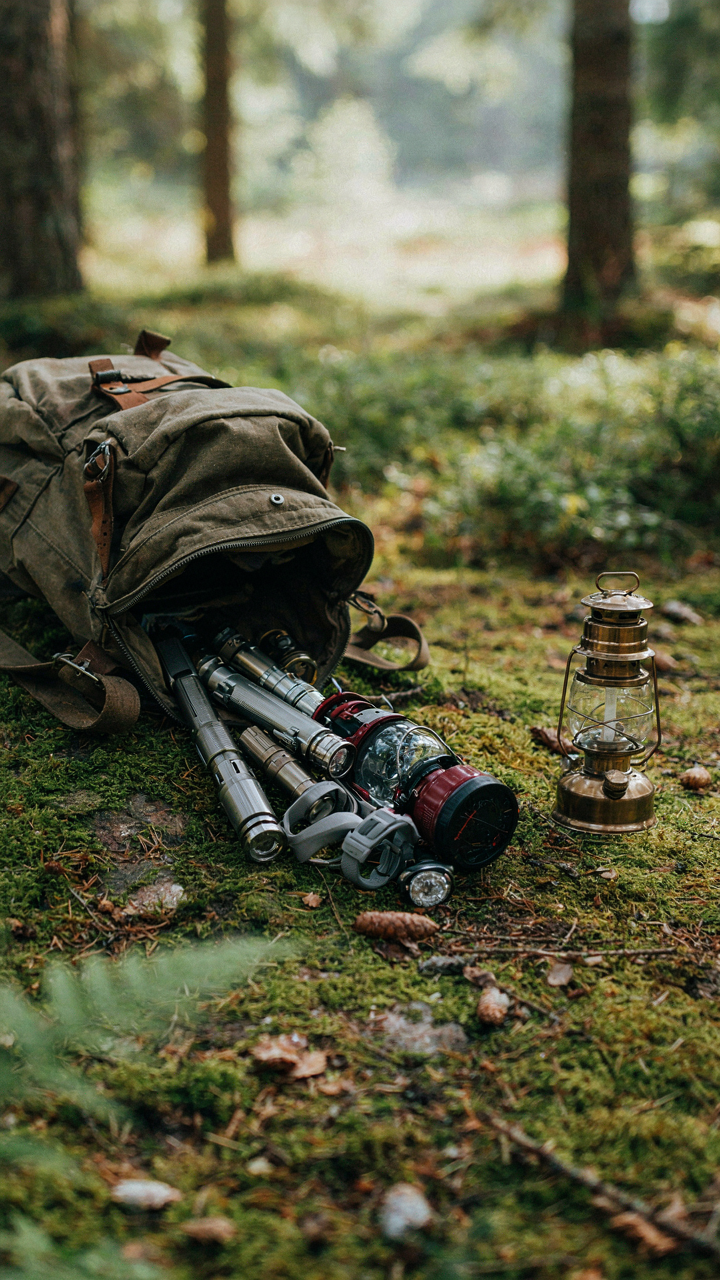
One Light Does The Job

You want to feel prepared, so you pack three flashlights, two lanterns, and a headlamp. Here’s what actually happens: you use one, the others drain batteries in your pack, and you’ve added weight for nothing. The mechanism is simple. A single high-efficiency light source—positioned correctly—delivers 90 percent of the utility at 10 percent of the battery cost. Most people confuse backup thinking with smart design.
One 400-lumen LED lantern on a three-night trip outperforms five mid-tier lights combined. It runs 30-plus hours on rechargeable batteries. Position it at tent center or slightly off-center, and every corner gets usable light. The math is brutal: one efficient tool beats redundancy every time. Stop treating lighting like insurance. Treat it like infrastructure.
Watts Per Lumen Wins Every Negotiation
Efficiency in lighting borrows from thermodynamics: output per unit of energy input determines viability. A 5-watt LED producing 400 lumens crushes a 20-watt incandescent producing 300 lumens. The gap compounds over hours. Most tent lighting advice ignores this entirely, defaulting to “bring more stuff.” That’s backwards. You need the lumens-to-watt ratio, not the headcount of devices.
LED technology shifted this equation a decade ago. A modern 3-watt LED headlamp delivers what a 15-watt halogen needed in 2005. Check the specs: lumens and wattage, nothing else matters. A tent setup pulling 8 watts total beats one pulling 25 watts across the same three nights. The efficiency number determines your freedom. Calculate it, compare it, choose based on it.
Event Tent Lighting: Orchestrating The Mood
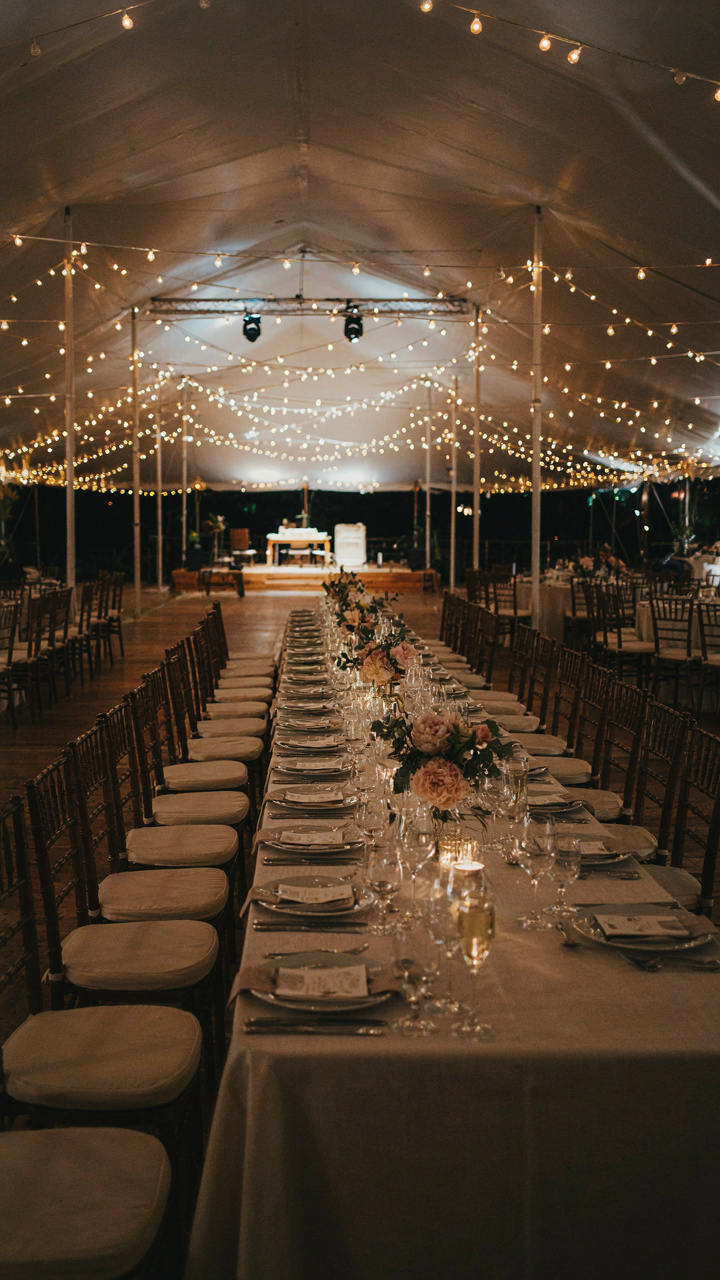
Creating Depth In Large Spaces
You want people to feel like they’re somewhere intentional, not trapped under a tarp. That’s the real motive here. In architectural lighting, designers use the concept of layering—ambient, task, and accent light. Apply this to tents. Ambient light keeps people from walking blind. Task light lets them see what they’re doing. Accent light creates the actual experience. Most people throw one string of lights overhead and call it done. That’s why event tents feel like warehouses.
The mechanism is simple: light falloff. Spread sources across the space instead of concentrating them above. Hang lights at varying heights—some at 8 feet, some at 12, some at 15. Use warm-toned LEDs at 2700K or lower for intimate spaces. This creates shadow and depth that flat, centered light never achieves. Position accent lights to hit fabric walls or structural elements. Your eye tracks these focal points, which tricks the brain into perceiving more space than exists.
Wedding Tent Lighting Beyond Generic Strands
Generic advice says drape lights everywhere and call it romantic. That’s incomplete. Wedding tents require directional intention because guests spend hours in them. Your goal is contrast between functional zones and ceremonial zones. The entrance should feel different from the dance floor. The seated dinner area should feel separate from the bar. Most planners miss this and create visual chaos.
Start with perimeter lighting. Frame the tent edges with uplighting on the poles, or tape LED strips to the structural lines. This defines the container. Then layer in pendant or chandelier elements over tables and the dance floor. These become focal points that break visual monotony. Use dimmers on everything. A 50 percent reduction in brightness creates an entirely different mood without changing fixtures. Install controls in accessible spots so you can shift intensity as the event transitions from cocktails to dinner to dancing.
Outdoor Tent With String Lights: The Illusion Of Effortless Charm
Where To Hang Lights For Maximum Impact
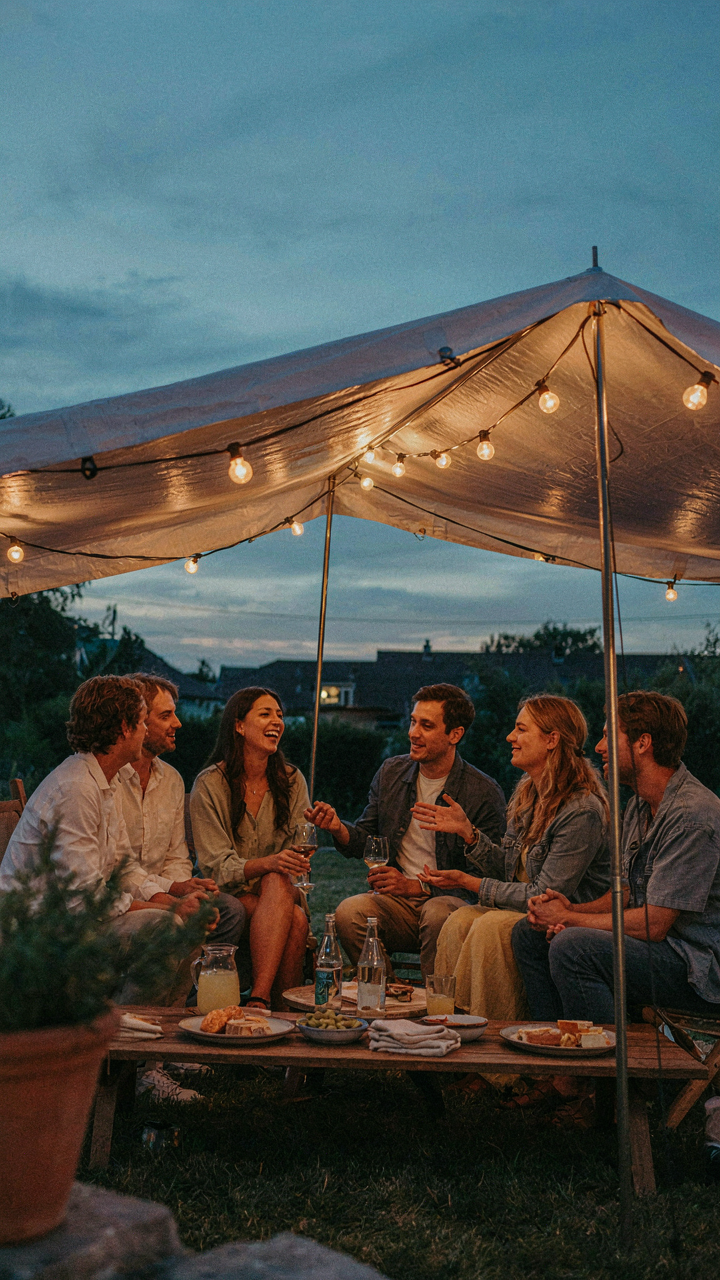
You want people to think you didn’t try hard. That’s the real motivation here, and string lights are the fastest way to fake that aesthetic. Borrow from stage lighting design: the principle of “key light” placement dictates that your primary light source should come from an angle that reveals form without flattening it. Position your main string line at roughly 8 to 10 feet high, running parallel to the tent’s longest edge. This height forces light to fall across the campsite at an angle, creating shadow and depth instead of the dead, flat glow that overhead lighting produces.
Anchor the secondary lines lower and perpendicular to the first, creating a grid that lets you control density. Run strings from tent corners to nearby trees or stakes rather than looping them randomly. The geometric structure doesn’t read as “structured” to observers, it reads as natural because your eye processes the pattern as balanced rather than intentional. Space bulbs 12 to 18 inches apart on most commercial strings. Closer spacing creates visual noise; wider spacing leaves dead zones. Test at dusk before guests arrive to confirm shadows fall where you want them.
Making It Look Unplanned Instead Of Curated
Everyone hangs string lights the same way now, which means the effect has inverted. Symmetry and perfection read as tryhard. Introduce asymmetry deliberately: vary the heights of anchor points by 1 to 2 feet, skip one section of a line to let it sag slightly, or let one string run loose between anchor points without the rigid tension others have. This isn’t laziness, it’s controlled deviation that signals comfort rather than performance.
Weathering and imperfection do the heavy lifting here. Old Edison-style bulbs with visible filaments communicate “collected over time” rather than “bought yesterday.” Mixed bulb types, if you can source them in warm color temperatures (2700K or lower), suggest you raided different years of collection. Avoid brand new looking string sets with uniform plastic housing. The moment someone recognizes the product packaging in your setup, the effect collapses. Begin hanging strings from the highest point first, then work downward, securing slack as you go rather than pre-tensioning everything.
The True Obstacle To A Warm Glow Isn’t Your Gear; It’s Your Addiction To Over-complication
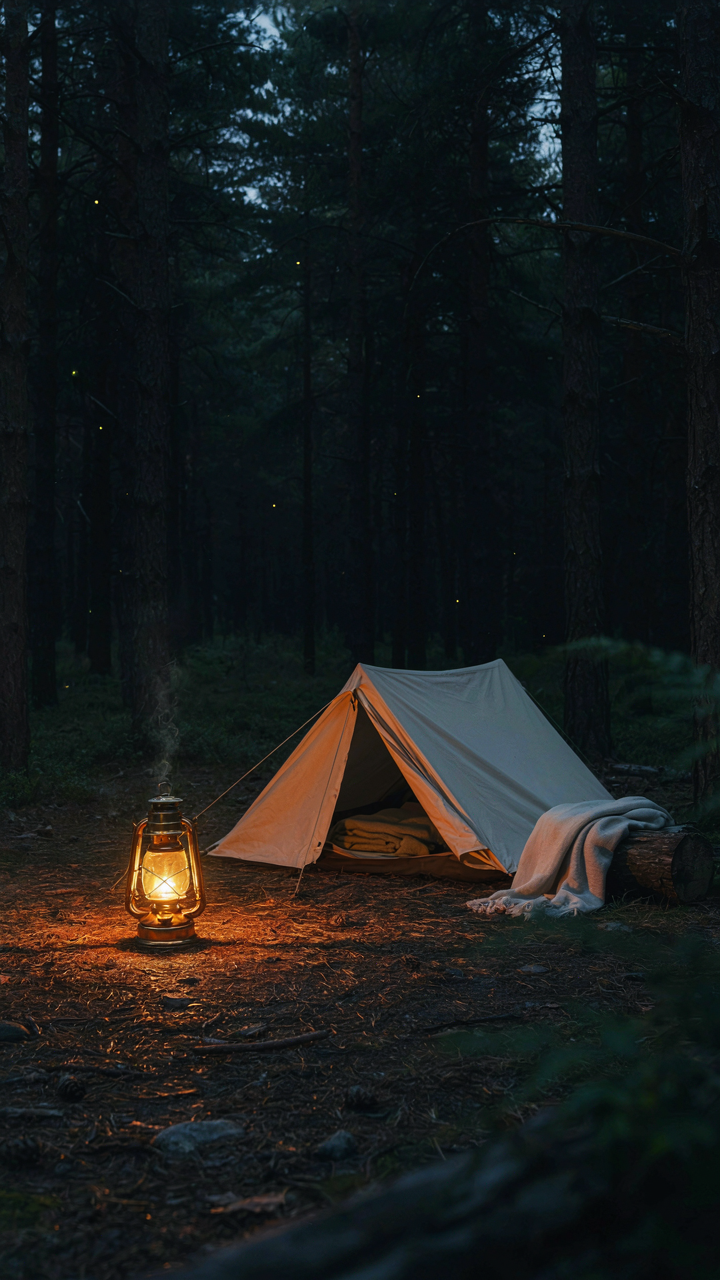
You don’t need the perfect lighting setup. You need to stop treating camping like it’s a production. Grab one good lantern, string some cheap fairy lights if you want mood, and call it done. Most people sabotage their own experience by chasing gear instead of just camping. Start tonight. Pick one light source you already own and use it. Simplicity creates the warmth you’re actually chasing, not the catalog.



