
Beyond The Instagram Filter: Why Most DIY Van Builds Fail

You’re Building For An Audience That Doesn’t Exist
You want people to think you’re capable. That’s the real reason you care about this section. Most first-time builders chase aesthetics over function because social validation feels like progress. In project management, this is scope creep—the uncontrolled expansion of requirements. Your van becomes the scope creep: you add features, materials, and finishes that weren’t in the original plan because they photograph well, not because they solve a real problem you have.
The mechanism is simple. You see finished van builds online. They’re curated. You don’t see the failed plumbing, the electrical fires, the weight distribution disasters, or the money spent on cosmetic fixes instead of structural integrity. You replicate the image. Six months in, your build stalls because you prioritized looks over the systems that actually make a van livable. You’re now underwater on time and budget, and the thing isn’t functional yet.
The Price Of Building Twice
Most first-timers don’t budget for failure and iteration. They budget for the fantasy version they saw. You’ll tear out insulation. You’ll replace propane lines. You’ll redo flooring because you chose material that couldn’t handle moisture. Every remake costs money and time you didn’t plan to spend.
The real cost isn’t the second purchase of materials. It’s the opportunity cost of your labor. Redo work on a van build happens in compressed sequences because you can’t leave systems partially complete. You lose momentum. Motivation dies. You either abandon the project or throw money at it to finish faster, which means hiring contractors to fix your mistakes. This is why planning the actual systems—electrical load, water capacity, insulation strategy, ventilation—matters more than the cabinet stain.
The Brutalist Budget Blueprint: Your True North For A Diy Camper Van

Function Over Aesthetics Wins First

You want permission to build something that looks good. That’s the real friction here. But a van that works and looks rough beats a van that looks polished and breaks down at mile 47. The mechanism is simple: constraint forces decision-making. When you have a fixed budget, you stop debating copper fittings and start asking what actually keeps you alive on the road. Aesthetics are the tax you pay after solving the real problems.
Start by listing what your body needs to survive in a van: sleeping platform, fresh water, waste management, ventilation, electrical power. Everything else is negotiable. Most first-time builders spend 40 percent of budget on interior finish and 30 percent on systems that actually matter. Flip that ratio. Cheap plywood with a tarp beats expensive cabinetry that hides a failing water pump. Your budget is a forcing function that clarifies priorities.
Anchor Your Spending To Core Systems
Economics teaches opportunity cost: every dollar spent here is a dollar unavailable there. Apply that directly to van systems. Electrical, water, and thermal management are your load-bearing walls. Skimp on insulation or battery capacity and you will drive backward into town for repairs. Skimp on cabinet trim and nothing changes. Allocate roughly 35 to 40 percent of total budget to these three systems, 25 to 30 percent to structure and safety, 15 to 20 percent to comfort, and the remainder to tools and contingency.
Most builders underestimate the contingency line. Expect surprises. Rust in the frame. Welding that needs redoing. A battery that fails during testing. Build a 10 to 15 percent buffer into your total spend and lock it away before you buy the first component. This isn’t caution, it’s math. Track every purchase in a spreadsheet and update totals weekly, not at the end. When you see the number climbing, you make sharper cuts instead of discovering overages when the build is already half-done.
Van Selection: More Than Just A Shell For Your DIY Camper Van Ideas
The Chassis Determines Your Ceiling

You’re picking a van because you want freedom, but what you’re really after is not spending the next two years fixing structural problems. The mechanical systems and frame geometry of your vehicle work like load-bearing walls in architecture—they set hard constraints on everything you build on top. Ignore this and you’re not building a camper. You’re building a money pit on wheels.
The sprinter, transit, and promaster platforms dominate the DIY market for one reason: they were engineered for payload and longevity. A sprinter handles 3,500 pounds of cargo weight. A transit can push 4,000. These aren’t marketing specs—they’re the difference between a van that survives ten years of rough roads and one that shakes itself apart. Wheelbase matters too. A 144-inch wheelbase gives you 5 extra feet of interior length compared to a 118-inch model. That’s the difference between a coffin and a living space.
Condition Signals Future Costs
Most advice tells you to find a low-mileage van. That’s incomplete. A high-mileage commercial van that was serviced on schedule beats a low-mileage personal van that was neglected. Look at service records, not the odometer. Check the engine oil yourself—black oil signals deferred maintenance. Check the transmission fluid the same way. Fluid color tells you whether the previous owner actually cared about the vehicle.
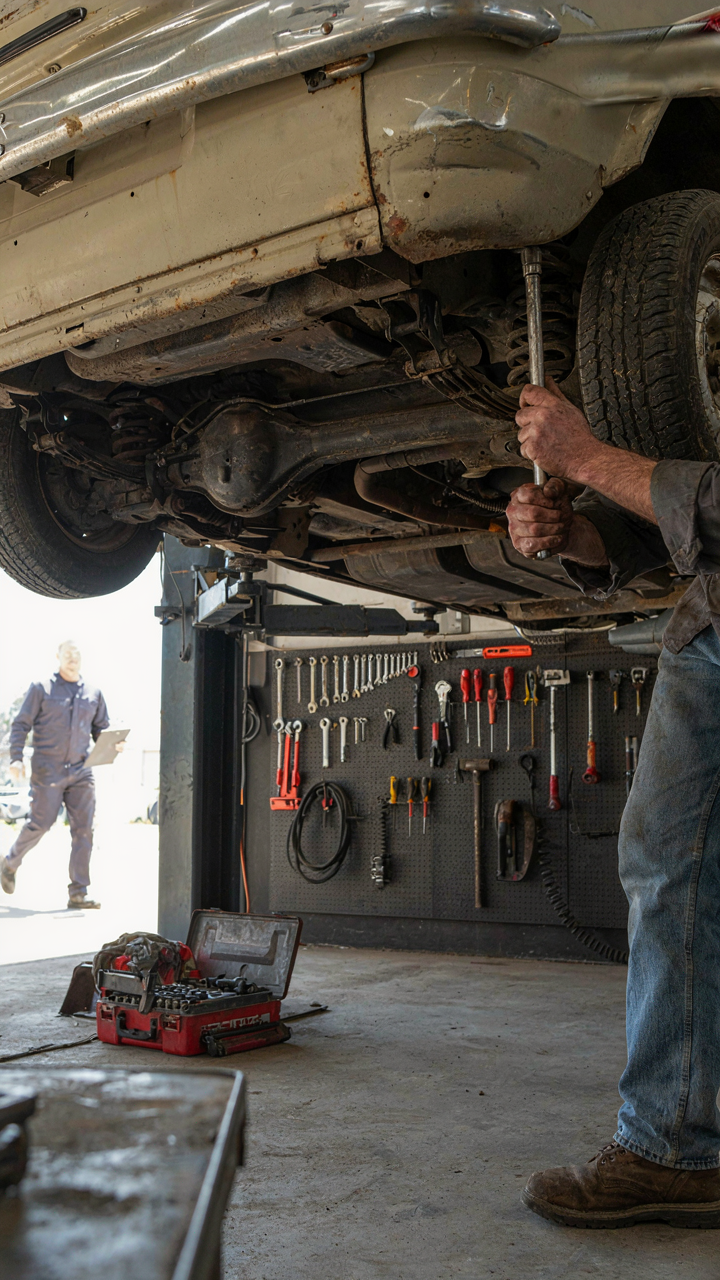
Rust is non-negotiable. Surface rust on the undercarriage is cosmetic. Rust that creates holes in the floor, frame, or body panels means structural compromise. Get under the van with a flashlight. Prod suspect areas with a screwdriver. If metal gives way, walk away. Fixing rust isn’t a DIY afternoon project—it requires welding, media blasting, and treatments that cost thousands. The cheapest van isn’t cheap if you spend six months fighting corrosion.
The “Van Telligence” Protocol: Beyond Aesthetics In Simple Van Conversion
Build Your Feedback Loop First

You want your van to feel good to live in. That’s not the real reason you’re reading this. You’re afraid of wasting money on systems that fail when you’re 200 miles from a mechanic. Here’s the mechanism: cybernetics—the study of control systems and feedback—applies directly to van builds. Your electrical system, water system, and climate control are feedback loops. They need sensors and monitoring points so you know when they’re degrading before they break. Without this, you’re flying blind.
Most first-time builders install components and hope they work. They don’t measure performance. They don’t track battery drain patterns or water usage or temperature swings. This is backwards. You need to instrument your van like an engineer instruments a prototype. Install a battery monitor that shows voltage and amp draw in real time. Put a simple water gauge on your tank. Track how your insulation and ventilation actually perform across seasons. This data becomes your early warning system. It’s the difference between a van that survives and one that becomes an expensive storage unit.
Everything Connects To Everything Else
Systems thinking here means one thing: a change in one component cascades through the entire build. Your electrical budget isn’t separate from your water heating choice. Your insulation strategy isn’t independent of your ventilation plan. They’re coupled. Most guides treat these as standalone decisions, which is why first-time builds often fail silently. If you choose a high-draw water heater, you either upgrade your battery bank or accept shorter shower windows. If you prioritize thick insulation, you might create moisture problems unless you add ventilation capacity. If you add a roof vent, you’re cooling in summer but losing heat in winter unless you manage airflow deliberately.
Map the dependencies before you buy anything. Start with your power budget: calculate all devices running simultaneously at peak draw. Now your water system must fit inside that electrical constraint. Your heating strategy must account for insulation performance. Your ventilation must balance humidity against temperature loss. One integrated calculation, not five separate shopping lists. This interconnected thinking catches problems on paper instead of on the road. Document these relationships so future decisions reference the system, not the item.
Electrical Systems: The Unsexy Core Of Your Camper Van Diy Ideas

How Much Power You Actually Need

You’re reading this section hoping someone will tell you the right answer so you don’t waste money or end up stranded. Here’s the real mechanism: your power consumption is determined by runtime, not by how many watts something uses. A 3000-watt microwave drains your battery in minutes. A 400-watt fridge runs for days. Electricity is time plus draw. Most builders ignore this and buy undersized battery banks, then wonder why they can’t run anything simultaneously. Calculate your daily amp-hour demand by listing every device, its wattage, and realistic daily hours used.
The math is straightforward. A 100-watt device running ten hours equals one kilowatt-hour. Most van dwellers use 20 to 50 kilowatt-hours per month depending on climate, appliances, and behavior. Size your lithium or lead-acid bank to handle three to five days of autonomy without solar input. This covers cloudy stretches. Battery capacity should exceed your worst-case daily draw by at least 40 percent. Undersizing kills the entire system before you leave the driveway.
Grounding And Fusing Before Anything Else
Everyone says install a battery monitor and solar controller. Wrong priority. You need grounding and fusing first because fire doesn’t care about your monitoring setup. This isn’t about being cautious. Fuses are a mechanical failsafe that stop current flow if a wire shorts. Grounding ensures fault current finds earth instead of your body. Every positive circuit needs its own fuse within eighteen inches of the battery. The negative cable goes to a dedicated ground point on the chassis, not daisy-chained through your system.
Fuse sizing is non-negotiable. Use the wire amperage rating, not the device rating. A 4-gauge wire handles 60 amps, so use a 60-amp fuse even if your inverter draws 40. The fuse protects the wire, not the device. Grounding fails silently until something goes wrong. Install a ground block near your main battery disconnect, run all negative returns there, then one cable to chassis. This creates a single point of failure you can troubleshoot. Inspect connections quarterly for corrosion because oxidized connections generate heat and voltage drop.
Water And Waste: The Invisible Infrastructure Of A Camper Van Build Ideas
Fresh Water Storage That Actually Works

You want this section to feel like a solved problem so you can move on to the visible parts. The truth is most builders drastically underestimate water consumption and oversimplify storage, creating a system that fails under real use.
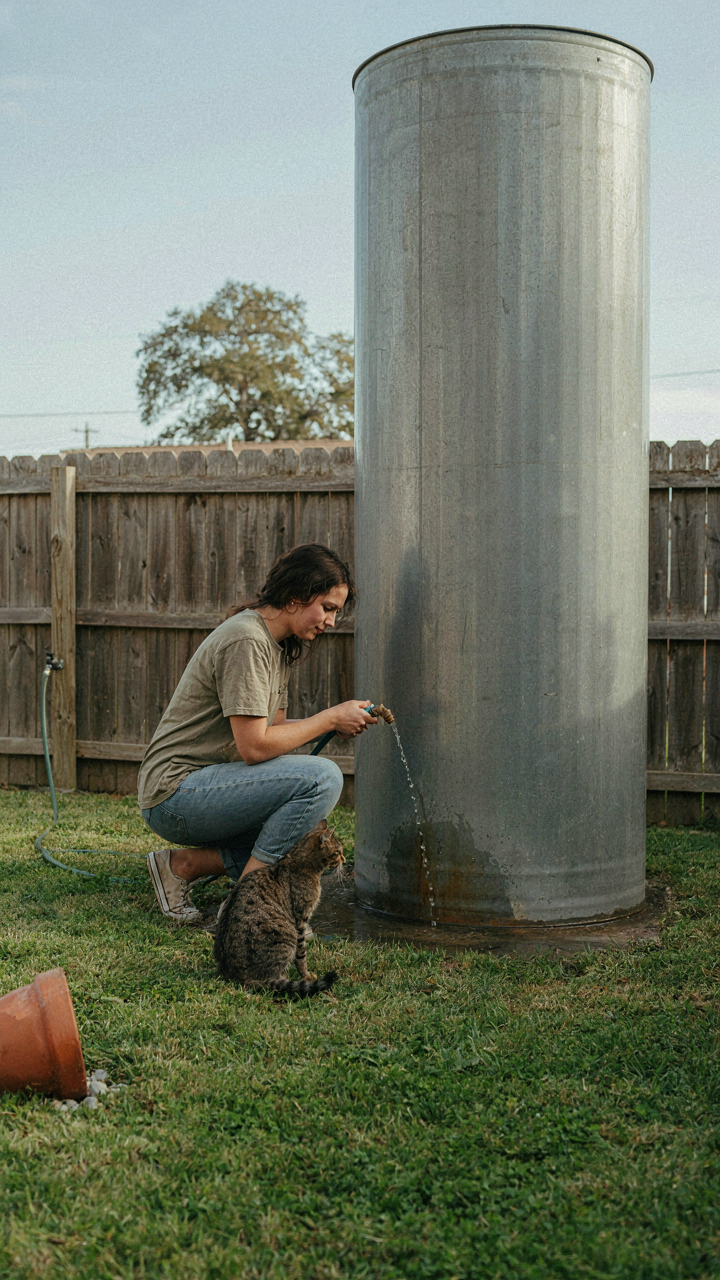
Think of water storage like supply chain logistics: capacity without distribution strategy fails. A 40-liter tank means nothing if you can’t access it when you need it. Mount your tank low and centered for weight distribution and stability. Use gravity feed for sinks when possible, eliminating pump dependency. Position tanks away from living spaces to avoid thermal heating that encourages bacterial growth.
Fresh water sits in your van for weeks between fill-ups. Stagnation breeds problems. Install a shut-off valve near the tank outlet to isolate the system when parked long-term. Use food-grade hose rated for potable water, not generic vinyl tubing that leaches chemicals. Your tank needs an access point for cleaning, not a sealed design that traps sediment.
Waste Systems That Don’t Sabotage Your Build
Grey water and black water require different strategies, yet most first builds treat them as one problem. Grey water is sinks and showers. Black water is sewage. Combining them breeds smell, clogs, and bacterial issues that follow you home.
Greywater tanks should be twice your fresh water capacity. Your daily usage generates more discharge than input. Most van builders install undersized greywater tanks and dump constantly, defeating the entire purpose of extended travel. Black water tanks stay small, typically 20 to 30 liters, because you empty them frequently. Install separate outlets with ball valves you can operate from outside the van. Mount a solid waste system in the toilet itself, not improvised under the sink. Your waste system determines how long you can stay stationary without servicing. Get this wrong and you’re dumping tanks every three days instead of every two weeks.

Insulation & Ventilation: Conquering The Elements In Your Conversion Van Camper

Where Heat Actually Goes In A Metal Box
You care about insulation because you don’t want to freeze or sweat through the night, but the real mechanism is this: metal conducts temperature transfer at a speed that makes your van uninhabitable within hours. Thermal dynamics treats heat movement through three pathways—conduction through materials, convection through air, and radiation from surfaces. In van builds, conduction is your enemy. Metal walls pull warmth from your body in winter and blast it inward in summer. Stopping this requires a barrier between the metal and your living space, not just stuffing insulation into gaps.
The standard advice says “use spray foam and call it done.” That’s incomplete. Spray foam insulates, but it doesn’t create a thermal break. You need rigid foam board (XPS or polyiso) against the metal skin first, then vapor barrier, then additional insulation if space allows. XPS foam resists moisture better than fiberglass batts, which absorb water and lose R-value. Most first-time builders skip the vapor barrier or install it backward, turning their van into a moisture trap. Install it on the warm side of the insulation in winter climates, cold side in hot climates. This single step separates functioning builds from ones that mold within six months.
Air Exchange Prevents The Rot That Kills Builds
Moisture doesn’t stay localized. It migrates through walls, condenses on cold surfaces, and colonizes hidden cavities where you can’t see it. This is thermodynamics applied to your living space: temperature differentials drive vapor movement. Two people breathing and cooking in an insulated metal box generate significant moisture. Without active air exchange, that moisture settles in your insulation, under your floor, and behind your cabinetry. Passive roof vents alone don’t cut it because they rely on temperature differential and wind conditions you can’t control.
Install an intake vent and exhaust fan on opposite ends of your van. The exhaust fan—typically 12V or 120V depending on power setup—creates negative pressure that pulls fresh air through the intake. Run the exhaust fan for 10-15 minutes after cooking, showering, or whenever humidity feels high. Pair this with small gap vents in lower cabinet doors to maintain air circulation around plumbing and storage. Ventilation is not optional. It’s the difference between a three-year build and one that develops structural rot by year two.

Interior Layout: Function Over Form For Van Conversion Ideas
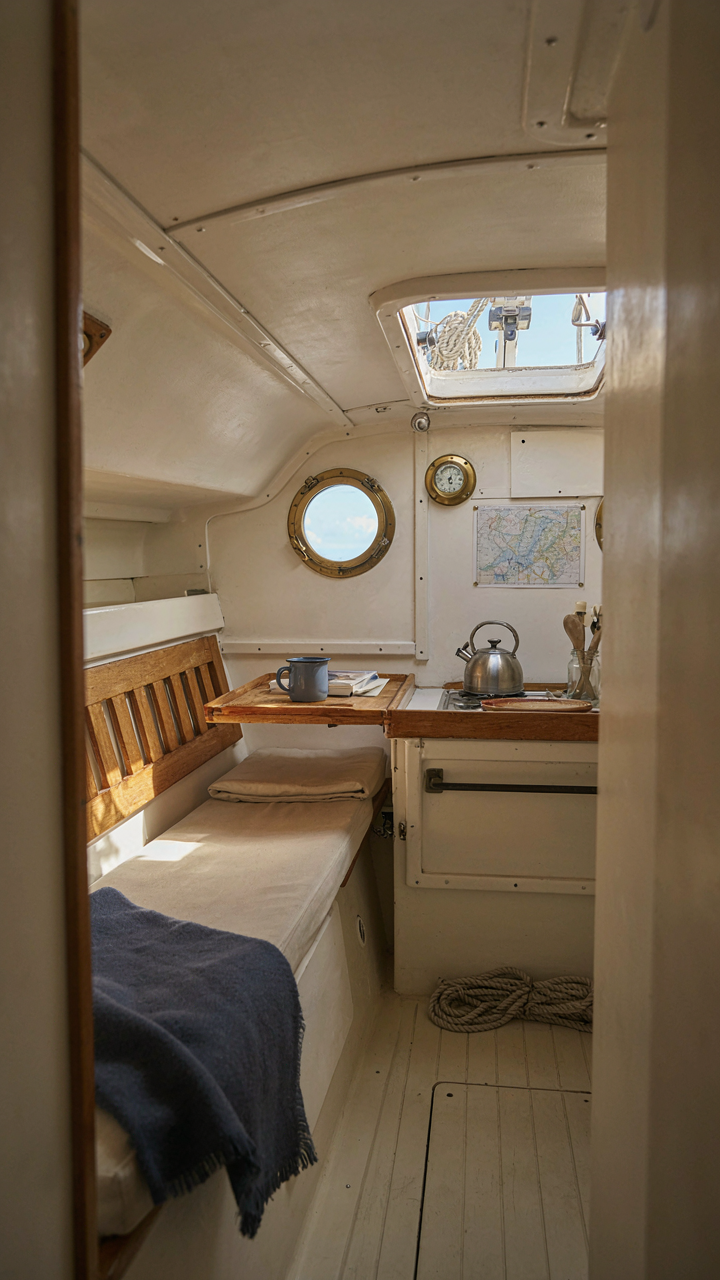
Everything Serves Two Jobs
You want your van to look clean and Instagram-ready, but that’s not why you’re actually reading this. You’re afraid of wasting money on built-ins that don’t work. The mechanism is simple: in a van, every square foot has a cost. Furniture designers call this “density of use.” Apply it here: if something doesn’t pull double or triple duty, it’s theft of space. A bed that doesn’t store gear underneath isn’t a bed, it’s a luxury. A kitchen that doesn’t fold away when you need floor space is a kitchen that owns you, not the reverse.
The real constraint isn’t aesthetics. It’s how many hours per week you actually use each zone. Measure this first. If you cook once a week but sleep eight hours a night, your sleeping platform gets priority for premium positioning and materials. Your stove gets a collapsible frame. Build around frequency and duration of use, not around what looks good in photos. This is why skoolie conversions and expedition rigs look so different from “van life” content: they’re built by people who use them hard, not display them.
Strip Everything That Doesn’t Earn Its Weight
Most van build advice says: add storage here, a small shelf there, decorative touches everywhere. That’s garbage. You’re working with roughly 60 to 100 cubic feet of interior space. Every inch you waste on visual fluff is an inch you can’t use for sleeping, cooking, or storage. The pattern most first-timers follow is building cabinets, then realizing they’re in the way, then removing them six months in. This isn’t learning. This is paying tuition for something you should know upfront.
Ask one question before installing anything: what does this do when I’m living in this van? If the answer is “looks nice” or “frames the space,” leave it out. Your shower caddy, your spice rack, your decorative wooden trim, your ambient lighting all compete for the same real estate as a storage box or a folding table you’ll use daily. Remove the non-essentials before you build. When you add things back later, you’ll know they survived the filter. That’s how you end up with a functional rig instead of a furniture showroom on wheels.

The Unfinished Van: Embracing Imperfection In Your Self Build Campervan

Build In Layers, Not Perfection
You want to finish because completion signals competence. That’s not wrong, but it’s the trap. The real mechanism here is velocity versus precision, borrowed straight from product development cycles. Your van is a prototype, not a production unit. Builders who obsess over perfect cabinetry before testing electrical load waste months on decisions that change once they live inside.
Start with functional systems: power, water, structure. Live in the van for two weeks. Then refine. Your second-round additions cost half the time because you’re solving real problems, not imagined ones. The unfinished van teaches faster than the polished one ever will.
The Threshold Of Habitability
Common advice says “finish everything before moving in.” That’s incomplete. What matters is crossing the habitability threshold: climate control, power to charge devices, water access, and a bed. Everything else is refinement. You don’t need upholstered walls to test whether your insulation strategy works or if your water system has leaks.
Document what fails. A leaking joint, a cabinet door that swings open during turns, inadequate ventilation—these are expensive lessons if you discover them after professional installation. Living unfinished surfaces gives you permission to patch, modify, and rebuild without sunk-cost regret. Move in at 70 percent complete. Finish the remaining 30 percent based on actual use, not theory.
The Only Thing Holding Back Your DIY Van Build Is Your Inability To Define ‘enough.’

Most people don’t start their van build. They endless-scroll designs, watch YouTube, and plan forever. You don’t need the perfect layout or the best materials. You need to decide what “done” looks like. Pick three non-negotiables. Bed, power, water. Everything else is decoration. Open your notes app right now and write them down. The difference between dreamers and builders isn’t skill or money. It’s the ability to stop optimizing and start building.



