
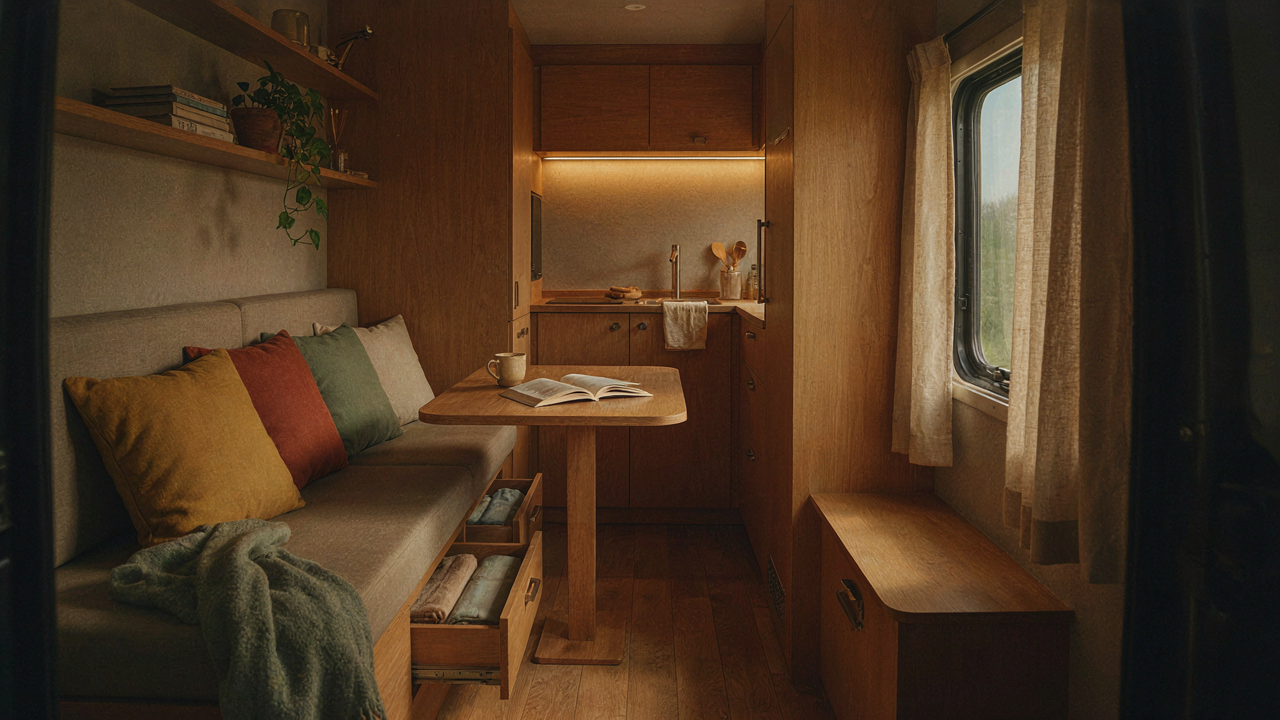
The Illusion Of More: Why Truck Camper Interior Ideas Often Fail

Adding Features Doesn’t Add Space
You want to feel like you made a smart decision, so you load the camper with multipurpose furniture, collapsible tables, and storage solutions you’ll never use. That’s the real motive here. But here’s the mechanism: in thermodynamics, there’s a principle called entropy. In a truck camper, entropy is clutter. Every object you add increases visual complexity exponentially, not linearly. You add one shelf organizer and feel productive. You add five, and the space collapses psychologically even if square footage stays the same.
The common advice says maximize every inch. That’s incomplete. What actually works is the inverse: subtract first, then add only what serves motion or sleep. A truck camper interior fails when it tries to be a apartment in 150 square feet instead of accepting it’s a transit vessel. Remove the coffee maker, the extra seating, the decorative storage boxes. The space works when it breathes, not when it brags about capacity.
Clutter Masquerades As Design
Most truck camper interior ideas online show finished rigs packed with gadgets and organizational systems. This is survivorship bias. You’re seeing the 5 percent of rigs that worked, not the 95 percent of dead projects where owners ran out of money, motivation, or both. Clutter doesn’t announce itself as clutter. It disguises itself as thoughtful design: a hanging organizer system, wall-mounted spice racks, compartmentalized drawers.
The mechanism is simple. Every storage solution creates a new decision tax. Where does this item go? Which compartment? Did I label it? This cognitive load drains you in a space where you’re already compressed. The antidote is ruthless reduction. Keep cooking tools to five items. Bedding to two sets. Clothes to one rotating wardrobe. When every object in a camper has zero ambiguity about its purpose and location, the interior stops fighting you and starts working for you.
The Spartan Method: Ruthless Prioritization In Truck Bed Camper Interior
What You Actually Do In That Space

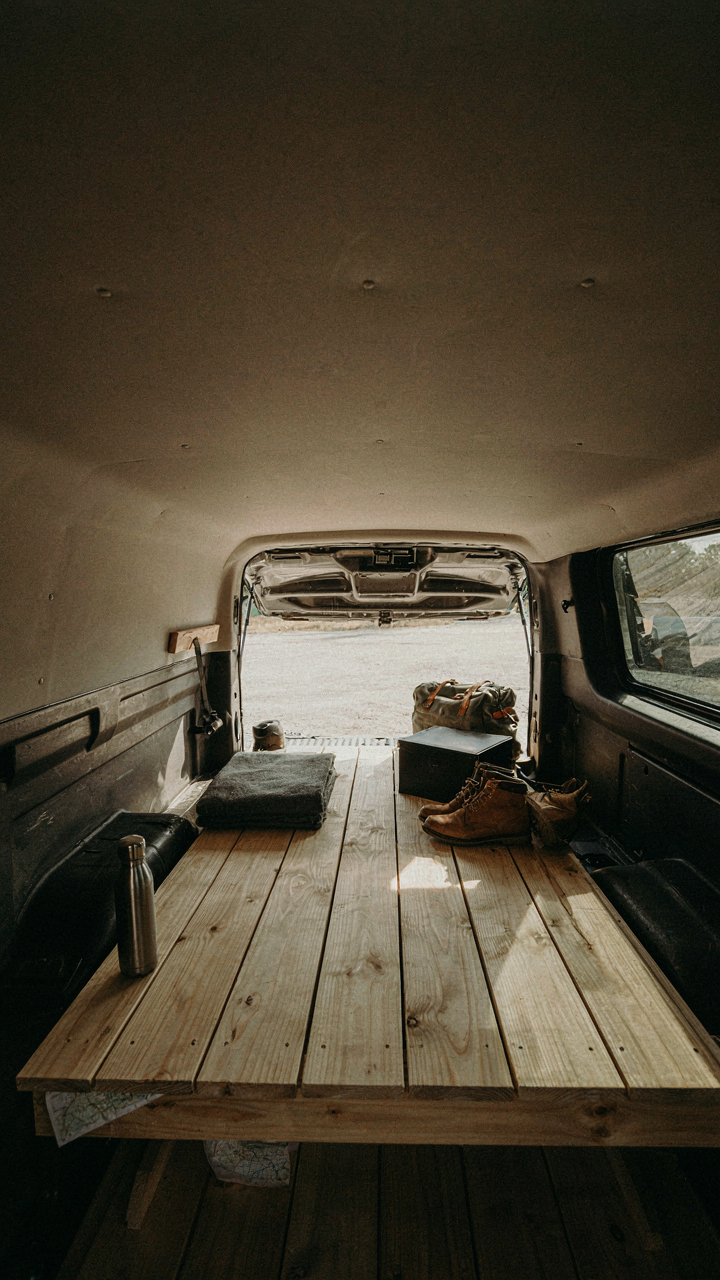
You’re hoping that owning a truck camper means you’ll finally stop running—that a smaller footprint will somehow force intentionality into your life. It won’t. The mechanism is simple: a truck camper interior forces you to confront what you genuinely use versus what you’re afraid to abandon. Most people fail because they optimize for theoretical scenarios instead of the three or four things they actually do on every trip.
Start by documenting a full weekend or week in your current living space. Note which items you touch, which surfaces you occupy, which appliances you run. Don’t guess. The truck camper interior that works isn’t built on what you think you need—it’s built on what your behavior proves you need. Everything else is ballast that steals square footage, weight capacity, and fuel economy.
Single Purpose Items That Cost You Real Estate
The advice to minimize is everywhere and almost entirely useless because it doesn’t address the real cost structure. In economics, we call this opportunity cost—the value of what you give up to have something else. In a truck camper, every single purpose item consumes cubic inches and weight that a multi-purpose tool could handle better. That dedicated pasta pot, the one pan you use three times a year, the shower caddy that only holds toiletries—each one is stealing from your living volume.
- Dedicated coffee maker: A pour-over cone or AeroPress makes espresso-quality coffee, stacks flat, and serves dual duty as a strainer for pasta water.
- Shower caddy: Wall-mounted magnetic strips or adhesive hooks hold bottles directly. A small mesh bag stores soap and shampoo without occupying shelf space.
- Cutting board: Use the inside lid of your largest pot or a wooden spoon handle’s flat back instead. Eliminates a separate storage item entirely.
- Dish rack: Hang a collapsible silicone mat over the sink or use a microfiber cloth to dry dishes and store it in a drawer. No counter real estate lost.
- Bathroom mirror: Mount a small shaving mirror on an existing wall or inside a cabinet door. Skip the dedicated wall-hung piece.
The hard rule: if something serves only one function and you use it less than twice a week, it doesn’t move into your camper. Replace it with something that does three jobs or eliminate the activity altogether. Your square footage and payload capacity are finite resources. Spend them on frequency, not contingency.
Engineered Flow: Optimizing Your Small Camper Interior Like A Factory

Map Your Daily Friction Points

You want to feel like you’ve cracked some design code. The real reason you’re reading this is you’re afraid you’ll waste money on a layout that works against how you actually live. Stop designing around Instagram photos. Start with a workflow audit. Track where you spend ten minutes looking for something or where you double back through the same space twice in one morning. That’s your friction. In manufacturing, they call this value stream mapping. In your truck camper, it means documenting the actual sequence of your morning coffee, meal prep, or gear storage. Write down every step. Every pivot. Every reach. Then build your interior around eliminating those pivots, not around what looks balanced on social media.
Your camper’s square footage doesn’t change, but the time you waste moving through it does. Most people design zones first (sleeping zone, kitchen zone, bathroom zone) then wonder why they feel cramped. That’s backwards. You need to know which tasks happen in sequence before you place anything. If you make coffee before you eat, your water access and food storage shouldn’t require two trips across the camper. If you shower before you dress, your wet exit shouldn’t pass your sleeping area. The mechanism is simple: reduce unnecessary movement by 40 percent, and your space feels 40 percent larger without adding an inch.
Design Paths Before You Design Zones
The common advice treats a truck camper like a studio apartment compressed. It’s not. An apartment has hallways and buffers. A truck camper doesn’t. What matters is traffic flow, not aesthetic zones. Think like a kitchen designer, not an interior decorator. In commercial kitchens, they use the work triangle: the distance between sink, stove, and storage. Minimize that triangle and efficiency multiplies. Your camper needs multiple micro-triangles based on what you actually do. The coffee triangle. The meal prep triangle. The entry and exit triangle. These paths cannot overlap during your peak-use hours, or you’re stuck waiting on yourself.
Map your interior by drawing actual movement paths, not by looking at square footage. Stand in your camper and walk your morning routine. Walk your evening routine. Walk your bad-weather-stuck-inside day routine. Where do paths collide? That’s where you’ve got a design problem. If your cooking path crosses your entry path, move one. If your sleeping position forces you to climb over gear to reach the door, redesign. You don’t optimize a camper by adding storage solutions. You optimize it by ensuring people and their gear never occupy the same path at the same time. That’s the protocol: draw three daily routines, mark the paths, then place furniture and systems only in the gaps between paths.
Invisible Storage: The True Art Of Truck Camper Interior Design
Dead Space Requires Intentional Mapping

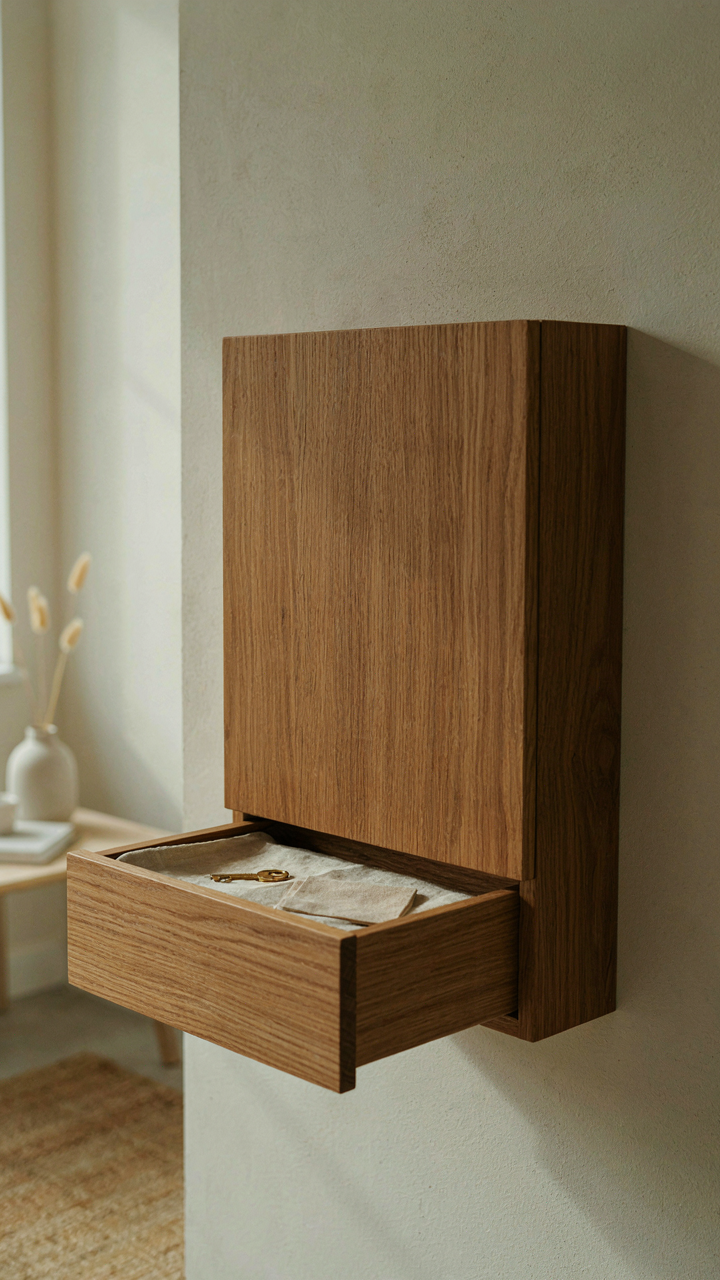
You want to feel clever for maximizing every inch—but the real reason you’re reading this is that you’re terrified of wasted cubic footage in a space you paid premium money for. That fear is justified. But storage fails because owners treat voids as afterthoughts instead of assets that demand structural commitment from day one. Think of it like negative space in architecture: the unused areas are not empty; they’re the inverse of your design problem.
The overhead cavity between the camper shell ceiling and the roof skin typically runs 4 to 8 inches depending on insulation thickness. Standard advice says to run plumbing or electrical there. That’s incomplete. The real move is mapping every linear foot of this space before the interior walls go vertical. Mark structural ribs, identify load paths, and identify where you can actually cut access panels without compromising integrity. Measure twice; drill once. Most builders ignore this space entirely because accessing it requires planning that disrupts the construction sequence.
Built In Or Regret It
The distinction between built-in and aftermarket storage is not aesthetic. It’s structural and functional. Bolt-on organizers consume floor and wall space you don’t have while sacrificing stability during road movement. Built-in solutions anchor to the camper frame itself, distribute weight properly, and don’t shift or rattle. You either pay the cost upfront by integrating storage into the framing, or you pay it repeatedly in lost space, noise, and the eventual replacement of failed hardware.
Cabinetry that spans from floor to soffit uses vertical territory no other system touches and anchors the entire interior. Drawer systems built into these cabinets mount directly to structural members rather than sliding on rails attached to finish surfaces. The mechanism is simple: every storage solution that doesn’t transfer load to the frame creates a parasitic load on the surfaces it touches. Build it in, or watch it fail.
The Biomimicry Principle: How Nature Designs Efficient Camper Interior Design

Self Organizing Systems Beat Master Plans

You want this section to validate that you’re thinking like a designer instead of just buying stuff. Here’s what actually works: biological systems don’t plan interiors. They respond to constraints and build emergent order from local rules. Apply that to your camper. A mycorrhizal network organizes itself without central control—each node connects where tension exists. Your storage should work the same way. Instead of pre-deciding where everything goes, position your frequent-use items near decision points: cooking station, sleeping zone, entry threshold. The gaps between these anchors self-organize around actual movement patterns.
Most people design camper interiors backward. They sketch layouts on paper, then force life into them. The mechanism that works is observation first. Live in your camper rough for a week. Watch where you naturally stand, reach, and store items. Your hands reveal the real layout. Then build fixed storage only at those verified points. Everything else stays modular and movable. This creates what systems theorists call “adaptive capacity”—the interior reconfigures without reconstruction because you built it to breathe, not to be perfect.
Modular Growth Scales With Your Needs
The false choice everyone makes: build everything now or settle for nothing. Reality is different. Modular systems in nature grow incrementally—a tree doesn’t decide its final form at year one, it adds rings based on annual conditions. Your camper interior should stack the same way. Start with a bed platform and water tank. Add cabinets next season. Stack drawer units the year after. Each module integrates without requiring a redesign.
The mechanism: design each component as a standalone unit first, then create one standardized connection point. Use the same wall-mounting rail system across your entire build. Use the same drawer depths. Use the same fastener types. This removes the friction that kills modular campers—the frustration of incompatible sizes and attachment methods. When your second cabinet doesn’t fit, you abandon modularity and glue everything down permanently. Standardized connection points prevent that collapse. You can add, remove, or reconfigure without tools or modifications.
The ‘Remodeled Truck Campers’ Trap: When Upgrades Degrade Experience
Why Renovations Actually Fail

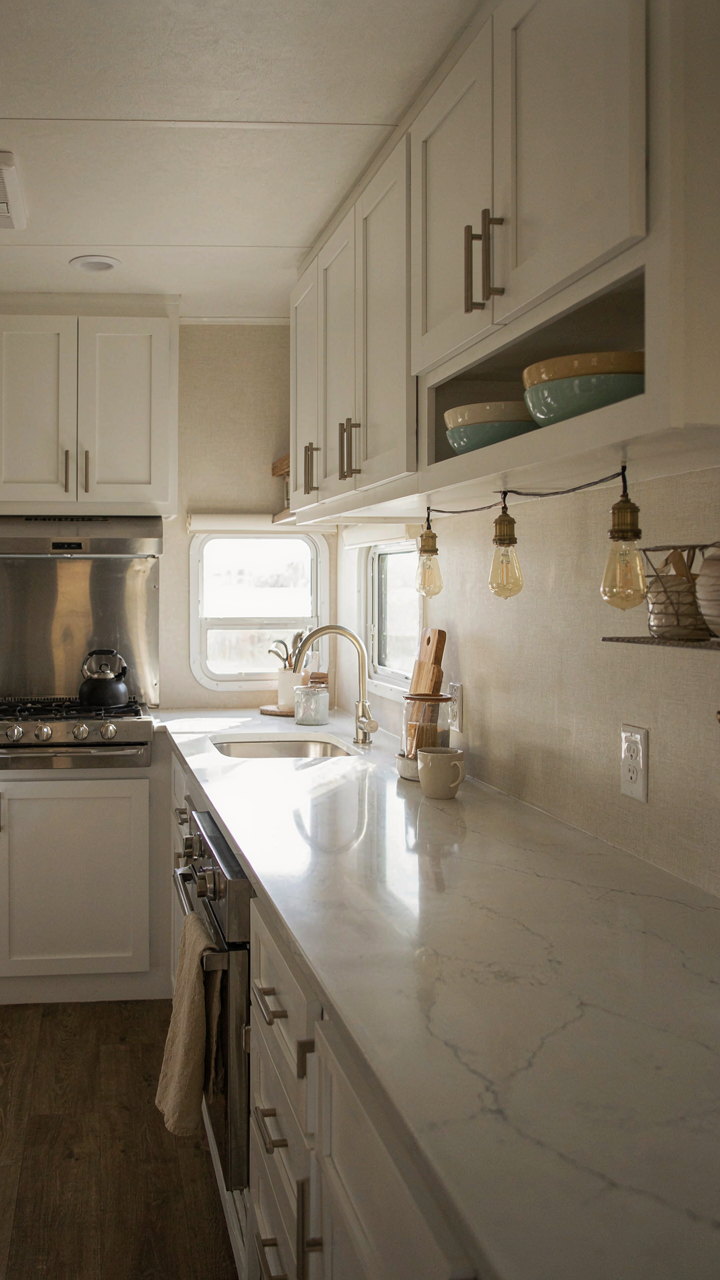
You want proof that your space is worth living in. That’s the real driver here. So you watch YouTube builds, see someone’s gleaming kitchen with quartz counters and Edison bulbs, and think that’s the move. It isn’t. The mechanism is simple: most renovations optimize for the photo, not the life inside. You add weight with heavy materials, reduce storage by installing permanent fixtures, and create maintenance liabilities in a 200-square-foot box where every system sits inches from everything else. The result is a space that photographs well but functions worse than the stock setup it replaced.
The common advice says “make it yours” or “go for quality upgrades.” That’s incomplete. Quality upgrades in a truck camper often mean installing things that amplify the core problem: thermodynamic stress. A wood-faced interior looks better but absorbs condensation, swells, and rots faster than plywood. Custom cabinetry with dovetail joinery impresses nobody and adds weight that tanks fuel economy and suspension life. The real cost isn’t the money spent—it’s what you lose in usable space, system reliability, and operational efficiency to chase an aesthetic win.
Prioritize What The Space Actually Needs
Build for what breaks, not what photographs. In a truck camper, water always finds a way in, temperature swings thirty degrees in six hours, and everything vibrates. Your renovation should address these three mechanisms before touching anything visual. That means sealed joints matter more than tile backsplash. Reflective surfaces beat painted accent walls because they manage heat load. Modular storage outperforms custom cabinetry because you can remove and reconfigure it when your needs change—which they will.
The constraint is brutal, and that’s the point. A truck camper forces you to cut through the noise about interior design because you literally cannot afford waste. If you install a feature that doesn’t solve a problem or support a function, you’ve burned money and volume for nothing. Work backward from the systems that fail first: moisture control, thermal regulation, and load distribution. Every visible choice you make should anchor to one of those three. If it doesn’t, you’re remodeling for Instagram, not for living in the thing.
The Material Deception: Choosing Surfaces For Real World Pickup Camper Interior Use

Surfaces That Actually Survive

You want materials that look intentional because you’re worried cheap surfaces will betray your life choices. Here’s the mechanism: durability isn’t about how hard a material is. It’s about how a material responds to the specific abuse a truck camper takes—heat cycling, vibration, moisture, UV exposure, and constant contact. These forces work together in ways laboratory testing doesn’t capture.
Laminate and vinyl dominate camper interiors because they resist this specific stress profile. Laminate handles temperature swings without warping like solid wood does. Vinyl absorbs vibration without cracking. Real wood looks better but fails faster in a moving box exposed to sun through windows and condensation from cooking. RV-grade plywood (typically birch veneer over engineered core) outlasts cheaper particleboard because the veneer and adhesive withstand moisture and flexing. Paint over drywall cracks within two seasons due to trailer movement. Sealed aluminum or vinyl panels don’t.
Light And The Illusion Of Square Footage
Physics calls it reflectance—the percentage of light a surface bounces back into space rather than absorbing it. A truck camper interior starves for light, so material reflectance directly controls whether your 100 square feet feels suffocating or breathable. Matte finishes absorb light and shrink perceived space. Glossy or semi-gloss finishes bounce light around, extending sight lines and multiplying the effectiveness of whatever light sources exist.
White or cream vinyl with semi-gloss finish reflects roughly 80 to 90 percent of available light back into the cabin. Natural wood reflects 30 to 50 percent depending on stain color and finish. Dark paneling reflects under 20 percent and makes compact spaces feel like storage closets. The trade-off is gloss surfaces show dust and fingerprints, requiring more maintenance. Matte finishes hide grime but compress your mental model of the space. Choose gloss on walls and cabinetry. Use matte on flooring only to reduce slip hazards and reflection fatigue from movement.
Light As A Tool: Manipulating Your Truck Camper Interior
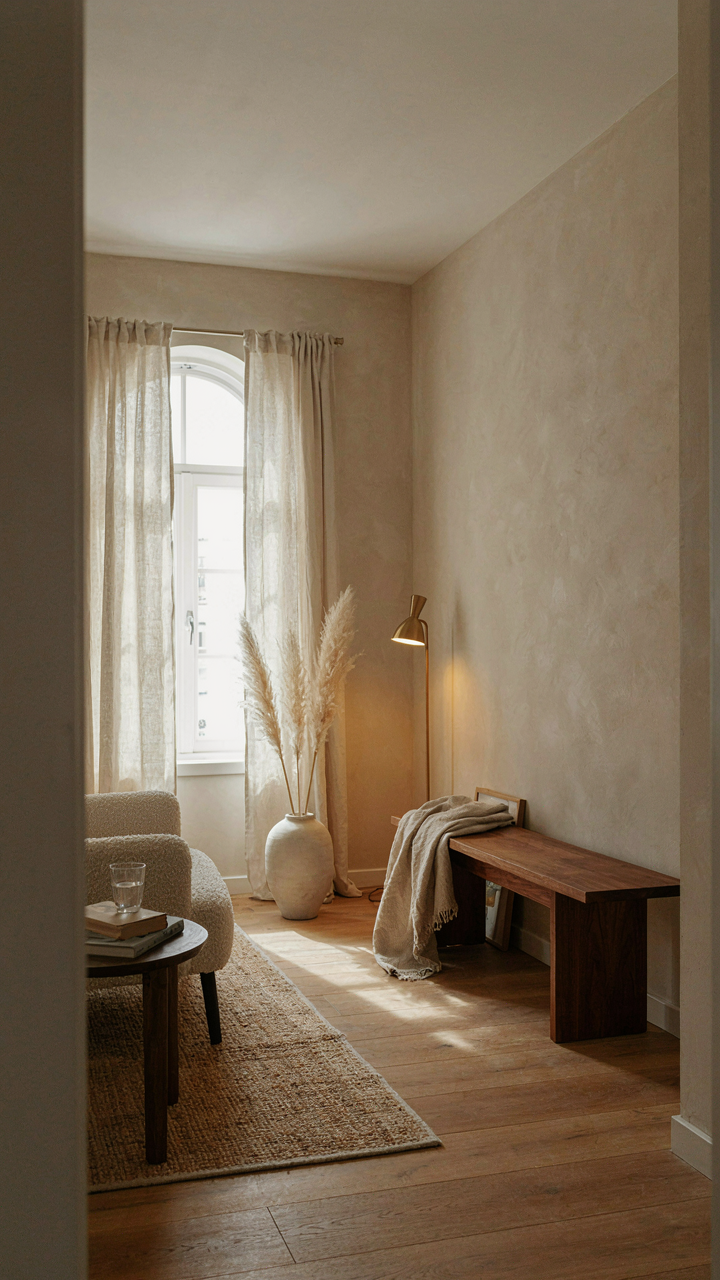
Where You Put Fixtures Matters More Than Brightness

You want people to think your 120-square-foot space feels intentional, not claustrophobic. The mechanism is visual hierarchy: light sources positioned at different heights and distances create depth perception, which tricks your brain into perceiving more space than exists.
Mount overhead fixtures toward the front cab area rather than centered. This pulls the eye forward and makes the rear sleeping quarters feel like a separate zone. Side-mounted sconces flanking the dinette act as visual anchors that break the tunnel effect. The fixture placement itself becomes architecture. Position reading lights at 18 inches from seated eye level—not higher, not lower—so they illuminate the task without casting shadows across the entire interior or bouncing glare off reflective surfaces.
Natural Light First, Then Fill The Gaps
Most people believe artificial light should do the heavy lifting. It shouldn’t. Natural light through windows and roof vents creates a psychological anchor to the outside world, which prevents the compressed-space anxiety that kills long-term camper living.
Maximize window placement on the longest wall of your camper. Use sheer roller shades rather than blackout curtains during daylight hours—they diffuse harsh UV while maintaining visibility. Only deploy blackout shades for sleeping. Pair this with dimmable LED fixtures on the opposite wall so artificial light supplements what’s missing at dusk and dawn, not replaces it. The transition between natural and artificial shouldn’t be abrupt. Set up one warm-tone LED strip on a dimmer and one cool-tone option, then run only the warm strip during evening hours. This prevents the jarring switch that disrupts your circadian rhythm and makes the space feel less livable.
The “Zero Based Design” Protocol For Truck Camper Interior
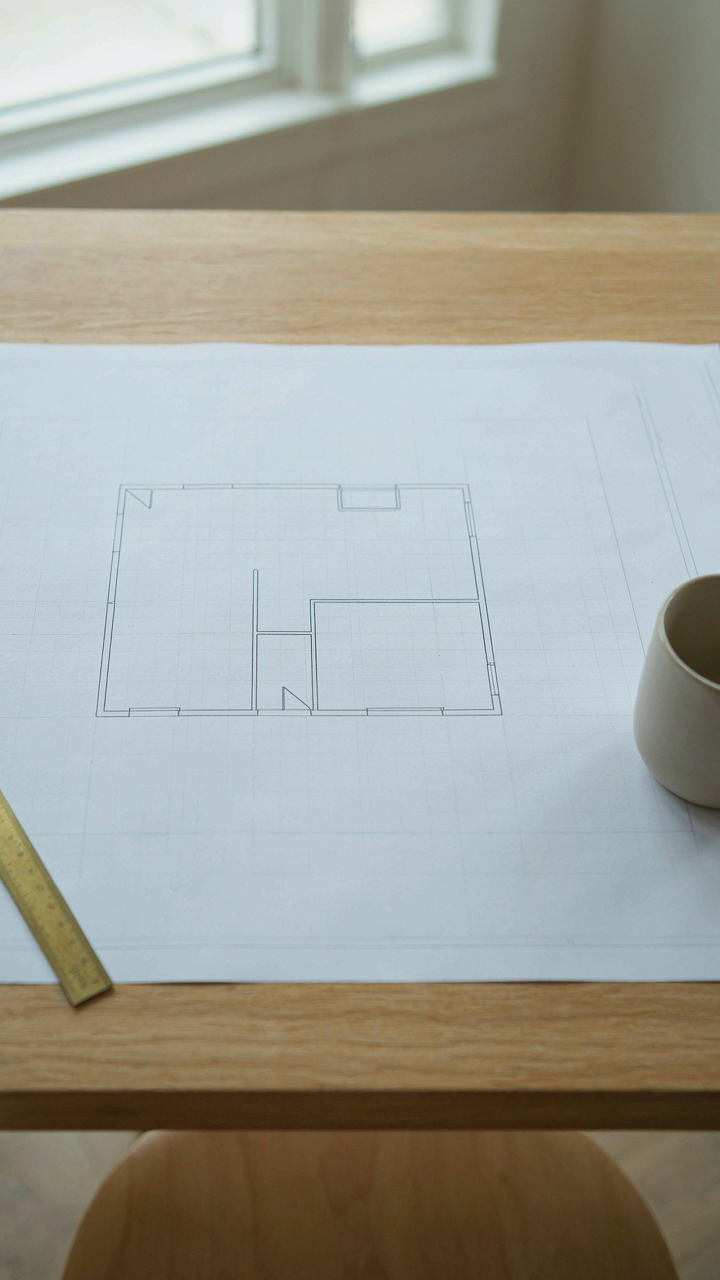
Start With Nothing, Add Only Essentials

You want to feel like you’ve optimized something without admitting you’re scared of making the wrong permanent choice in a 200-square-foot box. The mechanism is this: most people design camper interiors by copying other builds, then remove items one at a time when space runs out. That’s backwards. You start empty and prove each item earns its footprint before it gets bolted down.
Zero-based design comes from military logistics—every supply must justify its weight and space relative to the mission outcome. In a truck camper, the mission is functional living. A coffee maker takes up cabinet real estate. Before it comes aboard, you answer: does this specific problem occur frequently enough that a dedicated appliance beats a $15 pour-over? Most people can’t answer that honestly before purchase. The protocol forces the question first.
Iterative Elimination, Not Addition
The common advice here is garbage: “start minimal and add what you miss.” That’s not iteration—that’s reactive shopping disguised as discipline. Real iteration means you live with a working system, document what actually fails, then remove the weakest link. You don’t add. You swap or delete.
Document friction points for two to four weeks. “Cabinet hinges too tight” gets noted. “Never use the oven below the stove” gets noted. “Fridge location requires crouching” gets noted. Then you run a single elimination: which constraint wastes the most time or causes the most physical strain? Remove that item’s design flaw by replacing it or deleting it entirely. One change per cycle. You measure actual behavior, not guesses. This prevents the camper interior from becoming a museum of unused gear that looked good in someone else’s Instagram.
Beyond Instagram: What Actual Truck Camper Interior Living Demands
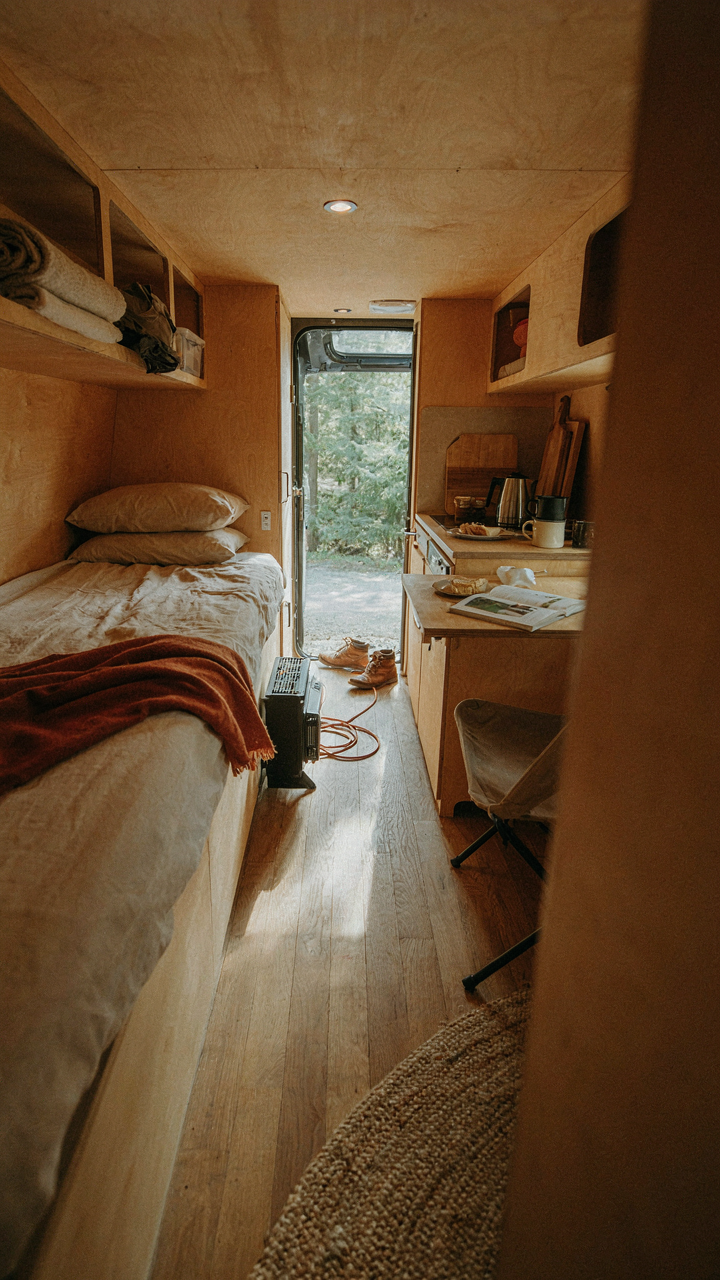
The Brutal Truth About Storage Over Aesthetics
You want this to look good on social media. That’s the real reason you’re reading this. The mechanism is simple: a truck camper interior with poor storage becomes unusable within weeks, no matter how it photographs. Form follows failure, not function.
Storage density wins every time. Not open shelving that looks clean in photos. Not floating furniture that photographs well. You need vertical wall systems, under-bench cabinets, and overhead compartments that maximize cubic inches per square foot of floor space. A poorly organized interior forces you to leave the camper or abandon the trip.
Redesign Before You Live In It
Systems thinking from architecture applies here: load-bearing design means your interior must support changing weight, usage patterns, and needs without structural failure. Your truck camper interior isn’t static. It adapts or it breaks.
What works for solo travel doesn’t work for couples. What works in summer doesn’t work in winter. Modular furniture, removable panels, and adjustable shelving aren’t luxury features—they’re operational requirements. Build with the assumption that your needs will shift radically within twelve months. Mount everything with hardware that allows removal and reinstallation. Test weight distribution before committing to a layout permanently.
Your Biggest Obstacle Isn’t The Space; It’s Your Desire To Fill It
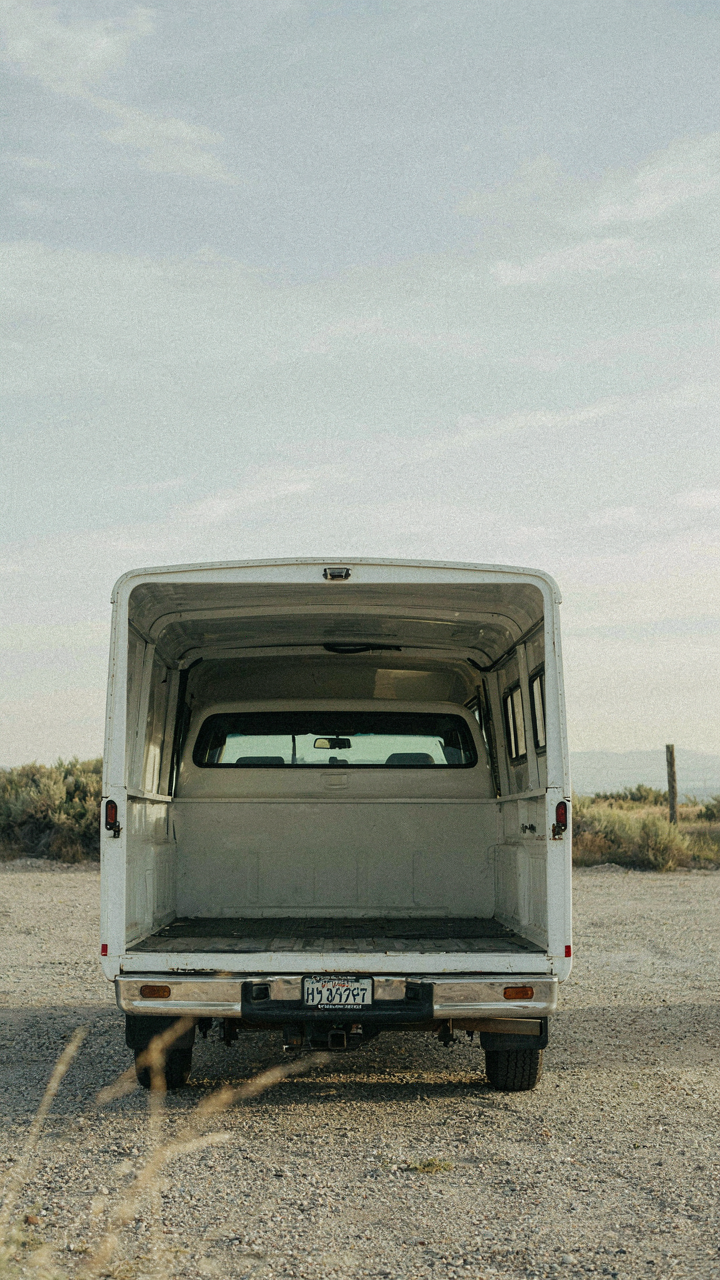
Most people design a truck camper interior by stuffing it full. They panic at empty corners. They buy organizers before they know what they’re organizing. The real move is the opposite. Start with nothing. Live in your camper for a week with only the essentials. Then add one item at a time. You’ll discover what you actually need versus what you think you should want. Your truck camper interior works best when it serves your life, not when it showcases your stuff.



