
Why Your “Compact Comfort” Is A Lie

Crammed Convenience Doesn’t Actually Exist
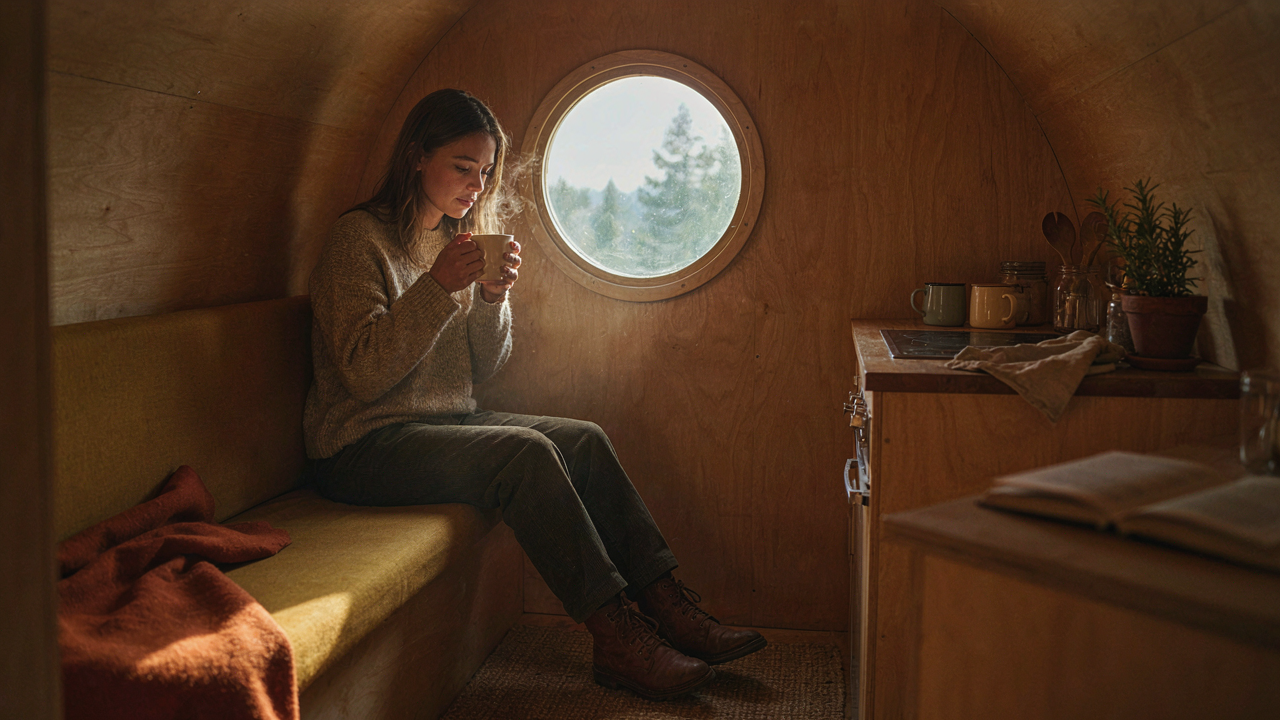
You want to believe a teardrop fits everything you need into eight feet because admitting it doesn’t means you wasted mental energy on the fantasy. Here’s the mechanism: comfort scales with usable surface area and headroom. A teardrop gives you neither. Most teardrops max out at 48-54 inches of interior height. You cannot sit upright in most of them without your head touching the ceiling. That’s not compact comfort. That’s claustrophobia with a parking spot.
The industry standard for a standing-height interior is 72 inches minimum. Teardrops clock in 20 inches lower. Developers of tiny homes learned this hard: humans tolerate constraints temporarily, never permanently. A teardrop works for three-day trips because you’re not spending daylight hours inside. Weekend camping still requires you to crouch, bend, and contort. The gap between marketing language and physical reality widens the moment you try to change clothes without touching two walls at once.
Doing Less Requires Doing More First
Strategic minimalism, borrowed from operations management, requires ruthless input control before you achieve output simplification. Most people reverse this. They remove items, then discover they removed wrong. A teardrop forces you to make decisions with incomplete information. You pack based on speculation about what you’ll need, not lived experience. That’s the paradox: less storage space demands more planning, not less.
The real move is to operate backwards. Spend two weeks sleeping in a tent in the conditions you’ll actually camp in. Document what you reach for, what you ignore, what frustrates you. Only then do you build storage for real needs instead of imagined ones. Most DIY teardrop builders skip this phase entirely and end up reconstructing interior layouts after the first trip. You avoid this by treating minimalism as a constraint to solve, not a style to adopt.
The DIY Teardrop Trailer Zero Sum Design Protocol

Every Addition Demands A Subtraction

You want your teardrop to feel spacious without admitting the real constraint: square footage doesn’t expand. Economics calls this a zero-sum game, and your interior is one. The mechanism is simple. Each item you bolt down consumes cubic space, visual real estate, and weight capacity. Most builders ignore this until they’re halfway through construction, then panic-strip features. The right move happens before you cut plywood.
Map your interior like a ledger before building anything. Decide what serves multiple functions and what exists for a single purpose. A murphy bed with storage underneath counts as one decision. A bed frame plus a separate under-bed bin counts as two. Remove the bin. The space gained isn’t “extra storage.” It’s the margin between a teardrop that functions and one that suffocates you after three nights.
What Clutter Actually Costs You
The common advice says “only bring what you need.” That’s incomplete. Clutter doesn’t cost comfort—it costs your ability to move and think inside the space. A crowded interior triggers decision fatigue every time you reach for something. You waste mental energy navigating your own bedroom. After a week of camping, that exhaustion compounds into resentment toward the whole project.
Build in negative space first, then fill it. Your bed frame should have zero ornament. Your storage should stack vertically along one wall, not scatter across multiple surfaces. Use one type of container for all loose items, not five different boxes. The protocol: install only what serves the drive cycle—sleeping, cooking, moving. Everything else stays outside or at home.
Beyond “Building A Teardrop Trailer”: The Systems Thinking Approach
Interdependent Components Shape Your Outcome

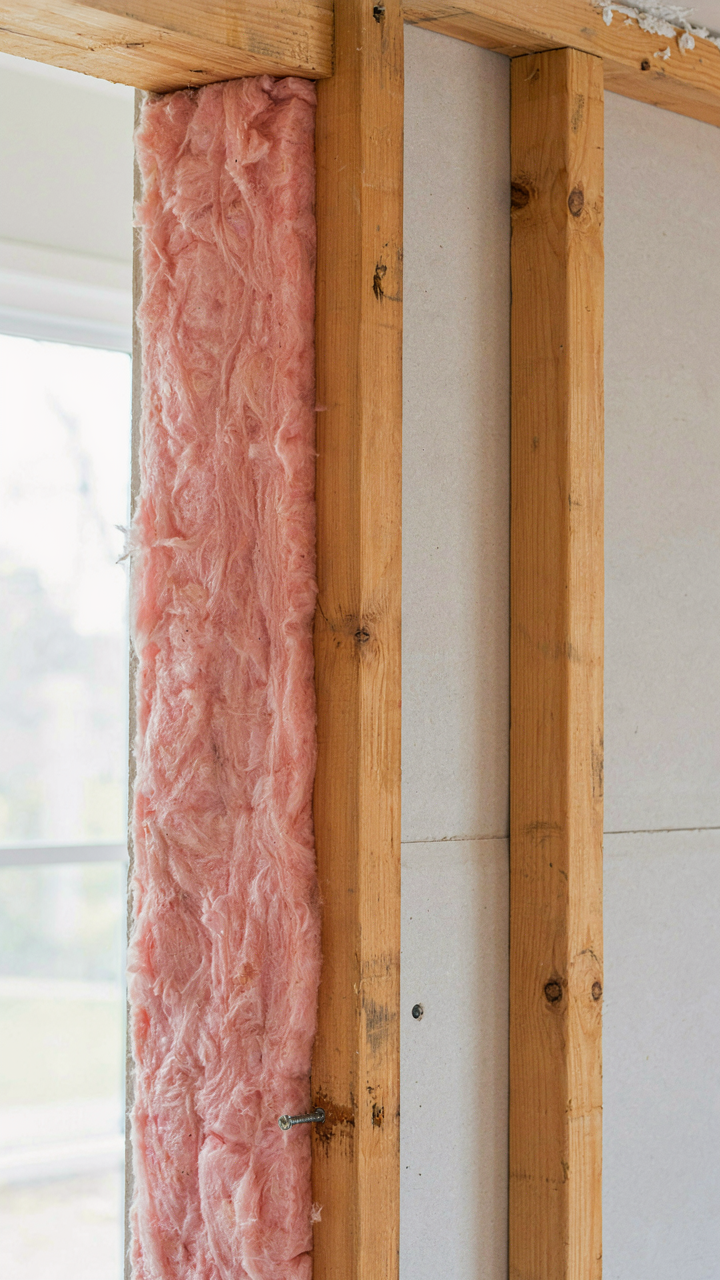
You want to believe building a teardrop is a series of isolated tasks you can tackle independently. It isn’t. Borrowed from mechanical engineering: a teardrop’s thermal resistance functions like a load-bearing wall in a structure. Remove or weaken one component and the entire system degrades. Your insulation choice directly determines your ventilation requirements. Your ventilation choice determines where you can safely place your battery and propane. Your electrical and propane placement determine your weight distribution. Your weight distribution determines your axle and tire specifications. Build without mapping these dependencies and you’ll cut corners twice, waste materials, and end up with a camper that sweats condensation or overheats.
The mistake builders make is treating systems as compartments. Insulation is a standalone decision. Flooring is separate. Electrical layout is its own thing. Reality works differently. Every choice cascades. A closed-cell foam that resists moisture migration means you need less aggressive ventilation, which means you can mount components differently, which changes your interior layout options. Start by mapping what touches what, what constrains what, and what fails if something else fails. This is where most DIY builds collapse, not in execution but in planning.
User Friction Reveals Design Failures
Your teardrop won’t tell you what’s wrong through a checklist. It tells you through how you actually live in it. A heating system that works on paper but requires you to crack a window because it creates moisture pools isn’t a heating system, it’s a prototype failure hiding behind installation photos. The feedback loop between occupation and design shows you what matters. You discover inadequate insulation through cold nights, not calculations. You find ventilation problems through mildew, not airflow diagrams.
Build your interior to be testable before you lock it down. Mount components temporarily. Live in rough conditions before finalizing. A shelf that looks good in CAD might block airflow you didn’t model. A bed frame that fits dimensionally might create a dead zone where you can’t clean. A power system that runs everything simultaneously might drain faster than your use patterns allow. The mechanism is simple: iterate through lived experience, not assumption. Every overnight trip in incomplete conditions reveals a system weakness. Fix it before finishing.
Teardrop Camper Plans That Actually Work: Multi Function Mastery

Dual Purpose Furniture Essentials

You want to feel like you’ve solved the space problem without admitting you’re running from commitments. The real mechanism: furniture that collapses or transforms forces you to design for two states instead of one, which means each piece earns its weight twice. A bed that becomes a dinette doesn’t save space through magic. It saves space because you chose constraint over sprawl.
The bed frame matters more than the mattress. Build a platform that hinges or slides to expose storage underneath, or design it so the seat backs of your dinette align with the bed height when folded down. This isn’t novel thinking, it’s geometry applied without apology. Materials like plywood and aluminum angle stock give you the rigidity to support loads while staying light enough to move between configurations without tools.
Vertical Space The Forgotten Frontier
Storage strategy borrows from naval architecture, where every surface becomes load-bearing real estate. Your teardrop has cubic feet you’re not using because you think vertically means shelves bolted to walls. The actual mechanism: overhead storage that doesn’t hang from the roof shifts weight to the frame instead of adding stress to the structure where it bends most under towing.
Cabinet doors that fold inward eat space. Doors that slide parallel to the wall waste less clearance and stay in place during turns. Magnetic catches beat latches because they don’t rattle and they fail softly. Run conduit or rails along the upper corners where the walls meet the ceiling. This creates points of attachment that bypass the ribs in your shell. Your vertical real estate becomes usable only when you stop treating walls as display space and start treating them as structural assets.
The Unsexy Secret To “Diy Teardrop Camper Trailer” Storage: Accessibility

The Items You Actually Use Every Day

You want your teardrop to feel effortless because you’re afraid the friction will kill the whole project. Here’s the mechanism: storage accessibility operates like real estate pricing. Prime locations command premium value because proximity reduces friction. In a teardrop, friction is time and frustration. Items you reach for daily should occupy the most accessible zones. Your cooking utensils don’t belong in a cabinet above your head or wedged behind the bed frame. The coffee setup, cooking tools, and toiletries live within arm’s reach from where you use them.
Most builders waste their best interior positions on seasonal gear or backup supplies. This is backward. Measure your actual movement patterns inside the trailer for one full day of use. Where do you reach first? Where do you spend the most time standing? Those spots get the items that appear in your routine five times daily. Everything else adapts around that reality, not the other way around.
Bulk Storage Doesn’t Need To Be Convenient
You keep backup supplies because you plan ahead, not because you want to access them constantly. The mechanism here borrows from military logistics: supplies move through zones based on operational demand. Cold storage beneath the trailer bed holds your cooler, extra propane, leveling blocks, and seasonal clothing. These items remain organized but intentionally out of the main circulation path. Accessibility doesn’t mean reachability for everything. You organize backup bulk items once, then you ignore them until actual need arrives.
Mount a vertical cabinet on an exterior wall or use under-bed storage boxes that require extraction but not rearrangement every trip. Your cooler doesn’t live inside the sleeping space. Extra propane doesn’t sit next to your pillow. The rule is simple: if you don’t touch it more than twice per trip, it moves to secondary storage. This frees your prime interior real estate for the items that determine whether daily living feels efficient or exhausting.
Powering Your DIY Tear Drop Camper: The Energy Budget Reality
Calculate Before You Buy

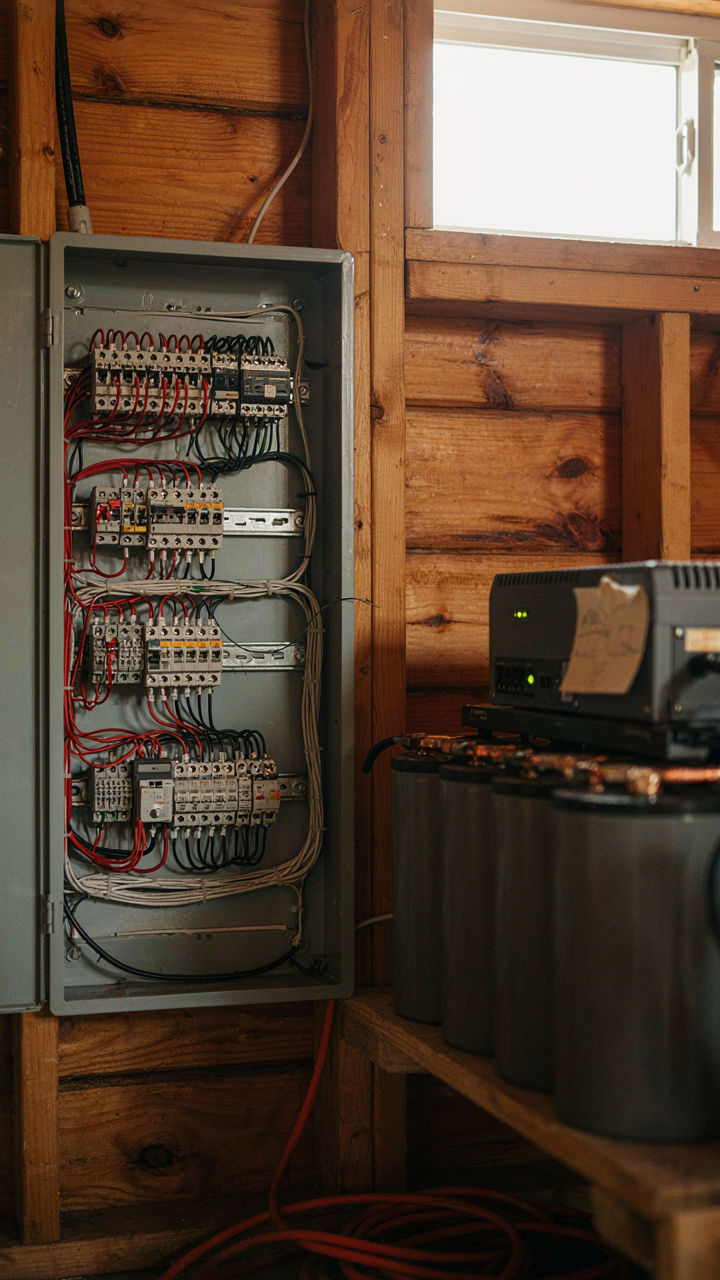
You want to feel prepared and self-sufficient without admitting you’re terrified of being stranded with a dead battery. That fear is rational, but it blinds you to the actual mechanism: you’re building an electrical system, and electrical systems operate on constraint, not desire. Start by listing every device you’ll run: LED lights, phone charger, water pump, fridge, heater, fan. Write down wattage and daily run time in hours. Multiply wattage by hours for each device. Total that number. That’s your daily demand in watt-hours.
Your battery bank must cover at least two days of that demand, accounting for the fact that lithium cells drain faster under load and lead-acid batteries can’t discharge below 50 percent without damage. A 100-amp-hour lithium battery stores roughly 12,800 usable watt-hours. A 100-amp-hour lead-acid gives you about 6,000. Match your calculated need to battery chemistry, not the other way around. Don’t buy hardware before you know the math.
Solar And Battery Integration Pitfalls
The common advice is that more solar panels solve everything. It doesn’t. Solar integration in a teardrop works like energy accounting in economics: input, storage, and output must balance or the system collapses. Most builders install panels rated for peak sun output, then get angry when cloudy days or winter angles cut production to half that. Your solar array should cover average daily demand, not maximum theoretical output.
Battery charge controllers are where the real failure happens. A PWM controller wastes energy as heat and can’t charge lithium batteries properly without frying them. MPPT controllers are mandatory if you’re using lithium and want efficiency above 70 percent. Install a battery monitor that shows voltage, current draw, and state of charge in real time. Run it for a week before you leave. You’ll see exactly where your system bleeds power and where your math was wrong. Adjust before you’re 50 miles from a power source.
From “Diy Teardrop Trailer Plans” To Reality: The Iterative Design Imperative

Prototyping Before You Build The Frame

You want to skip the messy part because you think a perfect plan from the internet will save you time and money. It won’t. Borrow from software development: in that field, a “sprint” is a compressed cycle where you build, test, break, and iterate. Your diy teardrop camper needs the same treatment. The difference is you can’t patch a welded frame over the internet. You build a working prototype first, even if it’s crude.
Start with your sleeping platform. Build it at full scale from scrap plywood. Sleep in it for a week. This reveals what the plans missed: head clearance that feels different when you’re prone, storage access you can’t reach, ventilation that traps your breath. Most builders skip this because it feels inefficient. It’s the opposite.
- Full-Scale Sleeping Mockup: Build your bunk area in actual dimensions from cheap materials. Test pillow placement, knee room, and mattress firmness impact on comfort before committing to frame construction.
- Galley Layout Test: Arrange your stove, cooler, and prep surface in their intended positions. Cook three meals in sequence to catch workflow friction before permanent installation.
- Door Swing Simulation: Create the entry frame at actual width and height. Walk in and out fifty times with gear. Measure shoulder and hip clearance under real movement conditions.
- Ventilation Flow Check: Install your planned vent locations on the mockup. Run a fan and observe condensation patterns during a cold night with heating active.
- Weight Distribution Test: Load your prototype with intended gear weight. Check for flex, sag, or instability before you weld the real trailer frame.
The prototyping phase costs you three to four weeks and under two hundred dollars in materials. Skipping it costs you a frame redesign or a trailer you hate towing. The math is simple.
Real People Don’t Use Perfect Plans
The gap between what works on paper and what works in your body is where most diy teardrop camper builds fail. User experience beats theoretical perfection every time because you’re not living inside a blueprint. You’re living inside a box that’s six feet wide and twelve feet long.
Comfort isn’t an accident of design. It’s a measurable outcome of testing against your actual behavior. You pack differently than the plan assumes. Your partner’s elbows take up more space than the diagram suggests. You get claustrophobic in configurations that looked fine in top-down drawings. The only way to know this is to sit in a prototype and move through your daily routine. This reveals what matters. Then you redesign around behavior, not theory. Build, use, adjust. Do this cycle twice before you cut your real materials.

How To Make A Teardrop Camper Interior Not A Clutter Trap
Light And Air Shape How Space Feels
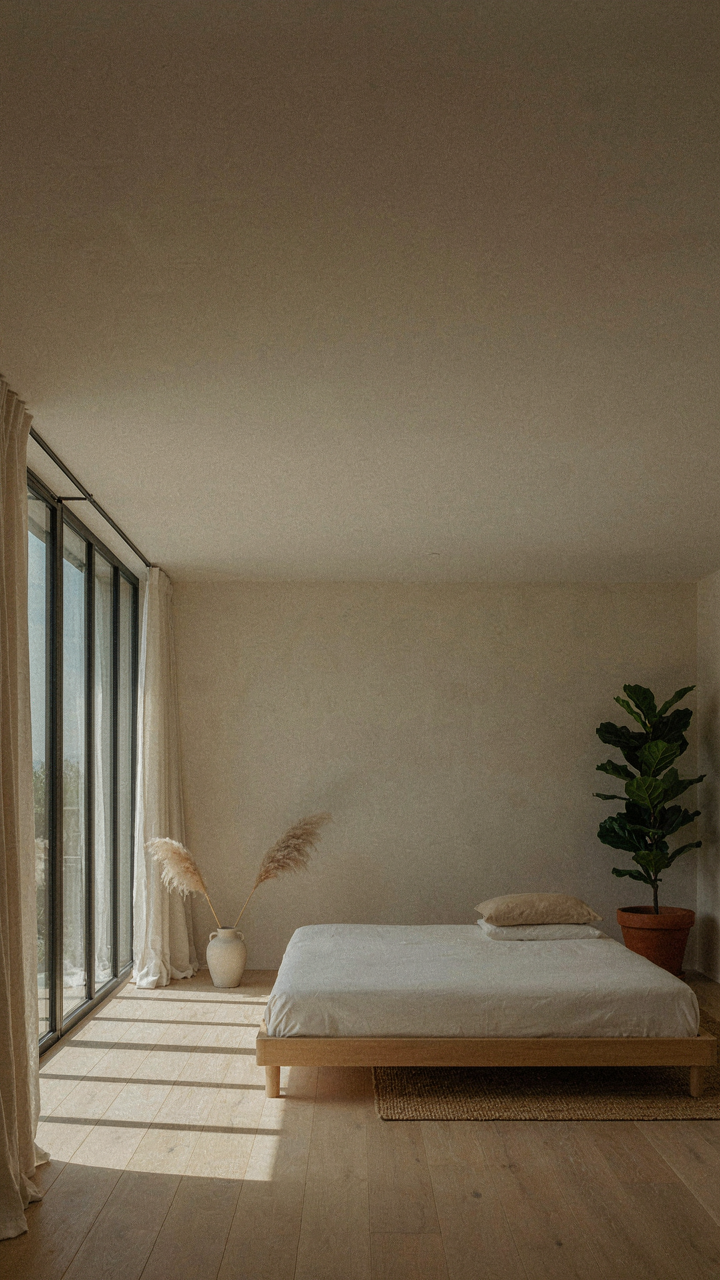
You want your teardrop to feel bigger than it is—that’s the real driver here. The mechanism is sensory: light and ventilation control how your nervous system reads spatial compression. In psychology terms, we call this “affordance”—the space signals whether it constrains or liberates you. A dark, still teardrop interior suffocates you psychologically long before it runs out of oxygen. Install at least two ventilation points: one low (passive air intake near the floor) and one high (active exhaust, ideally a roof vent fan). Light multiplies perceived volume instantly.
Position LED strip lights along the ceiling perimeter, not the center. This pushes visual attention outward and makes walls recede. Add one focused work light above the galley or desk area—task lighting breaks the monotony and signals functionality to your brain. Ventilation fans rated for RV use (typically 12V or 120V) pull moisture and stale air out before they accumulate. Mount the roof vent aft-facing to capture airflow while moving. Passive vents alone won’t cut it in humid climates.
Tight Palettes Compress Space Into Coherence
You’ve heard that light colors expand space. That’s true but incomplete—the real mechanic is reduction of visual decision points. Every color choice your eye processes requires cognitive load; fewer colors mean faster visual rest and perceived spaciousness. Use a three-color maximum: a dominant neutral base (off-white, soft gray, natural wood tone), one accent color for depth, and one utility color for trim. Stop treating the interior like a paint sample store.
Texture matters more than people admit because it controls light reflection and shadow. Matte surfaces absorb light and flatten space; glossy finishes bounce light and create visual noise. Choose matte fabrics for upholstery and wall coverings. Raw wood or plywood sealed with matte polyurethane reads larger than painted drywall. Consistency in material finish across surfaces creates visual continuity that makes the teardrop feel intentional rather than improvised. Install textured elements strategically—a single accent wall or soft furnishing, never scattered throughout.

The Real Obstacle Isn’t The Space; It’s Your Inability To Ruthlessly Prioritize

Most people fail their DIY teardrop camper builds not because they run out of space, but because they refuse to choose. They want the full kitchen, the standing shower, the entertainment system, the workshop. You don’t get all of it. Pick three things that actually matter to you. Then delete everything else. Today, write down what those three are. The camper you build will only be as good as the things you had the discipline to leave out.



