
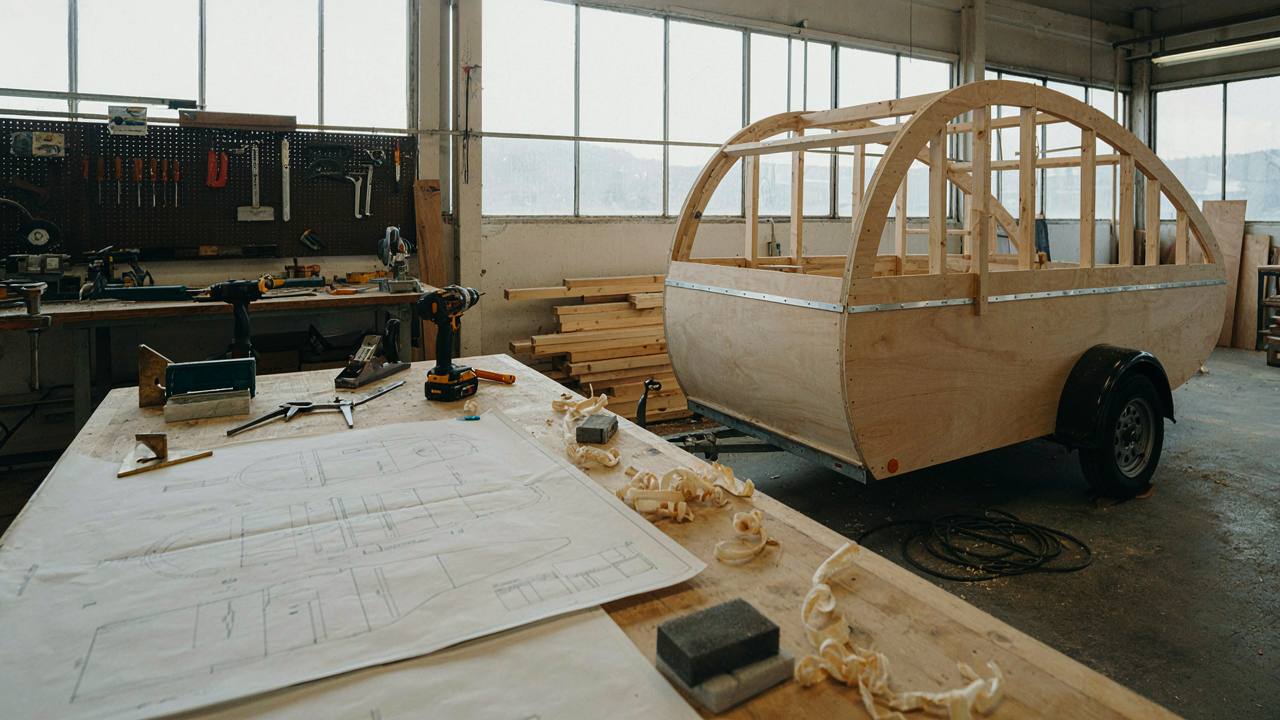
Why Your Teardrop Trailer Dreams Are Stuck In Neutral

The Myths That Kill Most Builds Before They Start
You want to believe building a teardrop is harder than it actually is because difficulty justifies inaction. The real mechanism at work here is constraint avoidance. Most people never start because they’ve internalized false prerequisites that don’t exist. You’ve heard that you need a fully equipped shop, professional welding skills, years of carpentry experience, and access to specialty tools. None of that is true for a functional teardrop. The barrier you’re imagining is self-imposed.
The actual build requirements are simpler. You need basic hand tools, a drill, a saw, and access to a welder or willingness to pay someone fifty dollars to weld four seams. You need plywood, aluminum extrusion, basic fasteners, and tires. You don’t need a degree or a reputation or permission. The people successfully building teardrops are not trained craftspeople. They’re ordinary people who started with incomplete information and figured it out as they went.
Building The Wrong Thing First
The consensus myth says you should plan exhaustively before cutting anything. This is wrong. The plan-first approach wastes time because you’re designing in a vacuum without the tactile feedback of actual materials. Think of this like systems design in software development: you don’t architect the entire application before writing code. You build the core structure, test it, then iterate. Your teardrop requires the same approach.
Start with the frame. Get steel tube, tack it together, check fit and angles in physical space, then weld it properly. This reveals actual constraints immediately. You’ll discover what works and what doesn’t faster than any spreadsheet can teach you. The “perfect build” doesn’t exist because every trailer responds differently to its specific materials, climate, and intended use. Build something functional, live with it, then refine based on what you actually learned instead of what you guessed.
The Minimalist Manifesto: Less Trailer, More Adventure
Function Over Aesthetic Compromise

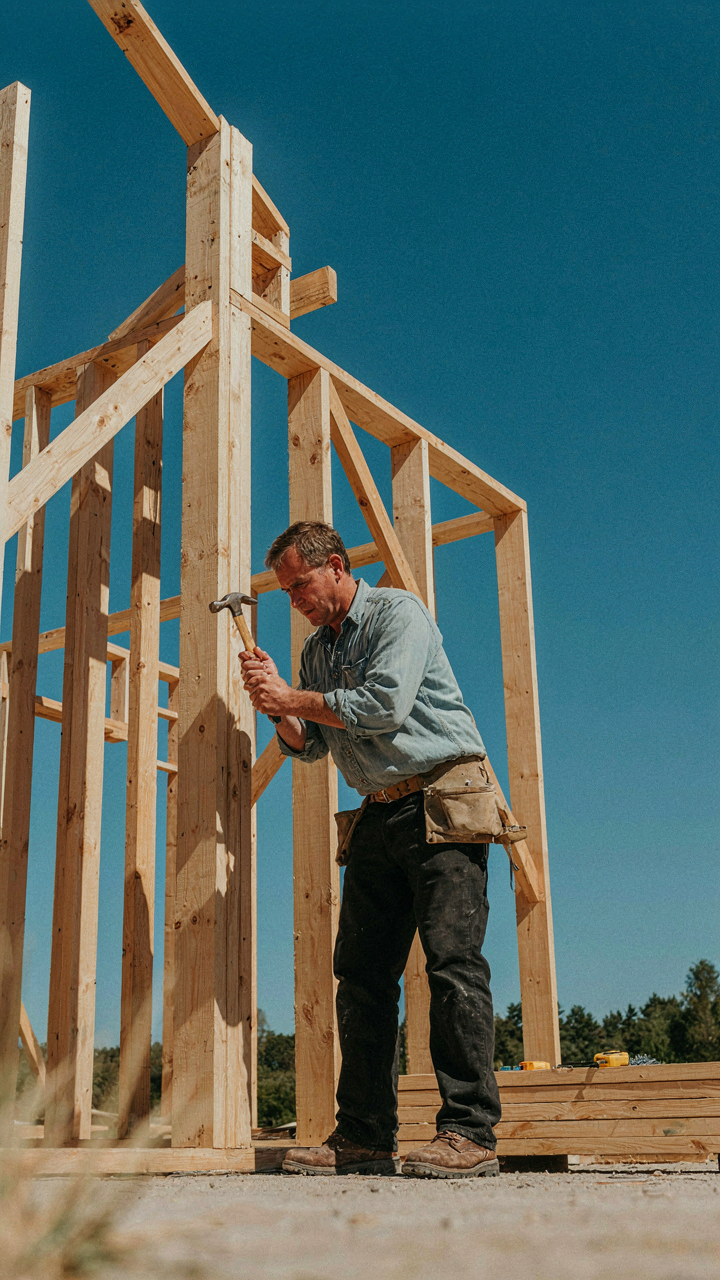
You want your build to look good on Instagram. That’s the real reason you’re reading this section. Here’s what actually matters: a teardrop trailer is a load-bearing structure first, not a design statement. Systems thinking applies here—in engineering, load paths are the skeleton that everything else hangs on. Your aesthetic choices must follow your structural requirements, not the other way around.
Most DIY builders reverse this. They start with Pinterest photos and retrofit function around looks. This creates hidden failures: inadequate ventilation hidden behind pretty paneling, insufficient frame bracing buried under interior trim, weight distribution ignored for symmetrical cabinetry. The mechanism is simple: cosmetic decisions made before structural ones always cost money and compromise livability later. Build the frame, route the utilities, establish airflow, then style what remains. Your interior will look intentional because it will actually work.
Complexity Kills Teardrop Builds
Most DIY teardrop failures aren’t structural failures. They’re complexity failures. Each system you add—solar, water, heating, bathroom—introduces failure points and demands skill you may not have. Economics has a concept called “hidden costs.” In a teardrop build, hidden costs are the hours spent troubleshooting systems, the weight penalties that force frame reinforcement, and the repairs that happen at midnight in a parking lot.
The builders who finish their trailers are the ones who stopped adding features halfway through. They prioritize one core system per major area: storage beats cabinetry, ventilation beats interior finishing, weight capacity beats interior height. This isn’t settling. It’s respecting the constraint that kills projects: your available time. Write down every system you want, then eliminate everything except what you actually use in the field. The rest is overhead.
Decoding DIY Teardrop Trailer Plans: Your Blueprint, Not Your Bible

Plans That Match Your Actual Skill Level

You’re hunting for plans because you want permission to start without feeling like you’ll fail halfway through. The real mechanism: plans aren’t instruction manuals. They’re reference points. Your actual constraint isn’t the plans themselves—it’s whether your hands and tools can execute what the plans assume.
Start by auditing one specific build decision in any plan you’re considering. Can you weld a seam? Cut plywood to tolerance? Frame and square a box? Pick the task that scares you most and do a test run before committing. Plans assume baseline competency. They don’t teach it. If you’ve never used the tools required, you’re not choosing between plans—you’re choosing between learning curves. That decision changes everything about timeline and material waste.
When To Break The Plan And When To Follow It Exactly
Everyone says “adapt plans to your needs,” which is useless advice because it doesn’t tell you what breaks and what bends. Here’s the separation: structural geometry doesn’t change. The angle of the A-frame, the tongue length, the axle position—these are load calculations. Deviation here compounds into problems you won’t see until the trailer is loaded and on the road. Interior layout changes. Cushion height, cabinet placement, door hinges—these are preference variables. Move them freely.
The most common mistake is treating frame dimensions like interior choices. They’re not. Adapt plans means you adjust what goes inside the fixed box, not the box itself. Document every structural change you make with math: if you widen the frame, recalculate tongue weight. If you raise the sides, verify the center of gravity doesn’t shift outside your axle position. Keep one decision tree: if it affects weight distribution or load path, run the calculation. If it doesn’t, build what feels right.
The Building A Teardrop Trailer Systems Thinking Protocol

Components Must Function As One Unit

You want to skip this section because it sounds like abstract theory. It’s not. Military strategists call this “force interdependence”—when one unit’s failure cascades through the entire operation. Your teardrop’s frame, suspension, electrical, and water systems operate the same way. A weak connection point in your frame doesn’t just fail locally. It transfers stress to your axle, which strains your hitch, which yanks on your tow vehicle. One overlooked coupling creates a failure chain.
Most builders treat each system independently. They spec the frame, then bolt on suspension, then wire in lights as afterthoughts. This creates weak handoff points where systems meet. Instead, design backward from your tow vehicle’s capacity and your intended load. Your frame design determines where your axle mounts. Your axle placement determines suspension geometry. Your suspension geometry determines how weight transfers during braking and turns. Build the dependency map first. List what each system demands from the others before you cut a single piece of material.
Feedback Loops Expose Design Flaws Early
Cybernetics teaches us that systems correct through feedback—information loops that reveal what’s working and what isn’t. Most builders ignore this until the trailer is on the road. Your feedback arrives too late then. Test your design assumptions at each stage instead. Weld a test frame section. Load it incrementally and measure deflection. Does it match your calculations? No? Your full frame design is wrong. Assemble your hitch connection. Tow it empty at highway speed. Does it track straight or pull? Feedback tells you everything.
Build a physical prototype of your most uncertain connection point before committing it to the full trailer. A welded corner joint, a water tank mounting bracket, an electrical connector under load—test it first. Document what breaks and why. This isn’t delay. This is the difference between a trailer that works for five years and one that fails on your first trip. Each test cycle compresses months of potential failure into controlled, observable failure you can fix before it matters.
Frame Fabrication: The Unsexy But Critical Foundation

Steel Tube Vs Aluminum: The Weight Trade Off

You want the frame to disappear from your mind after you build it. That’s the real reason this matters. Most builders chase lightweight without understanding the actual cost of that choice. Steel 2×3 tubing at 1.5mm wall thickness costs nothing and handles abuse. Aluminum demands precision welding, specialized equipment, and brittle failure modes when you miscalculate loads. Steel deforms first and warns you. Aluminum snaps.
A teardrop frame under 1200 pounds dry weight needs steel. Aluminum buys you maybe 200-300 pounds of savings and introduces failure risk that doesn’t show until highway speed. The mechanism is material stiffness versus structural redundancy. Steel gives redundancy cheap. You get corrosion concerns instead, which you solve with paint and bed liner, not engineering. Use A500 Grade B steel tubing if you’re serious about longevity.
Welding Into The Frame Structure
Everyone says use bolts to make disassembly easy. They’re wrong. Bolted connections create stress concentration points and require fastener maintenance forever. A fully welded frame is actually simpler. You eliminate the fastener inventory, the loosening variables, and the inspection checklist. The real downside is commitment—you can’t redesign after the fact—so your design work carries actual weight.
Continuous fillet welds distribute loads across the joint instead of forcing stress through bolt holes. This is load distribution, borrowed from mechanical engineering. Use 6010 rod for the root pass on your main rails, then 7018 for fill. Run your beads in a sequence that manages heat: alternate sides of the frame to prevent warping. The protocol is simple: design once, weld full penetration, X-ray if you want verification, then move forward.
DIY Teardrop Trailer Build Kits: Shortcut Or Setup For Failure?

When A Kit Saves Time But Costs Precision

You want the kit because you think it removes decision-making. That’s the real draw, and it’s also the trap. In economics, this is called moral hazard: you outsource judgment to a vendor, then assume their incentives align with yours. They don’t. A kit prioritizes shippability and assembly speed, not structural integrity or material longevity. Most kits use undersized fasteners, pre-cut lumber with tight tolerances that ignore wood movement, and simplified joinery that skips bracing logic. You’re not buying a trailer plan translated into packages. You’re buying a liability transfer.
The honest comparison: custom fabrication forces you to understand load paths, weight distribution, and seasonal wood movement before cutting anything. A kit hides these decisions in favor of “follow the manual.” When you’re done, you’ve built what the kit designer intended, not what your specific use case demands. If you’ve never built anything structural, that manual obedience feels safer. It’s not. It delays failure until you’re three states into a camping trip.
The Line Items Nobody Mentions When Selling Kits
Kits advertise the frame and shell. They don’t advertise what they exclude. Most kits omit flooring materials, insulation, electrical rough-in supplies, interior trim, hardware beyond assembly bolts, and weatherproofing sealants. A vendor quotes you $2,400 for a kit, then you discover you need another $1,200 in materials to make it functional. The math gets worse when you factor labor. A kit saves you design time and some fabrication time. It doesn’t save assembly time if the components don’t fit cleanly, which happens often when wood shrinks or fasteners weren’t pre-drilled at correct depths.
Many builders also underestimate the tool requirements kits assume you own. You need a drill, circular saw, pneumatic stapler, caulking gun, and framing square at minimum. If you’re renting or buying these, add $300 to $600. Then there’s the correction budget. Nearly every kit requires field modifications to seams, cross-members, or attachment points. You can’t anticipate these until assembly begins. Budget 15 to 20 percent overage on material costs, and verify what the kit manufacturer warrants after you modify the design.
The Skin Game: Sealing Your DIY Teardrop Camper Against The Elements
Choosing Materials That Won’t Fail You

You want your trailer to look like you spent money on it. That’s the real driver here. But aesthetics mean nothing if water finds a seam in year two. The exterior skin does one job: it stops moisture from rotting your frame and insulation. Everything else is secondary.
Most DIY builders choose between aluminum composite panels, marine plywood with fiberglass, or bare aluminum. Aluminum composite is lightweight and forgives mistakes during installation. Marine plywood wrapped in fiberglass offers better insulation retention and costs less upfront. Bare aluminum requires perfect sealing work but ages visibly. Pick based on your actual skill with sealants, not what looks impressive online.
Waterproofing That Stops Working Eventually
Everyone talks about “waterproofing” like it’s permanent. It isn’t. This is basic thermodynamics applied to material science. Your exterior skin expands and contracts with temperature. Every expansion cycle stresses your seals. Sealants crack. Fasteners loosen. Water finds gaps.
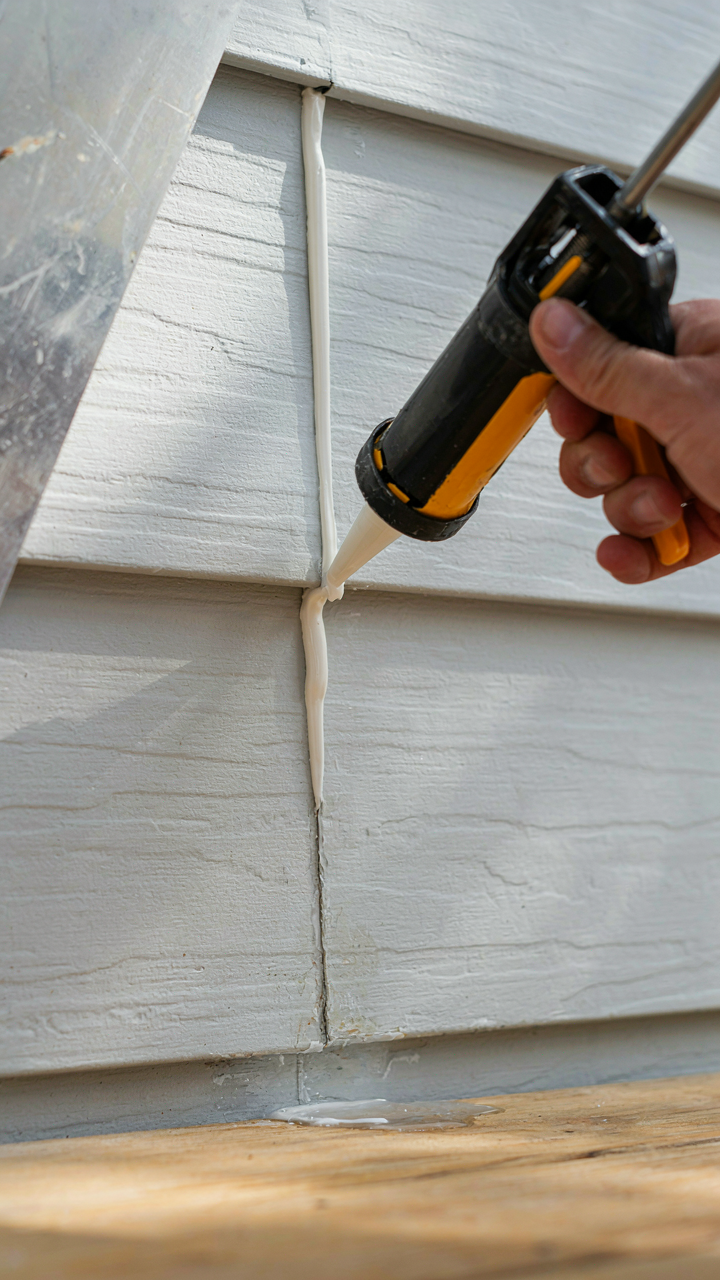
The real protocol: use a combination of mechanical barriers and flexible sealants, not sealants alone. Install metal trim at all edges and seams. Run self-adhesive butyl tape under trim before fastening. Then seal the seam with urethane caulk rated for exterior RV use. Silicone is cheaper and faster but fails in five years. Urethane lasts eight to twelve years if you use the right product. Inspect and reseal every two to three years. Don’t skip this maintenance cycle and expect the trailer to stay dry.
Interior Outfitting: Function Over Fluff In Your DIY Tear Drop Camper

Storage Solutions That Actually Work

You want your trailer to feel spacious. That’s the real motive here. But spaciousness is a supply problem, not a feeling problem. The mechanism is density: you fit more by eliminating air and embracing vertical walls. Teardrop trailers have roughly 40 to 80 square feet of interior. That’s a constraint you work within, not against. Proper storage multiplies usable space by controlling what occupies it.
- Wall-mounted shelving: Install shallow shelves along the cabin walls using 1×4 lumber or lightweight plywood. Mount them 8 to 12 inches apart vertically to maximize vertical real estate without blocking headroom or sightlines.
- Under-bed drawers: Build rolling drawers beneath your sleeping platform using 2×4 frames and plywood boxes on casters. This reclaims dead space and lets you pull gear without moving the mattress.
- Overhead cabinets: Mount cabinets above the side walls or above the bed frame using L-brackets rated for the load. Keep items you rarely access here to avoid excessive head bumping during daily movement.
- Door-mounted organizers: Hang fabric organizers on the interior of your entry door using adhesive hooks or small metal rods. This captures space that would otherwise stay empty and keeps frequently needed items accessible.
- Magnetic strips and hooks: Mount magnetic strips for metal tools and small hardware. Add heavy-duty hooks rated for at least 25 pounds for hanging ropes, bags, or cooking gear without taking up shelf space.
Every inch of wall space serves a function or it’s wasted square footage. Build your storage plan before you build the interior frame. This prevents retrofitting and weak mounting points that fail under road vibration or weight shifts during travel.
Airflow And Temperature Control
The common advice says add a roof vent fan and you’re done. That’s incomplete. Thermodynamics dictates that a sealed box with one exhaust point creates dead zones where stagnant air pools. Your teardrop needs both intake and exhaust paths, plus barriers to radiant heat. Temperature control works through three mechanisms: passive airflow, active removal, and radiant blocking.
Position your roof vent near the rear and create intake vents at the front, low on the walls. This establishes a pressure gradient that moves air through the space naturally when you’re stationary. Install ceiling and wall insulation before finishing interiors. Use either rigid foam board between studs or spray foam to minimize thermal bridging. Radiant barriers like reflective foil reduce heat absorption from sunlight. Mount these on the interior of your roof frame before adding interior panels. Ventilation without insulation leaves you sweating in summer and freezing in winter. Install both or install neither—one without the other wastes your effort.
Electrical Systems: Powering Your Adventures, Not Your Anxiety
The Wire Run That Actually Works

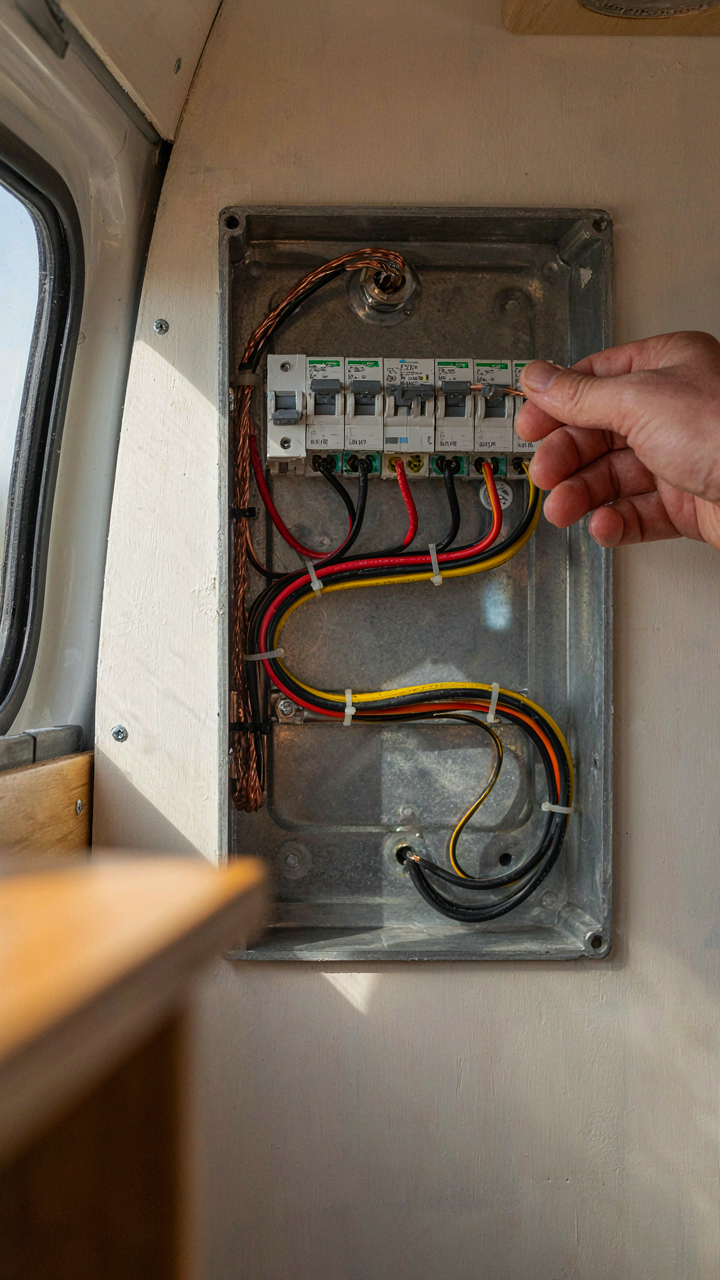
You care about this section because you’re afraid of burning your trailer down or stranding yourself without power, and that fear is rational. The mechanism is simple: electricity follows the path of least resistance, so your job is to control where it goes and protect it when it tries to go somewhere else. Start with a single point of entry from your battery to a fused disconnect switch mounted near the battery itself. This switch is your kill switch. Everything downstream branches from here.
Run 4 AWG cable from the battery through a 150-amp ANL fuse holder, then to your main disconnect. From there, run separate circuits: one for lights, one for charging, one for accessories. Use marine-grade tinned copper wire because it doesn’t corrode. Size your wire based on amperage and distance, not on guesswork. A 30-foot run to a 10-amp load needs 10 AWG wire minimum. Use a battery management system that monitors voltage and prevents over-discharge. Crimp all connections with a proper crimper, not a hammer and pliers.
Sunlight Versus The Reality Of Clouds
Solar panels on a teardrop are not about independence, they’re about reducing how often you plug in. The common advice treats solar as a lifestyle upgrade. It’s not. It’s economics masquerading as autonomy. A 200-watt solar panel costs 300 to 500 dollars. It generates real power only in direct sunlight for about six hours per day in summer, less in winter or cloudy regions. If you camp mostly on weekends in established campgrounds with hookups, solar is a tax on your budget.
If you boondock frequently in open terrain or stay multiple days without moving, solar becomes tactical. A modest 100 to 150-watt system paired with a 100-amp-hour lithium battery handles basic lighting and phone charging for three to five days without sun. Pair this with a small 2000-watt inverter for occasional coffee makers or power tools. Size your system backward from your actual power draw, not forward from what sounds impressive. Document your amp-hour consumption for one week of real use, then build capacity around that number, not around vendor marketing.
Registration And Legalities: Don’t Skip This Step In How To Make A Teardrop Camper

Getting Your Build Street Legal
You’re worried you built something that won’t pass inspection, or worse, that cops will pull you over and impound it. The real mechanism here is simple: your teardrop exists in a legal gray zone until you register it. The state doesn’t care how you built it—they care that it meets minimum safety standards and that you paid your fees. Titling a DIY trailer is harder than buying one because you have no manufacturer documentation. You’ll need to go through your state’s DMV with proof of construction, a bill of sale if applicable, and often a VIN verification from an officer.
Most states require a VIN inspection before titling a homemade trailer. Contact your local DMV before you finish building and ask what documentation they need: photos of the frame, welding details, axle specifications, and sometimes proof of materials purchase. Some states use form VIN-04 or equivalent—get the exact form name from your jurisdiction. Build your documentation folder as you build the trailer, not after. A notarized bill of sale, even from yourself, strengthens your position with the DMV.
Mechanical Fitness And Road Compliance
Safety standards exist because trailers kill people when brakes fail or wheels fall off. You need to run through a checklist before you ever hit the road. Brakes must work, tires must be legal and properly inflated, lights must function, and the coupler must match your vehicle’s hitch. Do not assume you can get away with skipping these. A roadside inspection will catch it immediately, and you’ll be stranded.
Have a qualified mechanic or inspection station verify your trailer meets state requirements before taking it anywhere. Most states require brake systems on trailers over a certain weight threshold, typically 1,500 pounds when loaded. Check your state’s specific weight limits. Your teardrop’s axle rating, suspension condition, and tire load rating must all align with intended use. Get a pre-registration inspection done to confirm everything passes, then use that signed report as part of your DMV documentation package.
The Teardrop Trailer Isn’t The Destination, It’s The Vehicle For Your Evolution

Most people stall because they wait for perfect knowledge. You don’t need it. You need to cut one piece of wood today. Not tomorrow. Not after you watch another video. Cut wood, make mistakes, learn faster than any tutorial teaches. The teardrop trailer you build becomes proof that you execute. Everyone talks about freedom. You’ll actually own it.



