
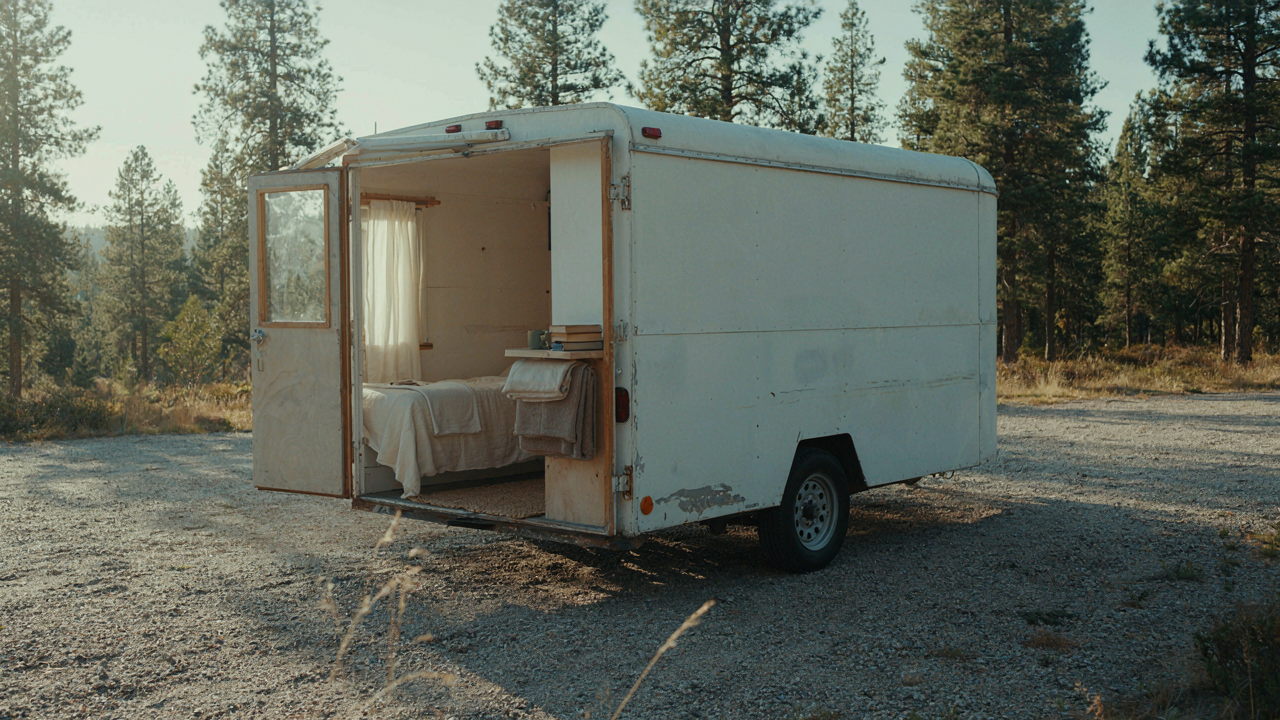
The Iterative Design Protocol For Cargo Trailer Camper Conversion

Start With Spatial Constraints, Not Dreams
You want a layout that looks good in your head before you build it. The real mechanism is this: most people skip the hard part—naming actual dimensional trade-offs—and jump straight to Pinterest inspiration. That kills projects faster than bad welds. A cargo trailer camper conversion forces a choice every 12 inches. You cannot have a full shower, a king bed, and a kitchen in a 6×12 interior without eliminating something else. Write down your trailer’s usable interior length, width, and height in feet. Subtract wall thickness from each dimension. Now you have constraints that matter.
These constraints are your design boundaries, not your enemy. Sketch three entirely different layouts on paper using only those real dimensions. Do not worry about aesthetics yet. One layout prioritizes sleeping. One prioritizes kitchen function. One prioritizes storage and flexibility. Each forces different plumbing runs, electrical paths, and weight distribution. You are testing hypotheses about which trade-off you actually want to live with, not which one looks best on Instagram. Keep these sketches loose and rough. The precision comes later.
Mock Up The Movement, Not The Finish
Everyone buys expensive cabinetry and appliances before they move through the space once. This is the core mistake. Use cardboard, plywood scraps, and duct tape to build full-scale mockups of your major elements inside the empty trailer. Cut a rectangle the size of your planned bed frame and tape it to the floor. Set your stove dimensions with cardboard. Mark your sink location with tape. Now spend a weekend living in this raw mockup. Cook a meal. Sleep in it. Walk the aisles in the dark. This reveals movement bottlenecks that no drawing will.
You will discover problems at human scale that drawings hide. A stove three feet from the bed door means heat and grease drift into your sleeping zone. A galley kitchen facing backward means you cook with your back to the entrance. A shower positioned wrong creates plumbing runs that eat floor space. These problems are cheap to solve with cardboard and expensive to fix with installed cabinetry. Adjust your mockup based on actual use. Document what works with phone photos. This data becomes your real blueprint. Build the trailer’s interior to match what your body already taught you.
Deconstructing The “Permanent Fixture” Myth In Cargo Trailer Camper Conversion Ideas

Build For Removal, Not Permanence

You want to feel like you’ve “really built something” so you’re tempted to bolt everything down forever. The mechanism is simple: permanent fixtures lock you into one layout, one problem, one mistake. The moment you weld, screw, or glue something into a cargo trailer, you’ve killed your optionality. You can’t test. You can’t adjust. You can’t learn what actually works until you’ve already committed material and time to what doesn’t.
Modular components—fastened but removable—let you reconfigure without starting over. Use through-bolts instead of welds. Use threaded inserts and quick-disconnect hardware. Your bed frame doesn’t need to be welded to the floor. Your cabinet doesn’t need permanent backing. This approach mirrors industrial manufacturing’s changeover mentality: build for the next iteration, not the current one. You’ll make mistakes. The system that survives them wins.
The Weight And Regret Cascade
Everyone underestimates what permanence costs. You bolt in cabinetry, add a fixed bed platform, install a permanently mounted water tank, wire in 200 pounds of electrical components, then realize the weight distribution is wrong. Now you’ve got a front-heavy rig that squats under tongue weight. Now you need to add counterbalance. Now you’re buying new suspension components. What started as a dollar-fifty fastener decision became a thousand-dollar correction you can’t unmake without cutting.
Fixed structures also hide design flaws you’d catch with a modular test. If your galley sits in the wrong spot, temporary mounting reveals this in two weeks. Permanent mounting reveals it after you’ve driven cross-country. The compound cost—material waste, repair downtime, reinstallation labor—is why professional builders never build permanently into trailers they haven’t tested. Your first interior layout should be provisional. Your fifth might be permanent.
Systems Thinking: Your Enclosed Trailer Camper As An Ecosystem

The Power Circuit You Actually Need To Understand

You want to know this because the alternative is being stranded with a dead battery at mile 200, helpless. Most advice treats solar and batteries as separate components. They’re not. Think of your trailer camper as an energy system borrowed from thermodynamics: energy must flow in, get stored, and get consumed at a rate that sustains the whole. Solar panels are your input valve. Batteries are your reservoir. Appliances are your load. If any one fails to balance, the system collapses.
The common mistake is oversizing solar without understanding your actual daily consumption. People buy 400 watts of panels and a 200Ah battery, then run a 1500-watt microwave off an undersized inverter and wonder why everything shuts down. The real mechanism is simple: your system can only deliver what you’ve actually designed it to deliver. Calculate your amp-hour draw per day, then work backward. A 12V fridge pulling 5 amps for 12 hours burns 60Ah daily. Your solar needs to replace that plus inefficiencies. Size the battery to hold two days of consumption, minimum. Wire gauge matters too. Voltage drop over thin wire means your panels charge slower than they should, and your inverter can’t push full power to appliances even when capacity exists on paper.
Fresh Water Meets Gravity, Always
The water system in a trailer camper operates on one principle: gravity does the work. Your freshwater tank sits elevated. You open a tap. Pressure is just the weight of water pushing down. This is why most trailers fail: people plumb them flat, then add a water pump and think they’ve solved it. The pump isn’t the system. The elevation difference is. A 50-gallon freshwater tank mounted two feet above your sink creates roughly 1 PSI of pressure. That’s barely a trickle. You either raise the tank higher or accept the pump as a mandatory component, not an upgrade.
Gray water and black water operate on different rules. Gray water is everything except human waste. It can sit in a tank for days without serious biological breakdown. Black water is different. Enzymes and bacteria colonize it within hours. If your black tank fills faster than you expect, it’s not the toilet. It’s that you’re not accounting for grey water mixing in, or your holding tank is smaller than you think it is. The common advice of “just dump every three days” fails because it ignores volume. If you’re in a trailer, not an RV, your tanks are smaller. Calculate actual gallons per person per day, then size your holding tanks and dump frequency around that. Your water system survives on math, not maintenance routines.
The Minimum Viable Comfort For Cargo Trailer Camper Conversion DIY

Stop Building For A Version Of Yourself That Doesn’t Exist

You’re imagining yourself cooking elaborate meals and hosting friends in your conversion. That person rarely shows up. The mechanism is simple: we optimize for identity, not use. You build the kitchen because it signals “adventure lifestyle.” You use the bed because you have no choice. The gap between these two costs money and space you don’t have. Start by listing what you actually do on trips, not what you think you should do. Cooking breakfast three times a year doesn’t justify 40 square feet of galley. Sleeping eight hours every night does.
The real constraint isn’t your budget or your trailer size. It’s your honest assessment of repetitive behavior. Most builders know this and ignore it anyway, because admitting you’ll spend 90 percent of your time in a 6-by-8 sleeping zone feels limiting. It isn’t. It’s liberation. You stop building cargo trailer camper conversions around fantasy and start building around what keeps you functional during actual use. That distinction saves thousands of dollars and months of work.
The Non Negotiable Versus The Noise
Every system in your build falls into two categories: it fails and you stop the trip, or it fails and you keep going. That boundary is your real non-negotiable line. Your electrical system fails, you’re done. Your kitchen sink doesn’t work, you eat at a restaurant. Most builders treat both failures as equivalent in the planning phase, which is why conversions bloat with features that pad comfort but don’t anchor it. Your non-negotiables are typically three things: a bed that lets you sleep eight hours, a toilet you don’t have to leave the trailer to use, and water for basic hygiene. Everything else is negotiation.
The protocol is direct. For each system, ask: “If this breaks completely, do I abort the trip?” If yes, it’s non-negotiable and gets redundancy, quality materials, and maintenance access. If no, it’s negotiable and gets the minimum viable version. A propane heater is non-negotiable in winter camping. A shower is negotiable, and most builders install showers that cost 800 dollars and work poorly instead of accepting a 5-gallon gravity shower or nearby facilities. Identify your climate, your trip frequency, and your solo-or-together status. Then build exactly that, nothing wider.
Cargo Trailer Conversions: Learning From Logistics And Supply Chains

The Storage System That Stops You From Digging

You want to know how to pack a trailer so you don’t waste three minutes finding your coffee maker every morning. That’s the real problem. Logistics solves this through inventory positioning: the principle that fast-moving goods sit closest to the exit point. In a cargo trailer camper, your exit point is the door. Everything you touch daily lives in the first third of the trailer. Everything you use monthly lives in the middle. Dead weight and seasonal gear go to the far end, against the trailer’s front wall.
This isn’t organization porn. It’s the difference between a functional space and a frustrating one. The common advice tells you to “use vertical space” and “label everything.” Wrong framing. You need to map frequency of access first, then position accordingly. A wet bathroom or kitchen sits near the door because you use it constantly. Your backup propane tank, winter clothes, and tools sit deep. This system saves cognitive load every single day you live in the trailer.
Movement Patterns Define Everything Else
Supply chain thinking maps the flow of goods through a system to eliminate wasted motion and bottlenecks. In your trailer, the bottleneck is the doorway and the path from door to living area. If your kitchen requires you to squeeze past your bed to reach the stove, you’ve designed friction into daily life. The layout that works follows the natural movement pattern: enter, move to the immediate function you need, complete the task, move to the next zone.
Many DIY builds treat the trailer as a puzzle to solve rather than a flow to enable. Galley kitchens work because they compress cooking into a linear path. Wet baths positioned opposite the sleeping area force you to walk the length of the trailer to shower, which is tolerable because you shower once daily. But a coffee station tucked behind storage cabinets is a design failure waiting to happen. Map the route your body takes from door to bed, from bed to stove, from stove to shower. Your layout must follow those natural paths, not fight them.
Beyond Instagram: Real World Cargo Trailer Camper Build Constraints
Weight Distribution And Axle Limits

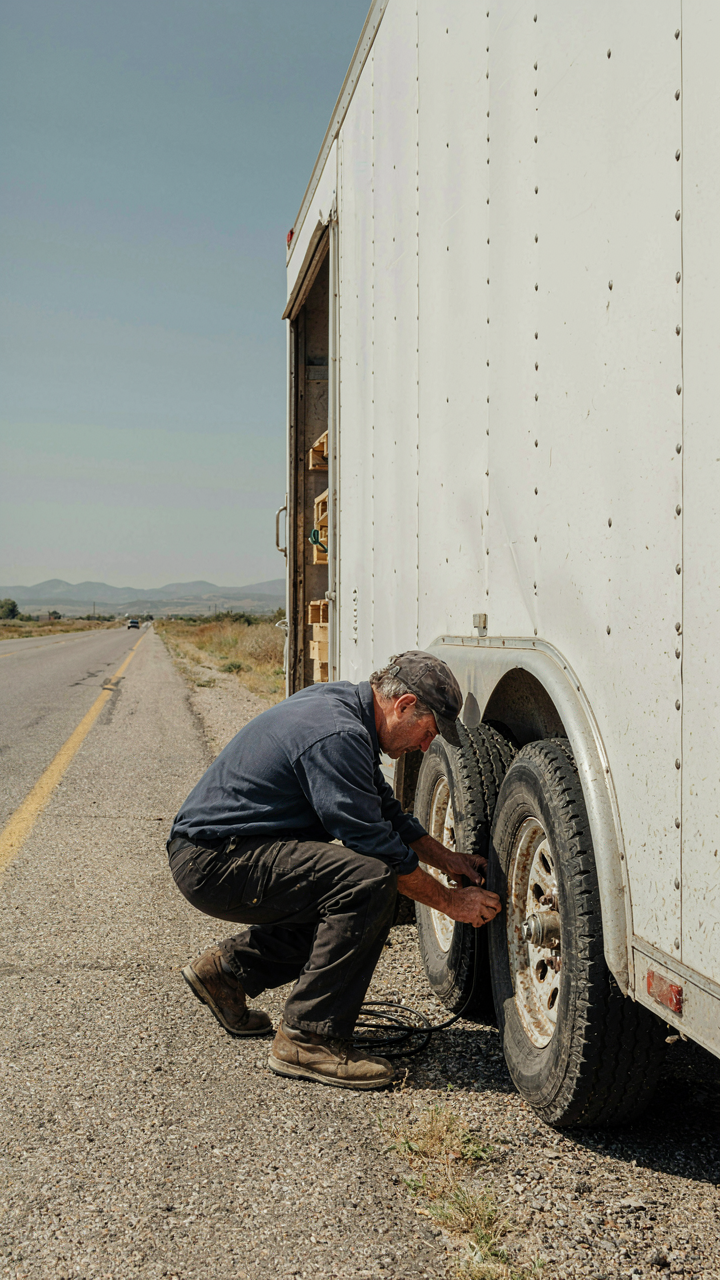
You’re worried your build won’t look like the photos, but the real fear is losing control on the highway or blowing a tire because you didn’t do the math. Weight distribution is physics applied to a trailer you control from 50 feet ahead, which means your mistake has lag time. Your axle has a GVWR (gross vehicle weight rating) printed on the VIN plate. Exceed it and the trailer becomes unpredictable. The mechanism is simple: load weight toward the axle, not the tongue.
- Axle placement: Most cargo trailers have axles positioned 60 to 65 percent back from the tongue. Moving heavy gear forward of the axle increases tongue weight and reduces towing stability significantly.
- Tongue weight rule: Aim for 10 to 15 percent of total trailer weight on the tongue. Less than 10 percent causes sway; more than 15 percent overloads the tow vehicle’s rear axle.
- GVWR buffer: Never load closer than 500 pounds below the rated GVWR. Scale your trailer fully loaded at a truck stop scale to verify actual weight, not estimates.
- Axle upgrades: Single axle trailers max out around 3,500 to 5,200 pounds GVWR. Dual axle conversions require frame modifications and are rarely worth the cost for DIY builds under 8,000 pounds.
- Load side to side: Uneven side weight destabilizes the trailer more than fore-aft imbalance. Center heavy components and use leveling feet or adjustable mounts to keep the floor plane parallel to the ground.
Most builds ignore the dry weight of materials. Insulation, plywood, water tanks, and propane add 400 to 800 pounds before you pack a single item. Calculate backwards from your GVWR: subtract the trailer’s dry weight, then divide what remains between cargo and water. This forces honest decisions on water tank size and whether you need that full-size refrigerator.
Insulation And Condensation Management
Insulation doesn’t solve condensation; it masks the problem until winter hits and your walls weep. The mechanism is thermodynamics applied to a metal box: warm interior air holds moisture, cold metal surfaces condense that moisture, and nowhere for vapor to go means mold. You need both insulation and vapor management, not one or the other.
Two approaches exist in practice. Closed-cell spray foam (2 to 3 inches) blocks heat transfer and vapor equally, raising the dew point so interior surfaces stay warm. Cost runs 1,500 to 2,500 dollars for a standard cargo trailer. Fiberglass batts with poly vapor barriers are cheaper (400 to 800 dollars) but require flawless installation, venting, and active moisture removal in cold seasons. Most DIY builds choose spray foam and add a small exhaust fan because the upfront cost avoids the hidden cost of mold remediation. Interior vapor barriers create condensation traps on the material itself if you use cheap polyethylene; if you go this route, use kraft paper facing instead and accept reduced performance over better durability. Ventilation alone (roof vents, soffit openings) doesn’t work in cargo trailers because there’s no passive airflow path in a metal box. You must mechanically move humid air out, which means a 12-volt fan running when interior humidity exceeds 60 percent. Install a hygrometer on the wall and check it weekly during cold months.
The Resale Value Fallacy Of Cargo Trailer Conversion To Camper

Build For Use, Not For Speculative Profit

You want to believe your build will hold value because admitting otherwise means you’re spending money on consumption, not investment. The mechanism is simple: the cargo trailer camper market has no liquidity because buyers want either a finished product from a manufacturer or a blank trailer. Your half-built vision sits in between, worthless to anyone but you.
Most conversions lose 40 to 60 percent of material and labor costs when sold. A buyer inherits your layout choices, your wiring decisions, your material selections, and your mistakes. They’d rather start fresh or buy certified. Build what you’ll use for three to five years minimum. That’s the only math that works.
Design For Easy Deconstruction And Repurposing
Modular construction isn’t trendy advice here—it’s basic economics applied to asset volatility. Bolt cabinets instead of gluing them. Use quick disconnects for electrical and plumbing. Keep structural modifications minimal. This strategy lets you reclaim materials when you’re done, convert the trailer back to cargo hauling, or strip components for a second build.
The real win isn’t resale value. It’s salvage value. A trailer with removable walls, a portable electrical panel, and bolt-in appliances can be stripped and repurposed for under 10 hours of labor. That reclaimed material goes toward the next project at 60 to 80 percent of original cost. Design for takedown first, permanence second.
Your Cargo Trailer Camper: A Tool, Not A Trophy
Keep It Running Between Adventures

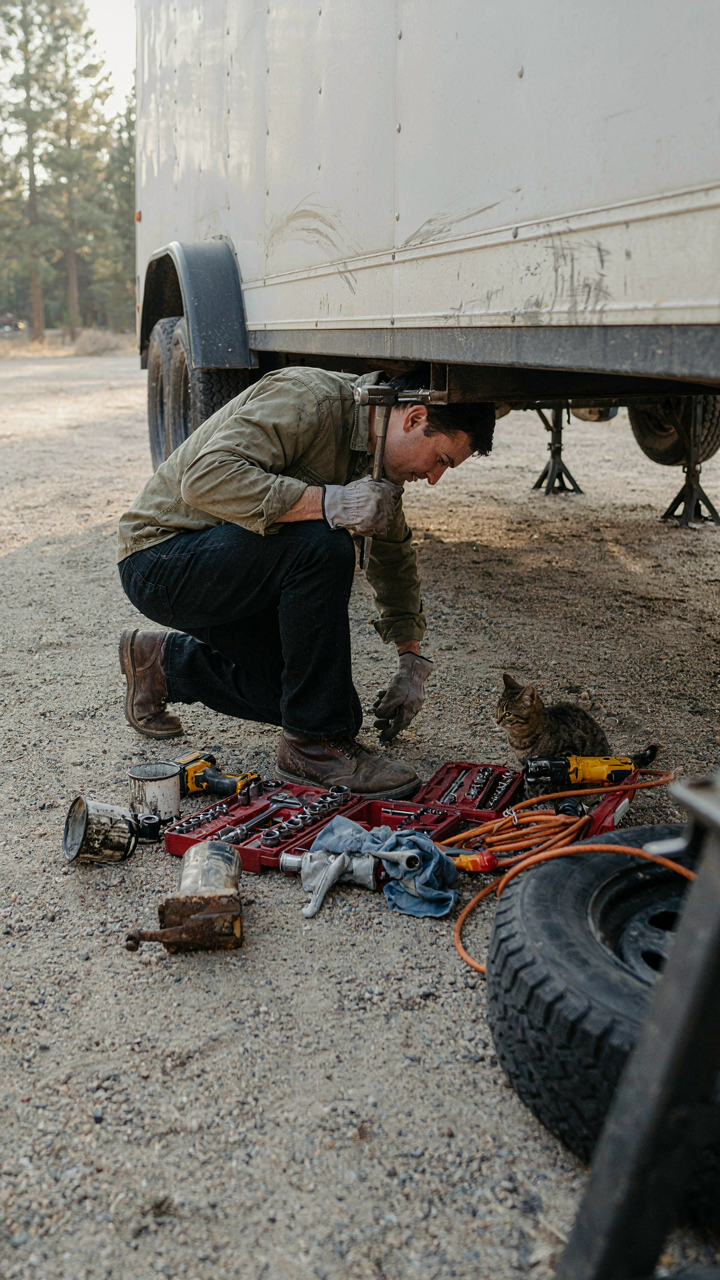
You want to believe your conversion will hold together without thought. It won’t. The truth about trailer maintenance is mechanical: systems fail on predictable schedules, and you either address them before breakdown or you address them stranded. Oil changes, brake inspection, tire rotation, and structural corrosion checks follow the same logic as any vehicle. Neglect compounds exponentially. Your trailer’s frame oxidizes from inside moisture you can’t see. Bearings wear from every mile. Propane appliances need annual servicing.
The real mechanism is inspection before season and after heavy use. Walk the frame quarterly looking for surface rust, white powder at welds, or soft spots in wood flooring. Check tire pressure monthly. Test your brake lights, propane detector, and water system each time you hitch up. Run your generator under load monthly even when you’re not traveling, or fuel deposits will clog the carburetor and you’ll discover this at the worst moment. Maintenance isn’t optional work you fit around living in the trailer. It’s the price of reliability.
Rebuild Your Layout When Your Life Changes
Most people design once and pretend the design works forever. Life doesn’t cooperate. A couple layout differs from a solo layout. Children require different storage, sleeping arrangements, and safety considerations than adults. Full-time living demands year-round systems; seasonal use allows shortcuts. Your career shift might require a dedicated workspace you didn’t have before. The conversion that felt perfect at 35 might feel cramped at 45 when your knees prefer a higher bed.
The mechanism here is modularity within reason. Don’t glue everything down. Use bolted mounts for cabinetry so you can reconfigure. Design your sleeping area to convert: a dinette that becomes a bed, a floor plan that accepts a different bed size or orientation. Heavy storage goes low. Seasonal gear lives in removable bins. When your situation changes, you spend a weekend moving components, not tearing apart the rig. The trailer adapts to you, not the reverse. Rebuild your layout when your life demands it.
The Real Obstacle Isn’t The Trailer; It’s Your Rigid Mind Clinging To Static Solutions


Most builders fail because they copy layouts instead of designing for their actual life. You don’t need the “perfect” floor plan. You need to stop thinking like a consumer and start thinking like an architect of your own space. Open a blank document right now and write down three things you actually do daily in your current home. Build around those, not around what some YouTuber’s trailer looked like. Your cargo trailer camper conversion succeeds the moment you stop borrowing someone else’s vision and start building your own.



