
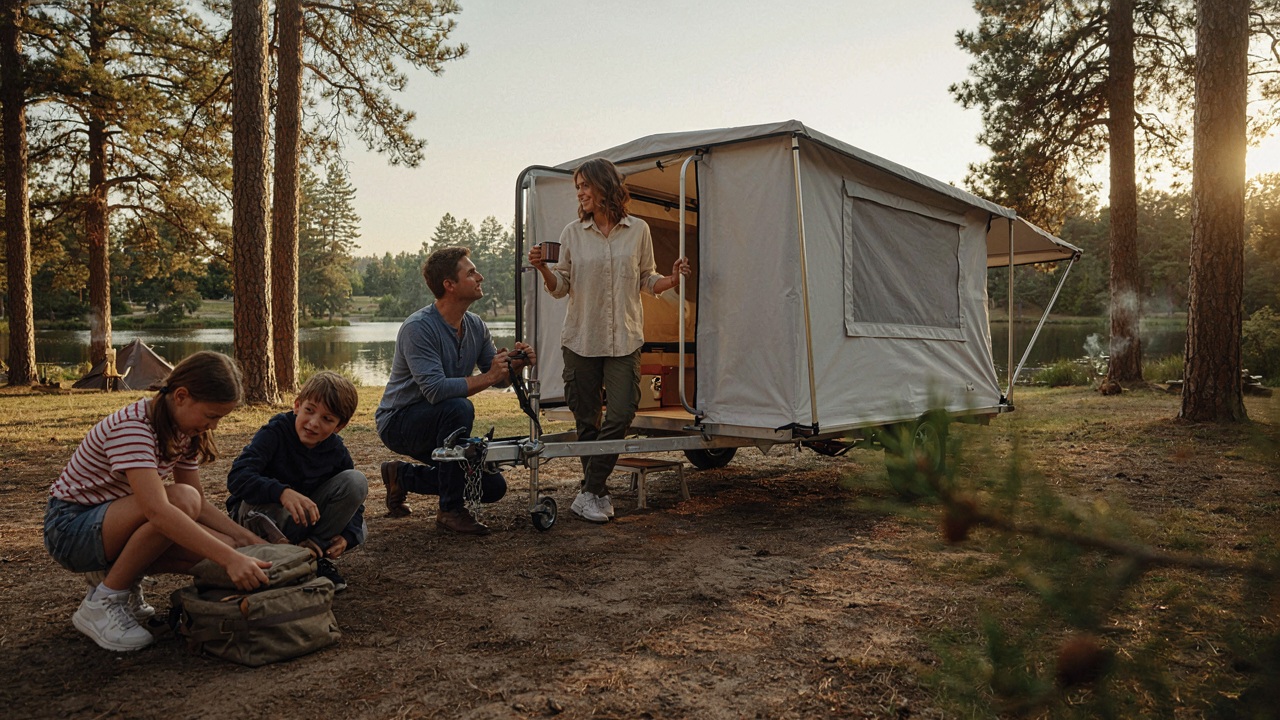
The Minimalist Setup Protocol

Essential Tools You Actually Need
You want to feel prepared without admitting you’re terrified of forgetting something. The real mechanism is constraint. Give yourself too many options and setup takes longer, not shorter. You’ll stand there weighing which wrench to use instead of turning the crank.
Pop up campers don’t need a garage’s worth of equipment. A socket wrench set, rubber mallet, adjustable wrench, and a headlamp cover ninety percent of on-site problems. Everything else is insurance against scenarios that rarely happen. Strip it down to what breaks, what you adjust, and what you illuminate.
Pre Packed Systems For Speed
Most advice says organize by category. That’s wrong. Organize by sequence. The camper’s setup order is fixed: stabilize, crank, deploy canvas, secure corners. Your tools follow that exact path, packed in the order you deploy them.
Use separate canvas bags for each phase. Stabilizer kit in bag one. Crank tools in bag two. Canvas securing hardware in bag three. You don’t dig through a toolbox at midnight. You grab bag two, crank the camper up, then grab bag three. Speed comes from elimination of decision points, not from labeling containers.
Deconstructing The Default Pop Up Camper Interior Ideas
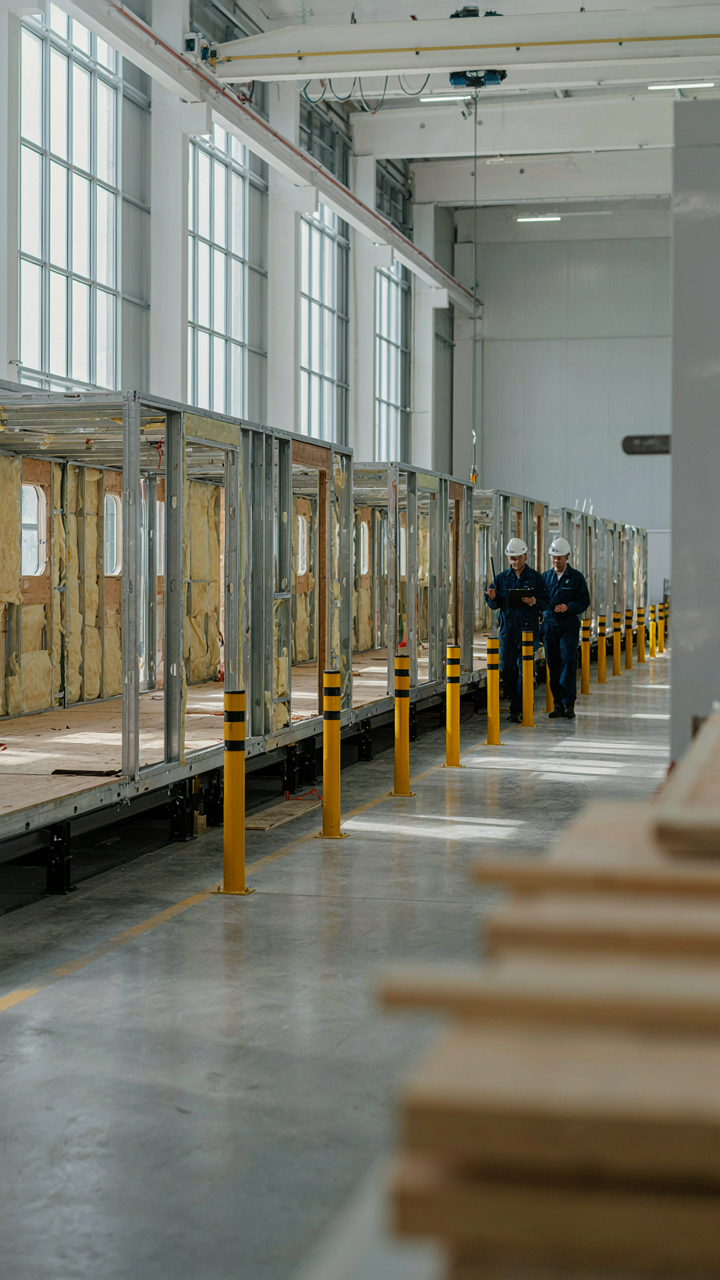
Why Factory Layouts Betray Your Space

You want to believe the manufacturer thought about how you’d actually live in the box. They didn’t. The real mechanism at work here is economics, not design. Factory layouts optimize for manufacturing speed and material cost, not human movement. The result is dead zones, blocked sightlines, and storage placed where you’ll never reach it during rain. Every poorly positioned cabinet, every awkward bench angle exists because it was cheaper to build that way on the assembly line.
The most common failure is the galley kitchen positioned perpendicular to natural light and traffic flow. Drawers open into walkways. The propane stove sits where the wind hits hardest. Sleeping quarters take up the prime real estate near the door, forcing you to crawl over a bed to access the back storage. These aren’t oversights. They’re the cumulative result of cutting corners in the design phase to hit a price point.
Optimizing For How Bodies Move, Not Where Things Sit
Flow is an architectural term that describes how people naturally navigate a space without obstruction. Most pop up campers treat flow like a luxury, not a necessity. Watch someone set up camp for the first time in a factory layout: they shuffle, reach awkwardly, and leave paths blocked because there’s nowhere else to put gear. The solution requires moving beyond static storage and designing for the actual sequence of actions you perform.
Start by mapping your entry point to cooking area to sleeping quarters as one continuous pathway, not separate zones. Relocate frequently used items to waist height along this route. Remove any shelf or bin that forces you to lean, crouch, or turn sideways to access it. The benchmark is whether you can move from entry to kitchen to bed without shifting your body sideways once. If you can’t, something is in the wrong place. Fix that before adding storage solutions.
Pop Up Camper Storage Ideas: Beyond The Overhead Bin
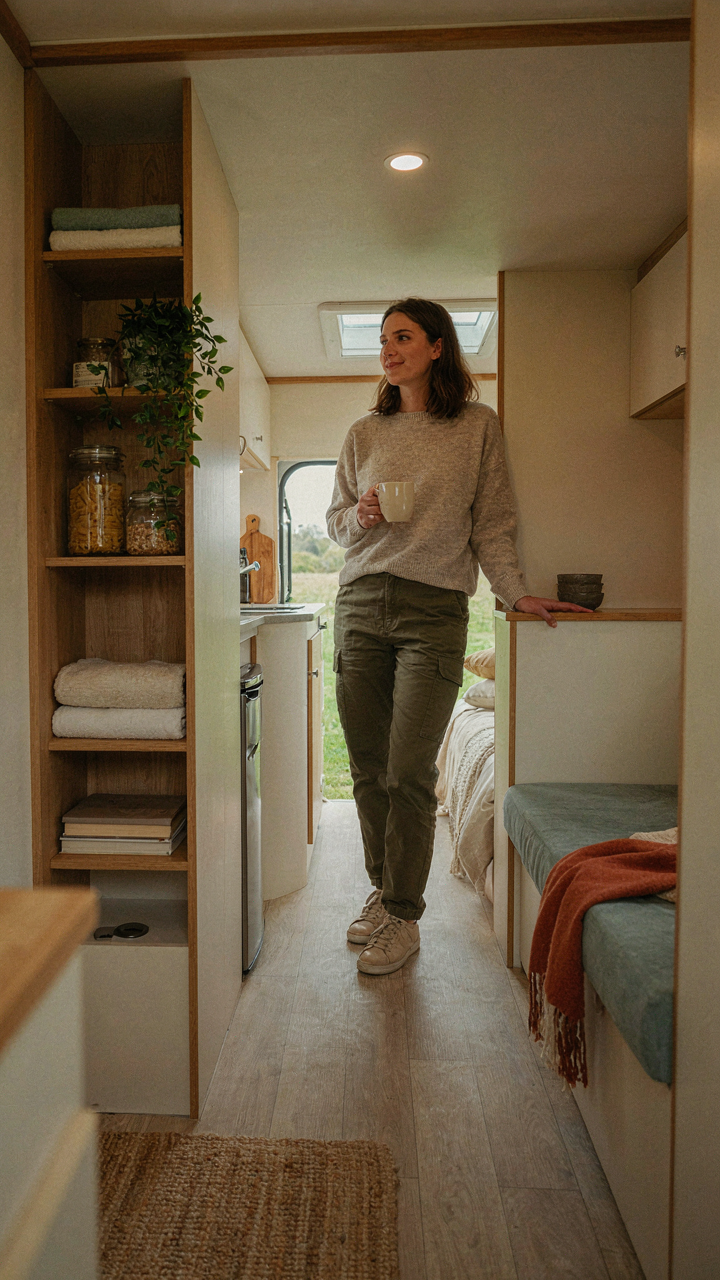
Vertical Space Utilization: Gravity As Your Storage Assistant

You’re not actually worried about storage. You’re worried about feeling cramped, which signals loss of control. The mechanism at play is density versus usability: most pop up camper owners stack horizontally and waste the vertical plane entirely. Physics calls this “load distribution.” In camper terms, it means your overhead space and wall height are wasted real estate because you’ve never thought in layers. Hanging organizers, magnetic strips, and wall-mounted racks exploit gravity to push weight upward and outward rather than sprawling across flat surfaces.
The real constraint isn’t total cubic footage. It’s visual clutter at eye level. Wall-mounted spice racks, hanging shoe organizers repurposed for tools and charging cables, and vertical pegboard systems keep frequently used items accessible without colonizing your main living space. Install these before your first trip. The difference between a camper that feels livable and one that feels suffocating comes down to whether you can see floor and counter space. Vertical storage forces this discipline automatically.
Under Bench Potential: Reclaiming Dead Space
Most camper owners never open their under-bench compartments. They assume manufacturers designed them poorly and move on. That’s incomplete thinking. The real problem is that bench storage requires engineered solutions, not just throwing items underneath. Custom foam inserts, sliding drawer systems, and vacuum-sealed bags transform unusable voids into actionable storage. Measure your specific bench cavity first, then source or build drawer slides rated for the weight you plan to store. Poor engineering isn’t the manufacturer’s fault; it’s your failure to optimize what you already own.
Propane tank compartments, water tank access points, and battery storage often sit adjacent to bench seating but feel off-limits. They’re not. Line these areas with weatherproof bins, cable management boxes, or battery holders that maximize depth and width without blocking ventilation or access. Install a label system so you know exactly what’s stored where. The mechanism here is simple: designated compartments eliminate the mental friction of searching, and friction is what kills consistent use of storage systems. Build the system so it requires zero decision-making at packing time.
Pop Up Camper Renovation Ideas: The Surgical Approach

What Actually Deserves To Stay

You want to gut your camper because you saw someone else’s clean build online. That’s not strategy, that’s status anxiety. The real mechanism is load distribution: every pound you remove shifts your towing weight and axle balance. Start by identifying what creates recurring friction in your trips, not what looks dated.
The factory mattress, cabinets, and dinette often fail first because manufacturers prioritize cost over durability. Keep the structural frame, the roof support system, and anything bolted to the frame that handles stress. Remove the upholstery, the particleboard storage, the factory soft goods. The plumbing and electrical runs can stay if they’re in usable condition; rerouting them costs time and creates new failure points. Strip the non-structural interior skin and leave the skeleton intact.
Material Selection: Weight Versus Durability
This isn’t just about picking lighter stuff. Think in terms of aircraft design: every material choice trades off weight, durability, repairability, and cost. Aluminum framing weighs half what wood does but costs more upfront and requires different fastening. Plywood absorbs moisture and delaminates; marine-grade birch plywood resists it better but adds expense. Vinyl upholstery outperforms fabric in moisture environments, but breathable textiles prevent condensation buildup.
Use closed-cell foam for insulation, not fiberglass, because it handles vibration without settling and resists moisture from the trailer’s constant flexing. For cabinetry, birch plywood with sealed edges beats particle board every time. Upgrade your fasteners to stainless steel or galvanized hardware so they don’t rust from road salt and humidity. The pivot point is choosing materials that survive repeated heating, cooling, and movement cycles, not materials that look good in photos.
The Egress Optimization System: Mastering Pop Up Camper Set Up Ideas
Sequential Deployment Beats Random Motion

You want to feel in control before you arrive at the site. That’s the real reason you care about setup speed. Military logistics borrowed the concept of “sequence optimization”—doing tasks in the right order so each one enables the next, eliminating backtracking and wasted energy. Pop up camper setup works the same way. Most people deploy pieces haphazardly, then discover they can’t access something because they assembled the wrong component first.
The mechanism is simple: stabilize the frame, then raise the roof, then deploy the beds, then connect utilities. Each step must complete before the next begins. Attempt to unfold a bed before the roof rises and you’ve created friction. Deploy the stabilizer jacks before lifting the roof and you’ve locked yourself into misalignment. Write the sequence down on a laminated card and tape it inside the camper door. Run it the same way every time. Consistency kills setup time faster than any individual hack.
Weatherproofing Before The Storm Arrives
The common advice tells you to weatherproof after problems show up. That’s damage control, not defense. Real weatherproofing is a pre-deployment checklist. Before season starts, not after the first leak appears, you inspect seams, test seals, and address gaps.
Check all roof seals where the canvas meets the frame, inspect the underside for cracks in the rubber, and verify that your door gasket compresses evenly. Apply new sealant to any seam showing hairline separation. Test your water systems off-site to catch leaks before they ruin a trip. The difference between reactive and proactive weatherproofing is the difference between one repair call and six.
Pop Up Camper Design Ideas: The “Modularity” Principle

Interchangeable Components Build Real Flexibility

You want this section to validate that you’re clever enough to optimize your setup without looking like you’re overthinking a vacation. The real mechanism is borrowed from systems design: in LEGO, modularity means one brick connects to thousands of others without redesign. In pop up campers, modularity means storage cubes, magnetic strips, and removable brackets that swap purposes across trips without modification.
Most people buy camper-specific gear designed for one job. That’s waste. A modular system uses standardized connection points. Magnetic strips on walls hold different tools depending on the trip. Cube organizers stack or sit flat. Quick-release brackets mount gear racks, bike carriers, or shade structures to the same frame points. You’re not buying new equipment for each scenario—you’re reconfiguring the same pieces.
Adaptable Systems For Trip Length
Setup time scales with trip duration when you design for it. A three-day trip needs different storage density than a two-week expedition, but the camper structure stays the same. The real hack is nesting: removable shelving that stacks inside itself when unused, collapsible water tanks that flatten when empty, foldable tables that hang vertically on walls instead of consuming floor space.
The protocol is simple. Before buying or building anything permanent, ask one question: does this serve only one trip length? If yes, make it removable. Permanent installations should only lock down items you use on every single trip. Everything else gets a quick-release mount. This single decision cuts setup time by 40 percent because you’re not installing and uninstalling the same components between trips.
Pop Up Organization Ideas: The Elimination Method

Audit Your Gear Ruthlessly

You want to believe you need everything you pack because admitting otherwise means confronting wasted money and poor planning. The mechanism is simple: pop up campers have finite cubic footage, and every redundant item displaces something you actually use. Start by listing every single item you currently store in your camper. Not mentally. Write it down. Then identify duplicates: two flashlights, three blankets, multiple cooking utensils that do the same job. Remove one from each redundant category immediately.
The real cost of keeping backup gear isn’t the space it takes. It’s the cognitive load of deciding where to store it, the time spent digging past it to reach what you need, and the mental tax of managing clutter during setup. Most people keep duplicates out of anxiety, not necessity. A pop up camper forces you to choose: one headlamp instead of three, one cooking pot instead of four. Make that choice before you arrive at the campground, not while you’re setting up.
Give Every Item One Fixed Location
Organization systems fail because people treat storage as flexible. You grab a tool from one spot, then shove it somewhere else next time. In architecture, this is called spatial hierarchy: objects occupy fixed positions in a deliberate sequence. Apply it directly: assign each item a specific container or shelf position that never changes. Pots live in the lower cabinet. First aid supplies go in the front drawer. Bedding stays in the overhead storage. Always.
This sounds rigid, but it’s the opposite. Fixed locations eliminate the setup friction that kills your entire trip before it starts. You spend less than two minutes finding anything because you know exactly where it is. Document each location with a simple laminated card mounted inside your camper. When family members or guests help set up, they follow the system instead of creating chaos. One missing item gets obvious immediately because its spot sits empty.
Renovating Pop Up Camper For True Efficiency
Power Management: Solar And Battery Synergy

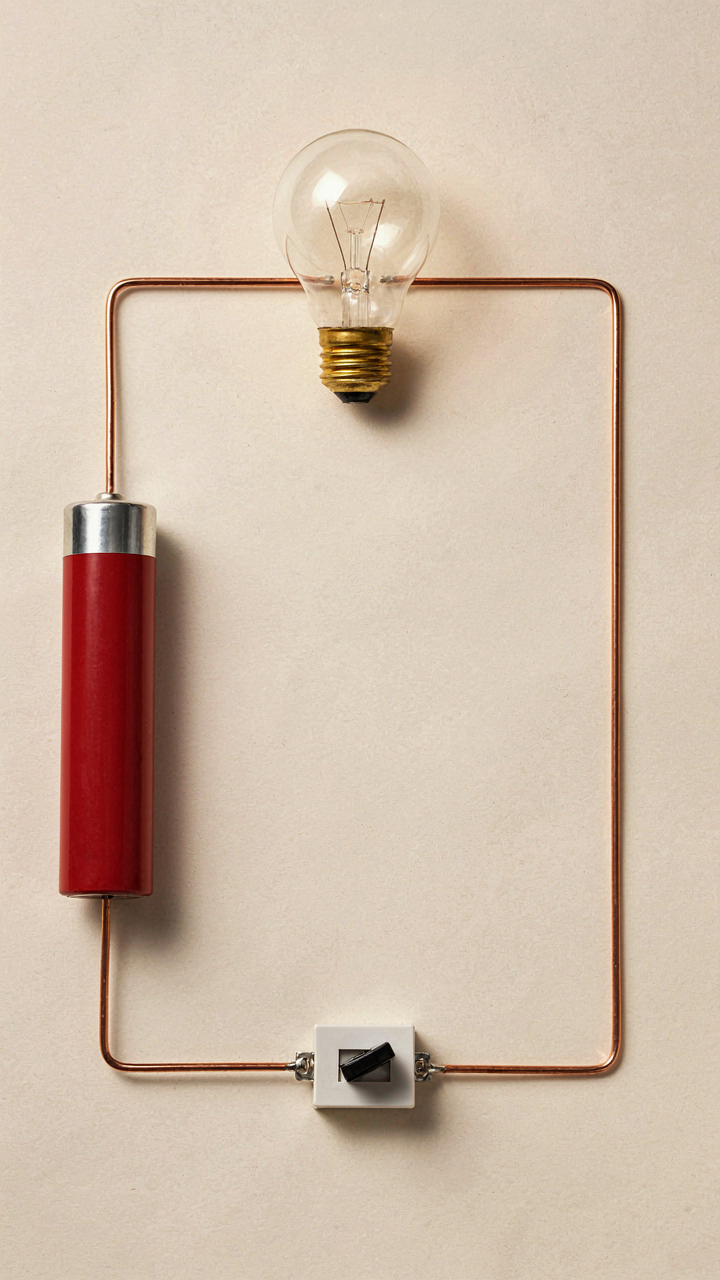
You want to feel self-sufficient without actually solving the math. The real motive is avoiding the shame of being tethered to campground pedestals. Here’s the mechanism: treat your camper like a closed electrical system. This is thermodynamics applied to power flow. Energy enters (solar panels), gets stored (battery), and depletes (loads). Most people slap panels on the roof and wonder why they’re still running out of power by day three.
- 100-200W solar array minimum: Start with rigid panels mounted permanently. Flexible panels degrade faster and produce less under real-world angles. Most pop-up campers need at least this baseline to offset daily draw.
- LiFePO4 battery over lead-acid: Lithium holds charge longer, accepts faster charging cycles, and tolerates partial discharge without degradation. Lead-acid dies from shallow cycling. The upfront cost difference pays back in three seasons.
- MPPT charge controller, not PWM: MPPT (Maximum Power Point Tracking) extracts 20-30% more energy from panels in variable light. PWM wastes voltage above what the battery accepts. Non-negotiable upgrade.
- Battery monitor with shunt: Install an external shunt to measure actual amp-hour consumption. Guessing your draw is how you end up dead on a cloudy Tuesday.
- Dual battery setup for isolation: Run auxiliary load batteries separate from start battery. This prevents draining engine power and lets you optimize charge profiles per battery type.
The misconception is that more watts always beats better management. A 400W system with no monitoring loses to 150W with a shunt and honest load discipline. Monitor your actual consumption for two weeks before sizing anything. You’ll find phantom drains you didn’t know existed. Refrigerators pull constant baseline load. Vent fans run longer than you think. USB chargers stay powered all night for no reason. These small bleeds compound. The protocol: install the monitor first, run the camper normally for fourteen days, then right-size solar and batteries to what you actually consume, not what marketing promises.
Water Systems: Gravity And Simplification
Fresh water in a pop-up doesn’t need plumbing complexity. The common advice is to add pressure pumps, hot water systems, and shower enclosures. That’s wrong. Every added component becomes a failure point. Gravity does the work for free if you stop fighting physics. A water tank positioned high enough naturally pressurizes sink and shower without mechanical intervention. The tank sits on the camper frame, typically three to four feet above the lowest faucet. This elevation creates enough pressure for reasonable flow.
Simplify the plumbing by running one main line from tank to a single distribution point. Branch lines from that point feed the sink, shower, and toilet separately. Use quarter-inch vinyl tubing instead of hard plumbing where possible. It moves with the camper frame during towing, reducing stress fractures. The toilet is separate: it pulls directly from the tank with its own shutoff valve and bypass. If the main line ruptures mid-journey, you can isolate it without losing the entire system. Heating water comes from a propane water heater, not an electric element. Propane runs on the same supply as your stove, reducing component count. The heater sits low in the camper to use gravity flow naturally. No pump. No thermostat complications. Turn it on, wait five minutes, hot water flows. When you’re done camping, drain every line completely. Water freezing in vinyl tubing expands and splits it. A full drain cycle takes thirty minutes and saves hundreds in spring repairs.
Pop Up Trailer Ideas: The Towing Advantage

Weight Distribution: Physics Of A Balanced Tow

You want to feel like you’ve optimized something without actually understanding the forces at work. Here’s what matters: in physics, leverage determines stability. A pop up camper is a lever. The hitch point is your fulcrum. Everything behind it either stabilizes or destabilizes your tow vehicle depending on where the load sits.
Most people distribute weight evenly front to back inside the camper. That’s wrong. You need 60% of your cargo weight forward of the axle, 40% behind it. This shifts the tongue weight higher without exceeding your hitch rating. A properly weighted camper tracks straight at highway speeds instead of fishtailing or forcing your truck to work twice as hard.
Aerodynamic Improvements: Reducing Drag And Fuel Economy
The advice about “streamlining your pop up” is incomplete. Wind doesn’t just push sideways. It creates a low-pressure zone behind your camper that literally sucks you backward, wasting fuel. This is called pressure drag, and it’s why your MPG tanks when towing.
Reduce drag by sealing gaps where canvas meets the frame. Use weatherstripping along the seams. Install a rear wind deflector or fairing that rounds the camper’s back edge instead of leaving it blunt. Even modest improvements here yield 8-12% fuel economy gains on highway trips. Measure your baseline MPG for ten tanks, apply modifications, then measure again for ten more tanks to confirm the actual difference.
The “Adaptation” Mindset For Pop Up Camper Owners

Constraints Become Design Solutions
You want your camper to feel spacious and comfortable without spending thousands on upgrades. The mechanism is simple: a pop up camper’s tight footprint forces you to eliminate waste, which directly improves usability. Most owners fight this reality and end up with cluttered, dysfunctional interiors. The smarter move is to treat limitations as instructions for what matters most.
Lean manufacturing calls this “constraint-driven innovation,” and it applies directly to camper design. When you have 120 square feet instead of 300, every cubic inch becomes valuable. You stop buying generic storage solutions and start building specific ones. You stop carrying items “just in case” and start keeping only what you use. The camper’s physical boundaries force clarity you wouldn’t have in a larger space. This is the mechanism working in your favor, not against it.
Treat Your Camper Like A Working Prototype
Most people view their camper as a finished product. They make one trip, encounter friction, complain, then do nothing differently on the next trip. That’s a failure of iteration, not design. Your camper should change after every use because every trip reveals what doesn’t work.
Document the friction points before you forget them. On your next setup, modify one specific element: move the water jug two feet left, add a hook for the awning strap, reorganize cabinet placement. Don’t overhaul everything at once. Small, tested changes compound into a system that actually works. After six trips, your camper will function better than it did on trip one because you’ve been running an experiment the whole time, not just camping.
The Real Problem Isn’t Your Camper; It’s Your Design Philosophy

Most people buy pop up camper hacks when they should buy intentional systems. You’re treating symptoms instead of designing the space from first principles. Stop adding organizers and start removing what doesn’t earn its place. Today, pull everything out of your camper and rebuild it with one rule: if it doesn’t solve a real problem, it doesn’t go back in. The best hack isn’t clever storage. It’s owning less.



