
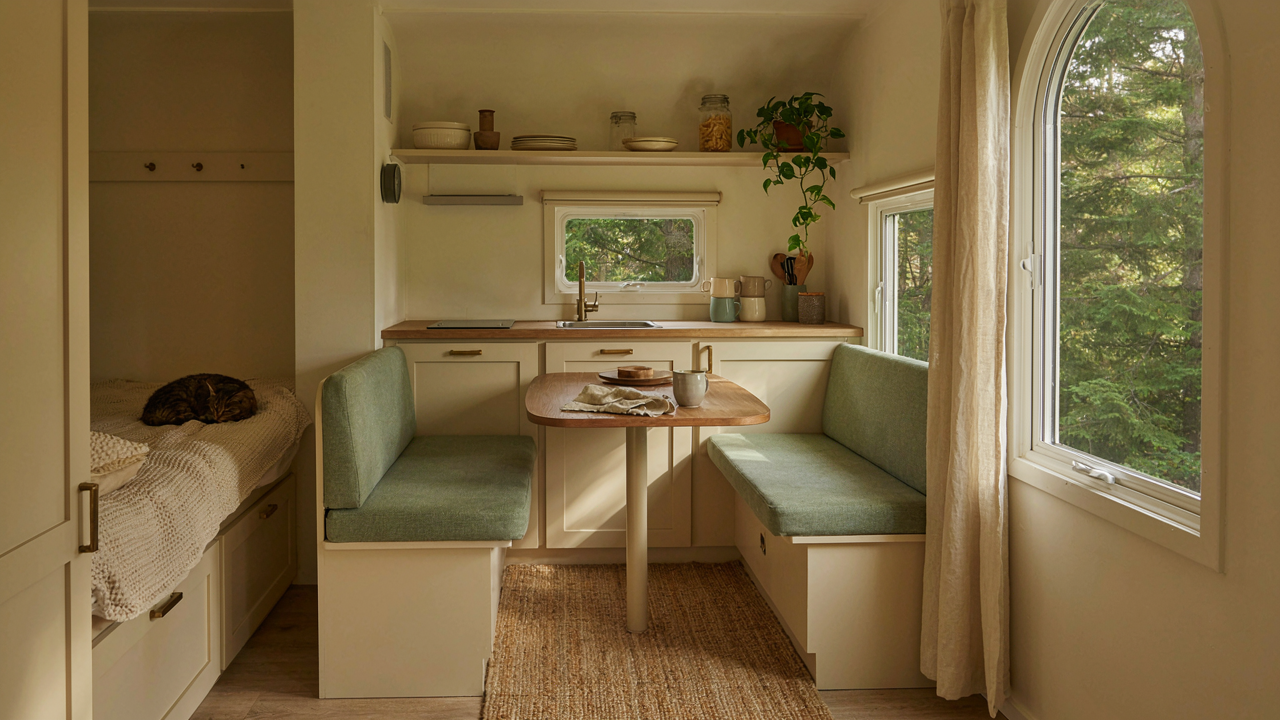
The Unsentimental Deconstruction: Why Your “Cozy” Dream Is A Trap
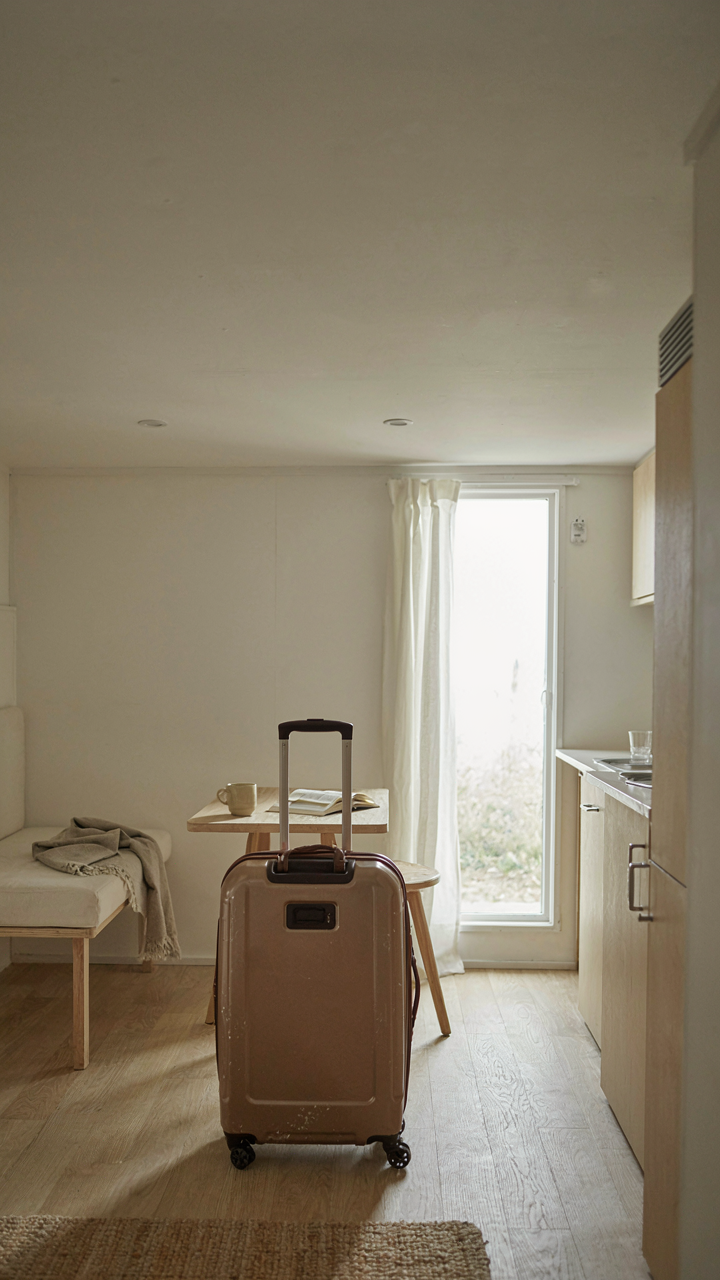
The Stuff You Keep For No Reason
You want this makeover to feel like home because you’re afraid a camper will expose how little you actually need. The mechanism is simple: pop-up campers force compression. Every object demands justification. In a house, you hide mediocre decisions behind square footage. In 80 square feet, you can’t. Before you buy a single aesthetic upgrade, you strip the camper to its structural skeleton and remove everything that doesn’t serve a function you’ll actually use. This means the decorative items your family insists matter don’t come along.
Most people skip this step and go straight to paint swatches and throw pillows. That’s backwards. You’ll spend money personalizing a space still clogged with items you tolerate rather than use. The deconstruction phase is where you decide what stays and what you haul to the curb. Pull out every single item currently in the camper, photograph it, and place it back only if you have a specific use case from the last trip or a trip you’ve actually planned. Everything else leaves.
What Works Beats What Looks Good
Industrial design teaches us the principle of form following function, and in pop-up campers, this isn’t optional, it’s survival. A cushion that looks inviting but retains moisture will ruin your trip and breed mold. A hanging organizer that photographs well but blocks ventilation defeats the purpose of the space. Stop prioritizing aesthetics over performance. A camper makeover succeeds or fails based on whether systems work in real conditions, not on Instagram.
The common advice here is to “balance beauty and function.” That’s a compromise that leaves you with both problems. Function first means you choose materials that tolerate humidity, storage solutions that maximize usable space, and layouts that don’t create dead zones you’ll resent. Every decision filters through this: will this choice make the camper harder or easier to use on an actual trip? If harder, it doesn’t go in, no matter how good it looks.
Pop Up Camper DIY: The “Minimum Viable Habitat” Protocol

Start With What Actually Works

You want to feel like you’ve made smart choices, but most people tear into a pop up camper without knowing which systems keep you alive and which ones just take up space. Think of systems hierarchy like load-bearing walls in construction: some components hold everything up, others are decorative. Your water, electrical, heating, and structural integrity are load-bearing. Your storage configuration and lighting are not. Most makeovers fail because people reverse this order.
Start by documenting what you have. Walk through your camper and list: water pump capacity and condition, battery amp-hour rating, propane tank size and regulator type, roof condition, seals around windows and doors, and frame rust. Don’t guess. These are your constraints. Everything else you decide to add or change depends on whether your existing systems can support it. A broken water heater means you’re not using hot water, period. A 50-amp battery means you can’t run an electric heater overnight. The makeover happens inside these boundaries, not by pretending they don’t exist.
Weight Is The Ceiling On Everything
Most advice tells you to strip out what you don’t use. That’s incomplete. Your camper has a dry weight rating and a GVWR, which is the maximum total weight including cargo and passengers. Exceed GVWR and your frame bends, your axles fail, and your tires blow. Add insulation, new cabinetry, appliances, and water you haven’t calculated, and you hit this ceiling fast. The real mechanism is simple: every pound you add removes a pound of payload capacity you thought you had.
Calculate your current dry weight against GVWR, then subtract the weight of your passengers and gear. What’s left is your makeover budget in pounds. This number determines everything: whether you can upgrade to real cabinetry or need to refinish existing structures, whether you can add heated flooring or need to rely on propane heat, whether you can install a larger water tank or keep the stock one. Don’t make decisions about materials and upgrades until you know this number. Weigh your camper loaded, or use manufacturer specifications if available, then work backward from your GVWR.
Renovating Pop Up Camper: The Biomimicry Of Storage

How Nature Solves The Constraint Problem

You care about this section because cramped space feels like failure. It isn’t. Biomimicry is the discipline of stealing solutions from natural systems that solved constraint problems millions of years before humans built campers. Nature never wastes volume. A nautilus shell doesn’t have wasted dead space between chambers. A honeycomb doesn’t have gaps. Pop up campers operate under identical pressure: maximize usable space inside a footprint that must tow behind a vehicle.
The mechanism works because natural systems evolved under scarcity. They had no choice but efficiency. Observe how a tree stores energy in minimal trunk volume, or how a bird’s skeleton uses hollow bones to reduce weight while maintaining strength. These aren’t poetic observations. They’re engineering solutions. When you study how organisms pack maximum function into minimum space, you reverse-engineer principles that apply directly to your camper’s layout. The pattern repeats: nested storage, modular components, multi-use surfaces.
Vertical Stacking And Modular Nesting
Most camper storage advice treats vertical space as afterthought. This is wrong. Vertical stacking is space-saving mechanism number one because gravity handles organization for you. Install shelves that adjust height, not fixed shelves. Use containers that nest inside each other when empty. A set of bowls that collapse saves forty percent more space than rigid plastic storage.
The real win is modular thinking. Divide your storage into zones that serve single functions, then make each zone reconfigurable. Drawers under the bed, shelves above windows, cabinets that swap contents seasonally. Measure your camper’s dead zones first: the gap between the fridge and wall, space behind doors, under-cushion voids. Fill these with custom-cut storage boxes that fit the exact dimensions. Don’t buy standard storage and force fit it. Build or order storage that matches your camper’s geometry precisely.
Pop Up Renovation Ideas: The Systems Thinking Approach To Power

Know Your Load Before You Buy Anything

You want to feel self-sufficient without being tethered to campgrounds, and that fantasy is expensive if you get it wrong. Energy systems in pop ups follow the same input-output principle as thermodynamics: what you consume must equal what you generate or store, or the system collapses. Most people buy solar panels and batteries in reverse order—guessing at capacity instead of measuring actual draw. Calculate your daily watt-hour consumption first by listing every device, its wattage, and runtime. A 60-watt fan running eight hours is 480 watt-hours. A 1200-watt microwave for ten minutes is 200 watt-hours. Add refrigerator, lights, phone charging, water pump. This number dictates everything downstream.
Battery capacity must handle your daily consumption plus a reserve for cloudy days. A 100Ah lithium battery stores roughly 3,000 usable watt-hours at safe depth-of-discharge. Solar panels should generate enough to recharge that battery plus cover daily use on average sunlight days in your region. The mechanism is simple: oversize your generation and storage, undersize your consumption. Most renovators flip this and end up stranded with depleted batteries by 3 PM, bitter about their solar investment.
Wiring Architecture Determines Your Ceiling
Your charge controller, battery bank, and inverter are not interchangeable components—they form a chain where the weakest link kills your entire system. Most DIY pop up makeovers use undersized wire gauge from panel to controller, losing power through resistance before it ever reaches storage. A 400-watt solar array on ten-gauge wire bleeds voltage and heat. Calculate wire gauge by amperage and distance: a 40-amp circuit over thirty feet needs 4-gauge minimum. Buy marine-grade tinned copper wire, not automotive aluminum. Upgrade from PWM charge controllers to MPPT controllers if you run more than one panel or panels in variable shade—they harvest ten to fifteen percent more energy from the same array.
Your inverter size determines what appliances can run simultaneously. A 1500-watt inverter cannot run a 1200-watt microwave and a 400-watt coffee maker at once. It fails or shuts down. People discover this mid-breakfast and abandon their power strategy altogether. Install a fused disconnect between battery and inverter, a second disconnect between solar array and controller, and label every connection. The standard protocol in marine electrical systems transfers directly here: redundancy and clear labeling prevent silent failures that strand you fifty miles from help.
Pop Up Camper Design Ideas: The “Resilience Engineering” Framework

Where Your Camper Actually Fails First

You want this section because you’re terrified of breaking down in the desert with a family and no backup plan. The real mechanism is this: pop up campers fail predictably at the same three to five points every single time, and most people ignore those points until they’re stranded. Resilience engineering, borrowed from aerospace and nuclear plant design, teaches us to map failure points before they happen. In camper terms, a failure point is any single component whose breakdown stops you from sleeping, cooking, or leaving camp safely.
The canvas itself, the frame hinges, the propane system, the electrical distribution, and the water pump are your critical nodes. These aren’t opinions. These are the systems that field reports and repair logs consistently show breaking first. Map each one. Ask yourself: if this fails, what else stops working? If your water pump dies, your shower doesn’t work, but you can still cook and sleep. If your frame hinge cracks, your canvas tears and you lose weatherproofing entirely. That’s the difference between inconvenience and catastrophe.
Backup Systems That Actually Work
The common advice here is wrong: throwing redundancy at everything wastes money and space you don’t have. Real redundancy means building backup for critical failure points only. Don’t duplicate every system. Duplicate the ones that, when they fail, leave you unable to function.
Your propane system is a single point of failure. Add a secondary regulator and manual shut-off valve downstream. Your water pump runs on one battery line. Run a manual hand pump as your backup. Your electrical system depends on one breaker panel. Install a second independent circuit for essentials like heating and lights. Your frame relies on bolt connections at the hinge points. Carry replacement bolts, washers, and a torque wrench rated for your frame specs. You’re not over-engineering. You’re building a system that doesn’t strand you when the first line fails.
Pop Up Tent Trailer Remodel: Material Science For Longevity

The Real Trade Off Between What Lasts And What Feels Good

You want your camper to feel nice because you’re spending money on it, and spending money on something that doesn’t feel premium triggers buyer’s remorse. But the mechanism is material degradation under UV and thermal cycling, not perception. Canvas absorbs water and breaks down faster than synthetics. Vinyl doesn’t breathe but resists sun damage. You’re choosing between maintenance burden and replacement cost.
Durability engineering teaches us about stress concentration, where weak points fail first under repeated load. In pop up campers, that’s seam failure under wind load and fabric tear at attachment points. Standard canvas fails here in five to seven years. Heavy-duty marine canvas lasts twelve to fifteen years but requires seasonal treatment and costs twice as much upfront. The real question isn’t comfort now, it’s whether you’ll maintain the material or replace it entirely.
Sealing Against Weather Without The Standard Tape
Everyone recommends silicone sealant and waterproof tape as the universal fix. That’s incomplete advice that wastes money. Those products fail at flex points because they can’t move with the material during temperature swings. Pop up campers expand and contract daily. Rigid sealants crack. Tape delaminates where fabric bends.
The unconventional method is marine-grade flexible urethane sealant combined with adhesive-backed fabric strips rated for marine use. Apply the sealant first, then layer the fabric strip over it while the sealant is wet. This creates a composite joint that moves with the material instead of fighting it. Test the joint by hand-flexing the seam after forty-eight hours. If the sealant has cracked, you applied it too thick or used the wrong product type.
Pop Up Camper Reno: The Illusions Of Aesthetic “Upgrades”
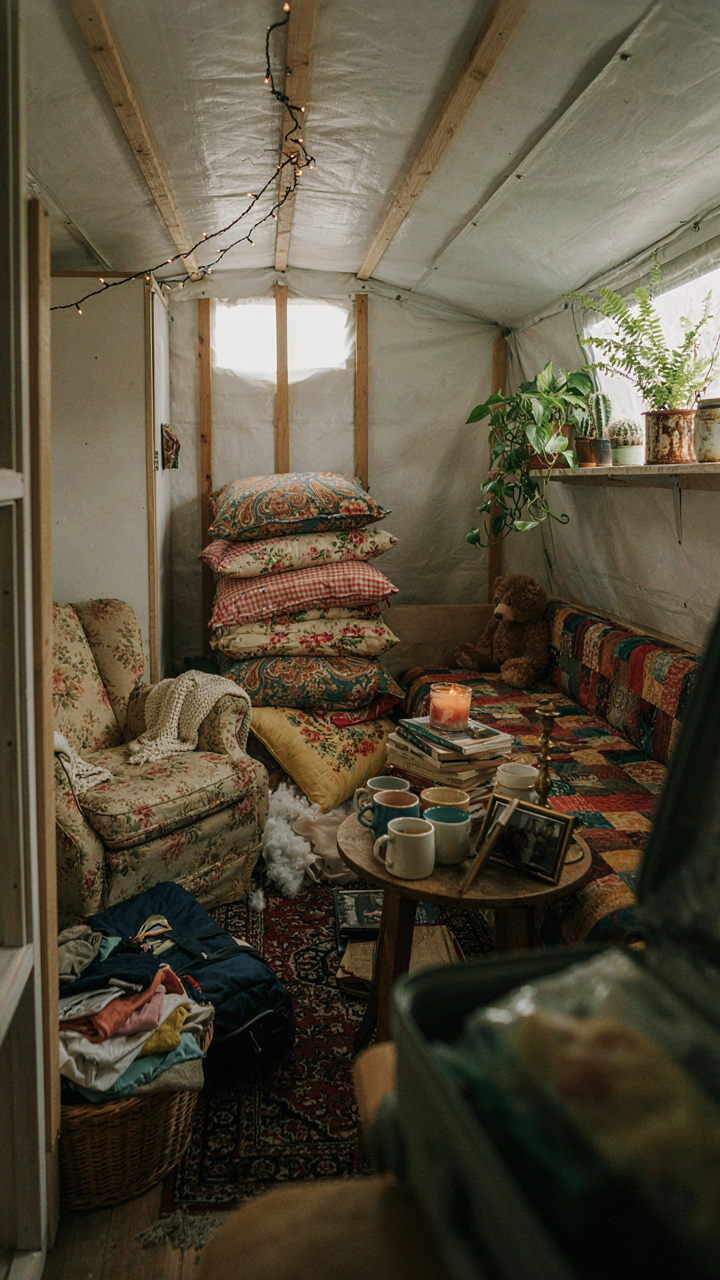
Decorative Elements Create Friction

You want the camper to look intentional so visitors think you made a smart purchase. The real problem is simpler: decorative elements in a pop up camper are liabilities masquerading as improvements. Every cushion, throw, wall hanging, and accent piece you add reduces usable space in a structure already defined by constraint. You’re trading function for appearance in an environment where function directly impacts your willingness to stay in the thing.
The mechanism here borrows from operations management: every added component increases your maintenance surface area. A stock pop up camper has sealed canvas, basic upholstery, and minimal soft goods. Add decorative pillows and you’ve created dust traps. Add wall art and you’ve introduced something that shifts during towing, creating rattles that compound into frustration. The makeover instinct pushes toward cozy aesthetics. The reality demands you subtract before you add.
Function Remains Hidden Until It Fails
Nobody notices ventilation until condensation ruins your mattress. Nobody praises insulation until a cold night proves the camper holds heat. This is why visible upgrades dominate makeover conversations while invisible ones get overlooked. You see fabric choices and color schemes. You don’t see vapor barriers, seam sealing, or ducting improvements until the moment they prevent disaster.
Prioritize the systems nobody photographs. Upgrade your water seal around the roof before you touch interior finishes. Install proper cross-ventilation before you worry about accent walls. Reinforce seams with marine-grade adhesive before you hang decorations. The camper that functions well gets used. The camper that looks good but sweats from condensation sits in your driveway. Functional upgrades compound invisibly; decorative ones depreciate immediately.
Pop Up Camper Decor Ideas: The Anti Hoarding Manifesto

Stop Buying Duplicates You Don’t Need

You want your camper to feel intentional and curated, not like you’re compensating for poor planning. The real problem isn’t decoration—it’s that you own three flashlights, two coffee makers, and four throw blankets when a 120-square-foot space demands ruthless singularity. Every duplicate item you bring steals cubic feet and mental clarity.
- Flashlights: One quality LED headlamp replaces multiple handheld torches. Frees shelf space and you always know where it is.
- Coffee equipment: Pick one method—French press, pour-over, or instant. Not all three. Space compounds scarcity.
- Throw blankets: One per bunk maximum. Layering happens through weight, not accumulation. Pick merino or canvas weight cotton.
- Cooking utensils: One spatula, one spoon, one knife. Multitasking utensils exist. Cast iron does five jobs.
- Storage containers: Uniform sizing in one material. Plastic degrades in heat. Stainless steel or cedar boxes stack and age well.
The mechanism is inventory visibility. When you can see every item you own, you stop buying redundant versions. Pop up campers force this constraint naturally—use it. You’re not decorating a camper. You’re editing your life down to what actually works.
Keep One Thing To Bring One Thing Out
The “one in, one out” rule sounds like wisdom but it’s actually a behavioral trap that delays the real decision. Most people use it to justify keeping items that don’t earn their space. The rule assumes you made good choices before, so minor swaps preserve quality. That’s backward thinking.
The actual mechanic is this: before you buy anything new, identify what leaves permanently. Not what gets swapped. Not storage rotation. Gone. You decide the price of entry—new throw pillow means old one donates or burns. New wall hanging means something comes down and stays down. This forces you to weigh actual value, not comfort. A pop up camper’s finite space makes this math obvious. Every addition is subtraction. Frame it that way, and decoration stops being consumption.
Pop Up Trailer Ideas: The Field Test Imperative

Build Before You Commit

You want to know if your vision works before you sink money and time into it. That’s not inspiration talking, that’s risk management. Most makeover advice treats the pop up camper as a finished canvas when it’s actually a prototype that needs validation in real conditions.
Borrowed from product development, iteration means you test, measure results, adjust, then test again. Your camper’s interior layout, material choices, and storage solutions only reveal their actual performance during a multi-day trip in varying weather. A design that looks functional in your driveway fails completely when you’re living in it for seventy-two hours. Build the minimum version first. Live in it. Then decide what actually needs to change.
Failures Generate Specificity
You’ve heard that breakdowns teach you something. That’s vague and useless. Here’s what actually happens: when your pop up camper’s vinyl fails in humidity, you learn the exact vapor pressure threshold your material selection missed. When a storage solution collapses under load, you quantify how much force your mounting system actually encounters. When condensation pools in a corner, you map the specific thermal gradient causing it.
Document every failure point with photos and measurements. Write down what conditions triggered the problem. When your cabinet door warps or your bedding gets damp or your water system freezes, you’ve just collected data that points directly to a real solution instead of a guess. This information is what separates a rebuilt camper from a genuinely optimized one. Before ordering replacement materials or structural changes, spend a full season camping and recording exactly where your current setup breaks.
Your Camper Isn’t Lacking Throw Pillows; It’s Lacking A Cohesive System Built For Your Specific, Unromanticized Reality

Stop chasing aesthetics and audit how you actually live. Your pop up camper makeover fails because you design for Instagram instead of your real habits. Pick one friction point you hit every trip, fix it with intention, then build outward. The aesthetic follows function. The cozy canvas retreat you want already exists inside the system you build, not the Pinterest board you save. Design for yourself, not the version of yourself you pretend to be.



