

The Illusion Of Vintage Charm
Cosmetic Problems Hide Structural Rot
You want the aesthetic without admitting you’re buying nostalgia. Here’s the mechanism: cosmetic and structural degradation are not the same thing, and treating them as identical kills budgets. Aluminum oxidizes from the outside in. Surface patina looks intentional. The real damage happens where you can’t see it—inside seams, under trim, in the sandwich between exterior skin and interior wall where moisture pools for years.
Most people remodel a camper by stripping old cabinets and repainting walls, then act shocked when water leaks through an unseen hole in the frame. The visual layer can be perfect while the load-bearing structure fails silently. You must separate what looks old from what is compromised. Inspect the frame, seals, and floor structure before committing to any design direction.
When Design Costs More Than Structure
The common advice says “pick your style first, then source materials.” That’s backwards and expensive. Aesthetic-first thinking forces you to hunt for vintage-correct components that either don’t exist anymore or demand premium pricing because they’re rare. Meanwhile, the actual structural work—resealing the aluminum, replacing rotted subfloor, addressing the original installation gaps—stays the same price whether you choose mid-century or modern.
You end up paying twice: once for the aesthetic layer you wanted, and again for the structural layer you needed. Design should follow function and budget, not lead them. Start with what’s broken. Fix the frame, seal the seams, address moisture. Then apply whatever visual language you prefer to a foundation that won’t leak in three years.
The Airstream Remodel Anatomy: Beyond Polished Aluminum
Where The Frame Actually Fails

You want the remodel to last because you’re terrified of structural failure eating your investment. Here’s what nobody says: the aluminum frame doesn’t fail because of the aluminum. It fails because of repeated stress concentration at rivet and weld points, borrowed directly from materials science. Every time your camper flexes on uneven terrain, the fasteners experience micro-fractures that compound over decades. The shell looks fine while the skeleton dies.
Modern Airstream and comparable aluminum campers use aluminum alloy rivets in a 2024-T3 or 5052-H32 shell. The rivets transfer load between panels, but they create stress risers where metal transitions. Remodels that ignore this pattern remove or drill near original fastener points without accounting for load redistribution. You’re weakening the frame’s ability to handle torsion and compression simultaneously. Inspect rivet integrity before any structural cut or attachment modification.
What Hides Under The Floor
The subfloor sits in the moisture danger zone, and most aluminum camper owners treat it like it doesn’t exist until water appears. The issue isn’t the aluminum frame. It’s the composite or plywood subfloor material bonded to the aluminum base with adhesive that fails when humidity cycles. Water doesn’t have to enter dramatically. It wicks through seams, wicks around window frames, and accumulates from condensation trapped between materials with different thermal properties.
Aluminum camper subfloors typically use plywood bonded with polyurethane or epoxy adhesive to the frame. This bond delaminates when moisture penetrates from above or below, turning the subfloor into a sponge that deteriorates from the inside outward. Check for soft spots by pressing a screwdriver into the floor near the perimeter and near any previous water damage. If the tip sinks more than a quarter inch, the subfloor has failed and must be replaced, not sealed over. Replace compromised subfloor sections before installing new cabinetry or flooring.
The Material Lie: Not All “Mid Century” Is Created Equal
Authentic Period Materials Versus Modern Alternatives

You want the aesthetic without the problems, which is fine, but that’s exactly why most remodels fail. Here’s the mechanism: mid-century camper manufacturers chose materials based on weight, cost, and what they could source in 1955-1972, not on what looks good in your Instagram feed. Aluminum itself was the star material then, but what you wrap around that aluminum frame matters drastically. Original campers used thin plywood paneling, birch veneer, and fabric upholstery that deteriorated predictably. Reproducing this exactly means accepting the same failure points.
Modern alternatives solve specific problems the originals couldn’t. Lightweight vinyl panels mimic wood grain without the water absorption. Polycarbonate windows replace single-pane glass that leaked. Closed-cell foam insulation outperforms the fiberglass batts they used. The trade-off isn’t authenticity versus fakery, it’s function versus nostalgia. Pick materials that honor the era’s design language while performing in today’s conditions. Your aluminum frame won’t know the difference, but your wallet and your ceiling will.
Longevity And Maintenance Trade Offs
Restoration culture lies about this constantly. Period-correct materials demand constant vigilance. Real mid-century campers rotted from the inside out because plywood swells, original adhesives failed, and ventilation was an afterthought. You can go full authentic and spend every season recaulking, replacing panels, and fighting mold, or you can build something that lasts a decade without obsessive maintenance.
The actual decision is time versus money. Authentic materials cost less upfront but demand your labor repeatedly. Modern substitutes cost more initially but compress maintenance into an annual inspection instead of monthly fixes. Original birch plywood might cost thirty percent less than quality marine plywood alternatives, but the cost multiplies when you’re replacing sections after three years of moisture damage. Pick your actual commitment level, then select materials that match it. If you’re not prepared to recaulk seams every eighteen months, don’t use materials that require it.
The Renovated Airstream Protocol: Deconstruction Audit
Where Failure Actually Lives

You want this section because you’re afraid you’ll miss something expensive hiding in the walls. Here’s the mechanism: aluminum campers fail at interfaces, not materials. The metal itself outlasts the sealants, fasteners, and joints that hold it together. A mid-century Airstream’s aluminum skin is the least of your problems. Water finds every seam, every rivet, every place two different materials meet. That’s where decay concentrates.
Think of an aluminum camper like a system with load-bearing stress points in economics. Failure doesn’t distribute evenly. It concentrates at friction points where moisture, thermal expansion, and poor drainage create cascading breakdown. You’ll find rot in the floor framing long before the aluminum oxidizes. The walls look pristine while the structure underneath corrodes. Your audit needs to target these specific stress concentrations, not just the visible exterior.
The Damage Hierarchy You Actually Need
Most people start demo work by ripping out what looks bad. That’s backwards. You need to identify what will cost the most to fix later, then prioritize those areas first. Structural compromise always comes before cosmetic work. Water intrusion pathways matter more than cabinet condition. The roof structure and floor framing determine whether the whole project fails or succeeds.
Separate your findings into three tiers: structural threats, systems infrastructure, and finish work. Structural threats include floor rot, wall frame deterioration, and roof support compromise. Systems infrastructure covers plumbing, electrical routing, and ventilation pathways. Finish work is everything else. Attack tier one completely before tier two touches a single screw. This sequencing prevents you from rebuilding beautiful interiors that sit on rotted substructure.
The Thermodynamics Of A Vintage Shell
How Heat Moves Through Aluminum

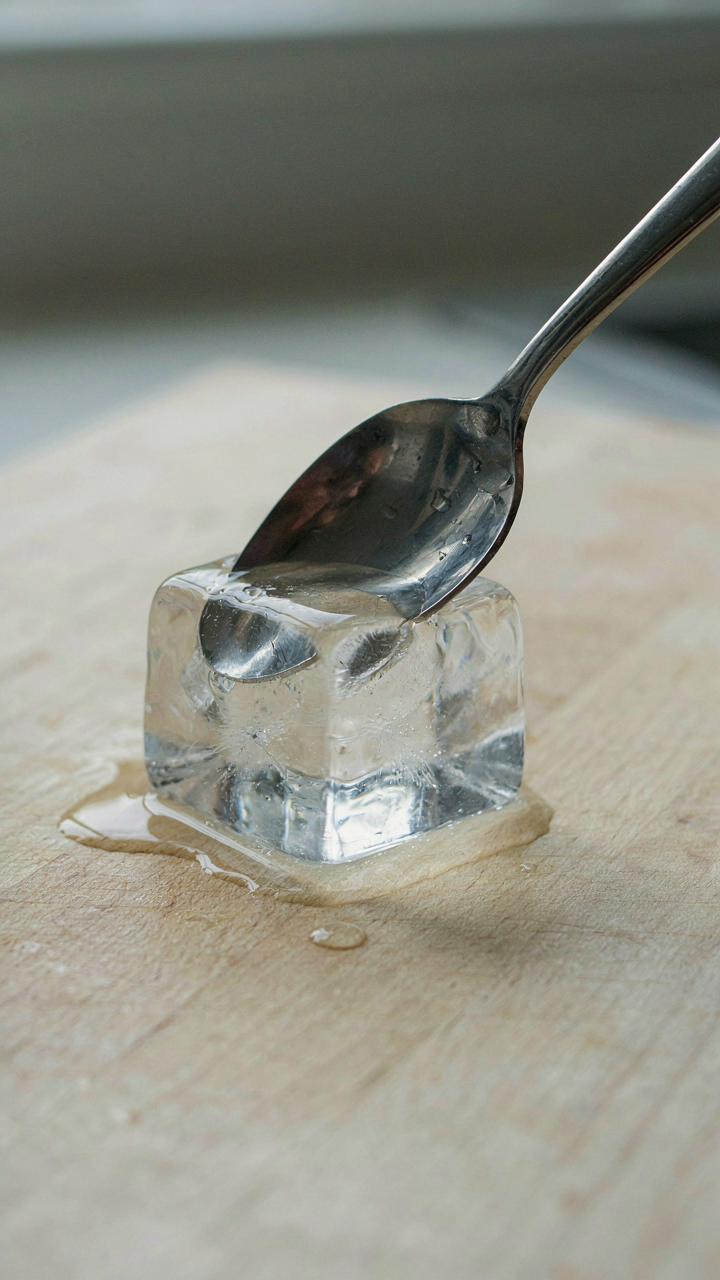
You want this to feel authentic without freezing at night or cooking in summer. Here’s the mechanism: physics calls it thermal conductivity, and aluminum’s fatal flaw is that it conducts heat aggressively in both directions. A 1960s Airstream or Avion shell transfers interior warmth straight through the walls and into the air outside. Your insulation strategy fails if you don’t account for this one-way energy leak.
Aluminum conducts heat roughly 200 times faster than fiberglass. This means your vintage camper loses climate control before you finish sealing it. The common fix—spray foam insulation—masks the real problem rather than solving it. You need a radiant barrier first, then dead air space, then insulation. Install reflective Mylar or aluminum foil facing the interior cavity before any foam. This stops radiant heat transfer before conduction even starts. The order matters because each layer addresses a different mechanism.
Moisture And The Hidden Corrosion Cycle
Condensation isn’t a surface problem. It’s a system problem where water vapor meets a cold aluminum wall and converts to liquid. The mid-century shell sits outside temperature swings. Interior warmth plus exterior cold equals water on metal. Corrosion happens invisibly inside wall cavities long before you see it. Vapor barriers are not optional in aluminum camper remodels.
Polyethylene or Mylar vapor barriers go on the warm side of insulation to block moisture migration before it reaches the aluminum. Install mechanical ventilation—a combination of passive vents and one powered vent—to manage humidity spikes from cooking and showering. Run the vent continuously during damp seasons. Check for aluminum oxidation at seams and around window frames every six months. Early corrosion appears as white powdery deposits. If you find it, stop it immediately with vinegar and a wire brush, then seal the area with marine-grade sealant.
Powering The Past: Modernizing An Airstream Trailer’s Grid

The Real Load Problem

You want to rewire your vintage Airstream because you’re afraid the original knob-and-tube setup will burn it down, which is smart, but the actual mechanism you’re missing is load capacity calculation. Think of electrical systems like hydraulic pressure: vintage Airstreams were engineered for 30 amps at 120 volts because they ran a water heater, furnace, and lights. Nothing else. You now want a refrigerator, air conditioning, induction cooktop, and phone chargers running simultaneously. The wire gauge that handled 3600 watts total will melt at 5000 watts.
The common advice says “upgrade to 50 amps,” which skips the real work. You need to map every device you’ll actually use, write down its amperage draw from the nameplate, add them in realistic operating scenarios, then work backward to your shore power inlet and internal breaker panel. A 13,500 BTU air conditioner pulls 15 amps alone. Your modern refrigerator pulls 5 to 8 amps continuously. A 1500-watt microwave draws 12.5 amps. Add insulation to your aluminum shell, and your cooling load drops, which then determines whether you need a 50-amp service or if 30 amps still works with selective usage. Do the math before you touch wire.
Water System Failure Points
Aluminum Airstreams corrode from inside out when water sits in dissimilar metal fittings. The original plumbing used copper and brass fittings soldered directly to aluminum lines, creating a galvanic cell that eats the aluminum tank walls. Most people catch this only when they find water pooling under the trailer during storage. You won’t see it happening. The corrosion tunnel forms invisibly inside the aluminum.
Replace every connection point where aluminum meets copper, brass, or steel with dielectric unions and isolating washers. Run PEX tubing from your water heater to fixtures instead of rigid copper where possible. If you keep the original aluminum lines, inspect every solder joint under bright light for white powder or green staining, which indicates active corrosion. Don’t just replace the water heater—pull the original aluminum tank and test it with a hydrostatic pressure check before deciding to keep it or upgrade to a modern stainless steel tank mounted externally.
The Ergonomics Of Small Spaces: Beyond Nostalgia

Flow And Utility In Tight Quarters

You want the mid-century aesthetic without admitting the real problem: your camper feels cramped because you haven’t mapped actual movement patterns through it. The principle borrowed from industrial engineering is “workflow optimization”—the idea that efficiency comes from removing friction between sequential tasks. In an aluminum camper remodel, this means tracing your daily path from entry to kitchen to bed to bathroom, then eliminating dead zones and backtracking.
Most remodels treat layout as decoration. Wrong. The galley kitchen in a typical aluminum frame sits parallel to sleeping quarters for one reason: it saves manufacturing depth. But your actual cooking workflow happens front-to-back, not side-to-side. Measure your stove-to-sink distance. Measure your fridge-to-prep-surface reach. If either exceeds arm’s length, you’ve inherited poor ergonomics, not mid-century charm.
- Entry-to-living transition: Position seating perpendicular to the door, not directly in the path. This lets you step in without immediately hitting furniture or requiring a navigation decision.
- Kitchen work triangle: Keep your stove, sink, and food storage within a three-step radius of each other. Aluminum frames often force compromise—prioritize stove and sink proximity first.
- Passage width: Maintain at least 24 inches of clear floor space for main walkways. Anything narrower creates bottlenecks that trap you physically and psychologically.
- Sleeping area isolation: Place the bed perpendicular to major traffic routes. Diagonal placement in small aluminum frames wastes corner space while forcing you to step over bedding daily.
- Bathroom positioning: Keep the toilet and shower entry visible from the main living area through a threshold, not hidden. Aluminum campers benefit from psychological openness even with doors closed.
The layout that feels “authentic” to mid-century design actually emerged from aluminum frame limitations, not aesthetic intent. Your remodel should solve the limitation while keeping the visual language. Route your water and electrical lines during layout planning—they dictate where appliances actually go, not your drawing.
Multipurpose Furniture As Structural Strategy
Dual-purpose furniture isn’t clever decoration for campers. It’s how you survive physics in a 200-square-foot box. Most people add storage benches or nesting tables and call it optimization. That’s surface-level thinking.
Real multipurpose furniture operates on material efficiency: the bench becomes load-bearing structure, the table legs become utility conduits, the bed base becomes climate control. In aluminum campers, this means your furniture integrates with the frame’s skeleton, not floating inside it. A booth seating system anchored to the floor and walls shares structural load with the aluminum chassis. A bed platform with sealed storage underneath becomes insulation and weight distribution. The frame itself stops being invisible infrastructure and becomes your design asset.

Vintage aluminum campers used this integration by necessity—materials were expensive, weight mattered, and production speed ruled. A dinette that folded into a bed didn’t happen for romance. It happened because that’s all that fit. Your remodel captures this constraint as a feature, not a bug. A table that converts to sleeping surface shouldn’t look bolted-on or tacked together. Its mechanism should be smooth, the transition should feel inevitable, and the structure should appear load-rated because it actually is. This is where most DIY remodels fail: they add furniture to a space instead of making furniture and space one system. Commission or source components built to aluminum frame specifications, not generic RV aftermarket parts. The difference in how your remodel ages—and how your body feels after six months inside it—is measurable.
The Post Remodel Reality: Maintaining Your Remodeled Airstream
Scheduled Inspections: Where Decay Starts
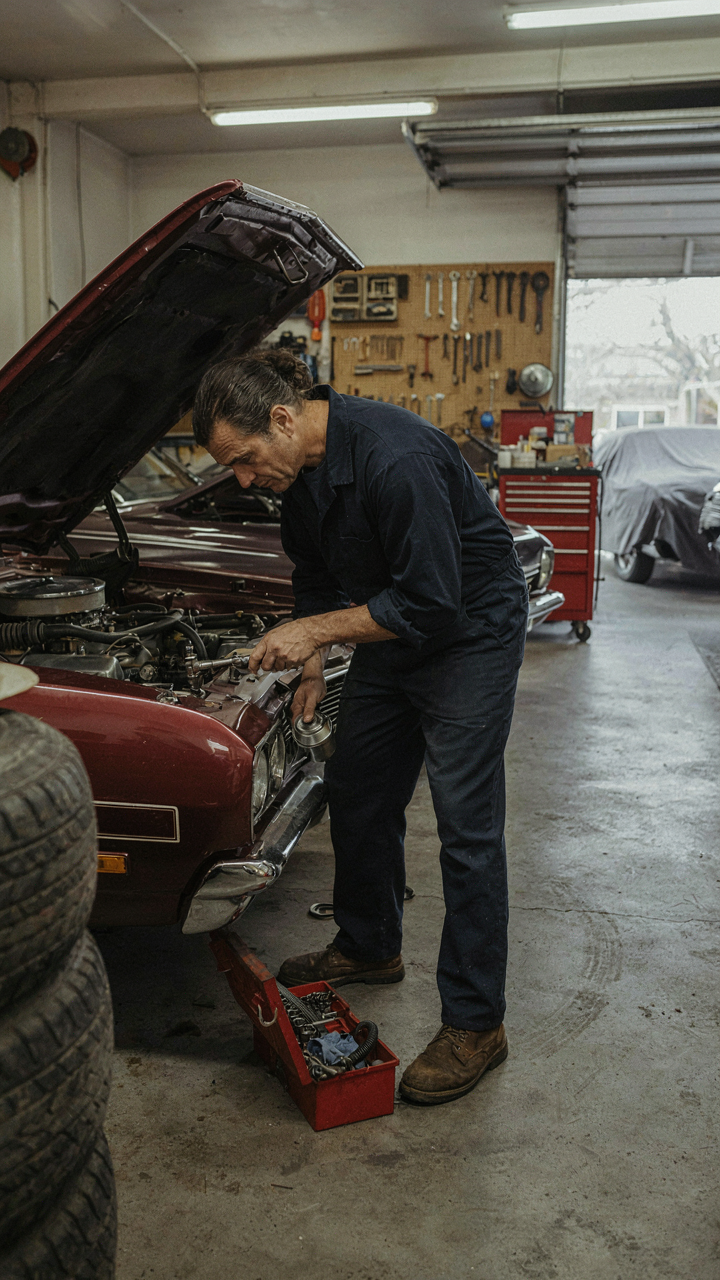
You want to believe your remodel is done. It isn’t. The mechanism here borrows from preventative maintenance in manufacturing: catch failure modes before they cascade. Aluminum doesn’t rot like wood, but it oxidizes, and oxidation accelerates when moisture finds seams you didn’t seal tight enough during remodel. A quarterly inspection schedule stops the decay chain before it compounds into thousands in repairs.
Walk the exterior seams with a flashlight. Check windows and door frames for white powdery buildup. Look underneath at the belly pan where moisture pools. Interior: inspect cabinet corners, the underside of countertops, and anywhere original aluminum meets new materials. One hour per quarter prevents the slow creep of corrosion that turns a tight remodel into a rotting shell in five years.
Small Fixes Before They Become Replacements
Most remodel advice stops at “fix things promptly.” That’s incomplete. The real lever is identifying which small problems multiply. A loose rivet near a seam will vibrate and enlarge, turning into a pinhole leak. Caulk that’s cracking in a high-stress joint will let moisture migrate behind panels. Sealant failure isn’t cosmetic, it’s the entry point for the oxidation you spent money preventing.

Maintain a running list of observed issues separate from your inspection notes. Prioritize by location and exposure: roof leaks matter more than cabinet cracks because water moves downward and outward. Address rivets that show movement, any seam separation, and caulk failures within 30 days. Apply marine-grade sealant before it becomes a structural liability.
The Real Obstacle Isn’t The Aluminum; It’s Your Fantasy Of Effortless Retro Perfection

You’re romanticizing the work, not the result. Your aluminum camper remodel fails because you expect mid-century style to materialize through Pinterest scrolling and wishful thinking. Stop planning. Pick one wall this weekend and strip it. Live with the raw aluminum for a week. That discomfort you feel? That’s the actual project talking to you, telling you what matters. The remodel doesn’t need perfection. It needs you to start.



