
The “Retro Charm” Lie: It Was Never About Aesthetics

Necessity Dictated Every Decision
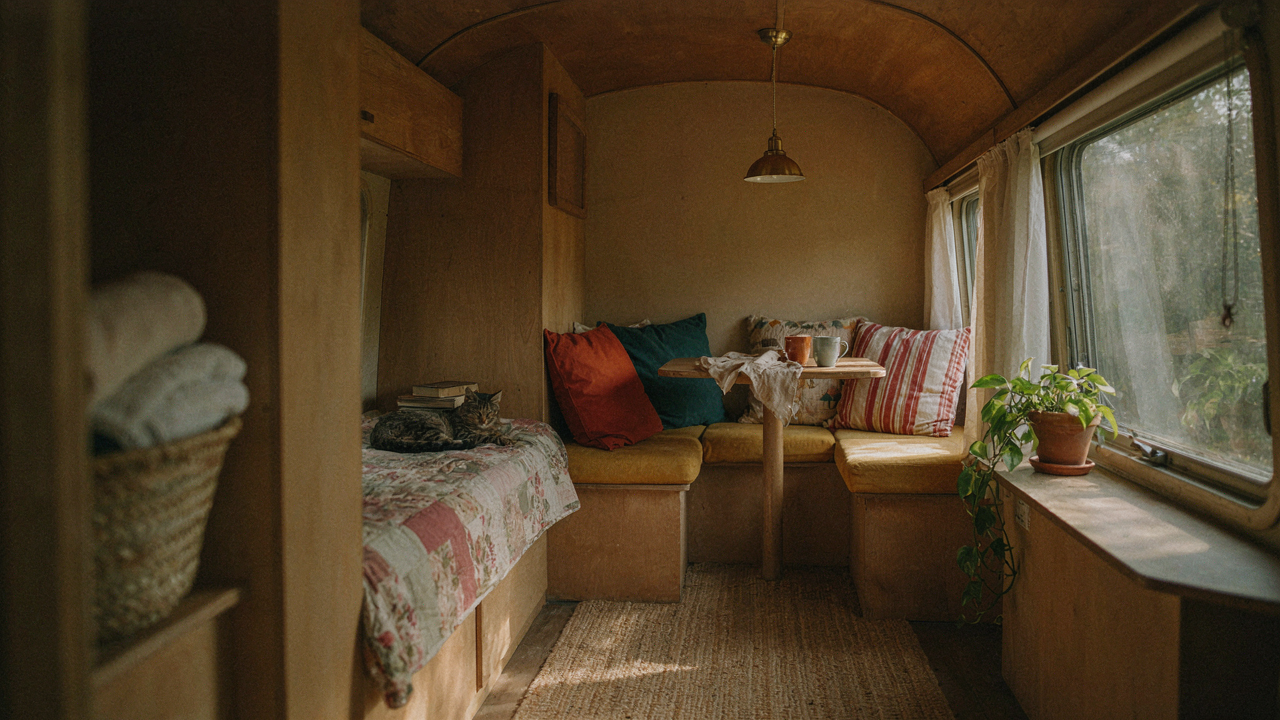
You want to believe vintage camper interiors look good because someone had taste. The real reason: people in the 1960s and 1970s had zero budget and maximum constraints. Design wasn’t a choice. It was math.
Space in a camper trailer measured in feet, not rooms. Weight capacity limited materials. Manufacturing technology determined what could be bent, molded, or fastened. Every design decision solved a problem first and looked intentional second. The aesthetic you admire now is just the visible residue of hardcore engineering constraints.
Function Dictated Form Always
Borrowing from industrial design, we call this principle constraint-driven form. Vintage camper interiors didn’t follow trends because they couldn’t afford to. A dinette seat had to collapse into a bed. Cabinets had to mount flush to studs. Water tanks needed accessible placement. Insulation materials determined wall thickness and therefore interior dimensions.
The wood paneling everyone associates with retro charm wasn’t decorative. It covered gaps, hid plumbing runs, and added structural rigidity to thin aluminum walls. The curved edges on cabinets reduced injury risk in tight spaces during driving. The integrated storage solved a structural need first. The look followed. Strip away the nostalgia, and you’re looking at solutions to problems that no longer exist in the same way.
The Minimalism Manifesto: Less Really Was More

Every Object Served Multiple Roles

You want to believe vintage camper design was about aesthetics, but it was about survival math. Space cost money, so manufacturers built nothing decorative. Think of it like constraint-based design from industrial engineering: remove every element that doesn’t solve a problem, and the system becomes efficient.
A dinette in a 1970s Airstream didn’t just seat four people for meals. It converted to a bed. Storage lived underneath. The table surface became workspace, game board, or prep area. This wasn’t clever or charming. It was necessary. When you have 120 square feet, every cubic inch matters.
Furniture That Worked Multiple Ways
The common advice says vintage campers were “cozy,” which misses the actual innovation happening. Engineers and designers eliminated redundancy because they had to. A bench seat wasn’t just seating—it held propane tanks, plumbing, or insulation behind or beneath it. Cabinet doors flipped into cutting boards. Shelves adjusted to store different item heights without wasted vertical space.
This approach created a hidden advantage: nothing felt cluttered because nothing existed without purpose. When you enter a well-designed vintage camper, you feel calm not because it’s sparse, but because every visible object earns its presence. The mechanism is simple: remove visual noise by removing purposeless items. That’s the entire system. Audit what you bring into your camper. If it doesn’t store, sit on, or function as something else, it stays out.
The Constraint Protocol: Designing For Tiny Spaces

Supply Chain Thinking Over Decoration

You want your vintage camper to look good because you’re afraid empty space means wasted money. Here’s what matters: the mechanism is access, not aesthetics. Military logistics solved the same problem decades ago—how to maximize utility in confined quarters with zero redundancy. Your camper interior is a supply chain problem disguised as a design problem.
Think of your galley kitchen, sleeping berth, and storage as nodes in a distribution network. Every item must have a purpose and a single location. Vintage campers from the 1960s and 1970s nailed this because builders had to. They couldn’t afford wasted cubic inches. Redundant tools, duplicate supplies, or items without clear function got cut. Apply the same ruthlessness. If something doesn’t serve immediate function or genuine daily use, it creates congestion that collapses the system.
Perpendicular Storage Over Flat Surfaces
Physics gives us a direct tool: vectors. Vintage campers exploit vertical and perpendicular planes instead of relying on horizontal surface area that doesn’t exist. Wall-mounted cabinets, overhead racks, and corner niches aren’t decoration—they’re force multiplication.
A flat shelf running 8 feet down the side wall holds less total volume than a grid of small lockers arranged perpendicular to that wall. This is geometric fact, not opinion. Original camper designers used magnetic strips for metal cookware, wall-mounted spice racks, and angled shelving because they understood that depth stacked perpendicular to sight lines creates usable space where none appears to exist. Your storage should climb vertical planes and tuck into dead zones. Mount everything you can. Reserve floor and counter space only for immediate workflow—prep area, seating, sleeping. Everything else goes up or into the walls.
Beyond Beige: Embracing Bold (and Practical) Color
What Vintage Trailers Actually Used

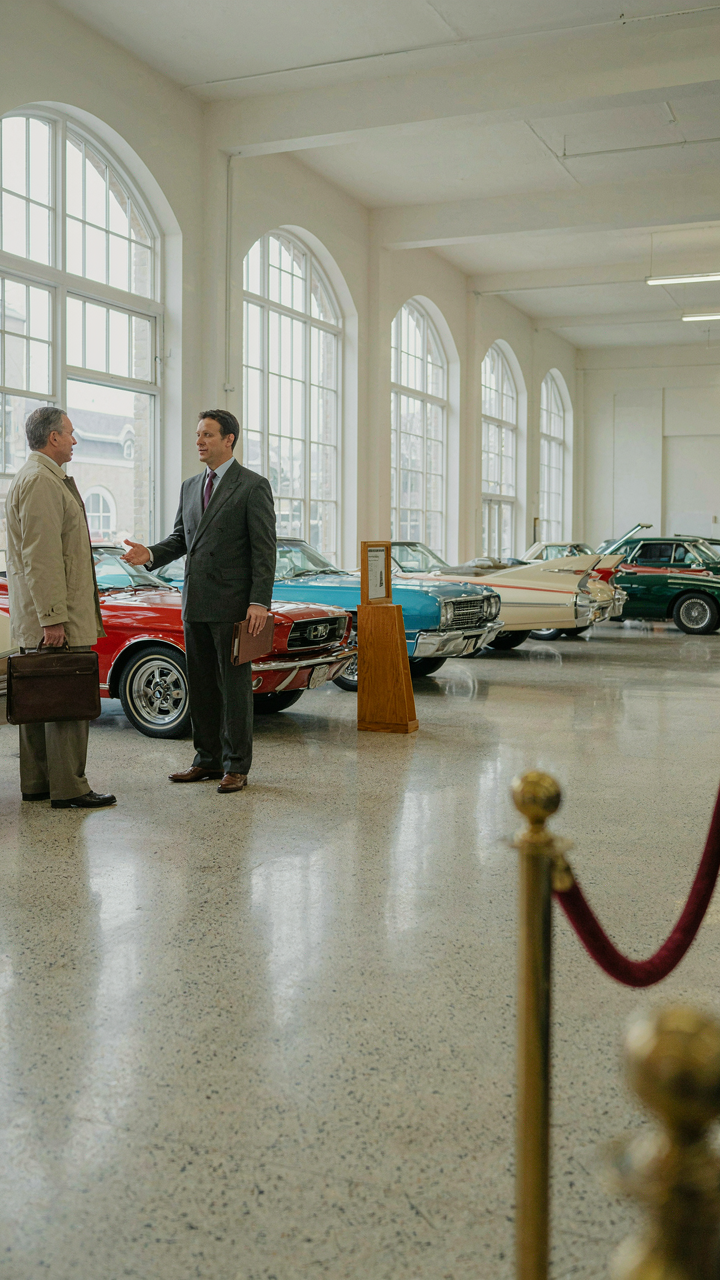
You want permission to use color without looking like you’re compensating for something small. That’s the real ask. Here’s the mechanism: vintage trailer manufacturers used bold colors not for aesthetics but for resale. Avocado, harvest gold, and seafoam weren’t trendy—they were inventory markers. Dealers needed interiors that moved units fast. Neutral colors blended together on the lot. Bright colors stuck in buyers’ minds.
The 1960s and 1970s saw the widest color adoption in trailer production. Manufacturers applied two-part enamel and lacquer finishes to plywood cabinetry and metal trim. These weren’t fading pastels by accident. Deep greens, burnt oranges, and rust tones held up under UV exposure better than lighter shades. The color palette reflected what worked in production runs of fifty-plus units, not interior design theory.
Saturation Changes How Space Reads
Psychology borrows a term from physics: saturation. In color theory, saturation measures how pure a hue is—how much gray it contains. Low saturation (grayed-out colors) makes spaces feel larger and more restful. High saturation (pure, vivid colors) compresses perceived space but activates attention. A vintage camper interior with high-saturation accent walls feels half the size of one with muted tones, but it stops feeling like a storage unit.
The practical move: use high-saturation color on one wall or cabinetry section only, not all four sides. Paint the galley end of your camper a deep forest green or rust red. Keep the opposing wall neutral or lighter. This anchors the space, gives you something worth looking at, and preserves the breathing room. The mechanism works because your eye lands on the saturated color first, so your brain stops measuring volume.
Camper Remodel DIY: From “Vintage Look” To Genuine Retro Trailer Interior
Source Real Materials, Not Knockoffs

You want people to know you didn’t just slap some faux-wood contact paper on particleboard and call it restored. That’s the real driver here—authenticity reads, even to people who can’t articulate why.
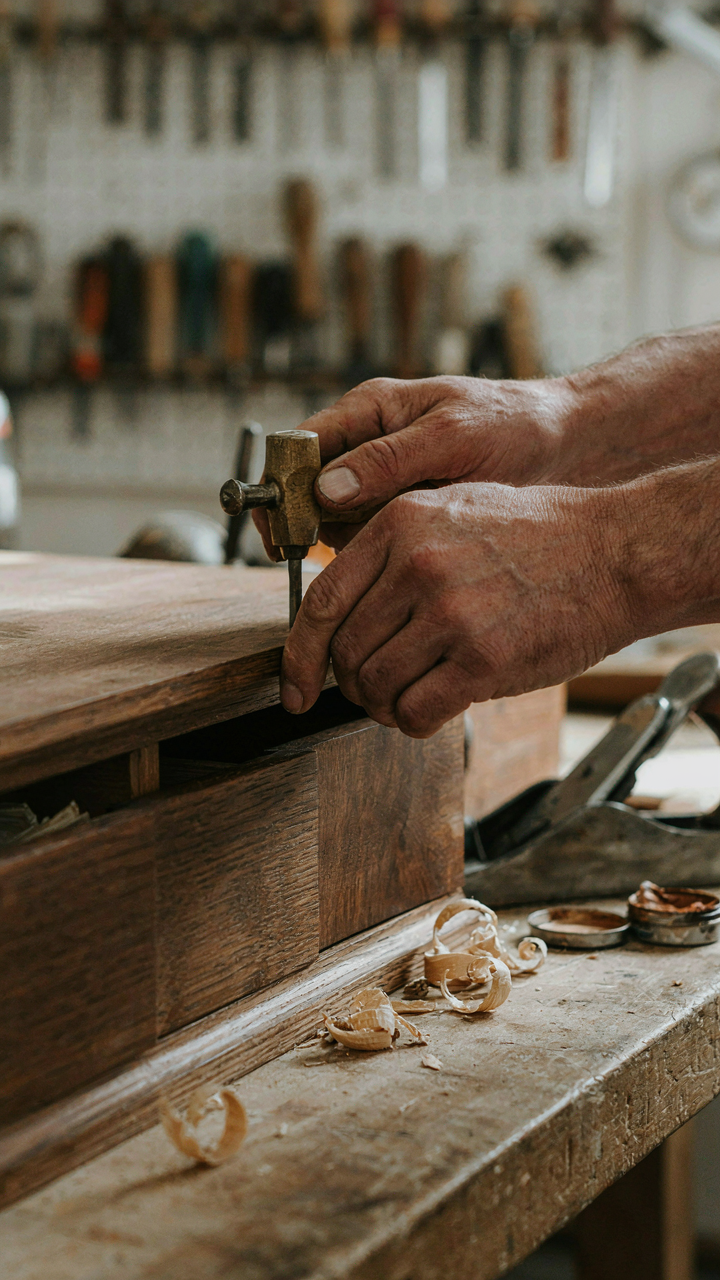
The mechanism is material specificity. Vintage campers from the 1960s and 1970s used birch plywood, aluminum trim, and vinyl upholstery formulated for heat and UV resistance. Those materials have distinct grain patterns, aging characteristics, and tactile properties that reproductions can’t replicate convincingly. When you use the actual material class—not the aesthetic approximation—the entire interior gains coherence. Your eye doesn’t register “trying too hard.” It registers honest.
Source original stock through salvage yards, estate auctions, and specialized RV restoration suppliers. Birch veneer plywood still exists in original sheets from manufacturer overstock. Aluminum extrusion profiles from period-correct Airstream and Shasta suppliers maintain the exact proportions camper designers specified. Vintage upholstery fabric samples from archives or textile dealers preserve weave density and color saturation that modern vinyl attempts miss. The effort here isn’t romantic—it’s structural. You’re replacing worn components with period-accurate equivalents, not improvising substitutes.
Essential Tools And Techniques For Actual Restoration
Restoration work demands specific tools that generic home improvement doesn’t touch.
- Pneumatic staple guns with angled heads: 1960s campers used staples extensively for fabric and underlayment attachment. A straight-head stapler won’t reach recessed corners where original installers worked. Angled pneumatic models match original compression patterns.
- Laminate edge routers and trim routers: Birch plywood edges require beveled or rounded finishing. Modern trailers use flat edges. A trim router with quarter-round bits reproduces the original profile that defines the aesthetic.
- Adhesive rollers and clamps for veneer work: Replacing buckled plywood facing requires contact cement and proper pressure distribution. Roller tools ensure even adhesion without air pockets that plague amateur attempts.
- Heat gun with temperature control: Aluminum trim and vinyl caulking need controlled heat to match original installation curvature. Uncontrolled heat warps aluminum and melts vinyl backing.
- Metric and fractional fastener sets: Vintage campers mixed metric and imperial hardware depending on component sourcing. Matching original screw diameter and thread pitch prevents stripping and gap issues.
The technique matters as much as the tools. Original installers worked with production speed constraints and material limitations you need to respect, not bypass. Birch plywood faced with vinyl needed staples every three inches along seams—that spacing prevents buckling under thermal cycling. Aluminum trim screws require pilot holes slightly undersized to bite without splitting the frame. Vinyl caulk must cure at room temperature for 48 hours, not be force-dried. Skip these protocols and your work fails within one season of temperature swings.

The Durability Doctrine: Built To Last, Not To Trend

Materials Chosen For Resilience
You want to believe your vintage camper will hold value and look good without constant work. That’s the real fear driving this section. But here’s the mechanism: vintage campers survive because their original builders used materials selected for stress cycles, not aesthetics. Think in terms of materials science, where tensile strength determines how many times something bends before failure. Aluminum frames, fiberglass shells, and hardwood cabinetry were chosen because they endure repeated flexing from road vibration and temperature swings that would destroy cheaper alternatives.
The common mistake is treating vintage camper materials as precious artifacts to preserve untouched. They’re not. Original manufacturers used marine-grade plywood, exterior-rated adhesives, and aluminum that can handle salt air and UV exposure without degrading. When you restore or refresh a vintage interior, match those material specifications exactly. Particle board, standard drywall, and interior-only paints will fail within years. Fibrex panels, marine sealants, and two-part epoxy primers cost more upfront because they survive the environment a camper actually occupies.
Maintenance Over Constant Replacement
Everyone knows to “maintain your camper.” Nobody actually does the compound work that stops deterioration before replacement becomes mandatory. The real protocol is preventative inspection on a fixed schedule, not reactive repair after damage appears. Vintage campers built in the 1960s through 1980s are still roadworthy because owners caught seals failing, caulking cracking, and wood rot spreading before structural failure occurred. One systematic inspection per season catches 90 percent of what becomes expensive later.
The mechanism works like a debt spiral in reverse. Small fixes prevent compound damage. A leaking roof doesn’t just wet the ceiling. It saturates wood framing, triggers mold, weakens structural integrity, and forces full reconstruction. Recaulking seams annually costs under 500 dollars. Replacing rotted sidewalls costs 3000 plus. Document what you find, address it immediately, and track seasonal changes. This creates institutional knowledge of your specific camper’s weak points, letting you intervene before deterioration accelerates.

Camper Interior Design: Storage Is The Real Secret
Every Inch Counts
You want your vintage camper to look uncluttered because clutter makes you feel like you failed at the whole point of owning one. But the real mechanism is this: vintage campers have finite volume, and every cubic foot you waste on dead space is volume you’re paying for twice—once in the camper’s weight, again in the guilt of underutilization. The difference between a livable interior and a claustrophobic box is whether you’ve identified and weaponized every nook.
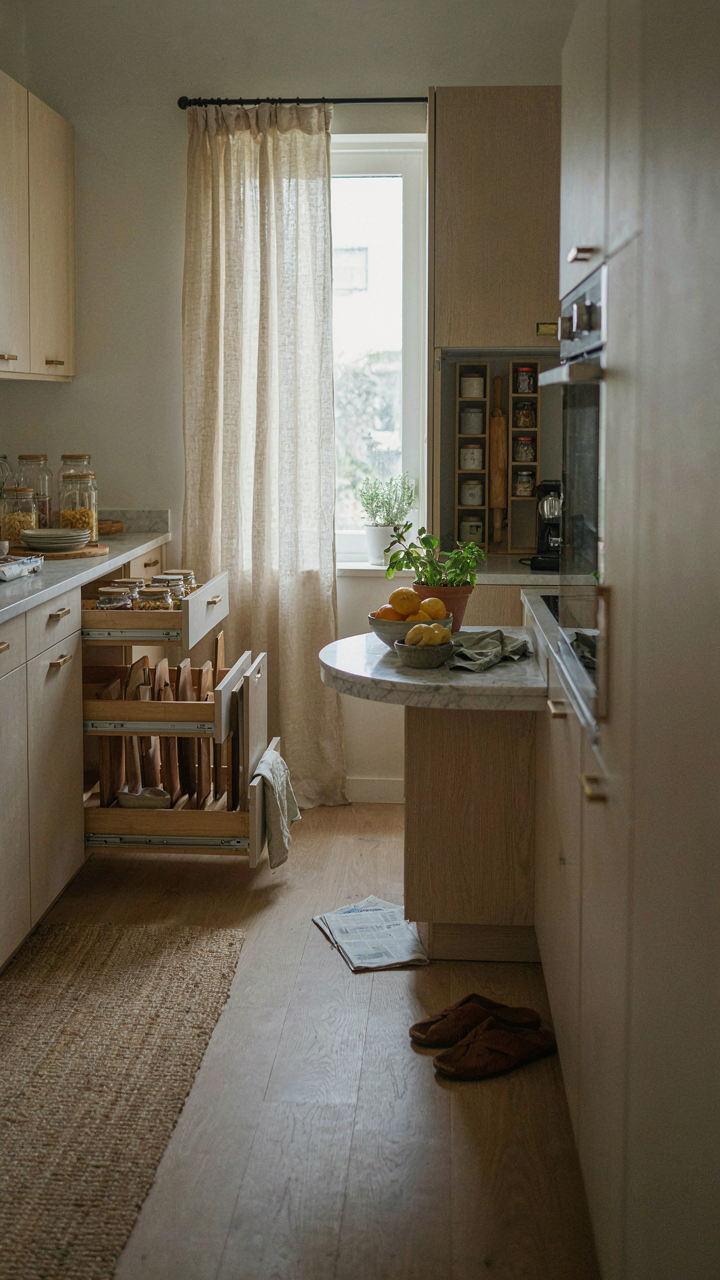
Pre-1980s campers especially have awkward geometries. The space above cabinets, behind dinette seats, under mattresses, the gap between the exterior shell and interior wall—these aren’t design flaws. They’re inventory. Vintage camper builders understood this constraint and built storage into every transition point: step risers that open, cushions that lift, cabinet bases with drawers. Your job is to recognize these existing cavities before you add anything new. Most people add storage racks and organizers to empty walls and wonder why their camper still feels cramped. You’re solving the wrong problem.
Built In Versus Bolted On
Most contemporary advice treats storage as an afterthought: buy some bins, add some shelves, problem solved. That’s incomplete thinking. Built-in storage uses the camper’s existing architecture as the skeleton. Add-on storage occupies the habitable space you’re paying to heat, cool, and move. The difference is not aesthetic. It’s geometric—one preserves usable floor square footage, the other consumes it.
Original vintage campers from the 1960s through early 1980s integrated storage into structural walls and cabinetry because builders had to. They couldn’t waste interior volume. Modern add-ons like wall-mounted organizers and hanging racks sacrifice the one resource vintage campers never have enough of: open air. If the original cabinet has wasted depth behind it, reconfigure that cabinet. If the dinette bench is solid wood, add a hinged top and store items inside it. Built-in changes the usable footprint. Everything else is just rearranging clutter.

The “Green Camper Interior” Fallacy: It Was Always Sustainable
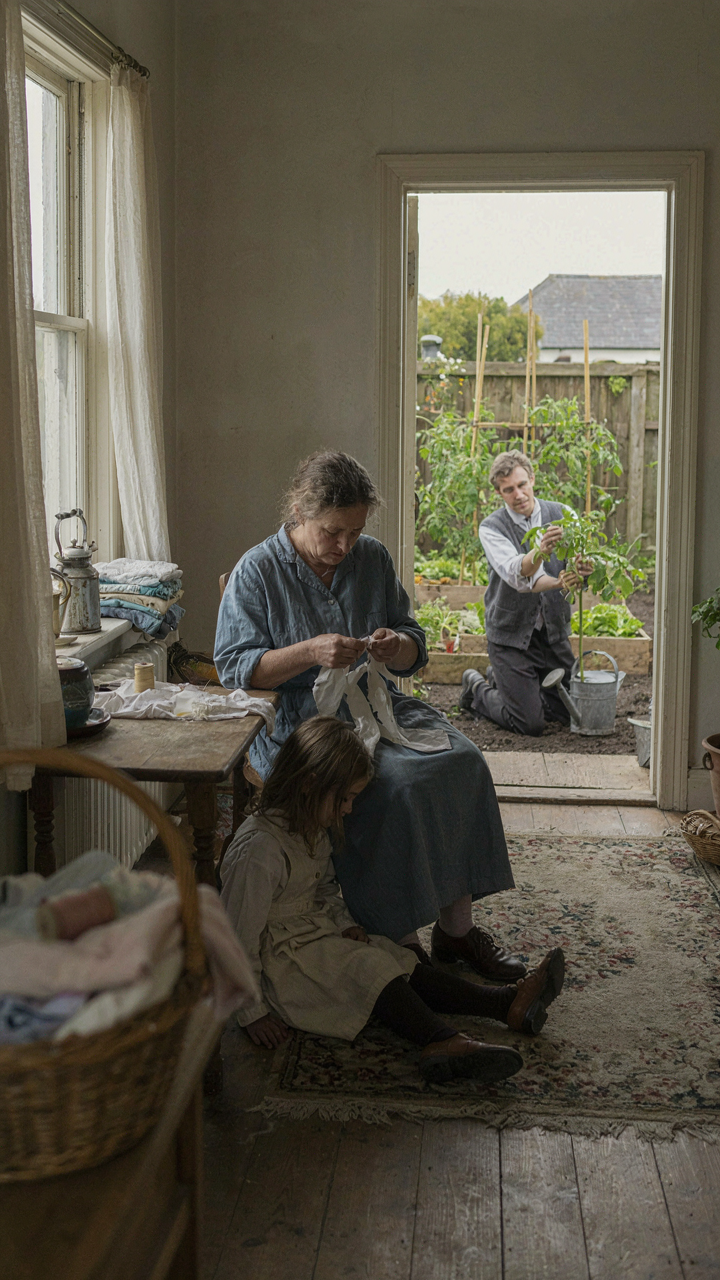
Resourcefulness Born Of Scarcity
You want permission to feel good about buying vintage. That’s the real draw here, not the environment. The mechanism is simple: vintage camper builders didn’t choose sustainability—they operated under constraint. Post-war through 1970s manufacturers worked within material limits, cost floors, and weight restrictions that forced efficiency. Lightweight plywood, compact layouts, and modular storage weren’t ethical choices. They were engineering problems solved by necessity.
When you source a vintage camper interior today, you’re not saving the planet. You’re inheriting design decisions made by engineers who couldn’t afford waste. That distinction matters because it reframes the action from virtue signaling into practical intelligence. Study what they built under pressure, not because it was trendy. The efficiency you find was never optional.
Repair Reuse Repurpose Culture
The common advice says vintage campers were built to last. That’s incomplete. They were built to be fixed because replacement wasn’t economically viable. A 1972 Airstream owner didn’t refinish cabinetry for environmental reasons—they did it because new cabinetry cost money. Repair culture wasn’t a movement. It was the default because alternatives didn’t exist at scale.
Interior components in vintage campers use joinery, hardware, and materials designed for replacement and refinishing. Aluminum frames accept new rivets. Birch plywood cabinets sand and stain repeatedly. Vinyl and canvas coverings strip away cleanly. When you restore a vintage interior, you’re executing the original design intent: extend life through maintenance, not discard. The restoration process isn’t nostalgic recovery. It’s the system working as intended.

Your Camper Isn’t Lacking Charm; It’s Lacking A Ruthlessly Clear Purpose
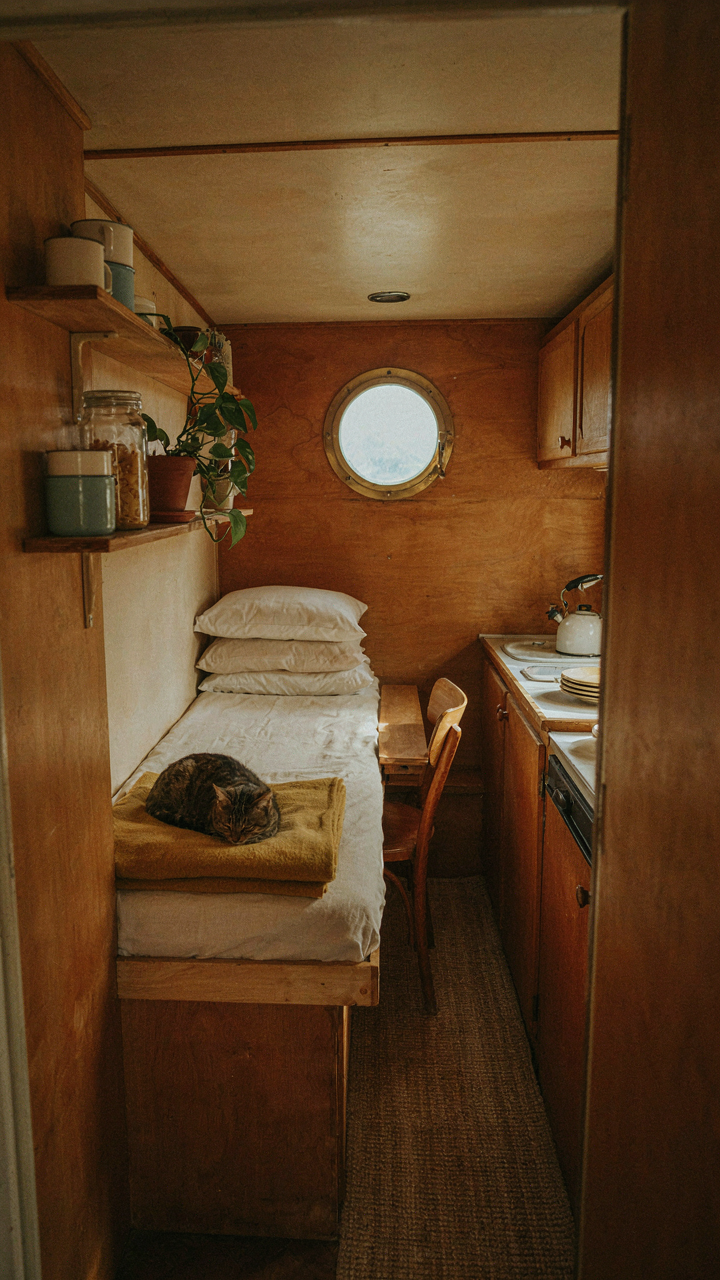
Most people fill their vintage camper interior with aesthetic scraps and call it done. Wrong move. You need to ask yourself one brutal question: what do you actually do in this space? Sleep? Cook? Work? That answer determines everything else. Pick your primary function today, then design backward from there. Charm follows utility, never the other way around. Your camper doesn’t need more stuff; it needs a reason to exist.



