
The Illusion Of Space: Why Your RV Kitchen Feels Tiny (It’s Not The Walls)

What Your Eyes Tell Your Brain About Density
You want your RV kitchen to feel bigger because a cramped galley makes you feel trapped, and trapped spaces kill the freedom narrative you sold yourself on when you bought the rig. The real problem isn’t square footage—it’s visual noise. Your brain processes a kitchen through contrast and rhythm, not measurements. When surfaces compete for attention, your nervous system reads the space as compressed. A backsplash either amplifies this chaos or breaks it. The mechanism is pure neurology: your eyes land on fractured visual fields and interpret density as claustrophobia, even when the actual dimensions are unchanged.
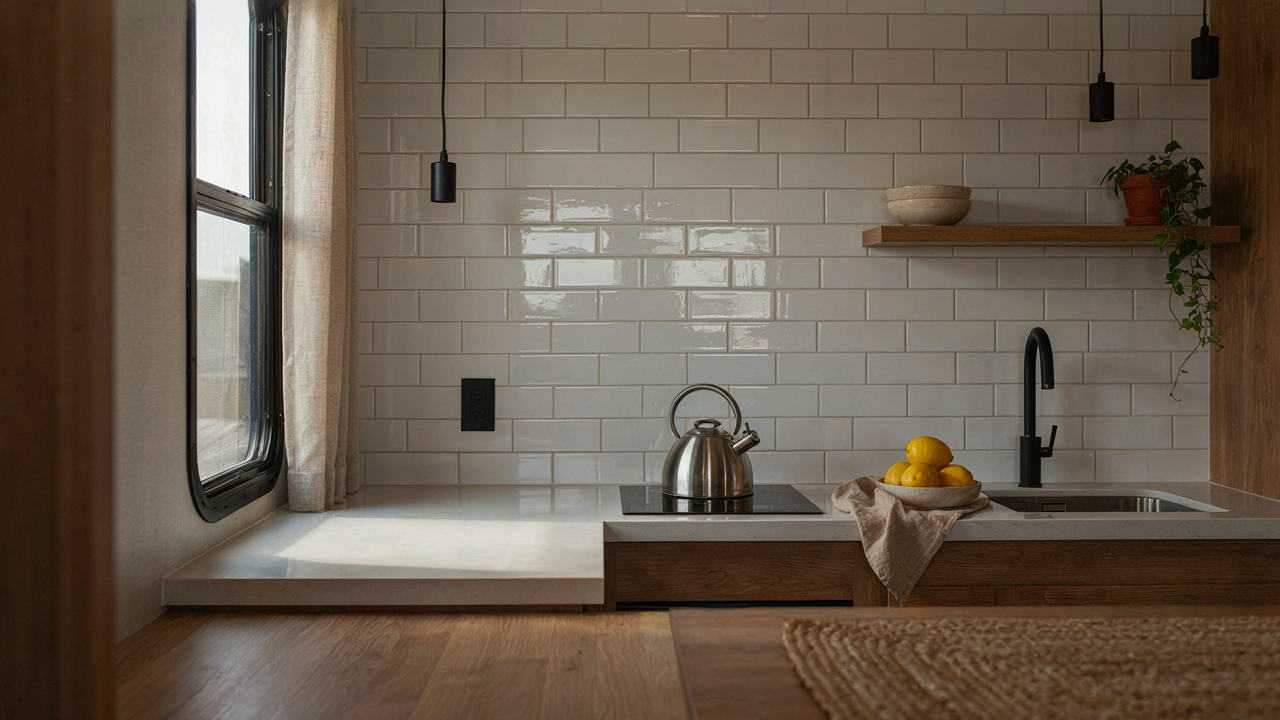
Most people think backsplashes are decorative. They’re not. A backsplash functions as a visual anchor that either stabilizes or destabilizes the entire kitchen’s perceived volume. Light-colored, uniform backsplashes create a continuous plane your eye can track without interruption. Patterned or dark backsplashes fragment that plane into segments, multiplying the number of visual “objects” your brain must process. In RV kitchens where wall space is already compressed, that fragmentation literally makes the space feel smaller, regardless of whether you added or removed any actual material. The backsplash is your first tool for controlling how your brain interprets the space.
Reflection And Absorption Shape Spatial Geometry
Borrowing from architectural physics: a space’s perceived depth depends on how light behaves within it, not on its actual dimensions. Matte surfaces absorb light and compress space. Reflective surfaces bounce light and create visual extension. Your RV backsplash controls which of these two dynamics dominates. A glossy or semi-gloss backsplash material functions like a mirror—it multiplies light paths and creates the illusion of depth by showing you surfaces beyond the immediate plane. This is measurable, not opinion. Matte finishes do the opposite: they create visual dead zones where light stops, signaling the boundary of the space more aggressively.
Material choice matters more than color, though both interact. Subway tile with grout lines creates a grid pattern your eye can’t ignore—it fragments the wall into discrete units and makes the space feel subdivided. Solid surfaces, large-format tile, or peel-and-stick panels maintain continuity and buy you perceived square footage. The payoff: select a semi-gloss or satin backsplash material in a light neutral tone, install it in a running-bond or herringbone pattern to maintain visual flow, and watch your RV kitchen expand without moving a single wall.
The “RV Backsplash Ideas” You See Are All Wrong: Function Over Form
Why Most Backsplashes Fail In Tiny RV Kitchens

You want your RV kitchen to look intentional because you’re living in it full-time and refusing to admit the sacrifice feels small. Here’s the mechanism nobody states: backsplashes in RVs fail because they’re chosen for aesthetics in an environment where every material choice compounds through vibration, temperature swing, and moisture cycling that ground-based kitchens never experience.
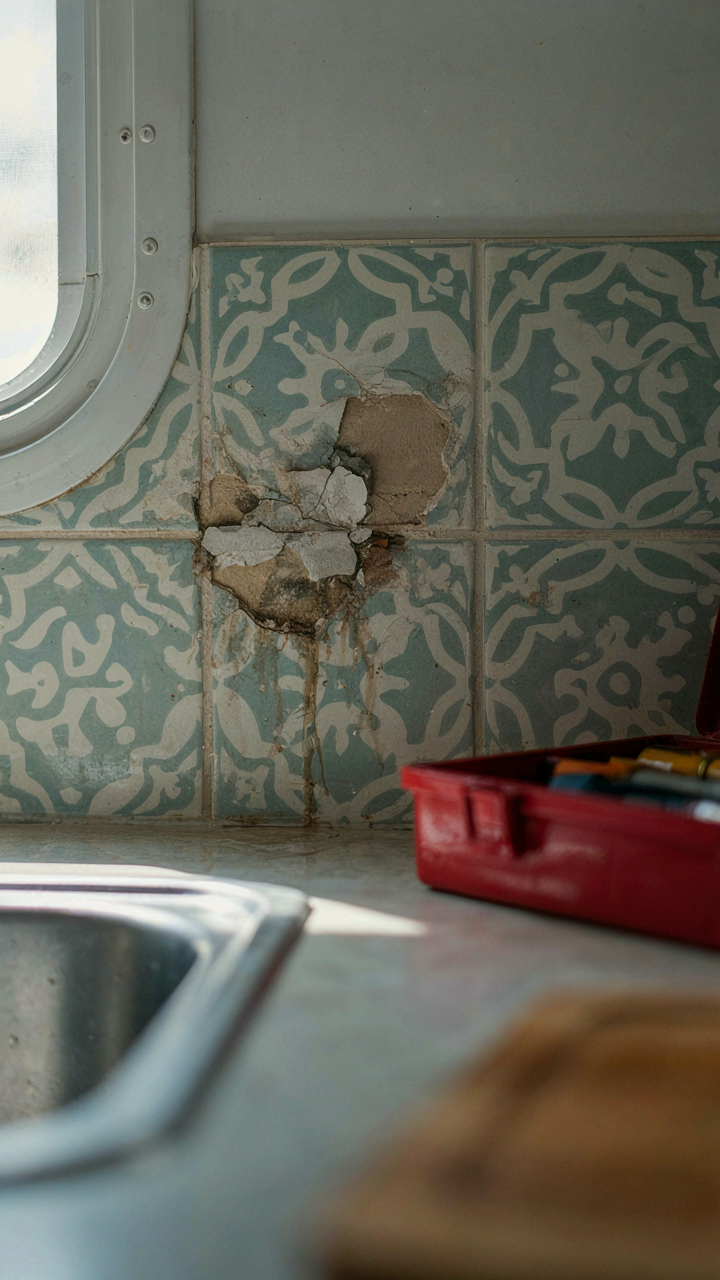
The standard advice—tile it up, make it pop with color—ignores that RVs move. Every mile vibrates adhesive loose. Every freeze-thaw cycle in mountain travel cracks grout. Every shower steam and cooking moisture migrates into walls that can’t breathe like house walls. Most backsplashes you see online are installed in stationary tiny homes, not vehicles. The conditions are completely different. Your backsplash won’t fail because it’s the wrong color. It fails because the substrate moves and the material choice doesn’t account for it.
Durability Weight And Maintenance Win Every Time
Think like an engineer, not an interior designer. In systems design, load capacity and failure points determine longevity. Your RV’s walls have weight limits and your fresh water tank has finite capacity. A heavy tile backsplash adds dead weight that reduces payload for cargo you actually need, while a maintenance-heavy option bleeds time and water resources that matter more in mobile life than in a stationary home.
Lightweight sheet materials, adhesive films, or thin composite panels outlast tile in RVs because they flex with the frame instead of cracking under it. They demand less water for cleaning. They weigh less per square foot, meaning you keep that capacity for fuel efficiency or storage. Your maintenance protocol should be: inspect seams every season, clean with vinegar and water only, never use abrasive scrubbers that degrade adhesive. This prevents 90 percent of premature failure.
The “Visual Expansion Protocol” For RV Kitchens

Reflective Surfaces Work Like Mirrors In Physics

You want your RV kitchen to feel bigger because a cramped galley triggers anxiety about poor decisions. Here’s the mechanism: light bounces. In physics, reflection happens when photons hit a surface and redirect. Apply that principle to backsplash selection. Glossy or semi-gloss finishes bounce ambient light around the space, creating the illusion of depth and openness. Matte finishes absorb light instead, collapsing the perceived dimensions further.
Subway tile with a glazed finish, glass tile, or polished metal backsplashes all exploit this same refraction property. The common advice says “just pick what looks nice.” That’s incomplete. You need materials with a sheen value of at least 30-40 on the gloss scale to register the effect. Backsplash tile sits at eye level where light hits it directly. Position matters more than the material itself.
Patterns That Step Back, Not Forward
Common advice tells you to “go bold with pattern” in small spaces. That’s backwards and will shrink your kitchen visually. Your eye locks onto high-contrast patterns and perceives them as closer than they are. Use low-contrast or monochromatic schemes instead. Subtle linear patterns or single-color gradients recede into the background, leaving the space itself as the focal point rather than the wall.
Warm neutrals with minimal pattern variation keep the eye moving through the space without stopping. If you want visual interest, use texture variation rather than color contrast. A matte subway tile next to a glossy accent tile creates depth without the visual compression of a busy pattern. Install this strategy from the countertop to the underside of your cabinets, not just the visible center section.
Beyond Tile: Unconventional Materials For The Modern RV Backsplash
Materials That Survive Movement

You want your backsplash to look intentional, not like you’re hiding water damage. The real mechanism here is differential expansion: tile expands and contracts at different rates than your RV’s aluminum walls and cabinetry, creating hairline cracks that trap moisture. Standard grout fails because it can’t flex. Skip the conventional wisdom about “just use smaller tiles.” That doesn’t solve the physics.
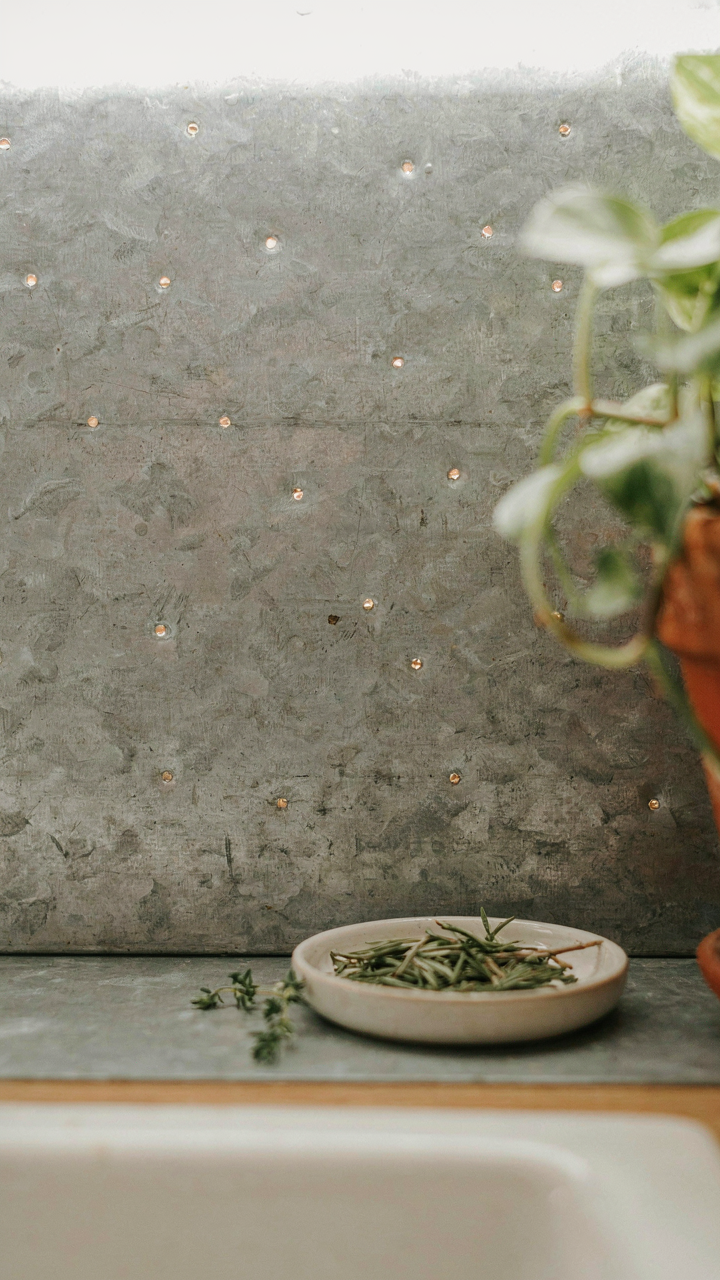
Peel-and-stick vinyl, thin-gauge aluminum composite sheets, and marine-grade acrylic panels all move with your rig instead of against it. Vinyl expands uniformly with temperature swings. Composite sheets bond directly to cabinetry without a mortar layer that can fail. Acrylic won’t crack under vibration from highway driving. These materials sacrifice nothing in aesthetics—they just solve the problem tile creates.
Fastening Methods That Hold Through Miles
Here’s what fails: using construction adhesive alone and expecting it to survive 50,000 road miles. Adhesive creep happens. Vibration compounds the problem over time. The installation protocol matters more than the material.
- Stud mounting with marine-grade fasteners: Drill through backsplash material directly into cabinet frames or wall studs using stainless steel screws spaced 6 inches apart, then cover fastener heads with trim tape or accent strips.
- Hybrid adhesive and mechanical bond: Apply high-strength construction adhesive, then reinforce with stainless fasteners at perimeter and center points to distribute stress across multiple anchor points.
- Silicone caulk as movement buffer: Use 100-percent silicone caulk around all edges instead of rigid grout, allowing the backsplash to shift slightly without cracking while maintaining a water seal.
- Interlocking or tongue-and-groove design: Select materials that snap or lock together, eliminating the need for gap-dependent fastening methods that fail when vibration loosens individual pieces.
- Thermal pre-fitting in extreme climates: If you travel hot-to-cold regions, install backsplash materials at the coldest temperature you’ll encounter, allowing room for expansion in heat.
The difference between a backsplash that lasts 18 months and one that lasts the life of your rig is using both adhesive and mechanical fasteners. Adhesive alone is a false economy. You’ll be peeling and re-installing within two years.
The Thermodynamic Efficiency Of Your RV Backsplash
What Your Backsplash Actually Reflects

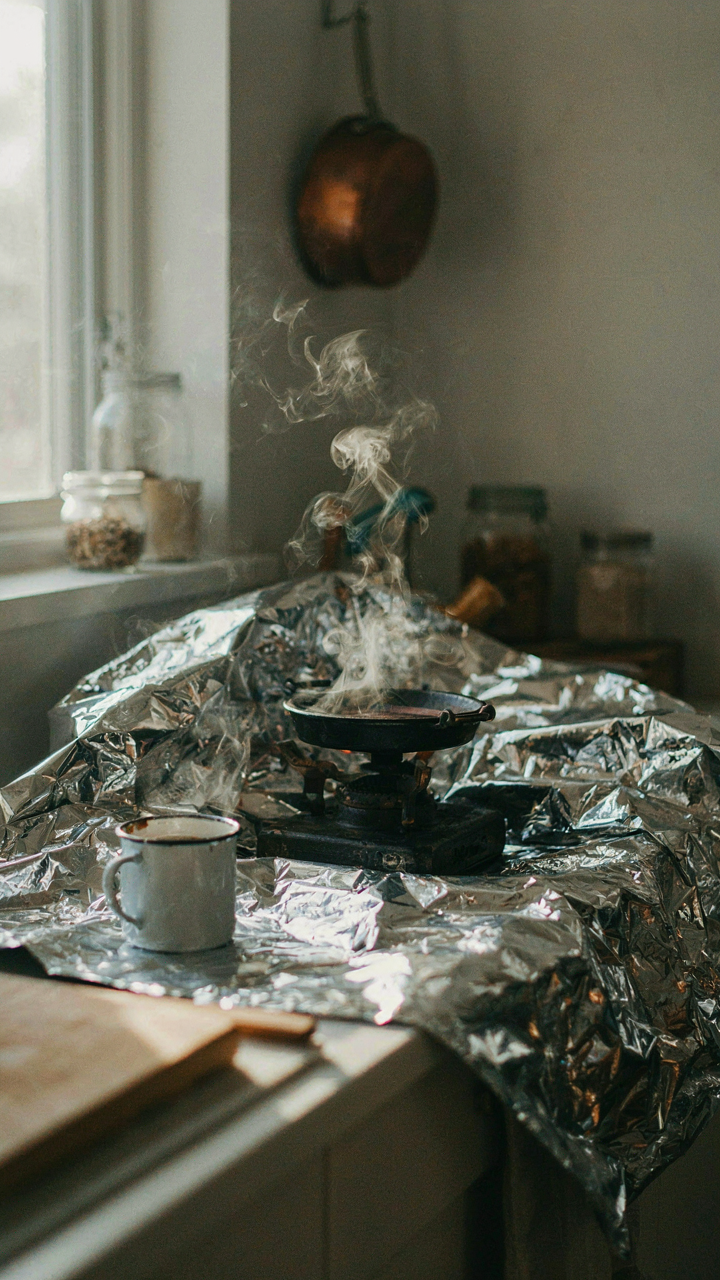
You want to believe your backsplash choice matters for energy efficiency because it sounds smart and costs nothing extra to implement. Here’s the mechanism: physics says all materials reflect and absorb thermal radiation differently based on surface properties and emissivity rates. A light colored backsplash behind your stove reflects more of the radiant heat back into the galley instead of letting it escape through cabinet walls. Dark surfaces absorb that same heat and transfer it into the RV structure, which then radiates it outward and away from your living space.
The difference is real but modest. A glossy white tile backsplash reflects roughly 80 to 90 percent of visible light and a meaningful portion of infrared radiation. Matte black reflects less than 10 percent. In a tiny RV kitchen where your stove sits 18 inches from living quarters, this matters during cooking. You’re not saving fuel or cooling costs at scale, but you’re reducing interior heat load in summer by keeping radiant energy from saturating the cabin walls during meal prep.
Material Conductivity Changes Everything
Conductivity determines how fast heat moves through your backsplash material into the wall cavity behind it. Ceramic tile conducts heat slowly, which is good. It absorbs the energy from stovetop radiation and transfers it gradually into the wall structure rather than flooding it instantly. Aluminum or thin metal backsplashes conduct heat so rapidly that you’re basically piping oven energy directly into your insulation cavity, which defeats the purpose of a reflective surface.
Thermal mass is the overlooked variable here. Materials with higher thermal mass absorb heat and release it slowly over time, creating a buffer against temperature spikes in tight spaces. Thick ceramic tile has measurable thermal mass. Thin plastic or vinyl has almost none. Choose materials with genuine density and substance behind your cooking zone. Install backsplash with air space between it and the wall, or use backing materials with insulating properties to block conductive heat transfer into the RV envelope itself.
Maintaining The Mirage: Longevity For Your RV Kitchen Backsplash Ideas Tile
Cleaning Protocols For Mobile Kitchens

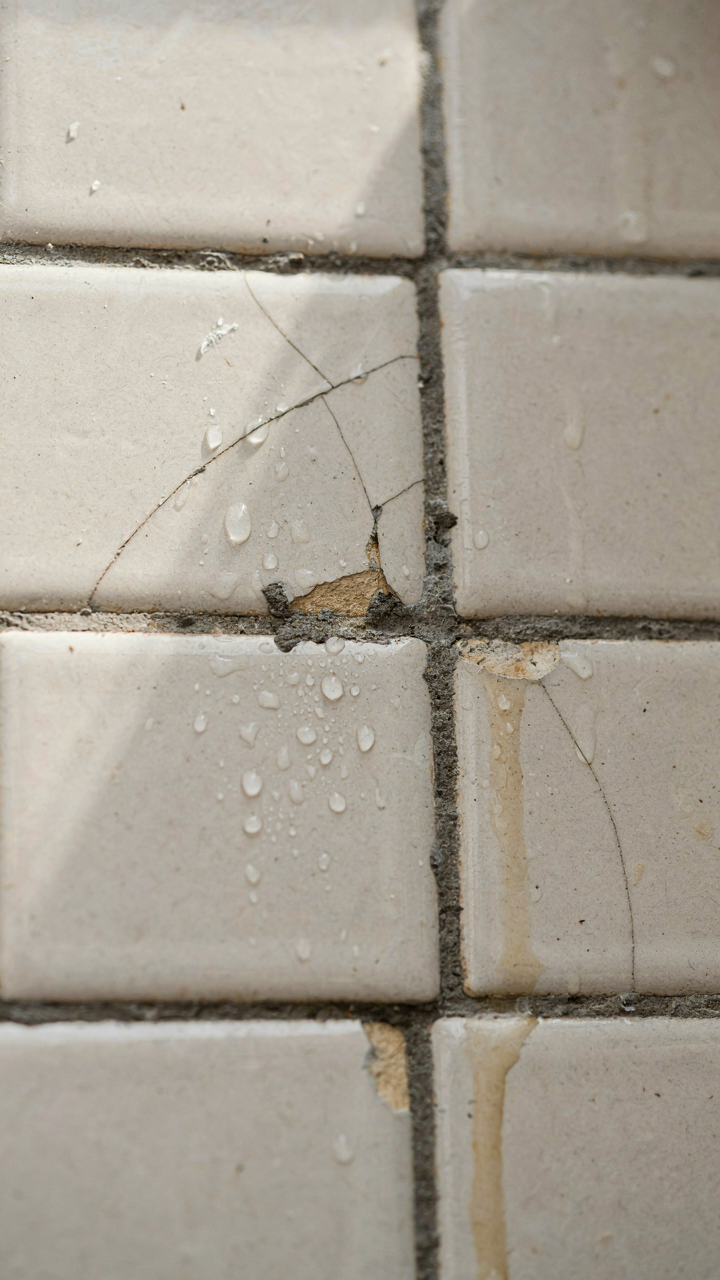
You care about this because you don’t want to watch your investment peel or stain within a year, revealing you made a bad call. The mechanism is simple: RV movement creates vibration, vibration loosens grout, and water finds loose grout. Cleaning frequency matters less than drying speed in a vehicle that moves. After cooking or washing dishes, wipe the backsplash dry within an hour. Movement shakes water into seams faster than it evaporates in still air.
Most cleaning advice treats RV backsplashes like house tile, which misses the point entirely. Your backsplash endures constant micro-motion that accelerates moisture penetration. Use a microfiber cloth with plain water or mild dish soap, then dry completely. Avoid acidic cleaners on grout, which erode sealant over time. The real protocol is: wipe, dry, move on. Consistency beats intensity.
Addressing Damage Before It Compounds
Grout cracks and tile chips multiply fast in an RV because movement amplifies stress. Think of this like structural engineering, where a single fracture becomes a stress point that distributes force unevenly across the entire system. A hairline crack in grout allows water behind the tile, which freezes in cold climates, expands, and splits more grout. Repair damage within weeks, not months. Caught early, you replace one grout line. Ignored, you replace sections of tile.
For small grout cracks, use epoxy grout patch kits, not standard caulk, because they bond to movement rather than fight it. For chipped tiles, replace the tile before water penetrates the backing. Prevent premature wear by securing loose tiles immediately and resealing grout annually if you travel through temperature swings. The action step: inspect your backsplash every 500 miles of travel, and patch anything before your next trip.
RV Renovations: Integrating Backsplash Into A Larger Strategy

Backsplash As Your Design Anchor

You want the kitchen to feel intentional without admitting you’re scared of making it feel cheap. Here’s the mechanism: backsplash functions as visual weight in systems design. In architecture, load-bearing walls distribute structural force across a building. In RV kitchens, backsplash distributes visual attention across your limited square footage, anchoring the eye to one coordinated zone instead of letting it scatter across mismatched surfaces.
Most RV owners treat backsplash as decoration added at the end. Wrong. Backsplash should dictate your material and color strategy from day one. If you choose subway tile backsplash, your countertop, cabinet hardware, and faucet finish must align with that aesthetic language. If you pick peel-and-stick vinyl with geometric patterns, everything else follows that direction. Backsplash isn’t the last decision. It’s the first.
Future Proofing Means Designing For Resale And Repair
Your camper kitchen won’t stay frozen. Water damage, UV fade, and normal wear change the space whether you plan for it or not. The backsplash material you choose now determines whether future repairs cost 200 dollars or 2000 dollars and whether you can actually source replacements in three years.
Peel-and-stick backsplash is temporary. It warps under RV heat cycles and moisture swings. Real tile or composite backsplash requires proper substrate and sealing, which costs more upfront but survives the environment. Pick materials that exist in a supply chain, not novelty items that disappear after one production run. When something fails, you need to replace it with something that matches without replacing the entire kitchen.
Beyond The Instagram Shot: Real World RV Backsplash Ideas Campers Need

Durability Beats Trends Every Single Time

You want your backsplash to look fresh on your Instagram story, but what you’re actually afraid of is wasting money on something that peels, cracks, or yellows in six months. This is a durability problem masquerading as a design problem. RV kitchens endure constant vibration, temperature swings, humidity spikes, and UV exposure that stationary homes never experience. Material selection isn’t about aesthetics first. It’s about material science. Choose materials that handle thermal cycling without expanding and contracting differently than your walls.
Peel-and-stick vinyl looks cheap because it is. Grout in small spaces traps moisture and fails fast. Laminate delaminates. The winners are simple: ceramic or porcelain tile with epoxy grout, aluminum composite panels, or sealed stainless steel. These materials expand uniformly, resist moisture, and don’t degrade under UV. Install with flexible adhesive rated for RVs, not standard thin-set. Most backsplash failures happen not because the material fails, but because the installation method couldn’t handle movement.
Personality Without Sacrificing The Function
Customization doesn’t mean hanging Edison bulbs and calling it boho. It means choosing a backsplash that solves your actual kitchen workflow while reflecting how you use the space. A backsplash’s real job is protecting walls from splashes and grease while maximizing the tiny real estate you have for storage or visual breathing room.
If you cook frequently, matte finishes trap grease and require constant scrubbing. Glossy tiles clean faster but show every fingerprint and water spot. Semi-gloss is the practical middle ground. Subway tiles in neutral colors work because they’re boring in the right way, meaning they don’t date your interior while you own the rig. If you want personality, add it through a single accent strip or corner detail using one contrasting color or material. This limits future regret and keeps cleaning simple. The mechanism is constraint: one intentional choice creates more impact than scattered attempts to personalize every surface.
Your RV Backsplash Isn’t A Luxury; It’s An Unnegotiable Functional Requirement. Ignore It At Your Peril
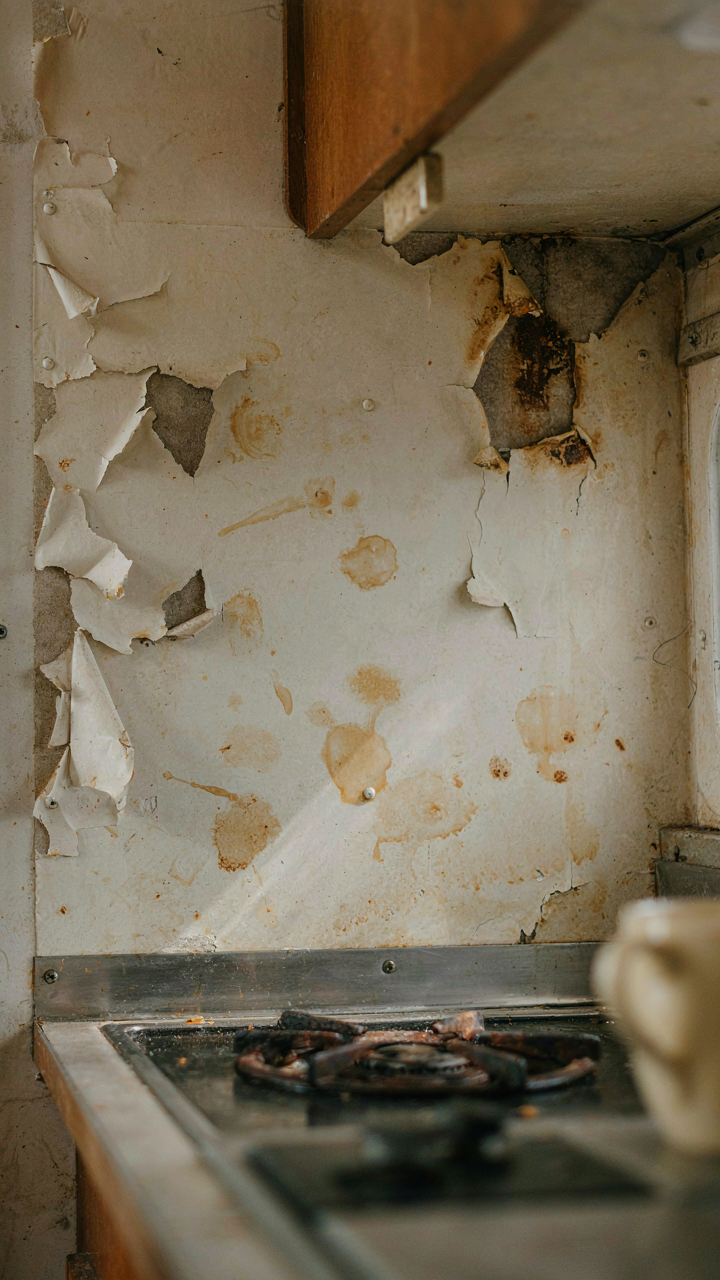

Most RV owners treat backsplash as decoration. They’re wrong. Grease, water, and heat destroy unprotected walls in a moving box. Your backsplash either protects your investment or watches it rot. Pick one material today, order it, and commit. The difference between a maintained rig and a destroyed one is the decisions you make before you leave the driveway.



