
The Unseen Cost Of “Cozy” Camper Bedroom Remodel Ideas

Visual Noise Kills Sleep Architecture
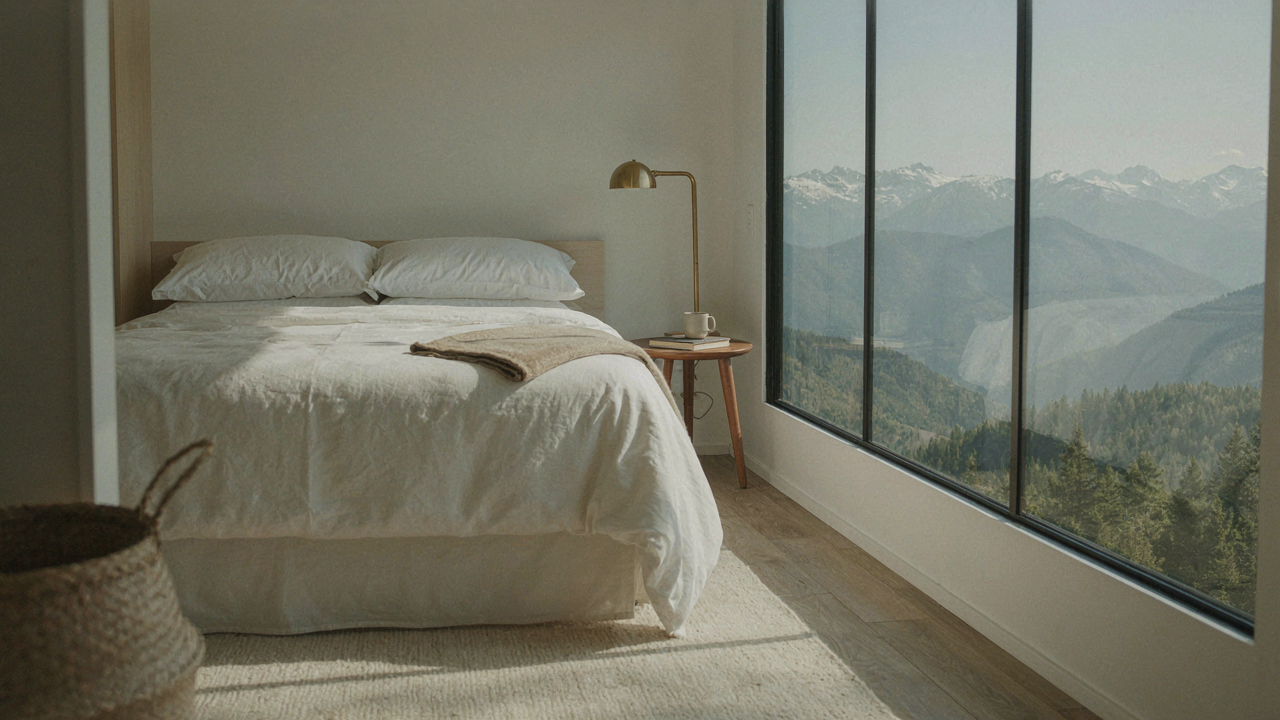
You want your RV bedroom to feel intentional and curated because that signals you have taste and control. Here’s what actually happens: clutter in your visual field keeps your nervous system in low-grade activation. Neuroscience calls this the “orienting response”—your brain compulsively scans environments for threats or novelty. Every decorative item, stacked item, or visual inconsistency in a small RV bedroom triggers micro-attention pulls that prevent the deep theta-wave sleep your body needs.
The common advice says add warm lighting and soft textures. That’s incomplete. Those elements matter, but they’re worthless if your brain never stops scanning. A cluttered RV bedroom with soft lighting is still a bedroom broadcasting competing signals. Strip the space to essentials first. One piece of wall art. One nightstand item. One throw. The mechanism works backward from what most people think: visual silence enables the calm you were trying to manufacture with decor.
Essential Over Ornamental
Minimalism in RV bedroom design isn’t about deprivation or looking austere. It’s about removing the decision-fatigue that keeps your prefrontal cortex engaged when you should be powering down. Military sleep protocols use this principle: eliminate variables in the sleep environment so your brain stops problem-solving and enters rest mode. In a 70-square-foot RV bedroom, every object competes for attention and metabolic energy.
Start with storage that hides everything unused. Floating shelves expose items; closed cabinets do not. Paint walls a single matte color—no patterns, no accent walls. Bedding should be one coordinated set, not layered textures. A single small lamp instead of multiple light sources. The protocol: inventory what actually serves sleep or basic function, then remove everything else. That’s your baseline. You add nothing until you’ve tested the space stripped down first.
Beyond Pillows: The Ergonomic RV Bedding Ideas You Ignore

The Mattress You Actually Need, Not The One You Think

You want to believe your old mattress still works because replacing it feels like admitting defeat. Here’s the mechanism: RV mattresses compress faster than stationary ones due to constant vibration from driving and uneven support from shallow frames. The RV bed frame itself is the actual problem most people ignore. Standard RV mattresses sit on thin plywood or metal slats that lack proper load distribution. Over eighteen months, the foam loses structural integrity from repeated flexing. Cheap foam breaks down predictably under those conditions.
The fix isn’t buying the thickest mattress. Buy a high-density foam core, not the low-density garbage in factory RVs. Density matters more than thickness because it resists compression cycles. Add a plywood base underneath the frame instead of relying on factory slats. This prevents the mattress from sinking into gaps. You’ll pay three hundred to six hundred dollars for a real upgrade. The payoff is actually sleeping instead of waking with back pain every morning.
Spine Alignment In A Box
Biomechanics, the study of how forces move through bodies, reveals why RV sleeping positions create chronic pain. Your spine needs neutral alignment whether you’re in a mansion bed or a camper. The problem: RV beds are often too narrow or too soft, forcing your spine into compensation curves. When your hips sink deeper than your shoulders, your lumbar spine twists sideways under your body weight. This isn’t discomfort. This is structural damage happening eight hours per night.
Position yourself with a firm base and a pillow that keeps your head level with your shoulders. A body pillow between your knees prevents hip rotation if you sleep on your side. Test your setup by lying down and sliding your hand under your lower back. Your hand should fit with slight resistance. Too much space means your spine is hyperextended. No space means it’s flexed. Get the spacing right, then stop adjusting it.
The Sensory Deprivation Protocol For Your RV Bedroom
Blocking Light Leaks: The Science Of Melatonin Production

You want better sleep because you’re tired of feeling like garbage, and you suspect the RV is the culprit. You’re right. Melatonin production is a biological mechanism, not a suggestion. Your pineal gland stops producing it the moment light hits your eyes, and RV windows leak like sieves. Even small gaps trigger your nervous system to stay alert. Most people think blackout curtains are enough. They’re not.
Light penetrates fabric. You need layering. Start with a thermal blackout liner on the window frame itself, then add a secondary blackout curtain that seals the perimeter with velcro or magnetic tape. Cover the cab window separately if you sleep near it. Sealing light leaks isn’t about comfort—it’s about your body’s ability to produce the hormone that controls sleep cycles. One uncovered crack defeats the entire setup.
Soundproofing Hacks For Genuine Peace
Most soundproofing advice treats RV bedrooms like recording studios. Wrong application. You’re not trying to eliminate sound—you’re trying to break the startle response that wakes you at 3 AM when a neighbor’s diesel fires up. Acoustics operates on frequency damping, not total elimination. The mechanism is vibration transfer through thin aluminum walls and hollow cabinet frames, not airborne noise alone.
Mass breaks vibration transfer. Add mass where it matters: weatherstripping around bedroom doors, a weighted blanket or acoustic panel on the wall shared with the main cabin, and cabinet deadening material behind your headboard. Target the specific vibrations that wake you, not random ambient noise. Test by identifying which sounds actually jolt you awake, then apply mass directly behind those transmission points. This focuses your effort and saves weight in an RV where every pound counts.
RV Interior Climate Control: The Overlooked Sleep Driver
Temperature Range For REM Sleep

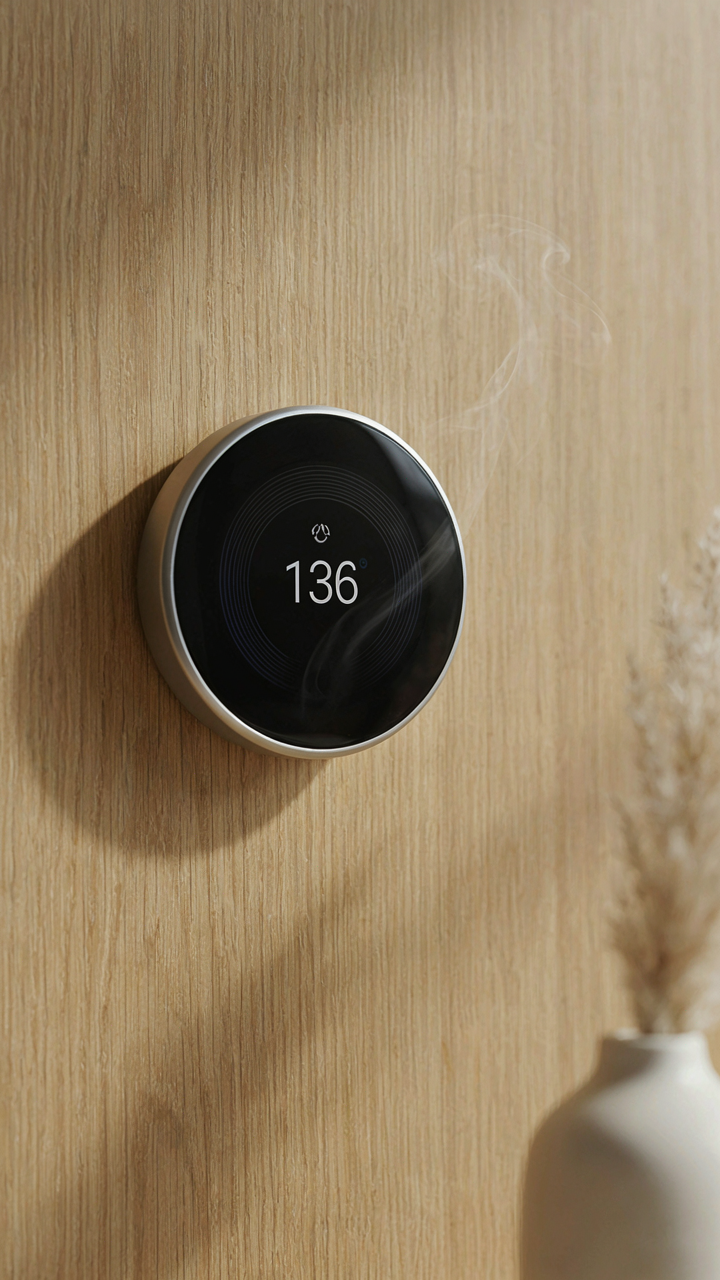
You’re doing an RV bedroom makeover because you think better pillows or darker curtains matter. They don’t. Your nervous system won’t enter REM sleep if the air around you sits wrong. Sleep science—borrowed from circadian biology—treats temperature like a thermostat regulates engine performance: the system runs or it doesn’t. Your core body temperature must drop 2 to 3 degrees Fahrenheit to initiate deep sleep cycles. RVs fail here because they trap heat or lose it unevenly, keeping your body in a shallow alert state all night.
Most RV owners think “just use the AC.” Wrong. The mechanism is more specific. Your body needs 60 to 67 degrees Fahrenheit for optimal REM cycling, with 65 to 68 degrees being the practical target for most people. RVs with poor insulation or single-zone climate control create microclimates. The bedroom registers 72 degrees while your body needs 66. Install a dedicated mini-split unit in the bedroom or add insulated window coverings that reflect radiant heat. Use a remote thermometer to verify the actual sleeping surface temperature, not the thermostat reading across the whole rig.
Humidity Control Stops The Cycle
High humidity in an RV bedroom creates two problems nobody names together: mold growth and sleep disruption. When air moisture exceeds 60 percent, your body can’t evaporate sweat efficiently, keeping your core temperature elevated. You stay partially aroused. Meanwhile, that same moisture feeds mold in wall cavities and under flooring—a slow sabotage you won’t notice until it’s expensive. RV walls have minimal air circulation, so humidity stacks fast.
The fix requires active management, not passive hoping. Install a small dehumidifier rated for your bedroom volume and run it continuously during sleeping hours. Target 40 to 50 percent relative humidity. Pair this with ventilation: crack a roof vent 2 inches open or run a small extraction fan 30 minutes before bed to purge moisture-heavy air. Check humidity with a hygrometer daily, not weekly. If levels spike, your sleep mechanism breaks before mold appears—which means you fix it before you know why you’re tired.
Wiring Your Brain For Sleep: RV Bedroom Lighting Discipline

The Red Light Rule

You want better sleep because you’re tired of feeling wrecked, and you think a mattress upgrade will fix it. It won’t. Your circadian rhythm runs on light wavelengths, not thread count. Biology calls this photoentrainment. In your RV bedroom, photoentrainment means controlling which light frequencies hit your eyes and when. Red light sits around 600-700 nanometers. Blue light sits around 460 nanometers. Your brain treats blue as a daytime signal. Red doesn’t trigger the same melatonin suppression.
Most advice says “use red light at night” and stops there. That’s incomplete. Red light therapy devices work, but placement matters more than the device itself. Install red-spectrum bulbs or strips on the lowest walls in your RV bedroom, never above eye level or pointing at your face during wind-down hours. Your pupils need to receive the signal passively. Three hours before sleep, swap all overhead or front-facing lights to red or turn them off entirely. Don’t introduce blue light from phones or screens during this window. If you do, red light can’t override what your eyes just registered.
Ambient And Task Light Separation
Most RV bedrooms stack all lighting into one overhead fixture. This is a failure of design thinking, not aesthetics. Ambient lighting should never serve double duty as task lighting. Ambient light creates the room’s baseline environment. Task light handles specific work: reading, changing clothes, finding something in a drawer. In an RV, space compression makes this separation look impossible. It isn’t.
Mount a low-wattage reading light on one side wall, aimed at the bed or seating area. Keep ambient light dim and positioned to bounce off walls rather than shine direct. Use warm white bulbs for ambient light, not daylight temperature. Task lighting gets brighter but stays localized. This split prevents your brain from treating the entire bedroom as an active workspace. When you turn off task light and keep ambient at low warmth, your nervous system recognizes the shift. That signal matters more than any expensive bulb. Install task light on a separate switch from ambient so you control them independently.
The No Compromise RV Bedroom Storage System
Vertical Space Optimization Through Industrial Design

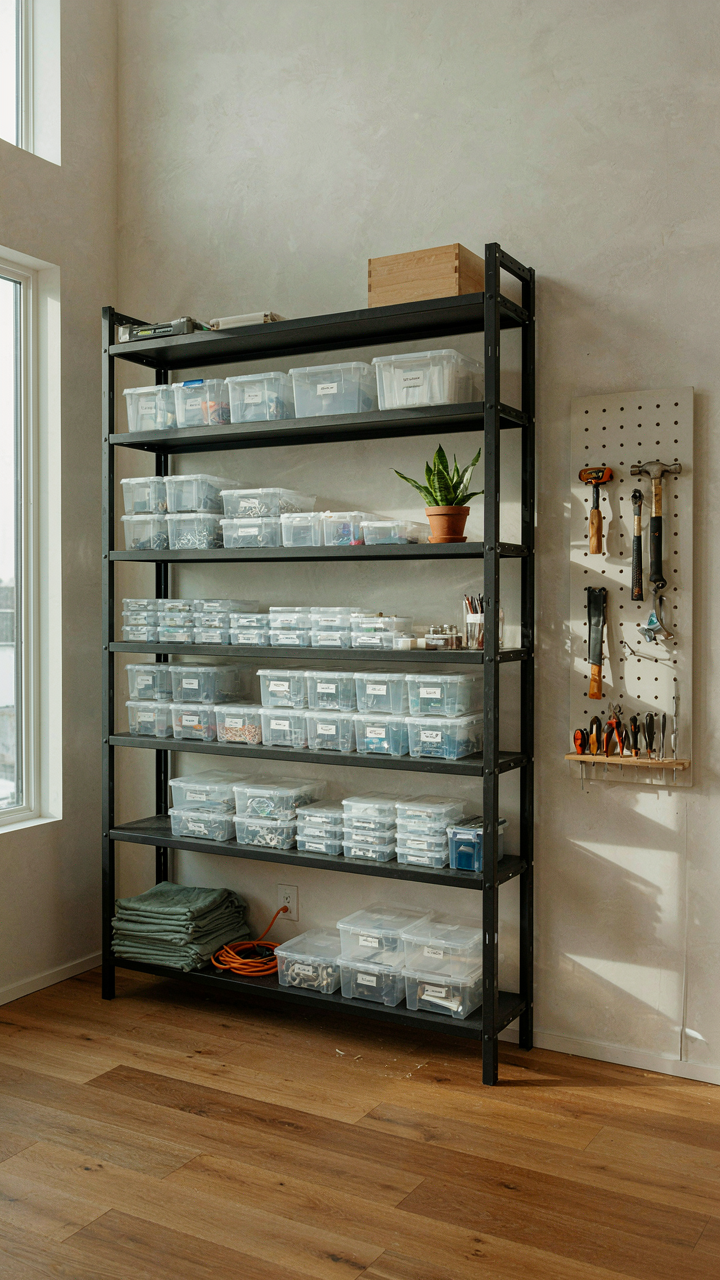
You want storage that doesn’t make your bedroom feel like a closet. Here’s the mechanism: industrial design treats walls as load-bearing real estate, not decoration. In RV bedrooms, vertical deployment isn’t optional—it’s the only play that works. Wall-mounted shelving, overhead cabinets, and corner units follow the same load distribution logic factories use. You’re not decorating. You’re engineering density without sacrificing floor space.
Most RV storage advice tells you to “use every inch.” That’s lazy. The real move is using vertical space in hierarchical order: daily items at arm level, seasonal gear above, dead weight below. Install French cleats or heavy-duty French rail systems rather than relying on bracket alone. This distributes stress across studs, not drywall. Your RV’s walls can’t absorb random anchor points the way house framing can. Respect the structure, and it holds everything. Ignore it, and you’re drilling into honeycomb or thin aluminum that fails.
Hidden Compartments That Actually Function
Compartment design fails when people treat it like a magic trick instead of a system. The real constraint in RV bedrooms isn’t finding hidden space—it’s accessing it without dismantling your sleep setup. Under-bed drawers on ball-bearing slides do work, but they eat vertical clearance and collect dust. Better move: use the dead space behind headboards or the gap between your wall and the bed frame for vacuum-sealed bag storage. Store off-season bedding, not daily necessities.
Build compartments with intention, not novelty. Hinged panels above the bed, recessed shelving in closet sidewalls, and hollow ottomans serve function only if you can reach them without moving furniture. Label everything. Use clear containers for visibility. If you forget what’s inside a hidden compartment, it becomes junk space. The mechanism that matters: store by frequency of use, not by available space. What you grab weekly stays accessible. What you need twice a year gets the hidden slot.
Air Quality: The Invisible RV Bedroom Makeover Factor
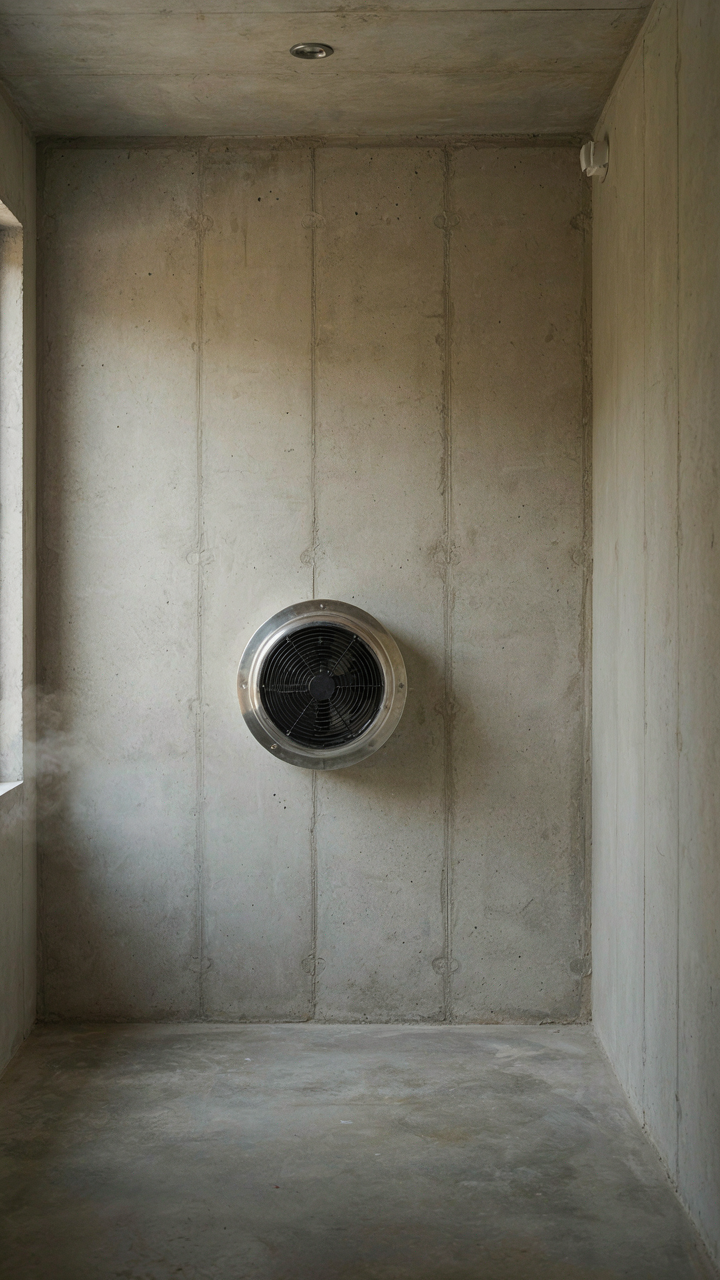
How Fresh Air Actually Moves In Tight Spaces

You want better sleep but won’t admit that stale air ruins it before your head hits the pillow. The mechanism is simple: RV bedrooms trap CO2 and moisture because they’re sealed boxes on wheels. Airflow follows pressure gradients, a principle from fluid dynamics. In your RV, you need to create deliberate pressure differentials instead of hoping air circulates on its own. Without active management, dead zones form where your face spends eight hours breathing recycled exhaust and yesterday’s humidity.
Most RV owners crack a window and call it ventilation. That’s lazy and ineffective. You need intake and exhaust working as a system. Install a roof vent fan as exhaust and position a lower intake point, whether that’s a window crack or a floor-level intake duct. Run the exhaust fan on a timer for the first hour after you enter the bedroom and again thirty minutes before sleep. This creates the pressure difference that actually moves air through the space instead of around it. Temperature differential alone won’t do it in a parked RV.
Allergens And Odor Trapping
Odors don’t disappear in an RV bedroom, they concentrate. Your nose stops noticing them after twenty minutes, which you mistake for the problem solving itself. Allergens embed in soft surfaces because RV fabrics are dense and airflow is minimal. The real issue is that RV bedding and mattresses hold dust mites, pet dander, and mold spores with nowhere to escape. You need extraction, not just circulation. A high-efficiency particulate air filter pulls contaminants out of the breathing zone, not just around the room.
Install a small HEPA unit on the nightstand, running it on low throughout the night. Replace the filter every three months in dust-heavy climates, every six months otherwise. For odor control, activated charcoal absorbs volatile organic compounds from fuel, cooking, and off-gassing plastics. Place activated charcoal pads under the bed and swap them monthly. Wash your pillowcase twice weekly and your mattress cover weekly. The mechanism is direct removal from your air supply before you inhale it, not hope that open windows handle the load.
Power Dynamics: Energy Conservation For Off Grid RV Bedroom Ideas
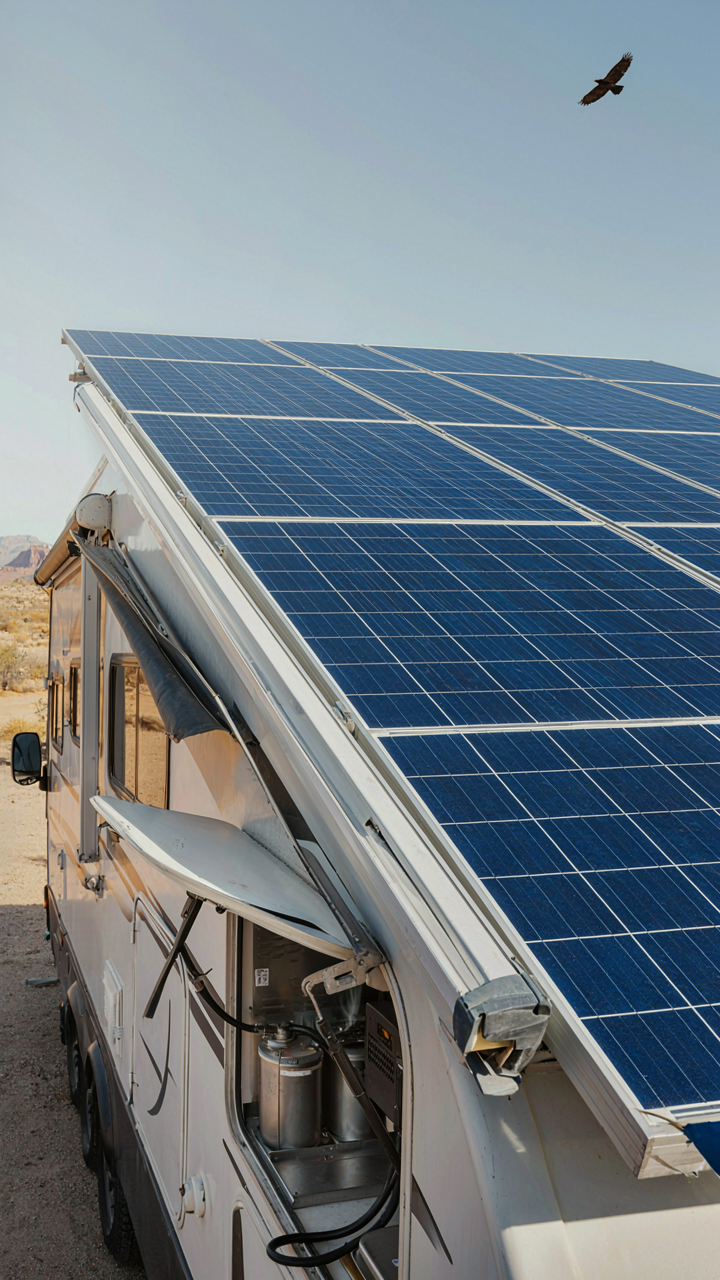
Solar Integration: Self Sufficient Climate And Light Control

You care about this section because going off-grid sounds like freedom until your battery dies at midnight and you’re sweating in the dark. Here’s the real mechanism: thermal comfort and light quality are both energy loads, and the only way to sustain them without draining your battery bank is to stop fighting the sun and start weaponizing it. Borrowed from electrical engineering, your RV bedroom operates on a daily load cycle, not a static demand, and solar panels function as your primary generator, not your backup.
Standard RV solar advice treats panels as a supplement. That’s incomplete. A properly sized system for bedroom climate control and lighting means calculating peak summer heat gain through your windows, measuring the wattage your AC unit actually draws during peak hours, then matching solar output to that demand on your worst-case day. Most RV owners undersize their panels by 40-60 percent because they don’t account for angle loss and temperature derating in real conditions. Install panels on an adjustable mount if you’re stationary for weeks, and position them to track seasonal sun height, not just roof orientation.
Battery Life Extension For Uninterrupted Comfort
Battery degradation isn’t random, it’s predictable chemistry, and most RV bedroom setups tank their batteries in three to four years because people treat them like gas tanks instead of load-management systems. Deep cycling daily erodes lithium cells faster than shallow cycling does, so your real goal is never letting your battery bank drop below 50 percent state of charge during normal bedroom use. That means oversizing your battery capacity by 30-40 percent beyond what spreadsheets tell you, not because you need the extra storage, but because you’re protecting the chemistry.
Temperature management of your battery bank matters more than most owners realize. A battery sitting in an uninsulated RV cabinet in summer heat loses ten percent of its lifespan for every five degrees Celsius above 25 degrees. Install your lithium batteries in an interior locker with ventilation or thermal insulation, or mount them in a shaded external box with active cooling if you’re running high loads. The concrete protocol: measure your bedroom’s average hourly wattage draw, multiply by 1.4 for inefficiency losses, then divide that into your battery capacity to find your actual available runtime before hitting 50 percent discharge.
The “RV Bedroom As Lab” Approach: Personalizing Your Sleep Sanctuary

Measure Sleep Data To Find What Actually Works

You want proof that your RV bedroom changes matter because dropping money on upgrades feels wasteful without seeing returns. Sleep tracking reveals which environmental variables actually shift your rest quality instead of relying on guesses. Biofeedback borrows from physiology: you measure a biological output (sleep duration, deep sleep percentage, heart rate variability) and use that data to optimize the input (light, temperature, sound, airflow). RV bedrooms demand this precision because space constraints mean every modification carries weight.
- Wearable sleep trackers: Devices like Oura Ring or smartwatches log sleep stages, timing, and recovery scores. Compare nights before and after each bedroom change to isolate what moves the needle.
- Room temperature logs: Record your RV interior temp hourly using a smart thermometer. Cross-reference nights with optimal sleep against temperature patterns to find your exact comfort zone.
- Light exposure timing: Track when you turn off screens, kill cabin lights, and wake up relative to sunrise. Align data with sleep quality metrics to dial in your light schedule.
- Noise level baseline: Use a decibel app to measure ambient sound before and after soundproofing steps. Identify whether external noise or internal vibration disrupts your sleep stage transitions.
- Humidity and CO2 monitoring: Smart air quality sensors show how moisture and carbon dioxide levels correlate with sleep fragmentation. RVs trap CO2 easily, and this data exposes the problem most people miss.
Numbers strip away the narrative you tell yourself about what helps. If your sleep score stays flat after buying blackout shades, that fabric wasn’t your limiting factor. Your data becomes the mechanism that redirects money toward fixes that work.
Adjust One Variable At A Time, Document The Shift
Most people make five bedroom changes simultaneously, then claim victory without knowing which one mattered. This destroys your ability to build a repeatable system. Change one element, give it five to seven nights minimum, log the metric shift, then layer the next variable. The mechanism is statistical clarity: you eliminate noise by holding all other conditions constant while isolating a single input.
Tight RV quarters make this method essential because space constraints mean surface area for improvements is finite. You cannot waste it on guesses. Install blackout panels for a week. Measure sleep quality. If the shift is real, keep them. If not, remove them and test the next item. When you stack verified wins, you build a bedroom that actually functions instead of one that looks better on Instagram. This discipline compounds into a space designed by evidence rather than aesthetic preference or influencer consensus.
RV Interior Design: Function Over Fleeting Trends
Build Once, Replace Never
You want your RV bedroom to look current because you’re worried it’ll feel cheap or outdated. That’s the real fear underneath. Here’s the mechanism: RV spaces fail because owners treat them like apartment bedrooms—swapping aesthetics every three years. In a 200-square-foot bedroom, material fatigue compounds. Fabrics degrade faster in confined heat cycles. Finishes peel under constant vibration. The economics shift when you’re paying per pound you move.
Marine-grade plywood, stainless steel fasteners, and solution-dyed polyester fabrics cost more upfront but outlast trend cycles by a decade. A $400 marine-grade headboard mounted to solid blocking survives road vibration that destroys particle board in two years. Spend the premium once on materials rated for saltwater environments, and your RV bedroom maintenance drops to zero for years.
The Timeless Aesthetic Lives In Restraint
Most RV makeover advice tells you to add personality through accent walls or statement pieces. Wrong. Accent trends die fastest in small spaces because scale warps perception. A bold geometric pattern commands a master bedroom; it crushes an RV bedroom into visual noise.
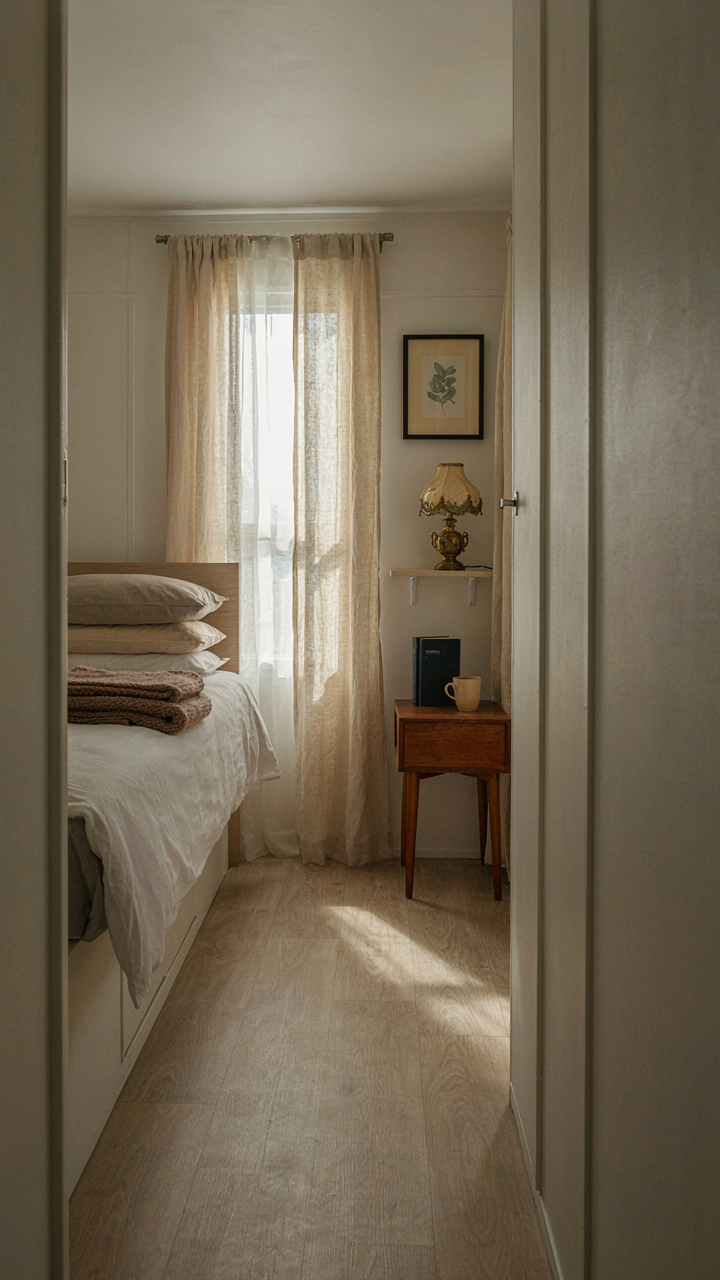
Neutral base materials with strategic texture create durability and flexibility. Off-white linen-look fabrics, light wood tones, and matte hardware stay functional across five-year ownership cycles without requiring replacement. Personality should come from removable elements—throw pillows, bedding, art prints—that you swap without touching structure. This separates the permanent investment from the disposable expression.
The Only RV Bedroom Upgrade That Matters Isn’t An Upgrade At All
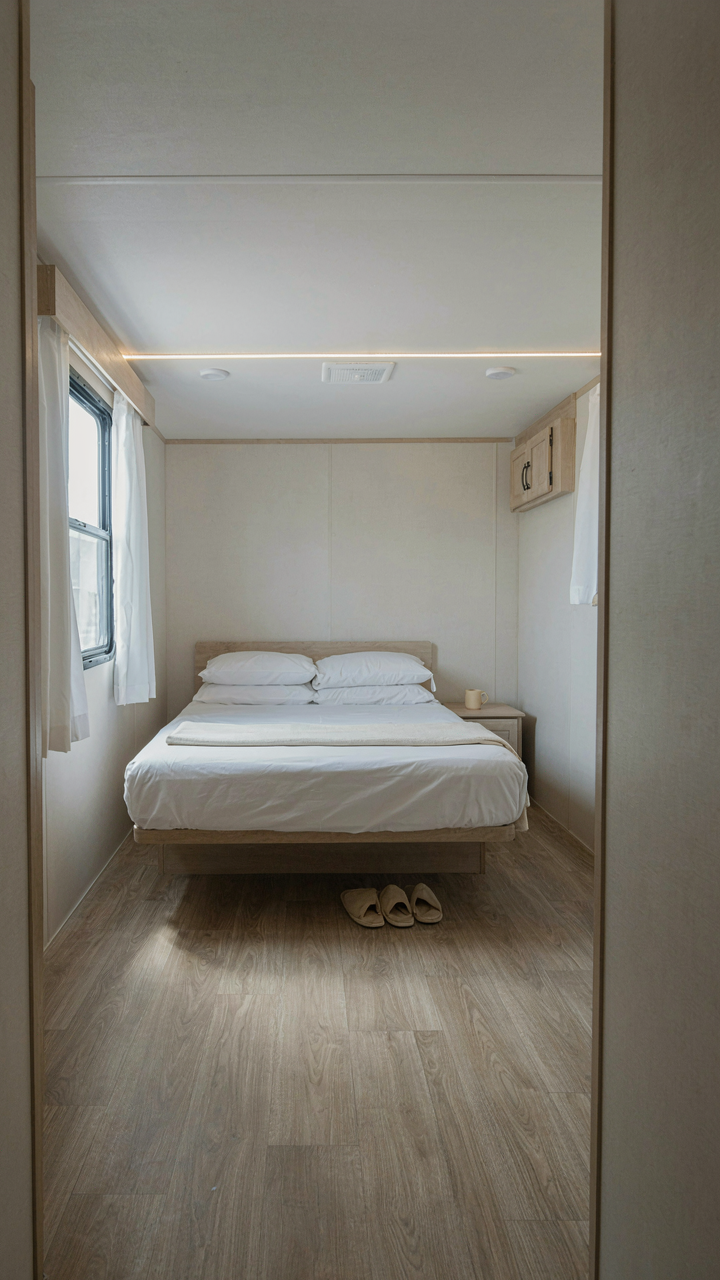
You don’t need a better mattress or blackout curtains. You need to stop treating your RV bedroom like a storage unit with a bed in it. Clear everything that doesn’t serve sleep. Seriously. Remove it today. A cluttered space hijacks your nervous system before your head hits the pillow. You can’t sleep in a room that looks like chaos. The makeover starts with subtraction, not addition. Your brain doesn’t care about thread count when it’s drowning in visual noise.



