
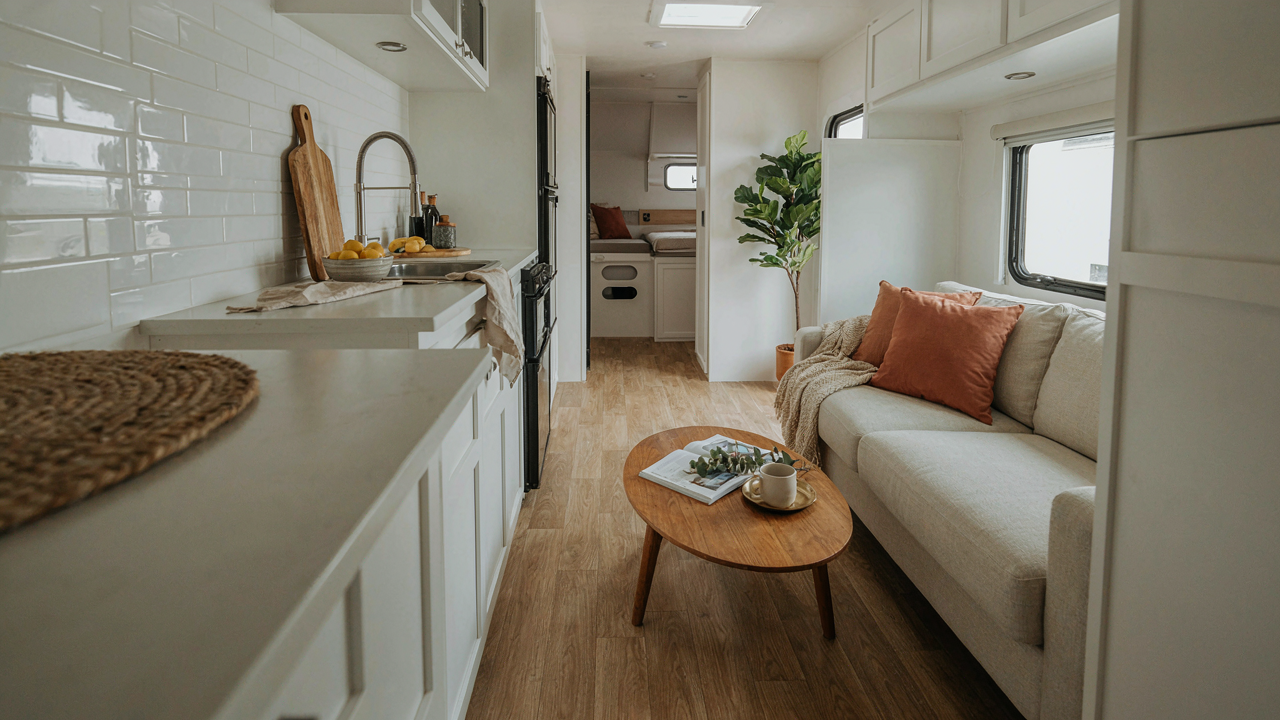
Beyond “Cheap”: Understanding The ROI Of Peel And Stick
Material Science Evolution For Durability
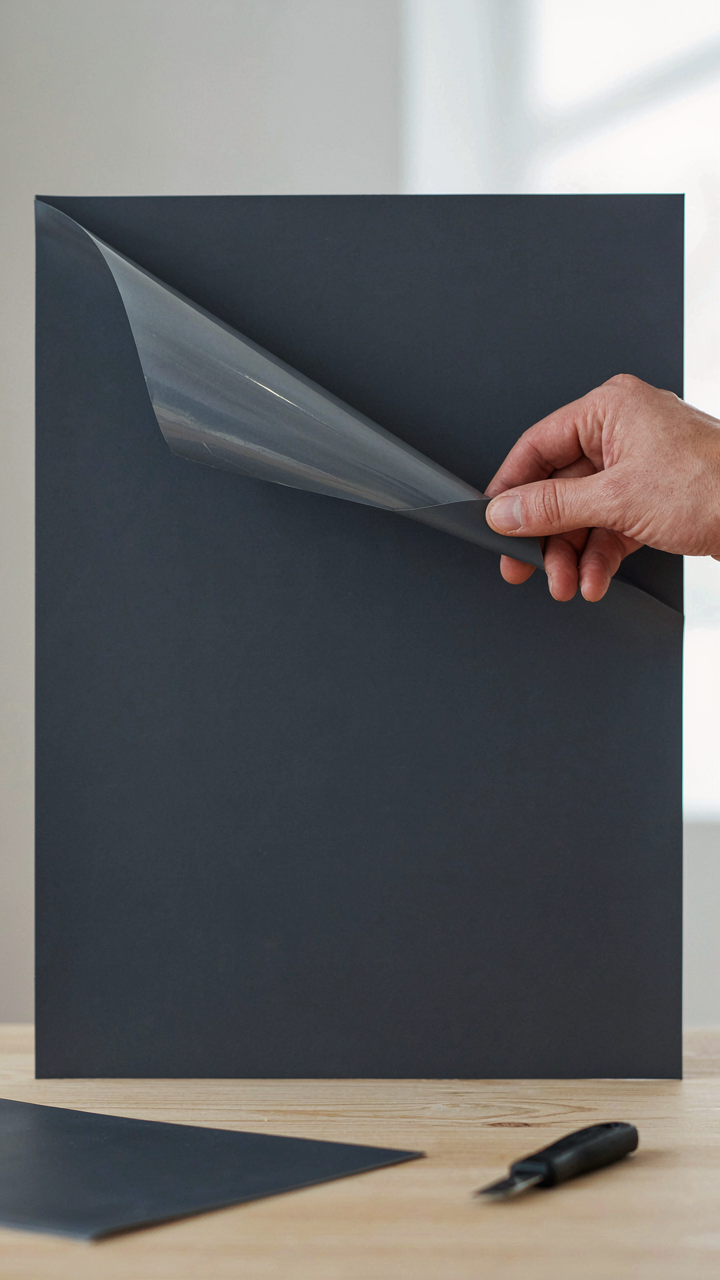
You want peel and stick because you’re afraid of commitment, and that’s fine. The real mechanism here comes from materials engineering: adhesive backing technology borrowed from industrial bonding has evolved enough that modern peel and stick vinyl now uses acrylic or synthetic rubber compounds engineered to handle temperature swings and moisture cycles. RV interiors experience both constantly. The adhesive doesn’t fail because it’s cheap; it fails when you ignore substrate prep or apply it over residue, dust, or unstable surfaces.
Older adhesive technology from the 1990s relied on pressure-sensitive rubber that degraded under UV and heat. Current formulations from manufacturers like 3M and Avery Dennison use cross-linked polymers that maintain integrity through thermal cycling your RV actually experiences. Most peel and stick vinyl lasts four to seven years in an RV cabinet or backsplash application before curling at edges, not because the adhesive gave up, but because expansion and contraction worked it loose. Test the substrate first: if it flexes or breathes, peel and stick fails regardless of adhesive quality.
Resale Value Myths Vs Practical Upgrades
The common advice is wrong here. Peel and stick backsplash or cabinet wrap does not add resale value in the way a structural upgrade does, but it removes value destruction. An RV with dated, dingy cabinetry sells slower and lower. A fresh-looking interior costs you fifty dollars in materials and four hours of work, and it shifts perception from neglected to maintained. That’s not resale value; that’s buyer psychology correction.
What actually matters for resale is what peel and stick masks versus what it can’t fix. Buyers see aesthetic updates and assume maintenance happened. They don’t see water damage, soft walls, or transmission problems. Peel and stick handles the first layer of cosmetics; it buys you negotiating room. If your RV’s bones are solid, updated visuals make buyers pause before lowballing. If the structure is compromised, no vinyl wrap matters. Apply peel and stick only after confirming the underlying surface is dry, stable, and not hiding rot.
The Minimalist RV Remodel: Decluttering For True Space

Sacred Items Vs. Functional Needs

You want to keep everything because throwing things away feels like admitting failure. Here’s the mechanism: your brain treats possessions as identity extensions, not objects. In economics, this is called the endowment effect—you value what you own simply because you own it, not because it serves a function. In an RV, that delusion costs you literal square footage.
Split your inventory into two categories ruthlessly. Sacred items are the things that anchor your life—photos, tools with genuine sentimental weight, or gear you actually use weekly. Functional needs are everything else claiming space. Most people confuse these. They keep kitchen gadgets they’ve never opened or clothes in three sizes “just in case.” A peel and stick remodel fails before it starts if you’re working around clutter that shouldn’t exist.
Strategic Removal, Not Just Reorganization
Everyone says “organize better.” That’s wrong. Better organization of garbage is still garbage. You need to actually remove items, not shuffle them. The distinction matters because reorganization lets you pretend you’re making progress while keeping dead weight. Strategic removal means deciding what leaves the RV entirely, not what gets moved to a cabinet you don’t open.
The protocol: Walk through your RV with a trash bag. Touch every single item. If you haven’t used it in three months and it doesn’t make you feel something real, it goes. Not “maybe later”—it goes now. This clears 30 to 40 percent of typical RV clutter in a single afternoon. Once you have actual empty space, peel and stick updates land on clean surfaces and deliver visible impact. You’re not fighting for room anymore. You’re building into openness.
The “RV Interior Alchemy” Method: Transforming Surfaces
The Surface Prep That Actually Sticks

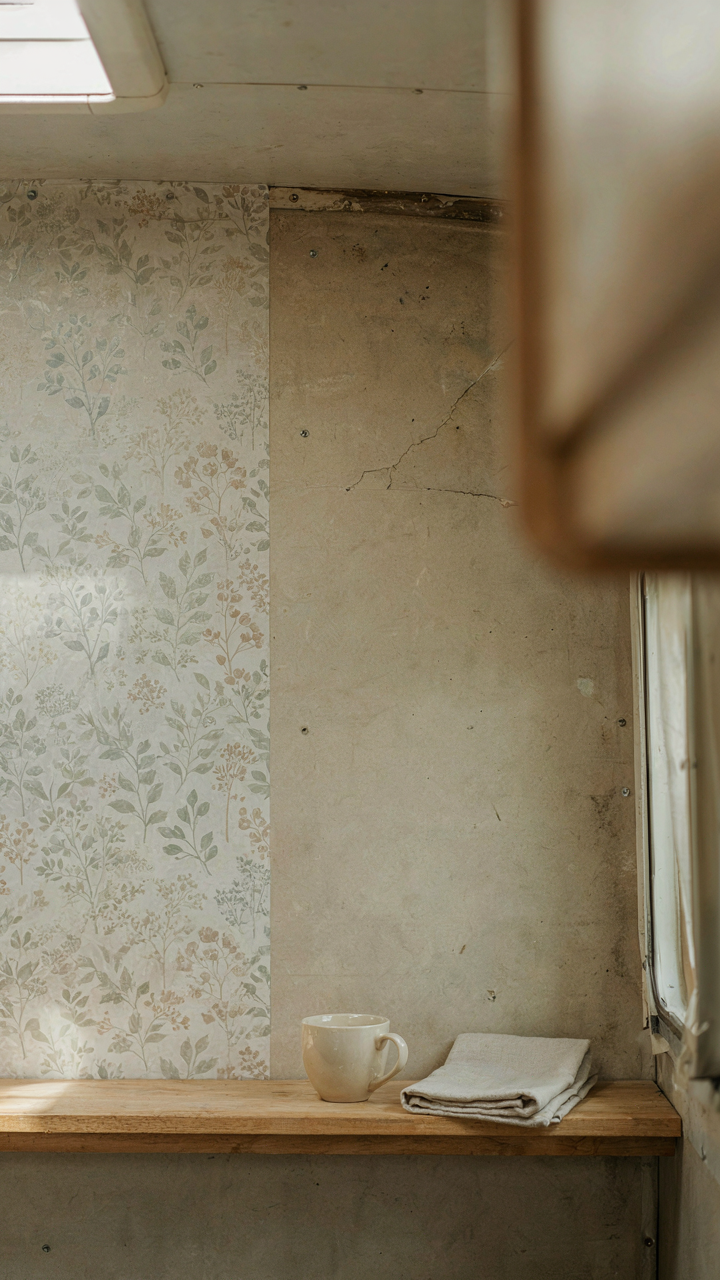
You want this to work because failure means wasted money and a wall that peels in six months, exposing your shortcuts to every guest who steps inside. That fear is rational. The mechanism is simple: peel and stick adhesive bonds to surface energy, not to dirt, oxidation, or previous coatings. Clean surfaces have higher surface energy. Dirty surfaces don’t. RV walls accumulate dust, oxidation from moisture, and residue from manufacturing. A quick wipe misses this entirely.
Start with isopropyl alcohol, not water. Water evaporates slowly and leaves mineral deposits that block adhesion. Alcohol evaporates fast and dissolves the molecular layer of contamination. Wipe down the entire surface where your peel and stick will land, let it dry completely, then sand lightly with 120-grit sandpaper. This roughens the surface and increases mechanical grip. The adhesive backing on quality peel and stick materials is designed for textured substrates, not smooth ones. Skipping this step means your install fails within months.
Layering Materials Without Creating Dead Air
The common advice is to just stack materials and hope. That’s wrong. Layering in an RV requires understanding compression mechanics, borrowed from materials science. Each layer must compress evenly, or air pockets form and adhesive weakens under temperature swings. Temperature in an RV swings 40 to 60 degrees daily. Air expands and contracts faster than adhesive bonds.
Use a roller to press each layer, starting from the center and moving outward in firm, deliberate strokes. This displaces air and ensures uniform pressure. When layering different materials, always apply the material with stronger adhesive first, then layer lighter materials on top. The base material carries the load. If you’re combining flooring underlayment with peel and stick vinyl, the underlayment goes down first and gets pressed hard. The vinyl top layer bonds to the already-set underlayment. Wait between layers. Adhesive needs 24 hours minimum to set before introducing weight or temperature change.
Small RV Camper Remodel DIY Ideas: Maximizing Tiny Footprints
Going Vertical Instead Of Horizontal

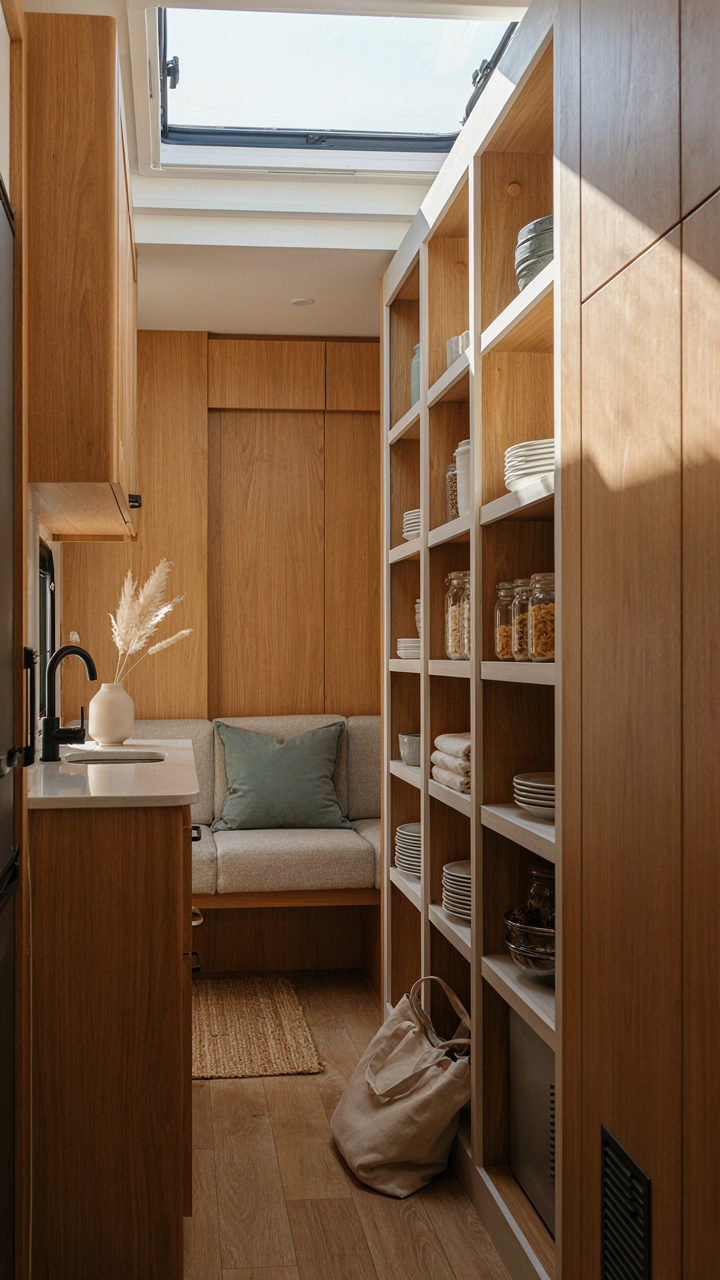
You want people to think your RV feels bigger than it is. That’s the real motive. The mechanism is simple: vertical real estate costs nothing to claim but everything to ignore. In architecture, we call this the “z-axis.” Most RV owners treat walls as decoration. They’re storage. Install shelving 12 to 18 inches below ceiling height. Use the dead space above cabinets, beside windows, and along bedroom walls. Peel and stick backsplash can anchor shelves visually without permanent installation.
The common mistake is spreading items horizontally across countertops. This shrinks perceived space. Instead, stack vertically using wall-mounted organizers, hanging racks for cookware, and corner shelving. Measure your RV’s interior height in each zone first. Some ceilings are 6 feet, others 6 feet 4 inches. Work within actual dimensions. Mount shelves parallel to the floor using a level. Peel and stick wall panels behind open shelving create visual boundaries and make stacked items feel intentional rather than cluttered.
Dual Purpose Furniture Eliminates Wasted Square Feet
Multi-functional furniture isn’t a nice-to-have in RV remodels. It’s the only math that works. A dinette with storage underneath removes the need for a separate cabinet. A bed with drawers built into the frame replaces a nightstand and dresser combo. A fold-down desk that tucks into a wall eliminates dedicated workspace footprint. These pieces cost slightly more upfront but reclaim 40 to 60 square feet of usable floor area in a typical travel trailer.
Peel and stick finishes transform basic multipurpose pieces into aesthetic matches with your cabinet colors and wall treatments. When you buy dual function furniture, prioritize pieces where the secondary function addresses your actual pain point. If you cook daily, a kitchen island with prep space plus under-counter storage wins over a coffee table with drawers. If you work remotely, a murphy-style desk that closes flat matters more than storage benches. The constraint forces you to choose what actually moves the needle in your daily RV life.
Travel Trailer Remodel DIY: Overcoming Structural Limitations
Weight Distribution And Material Choices

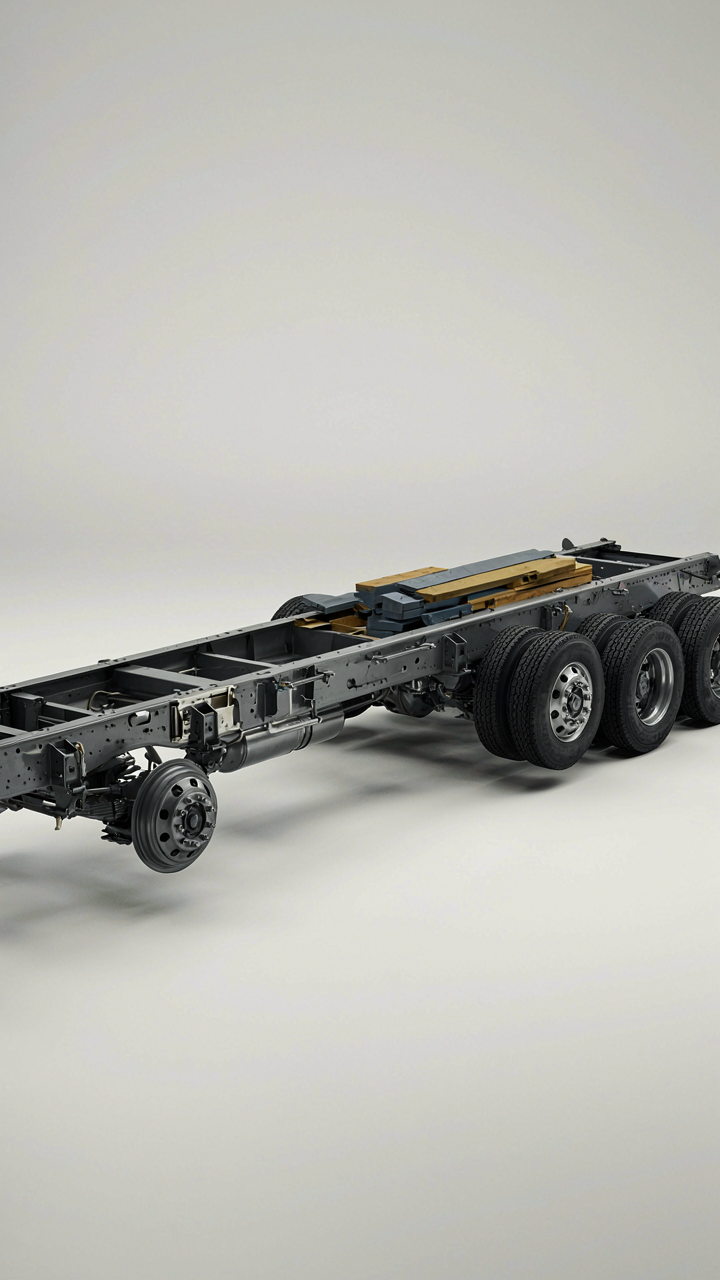
You’re afraid your remodel will make the trailer unsafe or worthless. The real constraint isn’t what you can add—it’s the axle weight rating and how load transfers through the frame. Think of trailer structure like a supply chain: materials move stress from point A to point B, and bottlenecks happen where the system narrows. Peel and stick updates win here because they add zero dead weight. Vinyl decals, adhesive backsplash, and stick-on flooring rebalance your equation without triggering the tongue weight problem that kills resale value.
RVs ship with fixed dry weight and a maximum Gross Vehicle Weight Rating. Every pound matters. Standard drywall adds 1.5 pounds per square foot. Peel and stick alternatives weigh under 0.2 pounds per square foot. The frame doesn’t care what color your walls are—it cares about the math. Swap heavy materials for lightweight adhesive solutions and you keep the trailer’s original handling and legal compliance intact while still transforming the interior.
Reinforcing Weak Points Without Heavy Lumber
The common advice says to add support beams, but lumber adds weight you can’t afford. Instead, use engineering from the marine industry: composite reinforcement transfers load without mass. RV walls sit on aluminum studs that flex under impact. Adhesive films and rigid backing panels (fiberglass-backed or composite) distribute pressure across wider surface areas, stabilizing weak points through area multiplication rather than added thickness.
Installation starts at problem zones: seams where walls meet the floor, corners near the entry door, and cabinet mounting points. Cut composite backing to size, apply construction adhesive, press firm, and let cure per manufacturer specs. This approach costs less than lumber, weighs nothing compared to solid wood, and creates localized rigidity exactly where stress concentrates. The mechanism is simple: spread load over more surface rather than adding mass to resist it.
Camper Remodel On A Budget: The Behavioral Economics Of Upgrades

Why You’re Throwing Money At The Wrong Problem

You’re afraid you’ve already wasted money on your RV, so you’re about to waste more. That’s sunk cost fallacy, borrowed from economics, and it’s the exact mechanism that turns budget remodels into money pits. You paid for the rig. That’s gone. The cost doesn’t change whether you upgrade it or park it. But your brain refuses to accept that separation, so you keep spending to justify the initial purchase.
Stop. The decision to remodel should depend entirely on what you gain now, not what you lost before. Peel and stick materials exploit this perfectly because they cost so little that your brain can’t justify the sunk cost narrative anymore. You’re not “getting your money’s worth” from a ten thousand dollar cabinet remodel. You’re getting real function from a sixty dollar vinyl wrap. The frame shifts from recovering past losses to creating present utility.
The Trade You’re Actually Making
Most budget advice ignores the real currency you’re spending: your time. Materials are cheap. Labor is free if it’s you. But your hours have a price whether you acknowledge it or not, and traditional remodeling makes you spend both. Peel and stick flips that equation. You buy material convenience instead of paying in hours.
A cabinet stain job takes a weekend. Peel and stick contact paper takes two hours. The material cost difference is maybe forty dollars. The time difference is worth far more, especially if you’re working, traveling, or just want your rig functional now instead of next month. Budget remodeling isn’t really about money. It’s about choosing upgrades where the time you save is worth more than the material you spend.
RV Interior Design: The Illusion Of Permanence

Your RV Is Not Your House

You want to believe your RV interior choices are permanent because it feels safer. They’re not. An RV is a dynamic system where every material, surface, and fixture absorbs vibration, temperature swing, and moisture from 500 miles of driving per month. Systems thinking borrowed from engineering tells us this: treat your RV as a feedback loop, not a static object. Every peel and stick choice cascades into five other variables you didn’t plan for.
The mistake most people make is designing for aesthetics frozen in time. They pick a color scheme, apply vinyl, and expect it to stay that way for five years. What actually happens is material expansion and contraction cycles through temperature ranges of 60 degrees daily. Peel and stick backsplash lifts at corners. Paint cracks where it meets trim. Seams separate. The RV doesn’t care about your design intent because it’s moving.
Ripple Effects Of One Change
One material choice triggers a chain reaction through temperature regulation, moisture control, and visual flow. Replace your backsplash with peel and stick tile and you alter how light reflects into your living space, which changes how warm the galley feels, which affects whether you use the AC more, which draws power differently. Most budget remodelers ignore this because they’re thinking like decorators, not like engineers. You need to think in sequences.
When you choose peel and stick over traditional tile, you’re not just saving labor. You’re reducing thermal mass behind your walls, which means your RV heats and cools faster and less predictably. You’re also choosing a material that flexes with the frame instead of cracking when the frame moves. Document these second-order effects before you buy anything. Drive your RV around your driveway, feel where it flexes, then place your materials where movement is lowest.
Remodeled Campers Ideas: Strategic Updates, Not Overhauls
Where Visibility Converts Dollar To Impact

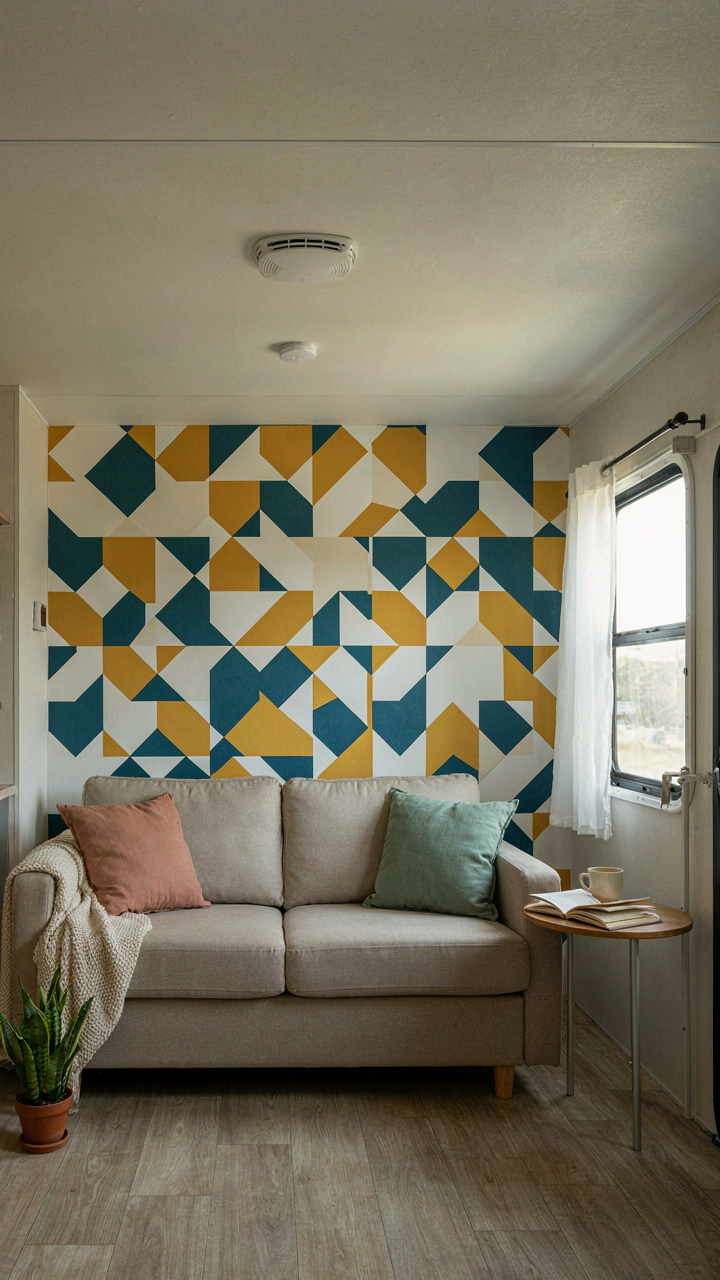
You want your RV to look intentional without hemorrhaging money. The real mechanism is visibility economics: certain surfaces occupy disproportionate visual real estate compared to their cost and effort. Peel and stick works here because it trades labor for material cost, not the other way around. Kitchens, bathrooms, and entryways dominate sight lines. A backsplash or cabinet wrap transforms perceived quality instantly. These zones pay dividends because guests see them first and your brain registers them constantly.
Focus your budget where eyes land before touching anything. Cabinet faces, walls behind sinks, and door surfaces yield outsized returns. Ignore hidden compartments, undercarriage, or internal plumbing during phase one. Your goal is psychological refresh, not mechanical overhaul. Peel and stick vinyl on cabinetry costs forty to ninety dollars per unit and takes two hours. Professional cabinet refinishing runs eight hundred to two thousand and requires a week of drying time. The math eliminates guesswork about where to start.
The Real Cost Of Unfinished Projects
Scope creep in RV work stems from a supply chain problem: once you open one wall or cabinet, you see what’s behind it. That discovery triggers the urge to “while I’m in there” fix everything adjacent. This pattern bankrupts budgets faster than bad decisions. The common advice says “make a plan and stick to it,” but that misses the mechanism. Every square inch of exposed material you encounter shifts your emotional baseline for acceptable quality downward. You can’t unsee deteriorated insulation or water damage once you’ve removed a panel.
Establish a hard containment rule before starting: one zone, one material type, one completion date. If your project is kitchen backsplash, do only backsplash. Do not touch counters, cabinets, or lighting until that zone reaches full completion and drying time. Document what you see behind surfaces with photos, then close the wall. This creates psychological closure and prevents cascading scope additions. Mark a calendar date when the zone is untouchable, then move to the next zone after that date passes.
RV Design Ideas: Future Proofing With Flexibility
Build Systems That Survive Taste Changes

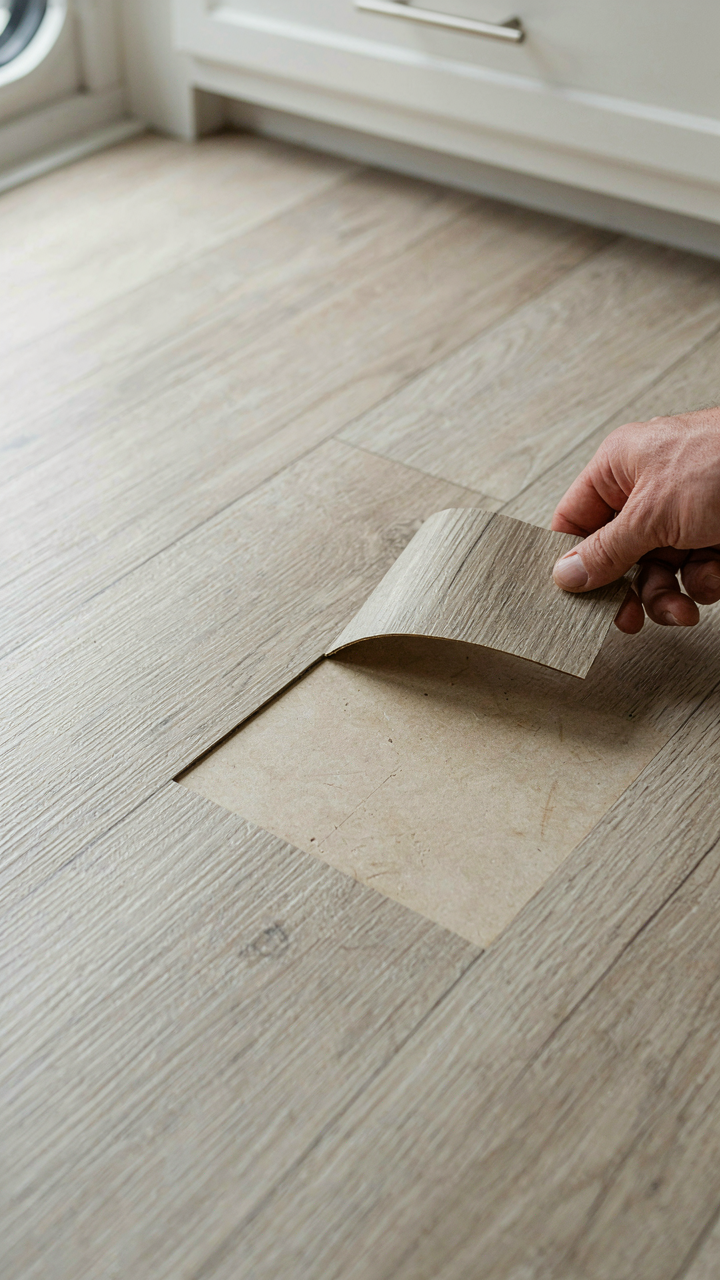
You’re worried you’ll hate what you pick in six months. That’s the real fear here, and it’s valid because RV living compresses decision regret into a tight space. The mechanism is simple: removability beats permanence when your environment is both small and mobile.
Peel and stick products win because they let you change direction without structural damage. Adhesive vinyl, magnetic panels, and snap-together trim don’t require tools, don’t leave marks, and don’t demand a contractor to undo. Install something, live with it for three months, remove it without conversation if it fails. That’s the only honest design philosophy for a vehicle you inhabit.
Stacking Constraints Into Systems
Industrial design borrowed this from systems thinking, where constraints force elegant solutions instead of bloat. Your RV remodel operates under the same principle: limited space, limited weight, limited budget, limited time. Stack these constraints deliberately and they force you toward modular elements that actually work.
Modular means components sit independently and connect through simple interfaces. A removable backsplash doesn’t integrate into cabinets. A floating shelf doesn’t require wall studs. Magnetic knife strips mount anywhere a magnet sticks. When each element stands alone, you can swap, rearrange, or remove it without cascading failures through the rest of the interior. This is how you build something that survives iteration. Commit to this approach during layout decisions, not after installation.
The 3 Layer Durability Protocol For Peel And Stick RV Remodel
Clean Before You Commit
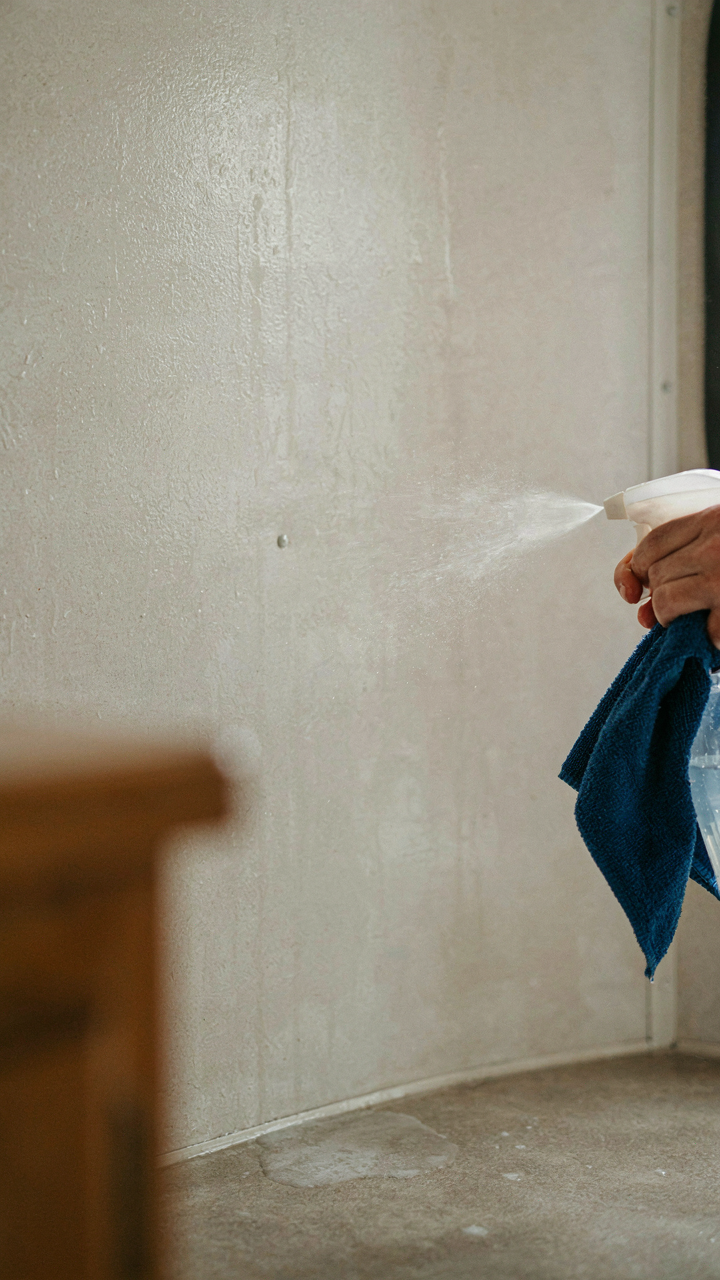
You’re doing this because you want the result to stick around, not because surface prep sounds fun. Here’s the mechanism: peel and stick adhesive bonds to the actual surface, not the dirt on top of it. RV walls collect oxidation, dust, and residue from propane heaters and cooking. A Magic Eraser removes the oxidized layer. Isopropyl alcohol cuts grease. Compressed air clears crevices. This isn’t cosmetic. Skip it and your material peels in six months.
Prime with a tackifier solution after cleaning. TSP (trisodium phosphate) or a degreaser designed for adhesive applications creates a receptive substrate. Let everything dry completely—moisture traps air bubbles and breaks the bond. In an RV, airflow is poor, so give it 24 hours minimum in dry conditions. Temperature matters too: adhesive activates best between 70 and 85 degrees. Cold RV walls slow the curing process and weaken the initial set.
The Squeegee Angle Changes Everything
The conventional advice about peel and stick is incomplete. People tell you to smooth out bubbles, but they don’t explain the physics of air displacement. Think of this like fluid dynamics: you’re moving trapped air out from under the material, not pushing it down. The squeegee angle determines the direction of that flow. Hold it at 45 degrees, not 90, and push toward the edges. This creates a pressure gradient that forces air out sideways, not deeper into the adhesive.
Start from the center and work outward in one direction, never back and forth. Back-and-forth motion reinjects air you already pushed out. Use consistent pressure—enough to activate the adhesive without stretching the material. Peel and stick for RVs comes in thin vinyl; over-pressure tears it or wrinkles the edge. One pass per section. If bubbles remain after 24 hours, they’re trapped under a set adhesive layer and won’t come out. The application window is real and narrow.
The Real Obstacle: Your Fear Of Impermanence, Not Your Budget

You’re stalling because peel and stick feels temporary. But your RV already is temporary. That’s the point. You’re treating a mobile home like a permanent asset when it’s designed for movement and change. Stop waiting for the perfect plan. Grab one roll of vinyl today, pick one wall, and stick it. You’ll realize the only thing stopping you was the permission you never gave yourself to iterate.



