

The Myth Of The Mandatory Dining Booth
Why RV Manufacturers Cling To The Booth
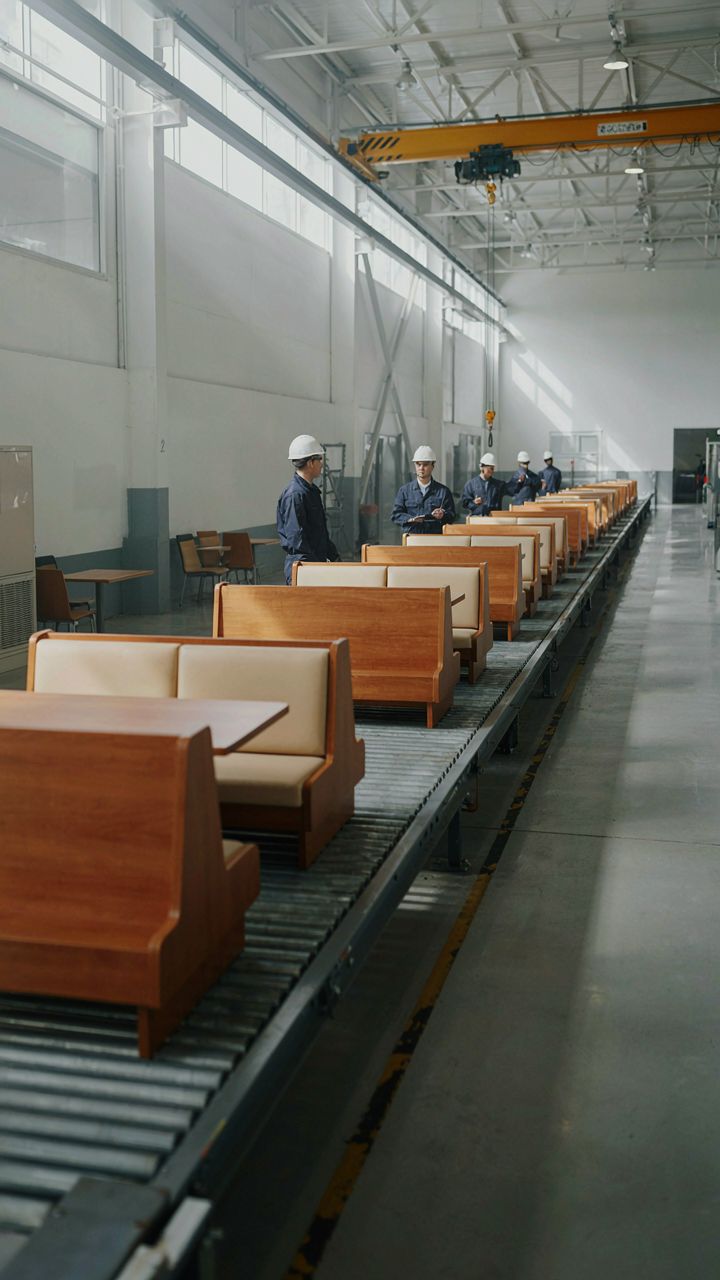
You want permission to tear out the dinette without feeling like you’re breaking an RV rule that matters. Here’s the mechanism: manufacturers standardize the booth because it solves their engineering problem, not yours. The dinette is load-bearing furniture that anchors the sidewall and distributes weight during transit. It’s structural camouflage. Once you understand that the booth exists for manufacturing efficiency, not lifestyle fit, you can evaluate whether it serves your actual use case.
The booth became industry default in the 1970s and stuck because it required minimal design iteration. Manufacturers could bolt one assembly to the frame and call it done. The cushions hide irregular walls. The table nests into the base. Plumbing and electrical run underneath without redesign. Changing this means rethinking the entire layout foundation. Most RV makers won’t do that work because it cuts into margin and adds SKU complexity. You’re not buying a dinette for its function. You’re buying a design shortcut that the factory embedded into your floor plan.
The Hidden Costs Of Traditional Dinettes
Most RV advice tells you the dinette is multipurpose. That’s incomplete. The booth trades usable square footage for a piece of furniture that collapses into itself, produces dead space underneath, and forces you into one rigid seating orientation. Economic analysis applies here: you’re paying square footage cost for reduced utility. A traditional dinette occupies 40 to 60 square feet including clearance. That footprint rarely works as both dining and workspace without compromise. The bench seat angles your back wrong for laptop work. The table height doesn’t match desk ergonomics. You end up using it for neither function well.
The real cost surfaces over time. You store items under the booth because it’s the only accessible cavity in that zone. The sealed cushions trap moisture and become mildew farms in humid climates. The table leg slides out during turns, and you’ve now added a safety hazard to your living space. Most owners who makeover their dinettes do it because the original setup wastes their time every single day. They work from the road, eat standing at the counter, and finally realize the booth is a liability dressed as a feature. The makeover becomes mandatory once you stop seeing the dinette as furniture and start measuring its actual cost to your workflow.
Beyond The RV Dinette Remodel: The Multi Functional Command Center

The Seated Work Position

You want this to work because you’re terrified of back pain killing your ability to earn money on the road. That’s the real calculation. Ergonomics isn’t about comfort—it’s about maintaining structural integrity during repetitive load. Your spine operates on the same stacking principle as load-bearing walls: improper angle compounds pressure exponentially over time, not linearly.
The dinette seat height should place your elbows at 90 degrees when your forearms rest on the table surface. Most RV dinettes sit 30 inches high; standard chairs run 18 inches. This gap creates a downward reach that rounds your shoulders forward, collapsing your thoracic spine. Add a seat cushion or raise the table 2-4 inches to close that gap. Your lower back needs lumbar support—the curved inward dip at your waist. Aftermarket lumbar pillows or a simple rolled towel wedged behind your seat maintains neutral spine position during work blocks longer than two hours.
Mounting Power Without Compromise
The common advice here is dead wrong: running USB cables across your workspace and daisy-chaining power strips creates both a tripping hazard and a fire load nobody acknowledges. The real mechanism is voltage drop over distance plus concentrated heat in confined spaces.
Install a recessed power strip mounted underneath the table surface at the dinette’s corner edge. Use 12-gauge wire if you’re running 120V shore power; this prevents voltage drop across longer runs. Position it so cords drop vertically down the table leg and route along the frame, not across the seating area. A separate USB hub mounted on a gooseneck arm (clamped to the table) keeps phone and tablet charging off the main power circuit. This separation lets you manage load distribution properly and keeps your work surface clear.
The Minimalist’s Camper Dinette Replacement Ideas
Function Over Aesthetic Choice

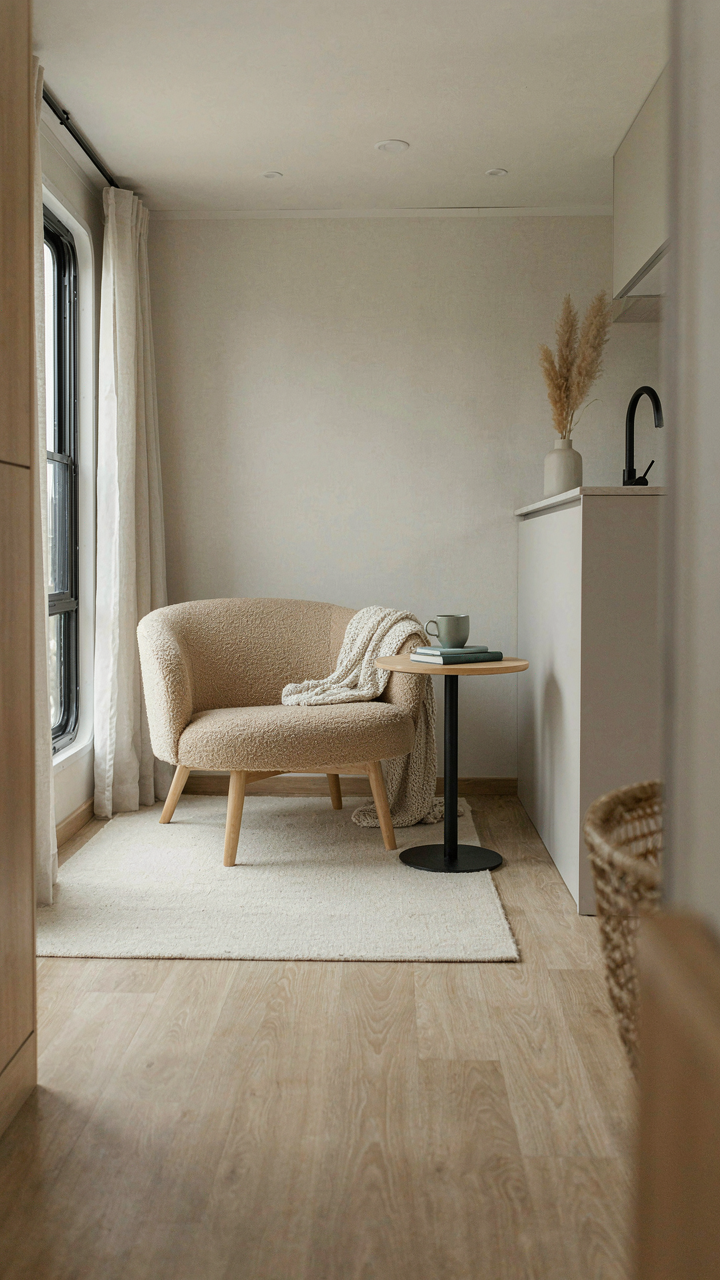
You want this to look intentional, not like you gave up on comfort. That’s the real tension here. The mechanism is simple: most RV dinettes fail because they prioritize passenger capacity over actual use. Stock dinettes seat four but serve nobody well. A minimalist replacement inverts this. You design for the activities that actually happen: eating, working, sleeping. One person working on a laptop eight hours daily beats four people sitting upright for two.
Strip the dinette down to its load-bearing purpose. Remove the bench seat that nobody uses. Replace it with a single desk-depth surface and one proper chair. This cuts weight by forty to sixty pounds and opens the living space psychologically. The constraint forces clarity: what does this space need to do, and nothing else.
Materials That Trade Weight For Years
Aluminum frame construction is standard RV furniture logic, but it’s backwards for a replacement. Aluminum flexes under repeated stress and creates movement noise. Steel tube welded into a simple rectangular frame costs less, weighs similar amounts on smaller builds, and stays rigid for a decade. The real play is the surface material. Birch plywood resists moisture better than particleboard, costs twenty to thirty percent more per sheet, and lasts three times longer in the damp RV environment.
Sealed birch with marine-grade poly finish handles temperature swings without splitting or warping. Laminate over plywood surface gives you durability without the maintenance. Apply sealant to all edges and the underside, not just the top. This step takes two hours and prevents water infiltration that ruins wood from underneath where you can’t see it. That’s where most RV furniture fails.
Deconstructing The Dining Booth For Optimal Space
Tools And Techniques For Safe Removal

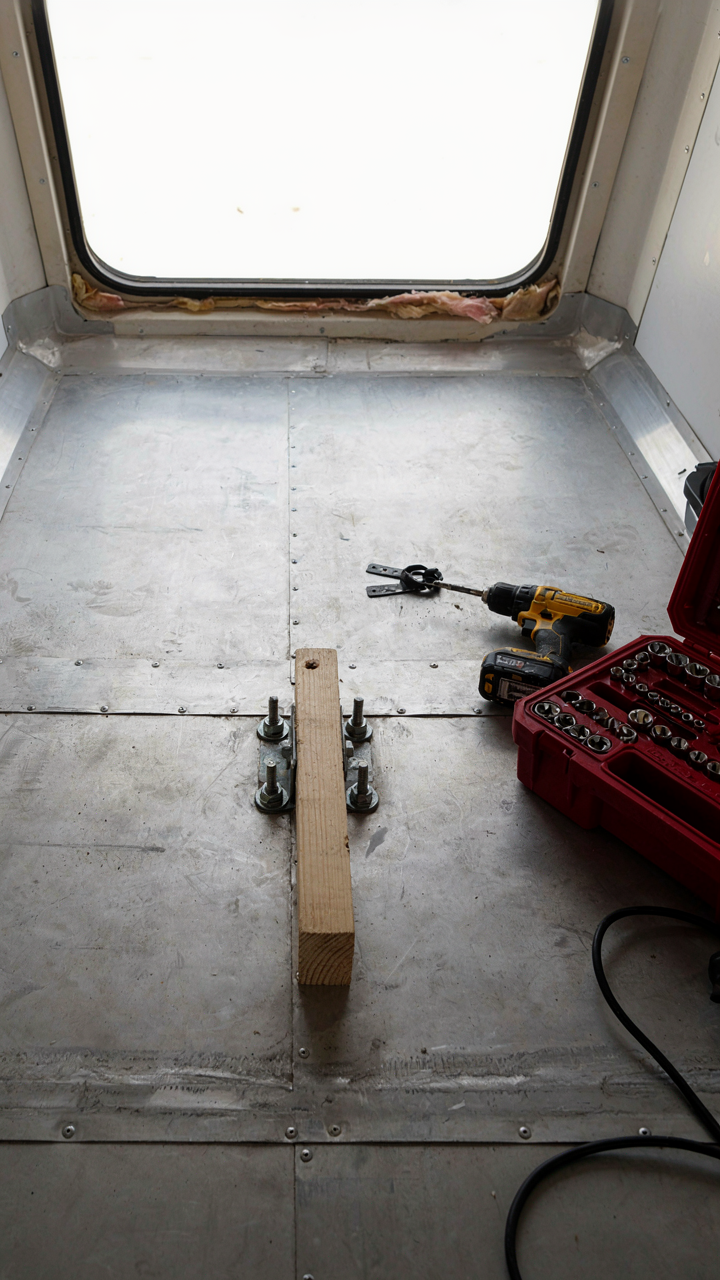
You want to avoid disaster because you’re betting money and time on this project, and a mistake means renting a hotel while you fix structural damage. The mechanism is simple: RV dinettes bolt down through the floor and walls, not because they’re built to last, but because movement during travel would tear them apart. Remove fasteners in reverse order of assembly. Start with wall-mounted components, then floor anchors, then support structures underneath.
- Socket wrench set (metric and standard): RV manufacturers use both bolt sizes interchangeably. You’ll find 1/2″, 3/8″, and metric equivalents bolting the dinette frame to floor and sidewalls.
- Pry bar or flathead screwdriver: Use to break adhesive seals around trim pieces and caulk lines that hold the dinette perimeter tight against cabinetry and walls.
- Oscillating multi-tool with metal blade: Cuts through metal straps or brackets welded behind cabinetry without damaging the surrounding structure you’re keeping intact.
- Torque wrench (optional but critical): Lets you know exactly how much force each bolt requires during removal, preventing stripped threads or broken fasteners that jam the process.
- Pneumatic drill or impact driver: Speeds extraction of stubborn bolts corroded or seized from years of road vibration and moisture exposure in the RV cavity.
Do not force bolts by hand once you hit resistance. You’ll strip the threads and trap yourself. Spray penetrating oil (like PB Blaster) around frozen fasteners, wait 30 minutes, then apply controlled pressure with powered tools. Document bolt locations with photos before removal so you know what anchors exist in that floor cavity later.
Prepping The Area For New Construction
The real obstacle isn’t clearing debris, it’s understanding that RV floors are not flat. Dinette removal reveals a subfloor topology most people ignore until their new build sits crooked. You now own the structural baseline. Inspect the floor beneath where the dinette sat for water damage, rot, or soft spots by pressing a screwdriver into the wood. If it sinks more than a quarter inch, that wood fails and needs replacement before you build anything permanent.
Clean the exposed floor cavity thoroughly. Remove all old caulk, adhesive residue, and insulation material clinging to the perimeter where the dinette mounted. Vacuum out dust and debris that will interfere with new fastening points. Take measurements of the cleared space in three dimensions (length, width, height to ceiling or cabinets above). Mark these dimensions on paper with photos. Level-check the floor in multiple directions using a four-foot level to catch dips or rises that will force your new build to compensate with shims or modifications.
The 3 Step Workspace Protocol For Your Rv Dinette

Define Your Workflow Needs

You want this to work so you don’t have to think about it. That’s not laziness, that’s the actual goal. The mechanism here is constraint recognition: you can’t design a functional workspace until you name exactly what work happens there. RV dinettes fail as offices because people treat them as catch all zones instead of systems with specific inputs and outputs.
Start by documenting one full workday in your rig. Where do you sit? What surfaces do you touch? What stays on the table and what leaves? This isn’t theoretical. If you work on a laptop for four hours, the table needs to support that. If you take client calls, you need sound isolation and camera backdrop. If you do handwork like detail writing or design, you need flat, stable surface area. The rule is simple: name the activity first, then design backward.
Modular Design Principles
This borrows from manufacturing systems thinking, where flexibility matters more than fixed function. In RV dinette terms, modularity means every piece either moves, stacks, or swaps without tools. The standard advice says to buy matching furniture sets. That’s wrong. Matching sets lock you into one configuration and waste the only real advantage you have in a small space: the ability to reconfigure fast.
Your dinette needs three zones: work surface, storage underneath, and transition space for eating. Achieve this with removable tops, nesting storage containers, and a fold away keyboard tray. When you eat, the work zone vanishes completely. When you work, the dining function disappears. The mechanism that makes this functional is rapid state change, not compromise between two uses in one space. Install everything on slides or hinges, nothing permanent.
The Art Of The Camper Dinette Remodel: Borrowing From Industrial Design
Eliminating Waste, Not Just Stuff

You want to feel like your dinette makeover was intentional, not a panic reaction to cramped living. Here’s the mechanism: lean manufacturing teaches us that waste isn’t just excess material—it’s any motion, process, or object that doesn’t move you toward your actual outcome. In an RV dinette, waste is the bench seat that forces you to contort sideways to exit, the table that doesn’t convert to workspace height, the storage gap behind the cushions that collects debris you can’t reach. The goal isn’t minimalism for its own sake. It’s removing friction between the space and how you actually live in it.
Start by mapping your real dinette use. Do you work there during the day and eat there at night, or is it purely functional dining? Does someone need to pass through while others sit? Does clutter migrate there because nearby storage is inaccessible? Each friction point is waste. Measure the exact dimensions of your current dinette, note what you reach for most, and identify the three motions you repeat daily. This inventory becomes your design constraint. You’re not decorating—you’re architecting the path of least resistance.
Form Demands Function First
The common advice says form follows function, then encourages you to pick a “style” you like. That’s backwards. Style is what you see after you’ve solved the actual problem. In mobile living, function isn’t aesthetic preference—it’s the physics of a 40-square-foot box where everything must earn its footprint through repeated use. A dinette that looks good but wastes 18 inches of legroom is a design failure, not a design choice.
Start with the constraint. How many people sit here simultaneously? What’s the minimum depth table needs to be for both work and dining? Can the bench slide to create an aisle when you need it? Once these questions have answers, you’ve determined your form. The visual treatment—color, material, finish—follows naturally. You choose upholstery that handles wear because function demands durability. You select a table finish that resists water because the space demands it. Appearance becomes the side effect of solving problems correctly.
Beyond The Rv Breakfast Nook: Eating With Intent

Single Serving Meals Built Into Layout

You want this dinette to signal that you’ve optimized your life, but the real issue is that most RV dinettes default to family-scale seating that wastes your space and enables mindless eating. Think about portion control through economics: smaller surfaces force smaller quantities. A dinette designed for single servings doesn’t just save space—it makes eating a deliberate act instead of habit. You sit, you eat what fits on the surface, you move on.
The mechanism is simple. Standard RV dinettes span 40 to 48 inches across, forcing you to load plates like you’re feeding four. Reduce the effective eating surface to 24 to 30 inches by installing a drop-leaf, using a lap tray, or positioning a removable bamboo panel on top. Measure your actual plate size—most dinner plates run 10 to 11 inches—and build backward from there. A single-serving surface removes the psychological permission to pile more food than you need.
Fold Away And Convertible Surfaces
The common advice says fold-away tables save space, which is technically true but misses why they actually work in an RV context. In marine design, convertible surfaces follow the principle of load efficiency: one component serves multiple functions under different configurations, reducing total weight and footprint. Your dinette must contract to nothing when you’re not eating and expand only to the size you need in that moment. This isn’t luxury—it’s discipline through design constraint.
Install a dinette table with a real drop-leaf mechanism, not a wobbly prop-up system. Verify the hinge hardware supports your weight without play. When folded, it should sit flush against the wall or seat back, creating usable floor space for movement or yoga. Test the collapse cycle twenty times before installation. Convertible cushions that flip from seating to sleeping surfaces work only if they lock securely in both positions. A loose converter teaches your body that nothing is stable, which undermines the whole purpose of eating with intent.
DIY RV Dinette: Professional Results, Amateur Budget

Where To Source Materials Without Overpaying

You want to look like you spent money you didn’t spend. That’s the real play here. The mechanism is simple: most RV owners buy retail because they don’t know where wholesale and bulk suppliers actually operate. Furniture-grade plywood, upholstery fabric, and hardware don’t cost what big-box stores charge. You just have to know the actual market.
- Habitat for Humanity ReStore: Salvaged wood, hardware, and sometimes finished pieces at 50-70% below retail. Inventory rotates constantly, so frequent visits pay off.
- Online fabric wholesalers: Vendors like Sailrite and fabric.com sell upholstery-grade material at contractor pricing. Minimum orders are low enough for dinette projects.
- Local woodworking shops: Offcuts and edge-banded plywood sheets from cabinet makers sell cheap. Call shops directly instead of searching online.
- Facebook Marketplace and Craigslist: People liquidate RV parts constantly. Dinette frames, cushions, and wood pieces appear weekly in most metro areas.
- Lumber liquidation outlets: Discontinued flooring and solid wood stock from retailers like Lumber Liquidators sell at fraction of original price, usable for tabletops and trim.
The real efficiency comes from bundling your sourcing. Don’t make five trips to five places. Build a spreadsheet, identify what each supplier does best, and batch your orders and visits into one or two days. This cuts wasted time and gives you negotiating leverage with places that move volume.
When Your Skills And Time Stop Making Sense
The common advice says “DIY everything to save money.” That’s incomplete. You only DIY what your skill level matches and what your hourly rate justifies. If you bill yourself at $50 an hour and a carpenter does upholstering work at $40 an hour, you’re losing money by doing it yourself. The math doesn’t change because it’s your RV.
The real decision matrix is threefold: First, can you actually produce quality work, or will mistakes force a redo? Second, do you have the right tools or will you rent them repeatedly? Third, is the time cost lower than hiring it out? Tabletop refinishing and cushion recovery often fail because precision requires practice. Frame rebuilding and structural changes are worth hiring if a mistake means cutting into living space. Get a quote from a local upholsterer or carpenter. If it’s under 30 hours of your time at your real earning rate, hire it done and pocket the difference.
Reclaiming Your Rv Dinette: Resale Value And Customization
The Math Behind What Sells

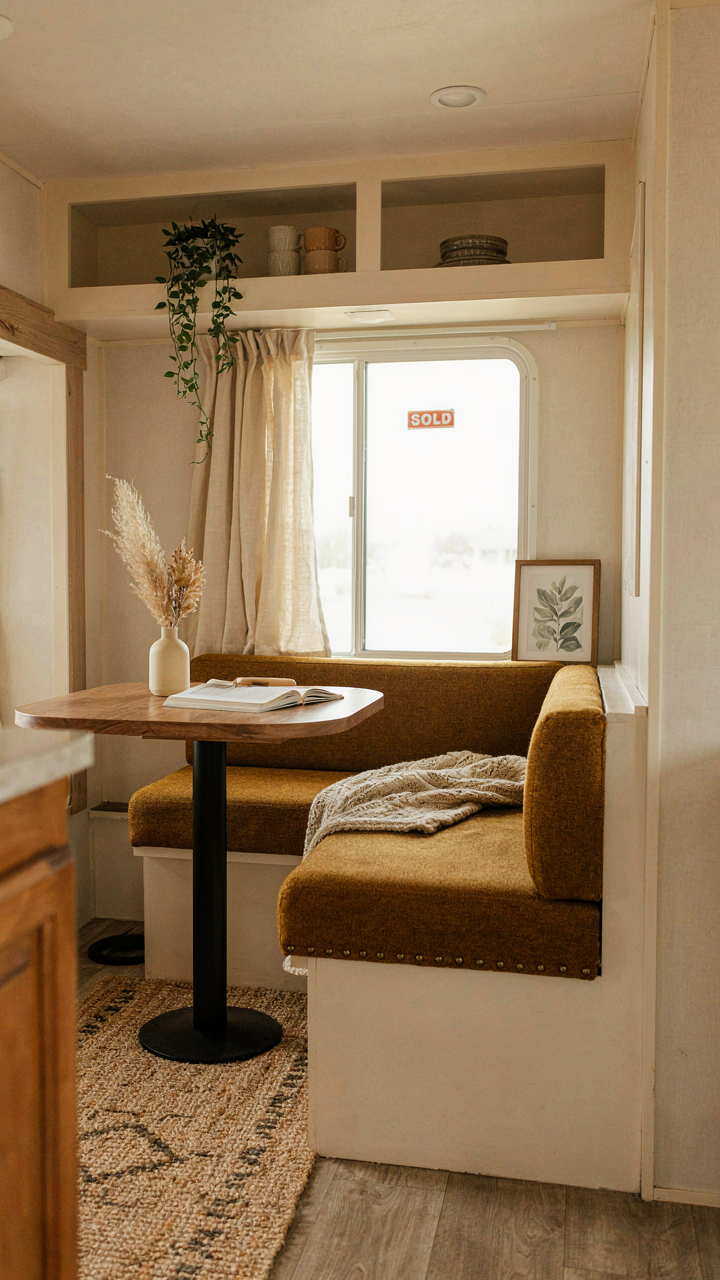
You care about this because you’re afraid you’ll sink money into a dinette only to eat the cost when you sell. Here’s the mechanism: RV buyers operate under scarcity. They choose from a finite inventory. A dinette that signals “this owner maintained this space” moves faster than stock. The faster it moves, the closer to asking price you get. Generic upgrades—new cushions, fresh paint—compress resale time. Niche customizations—a specific wood stain, hyper-personalized color scheme—expand it. You want broad appeal because broad appeal is liquidity.
Buyers fall into two camps: those buying to use your exact setup, and those buying to gut and rebuild. The first group pays premiums for thoughtful modifications. The second group ignores them entirely. Your strategy isn’t to impress either camp individually. It’s to make reversible choices that don’t force the second group to pay for removal. A new dinette frame bolted down stays. A custom paint job you can sand off costs nothing to remove. Reversibility is your hedge against customization blowback.
Document Everything With Photographs
Most RV sellers skip this step, which means most RV sellers lose negotiating leverage they didn’t know they had. When you modify a dinette, take photos at three stages: before, during installation, after completion. Include close-ups of joinery, upholstery details, and any structural reinforcement. Store these with receipts and part numbers. This documentation becomes proof of quality to a prospective buyer—not a claim, but evidence. Photos show workmanship. Receipts show you didn’t cheap out on materials.
When listing the RV, include three to five dinette photos in the main gallery. Don’t bury modifications in a vague description. Name the specific changes: “dinette reupholstered in marine-grade fabric, 2024” or “replaced original dinette frame with reinforced hardwood, 2023.” Include one documentation photo that shows the detail level. A buyer who sees this stops asking “is it solid?” and starts asking “what’s the price?” Photograph and date everything during the project, then organize files by modification type so you can pull them in seconds when showing the RV.
The Unseen Advantage Of A Transformed RV Dinette
Mental Clarity Comes From Environmental Control
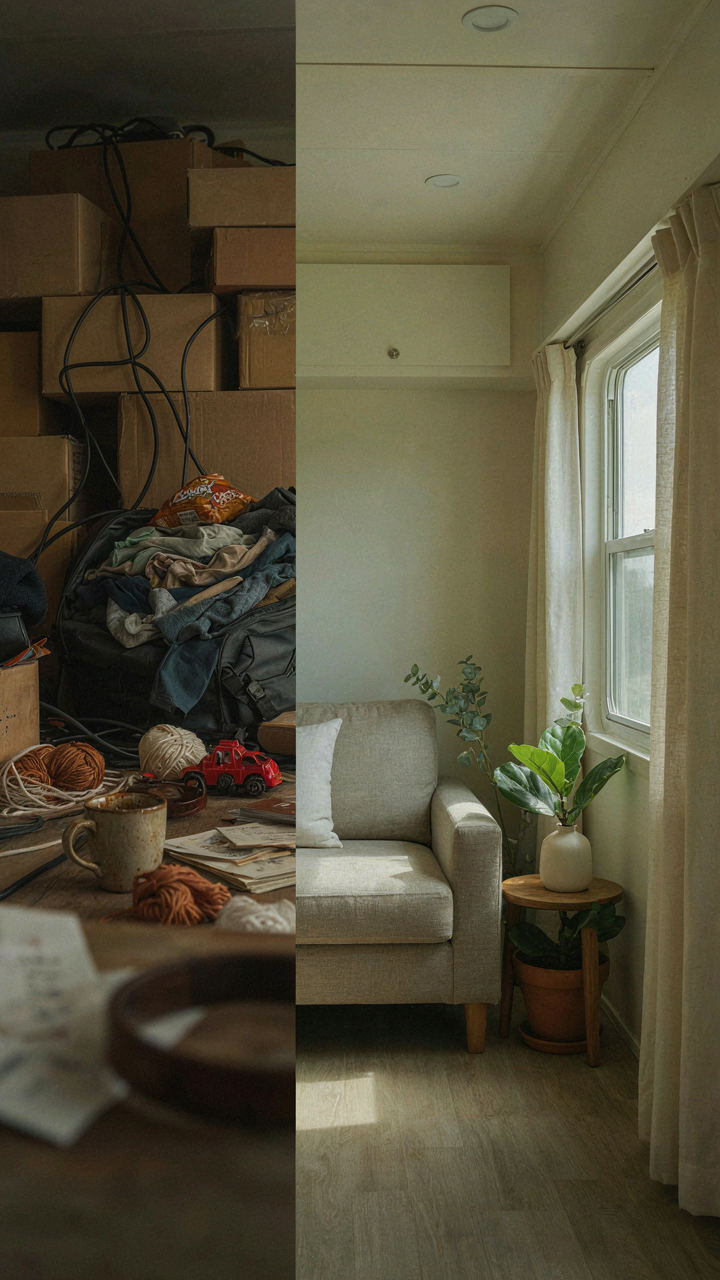
You want this section because you suspect your RV dinette is sabotaging your focus, and you’re right. The mechanism is environmental load: your brain processes everything in your visual field as potential information, whether you’re paying attention or not. A cluttered, dated dinette fires off constant micro-decisions about what matters, draining cognitive resources before you even sit down to work or eat.
A transformed dinette removes this tax. When surfaces are clear, materials are cohesive, and the space has intentional organization, your brain stops pattern-matching for threat or disorder. You get immediate access to deeper focus. This isn’t motivational psychology or good vibes—it’s how working memory functions. The dinette becomes a controlled environment instead of a competing stimulus.
Form And Function Are Not Separate Problems
Everyone talks about making your dinette “look nice and work better” as if those are two goals chasing each other. They’re not. The common advice to pick aesthetics first, then cram function in, leaves you with a pretty dinette that still blocks your productivity because storage is awkward, surfaces don’t support your actual tasks, or seating doesn’t align with how you actually use the space.
Real transformation starts with mapping your actual behavior: do you work here? Eat? Both? Store supplies? Once you know the load the dinette must carry, materials, layout, and appearance organize themselves around that load. A dinette redesigned for your workflow becomes functional first, which makes it look intentional. The upgrade compounds because form and function reinforce each other instead of competing for space.
The Real Obstacle Isn’t Your RV’s Size, It’s Your Imagination’s Limits
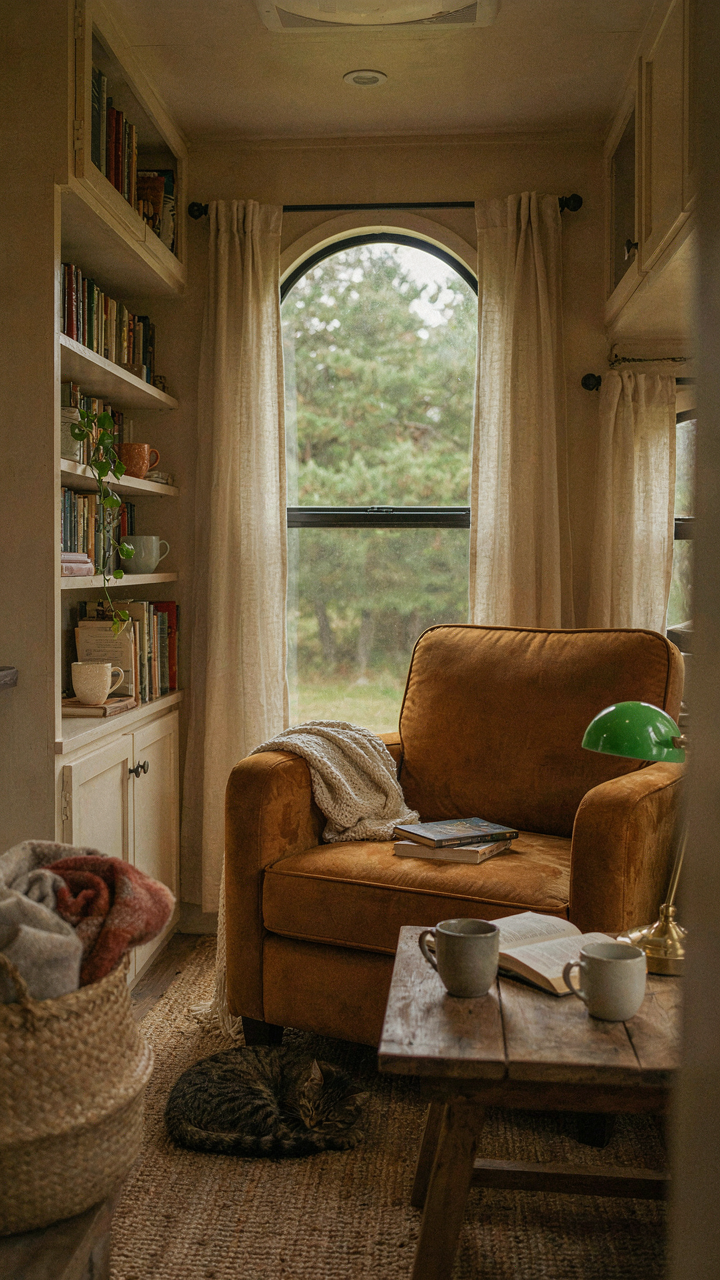
Most people see a dinette and accept it as fixed. You see one and remake it. The RV dinette makeover isn’t about square footage. It’s about refusing the default. Your next action: pick one element today—the seating, the table surface, the lighting—and change it. Not plan it. Change it. The people who actually transform their rigs aren’t waiting for the perfect moment. They’re already building it.



