Introduction
Keeping your craft space tidy can be a challenge, especially when you have many ribbons in different colors and sizes. Creative ribbon storage ideas can help you maintain order, save space, and make crafting more enjoyable. This article explores practical ways to store ribbons that fit your specific needs and style.
From simple DIY solutions to clever uses of household items, you will learn how to organize your ribbons efficiently. You’ll find detailed tips and tricks that make finding and using your ribbons easier. Let’s dive into ways to keep your ribbons neat and accessible.
Assessing Your Ribbon Collection
Before you jump into organizing your ribbons, it’s vital to get a clear picture of what you actually have. Think about how many ribbons you own and the variety within your collection. Are they mostly narrow or wide? Plastic or fabric? The size and type will really guide the best storage choices. For example, bulky wired ribbons might need more space and sturdier holders than thin satin ones.
Take a moment to gauge whether you have lots of small scraps or mostly full spools. Sometimes, we hold onto leftover bits thinking we’ll use them soon, but maybe they’re just adding clutter. Understanding your collection’s scale – big or small – prevents buying storage that’s either overkill or totally insufficient.
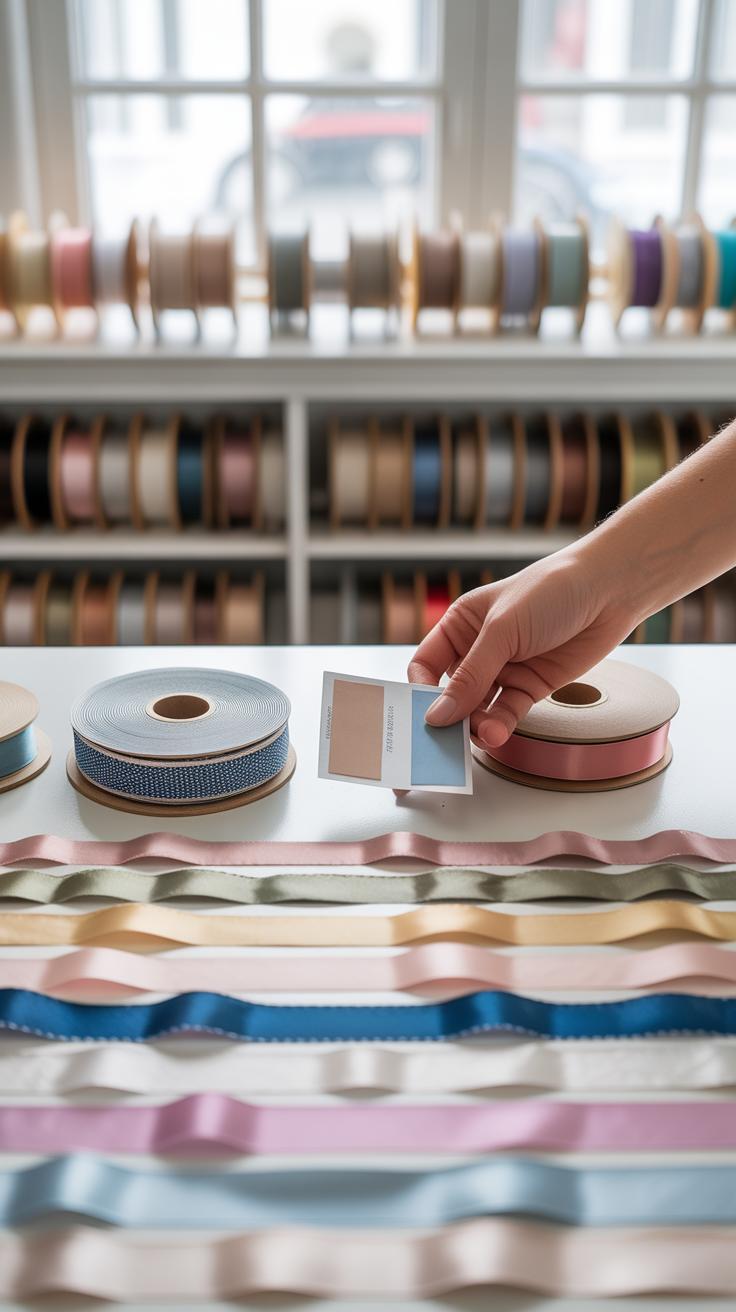
Counting and Categorizing Ribbons

Counting ribbons isn’t just about tallying numbers. Break them down too. You could sort by:
- Size – order your ribbons by width or length to know what kinds of holders you need.
- Color – grouping by color might help if you grab ribbons based on certain projects or seasons.
- Purpose – separating ribbons you use for gift wrapping from those for sewing or decorating can keep things neat.
I found that sorting ribbons this way makes grabbing the right one faster. But sometimes, the lines blur – what if a ribbon fits into two categories? Don’t stress too much. Just pick what makes most sense to you personally.
Considering Ribbon Material and Usage Frequency
Not all ribbons deserve the same storage treatment. Some materials are delicate and need gentle handling. For instance, velvet or organza ribbons can wrinkle or snag, so laying them flat or using tubes might be best. On the flip side, grosgrain or polyester ribbons are tougher and handle being piled or looped.
Frequency matters too. If you reach for red satin every season, keeping those ribbons easily accessible saves time. Less-used ribbons could go into less reachable spots or long-term storage containers. I once tucked away holiday ribbons so well I almost forgot about them. So, balance accessibility with practicality.
Ask yourself: which ribbons do I want in front of me? Which could stay stored without hassle? This reflection helps you avoid overcrowded, frustrating spaces and instead creates one that works well for your actual habits.
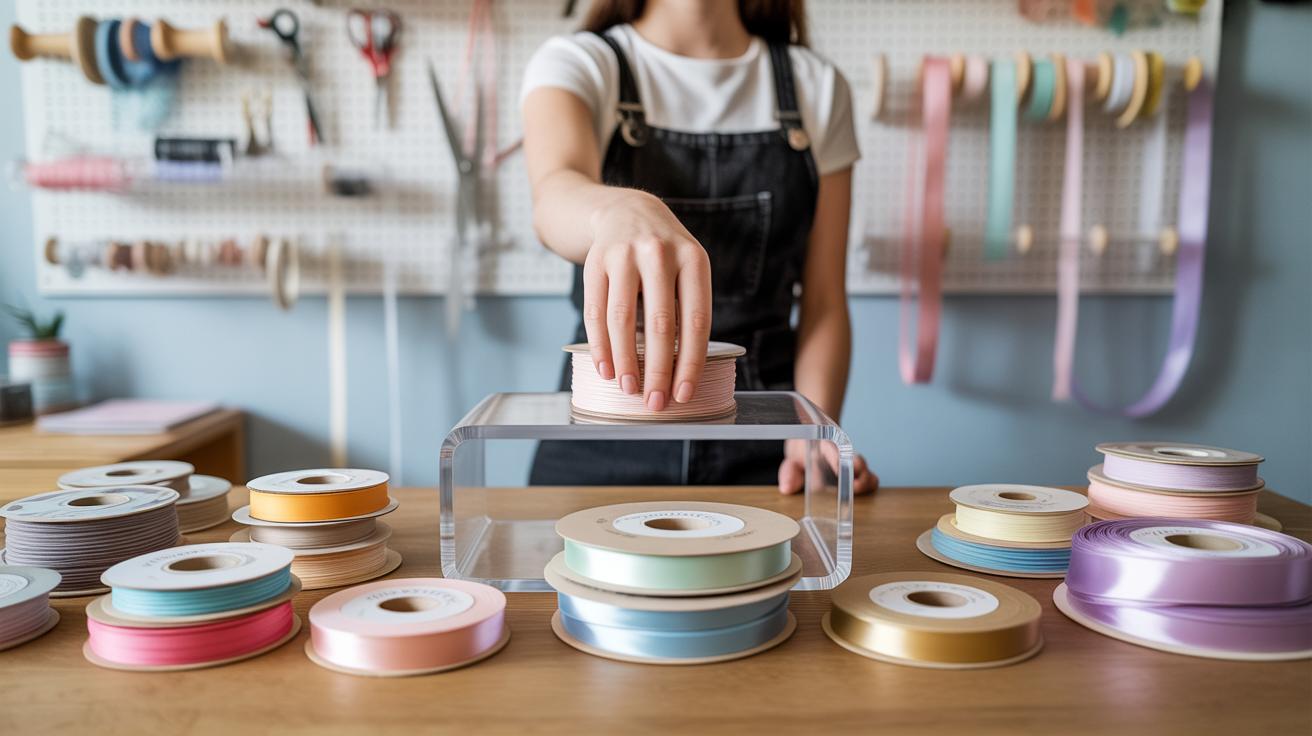
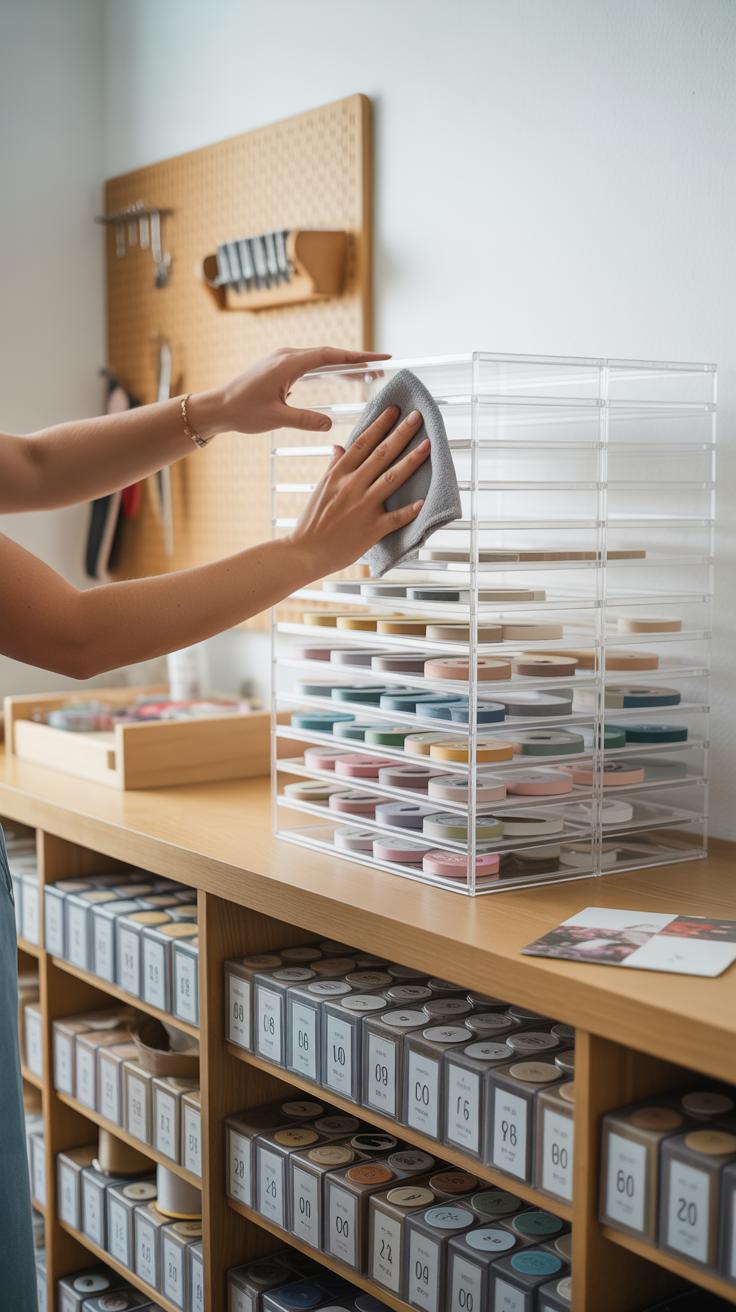
Using Clear Containers for Visible Storage

Clear containers change the game when it comes to ribbon storage. Being able to see what’s inside at a glance saves you that annoying moment of digging through stacks or boxes, wondering if the ribbon you want is even there. You don’t have to open every container just to check the colors or textures you have. It’s a simple visibility advantage that also encourages better maintenance. When you can see your ribbons, you’re more likely to put them back neatly instead of tossing them around.
Benefits of Clear Plastic Boxes
Clear plastic boxes are great for storing ribbons because they keep things neat and dust-free while letting you identify what’s inside instantly. They come in various sizes, which means you can choose ones that fit your ribbon spools perfectly—no more wasted space or tangled messes. Inside these boxes, rolling ribbons in small bundles or even cutting longer pieces and storing them flat can work well, depending on your preference. The uniform look of clear boxes stacked or lined up on a shelf just feels… less overwhelming than piles of loose ribbons.
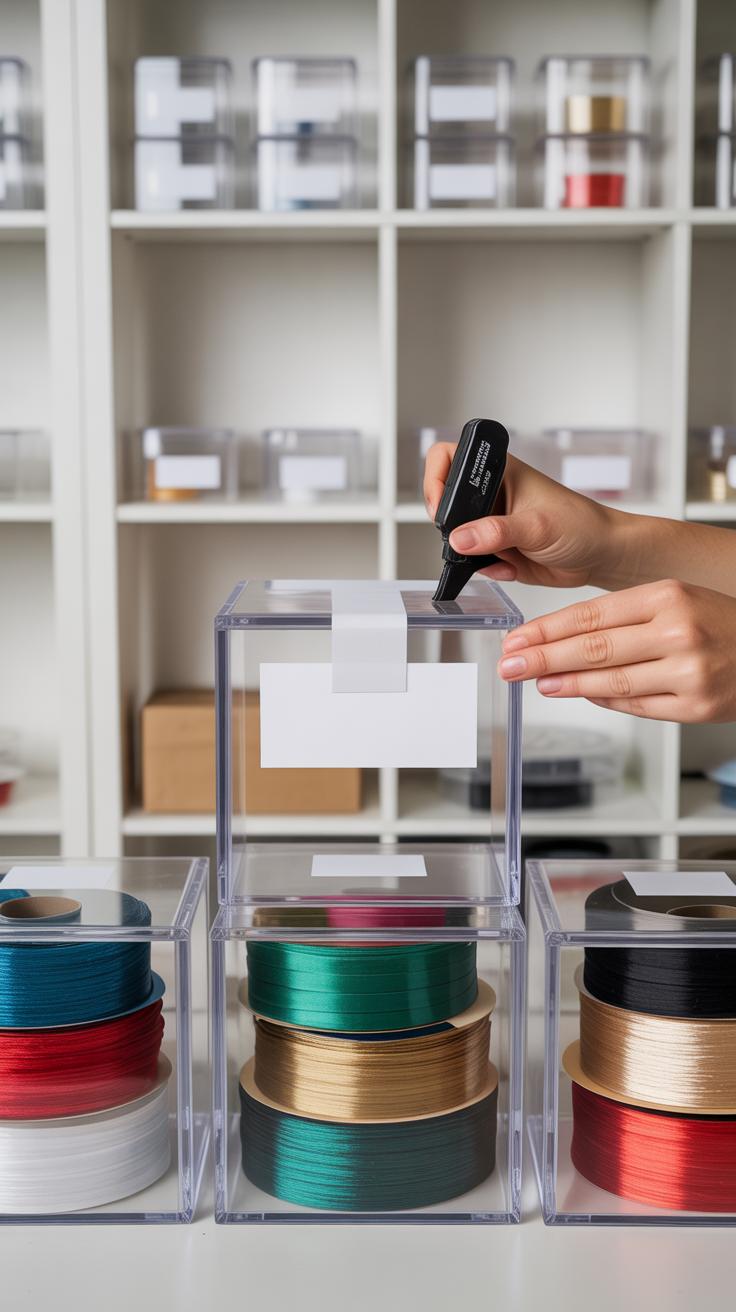
Labeling Containers for Quick Access
Labels make everything a bit easier and faster. You might think you’ll always remember where each ribbon is, but trust me, that fades. Labeling by color palette, ribbon width, or even project type can help you find exactly what you need without hunting. Sometimes, labeling isn’t just a neatness thing—it’s a time saver when you’re in the thick of crafting. Even simple labels with permanent markers or printed tags can make a big difference. If you’re wondering about something as simple as labeling, maybe give it a try before dismissing it. It feels trivial, but it helps.
DIY Ribbon Holders Using Household Items
Upcycling Toilet Paper Rolls

Toilet paper rolls can be surprisingly handy for ribbon storage. I’ve found that slipping a spool inside one of these rolls stops the ribbon from unwinding and tangling. It’s simple: just place the ribbon spool inside the tube and use a pin or small hole near the edge so the ribbon’s end can feed through. This keeps things neat and makes it easy to pull out exactly how much ribbon you need.
Another way is to arrange several rolls standing vertically in a box or drawer. Each tube holds one ribbon spool, keeping them separate and organized. It’s almost like building compartments without buying special containers. Plus, when the rolls get squished or look worn out, you can just swap them without fuss.
Repurposing Shoe Boxes and Glass Jars
Shoe boxes can turn into practical ribbon storage with minimal effort. By cutting holes on the sides or lids, you can thread ribbons through, allowing easy access while keeping everything contained. Some crafters line the boxes with divider strips or even wrap tissue paper around the spools to keep things from moving too much inside. It’s not fancy, but it works well enough if you don’t mind a slightly rustic look.
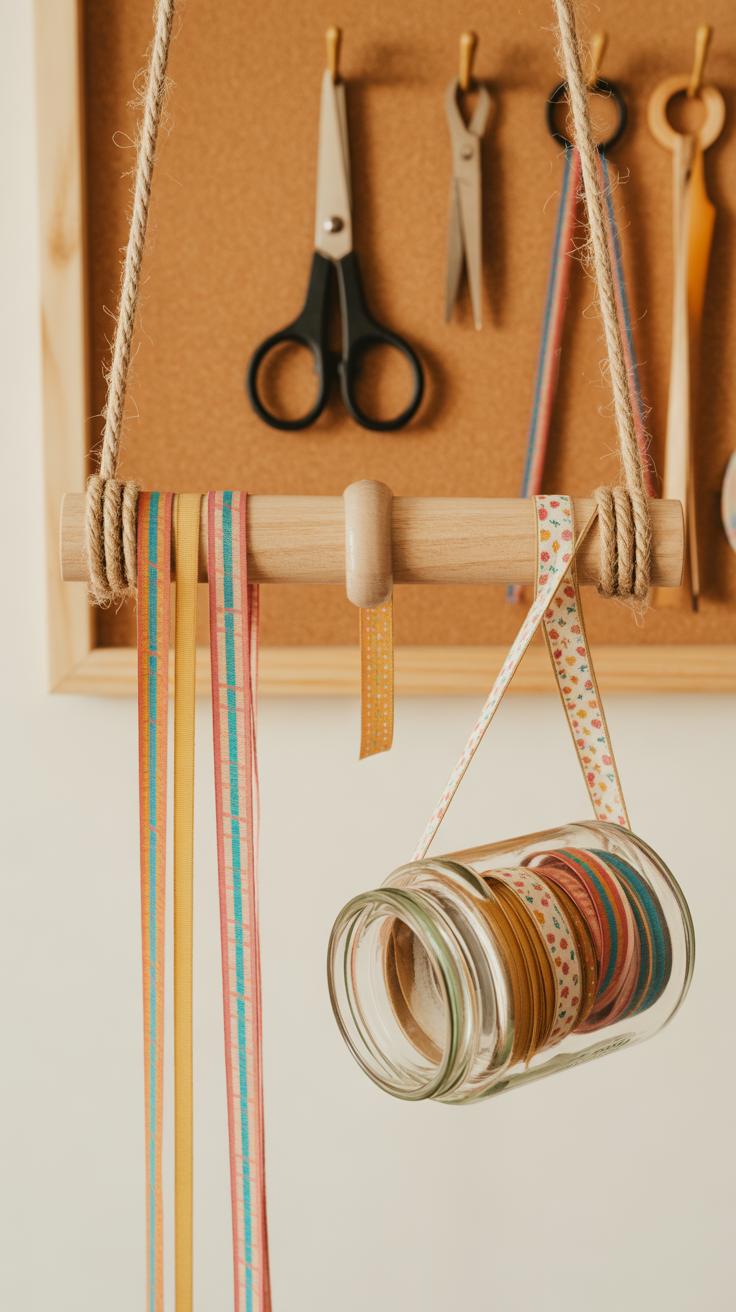
Glass jars offer a different kind of solution. If your ribbons are short or sample-sized, coiling them inside a jar is a neat way to keep them visible and contained. You can even stack smaller jars on shelves and label them. I’ve tried this and liked how the jars let you see colors quickly, though very long ribbons might not fit well unless you fold them or shuffle often.
WallMounted Ribbon Storage Solutions
Using Pegboards for Flexible Arrangement

A pegboard offers a surprisingly adaptable way to store ribbons. You can hang your ribbon spools on hooks, pegs, or even small rods, making it simple to see exactly what you have at a glance. What I like about pegboards is how easy it is to rearrange your setup as your collection grows or changes. Sometimes, I start with a neat row, but then add more ribbons or switch things around, and the pegboard handles that without fuss.
Plus, the visual accessibility matters more than you might expect. When everything is right there on the wall, it almost encourages you to use your ribbons more often. Just be mindful of spacing—you don’t want your ribbons too tight or falling off. You could even mix other tools or small baskets on the board to keep related items within hand’s reach.
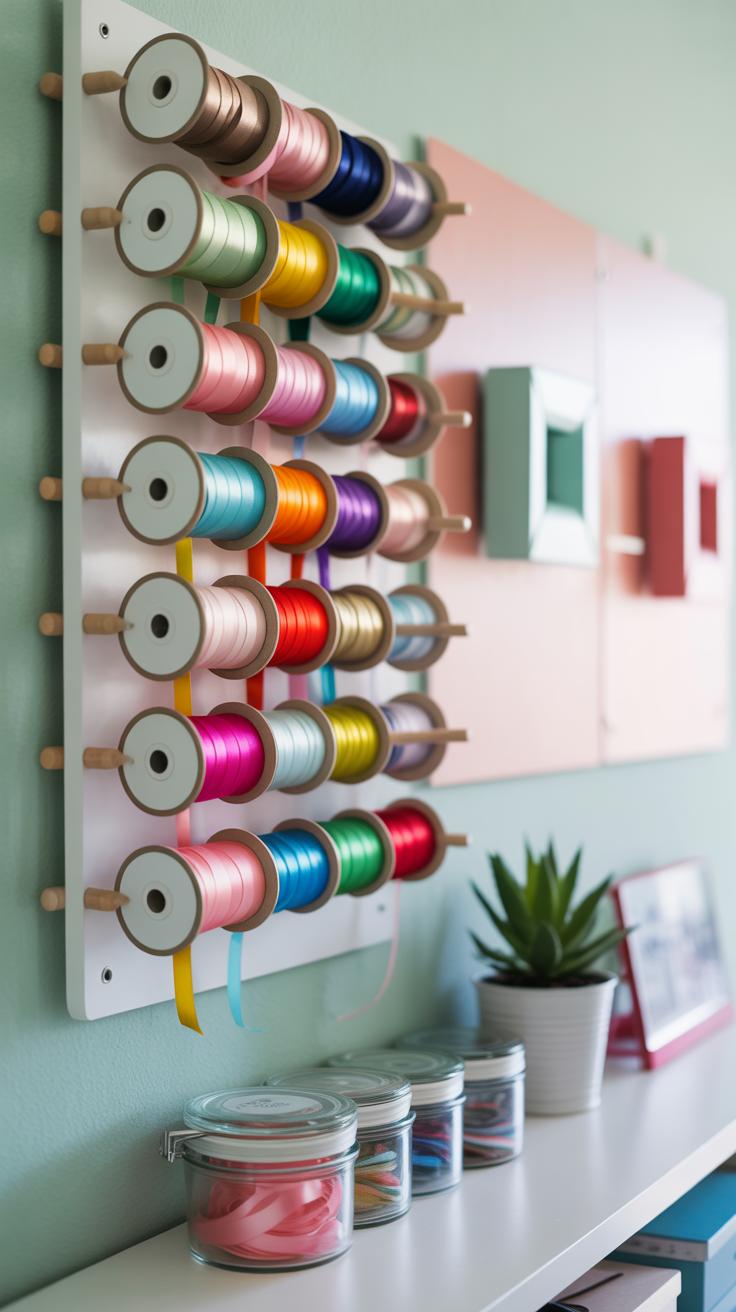
Installing Rods or Dowels to Hold Ribbon Spools
Mounting rods or dowels on your wall is another smart way to keep ribbons orderly. Basically, you screw two brackets into the wall and slide the dowel through your ribbon spools. This method saves shelf space and keeps ribbons from getting tangled. I once tried this inside a narrow shelf, which worked well for smaller collections. It’s a neat alternative if wall space is limited.
What might trip you up is finding the right length for your rods and sturdy supports. If the dowels sag, your ribbons will bunch up and lose that tidy look. In my experience, metal rods or thicker wooden dowels hold up better over time. This system also makes swapping out ribbons quick, no digging through bins needed.
Ribbon Storage Drawers and Dividers
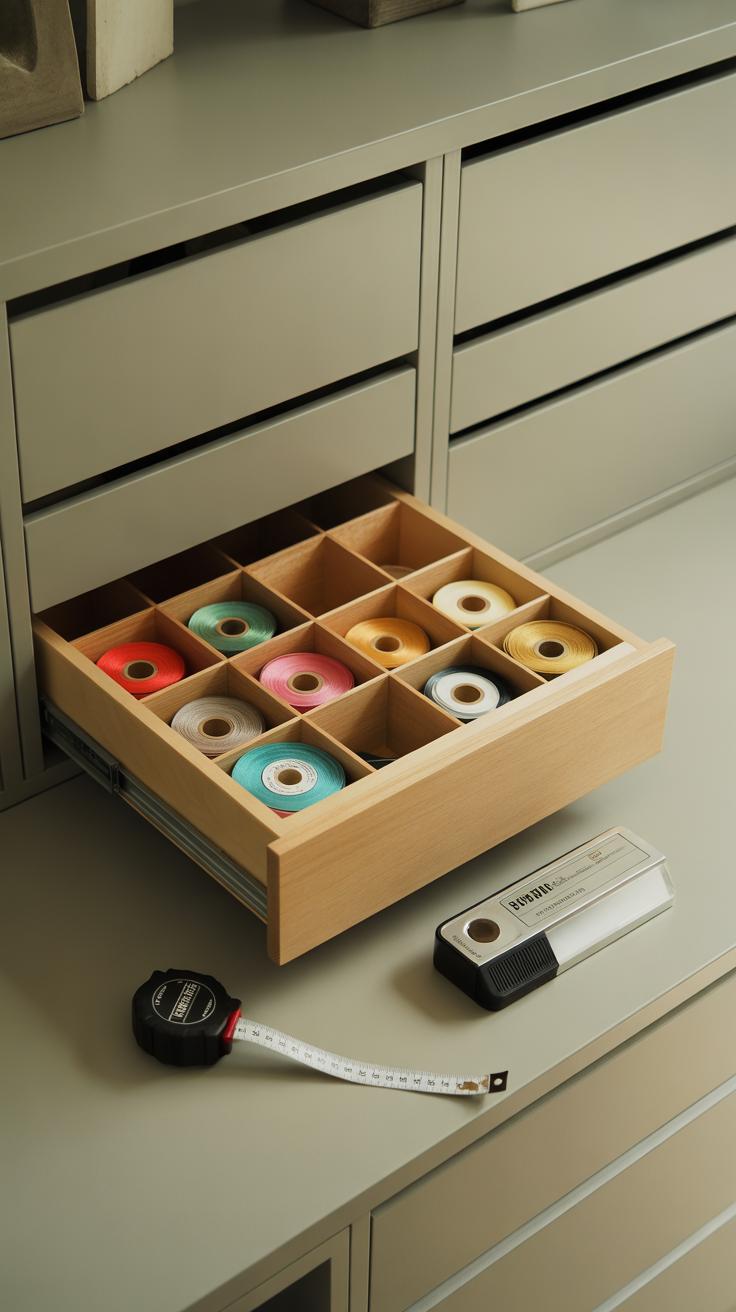

Drawers can offer a quieter, less visible option for storing ribbons, especially if your craft space needs a tidier appearance. Using drawers with dividers keeps everything organized inside, without the ribbons sprawling or tangling as they often do when piled up. I find that dividers really help you keep different ribbon types apart—like wired ribbons versus grosgrain or satin—so you don’t have to dig around to find the right kind.
Dividers come in various forms—wooden, plastic, or even fabric inserts—and can be adjusted or cut to fit the size of your ribbons. You might want to dedicate certain sections to wider ribbons, narrower trims, or seasonal colors. It’s surprising how much neater everything feels when each ribbon spool has its own “lane.” Plus, it stops the ribbons unwinding all over the place, which is a small but constant annoyance in my experience.
When choosing drawer sizes, think about how many ribbons you have and their typical width. Narrow drawers work well if you mostly store thinner ribbons or trims. For bulkier collections, wider and deeper drawers are better—they allow you to stack ribbons flat or lay them side by side. Sometimes a shallow, wide drawer feels easier to manage because you can see everything at once, but deeper drawers give you more capacity, albeit with a bit more rummaging.
Have you considered mixed drawer heights? Some racks have shallow drawers for thin ribbons and deeper ones for rolls or folded ribbon bundles. Finding the right fit isn’t always straightforward. You might have to experiment a bit before settling, but once you do, your ribbons become easier to find, less tangled, and your craft table stays cleaner without a mountain of ribbon rolls sprawled everywhere.
Portable Ribbon Storage Ideas


When you need to take your ribbons on the road, storage choices suddenly become trickier. Clear tackle boxes or craft cases can be surprisingly handy here. Their multiple compartments keep ribbons separated, preventing tangles or unwanted unspooling. Plus, you can see everything at a glance without digging around.
These boxes often come with adjustable dividers, so you can customize spaces to fit spools of different sizes. Some even have latches to secure the ribbons firmly in place during transit. I’ve found that tackle boxes with transparent lids work well because I don’t have to open several containers just to find the ribbon I want.
You might wonder about carrying bulkier ribbons, but folding or rolling them helps save quite a bit of space. Rolling ribbons and slipping them into small travel cases, like those designed for cosmetics or pencils, lets you fit more without chaos.
Rolling the ribbons also keeps them tight, preventing creases or folds that flat storage sometimes causes. There’s a small learning curve in rolling them neatly—if too tight, they might crease, if loose, they tangle. Still, this method keeps your toolkit light and flexible.
Do you carry your craft supplies often? Using portable containers shaped for ribbons might just change how you think about crafting on the go. It’s worth experimenting with different boxes to see what feels right. After all, portability doesn’t mean sacrificing order.
Preventing Ribbon Damage During Storage

Ribbons can be surprisingly delicate, so taking care when you store them pays off in the long run. Left unchecked, they can fray, lose color, or even gather dust that sticks to their fibers. I’ve found a few simple steps really help keep them looking fresh.
Avoiding Sunlight and Moisture Exposure
Sunlight is more harmful than you might guess. Even if it’s indirect light, prolonged exposure can fade the colors or weaken the material. That’s why storing ribbons in a drawer or box that doesn’t let light in really makes a difference. Moisture is another silent troublemaker. Damp environments encourage mold or make the ribbon sticky, which is the last thing you want. Keeping ribbons in a dry place, maybe with a small silica packet or two, is wise. If your craft room tends to be humid, maybe using airtight containers helps, though sometimes they trap moisture if not managed carefully.
Protecting Ribbon Edges and Preventing Unraveling
Ribbon edges are vulnerable spots. Left loose, they can fray or curl over time. This can look messy and make it harder to work with the ribbon later. To keep edges neat, I usually secure ribbon ends with a tiny dab of clear nail polish or a bit of fabric glue, but you might prefer tying small knots or using ribbon clamps—those tiny metal ones work well if you have them. Wrapping ribbons around cards or spools can help too because it limits movement and reduces abrasion. Sometimes, I find that carefully folding the ribbon and securing it with a pin (just a small sewing pin) helps keep edges intact. It isn’t perfect, but it works okay for shorter-term storage.
Ultimately, little habits like these add up. Ribbons don’t have to become a tangled, faded mess—they can stay as neat as when you first bought them, if you’re a bit mindful. It might feel like extra effort at first, but I think it actually saves time and frustration later on. Have you tried any of these tricks, or maybe discovered your own way to keep ribbons in shape? It’s surprising how small changes help keep your craft space as tidy as your supply.
ColorCoding and Theming Your Ribbon Storage

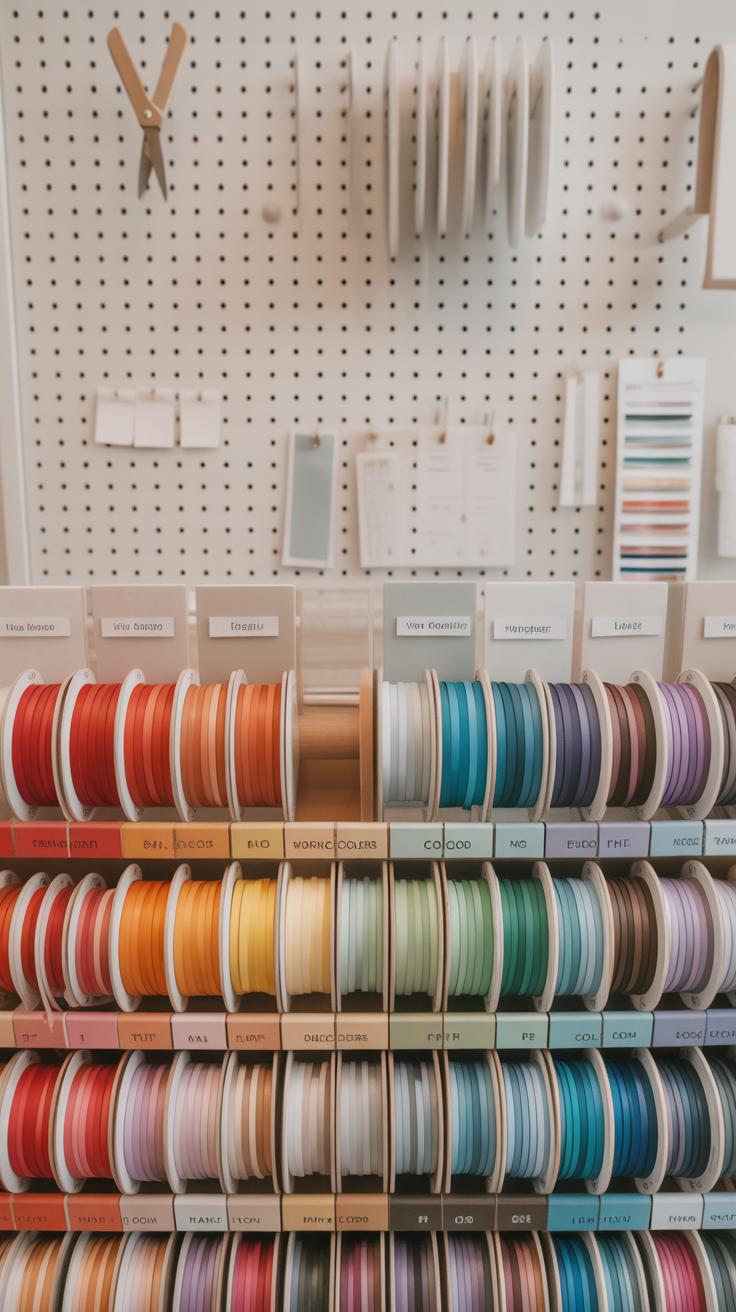
Sorting your ribbons by color and theme can change the way you approach crafting—maybe even simplify it more than you expect. When ribbons are grouped by color, you don’t waste time digging through a jumble. You almost instinctively know where to find exactly what you need. I remember once scrambling to match a blue shade for a project and wishing I had a clear system.
Arranging ribbons by color shades can be surprisingly satisfying. Think about lining up reds from soft pinks through to deep burgundies—that gradient makes quick matching easier. It’s like creating a mini rainbow in your craft space. Plus, having shades next to each other sparks creative combos you might not have thought of before. It’s not always perfect, though. Sometimes the shades overlap or don’t quite fit a neat category, and you end up guessing which spot feels right.
Beyond colors, organizing by seasons or project types adds another layer of practicality. Maybe you set aside a “holiday” section with reds, greens, and golds. Or a “wedding” area filled with creams and soft pastels. When your ribbons have a home based on when or where you’ll use them, your workflow becomes smoother. But isn’t it a little tricky deciding what fits where? I’ve caught myself debating if a ribbon should belong to “spring” or “floral themes.” It’s not exact science—it’s personal, really.
Try grouping your ribbons like this:
- Arrange ribbons in color order, from light to dark shades.
- Create seasonal clusters—fall, winter, spring, summer.
- Set up sections for specific projects—holidays, birthdays, weddings.
This approach makes project planning quicker. You might grab a red ribbon without hesitation because you know exactly where it lives. Also, themes help when you’re rushing or feeling uninspired—it nudges you toward ideas tied to the times of year or a particular craft.
Would color-coding and theming work for your craft style? It’s worth experimenting with, even if you adjust it as your ribbon stash grows. After all, a little mess sometimes leads to new ways of organizing that just click.
Maintaining Your Ribbon Storage System
As your ribbon collection grows, keeping it tidy can feel like a small challenge popping up now and then. It’s not just about finding space but staying honest with what you actually use. I find that setting a regular time—maybe once every couple of months—to go through your ribbons helps keep everything manageable.
When you sit down to sort, look out for ribbons that are faded, frayed, or simply haven’t been touched in a long time. Letting go isn’t always easy—it’s tempting to keep “just in case” pieces—but this habit frees up both space and your creative mind. Think of it as a gentle reset rather than a purge.
As new ribbons come in, your storage methods might not always keep up. Maybe your original system worked fine for a dozen rolls, but what about fifty? Don’t be afraid to tweak your setup, try new containers, or even create a fresh category. Sometimes this means mixing old ideas with new, or throwing out what no longer fits. It’s almost like your storage evolves alongside your crafting style—though, sometimes, it can feel like it’s two steps behind.
Remember, staying flexible with your storage keeps your space from feeling cluttered or overwhelming. It’s not about perfection, but about creating a system that works for you right now, even if it changes next month. How often do you check in on your ribbons? Finding what fits your routine may take a few tries, but it’s worth the effort.
Conclusions
Organizing your ribbons not only keeps your craft space clean but also boosts your creativity by making materials easy to find and use. You now have a variety of practical ideas to store ribbons based on your space and ribbon collection size.
Using these ideas, you can pick or combine methods to fit your style and needs. Keeping ribbons organized will save you time and frustration in your crafting projects. Start arranging today to enjoy a tidier and more inspiring craft space.