
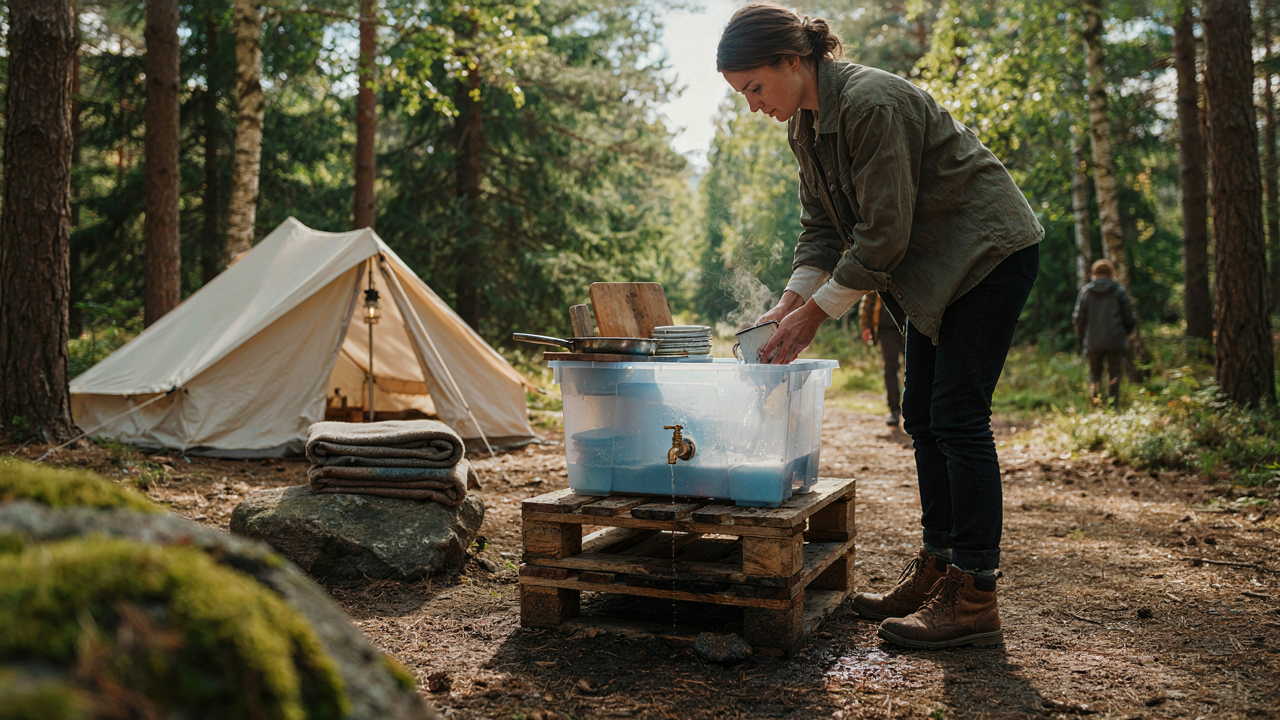
The Myth Of The Pristine Camp Kitchen
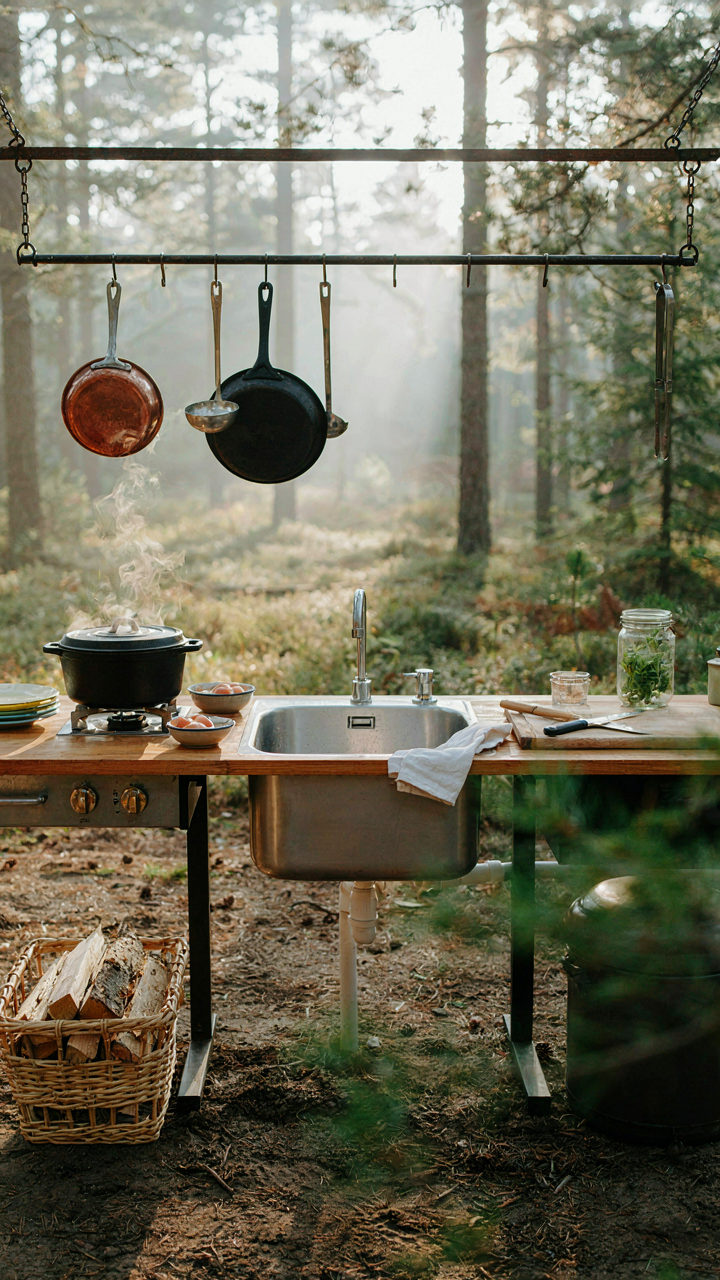
Hygiene Works Without Theater
You want people to see you as competent, which is why an elaborate sink feels safer than a simple one. The mechanism is basic: soap and water kill pathogens through mechanical action and surfactant chemistry, not through the sink’s aesthetic quality. A two-gallon jug with a spigot works identically to a polished stainless steel setup when it comes to actual pathogen reduction.
The consensus says you need multiple stations and tiered systems. Wrong. You need hot water, soap, a scrub surface, and a place to drain. Everything else is decoration masquerading as function. Giardia doesn’t care if your sink looks professional. Your hands become clean through friction, time, and soap contact. The water temperature matters. The sink’s Instagram appeal does not.
The Signaling Trap In Camp Gear
Status hierarchies emerge in outdoor spaces just like anywhere else. Economics calls this “positional goods” — objects whose value derives partly from being visible and scarce. The elaborate camp sink signals investment, permanence, and competence to other campers. This is real social currency, but it’s orthogonal to whether dishes actually get clean.
Most people conflate an upgraded sink with upgraded hygiene. They don’t correlate. A $300 sink and a $20 bucket produce identical bacterial die-off when both use hot soapy water and scrubbing technique. The upgraded sink catches attention and builds narrative about you. It does not improve outcomes. Your actual hygiene protocol — water temperature, soap choice, contact time, drying method — determines results. Build what you’ll actually maintain and clean daily, not what you’ll photograph once and abandon.
Diy Camping Sink Station: The Scarcity Principle
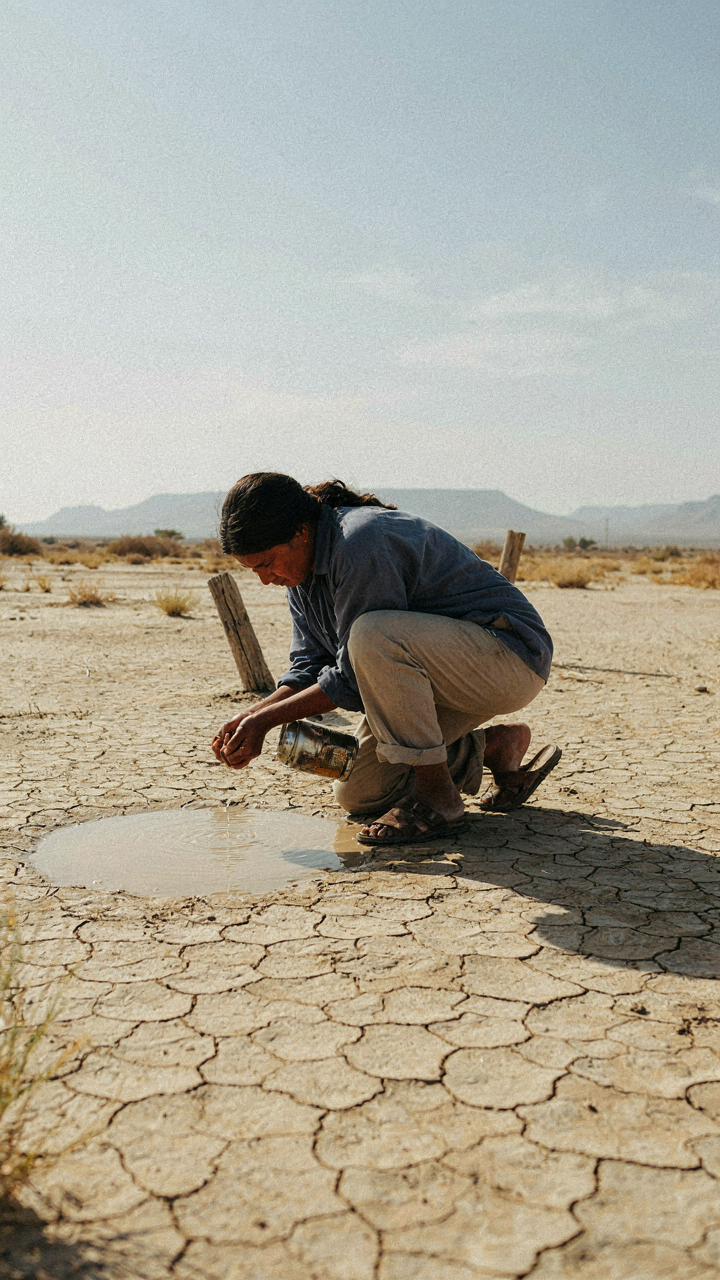
Water Rationing Forces Smarter Design

You want a camp sink because you’re tired of looking wasteful in front of others, but the real win is what happens when water becomes limited. Economics calls this the scarcity principle: when a resource shrinks, efficiency skyrockets because waste becomes visible and costly. A DIY camp sink built around limited water capacity doesn’t just save gallons. It forces you to design every angle of the cleaning process backward from constraint, not comfort.
The mechanism is simple. A 5-gallon reservoir demands you optimize spray patterns, basin depth, and drainage timing before you build. You stop designing for endless flow and start designing for one-gallon dish washing cycles. This isn’t deprivation. This is engineering discipline. Restaurants discovered this decades ago: smaller, metered water systems outclean massive setups because they eliminate sloppy habits. Your camp sink becomes a tool that works harder because it has to.
Limitation Breeds Functional Innovation
Most advice says “just make it bigger so you don’t run out.” Wrong. Bigger tanks enable lazy design and waste. Real innovation happens when you lock in a hard ceiling and solve backward from there. Military field kitchens and disaster relief camps operate under identical constraints: minimal water, maximum output. They don’t expand capacity. They redesign the workflow.
When you build your DIY sink with a fixed water supply, you start stacking functions instead of spreading them out. You add a grease trap before drainage, a two-basin system for wash and rinse instead of a single tub, and a catchment system that recycles gray water for the initial rinse. Each addition solves a problem created by the previous constraint. Build your sink with a 3-gallon wash basin, a 2-gallon rinse basin, and a drain valve you control by hand. This forces intention into every movement.
How To Make A Camping Sink That Actually Works
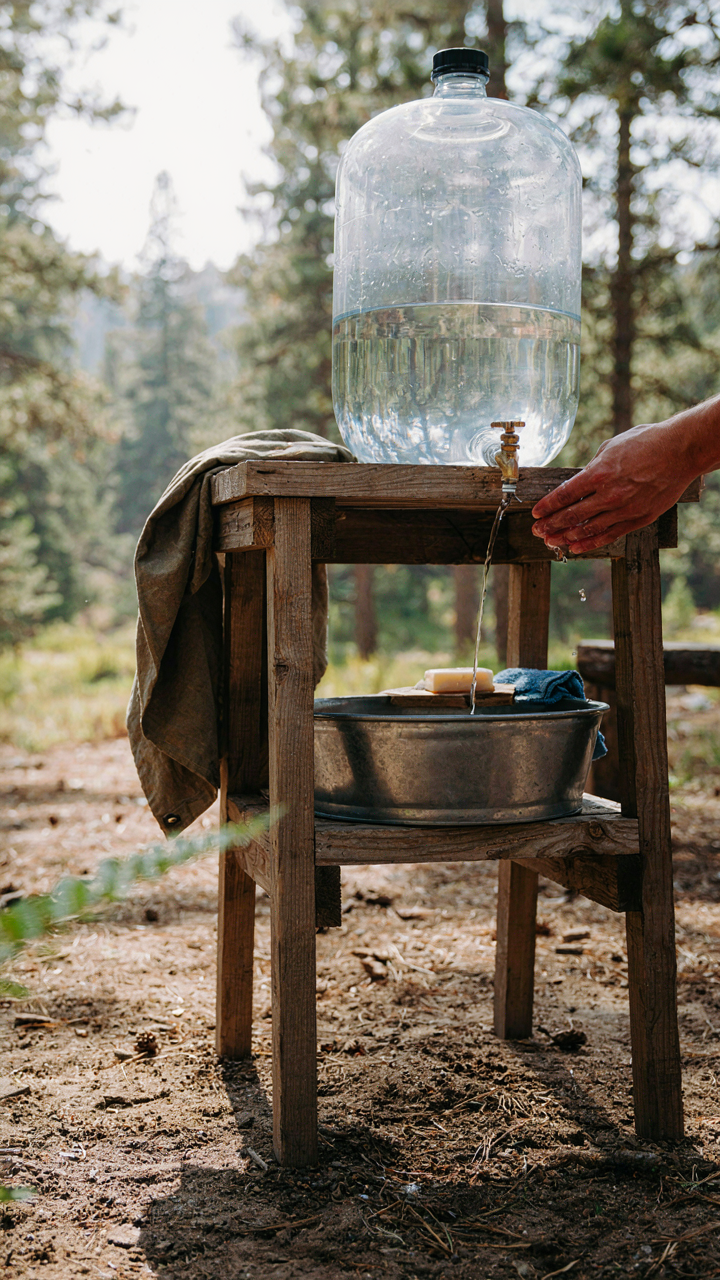
The Only Parts That Matter

You want a sink that won’t collapse after two uses and won’t make you feel like you’re roughing it. That’s the real ask here. The mechanism is simple: gravity moves water down, so you need a container above your work surface and a valve below it. Everything else is decoration. A five-gallon bucket, a spigot, and elevation do the job. The rest of camping sink advice treats this like it’s complicated when the physics hasn’t changed since 1890.
Start with a food-grade container between five and ten gallons. Larger means more water hauling. Smaller means constant refills. Drill a hole near the bottom and install a ball valve or camping spigot. The valve controls flow and keeps water from leaking while you travel. Mount this container on a stable frame or table so your hands fit underneath. Height matters because it determines water pressure and whether you can actually wash dishes without bending like a pretzel.
Building It Without Wasting Motion
The common advice here is wrong. Most guides treat this like a weekend woodworking project when you really just need stability and function. Don’t overthink the frame. Use PVC pipe, a wooden crate, or a folding camp table as your base. The frame exists for one reason: to hold the bucket off the ground so gravity does its job. You need at least 18 inches of clearance between the spigot and your basin for basic washing.
Attach the bucket to the frame so it won’t shift during transport or use. Heavy-duty straps or clamps work. Drill your spigot hole precisely one to two inches above the bottom of the container. This leaves sediment space and prevents you from clogging the valve. Drill a second hole near the very top with a small diameter for air intake when you’re emptying water. This stops vacuum lock and lets the sink drain smoothly without weird gurgling or stalling.
Diy Portable Camping Sink: Portability Over Pretense
Materials That Actually Travel

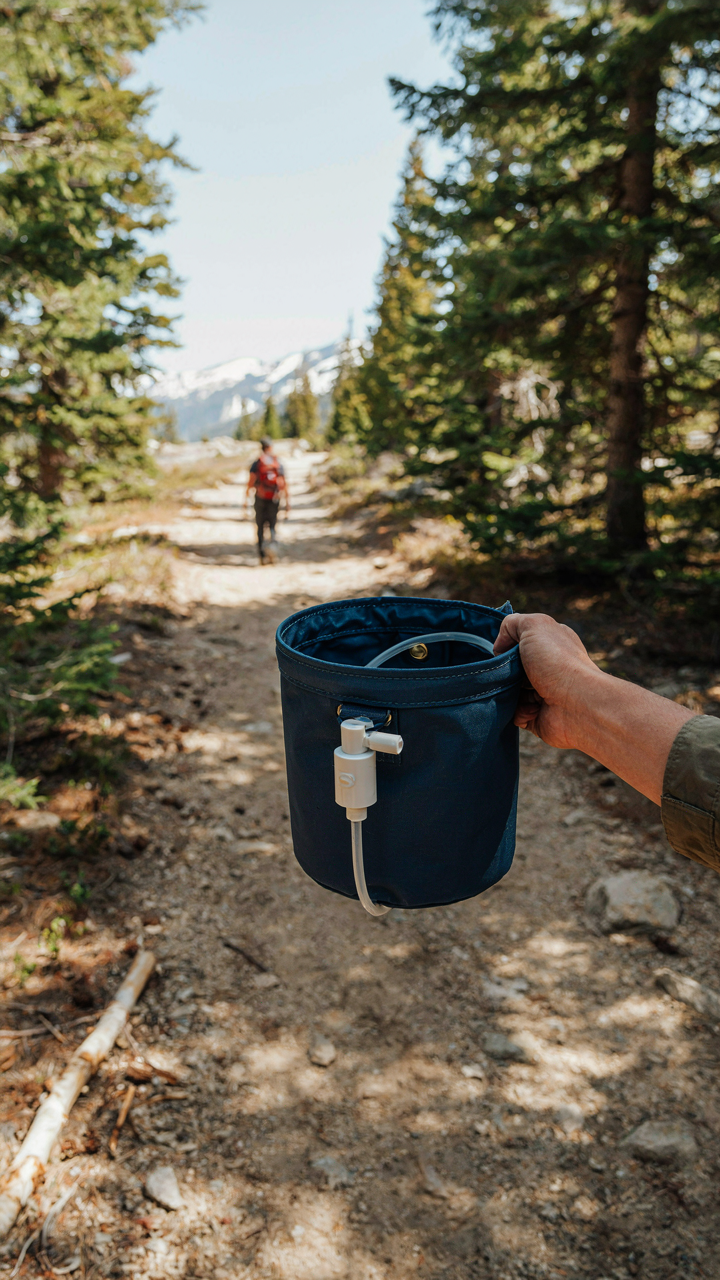
You want portability because you’re afraid your setup will be too heavy to move, and you’ll look stuck. The mechanism is simple: weight kills adoption. Materials science tells us that strength-to-weight ratio determines whether something gets used repeatedly or abandoned after trip one. Aluminum and food-grade plastic solve this directly. Aluminum doesn’t rust, resists dents, and weighs nothing. Food-grade plastic basins cost fifteen dollars and weigh under two pounds. Stainless steel looks tougher but adds three times the mass for zero functional gain in a camp setting.
Real portability means your sink breaks down into components that fit in a car door pocket or backpack side panel. Collapsible basins collapse to one inch thick. PVC frames disassemble with hand pressure. Handles should attach to the basin itself, not the frame, so you can carry just the basin if you’re running to the creek. The moment you need tools to transport your sink, you’ve built a permanent fixture, not a portable one. Test your design by loading it cold and moving it ten times. If you’re tired before trip two, redesign.
Footprint Design For Actual Camps
The real constraint is camp space, not your preferences. Most established campsites have one fire ring and five square meters of usable ground. Your sink can’t own that space. Vertical stacking solves this: mount your basin on a collapsible stand so it sits waist-high, freeing ground area for sleeping, cooking, and movement. A two-by-three-foot footprint is the ceiling for most situations. Anything larger blocks traffic patterns and creates friction with group dynamics.
Fold the stand completely flat when not in use. The basin nests inside the stand legs. This single assembly takes ninety seconds to deploy and thirty seconds to collapse. Campsite setup speed directly affects whether people actually wash dishes or skip it entirely. The easier the sink deploys, the higher compliance with hygiene becomes. Your design wins when cleanup happens without negotiation.
The Minimalist’s Camp Sink Protocol
Scrape, Wash, Rinse—Nothing Else Works

You want a system that sounds effortless so you feel like camping is relaxing instead of labor disguised as leisure. The real mechanism is this: grease and food particles don’t dissolve in water. They float. If you skip the scrape step, you’re pushing grease into your rinse water, which then contaminates your disposal area or sits in your gray tank. Scraping first removes 80 percent of the problem before soap even touches the pan.
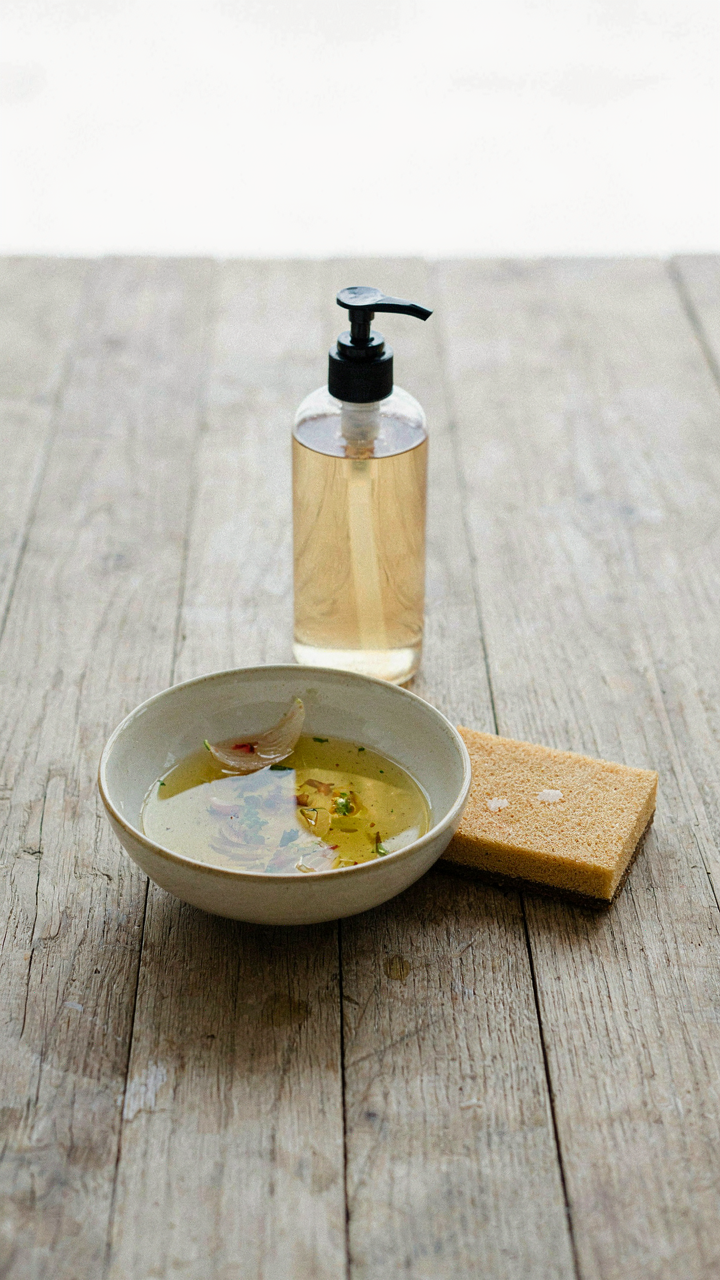
Wash in one basin with hot water and biodegradable soap. Use a scrub brush or cloth, not your hands. Rinse in a second basin of clean water, or run water over the dish if you have flow from your camp sink setup. This separation prevents dirty wash water from diluting your rinse, which means less soap residue stays on cookware. Soap film causes your next meal to taste like detergent. Three distinct steps, no shortcuts.
Greywater Disposal That Doesn’t Wreck The Site
Common advice tells you to just dump water far from camp. That’s incomplete. The mechanism comes from soil science: soil filters particulates and breaks down organic matter only when water moves through it slowly. Dumping a gallon of greasy dishwater in one spot creates a standing pool that kills vegetation and concentrates bacteria.
Strain all solids through a mesh screen first. Food particles belong in a waste bag you pack out, not in the soil. Disperse strained water over a wide area at least 200 feet downhill from your water source and camp—this distance matters because it forces filtration through soil layers. Pour slowly over several minutes rather than all at once. Never dump dishwater into streams or lakes. Dispersal kills nothing; concentration does.
Diy Camp Kitchen With Sink: Integration, Not Isolation
Where Your Sink Actually Lives

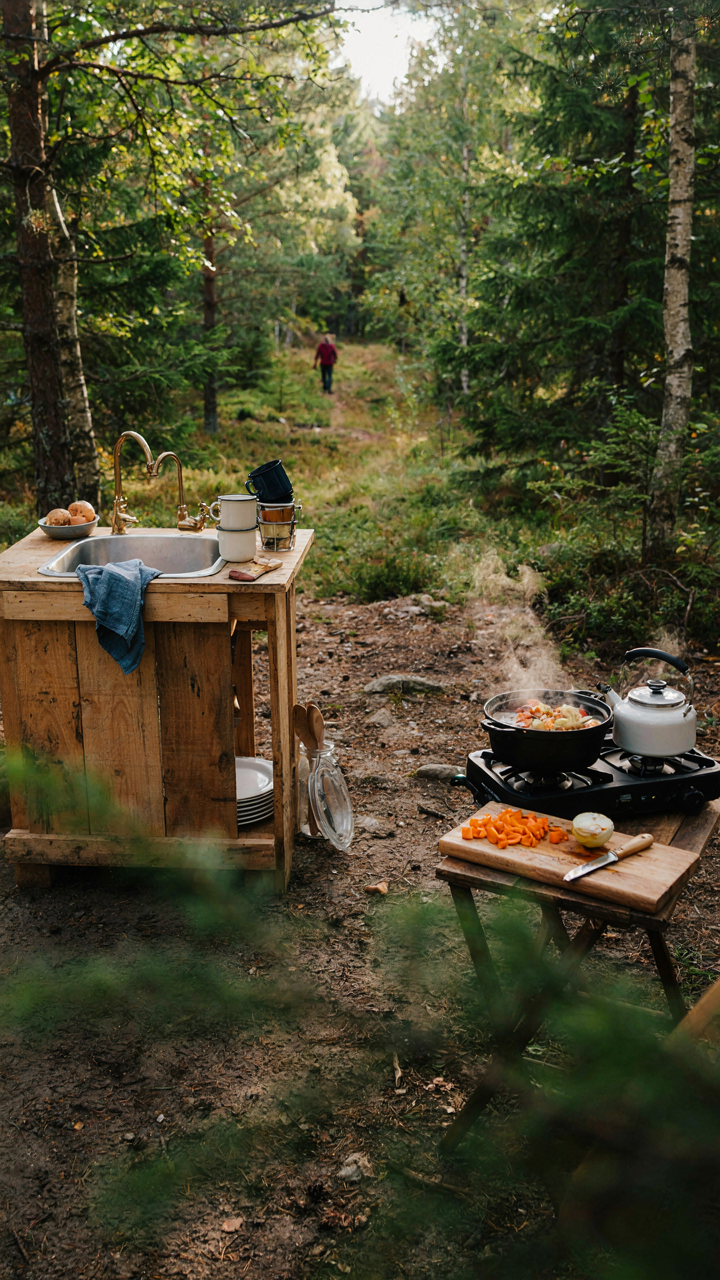
You want a dedicated sink station because it feels organized and separate from where you eat and sleep. That’s the fear talking—fear of cross-contamination, mess spreading, the camp looking chaotic. Here’s the mechanism: in systems design, we call this “spatial adjacency.” Your sink works only when it connects to the water source, the food prep area, and the waste system. Isolating it breaks all three flows.
Most people build a sink and then realize they’ve created dead space. The sink sits ten feet from where they prep food, which means multiple trips carrying dirty dishes through camp. They’ve optimized for appearance instead of function. Your sink should live where the work actually happens—at the edge of your food prep zone, close enough that you can hand a plate directly from prep to wash without moving your feet.
Connect The Work, Not The Aesthetics
Forget zone thinking. What moves through your camp is not people—it’s water and dishes and food waste. Treat your sink as a processing hub, not a destination. The input is dirty dishes and hands. The output is clean dishes and gray water that needs containment. Everything else is decoration.
Build your sink where gravity, distance, and frequency intersect. If your stove sits north of your food table and your trash bin sits south, your sink goes between them. The three-point triangle minimizes walking and prevents you from dripping water across your entire setup. This isn’t theory—it’s how commercial kitchens are laid out, scaled down. Stack your functions vertically when space allows: water source above the basin, waste below. One footprint. One operational zone.
Diy Camping Sink Setup: The Over Engineering Trap
What You Actually Need Vs What You Think You Need

You want to feel prepared. That’s the real reason you’re reading this section. Preparedness feels like control, and control feels like safety. Here’s the mechanism: your brain equates feature count with capability. More parts equal more confidence, even when most parts solve problems you’ll never face. A camp sink does one job: hold water for washing. Everything else is negotiation with complexity.
The common advice says build modular, add drainage, include storage, mount a mirror, and prep for edge cases. That’s incomplete. Most builders add features because they saw someone else build them, not because field conditions demand them. Your actual sink needs a container, water source, and gravity. Everything beyond that trades simplicity for scenarios with low probability and high maintenance cost during trips when you’re already tired.
The Preparedness Illusion Through Added Gadgets
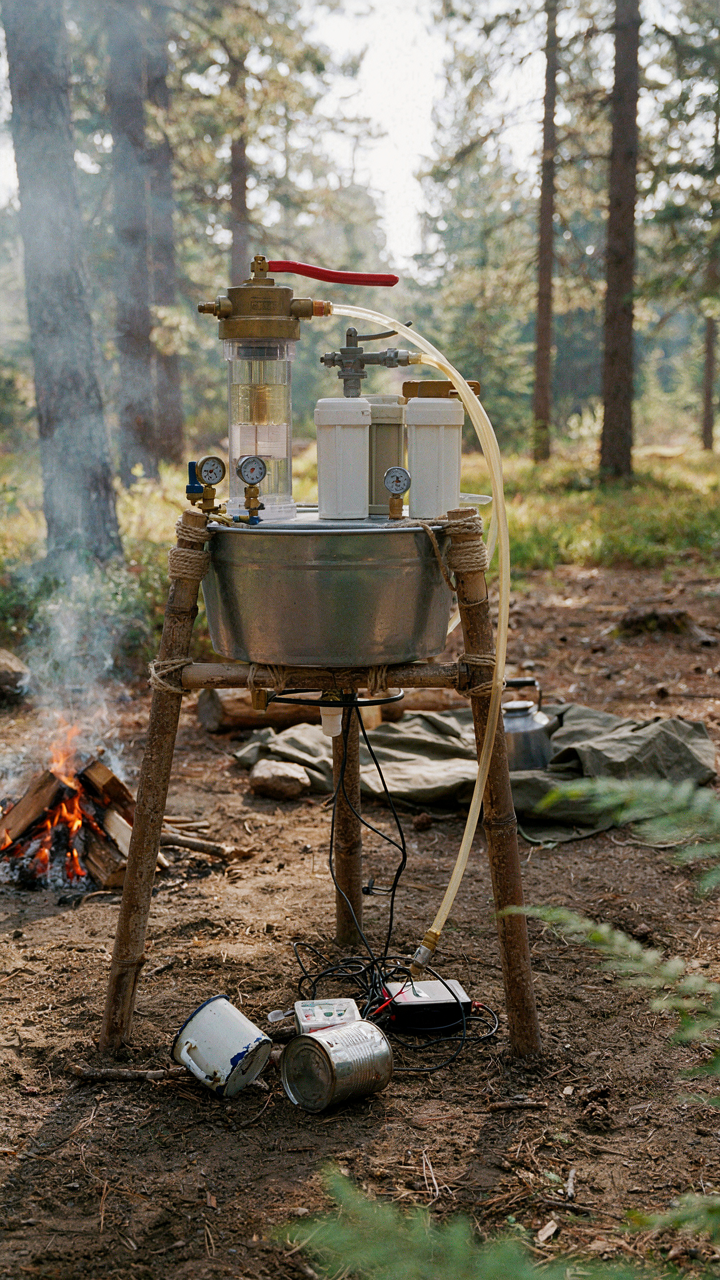
Systems thinking teaches us about “coupling”—how dependent one part becomes on another. A DIY camp sink couples together when you add a pump, a filter, a heating element, dual drainage ports, and a foldable mirror. Each addition increases failure points. One cracked fitting or clogged line derails the whole setup. You brought more tools to fix the tools than tools to do the actual work.
The trap is real: gadgets feel like solutions because they exist and they’re purchasable. A spray nozzle makes you feel professional. A heated water option makes you feel prepared for cold weather. Neither addresses that boiling water in a kettle costs less, weighs less, and fails less often than a heating element running on a portable battery. Strip the sink to foundation. Add only what breaks when absent, not what improves when present.
Camp Sink DIY: Materials That Don’t Fail
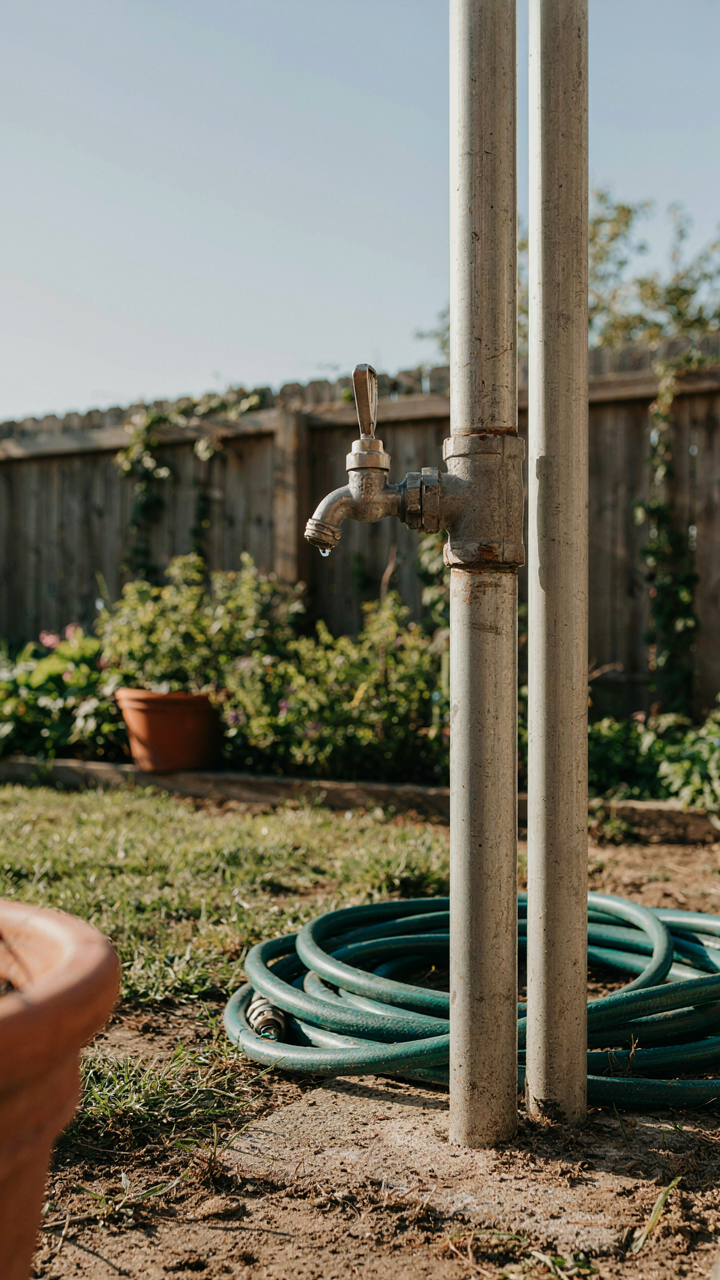
The Materials That Actually Survive

You want this to work without replacing parts every season because buying new gear feels like failure. Here’s the mechanism: materials fail when they experience repeated temperature swings, UV exposure, and contact with minerals in water. Pick materials that tolerate these conditions instead of fighting them.
- 5-gallon food-grade buckets: Polyethylene handles temperature shifts without cracking. Food-grade means no chemical leaching into wash water. Cost under 5 dollars per bucket.
- Stainless steel fittings and spigots: Won’t corrode from mineral deposits or saltwater spray. Marine-grade hardware costs more upfront but lasts years without rust bloom.
- PVC pipe schedule 40: Rigid enough to support weight, resists UV degradation better than schedule 20. Glued joints outlast compression fittings in freeze-thaw cycles.
- Brass ball valves: Handle temperature extremes without seizing. Solder joints create permanent connections that won’t leak after vibration during transport.
- Rubber gaskets from hardware stores: Buy silicone or EPDM, not cheap vinyl. Replace them yearly if used constantly. Cost is negligible compared to replacing the whole assembly.
The real constraint isn’t material choice but installation method. A stainless steel spigot on a cracked PVC fitting fails just as fast as cheap components. Invest in proper drainage, secure all connections with mechanical fasteners or solder, and test the entire system before your first trip.
Why Flimsy Components Cost More
Everyone knows plastic breaks, but they build with it anyway because it’s lighter to carry. That’s not the real trade-off. Flimsy components force you into the worst economic pattern: repeated small purchases instead of one solid investment.
A cheap spigot leaks at the threads, you replace it. The basin cracks under weight, you buy a new bucket. The fittings strip, you source emergency replacements. After three seasons of incremental failures, you’ve spent more than a commercial rig costs. Worse, you’ve wasted time troubleshooting instead of camping. Single-use mentality in gear design means the product succeeds when it fails, because failure drives repeat sales. Build for permanence instead. Use soldered or bolted connections. Choose materials rated for 10 years of seasonal use, not one trip. Test your sink under load at home before you leave. The mechanism is simple: durability requires upfront precision, not periodic replacement.
How To Build A Camping Sink: Beyond The Blueprint
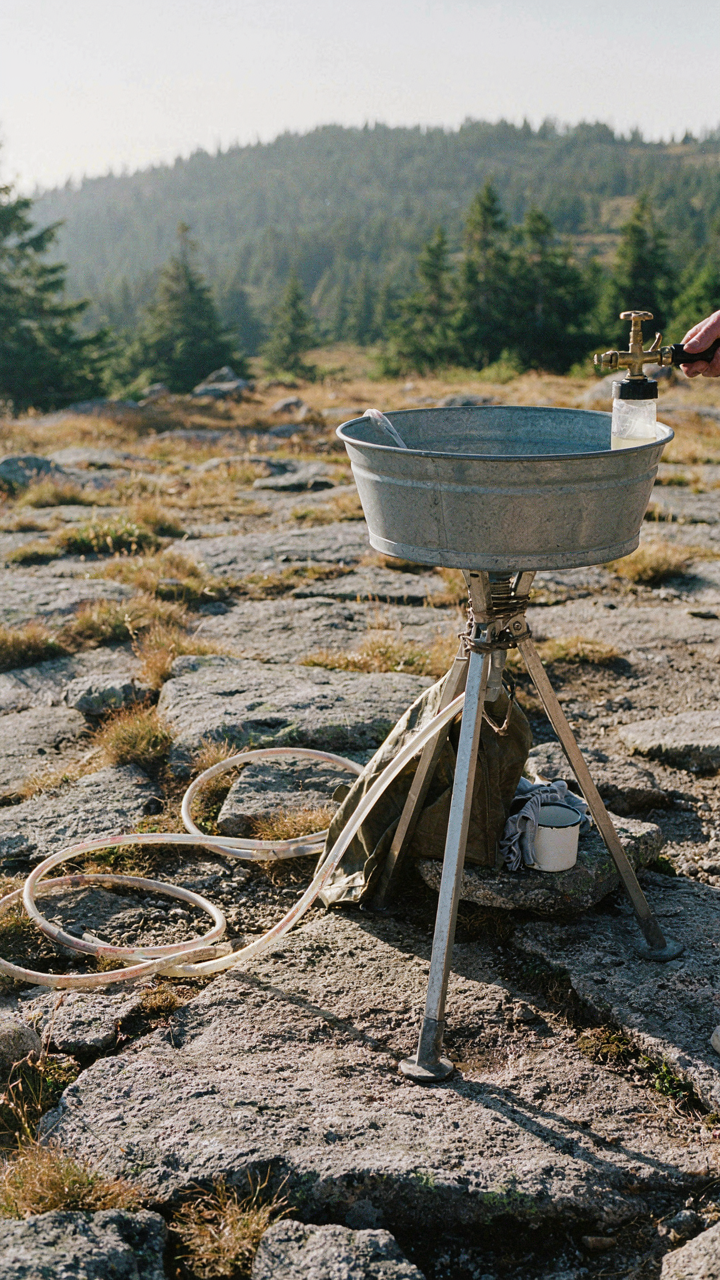
One Design Fits All Terrain

You want a sink that works everywhere because the alternative is admitting your setup won’t survive contact with reality. That’s the real mechanism here: a rigid design fails the moment conditions shift. Adaptability in camp sink design borrows from systems thinking in engineering. You’re not building one sink; you’re building a system with variable inputs. Water source changes. Ground slopes. Group size fluctuates. Weather turns hostile.
The practical move is designing around constraints, not denying them exist. A modular basin works in dirt, sand, and rock. Adjustable height saves you from building twice. Collapsible components pack small but scale up. Water supply connects to whatever source you find, not what you hoped for. Test your sink in three different terrain types before calling it done. That’s when you know whether it adapts or just looks flexible on paper.
What A Custom Solution Actually Solves
Most people think a custom sink saves money. Wrong. It saves time and removes friction from the part of camping that breaks people’s trips. A store-bought portable sink works fine if you never use it. A custom build forces you to think through your actual workflow: where water comes from, how you drain gray water, where your hands go while wet, how you access soap. These specifics matter because they determine whether you’ll use it or abandon it halfway through a trip.
The real value lives in the details nobody mentions in generic guides. Your sink integrates with your camp layout, not against it. It survives your specific weather patterns. It holds the exact amount of water your group needs. You know every joint, every seal, every failure point because you built it. When something breaks, you fix it in minutes. That’s not luxury. That’s operational competence.
The Real Problem Isn’t Your Sink Setup; It’s Your Fear Of Looking Unprepared

Most people don’t build a diy camp sink because they’re waiting for perfect plans or the right materials. They’re waiting to feel ready. That feeling never comes. The shift happens when you stop treating a camp sink like an achievement and start treating it like a tool you need. Grab a bucket, a spigot, and two hours this weekend. Build the thing. You’ll learn more from one broken attempt than a hundred articles about what could go wrong, and the only way to look prepared is to actually be prepared.



