
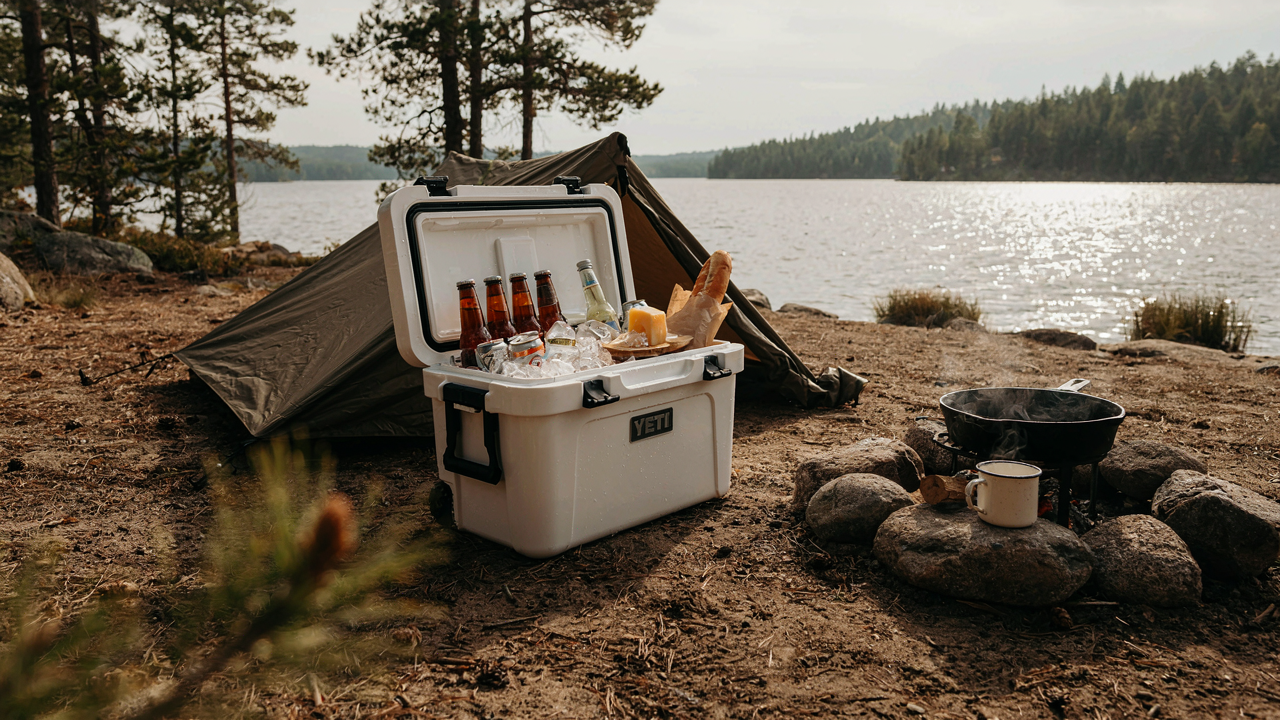
The Pre Chill Protocol: Why A Cold Start Isn’t Optional
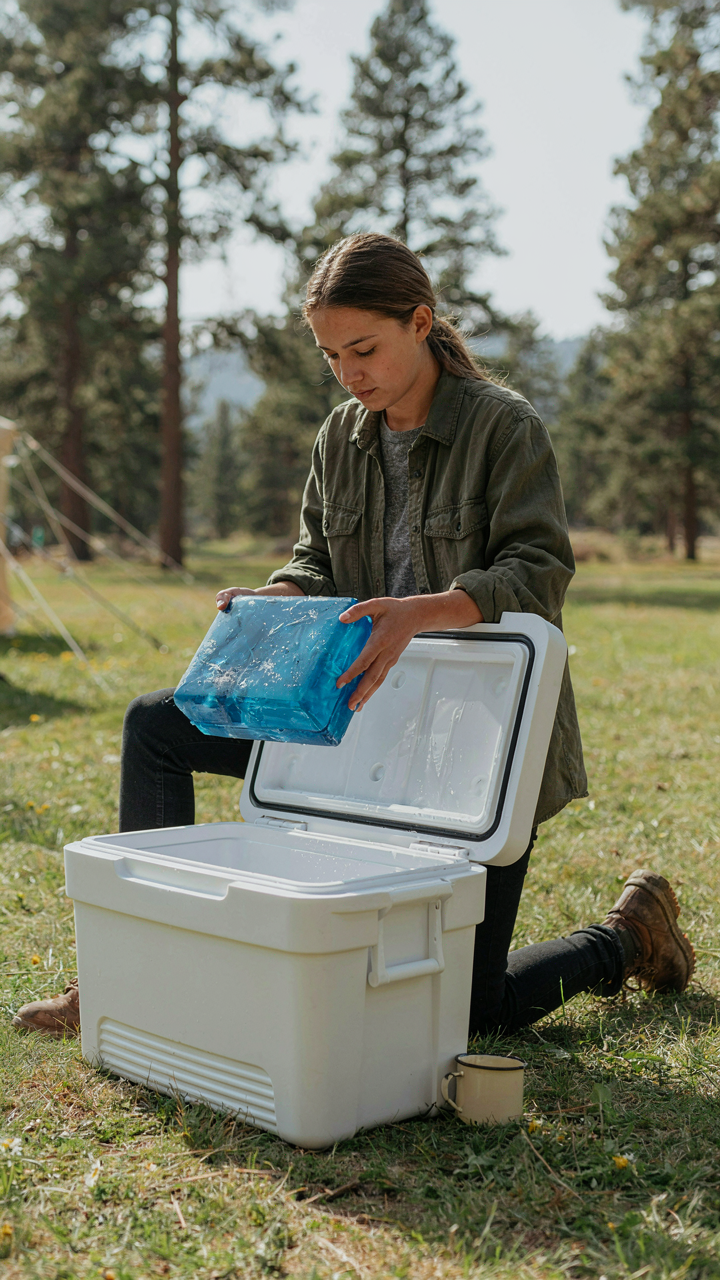
Start Your Cooler Before You Pack It
You want to feel like you made a smart decision without actually changing your behavior. That’s the real reason most people skip this step. Here’s the mechanism: a cooler at room temperature is a heat sink. When you load warm food into it, the cooler itself absorbs energy from that food. You’ve just wasted your ice’s cooling capacity on the walls instead of your groceries.
Pre-chilling works because thermal mass matters. Freeze your cooler overnight in a standard home freezer, or pack it with sacrificial ice (cheap ice you discard before loading real food) for four to six hours minimum. The cooler’s internal surfaces reach near-freezing temperature. When food enters, the cooler no longer steals heat from it. Your ice now extends food life, not fight a losing battle against physics.
The Longevity Equation
A pre-chilled cooler extends food safety windows by 50 percent or more compared to a room temperature one. This isn’t theoretical. The ice you bring melts slower because it’s not fighting thermal equilibrium. You start with an advantage instead of a deficit. Your food stays in the safe temperature zone longer, which means fewer bacterial growth hours and fewer decisions about whether that chicken is still good.
A cold start also compresses your ice melt rate into a predictable timeline instead of a variable one. Room temperature coolers reach thermal balance in hours. Pre-chilled coolers maintain cold for days. Pack your cooler cold. Set it in the shade. Minimize lid opens. That’s the protocol that works.
Ice Block Dominance: Ditch The Cubes For Lasting Chill
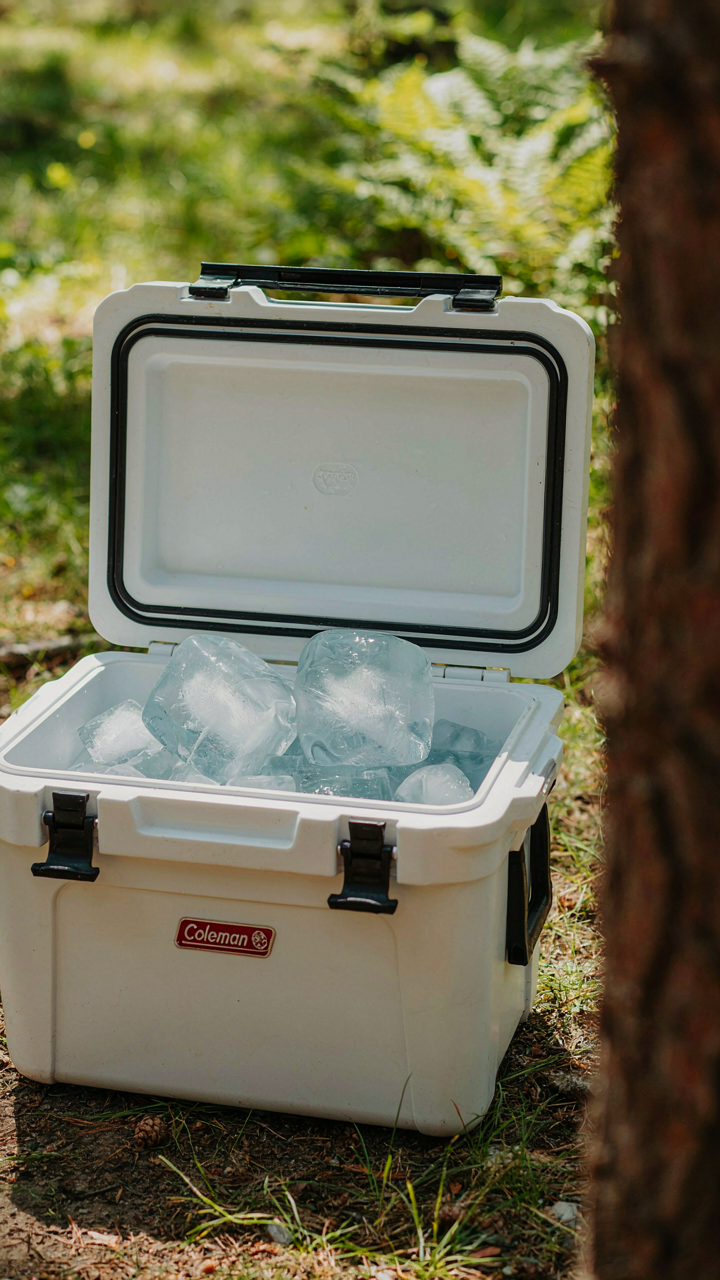
Why Ice Blocks Beat Cubes

You want to feel smart about camping prep without actually doing real work. Here’s what matters: thermodynamics teaches us about surface area to mass ratio, and ice blocks exploit this principle while cubes waste energy. A single large block has less surface exposed to ambient air than dozens of cubes, which means slower melting. Cubes also melt faster because they’re surrounded by gaps that let warm air circulate. One block replaces the job of thirty cubes while doing it better.
Ice blocks maintain cold longer because their dense structure resists fracture and separation. They don’t shift around the cooler, don’t create air pockets, and don’t leave you fishing through slush for your food. The mass works for you instead of against you. Most people choose cubes out of habit, not because they’ve tested the alternative. That’s the real hack: stop doing what everyone else does without thinking.
Freezing Containers Into Weapons
Forget buying commercial ice blocks. Make them from containers you already own. Fill milk jugs, plastic water bottles, or rectangular food storage containers with water and freeze them solid for 48 hours minimum. The container becomes your weapon because it’s reusable, it doesn’t require trips to buy ice, and it doubles as a water source as it melts. You’re not inventing something new here—you’re just applying industrial cold chain strategy to a camping trip.
The mechanics are straightforward: water expands when frozen, so fill containers only three-quarters full to prevent cracking. Lay them flat during freezing so they pack efficiently into your cooler. Square containers stack better than round ones and waste less space. Start freezing 72 hours before your trip to ensure complete solidification throughout. A gallon milk jug frozen solid keeps its cold for 24-36 hours depending on ambient temperature and cooler quality. That’s your baseline. Build from there.
The Stratification System: Layering For Optimal Cold Retention
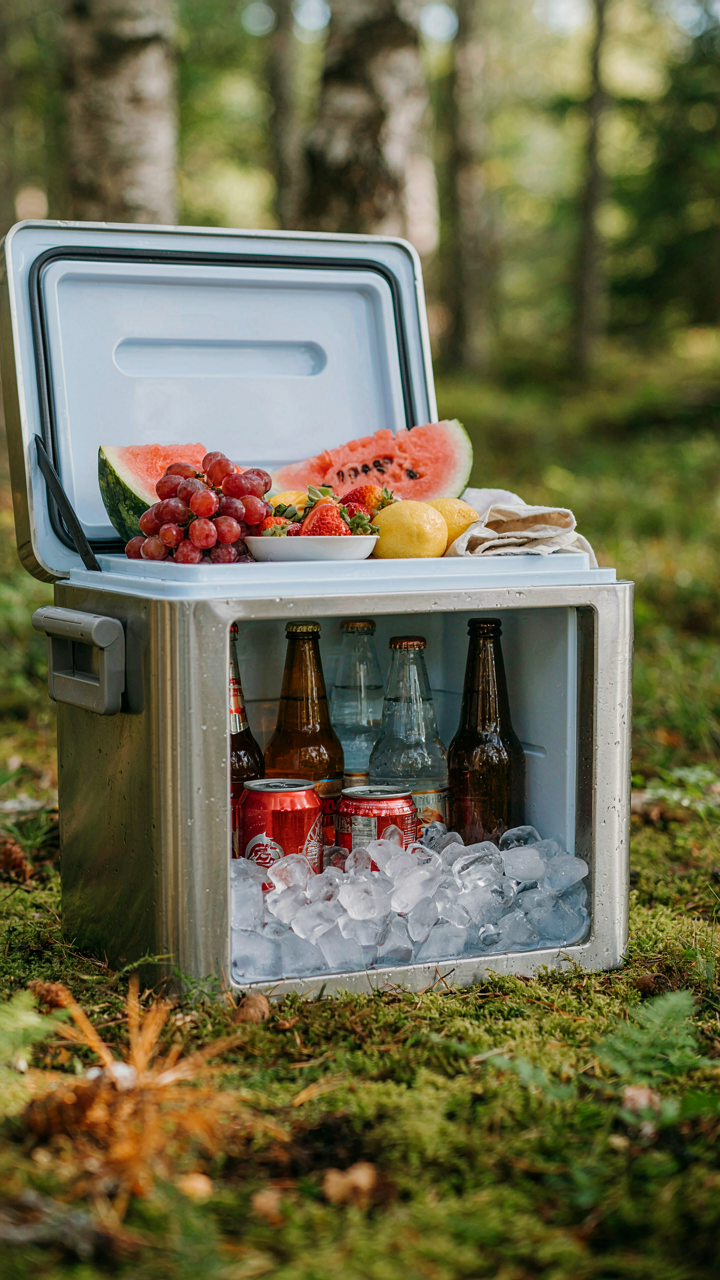
Cold Sinks Proper Placement Of Ice And Food

You want your cooler to work longer because you’re tired of throwing away spoiled food and wasting money. That’s the real motive. Here’s the mechanism: cold is a thermodynamic property, and in a cooler, it behaves like a fluid in a container. It sinks. Ice doesn’t distribute cold evenly through magic. It creates a cold zone at the bottom, and warm air rises above it. Your job is to exploit this.
Place ice on the bottom layer, not mixed throughout. Use block ice or frozen water bottles rather than cubed ice because they melt slower and create a sustained cold zone. Food sits on top of this layer, insulated from direct ice contact. The cooler’s bottom stays coldest longest. Never pack ice on top of food expecting it to work downward. That violates how thermodynamics actually operates. Build your cooler from the ground up: ice first, then a barrier like a towel, then food.
Food Separation Dry Versus Wet Storage
Most cooler advice treats all food as one mass. It isn’t. Dry items like bread, crackers, and packaged goods absorb moisture from melting ice. Wet items like raw meat and produce release their own moisture as they warm. These two storage types compete for the same cold space and contaminate each other. Separate them physically.
Create two zones in your cooler using a divider, shelf, or even a plastic bag. Wet storage sits lower where cold persists longer and condensation drains. Dry storage sits higher where moisture from below doesn’t soak into it. This separation also prevents cross-contamination. Raw meat stays away from ready-to-eat food. Items thaw at different rates, so monitoring becomes easier. The practical protocol: place a plastic shelf or mesh divider one-third up from the cooler bottom, put wet items below it, dry items above it, and replace the divider every two days if ice melts heavily.
Understanding Heat Transfer: A Thermodynamics Primer For Cooler Masters

How Heat Actually Enters Your Cooler

You want to understand this because most cooler advice treats heat transfer like magic instead of a solvable problem. Here’s what matters: thermodynamics names three mechanisms of heat movement, and your cooler gets attacked by all three simultaneously. Conduction moves heat directly through materials when they touch. Warm air outside the cooler conducts through the walls and lid into your ice. Convection circulates that warm air around the cooler’s exterior, constantly delivering fresh heat to the surface. Radiation beams heat from the sun straight through the atmosphere and into dark surfaces. You cannot stop all three, but naming them is the first step to blocking them strategically.
The reason cooler design exists at all is because manufacturers solved these three transfer modes in sequence, not as afterthoughts. Polyurethane foam interrupts conduction by creating dead air pockets between the warm outside and cold inside. Proper sealing and gaskets block convective air from finding cracks and weak points. Light colors and reflective surfaces reject radiant heat from sunlight before it penetrates the material. Most people think thick insulation is the answer. That’s incomplete. Thickness helps, but the material type and surface treatment matter more because they address the mechanism, not just the symptom.
Insulation Stops Heat Gain Before It Starts
The real principle here comes from building science: insulation works by resisting the rate of heat transfer, measured as R-value. Your cooler doesn’t have an R-value printed on it, but it has the same thermal resistance principle built into its walls. More insulation thickness creates more thermal resistance, but only if the material itself resists heat flow. Cheap coolers use thinner foam or poor-quality materials that conduct heat faster. A six-inch foam wall outperforms a three-inch wall, but only because the additional material slows the conduction path.
Minimize heat gain by sealing every path heat can take into the cooler. Gaps around the lid seal allow convective air movement. Thin walls allow conduction straight through to your ice. Direct sun exposure maximizes radiation absorption. The protocol is simple: use a cooler with sealed gaskets, place it in shade or cover it with a light-colored blanket, and keep it out of direct airflow from fans or wind. These actions don’t feel technical, but they’re the application of basic thermal resistance.
Airspace Management: The Unseen Enemy Of Cold Retention
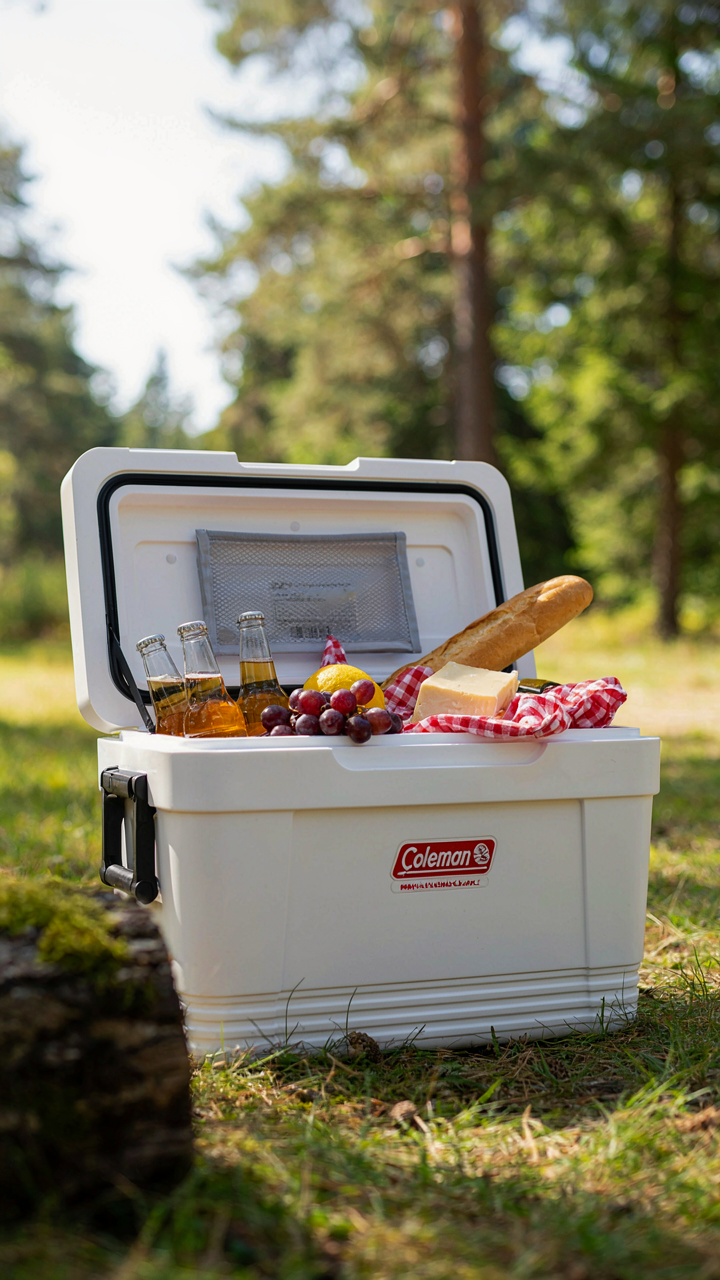
Minimize Air Pockets Through Strategic Packing
You want to believe your cooler setup is good enough. It’s not, because air is a terrible insulator, and every gap you leave is a thermal highway for warm air to circulate and destroy your ice. This is thermodynamics applied to coolers: density equals retention. Pack items directly against each other and the cooler walls with no gaps.
Start by placing large items first—meat, beverages, solid food blocks. Then fill remaining voids with smaller items: condiments, produce, cheese. Stack vertically when possible. The goal is zero wasted interior space. A cooler packed loose will lose temperature three to four times faster than one packed tight because air pockets create convection currents inside the box. Cold air settles, warm air rises, and gaps let them swap places freely. Eliminate the gaps and you eliminate the cycle.
Fill Remaining Gaps With Insulative Material
Most people skip this step or do it wrong. Crumpled newspaper or old towels aren’t just filler—they’re secondary insulation that traps dead air and blocks convection. This is how insulation works in construction: stationary air pockets resist heat transfer better than moving air. Place these materials wherever gaps remain after packing food.
Stuff towels or newspaper between food items and along the cooler’s interior walls. Focus on the top layer before closing the lid, since heat rises and escapes from above first. The material should be snug but not compressed so hard it loses its air-holding structure. This single move extends ice retention by eight to twelve hours in a standard cooler. Pre-chill your towels or newspaper in a freezer before packing for additional benefit.
The Drainage Dilemma: To Drain Or Not To Drain Meltwater
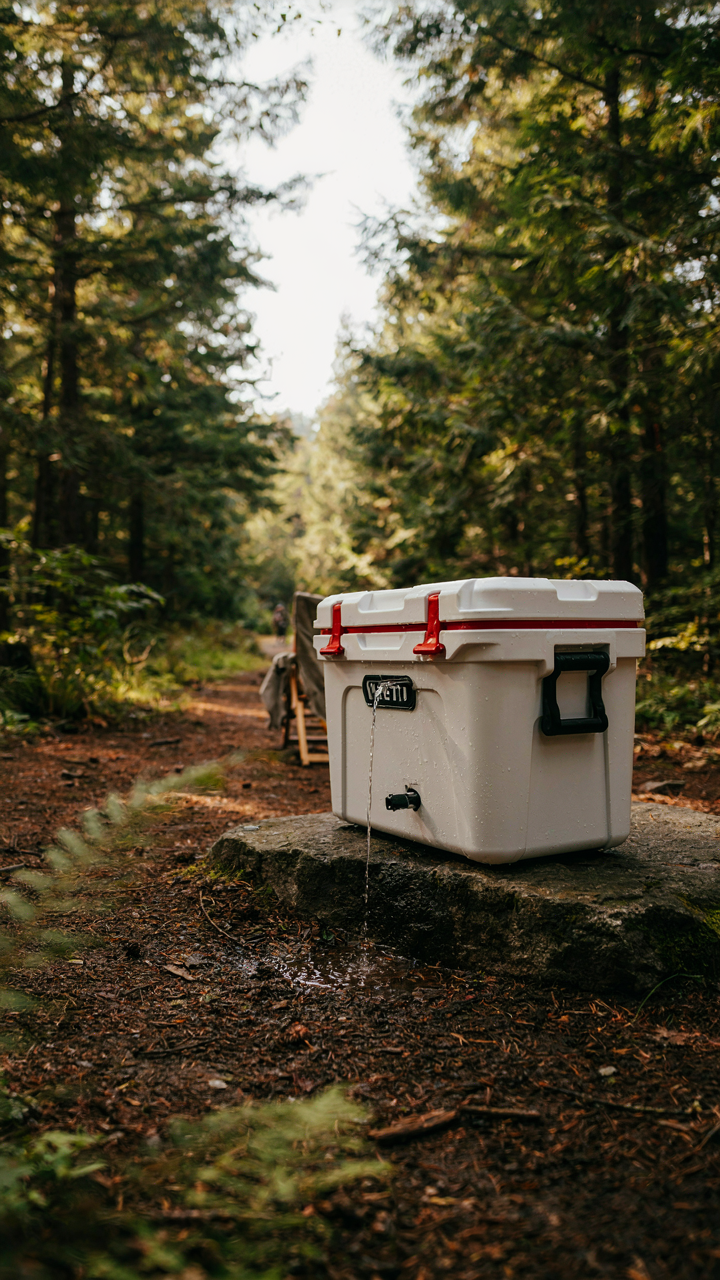
Cold Water Sits Between Two Problems

You want to drain meltwater because you fear soggy food and bacterial growth, but that fear makes you miss the actual mechanism. In thermodynamics terms, you’re fighting thermal equilibrium—the cooler’s interior temperature naturally rises toward ambient air temperature as ice melts. The cold meltwater at the bottom of your cooler is actually a heat sink. Draining it removes insulation value.
Here’s what happens: as ice melts, it releases water at 32 degrees Fahrenheit. That water pools at the bottom and stays cold far longer than the surrounding air. When you drain it, you expose the cooler’s interior walls to warmer air gaps. The cooler reaches equilibrium faster. Food sitting in a half-empty cooler loses cold faster than food submerged in cold water. The trade-off is real but misunderstood.
When To Drain, When To Keep It
Most advice says “always drain to prevent soggy food,” which is incomplete. Drain only if your trip spans multiple days and you’re not replacing ice regularly. Short trips (under 24 hours) with frequent ice replenishment benefit from keeping meltwater. The water stabilizes temperature fluctuations caused by opening the lid repeatedly.
For longer trips, drain every 12 to 18 hours, but do it strategically. Open the cooler early morning when ambient temperature is lowest. Drain fast, close fast. Replace with fresh ice immediately. If your cooler has a drain plug at the base, use it. If not, tilt and pour—don’t siphon, which wastes time and introduces contamination. The specific action matters more than the principle.
Cooler Placement Strategy: Location, Location, Location
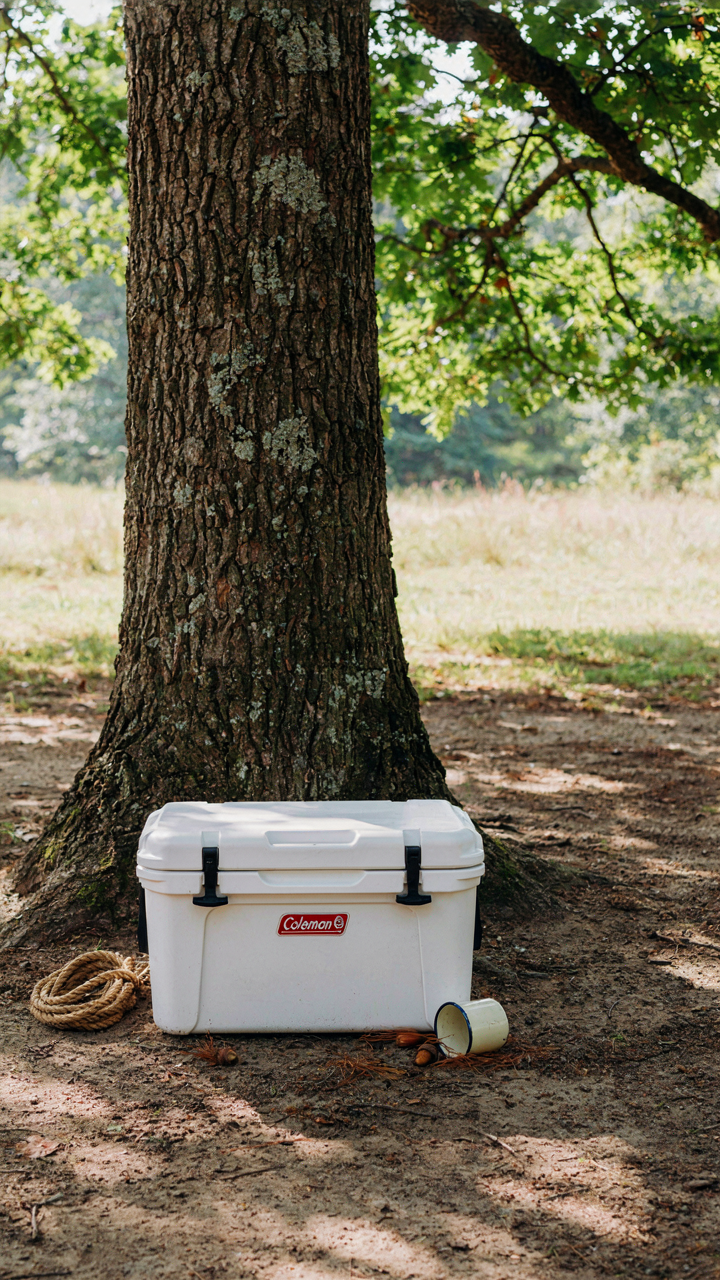
Keep Your Cooler Out Of Direct Sun

You want your food to survive the trip without babysitting it every hour. The real mechanism: solar radiation doesn’t just warm the air around your cooler, it penetrates the exterior and converts to heat inside the box. Direct sunlight can raise internal cooler temperature 15-20 degrees Fahrenheit above ambient air in just a few hours.
Position your cooler in shade from the moment you arrive at camp. This isn’t optional. Trees, tent shadows, vehicle shade, or a tarp strung between trees all work. The shade needs to stay consistent, not just at setup time. As the sun moves, shadows move with it. Check your cooler’s location every two hours and reposition if needed. Even partial sun exposure defeats the entire purpose of insulation.
Maximize Air Movement Underneath
Physics calls it convection: fluid moves to equalize temperature differences. Your cooler uses convection too, but only if air can flow underneath it. Placing a cooler directly on the ground traps warm earth heat against the bottom, creating a thermal dead zone that leaks cold faster than the lid seal fails.
Elevate your cooler 3-4 inches minimum using rocks, wood pallets, or camp furniture legs. This gap lets cooler air circulate underneath and prevents ground contact. The elevation must be stable, not wobbly. Check that your cooler won’t tip if someone leans on it. Uneven ground means you need shims or adjustment. This single step extends ice life by 1-2 days in warm conditions because you’ve stopped fighting ground heat altogether.
The “Two Cooler” System: The Advanced Family Camping Trip Hack
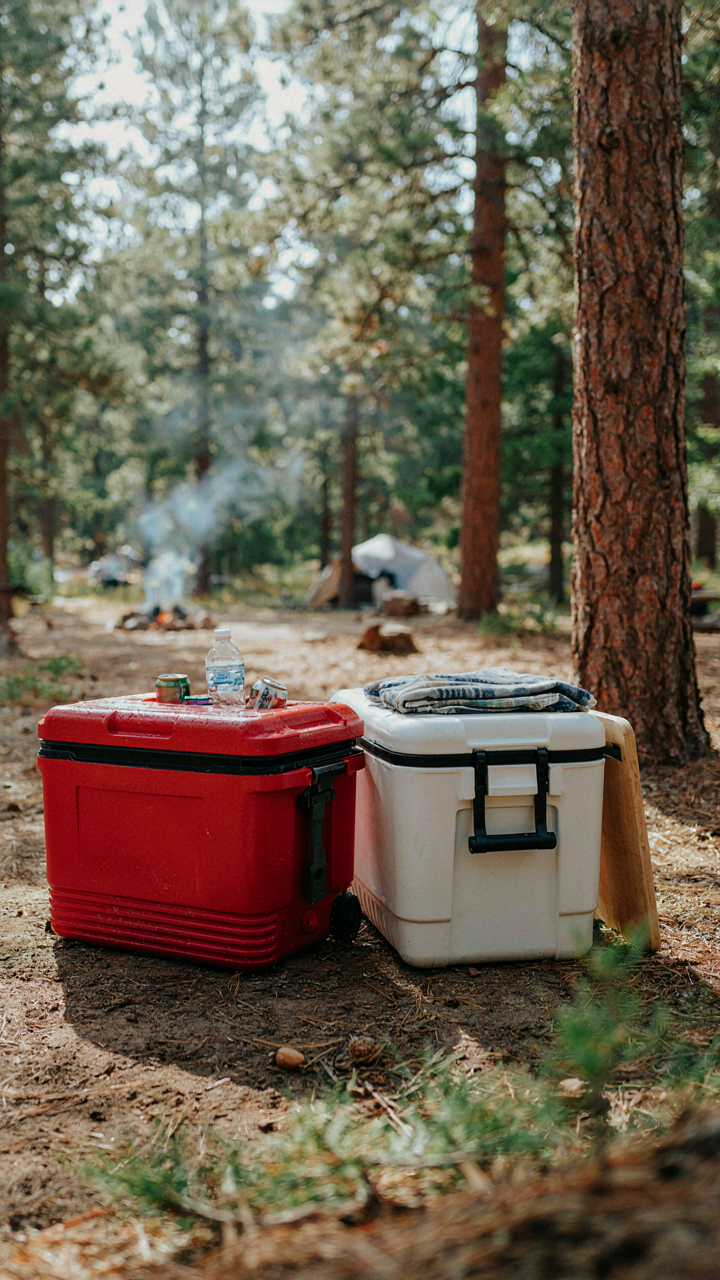
Separate Drinks From Food Storage

You want to look like you have your logistics figured out. Here’s what actually matters: thermodynamics doesn’t care about your cooler’s size, it cares about air exchange. Every time someone opens your cooler, warm air floods in and cold air escapes. A dedicated drinks cooler solves this by absorbing the damage from constant opening while your food cooler stays sealed.
Designate one cooler as the drinks station. Place it where people naturally congregate. Your food cooler sits apart, opened only during meal prep. This isn’t convenience theater, it’s a temperature partition. The drinks cooler will warm up faster, but that’s intentional. Sodas and water tolerate temperature swings better than proteins and dairy. You’re sacrificing one cooler to protect the other.
Seal Your Food Cooler Between Meals
The common advice says “minimize opening.” That’s incomplete. What you actually need is time decay isolation, borrowed from security protocols where access logs matter less than access frequency. The mechanism: fewer openings per hour beats shorter opening duration.
Set a meal schedule and stick to it. Open the food cooler three times daily, not eight. Pull everything you need in one session, organize on a camp table, then close it completely. Your family can graze from the drinks cooler between meals. Pre-portion proteins into containers so you grab one item instead of excavating the whole unit. One sealed food cooler after forty eight hours will run colder than a constantly accessed one after twelve.
Optimal Food Prep: Reducing Cooler Dependence For Camp Cooking
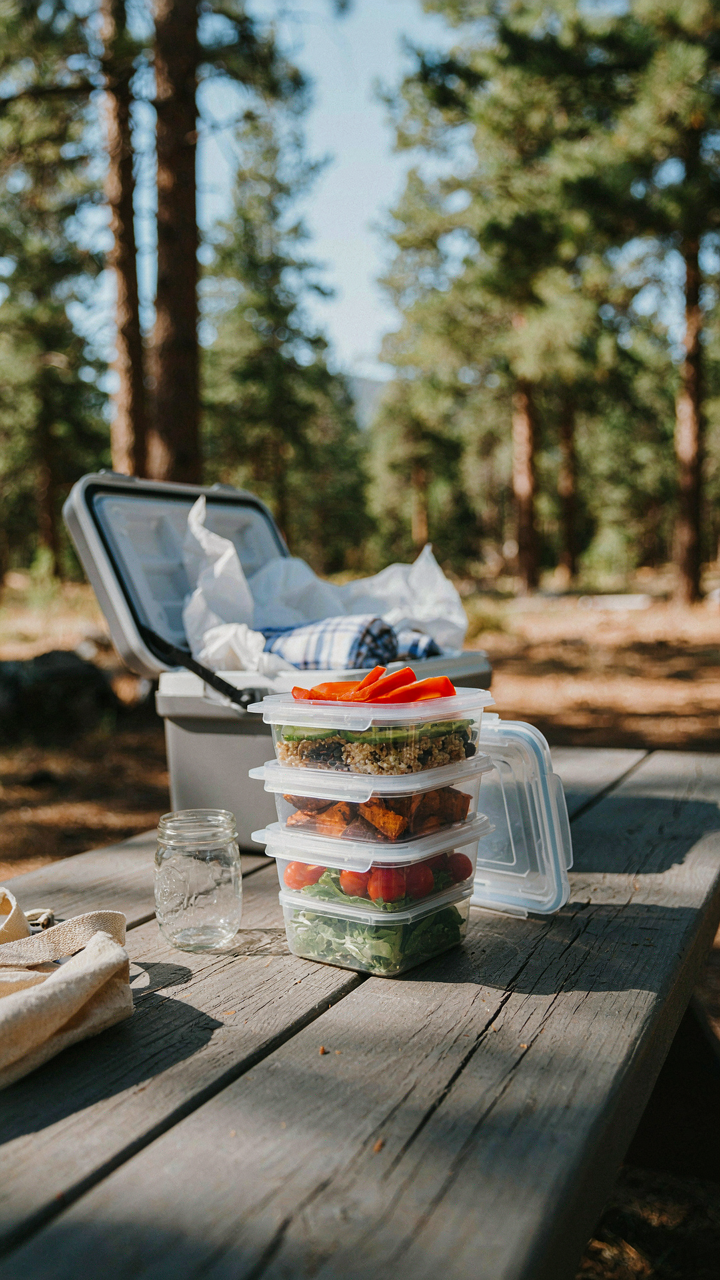
Pre Chopping And Pre Cooking Strategy

You want to feel like you’re roughing it without actually doing the work. The real mechanism here is thermal mass. Every item in your cooler absorbs and radiates heat. Pre-prepped food takes up less volume and exposes fewer surfaces to temperature fluctuation, which means your cooler works harder to cool air gaps around whole potatoes than it does to maintain temperature on diced, contained portions.
- Dice vegetables at home: Cut onions, peppers, and potatoes before packing. Smaller pieces cool faster and occupy less dead space in your cooler.
- Cook rice and grains ahead: Bring prepared rice or quinoa in sealed containers. Reheating requires no cooler space and stabilizes meal timing at camp.
- Portion proteins in advance: Cut chicken or beef into meal-sized portions and wrap individually. This eliminates the need to access a whole piece and refreeze.
- Prep salad components separately: Store greens, dressing, and toppings in distinct containers. Assembly prevents sogginess and extends shelf life by two to three days.
- Marinate proteins before leaving: Vacuum seal marinated meat twenty four hours before departure. Flavors develop during transport, and sealed proteins take less cooler real estate.
Meal planning on paper before packing forces you to match food volume to cooler capacity. You stop guessing what you’ll eat and start calculating exactly what you need. This eliminates waste, reduces cooler strain, and means you’re not opening the lid to hunt for something that might exist somewhere in there.
Vacuum Sealing For Freshness And Space
Everyone bags their food. Nobody actually removes the air. Vacuum sealing isn’t about freshness primarily, though that’s a side effect. It’s about reducing the oxygen available for bacterial growth and, mechanically, collapsing air pockets so food absorbs cold faster. Physics calls this thermal conductivity. Better contact between cold source and food means faster equilibrium.
Sealed proteins and vegetables maintain quality three to four times longer than loosely wrapped items because you’ve eliminated the oxidation window. Water loss stops. Cross contamination becomes nearly impossible. You stack vacuum sealed portions vertically in your cooler with ice below, and cold air circulates directly against the package surface instead of wasting energy on empty space. The cooler becomes efficient instead of just cold.
Cooler Maintenance & Longevity: Beyond The Camping Trip
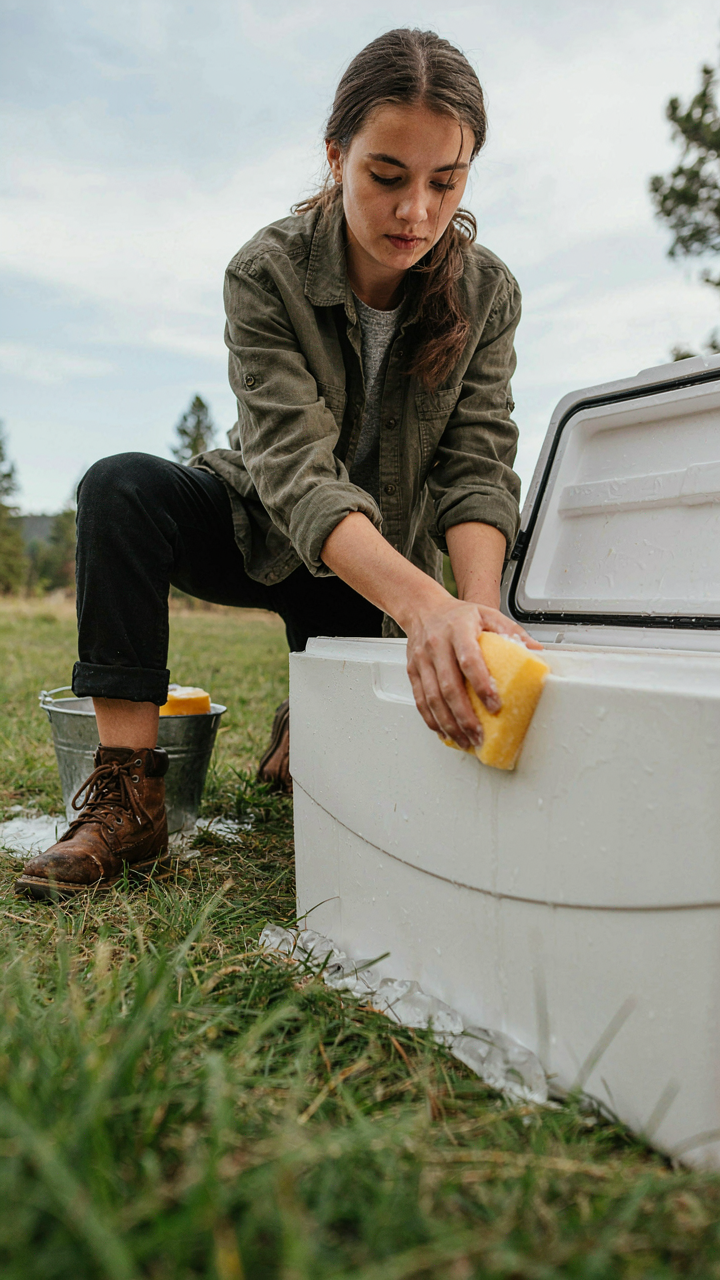
The Real Cost Of Neglect
You skip the cleaning step because you think a cooler is indestructible, and that belief costs you money. Mold doesn’t announce itself. It colonizes the seams and foam where moisture pools after you pack the cooler wet and store it sealed. Biology works against you here: organic matter plus humidity plus enclosed space equals fungal growth. You can’t see it starting, so you assume it isn’t happening until the smell forces your hand.
Drain the cooler completely before storage. Open all drain plugs and leave them out. Wipe interior surfaces with a cloth, then prop the lid open in a dry space for 48 hours minimum. Mold requires moisture to establish. Remove that condition and you remove the threat. This isn’t optional maintenance—it’s the actual mechanism that determines whether your cooler survives five years or ten.
Where Coolers Actually Fail
Insulation degrades through compression and improper storage placement. The foam doesn’t recover from being crushed under weight, and temperature swings in damp storage spaces accelerate material breakdown. Stack nothing on top of your cooler. Store it upright in a climate-controlled space, not in a garage subject to freezing winters or humid summers. The insulation loses R-value incrementally each time it absorbs moisture and expands.
Check the seal gasket twice yearly. If it cracks or hardens, replace it immediately—this single component determines how long your cooler holds temperature. A compromised gasket turns a high-performance cooler into a mediocre one. Store the cooler with the lid cracked open slightly to prevent mold and allow air circulation. This small detail extends functional life by years.
Your Cooler Isn’t The Problem; Your Ignorance Of Thermodynamics Is

Most people treat coolers like magic boxes instead of insulated containers that follow basic physics. You’re losing cold because heat moves toward cold. Stop fighting it. Start tonight by pre-chilling your cooler for two hours before packing. That single step cuts ice melt in half. You don’t need expensive gear or complicated camping cooler hacks. You need to respect the temperature gradient and exploit it.



