Introduction
Living the van life offers a unique chance to embrace freedom and mobility by turning a simple van into your personalized home. Creative hacks for van life DIY conversions can help you design, build, and enjoy your living space on wheels without needing professional skills.
This article explores smart and practical ideas to help you plan, design, and build your own van conversion. We’ll cover layout, materials, storage hacks, and essential functions like power and water, guiding you through the process while saving money and adding personal style.
Understanding the Basics of Van Life
What is Van Life
Van life means living, traveling, or spending extended time inside a converted van or similar vehicle. This lifestyle grew from the surfer and camper communities in the 1960s and has now spread widely thanks to social media and flexible work options. People who call themselves van lifers come from many backgrounds—sometimes they’re remote workers, artists, adventurers, or simply those seeking a break from conventional housing.

The appeal? It’s about freedom and simplicity, really. Van life lets you choose your surroundings day-to-day. But it’s not just about hitting the road non-stop; many live in their vans as a primary home, customizing them into small but functional spaces that fit their needs.
Benefits and Challenges
The benefits stretch beyond just the romantic idea of hitting the open road. For many, van life cuts housing costs drastically while offering flexibility unmatched by traditional living. You can wake up to a mountain view one day and a coastal sunrise the next. That sense of control over your environment is something few other lifestyles offer.
Still, it’s not all smooth. Limited space means you have to pick possessions carefully—and sometimes give up convenience. Finding legal spots to park overnight can be tricky and frustrating. Plus, adapting to a tight space frequently changes your daily routines in ways you might not anticipate beforehand.
One thing I’ve noticed is the balance between freedom and restriction here is delicate. You gain independence but also face new boundaries, like managing water supplies or dealing with cold nights. Each van lifer handles these differently—some embrace the challenges as part of the experience, while others find them harder than expected.
Planning Your Van Conversion Layout
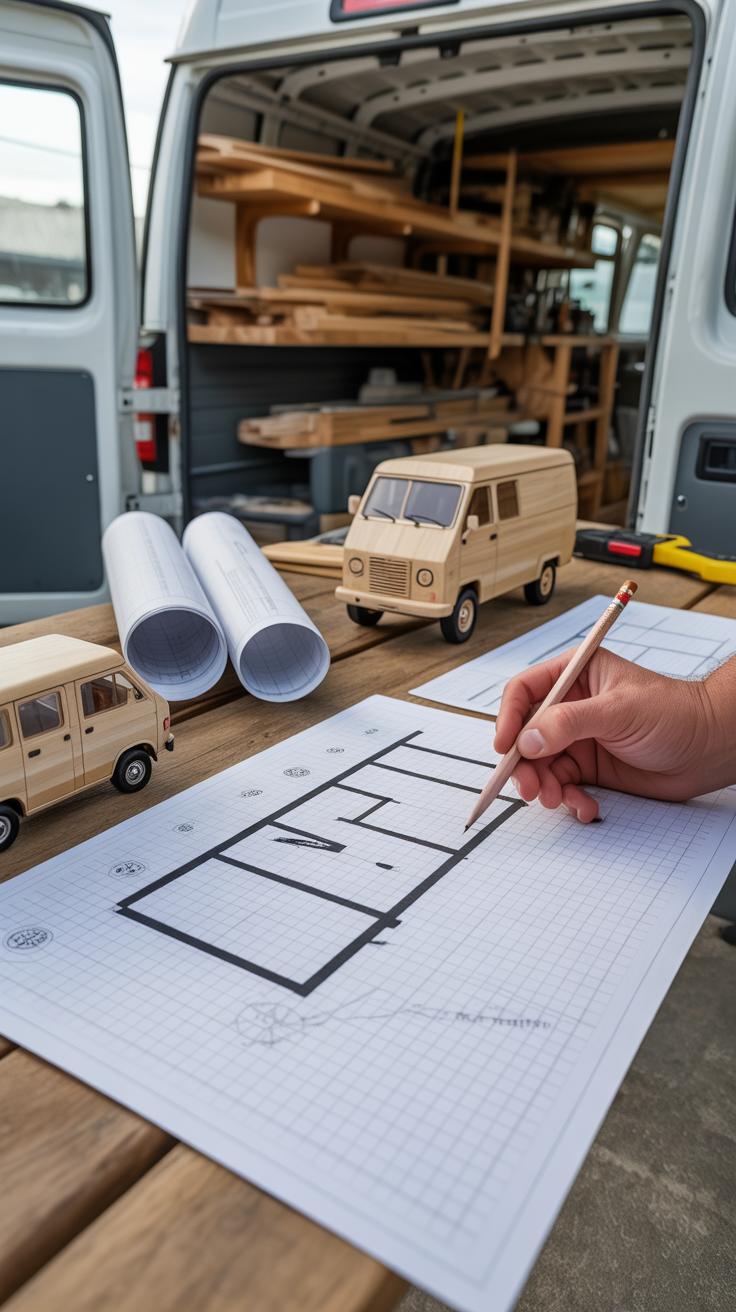
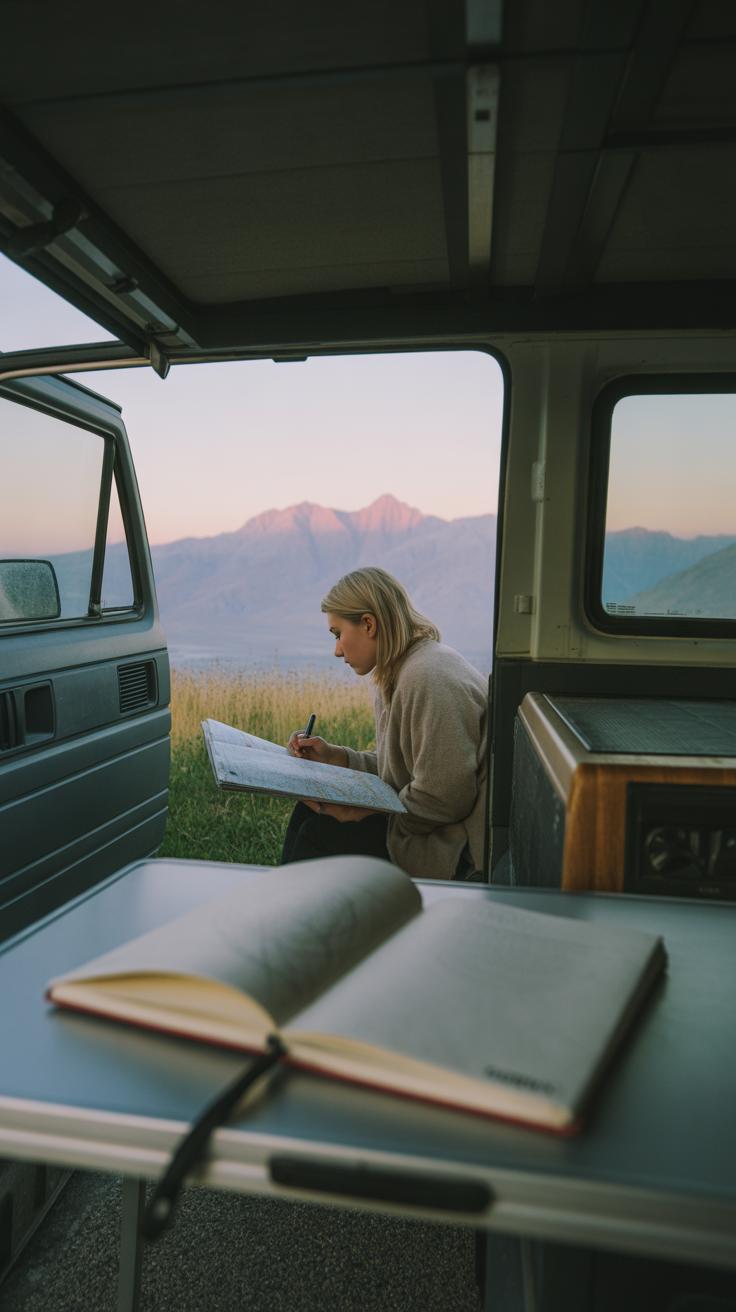
Planning the layout of your van is like piecing together a puzzle where every centimeter counts. You might start thinking about where to put the bed, the kitchen, and storage, but it’s not just about fitting everything in. It’s about how these zones work together within such a tight space. I found that sketching a rough floor plan really helps—try drawing to scale on graph paper or using simple digital tools. It’s easier to move things around visually than in real life.
Think about daily routines—where you’ll cook, sleep, and relax—and try to arrange these areas so they don’t get in each other’s way. For example, placing the kitchen near a side door for ventilation makes sense, but what if you want privacy at night? That’s where zoning becomes a bit tricky, and you might have to experiment.
Small spaces ask for creativity. You might consider a bed that folds up or slides away during the day, or multi-use furniture. Some people swear by swivel seats turning into dining chairs; I wasn’t sure at first, but it saves space and feels surprisingly natural once you get used to it. What would work best for your lifestyle?
Choosing Zones for Living, Cooking, and Sleeping
Zoning your van means dividing it into functional areas, but it’s rarely as neat as it sounds. The sleeping area usually needs to be the quietest and most private spot, often placed at the rear. Yet, if your van is too short, the bed might overlap with other zones.
The kitchen ideally sits near a door or window to let out cooking smells and steam. Placing it along one wall frees up space. A compact sink, stove, and counter might fit into a few feet, but storage for utensils and food has to be clever—maybe overhead cabinets or pull-out drawers.

Then there’s the living or seating area. It could be simple, like a bench with storage underneath, or a fold-out table for eating and working. Often, this zone doubles as your workspace or dining room. Try to design it with flexibility in mind—could it turn into an extra bed or just a comfortable nook to relax?
Maximizing Space Use
When every inch counts, you have to think vertically. Don’t leave wall space empty; use shelves, hooks, or hanging organizers for small items. Overhead cabinets are lifesavers but check how heavy they’ll be when loaded and how secure once on the road.
Under-bed storage often goes underestimated. I once built a bed on a simple frame that lifted with gas struts, revealing a surprising amount of storage underneath. It’s perfect for bulky gear or rarely used items. Even if your bed doesn’t lift, drawers or baskets under it can keep things out of sight but accessible.
Also, think about unusual nooks—like the space above the cab—or corners that might accommodate a slim cabinet or pull-out pantry. These spots can store things without crowding your main living zones. What clever storage ideas might your van’s shape inspire?
Selecting Materials and Tools for Your Build
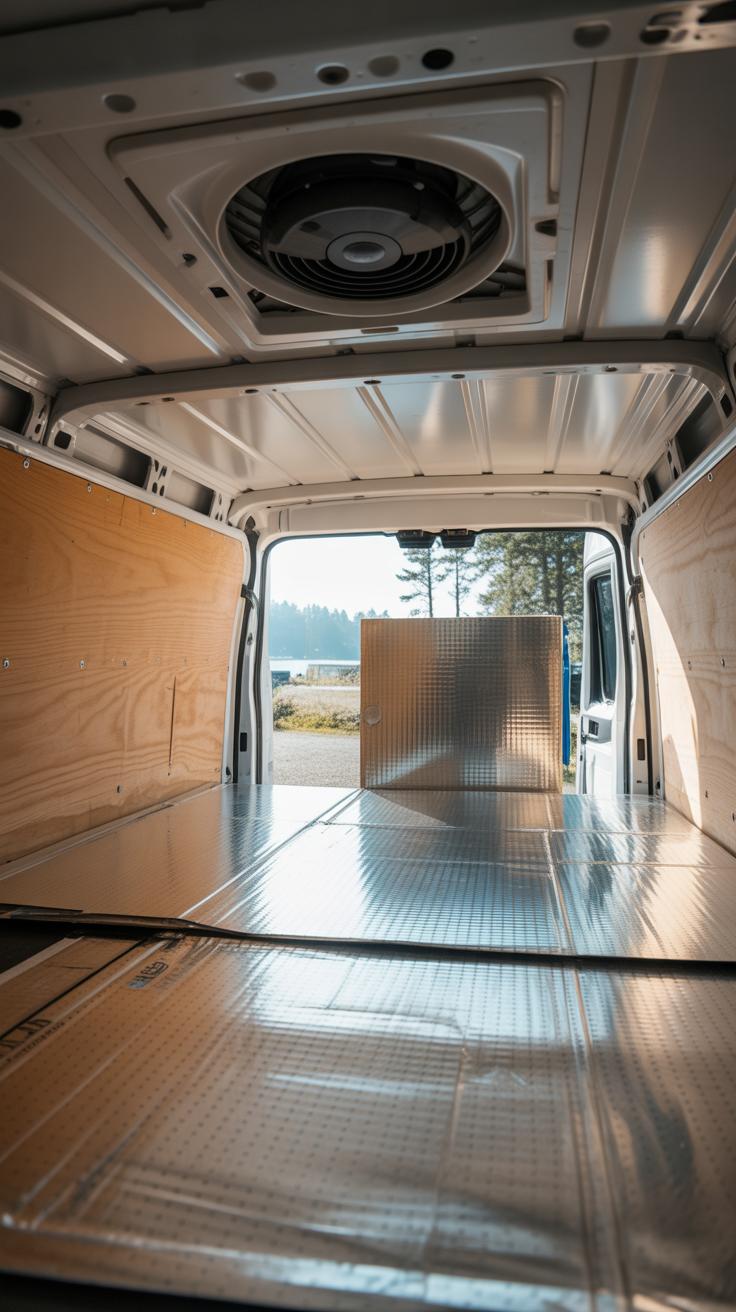
Choosing the right materials for your van conversion can feel a bit overwhelming at first. You want things that hold up well over time but don’t weigh down your van too much. For walls and floors, plywood often tops the list—especially Baltic birch plywood. It’s sturdy but still light enough to keep things manageable. I’ve found that thinner sheets, like ½ inch, strike a decent balance between strength and weight.
Insulation is another piece of the puzzle. Reflective foam boards or sheep’s wool suit well for small spaces because they help regulate temperature without bulk. Spray foam is tempting because it sticks anywhere, but it’s tricky to work with unless you have experience. And don’t forget sealants—using a flexible caulk around window frames and seams prevents leaks and keeps drafts out, which is worth the effort in rough weather.
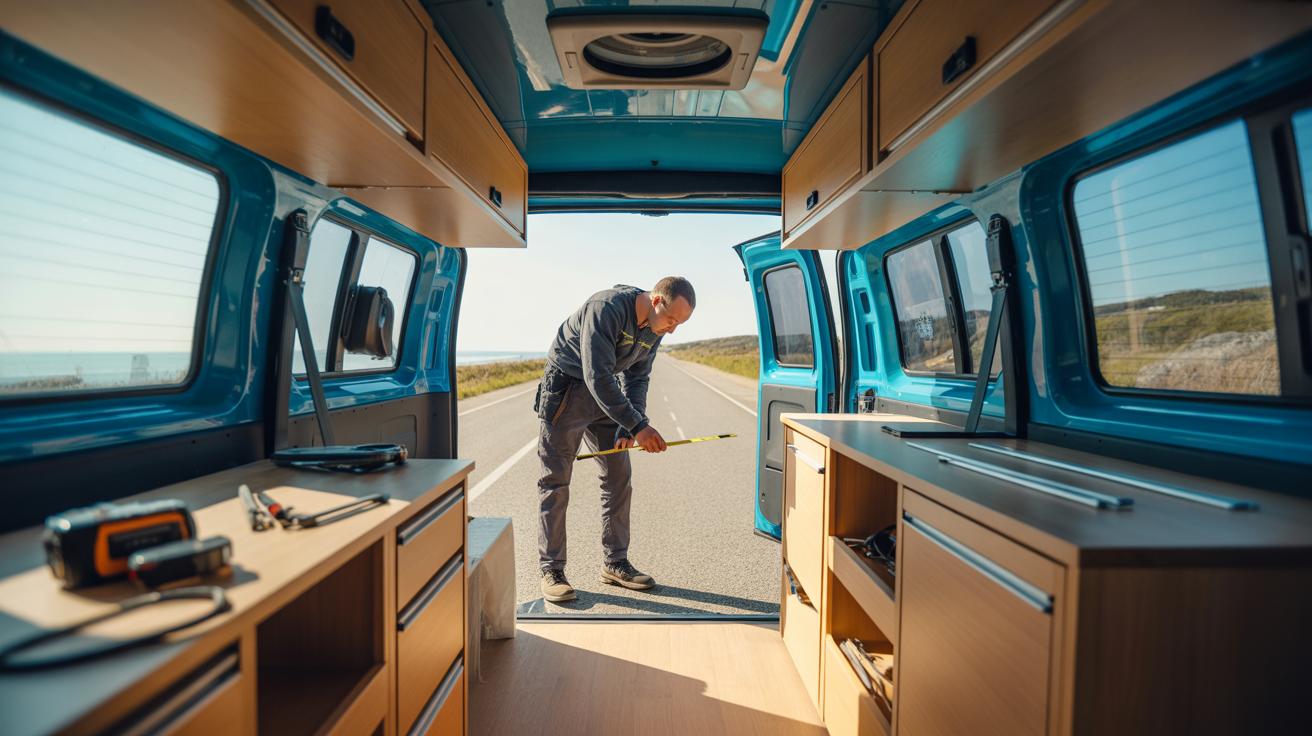
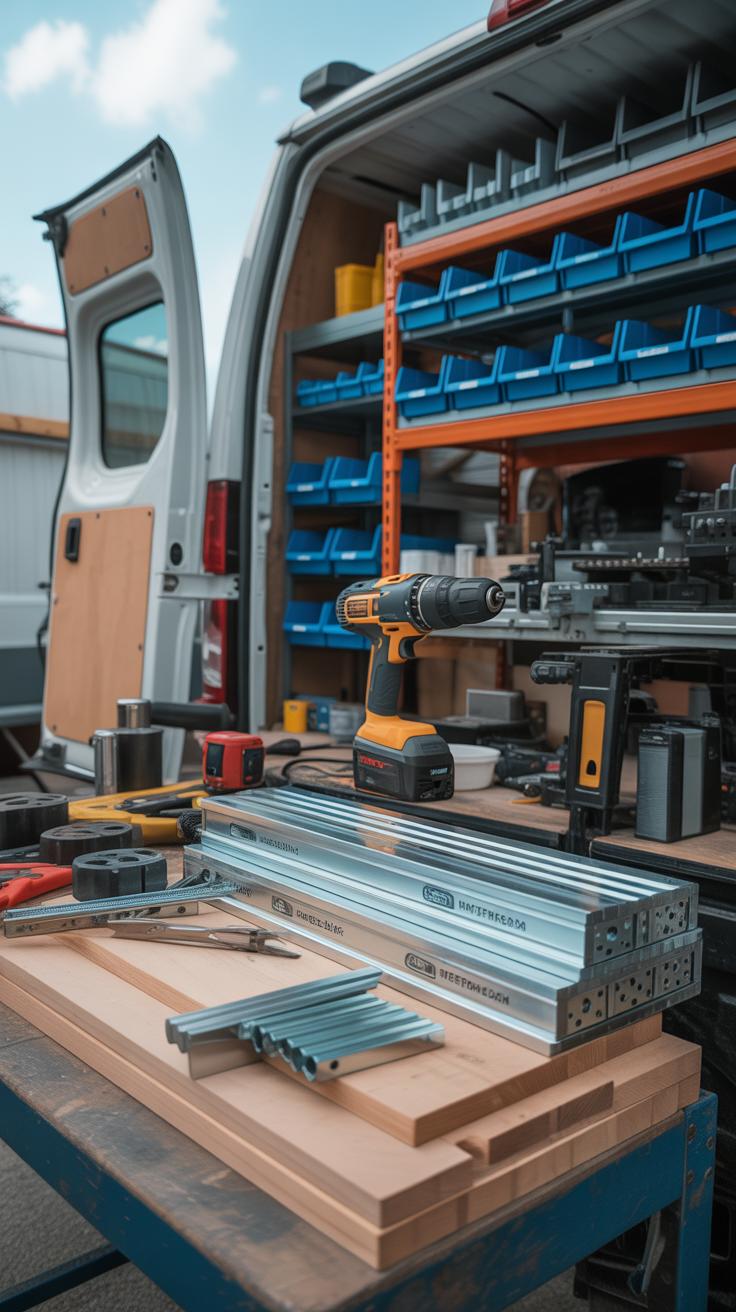
When it comes to tools, you really only need a handful to start. A cordless drill is a must-have. Honestly, I’ve tackled nearly every panel and frame connection with it. A circular saw or jigsaw will help you cut plywood and trim pieces. If you expect to do precise work, a tape measure and a carpenter’s square save you from frustrating mistakes.
Other tools like a hammer, screwdriver set, and utility knife round out the basics. Maybe a cordless impact driver too, but it’s not absolutely necessary unless you want to speed things up. You’ll probably collect more specialized tools as you go, but starting simple keeps the project less intimidating.
Do you find it hard to choose between lighter materials and those that feel more solid? I think most van builders wrestle with that balance—it depends on how permanent you see your setup and the type of traveling you’ll do.
Building the Bed and Seating Areas
Simple Bed Frame Constructions
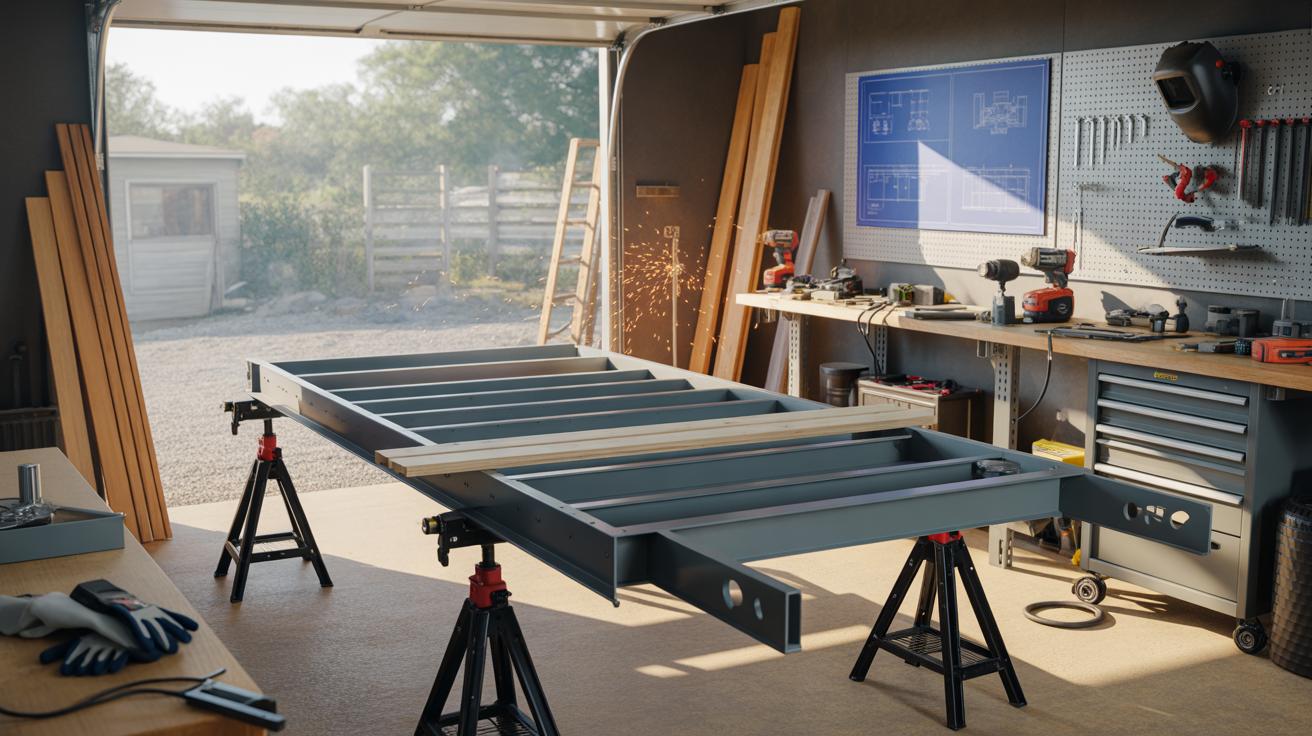
Starting with a basic bed frame, you want something straightforward but practical. A common approach is to build a platform using plywood and 2x4s or metal brackets for support. The frame can be as simple as a rectangular box that fits your van’s width and leaves some space underneath for storage. That under-bed area is handy—boxes, gear, or even a small drawer system can slide in there.
Here’s what worked for me: I cut plywood panels to size and secured them to lightweight framing. The plywood surface holds a mattress easily, and the frame’s height should let you crawl underneath if needed. Nothing fancy, no hinges or moving parts—just solid and effective. You don’t want it too high or low. Measure your mattress thickness before settling on the height; otherwise, you might feel cramped or waste valuable storage.
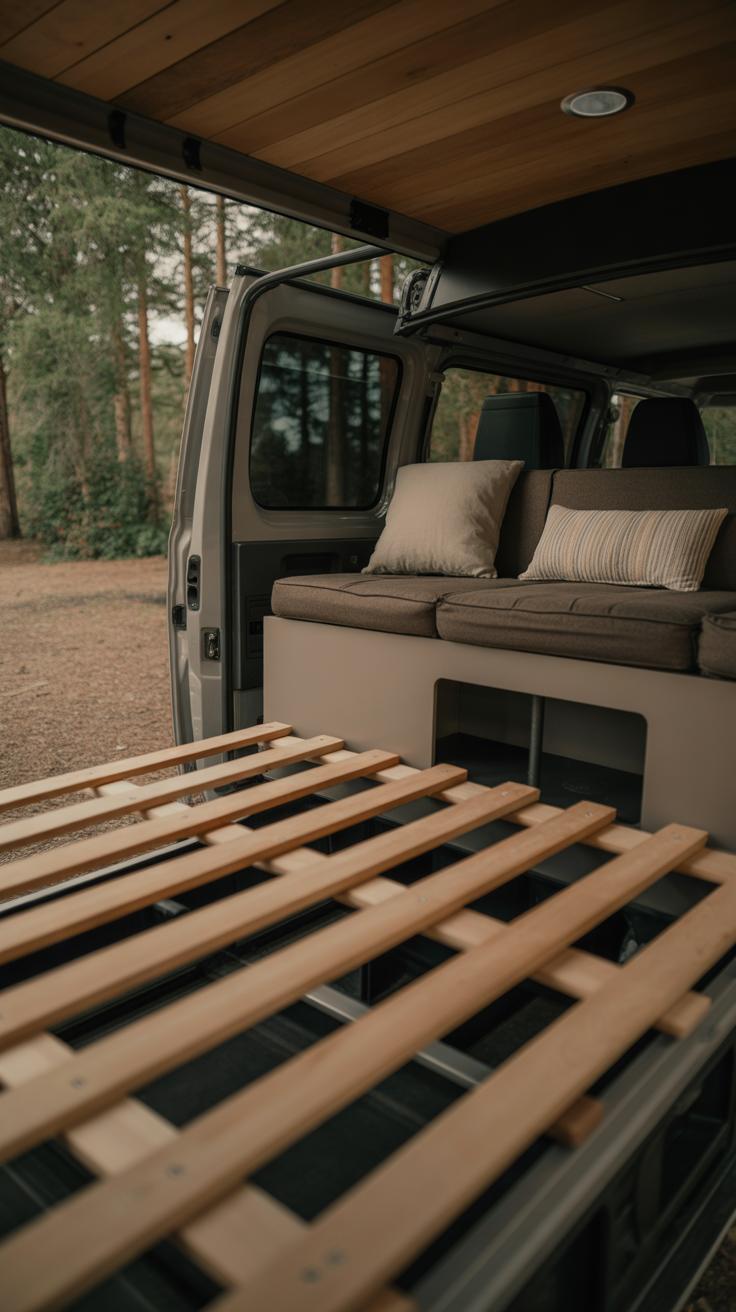
Another tip: use slats or a few spaced boards on top rather than a solid base. It improves ventilation for the mattress, keeping things fresher. Also, keep screws accessible in case you want to disassemble or modify later. I wonder—do you prefer a permanent build or something more modular? There’s merit in both.
Multi-Purpose Seating Ideas
Seating in a van isn’t just about sitting—it often has to double as storage or even extra sleeping space. A bench with a hinged lid is a classic starting point. Build a sturdy box with a lid that lifts up to reveal space for clothes, tools, or camping gear. Trust me, that hidden storage becomes indispensable.
For something more flexible, consider a flip-out or collapsible seat that converts into a bed extension or lounger. I once experimented with a bench that unfolded into a single bed, and while it’s clever, it can feel a bit fussy daily—not everyone wants to fold and unfold before bed. Do you want quick transitions or more built-in comfort?
Keep the cushions removable and washable, especially if you spend time outdoors a lot. Using foam pads on a plywood base keeps the weight down and comfort reasonable. And if you’re short on space, vertical backs or thin cushions help keep things compact. The goal is seating that’s comfortable enough to relax but practical enough not to waste space.
Creating Smart Storage Solutions
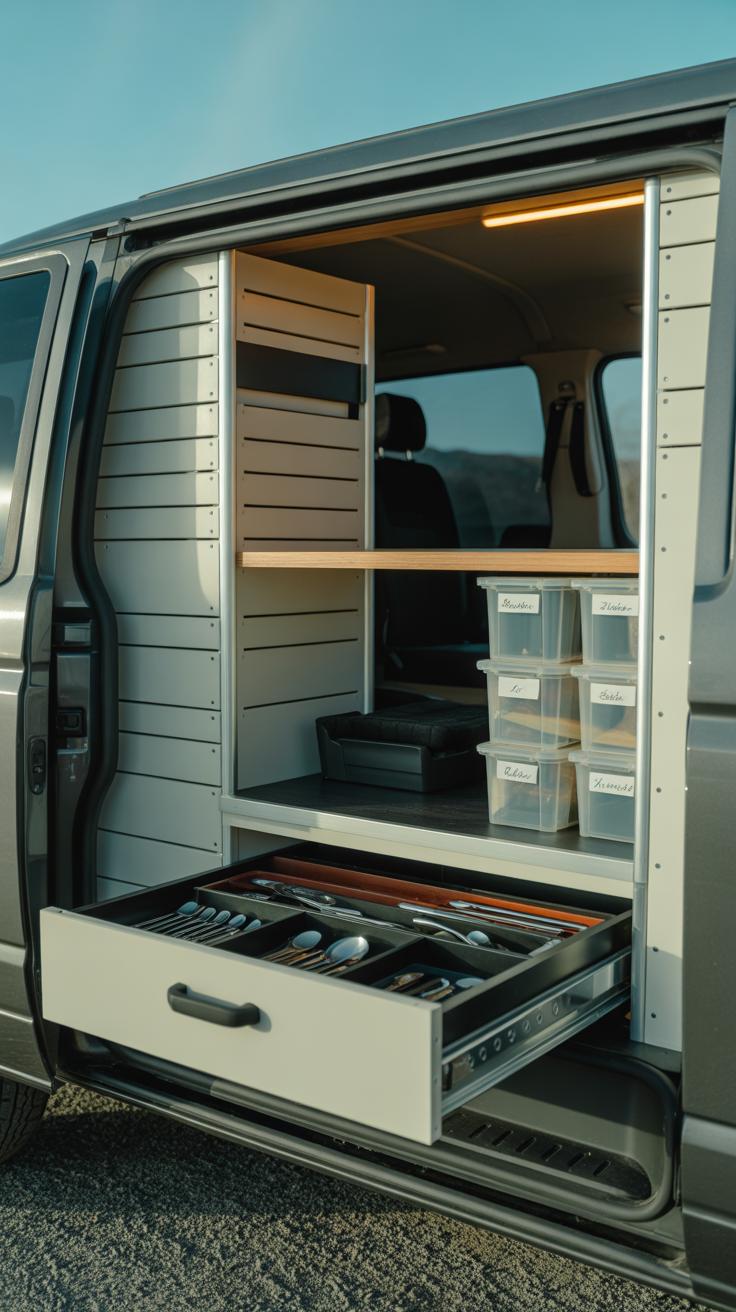
Storage can make or break your van life comfort, especially when space is tight. Built-in shelves and drawers, if planned right, can keep things tidy and accessible without crowding your living space.
Think beyond simple boxes or baskets. For example, shallow drawers hidden under a bench or inside cabinets can house small items like utensils or electronics without eating up room. Shelves with some lip or edge prevent things from sliding out when you’re on the move. One thing I learned the hard way: open shelving needs some kind of barrier to stop everything from falling during sudden stops.
Creative compartments are another option. Custom-built nooks inside existing structures—like under seats or behind panels—allow you to stash gear you don’t need daily but want within reach. It’s almost like having secret drawers scattered throughout the van.
Under-Bed and Overhead Storage
The space under your bed is often overlooked but can hold a surprising amount. Drawers or sliding boxes here work really well, especially for bulky gear or seasonal clothing. You could build compartments with removable lids for things you’ll want quick access to—like shoes or cleaning supplies.
Above your head, overhead cabinets or shelves add storage without eating into floor room. Doors keep dust off and gear secure, but open shelves with elastic bands or low rails can do just as well if you prefer quick grabs. Sometimes I kept too much overhead and felt cramped; balancing what you store there is definitely key.
Using Vertical Space
Vertical space is your friend, not just for drying towels but for storing daily essentials. Wall-mounted organizers with pockets or hooks can hold everything from keys and hats to cutting boards and cooking utensils.
Hooks are especially great for things you use often. Hanging up jackets, bags, or even cooking tools frees up drawers and counters. But don’t cram too many hooks close together or you’ll end up with a cluttered mess. I learned that spacing matters—grab what you need without feeling overwhelmed.

Think about placing these vertical storage spots close to where you’ll use the items. Near the door for outdoor gear, by the cooking area for kitchen tools, or next to the bed for reading glasses and chargers.
Setting Up Kitchen and Cooking Facilities
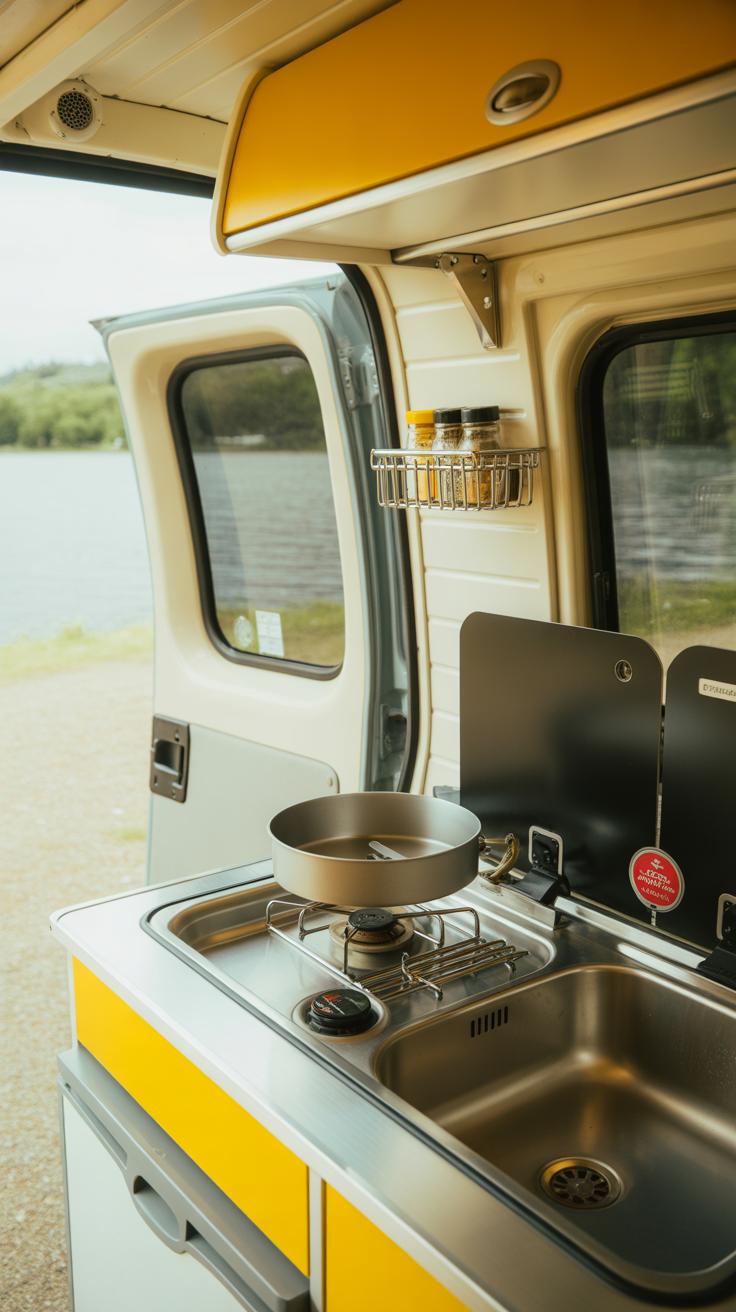
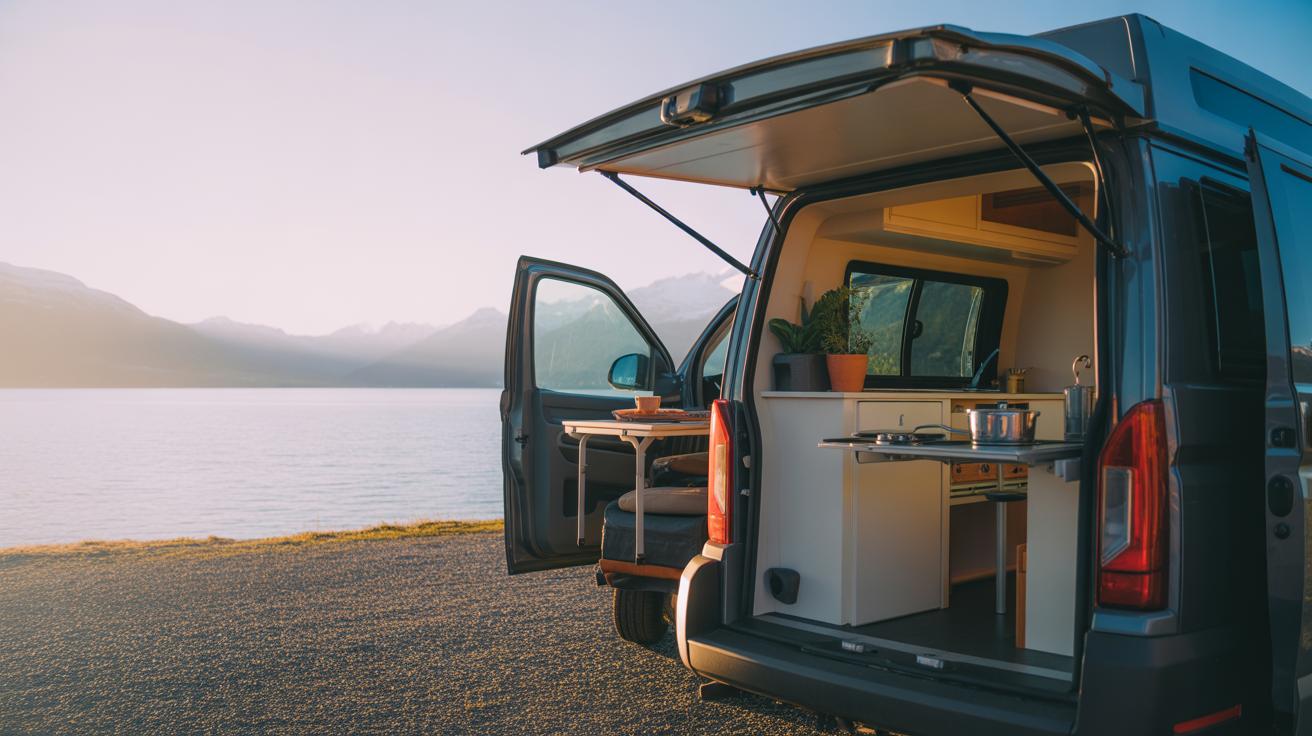
Creating a kitchen space inside a van is a bit like solving a puzzle, but one that you get to use daily. The goal is a compact cooking area that lets you prepare meals without juggling too many items at once. Think of it like carving out a small zone with clear boundaries for your stove, prep space, and cleanup.
One practical way is to build a pull-out or fold-down countertop that tucks away when not needed. This helps keep the limited space open and usable for other tasks. Next, install a small sink—maybe a shallow basin connected to a simple water storage system. You might opt for a manual or foot pump faucet to avoid complex plumbing. All of this needs to fit where it won’t interfere with walking space or storage access.
Choosing Cooking Appliances
Picking appliances comes down to balancing size, fuel type, and ease of use. Propane stoves remain popular for their high heat output and simplicity, but many now prefer electric or induction burners if you have enough power stored. Single-burner options save space, but a two-burner can be handy if you often cook more elaborate meals. A small, recessed sink can double as a prep area when covered.
Storage for utensils, pots, and dry goods should be close by and functional. Using modular containers or stackable tins helps keep things ordered without clutter. Think about keeping your most-used items accessible—maybe a magnetic knife strip on the wall or hooks for mugs and pans near the stove.
Designing Easy-to-Clean Surfaces
The kitchen area will get dirty—there’s no avoiding it—so choosing surfaces that clean quickly is key. Laminate or sealed plywood tops are common and fairly durable, but even a thin sheet of stainless steel can elevate water resistance. Avoid porous materials that stain or absorb odors.
Layout matters too. Smooth edges and corners are easier to wipe down than jagged shelves or tight crevices. You might find yourself wiping the counter multiple times a day, so a finish that repels grime helps more than you’d expect. If space allows, consider a removable cutting board that doubles as a cover for the sink—it keeps the area tidy and adds prep space.
What’s your approach going to be? Compact, barebones, or more elaborate? Each serves a kind of rhythm on the road, depending on how much cooking you plan and the kind of meals you enjoy. It’s not just about fitting appliances, but how your kitchen feels and flows when you’re moving or parked.
Managing Power and Water Systems

Setting up power and water systems in your van can feel a bit intimidating at first, but breaking it down helps. For power, a basic solar setup often does the trick—especially if you’re not running heavy appliances. Think small panels mounted on the roof, linked to a charge controller, a battery bank, and an inverter if you want to run AC devices. It’s surprisingly manageable, and you don’t need a lot of technical know-how. I remember installing a 100-watt panel on my roof; it handles lights and phone charging reliably. You’ll want to evaluate your daily energy needs first—maybe jot down what devices you plan to power. It helps avoid overbuying gear or underestimating your battery size.
Water systems follow similar simplicity. Fresh water usually lives in portable tanks or fixed containers under the van bench or seat. Then, grey water—the leftover sink or shower water—should drain into a separate container, ideally positioned for easy emptying. Installing a small sink or shower involves a compact pump and flexible plumbing tubing. Some opt for foot pumps to keep things manual and avoid electricity use. You might be surprised how little water you actually need daily. Often, basic setups with small tanks and hand pumps feel more reliable and less hassle than complex pressurized systems.
Have you thought about how you’ll handle both storing and disposing of water without creating a mess? It’s not glamorous, but planning these basics carefully can save a lot of headaches down the road.
Insulation and Ventilation for Comfort
Keeping your van comfortable means tackling insulation and ventilation together. Insulation helps regulate temperature—you want to stay warm in cold weather and keep cool on hot days. Ventilation, on the other hand, prevents stuffiness and controls moisture, which otherwise leads to unpleasant smells or even mold. Balancing these elements is tricky but doable.
Best Insulation Materials for Vans
There are several insulation materials that work well for vans, each with pros and cons worth thinking about. Foam boards, for example, are rigid and easy to cut into tight spaces. They offer good thermal resistance and don’t absorb moisture, but can be a bit bulky for some spots.
Reflective barriers, like radiant foil insulation, reflect heat away and are very thin, which saves space. Yet, they might not perform well in extreme cold without extra layers. Spray foam fills gaps and seals air leaks but requires careful application to avoid messy finishes.
- Foam boards: sturdy, moisture-resistant, easy to handle
- Reflective barriers: thin, space-saving, best combined with other insulation
- Spray foam: excellent air seal, messy application, hard to adjust later
In my experience, combining foam boards with a thin reflective layer strikes a good balance. But if space is really tight, you might skip foam boards and rely on spray foam. It depends on your van’s layout.
Installing Vent Fans and Windows
Vent fans are essential. Without one, your van can feel like a sauna or a damp basement. Installing a roof vent fan lets you pull stale air out and bring fresh air in, reducing humidity especially after cooking or sleeping.
Windows help too, especially ones that open. They create cross ventilation when paired with vents or fans. Adding windows means cutting into your van’s structure, so precise measurements and good sealing are key to avoid leaks. Vent fans usually come with a pre-cut template which makes installation easier, but you still need some patience.
Personally, I found adding a Maxxair vent fan worth the effort—it made a noticeable difference. But if you plan to camp in cooler places, keep in mind that fans can let cold air in when off. So, using vents with adjustable covers or removable screens works better.
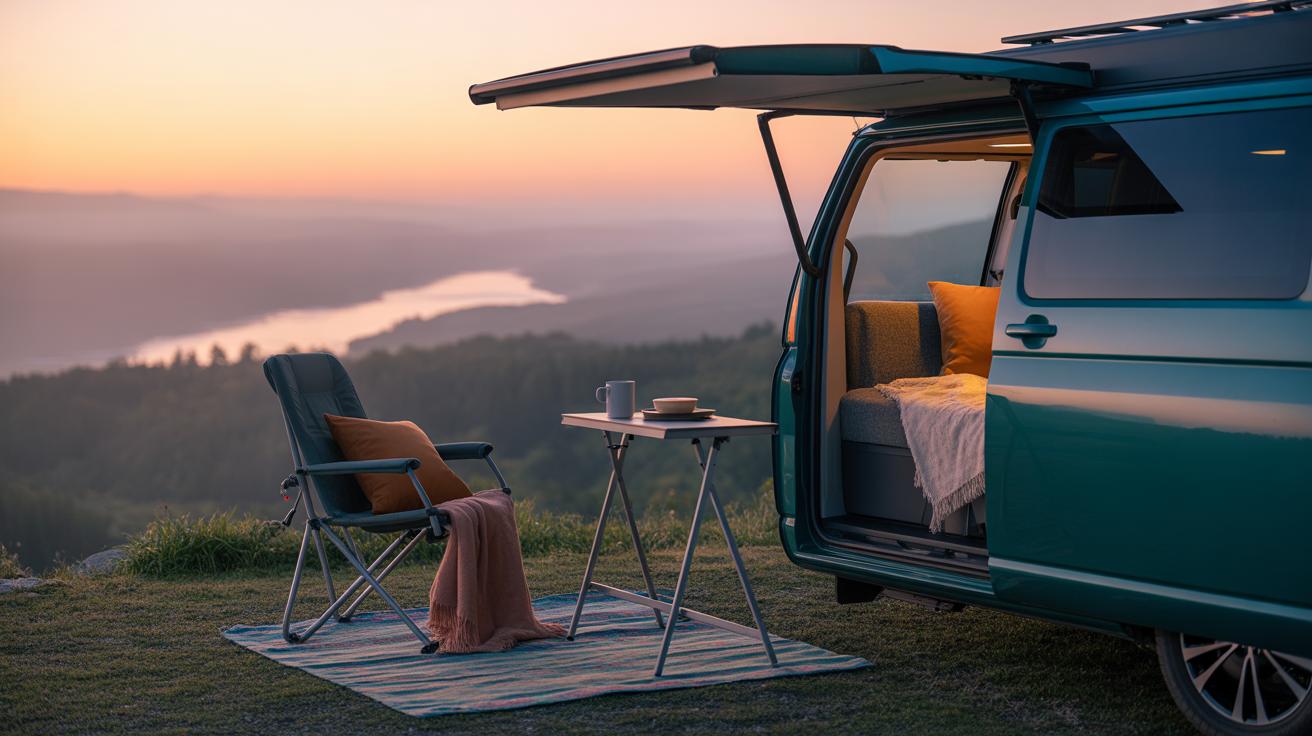
Adding Personal Touches to Your Van Home
Making your van feel like home is more than just a functional setup. It’s about the little things that create a space you want to be in, especially after a long day on the road. Decorating your van might feel tricky with limited room, but a few thoughtful touches can change the whole vibe.
Creative Lighting Ideas
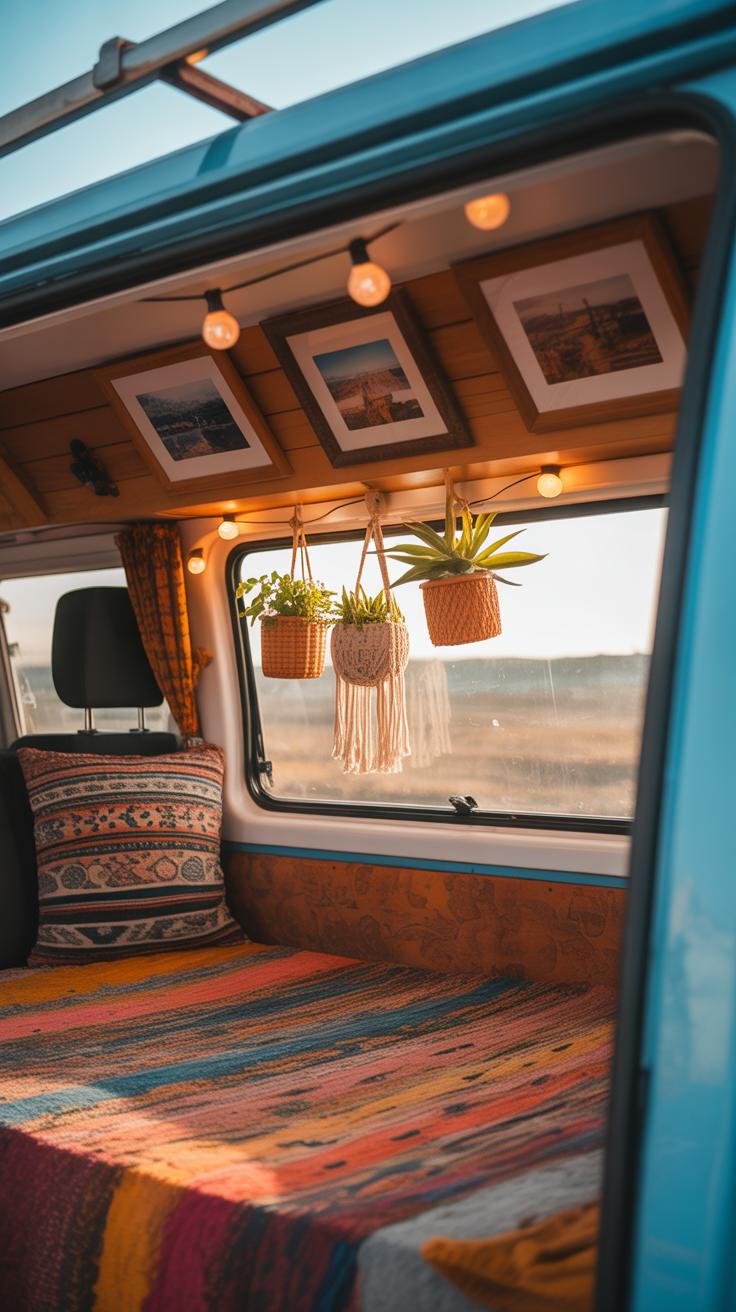
Lighting does a lot of the heavy lifting when it comes to coziness. LED strips are popular for a reason—they’re slim, flexible, and energy-efficient. Installing them under cabinets or along the ceiling edges brings a soft glow without using much power. Fairy lights, while maybe not as practical, add a warm, whimsical feel that can make mornings or evenings in the van more inviting. You might try different color temperatures to see what suits your mood best—warm white feels relaxing, but cooler lights can help if you’re working or reading.
Decor and Organization Tips
Simple decorations change how you relate to the small space. Curtains made from light fabrics offer privacy and control sunlight, without making things feel cramped. Rugs can define areas and add softness underfoot, which is surprisingly comforting. Hooks are lifesavers for staying organized; hang jackets, bags, or kitchen utensils to free up counter space. Don’t hesitate to mix practicality with personality—maybe a favorite blanket or some framed photos. It might sound minor, but these details make your van uniquely yours and can even shift your mindset, turning any road trip into something more like home.
Conclusions
DIY van conversions give you the freedom to tailor your mobile home exactly to your needs. By carefully planning your layout, using space-saving tricks, and selecting the right materials, your van becomes both comfortable and efficient. Many people find that simple hacks and clever design ideas make van life an achievable reality.
As you set out on your DIY van life journey, remember your goals: comfort, functionality, and fun. With patience and creativity, you can master van life DIY conversions and enjoy traveling with your own cozy, self-made home wherever the road takes you.


