Introduction
Your utility closet holds many items that help you keep your home clean and running smoothly. It can include cleaning supplies, small appliances, and tools. But if it is messy, it becomes hard to find what you need when you need it.
This article will show you simple tips to help arrange your utility closet. You will learn how to organize your space in a way that saves time and effort every day. The ideas are easy to follow and will make your utility closet a place that works for you.
Planning Your Utility Closet Layout

When it comes to arranging your utility closet, the first step is really taking a good look at the space you have—measure it accurately and note any awkward corners or low ceilings. You might think your closet is too small to organize well, but that’s often not the case. Sometimes, it just needs a fresh approach to make use of every inch.
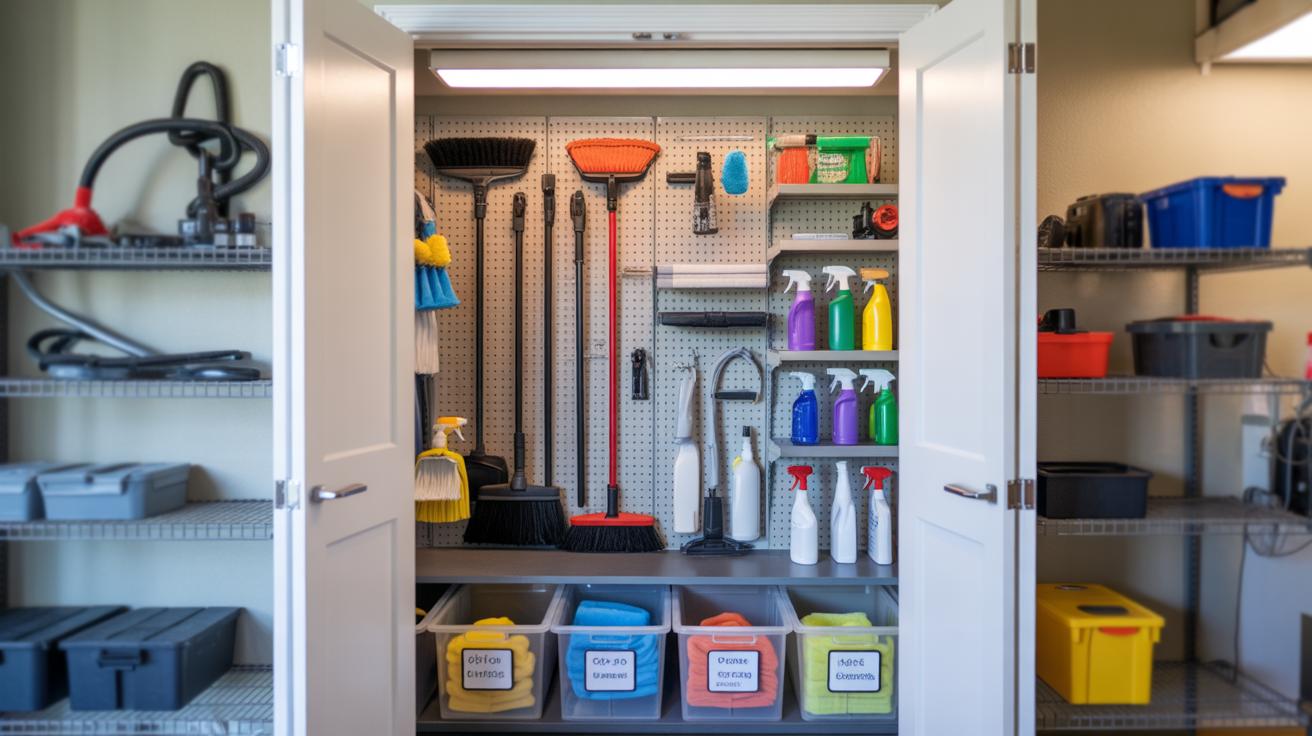
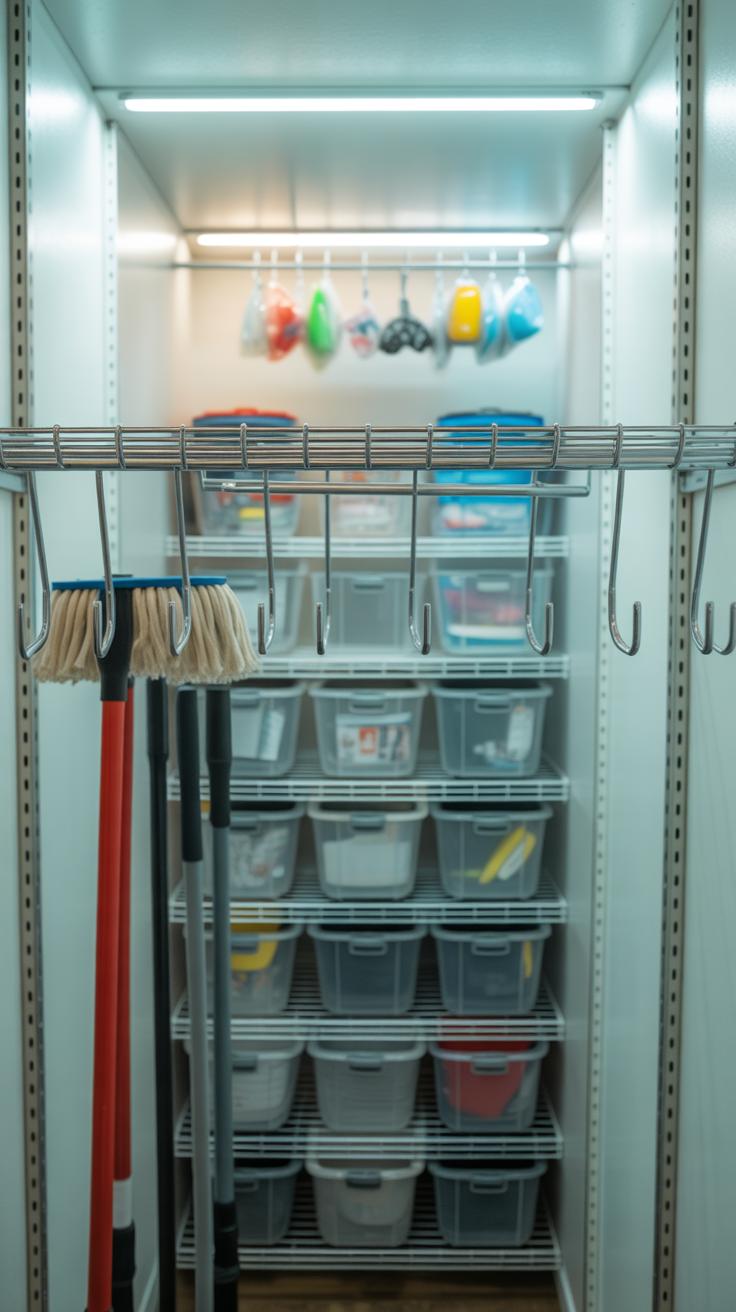
Thinking about what you store is crucial. For example, taller items like brooms or mops should have dedicated vertical space. Shelving or hooks that accommodate those things will keep them upright and easy to grab. Smaller items—cleaning sprays, cloths, or sponges—work better in bins or on adjustable shelves so they don’t get lost behind bigger items.

Don’t overlook door space. Installing racks, hooks, or narrow organizers there can instantly add storage without crowding the main area. And about shelves—mix fixed shelves with adjustable ones. Adjustable shelves let you switch things up if your needs change, which is pretty common in a utility closet.
Consider grouping like items together. Maybe one shelf for cleaning supplies, another for tools, or a bin just for small appliances. That keeps things visible and prevents you from rifling around wasting time. You might also want to keep daily essentials at eye level—makes sense, right? Those go-bags or kits you reach for all the time shouldn’t be buried down low or up high.
Lastly, think about how you move around in there. Crowding too many items or blocking access to certain shelves can make the closet harder to use, not easier. Sometimes less really is more—even if it feels like you don’t have enough space, cutting back and rearranging can open things up.
Utility Closet Layout Plan
Measuring and Mapping Your Space
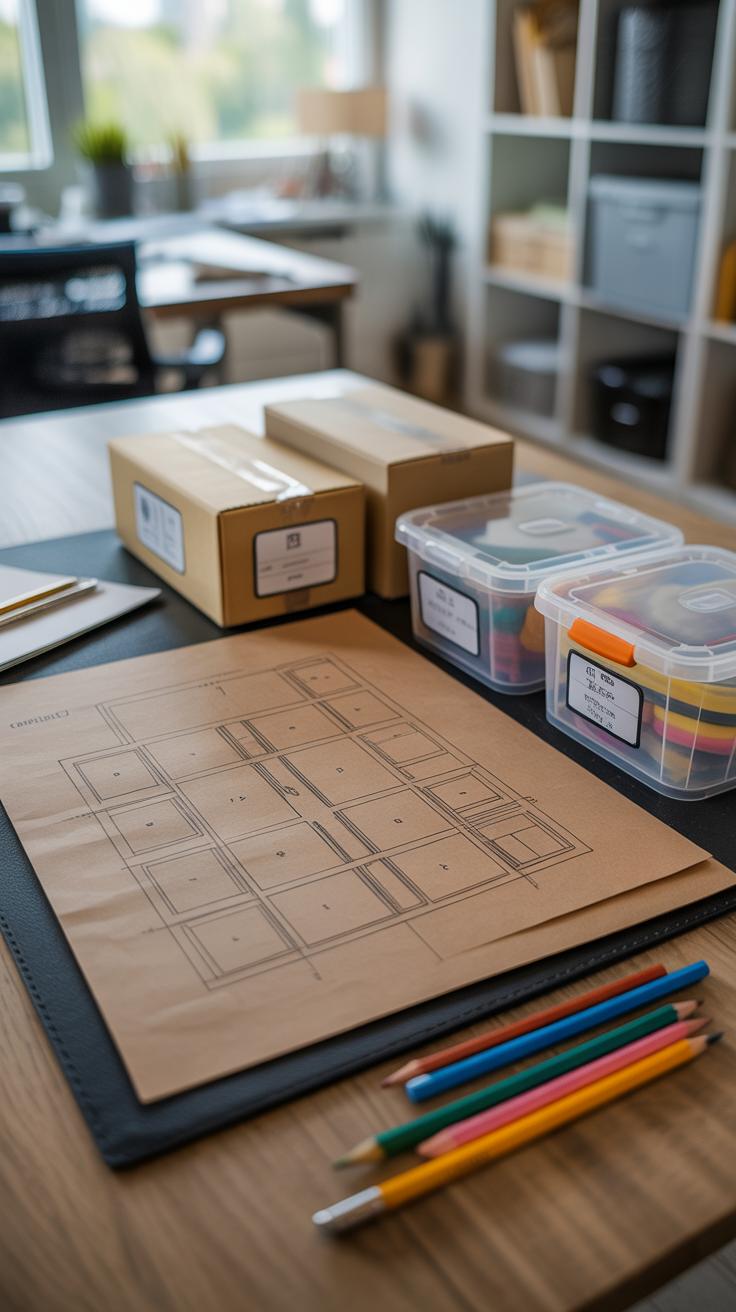
Start by grabbing a tape measure and jotting down the width, depth, and height of your utility closet. Don’t just stop at the obvious walls—measure inside corners or uneven spaces too, since these quirks matter when planning your shelves. Once you’ve got your numbers, sketch a simple map on paper or use a free online tool. You don’t have to be an artist here. Just block out walls, doors, and any permanently fixed appliances or pipes that reduce usable space.

This step might feel a bit tedious, sure. But without a clear layout, you could end up wasting valuable square footage or fitting in shelves that can’t hold heavier items. You might even find some awkward gaps that would be perfect for small baskets or hooks, spots you wouldn’t have thought about before.
Choosing the Right Shelving and Storage Units
Next comes picking shelves and storage units that fit your measurements and the kind of items you keep. For example:
- If you store heavy cleaning supplies, metal or solid wood shelves tend to hold up better than flimsy plastic ones.
- Adjustable shelves let you switch things up when needed but might cost slightly more or be trickier to install.
- Stackable bins or clear drawers work well for smaller items you want easy access to—think sponges, gloves, or light bulbs.
- Don’t forget vertical space. Tall shelves use up height you might otherwise leave empty, maybe for brooms or mops.
Think about how often you reach for each item, too. Frequently used things should be within arm’s reach, while off-season or rarely needed gear can go higher up or tucked away. Finding the right balance requires imagining your daily routine, which might change over time. That’s fine—it’s not like you have to get it perfect on the first try.
Decluttering Before Organizing
Before you even start thinking about shelves or bins, there’s one crucial step: clearing out what you don’t need. It’s tempting to dive right into arranging your tools and supplies, but if you leave expired or unused items cluttering the space, it’ll just get messy again. Imagine grabbing a cleaning spray only to realize it’s dried up or using a tool you haven’t touched in years—it’s frustrating and wastes your time.
How to Sort Through Your Items

Take everything out and then tackle it in small groups. Ask yourself:
- Have I used this in the last year?
- Is it still in good condition or expired?
- Could someone else benefit more from this?
- Is it recyclable or better off in the trash?
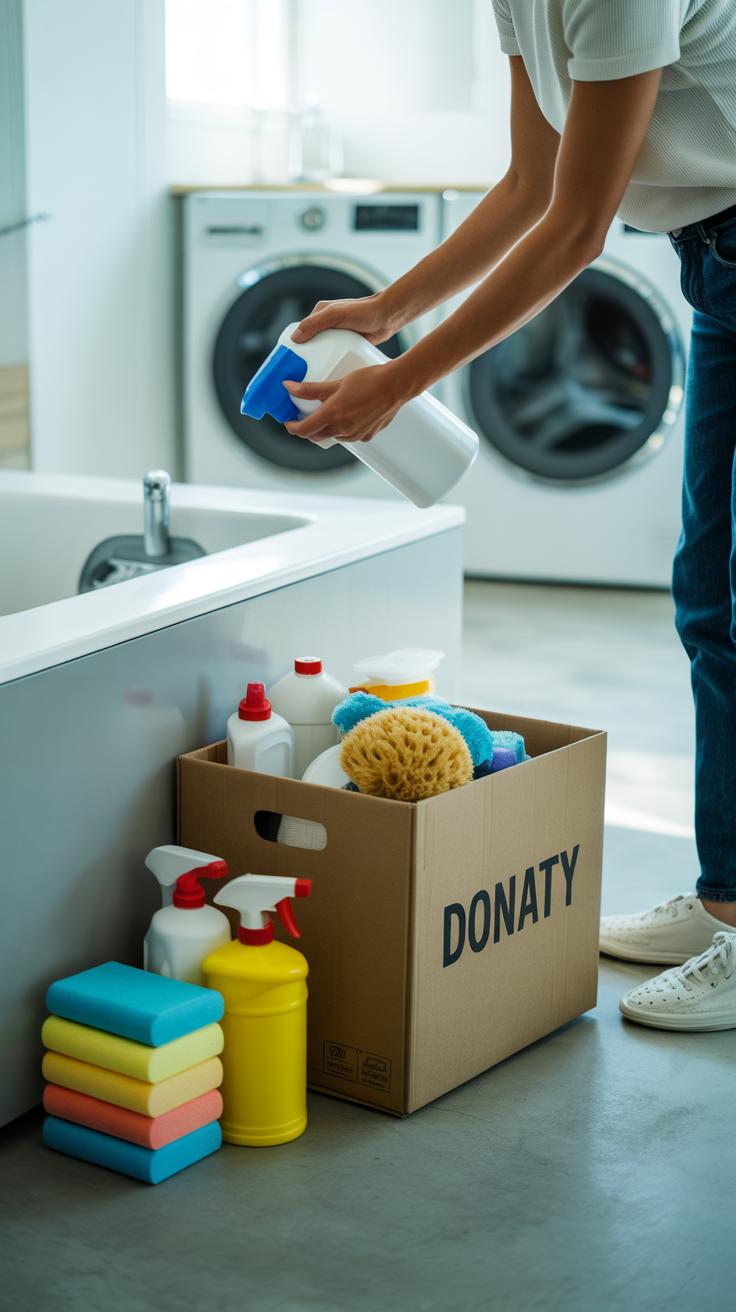
Keep only what’s functional and genuinely useful. Donate things that still have life left but no place in your closet. Recycle what you can. Toss the rest. It might feel overwhelming at first, but you can break it down over a few sessions if needed.
Setting Limits to Prevent Future Clutter
Once you’re left with the essentials, think about controlling what comes back in. Consider a “one in, one out” rule—if you bring something new, remove an old item. Be mindful about duplicates and impulse buys. Sure, you might say you’ll need three different screwdrivers, but do you really? Sometimes holding onto that gradually just piles up. Setting practical boundaries now can help stop the slow creep of clutter that ruins your newly organized space.
Using Containers and Labels for Clear Storage
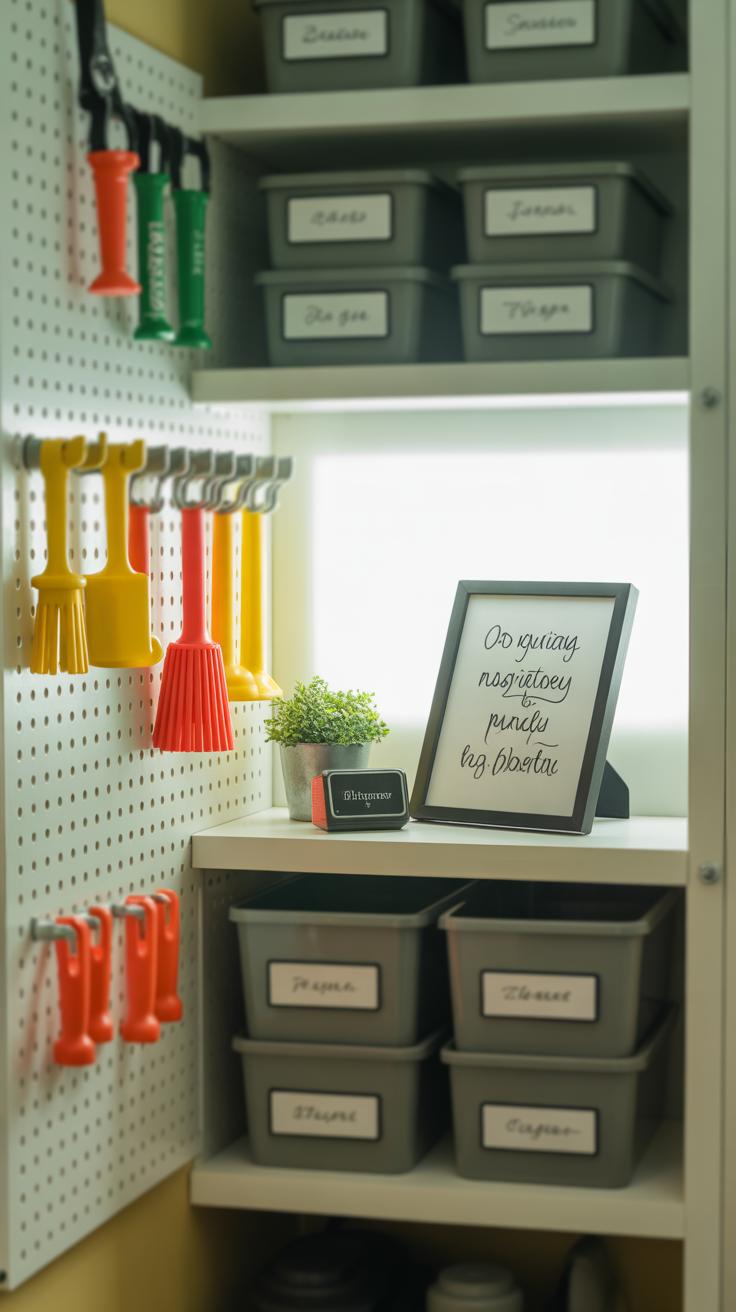
Bins and baskets bring a kind of order to utility closets that you might not expect. They keep things grouped together, so you aren’t digging through a jumble of mismatched items every time you need a wrench or a cleaning rag. When everything has its own spot, it’s easier to spot what’s missing or what’s running low. Labels add another layer of clarity. Even if you’re in a rush, a quick glance at a label saves you from opening every container. It’s simple but effective, especially in a small space where every second counts.
Selecting Containers for Different Items

Picking the right containers depends on what you have. Clear plastic bins work well for smaller tools or hardware pieces—you can see inside without opening them, which helps when you’re in a hurry. Stacking containers is another smart choice if your closet is tight on space; they keep everything vertical and compact. For bulkier items like paint cans or cleaning sprays, baskets with handles might be better because they’re easier to pull out. Sometimes, though, you might find that a mix-and-match approach fits your closet best, rather than forcing everything into uniform containers.
Creating Simple Labels
Labels don’t have to be fancy to work well. Just a strip of masking tape and a permanent marker can do the trick—or printed labels if you prefer tidiness. What matters is clear, legible writing and attaching them where you can quickly see. Tape labels can wear out, or fall off, so you might want to reinforce with clear tape or use label holders. I usually write the main category in bold, like “Light Bulbs” or “Garden Tools,” and sometimes add a smaller note inside for specifics. This saves me from second-guessing what’s inside, especially when sharing the space with family members who don’t know the setup yet.
Organizing by Frequency of Use
Identifying Daily Essentials
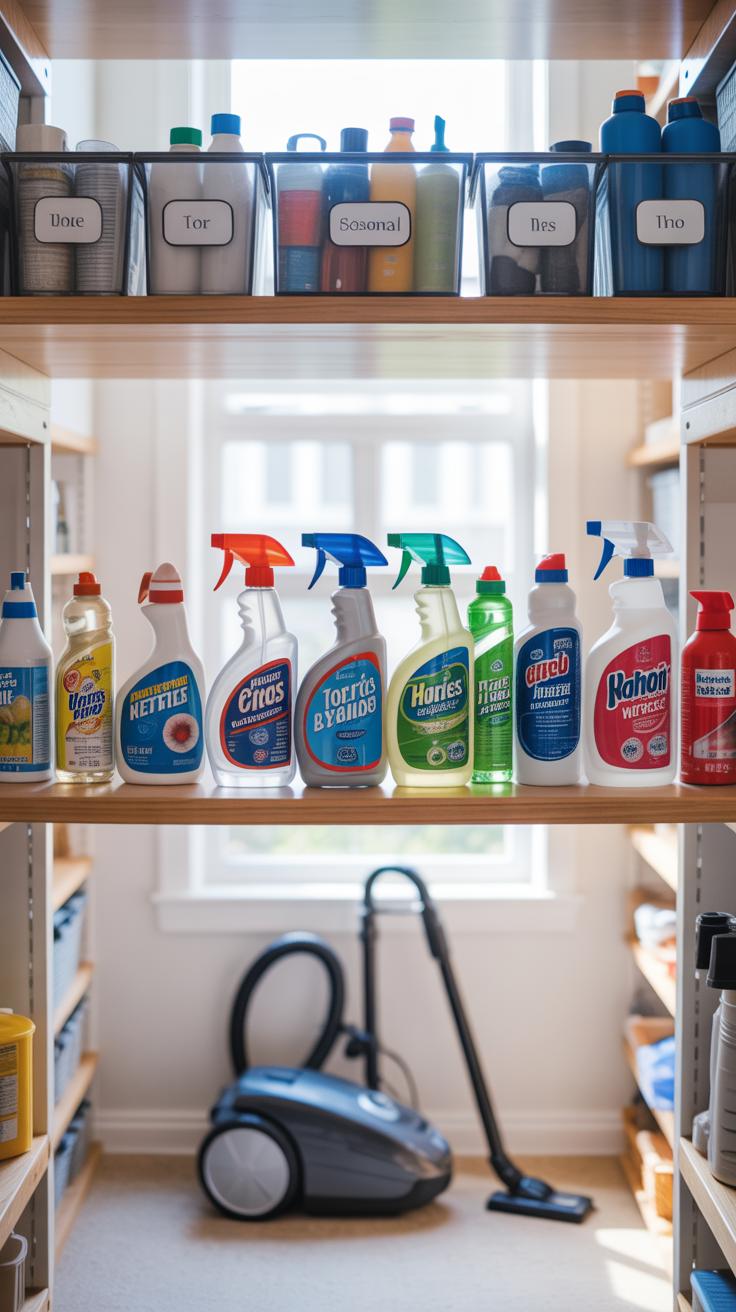
Take a moment to think about what you actually reach for every day in your utility closet. Maybe it’s the vacuum cleaner, frequently used cleaning sprays, or that box of light bulbs you keep grabbing. Jot down those items—you might find the list shorter or longer than expected. I once realized I was storing rarely touched seasonal items front and center, while my daily cleaning wipes were shoved in a corner. It felt a bit silly, honestly.
Try categorizing items into “everyday,” “weekly,” and “rarely.” This helps you see where everything lands in terms of use. It’s not only about cleaning supplies—tools, laundry detergents, or extension cords might pop onto your list too. The goal here is clarity; knowing what you actually need quick access to makes a big difference.
Placing Items Based on Use

Once you have your list, the next step is easy, or at least it should be. Place frequently used items right at eye level or just below—it saves that extra stretch or bend every single time. For example, that spray bottle you grab daily? Keep it within easy reach rather than on a high or low shelf.
Less-used things—think backup supplies, special tools, or rarely needed bulbs—can go higher up or down low. You might think you need those items at hand, but if they sit untouched for weeks or months, giving them a less prime spot frees space and reduces clutter at your fingertips.
It’s tempting, at first, to cram everything in one spot, but giving daily essentials their own “zone” feels more natural and less chaotic. You might switch things around a few times before it just clicks. I tried placing some tools just out of reach, thinking I’d remember them—spoiler: I didn’t. This is about making your space work for you, not the other way around.
Maximizing Vertical Space
When you look up in your utility closet, you might see empty space you’ve never really thought about. That gap between the top shelf and the ceiling is not just wasted air—it’s an opportunity. Using vertical space means creating spots where you can put things without cluttering the floor or eye level.

Think about installing tall shelves that reach almost to the ceiling. You don’t have to stack everything there, just items you barely touch. Seasonal supplies, backup light bulbs, or rarely used tools fit well up high, away from daily reach but still accessible when needed.
Hooks can also be game changers when added all the way up on walls. They open up spots for brooms, dustpans, or extension cords. Hanging storage baskets can hold smaller, loose items that might get lost in drawers or boxes.
Have you ever scratched your head because something simple like a mop had nowhere to hang? Vertical storage could fix that, keeping tools visible and neat—no more tripping over a rogue broom handle.
Installing Adjustable Shelves and Hooks
Permanently fixed shelves can be limiting. You may find yourself with shelves too close together or too far apart, which wastes space. Adjustable shelves let you shift things around when your needs change. It’s like giving your closet some breathing room to flex.
Hooks on adjustable tracks offer the same freedom. Say you suddenly get a new gadget or a hanging bin; you can shift hooks easily without hitting a wall of fixed pegs that don’t fit your stuff. It might take a bit of trial and error to find the best heights, but afterward, it feels tailored to you.

Sometimes I ended up with shelves stacked too high above, making smaller items gather dust. Adjustable shelves fix that. You won’t have to stack light bulbs on top of paint cans anymore, for instance.
Creative Uses of Door Space
The back of your utility closet door offers a surprising spot for storage, often overlooked. Door-mounted racks or hanging organizers turn that narrow surface into pockets of order.
You can hang slim racks for spray bottles or narrow tools. Sometimes those pockets with multiple compartments hold screws, batteries, or other small bits that otherwise scatter on shelves.
If you install a sturdy hook or two, even the door can hold a lightweight ladder or a foldable step stool. It really depends on how much weight the door can take, but this door space can keep things off the floor without stealing square footage.
One time, I added a clear plastic organizer on the door inside my utility closet. It became my ‘go-to’ for frequently misplaced items like gloves and tape. That quick grab spot made a noticeable difference.
Storing Cleaning Appliances Safely

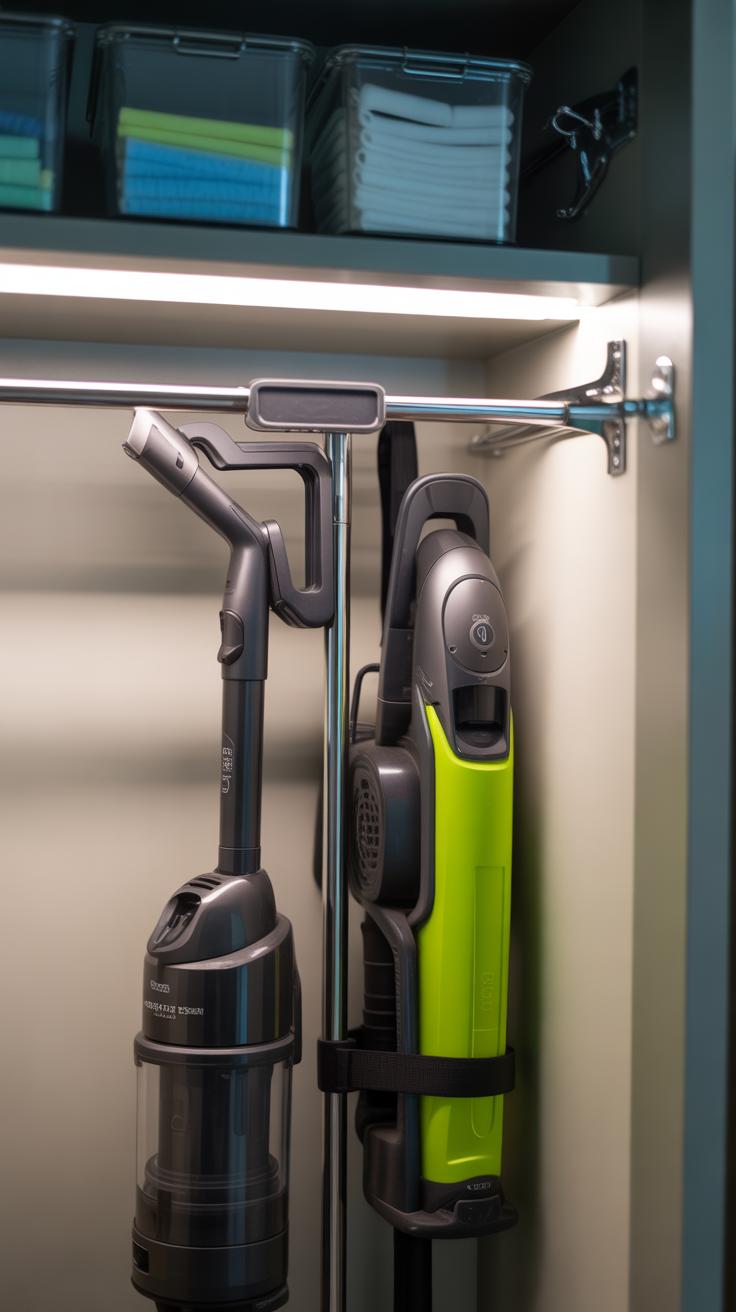
When it comes to placing your vacuum cleaner or steamers, think about ease and security. You want these items ready to grab, not buried behind a mess of other stuff. If your vacuum has a stand, use it—it keeps the machine upright and balanced. Otherwise, lean it against a wall where it won’t tip over.
Big appliances need a spot that’s easy to reach but out of the way. Don’t shove them in the back or corner where you have to move things around just to get to them. Think: a clear patch on the closet floor or a sturdy shelf that holds their weight.
For cords, hoses, and attachments, one container or basket for each type works well. You don’t want to spend five minutes hunting for the right nozzle or untangling cords. Hooks or small bins mounted inside the door or on side walls keep these parts visible and within arm’s reach.
At one point, I tried tossing all my vacuum parts together in a box, and yes, it quickly turned into a frustrating tangle. Keeping each piece in its place isn’t about perfection; it’s about saving you time on busy days when you just want things to work without fuss.
Keeping Hazardous Items Separate and Safe
Storing cleaning chemicals and other hazardous materials away from children or pets isn’t just about safety; it’s about peace of mind too. You might think these products are harmless when tucked away, but even a small spill or accidental ingestion can cause serious harm. Keeping these items physically separate from everyday household reach reduces risk—a small step that feels worth the effort.
Locked boxes or high shelves offer practical barriers. Locked containers can be a bit of a hassle at first, but they keep dangerous materials where you can’t accidentally access them—and neither can curious little hands or paws. High shelves are simple too, especially in closets with limited space. Just make sure these spots won’t make reaching or putting away hazardous items awkward or risky for you.
Clear labeling is another layer of safety you shouldn’t overlook. Labels with bold warnings or brief instructions help identify what you’re dealing with at a glance. Sometimes, chemicals look similar, and it’s easy to confuse bottles without proper tags. Adding safety info right on the containers lets everyone in the house recognize risks quickly—even if they’re not familiar with all the products.
Maintaining Your Organized Utility Closet
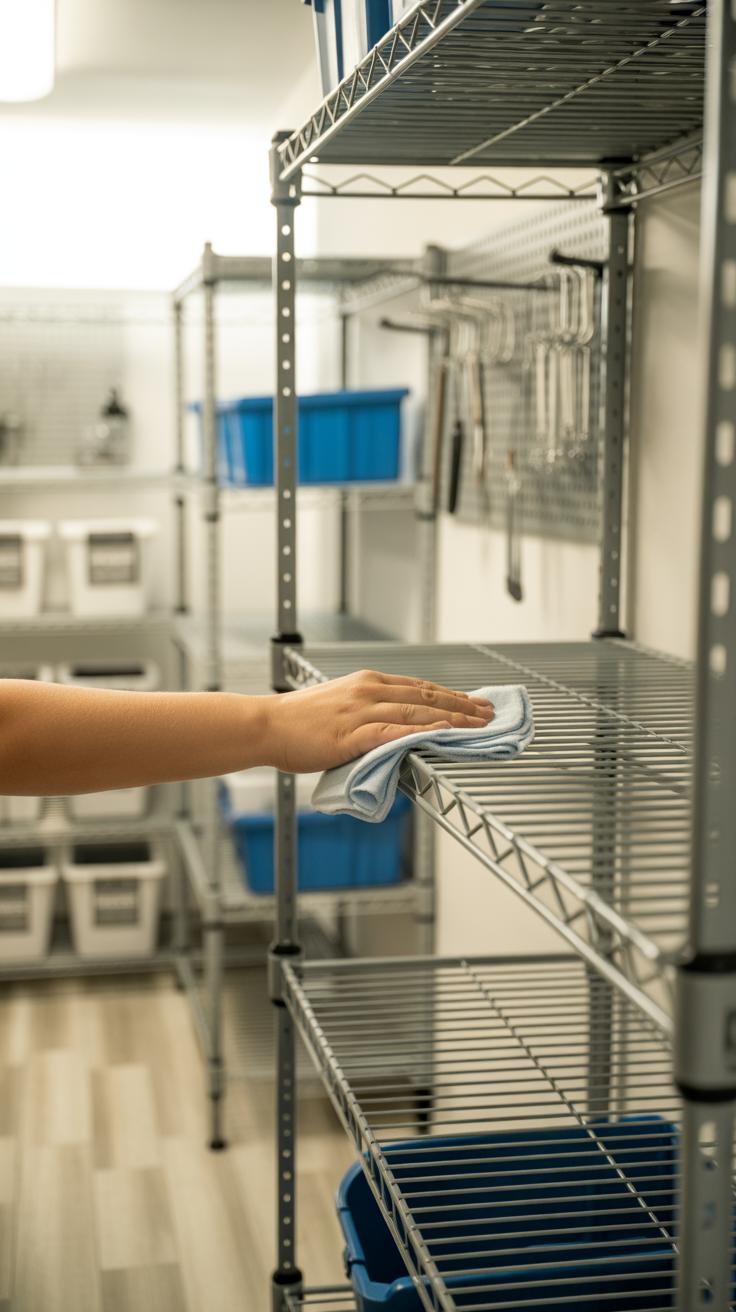
Keeping your utility closet neat doesn’t end once everything is in place. Small, daily habits can make a big difference and stop clutter from sneaking back in. For example, try taking a minute each day to return tools or supplies to their spots right after use. It might feel tedious, but skipping this step often leads to piles of stuff collecting quickly.
Other useful little actions include wiping shelves if you spill something, checking if anything expired (like cleaners), and taking out trash or recycling regularly. You won’t see the mess building up if you’re on top of these. It’s a bit like brushing your teeth—small, consistent care avoids bigger problems later.
Daily Habits to Keep Your Closet Tidy
- Return items immediately after use, don’t leave them on the floor or counters.
- Scan shelves for expired products or empty containers to toss out.
- Wipe down any spills or dust lightly daily to avoid buildup.
- Store similar items together—this makes finding and returning easier.
- Take a quick inventory mentally, so you know if anything’s missing or out of place.
Seasonal Cleaning and Reassessing
Every few months—or maybe more often if you tend to forget—set aside time for a deeper clean. This is your chance to reassess what you really need and maybe reorganize a bit. Perhaps last season’s setup no longer fits your routine, or some items need relocating. When I do this, I’m often surprised at how much junk accumulates unnoticed.
Try to pick a time you won’t rush—weekends or days off work work best for me. Don’t hesitate to move things around or try new storage ideas if something feels off. The goal isn’t perfection; it’s about making the space work better for how you live. This process can even reveal tools or supplies you forgot you had.
Personalizing Your Utility Closet
Making your utility closet feel like your own space can really change how you interact with it day to day. It doesn’t have to be just a storage room. Adding a few personal touches can make finding things less of a chore and a bit more pleasant—maybe even something you don’t dread.
One simple way is to keep a checklist or inventory of your supplies. I find it helps avoid those moments when you reach for something and it’s suddenly gone. A running list on a clipboard or a small whiteboard on the door can stop you from buying duplicates, or from running out unexpectedly. It’s little, but it makes a difference. You might even keep track of when items were last restocked, just to get a feel for your usage.
Colors and labels are surprisingly important, too. Pick colors that make you feel calm or focused—some people like soft blues, others brighter hues. Fonts don’t have to be plain; a clear but friendly font can brighten the space and make labels easier to read when you’re in a hurry. You could try color-coding sections by category or frequency of use. This isn’t about being precise, just what feels right. If you like a bit of style, go for it. If not, just keep it simple but consistent.
At the end of the day, the closet is your space, and making it something you want to open helps keep it organized without forcing yourself. Have you ever found yourself avoiding a messy area just because it looks chaotic? Personal touches can change that.
Conclusions
Setting up your utility closet is about making your daily tasks easier. When everything has its place, you won’t waste time searching for things. Using shelves, containers, and labels can keep your items in order and protected.
Remember, keeping your closet neat is an ongoing process. Regular checks and tidying will stop clutter from building up again. With these simple steps, your utility closet can stay useful and ready to support you daily.