
Introduction
Paper craft is a fun and affordable way to add a personal touch to your home’s decor. Using simple materials like paper and card, you can create beautiful and unique decorations. Paper crafts include folding, cutting, layering, and modeling, making it easy for anyone to start a DIY project. These crafts suit any style and fit into different rooms in your home.
In this article, you will explore various paper craft DIY projects that refresh your space. You will learn easy techniques and creative ideas ready to try. Whether you want something practical or more decorative, paper crafts offer many options to reflect your style and add charm. Get ready to make your home look fresh and inviting with paper crafts!
Basics Of Paper Craft Materials
Choosing The Right Paper
When it comes to paper crafts, the type of paper you pick can make a big difference, sometimes more than you realize. Cardstock, for example, is thicker and sturdier, which makes it great for projects that need more structure, like greeting cards or decorative boxes. If you want something lighter and easier to fold, origami paper is usually thinner and often patterned, perfect for intricate folds but less suited for heavy-duty projects.
Kraft paper tends to be tougher with a rustic look, which some people like for a natural vibe in their crafts. It’s a bit rougher to handle, so it’s mostly good for wrapping or creating more textured pieces. You might find yourself switching between these papers depending on what you’re aiming for—sometimes you want sturdiness, sometimes you want flexibility.
Essential Tools For Paper Craft
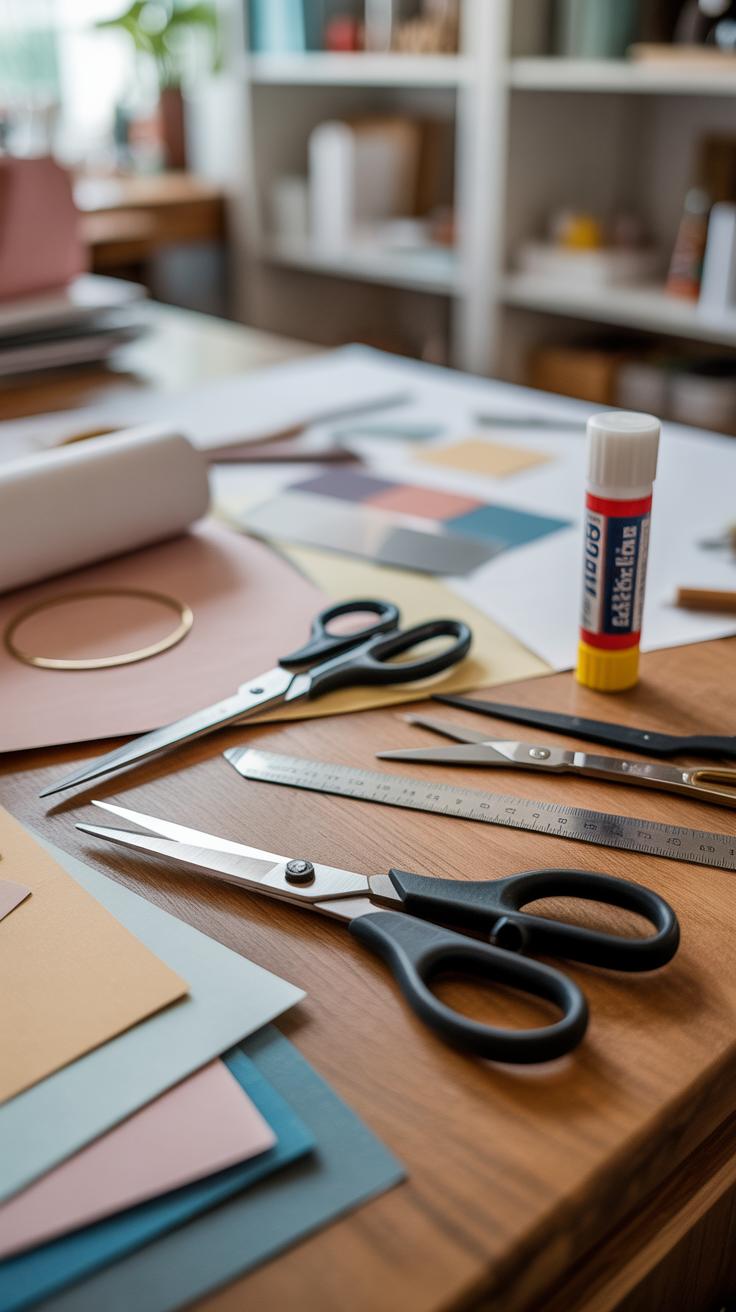
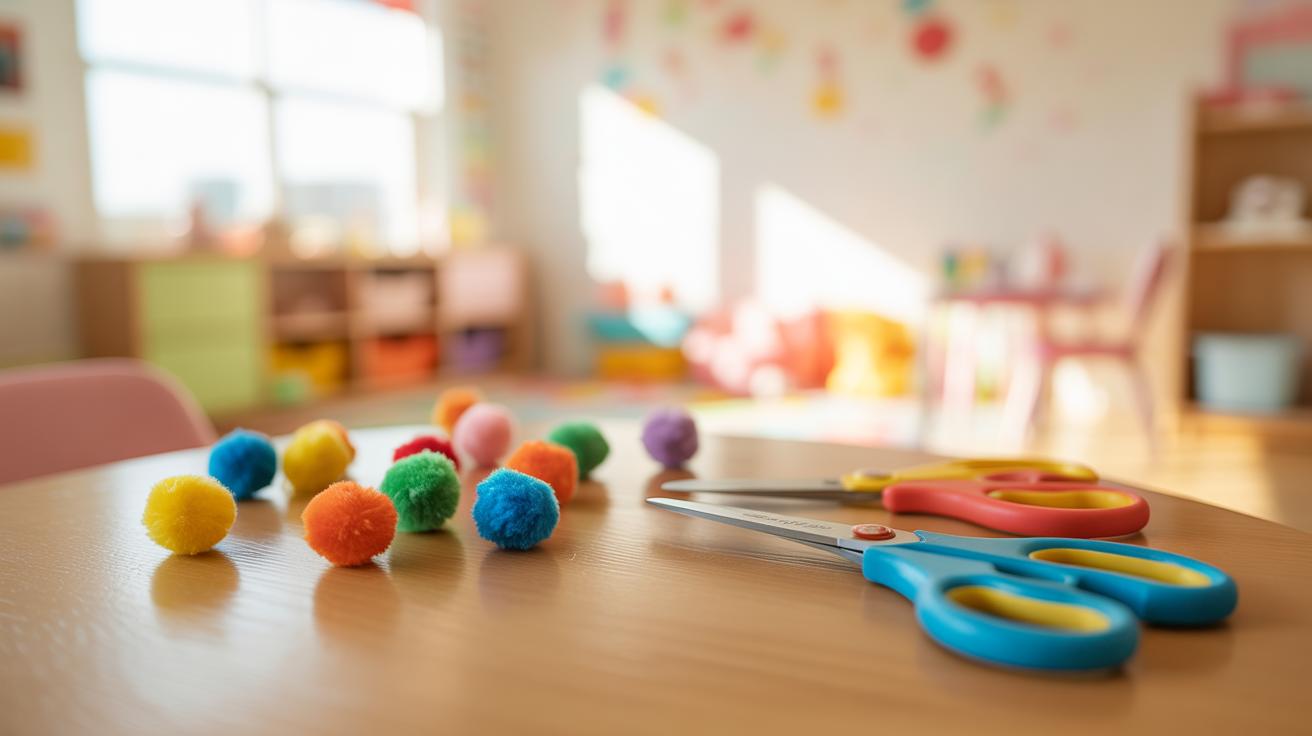
Tools are just as important as the paper itself. Scissors are the basic must-have; a pair with sharp, precise blades can really help you with detailed cuts, but a utility knife paired with a cutting mat is often better if you want clean, straight edges. Rulers come in handy here, especially if your project needs exact measurements.
Glue can be tricky. You’ll find yourself choosing between glue sticks, liquid glue, or double-sided tape depending on the task. Glue sticks work well for light paper, but they might not hold heavier cardstock well. Sometimes you’ll want tacky glue for a stronger hold, though it takes longer to dry.
Pencils help sketch out your designs before cutting—don’t skip this step, even if it feels like extra work. A cutting mat protects your surfaces and helps keep your tools sharp longer, which is something I’ve learned after a few ruined tabletops. There are other extras like bone folders for creasing or tweezers for tiny pieces, but the basics usually get you pretty far along.
Simple Folding Techniques
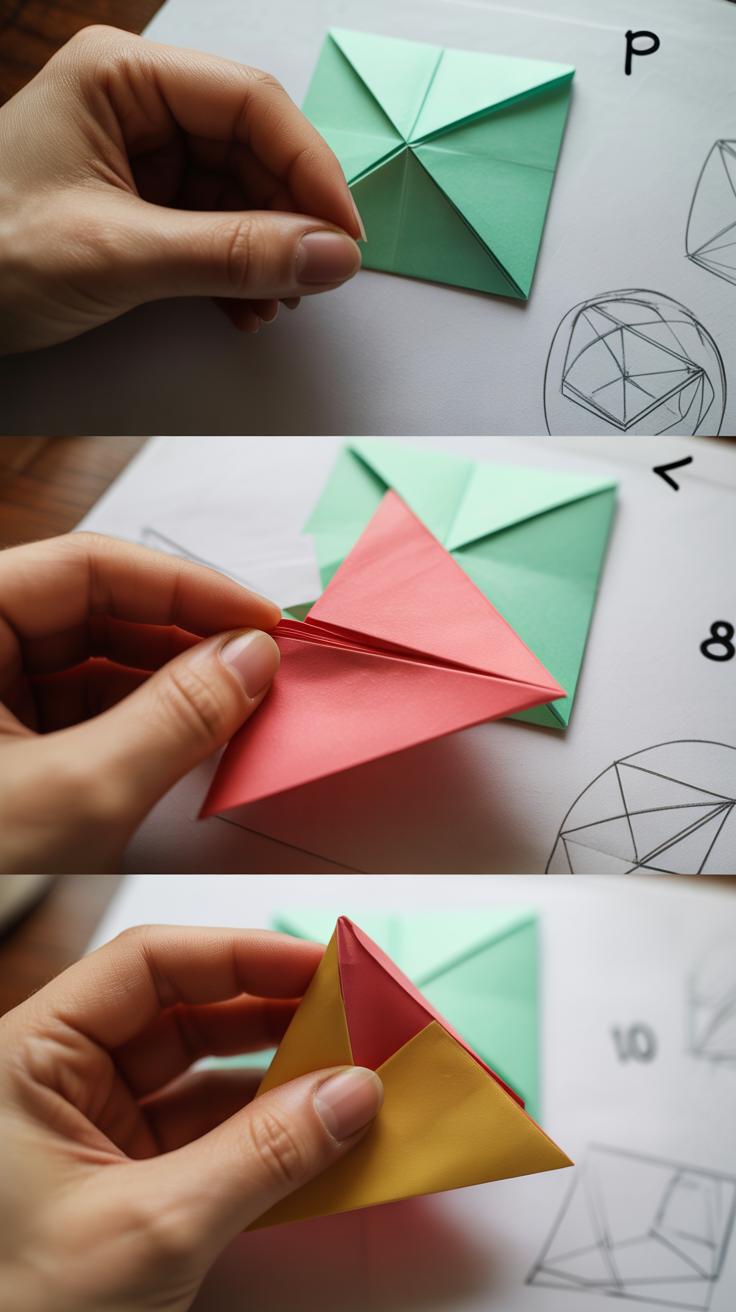
Paper folding might seem tricky at first, but once you get the hang of some basic folds, it’s surprisingly approachable. The two main folds you’ll want to remember are mountain folds and valley folds.
A valley fold is when you fold the paper toward yourself, creating a crease that looks like a “V” or valley. Mountain folds work the opposite way—you fold the paper away from you, making an upside-down “V” crease. These simple motions form the foundation of almost every paper craft you try.
Take a simple paper boat, for example. You start with a valley fold down the middle, then mountain folds along the edges to shape the hull. Or think about making a paper fan—repeated mountain and valley folds alternate, creating that accordion effect.
When you understand these folds, you can start to see how folding directs the paper and brings your shape to life. It’s not just about bending paper; it’s how you control the three-dimensional form emerging from a flat sheet.
To begin, try making a basic origami crane or boat. For the crane, fold the paper in half diagonally to start. Then alternate mountain and valley folds to form the wings, head, and tail. It may feel fiddly at first, and yes, your folds may not be perfect—mine rarely are—but practice helps. The boat is even simpler: fold the paper in half, crease the corners to the center, then fold and unfold edges to shape the boat’s base.

Have you tried folding before and felt stuck just on the basics? Maybe these steps sound familiar but you never realized the difference between the folds. Once you see how each fold affects your project, paper crafting feels more manageable. And who knows—you might find yourself inventing your own shapes before you realize it.
Cutting And Shaping Paper
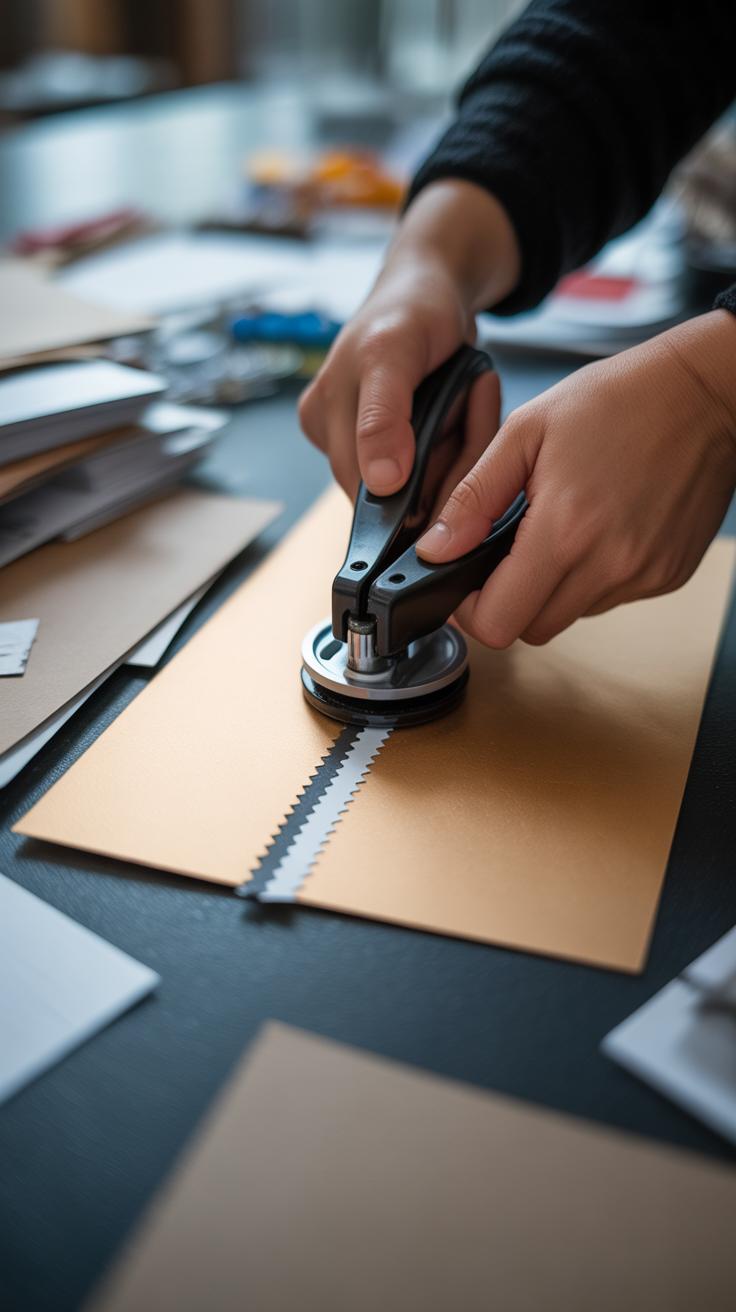
Cutting paper might seem straightforward, but there’s a surprising amount to explore, especially when aiming for patterns and shapes that really pop. One technique I often return to is symmetrical cutting. By folding your paper—sometimes multiple times—and then trimming shapes along the folds, you create designs that mirror perfectly on each side. It’s the kind of thing you might recognize from making paper snowflakes, but you can also use this method for hearts, stars, or geometric patterns.
Speaking of snowflakes, folding paper several times before cutting can yield intricate, delicate designs. You don’t need fancy tools—just sharp scissors and a steady hand. The key is in where you make those cuts. Small triangles or semicircles near the edges often give the best results. It’s a little bit like revealing a hidden image when you unfold the paper.
Layering is another avenue worth exploring. Instead of sticking to one flat sheet, try cutting different shapes—or the same shape in various sizes—from colored or textured paper. Then stack them, offsetting slightly to create depth. The play of shadows and color gradations adds a tactile quality that catches the eye. I once layered leaf shapes in various greens and browns to create a 3D autumn scene on a wall panel—it took time, but was worth the extra effort.
Consider mixing symmetrical cuts and layering for even richer effects. The balance between repeating shapes and varied layers can turn a simple piece of paper into a dynamic focal point for your room. Don’t shy away from experimenting—sometimes the most interesting patterns emerge from what first seems like a mistake. What could happen if you folded the paper in an unusual way before cutting? It’s sometimes the imperfect or unexpected approaches that make designs stand out.
Paper Flowers And Decorative Elements

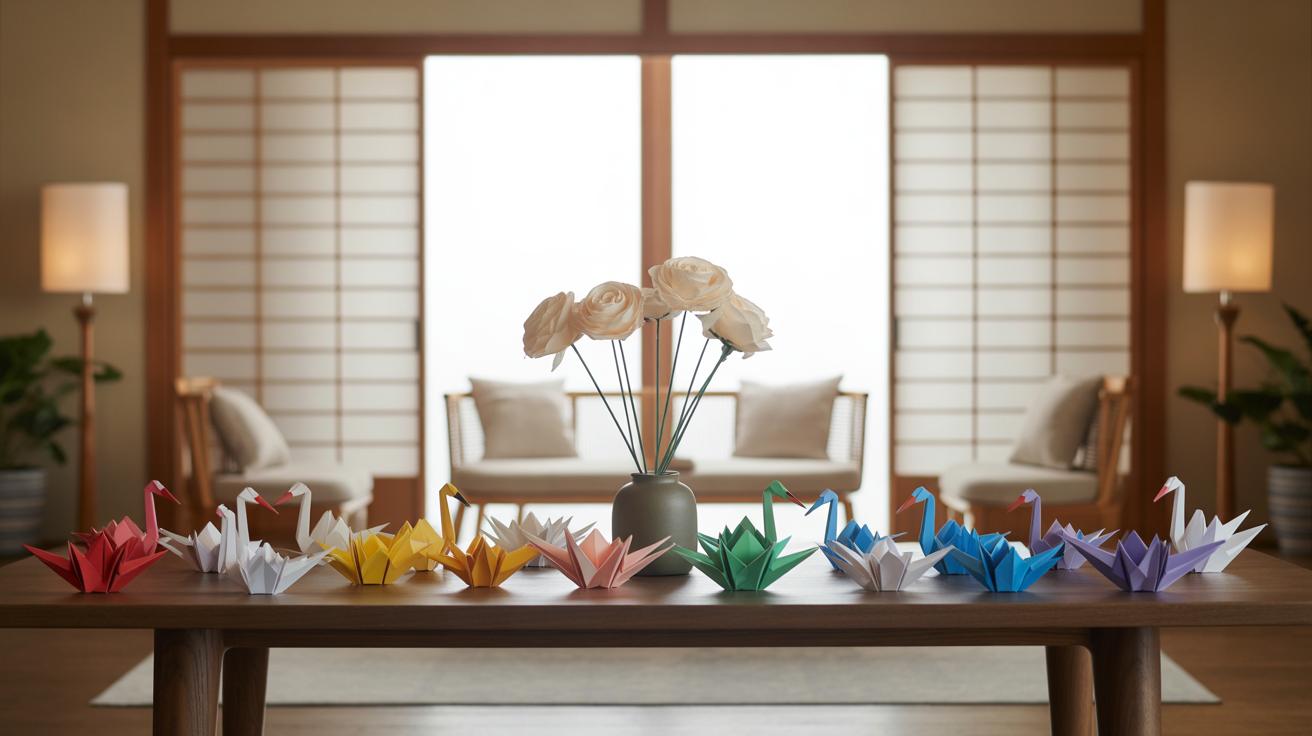
Making paper flowers is surprisingly satisfying, especially once you see how a few simple shapes turn into something that looks, well, pretty lively. Think of a rose—it starts with rolling narrow strips of paper tightly to form the center, then layering petals around it. Daisies, on the other hand, are easier: just cut elongated petal shapes and glue them in a circle over a small round base. Tulips require folding a petal shape and gluing edges so it stands upright, creating that distinctive cup shape.
Each flower type brings a different texture and feel to a space. Sometimes I find the simplest flower—like the daisy—adds this fresh, casual vibe, while roses give a more formal touch. Making these isn’t just about cutting and gluing; you’ll want to gently curl edges or even crumple petals slightly to capture that organic look.
Once you have your flowers, there are plenty of ways to brighten your home. Pop them into vases as you would real blooms—maybe mix colors or sizes. You might also arrange a few in a shadow box or frame them flat against a contrasting background for subtle wall decor. Another idea: create a small wreath for doors or mirrors, using a mix of flowers and leaves. It’s worth experimenting—I’ve found a single flower taped to a lampshade can change the whole feel of a room, surprisingly enough.
Making Paper Wall Art
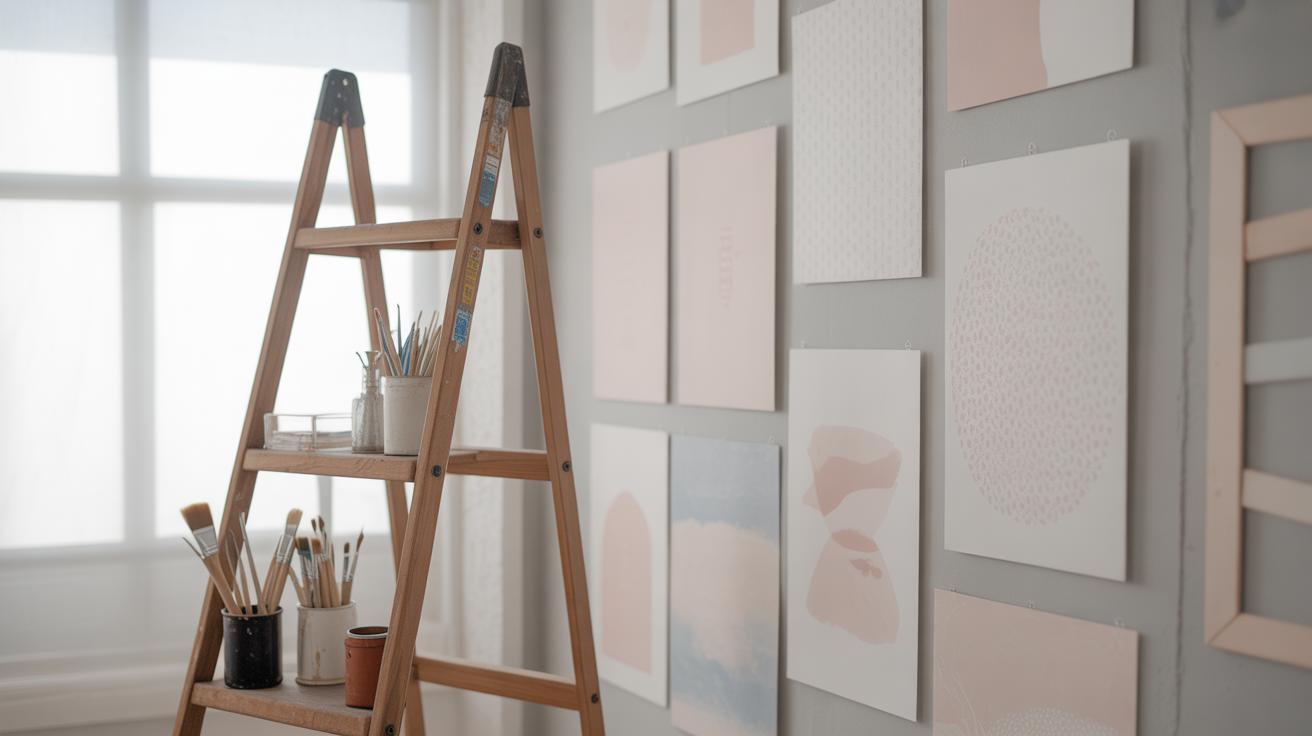
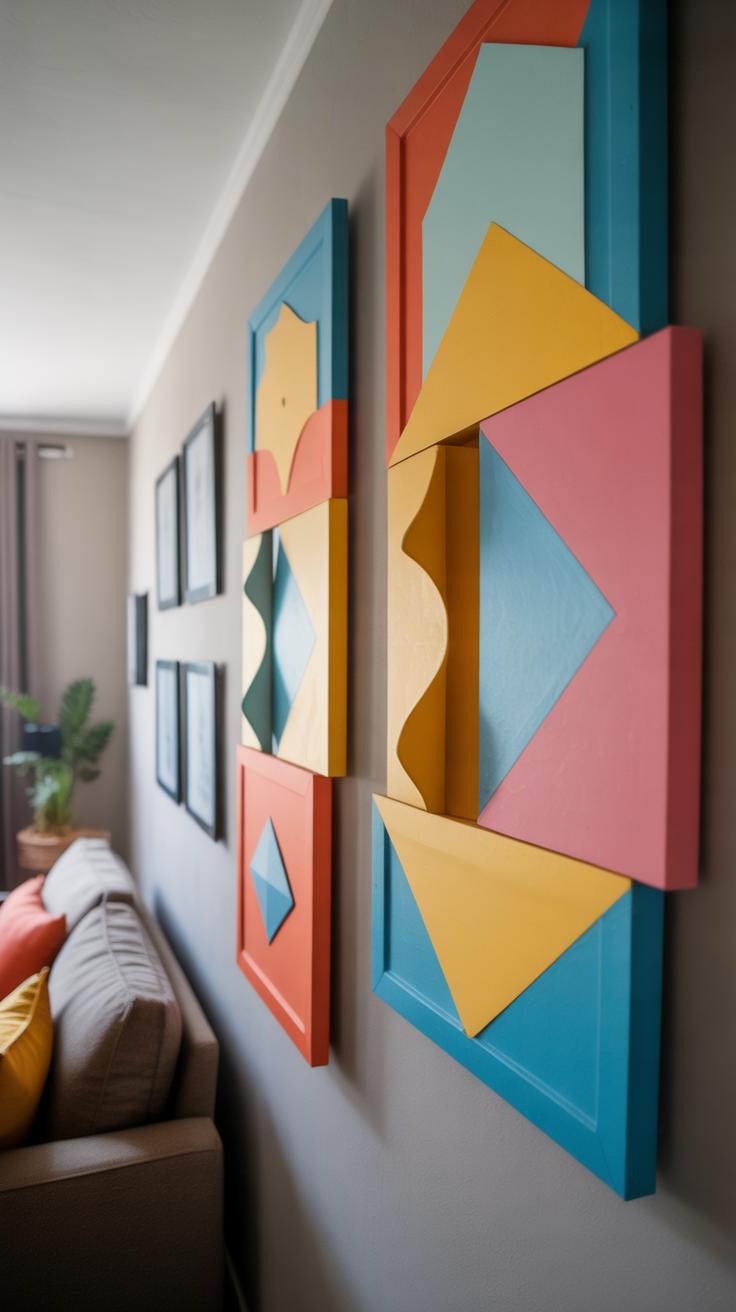
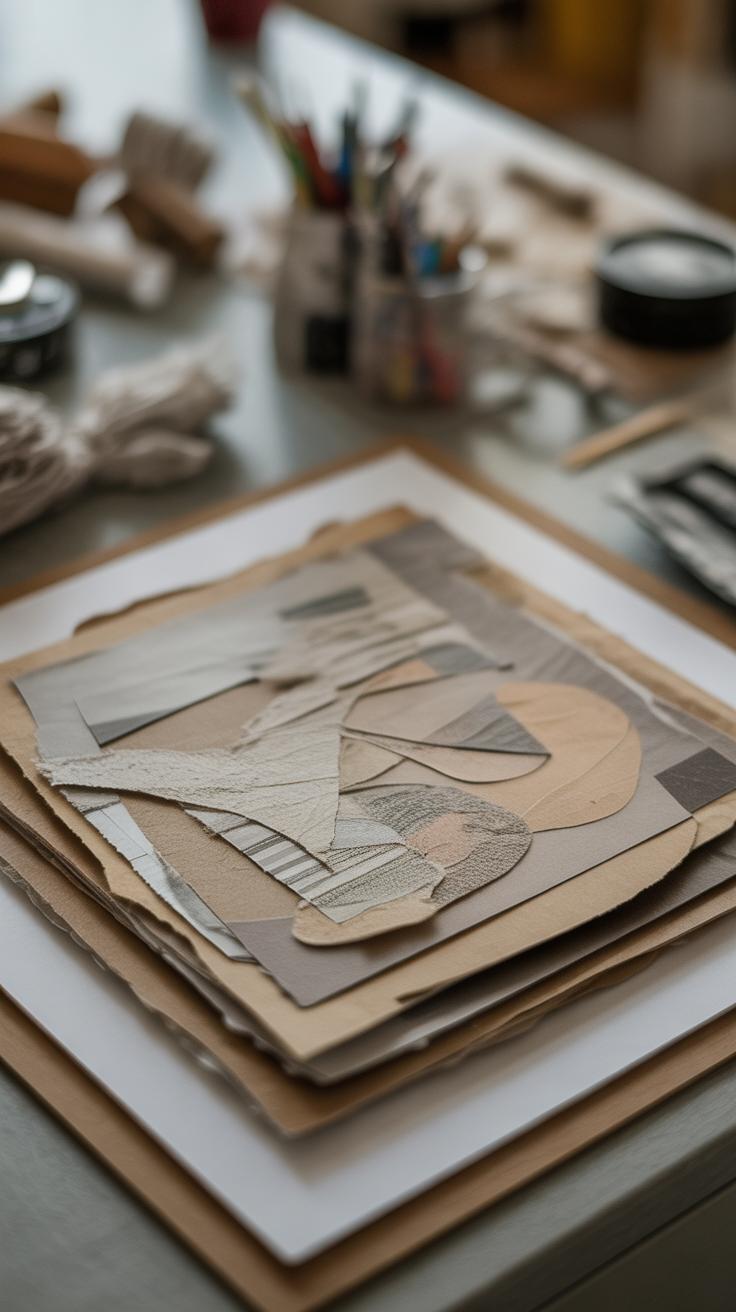
Designing paper wall art lets you customize your space in a way that feels both personal and fresh. Start by thinking about shapes and colors that fit your room’s vibe. You might want to try folding or cutting paper into abstract or geometric patterns—triangles, hexagons, or simple strips arranged in a pattern work well. It’s a bit like piecing together a puzzle, but with paper. Some people prefer clean, sharp lines; others embrace imperfect cuts and asymmetry. Both can look great.
When assembling, layering shapes can add depth. Consider mounting your pieces on thicker cardstock or lightweight frames to give them structure. Hanging can be as simple as using double-sided tape, but mounting in a frame protects your art longer—plus, it looks neat. Frames don’t have to be fancy; even a plain black or white frame highlights the shapes well.
For something more personal, create posters with paper cutouts of letters, symbols, or shapes that reflect your style. Mix different textures or colors to add interest. For example, cut out bold letters spelling a favorite word, then back them with patterned scraps or vibrant paper bits. It may feel like collage, but with a cleaner edge. Play with alignment—centered, off-center, scattered. Don’t worry too much about being perfect. Your poster can capture your mood more than strict design rules.
Have you tried blending text and geometric shapes before? It can create a balance between order and expression in your wall art. Maybe that’s what makes it appealing—or confusing, depending on the day.
3D Paper Models For Decoration
Basics Of Paper Modeling
Making three-dimensional paper models might seem tricky at first, but it really boils down to mastering a few simple techniques. You start with folding precise edges, which gives your shape definition and strength. Then, you carefully glue tabs or edges to attach different parts, creating volume where flat paper once was. Sometimes, I find that scoring the folds lightly before folding helps, especially for thicker paper—it makes the creases cleaner and easier to bend without tearing.
Try working with patterns that break complex shapes into smaller sections. Like when building a paper animal, separate the legs, body, and head, then assemble step-by-step. Glue is usually better than tape here; it holds more discreetly and lets you reposition pieces when needed. Also, don’t rush. Waiting for glue to dry between steps avoids frustrating shifts or misalignments.
Decorating With 3D Models
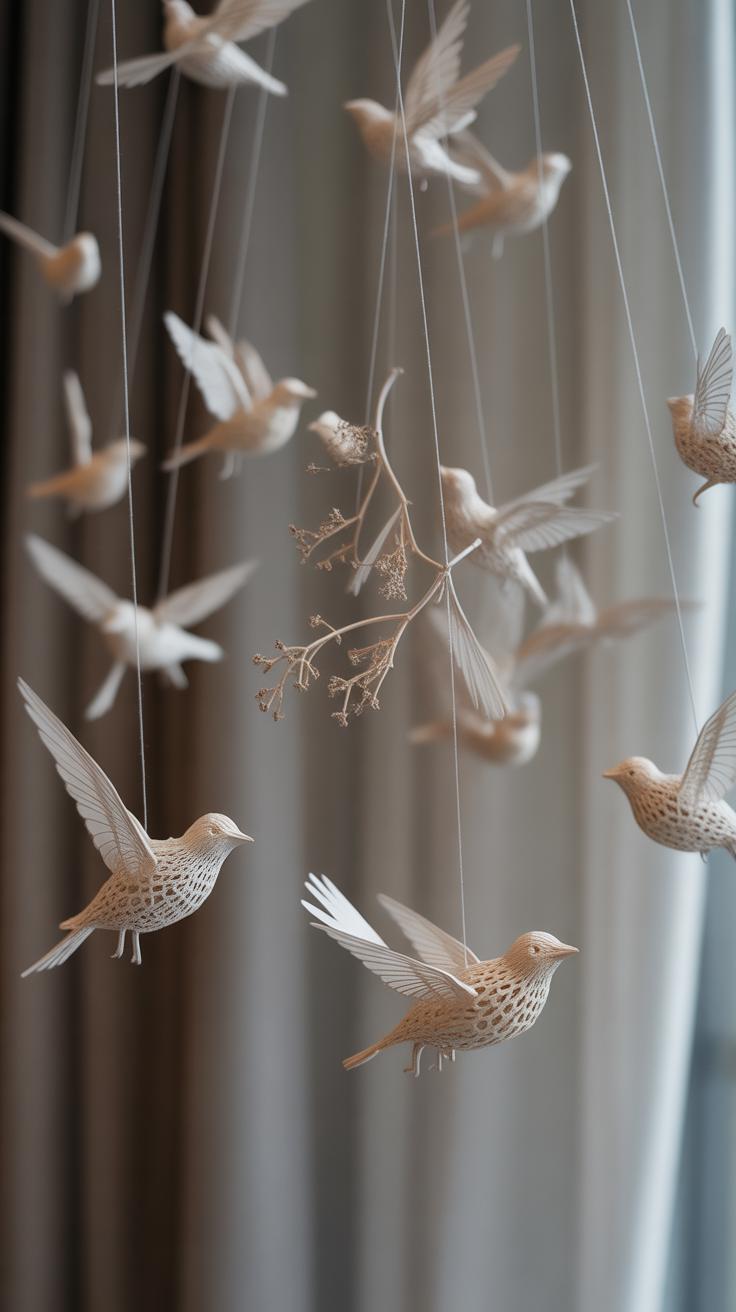
Once you have your models ready, the fun part is figuring out where to place them. Shelves, mantels, or side tables make great spots because they let your paper animals or architectural shapes catch the eye from multiple angles. You might want to cluster a few different models together or scatter them lightly around the room for a subtle touch of interest.
Think about mixing textures by pairing paper models with natural materials—wooden shelves or pottery can contrast nicely. And sometimes, positioning a paper building near a window adds unexpected charm as sunlight creates delicate shadows. It’s surprising how even simple shapes come alive with the right placement. Have you tried rotating your models regularly? Changing their angle can keep your decor feeling fresh over time.
Upcycling Old Paper Crafts
What do you do with those paper crafts you made months or even years ago that now look a bit tired? Tossing them feels wasteful but keeping them as-is can feel uninspiring. Instead, try giving them a second life with some simple upcycling techniques. You don’t need to start from scratch—sometimes a small tweak makes all the difference.
Repairing And Restyling
If your old paper crafts are bent, torn, or faded, don’t rush to recycle them just yet. Fixing those little imperfections can actually add character. Here are a few ideas I’ve found useful:
- Use clear tape or glue to carefully mend tears; reinforcing the back can keep the craft sturdy without spoiling the front.
- Refresh colors with paint, markers, or even metallic pens to add some brightness or a different tone.
- Add new elements like cut-out shapes, stickers, or glitter to give the piece a fresh personality.
- Try layering transparent paper over worn areas to soften the look.
It might feel like a quick fix, but these small updates transform the old into something you want to see every day.
Combining Old And New
Sometimes, instead of thinking of old and new as separate, try mixing them together. For example, place an older paper flower arrangement alongside some newer geometric models you just made. The contrast creates depth and tells a story in your decor.
Try grouping crafts by color rather than age, or scatter vintage-style projects into a modern display. The mixture can actually make both old and new pieces feel more intentional and lively. You might even find that certain worn textures add warmth to otherwise perfect new creations.
What combinations could you play with today? Sometimes the best refresh is just a matter of blending, layering, and rearranging what you already have.
Paper Craft Gift Ideas
Turning paper crafts into gifts feels more meaningful than just buying something off the shelf. When you make something by hand, it carries a bit of your time and thought—little details that can make someone pause. It’s not just about the object but what you put into it, you know?
Handmade Greeting Cards
Creating greeting cards doesn’t have to be complicated. A few simple steps can make a big impact:
- Start with good quality cardstock; thicker paper holds up better and feels more substantial in hand.
- Use basic folding techniques—sometimes just a clean fold is enough to set it apart from a store-bought card.
- Add personal touches like hand-drawn doodles, stamped patterns, or even pressed flowers. It doesn’t have to be perfect, sometimes the charm lies in small imperfections.
- Write messages in your handwriting—it adds personality. Even a short note can feel powerful when it’s truly yours.
Honestly, I’ve found it’s easy to get caught up trying to make something flawless. But the simplest cards often feel the most genuine. Don’t overthink it—just start with what you have.
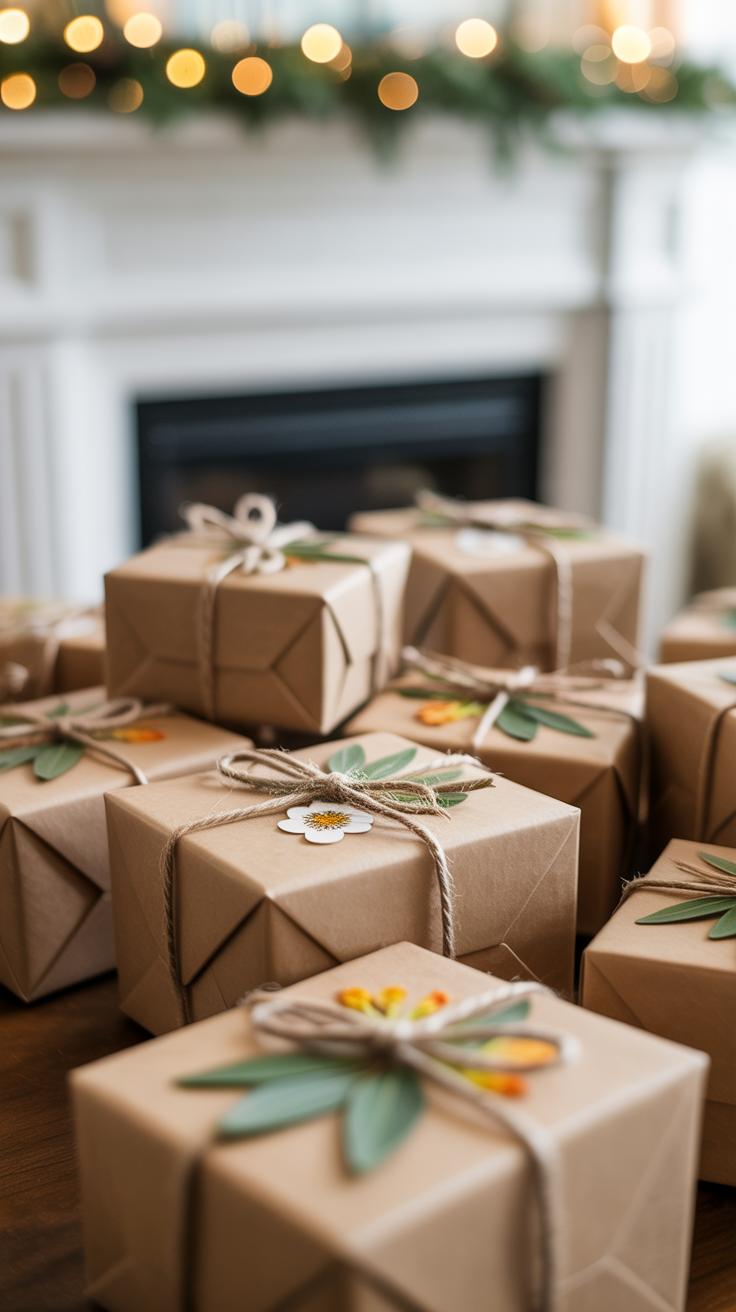
Decorative Gift Boxes
Creating a paper gift box might sound tricky at first, but once you get the hang of folding and scoring, it’s pretty straightforward. Here’s a basic way to approach it:
- Choose patterned or textured paper—something that adds visual interest without extra work.
- Cut your paper with clean edges and score fold lines lightly; this helps you achieve crisp folds without ripping the paper.
- Use glue sparingly, or try double-sided tape for a cleaner finish.
- Decorate with ribbons, tiny tags, or paint details to fit the occasion or the recipient’s tastes.
Small boxes are ideal for jewelry, candles, or other little items. Plus, making your own container doubles the gift’s value, I think. You could even match your card and box design for an added touch. It’s interesting how giving something handmade can sometimes mean more than the gift inside.
Organizing Your Paper Craft Space
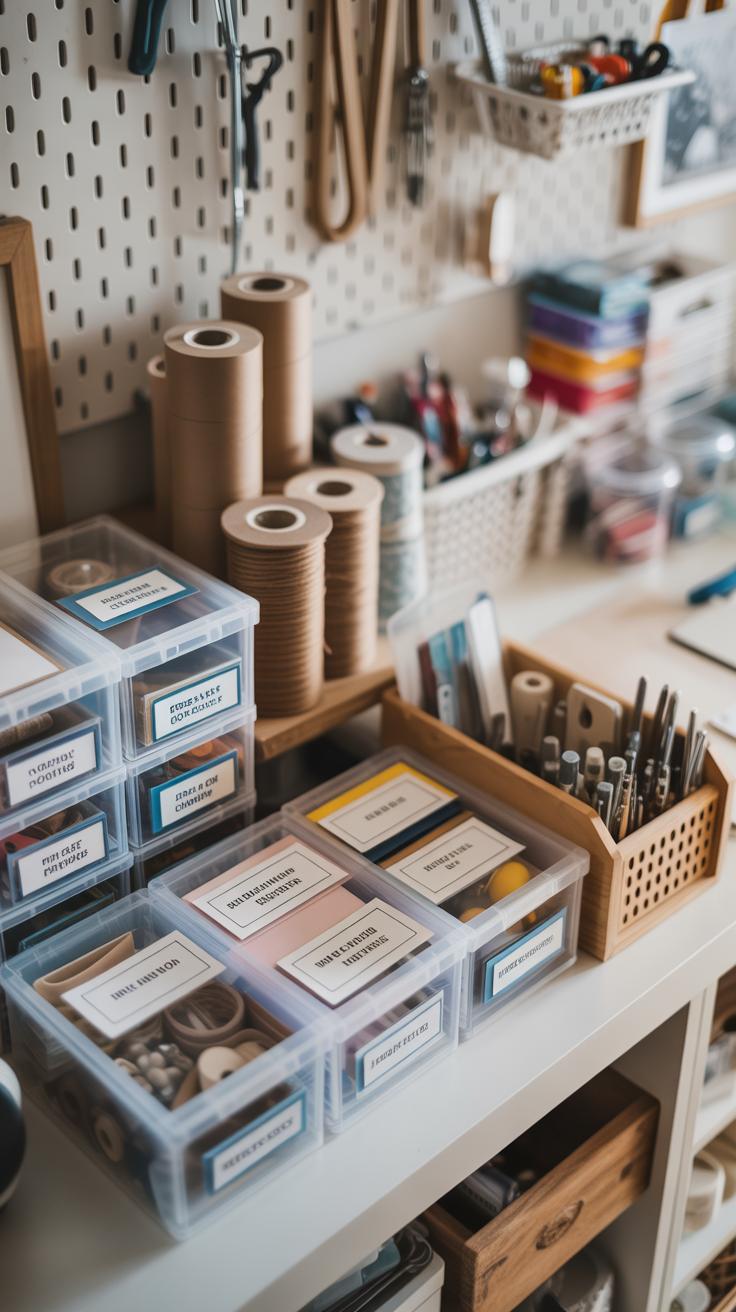
Storage Solutions For Supplies
Keeping your paper crafts supplies neat can feel tricky, especially when you have so many different papers, scissors, glues, and bits and pieces. But finding a spot for everything makes a huge difference in staying inspired and avoiding chaos. You might want to try clear plastic drawers or stackable boxes for your paper. They let you see colors and patterns without digging through piles.
Tool storage can be surprisingly simple—think small containers for pens, cutters, and brushes, maybe even a pegboard if you have the wall space. Finished crafts deserve their own place too, whether a shallow box or dedicated shelf. That way, you can admire your work anytime. I once tossed all my scraps in a bin and quickly learned just how frustrating that was—so a sorted container for scraps might save you time and headaches. Do you find yourself losing tools often? Labeling containers could help, or maybe it’s just about getting into the habit of putting things back right away.
Creating An Efficient Workspace
Your workspace should invite you in, not push you away. Comfort plays a big role here—choose a surface at a height that doesn’t make your shoulders ache or your back stiff. Lighting is an often-overlooked factor; natural light is great if you can manage it, but a good lamp focused on your project can work wonders. Sometimes I find it’s better to have a bit less clutter on the table, yet somehow, a few favorite tools scattered around spark my creativity more than a perfectly tidy desk would.
Don’t be afraid to rearrange your space to suit your mood or project. Maybe keep your most-used items within arm’s reach and stash less frequent supplies farther away. Try to create some breathing room to actually move around and step back to see your work from a distance—sometimes that perspective is just what you need.
Incorporating Paper Crafts In Room Themes
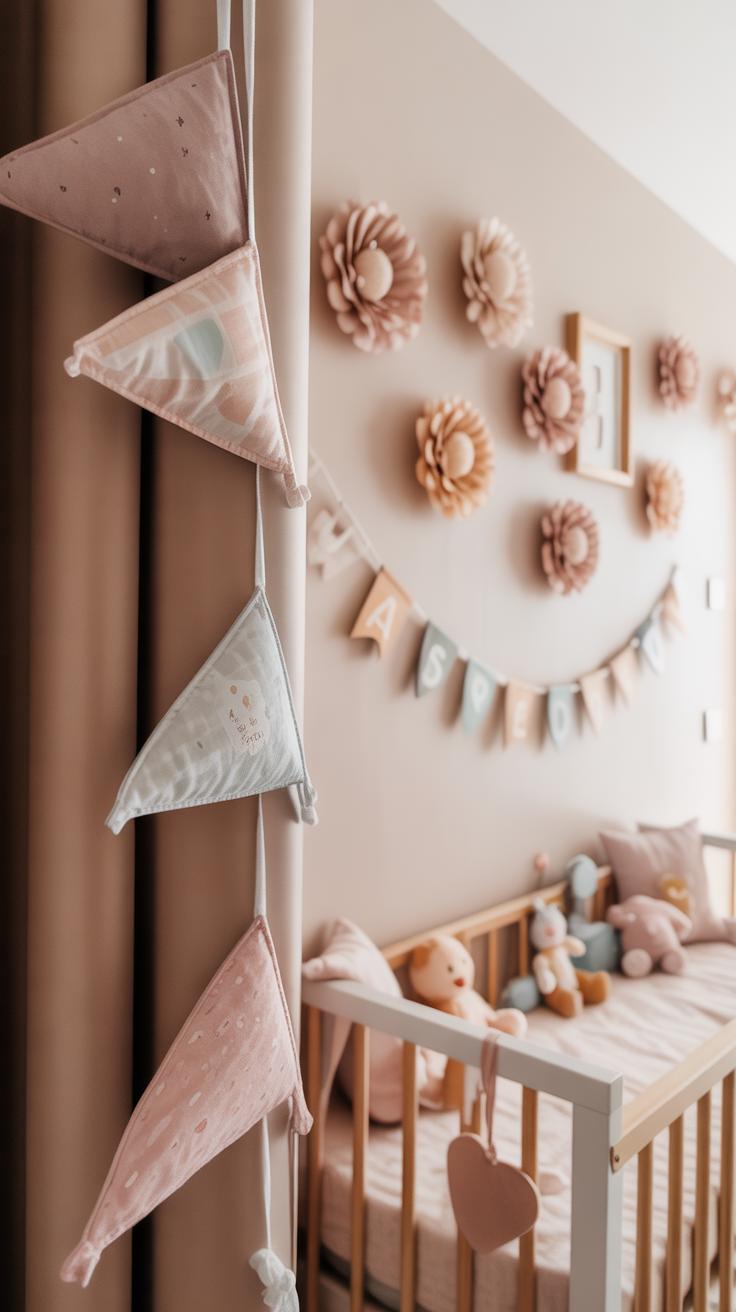
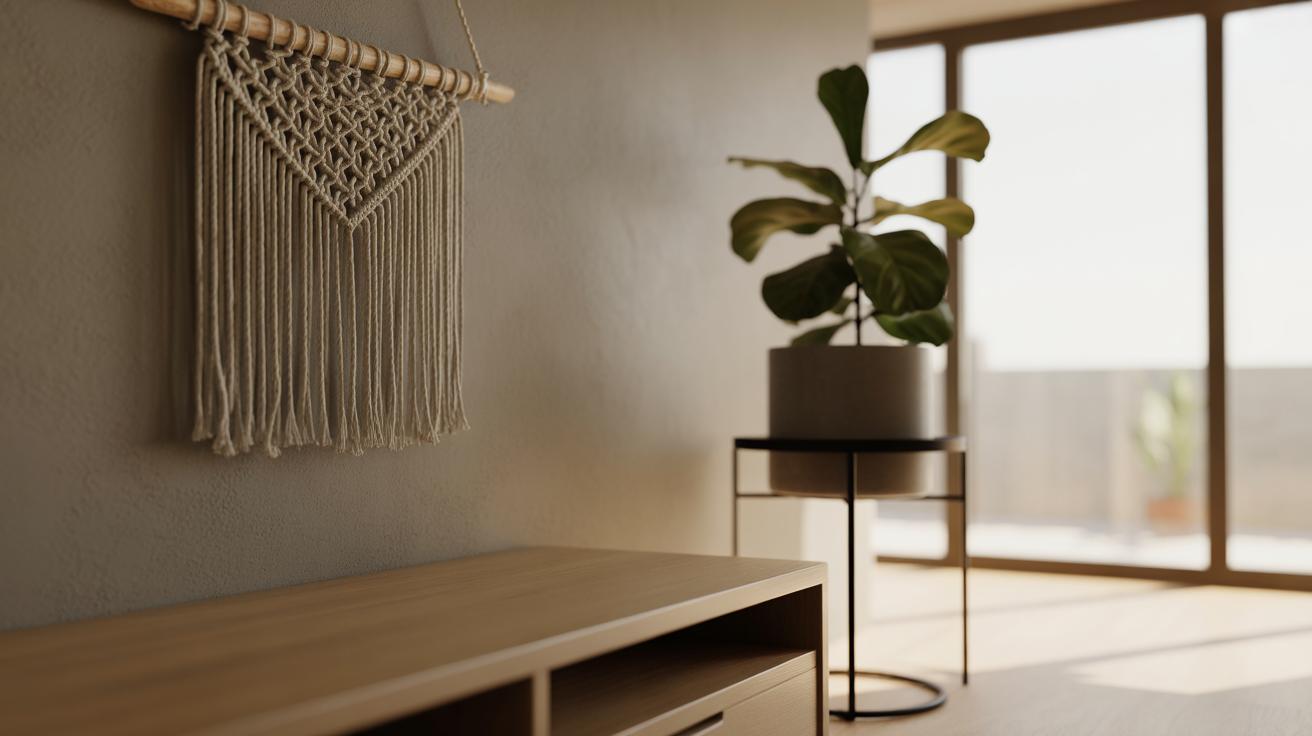
Paper crafts can fit quite naturally into different room styles, quietly pulling the whole look together without overwhelming it. You might be surprised how a few simple elements, like paper flowers or cut-out shapes, can subtly echo a room’s existing vibe—whether that’s cozy and rustic or sleek and modern.
Think about seasonal touches as well. For spring, delicate paper blossoms can bring freshness to your space, while delicate snowflake cutouts suit the cooler months. You could add a string of paper leaves in autumn hues or a bunch of bright stars around the holidays. These changes feel small but often spark a mood shift that’s easy and inexpensive.
Choosing paper colors and patterns is a bit of an art. In a minimalist room, plain white or muted tone paper can enhance without cluttering. For rustic themes, textured papers in earthy shades might work best. Meanwhile, modern rooms often welcome bold geometric prints or sharp contrasts. The fun part? You get to imagine what fits, try it out, and adjust on the fly.
Have you ever thought about how these paper additions might evolve with your mood or season? Sometimes, I find myself swapping out a paper project for another as the room’s feel changes, almost like redecorating but way simpler. That’s the charm here—paper crafts adapt quickly, and you can keep your decor lively without major effort.
Conclusions
Paper craft DIY projects provide a practical and enjoyable way to update your home decor. They let you use simple materials and easy techniques to make beautiful decorations yourself. You can customize colors and shapes to match your style and create unique pieces that brighten your space.
Trying paper craft projects also offers a rewarding creative activity. Making your own crafts connects you to your home’s look and feel. With the ideas and tips shared here, you have plenty of inspiration to start new paper crafts that add fresh appeal to your rooms. Start today and enjoy the satisfaction of handmade decor.


