Introduction
Planning a wedding is a big job with many details to manage. A smart way to handle it all is by using a Wedding Planning Checklist Month By Month Guide. This helps you break down the work into simple steps and keeps you on schedule so nothing gets forgotten.
In this guide, you will find clear month-by-month advice. Each chapter covers what you need to do at that time. You will learn how to pick your venue, find your dress, send invites, and more. This makes your wedding planning easier and more enjoyable.
Start with Setting Your Budget and Date

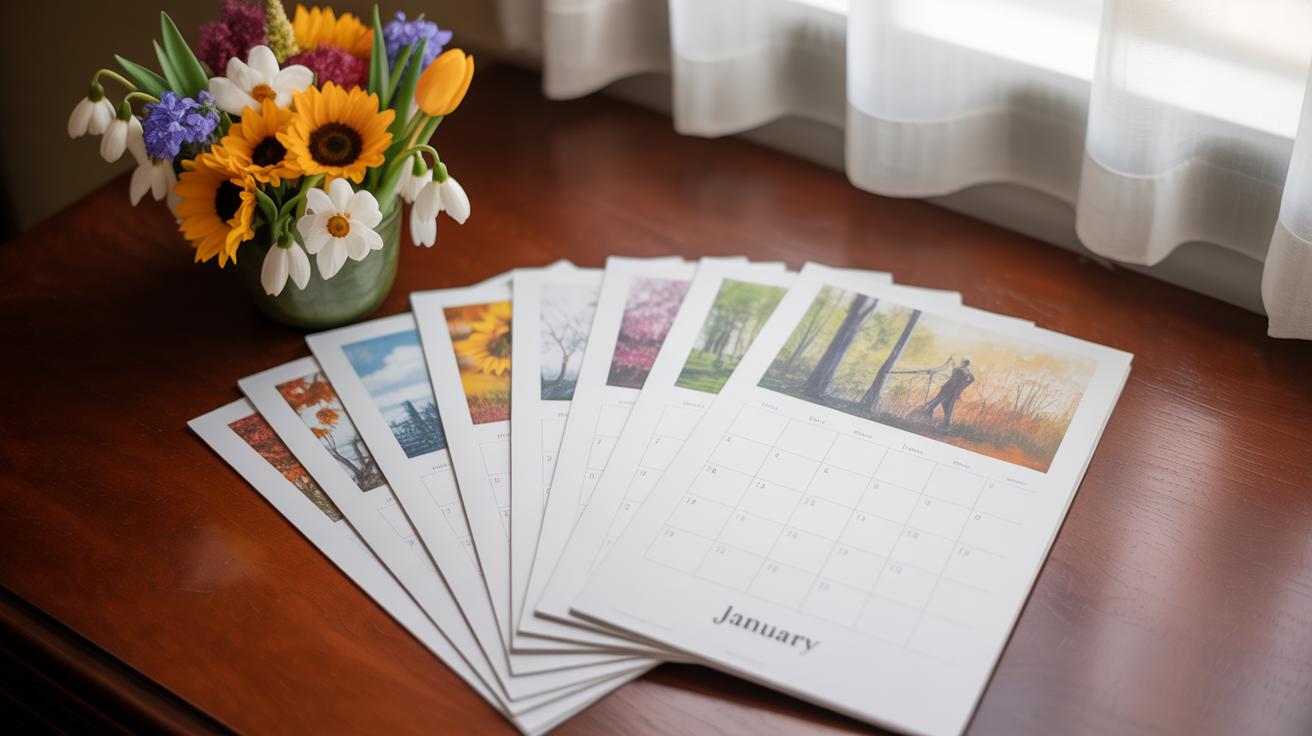
Choose Your Wedding Date
Picking a wedding date might sound straightforward, but it often turns into a bit of a puzzle. You want a date that feels right, but also one that works practically. Think about the season first—do you imagine a summer celebration with bright skies, or a cozy winter gathering? Each season changes not just the vibe but also things like vendor availability and prices.
Then there’s the guest list. Are most of your people local, or will some travel? Holidays can be tricky; either they make it easier for guests to attend or they’re a big no because of family commitments. Also, consider if any personal dates carry meaning—anniversaries, significant moments, or even just a date that feels lucky. But remember, sometimes the “perfect” date can clash with other big life events.
Set Your Budget Wisely
Figuring out your budget is often the hardest first step. Start by being honest with yourselves about what you can afford and what you want to prioritize. It helps to list the major expenses first—venue, food, photography—and then see what’s left. It’s easy to get lost chasing extras later on.
Try to estimate costs early, even if roughly, so you’re not surprised. For example, if you know the venue costs half your budget, you’ll need to be cautious elsewhere. Talk openly with your partner or anyone contributing money. Those conversations aren’t always comfortable, but avoiding them just leads to stress down the line.
Make a spreadsheet or use a wedding planning app—something to track what you’ve committed to and what’s still pending. And expect a little wiggle room; no budget is perfectly predictable. What parts mean the most to you? Maybe splurging on photos makes more sense than extravagant flowers. Balancing those choices is tricky, but you’ll figure it out as you go.
Find and Book Your Wedding Venue
Research Venue Options
Start by thinking about the kind of place you want. Do you imagine a classic ballroom, a rustic barn, a cozy restaurant, or maybe an outdoor garden? Each has its own vibe and practical considerations. Look for venues that roughly match your guest count—too small, and people will feel cramped; too large, and the atmosphere might feel empty.

Use online tools, wedding directories, or even local event listings to find options nearby. Ask friends or family for recommendations—they may know hidden gems. Once you have a list, narrow it down to a few top picks. Visiting venues in person really helps—photos can be misleading. Pay attention to things like parking, accessibility, and if the space suits your style. Write down your impressions after each visit. It’s a bit tedious, but vital.
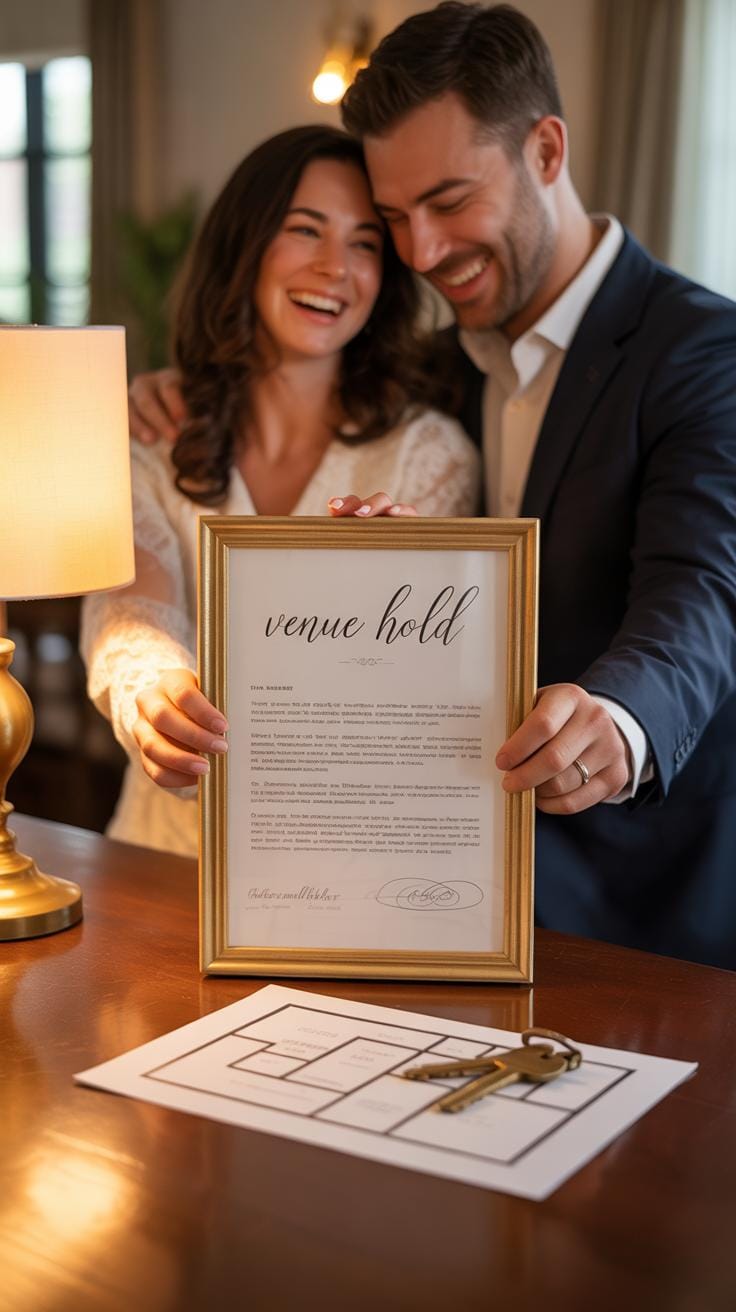
Secure Your Venue
Booking your venue often means putting down a deposit—this locks in your date but read the fine print before committing. Contracts can include cancellation policies, what’s included (tables, chairs, linens), and if there are any noise or time restrictions. Some venues require this deposit months in advance, especially on popular dates, so don’t hesitate for too long or risk losing the spot.
Ask questions like: Can you bring outside vendors? What if your guest count changes? How strict is the timing? Clear answers here save future headaches. Once you’re confident, sign the contract and keep a copy. Grab the calendar, because your wedding day just got real.
Build Your Guest List and Send Save The Dates

Create Your Guest List
Making a guest list can feel like a delicate balancing act. You want to include close family and friends, but your budget and venue size often set limits you can’t ignore. I usually find it helps to start by listing everyone who comes to mind, then grouping them by categories—family, close friends, coworkers, acquaintances. From there, you can make cuts where necessary, maybe decide to invite only immediate family or long-time friends. It’s okay to prioritize some relationships over others. Think about who’ll truly want to be there and who you’d feel disappointed to miss. Sometimes, it’s tricky when one side of the family expects more invites, but sticking to a clear plan helps avoid endless back-and-forth.

Ask yourself: will this invitation strengthen your day, or is it more about obligation? It’s fine if your list grows unevenly between groups, as long as you’re honest about what you can host and afford.
Send Save The Dates
Once the guest list starts to take shape, it’s time to send save the dates. Sending these early—think 6 to 8 months before the wedding—gives your guests a chance to plan, especially if they travel or need to request time off. They’re a heads-up, not the actual invitation, so it’s good to keep them simple but clear. Many couples choose digital or printed cards, depending on their style and how formal the event will be.
Save the dates aren’t just about punctuality; they can actually ease later stress. When you already know who’s keeping the date, final invitations become smoother to manage. It also lets you spot any major issues early—like a guest who can’t make it—and adjust your plans accordingly, whether that means inviting someone else or rethinking your numbers. Though it feels a bit early, this small step sometimes avoids bigger headaches down the road.
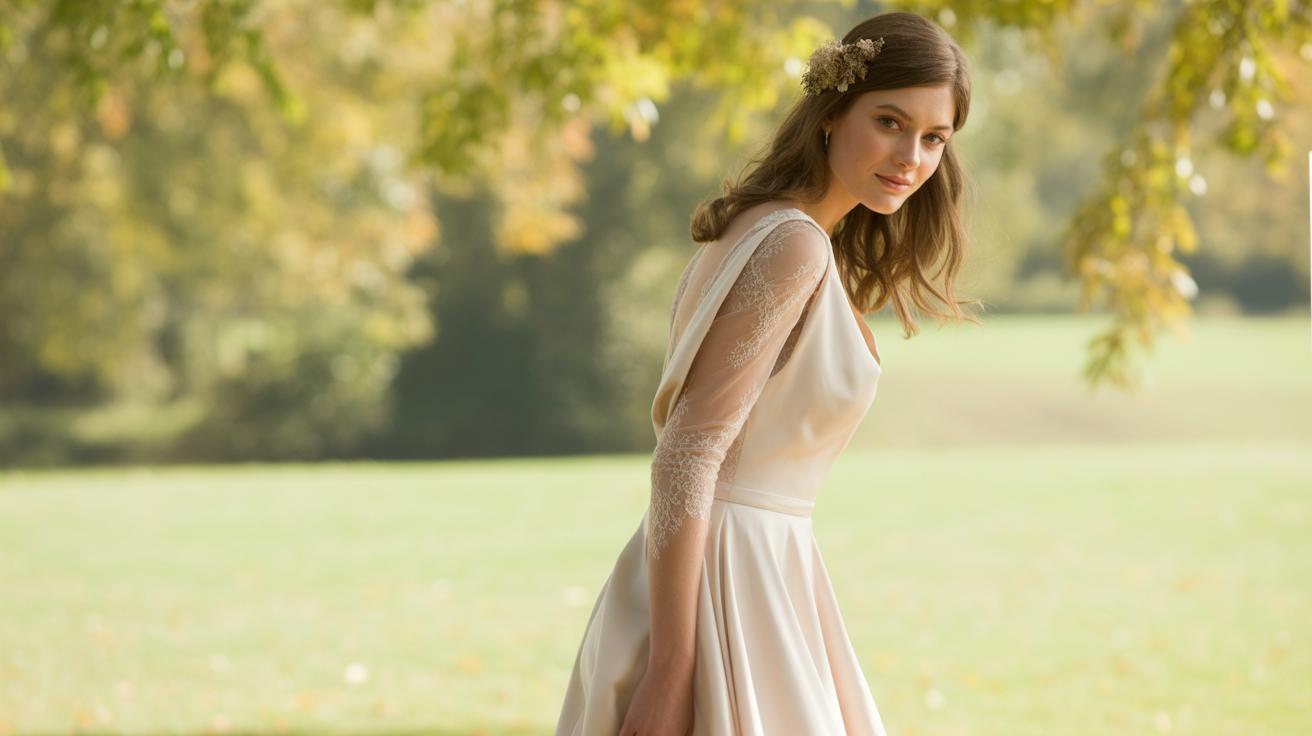
Choose Your Wedding Attire

Shopping for your wedding dress or suit is more than just picking something pretty. It takes time and some patience. Start by trying different styles—even those you think you might not like. You might be surprised. Budgeting is tricky; dresses or suits can range widely, so having a clear limit will help avoid stress later. Order early, ideally several months ahead, because alterations are almost always necessary. Even if you find a perfect fit off the rack, expect some tweaks. Fitting appointments are critical, so plan them with enough space before the wedding day.

When it comes to your wedding party, coordinating their attire takes effort, too. Aim for cohesiveness without forcing everyone into uncomfortable or ill-fitting clothes. Talk to your bridesmaids and groomsmen about what styles and colors work for them and your overall theme. Place orders early, preferably three to four months before the date. Rushed orders can cost more and cause anxiety—a worry you don’t need. Remember, fittings for the entire party often need scheduling as well, so keep timing in mind.
Book Key Wedding Vendors
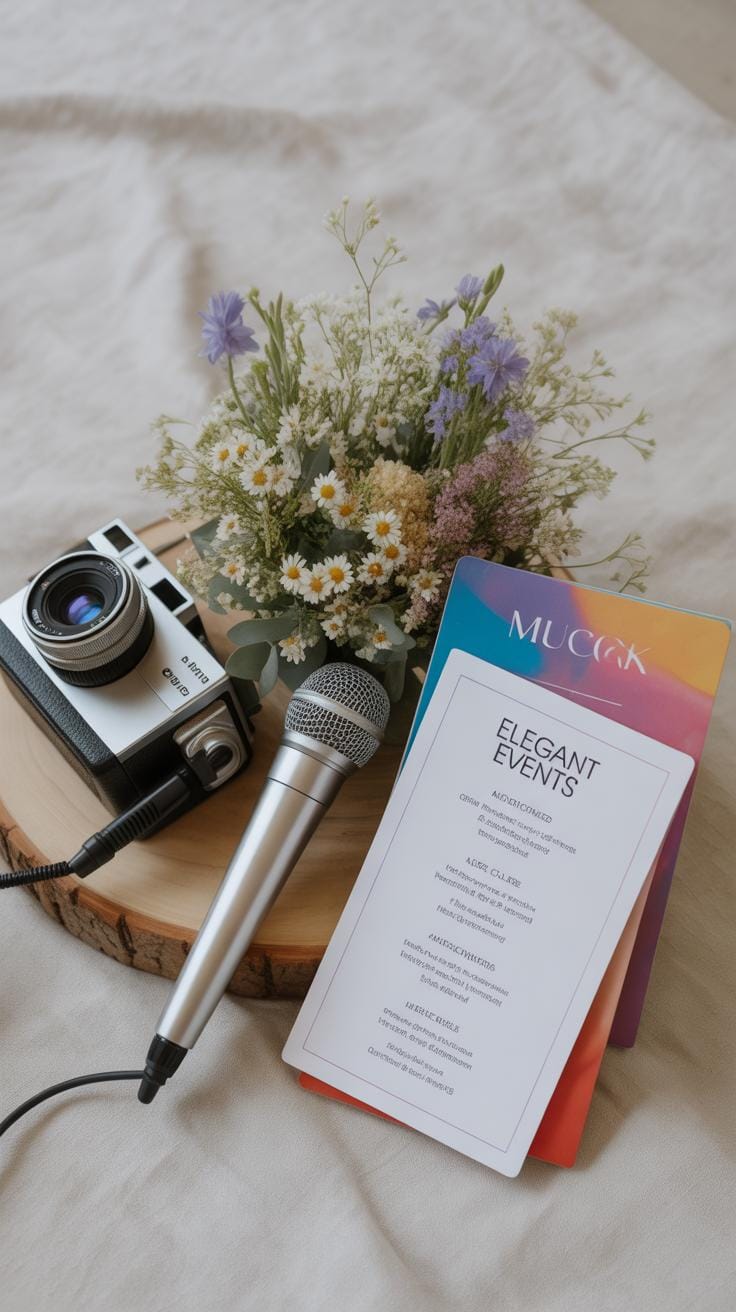
Finding and hiring photographers, caterers, florists, and entertainment can feel overwhelming, but breaking it down helps. Start with research. Look for vendors with strong reviews—those give you a sense of reliability, even if sometimes, a few negative comments pop up for reasons you might not understand. Don’t rely solely on star ratings; read through what past clients actually say.
Next, interview potential vendors. Ask questions about their experience and style. Request portfolios or tasting sessions, depending on the vendor. For photographers, seeing a full wedding album paints a clearer picture than a highlight reel. For caterers, sampling the food is essential—you want to be sure the taste matches the look.
When you settle on favorites, contracts come into play. Review these carefully; read every detail, even the small print. Watch for cancellation policies, payment schedules, and what’s included. Resist the urge to skim—these written agreements protect both you and the vendor. Sometimes, contracts can be confusing or seem rigid, but don’t hesitate to ask for clarifications or adjustments if something feels off.

Pay attention to deposit amounts and final payment deadlines. Many vendors require deposits to hold your date, which can feel like a big commitment, but it’s standard practice. Keep records of all payments and correspondence—this can save headaches later.
Hiring the right vendors shapes your day significantly. Take your time, trust your instincts a bit, but also lean on concrete proof like portfolios and reviews. If you feel unsure, a second interview or extra research rarely hurts. After all, you want to feel confident as these details come together.
Plan Your Ceremony and Reception Details
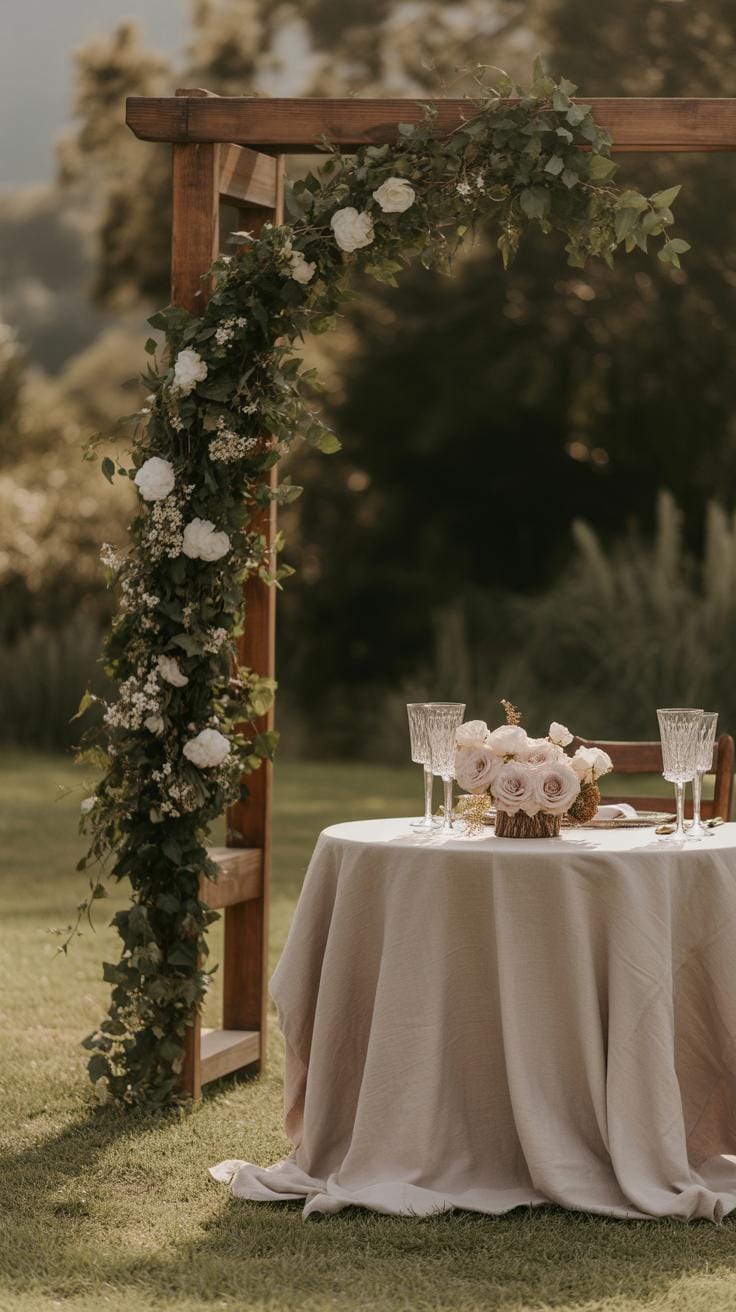
Choosing decorations and music for your ceremony and reception can feel a bit like piecing together a puzzle. You want each element to feel meaningful, yet not overdone. Start by thinking about what reflects you and your partner as a couple. Maybe it’s old family photos displayed on a table or a playlist filled with songs that mark your relationship milestones. Small touches like these can personalize the event in ways guests will remember.
When it comes to seating, the chart often feels like a challenge. But breaking it down by groups—family, close friends, coworkers—can help. Don’t stress too much about mixing people up; sometimes unexpected conversations spark from unusual seat neighbors. Planning your ceremony order should flow naturally, too. Decide what rituals or readings you want, who should speak, and the pacing you prefer. Would you want a quick ceremony or something more elaborate? There’s no right or wrong answer.
Design Your Wedding Look

Pick colors and flowers that suit your style, but don’t feel boxed in by trends. Maybe you adore classic whites but want a pop of deep burgundy or a touch of greenery instead of bright florals. Think about the vibe you want for the day—is it modern, rustic, minimalist? Your decorations and colors should echo that. Try testing out swatches or samples; sometimes colors look different under various lights or alongside other elements.
Flowers aren’t just a decoration; they set moods. If roses feel too formal, consider wildflowers or succulents for a fresh twist. Matching your décor to a theme doesn’t have to mean over-coordination. Mixing textures—like wooden tables with lace runners or metallic accents—can add depth without going overboard. What about incorporating personal items, like heirloom pieces or handcrafted signs? They add a kind of warmth that store-bought décor can’t quite match.
Organize Ceremony and Reception Flow
Creating a timeline early on can save plenty of last-minute stress. Think through every major moment—ceremony, cocktails, dinner, speeches, dancing—and estimate how long each should take. Keep buffers in case something runs late, but don’t pack too tightly either.
Your seating chart ties directly into the flow. Place guests thoughtfully, perhaps near those they know best or would enjoy meeting. For music playlists, start with broad ideas but expect to tweak them. What songs will set the right tone for walking down the aisle? Should upbeat tunes kick off the dance floor? It’s fine if the playlist evolves; maybe your DJ or band has suggestions you hadn’t considered.
Ultimately, planning these details is about creating an experience, not ticking off a checklist. What feels right for you might surprise you along the way—and that’s okay.
Send Invitations and Manage RSVPs


Prepare and Mail Invitations
When it comes to sending out invitations, timing is everything. You want to mail them early enough so guests have time to plan, but not so early that they forget about your wedding. Usually, sending invitations six to eight weeks before the big day works well. If you’re inviting out-of-town guests, consider a bit more lead time.
Wording can feel tricky. Should it be formal or casual? Think about the tone of your wedding. For example, if your ceremony is traditional, the invitation might reflect that with classic phrases. On the other hand, if you and your partner value a laid-back vibe, a simple and friendly note might do. Don’t overlook the little details: include dress codes, your wedding website, or directions if venues are hard to find. These can save both you and your guests some back-and-forth later.
Track and Respond to RSVPs
Once invitations are out, the RSVP phase begins—a part that can test your patience. Setting up a system to keep track is crucial. Some people swear by spreadsheets, which let you sort guests by status—attending, declined, or pending. Others prefer RSVP apps or websites that can send reminders automatically.
Keep updating your guest list as replies come in. Special requests may pop up—dietary needs, plus-ones, or accessibility concerns. It’s helpful to note these carefully; you don’t want surprises when finalizing meal counts or seating arrangements. And don’t hesitate to follow up gently if responses lag. It can feel awkward, but missing replies messes with all your next steps.
Plan the Wedding Day Timeline
When planning your wedding day timeline, the trick is to think through every moment, yet stay flexible enough for the unexpected. Start by listing out all major events: getting ready, first look, ceremony, photos, dinner, speeches, dancing. Assign realistic start and end times to each, keeping in mind travel and transition periods between locations or activities.
Here’s a rough timeline to consider:
- 8:00 AM – Hair and makeup begin
- 11:00 AM – Photographer arrives for preparation shots
- 12:30 PM – First look or pre-ceremony photos
- 2:00 PM – Ceremony starts
- 3:00 PM – Cocktail hour
- 4:00 PM – Reception doors open and guests seated
- 4:15 PM – Grand entrance and first dance
- 5:00 PM – Dinner service
- 6:30 PM – Speeches and toasts
- 7:00 PM – Dancing and cake cutting
- 10:00 PM – Reception ends
This breakdown isn’t fixed—think of it more as a guideline you’ll tweak. Some parts may run long or short. It’s actually better to build in some buffer time than to rush.
Communicating this timeline clearly is key. Share a detailed schedule with your vendors so the florist knows when to deliver arrangements and the DJ can anticipate song requests. Your wedding party should have a copy too, so everyone’s on the same page about when to be where. Don’t forget to involve family members with key roles—they’ll appreciate knowing when they’ll speak or participate.
It might feel like overkill, but distributing printed or digital versions of the timeline avoids confusion and helps avoid last-minute chaos. Think of it as your day’s roadmap—without it, you risk missing moments you’ll wish you hadn’t.
Prepare for the Final Week
As your wedding day approaches, that last week might feel like a whirlwind, or maybe just a slow drag, depending on your nerves. Either way, it helps to have a clear checklist to tick off those last-minute tasks. Start by confirming every booking—double-check with your venue, caterer, florist, photographer, and transport. It’s easy to think it’s all set, but a quick call or email can save possible surprises.
Packing your essentials, not just for the honeymoon but for the day itself, might slip your mind. Think along the lines of your vows, rings, ID, comfortable shoes, or even a small snack. Trust me, hunger doesn’t wait for formalities. Rehearsing your ceremony run-through is crucial too. Even if you can’t get everyone together, running through your lines or steps solo or with a partner can ease jitters and reveal overlooked details.
Finalize All Bookings and Details
This is not the time to assume. Go through your vendor contracts again, zoom in on timelines, addresses, and contact names. Tell the florist exactly what you expect to avoid any interpretive surprises. If your caterer offers tastings, make sure any last adjustments are communicated. This final double-check might feel tedious, but it’s where peace of mind often lives.
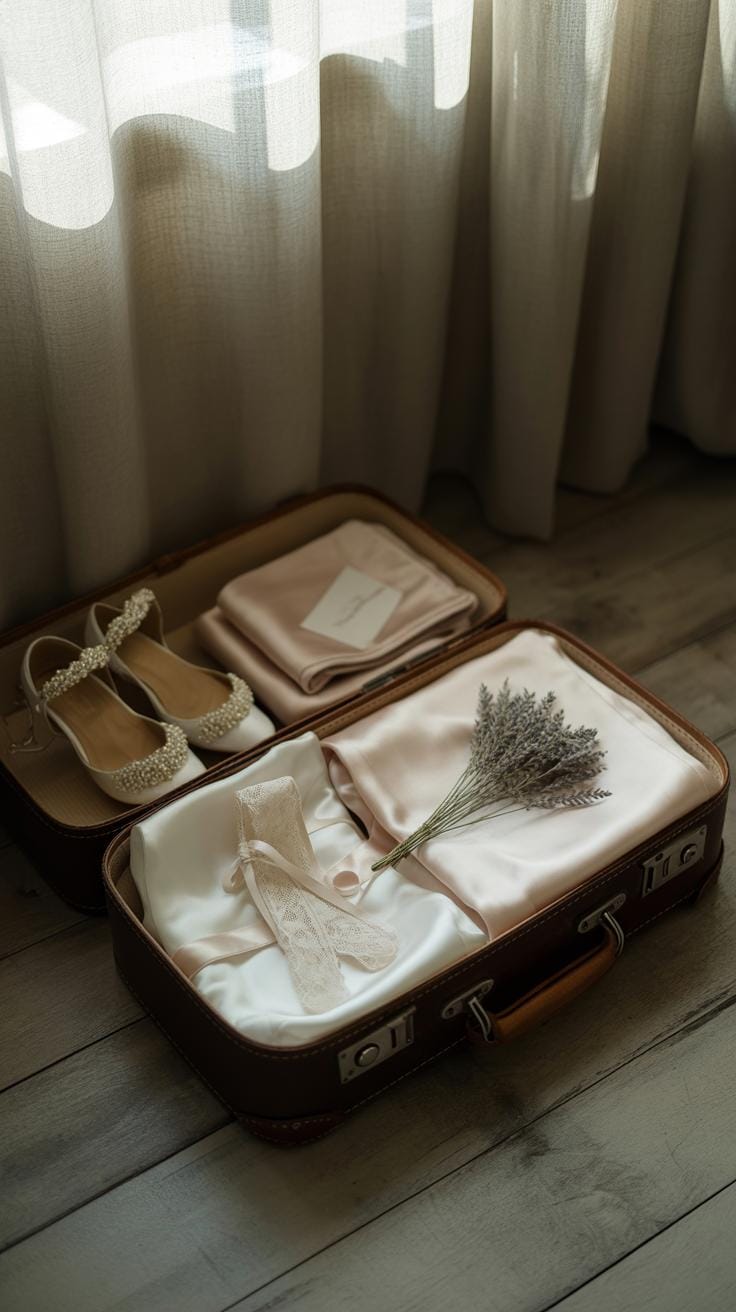
Organize Your Wedding Day Kit
Put together a kit that feels right for you. Essentials typically include a sewing kit, stain remover wipes, pain relievers, breath mints, and some makeup for quick touch-ups. Don’t forget water bottles and tissues—unexpected emotions could sneak up. You might also find a few snacks handy, especially if your reception starts late or the schedule slips. Packing these little things can feel like a safety net, letting you relax a bit more when the big day finally arrives.
Enjoy Your Wedding Day

Stay Calm and Enjoy the Moment
Your wedding day is finally here, and the nerves might feel overwhelming. That’s okay—everyone feels that way. Try simple breathing exercises to calm down: take a deep breath in, hold for a few seconds, then slowly release. It sounds basic, but it really helps. If your mind races, try focusing on the small details around you—like the way your dress feels, or the sound of laughter nearby. Those little moments can pull you back into the present.
It might also help to remind yourself why you’re there. This day isn’t about perfection; it’s about you, your partner, and the people who care about you. So let go of what feels out of your control. Maybe keep a small mantra in your mind, something simple like “this is my day” or “I’m surrounded by love.” Repeat it as often as needed.
Create Memories That Last
Try to slow down, even if just for a minute or two, and really absorb the people and feelings around you. Your friends and family have gathered to celebrate you, so spend some time just talking or laughing with them. It’s easy to get caught up in the whirlwind, but those quiet seconds often become the memories you hold onto later.
Don’t worry if it feels chaotic at times—that’s normal. What matters is that you’re present. Look for moments that make you smile or surprise you unexpectedly. And if you can, hand off small tasks to someone you trust so you’re free to just be.
Have you thought about stepping aside briefly, even alone, to take it all in? Sometimes a moment apart from the crowd helps you appreciate the day more fully. That little pause can offer a sense of calm before rejoining the celebration.
Conclusions
Following a clear Wedding Planning Checklist Month By Month Guide helps you enjoy the process. Taking one step at a time means less stress and fewer surprises. You stay organized and use your time well.
You can look forward to your wedding day knowing everything is ready. This guide keeps you in control and makes planning a happy part of your journey. Your dream celebration becomes real by following this simple plan.