Introduction
Restoring vintage camper trailers brings a unique blend of nostalgia and craftsmanship. Whether you own a classic Airstream or an old aluminum trailer, the process involves careful planning and hands-on work. This guide provides clear steps to bring your vintage camper trailer back to life, preserving its history and making it road-ready again.
You will learn how to assess condition, clean thoroughly, repair structural and cosmetic damage, and upgrade essential systems. Each phase focuses on practical actions you can take, helping you enjoy your restored camper on your next adventure.
Assessing Your Vintage Camper Trailer
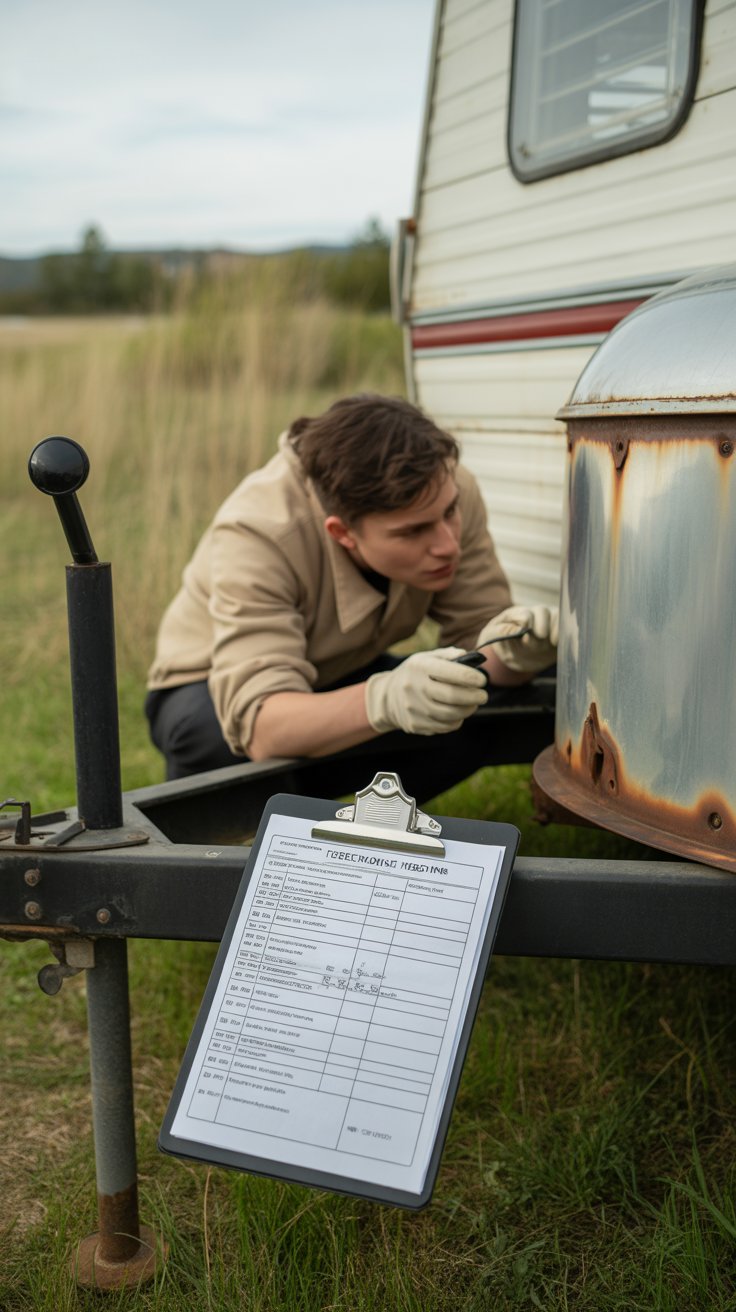
Start by taking a slow walk around your camper. Look closely at the frame and undercarriage for signs of rust. Surface rust might seem harmless, but deep corrosion can weaken the structure. Don’t just glance—poke and prod gently where metal feels thin. Water damage is tricky and often hides beneath surfaces. Peeling paint or bubbling areas could be clues; tap walls to detect soft spots that might indicate rot.
Check every window and door. Do they open smoothly? Are seals intact, or do they let light through cracks? Sticking windows could mean warped frames or damaged tracks. Doors that don’t close properly might suggest misaligned hinges or structural shifts you need to address.
Identifying Structural and Cosmetic Issues

Rust on the trailer frame is common. If the frame is extensively corroded, you’ll have bigger repairs ahead. Leaks can emerge at seams, roof edges, or near vents. Look inside for water stains, drips, or mold. Siding damage varies; dents or cracks weaken protection and let moisture in.
Cosmetic problems might seem minor but impact appearance and even resale value. Faded paint, chipped finishes, and dents are everywhere. These usually don’t affect function but deciding how deep you want to go with restoration depends on how much these issues bother you.
Evaluating Electrical and Plumbing Systems
Before touching wiring or pipes, make sure the power is off. Look for exposed wires, brittle insulation, or corroded connections. Flickering lights or non-working outlets hint at problems. Plumbing usually shows leaks under sinks or around the water tank. If pipes are plastic and old, they might be brittle or clogged.
Testing systems early lets you plan replacements rather than surprises later. Safety is the priority—electric faults can be dangerous. If unsure about certain fixes, getting a professional opinion can save headaches. You want to avoid restoring a camper that could prove hazardous or useless on the road.
Cleaning and Preparing Your Trailer
Removing Old Materials and Dirt
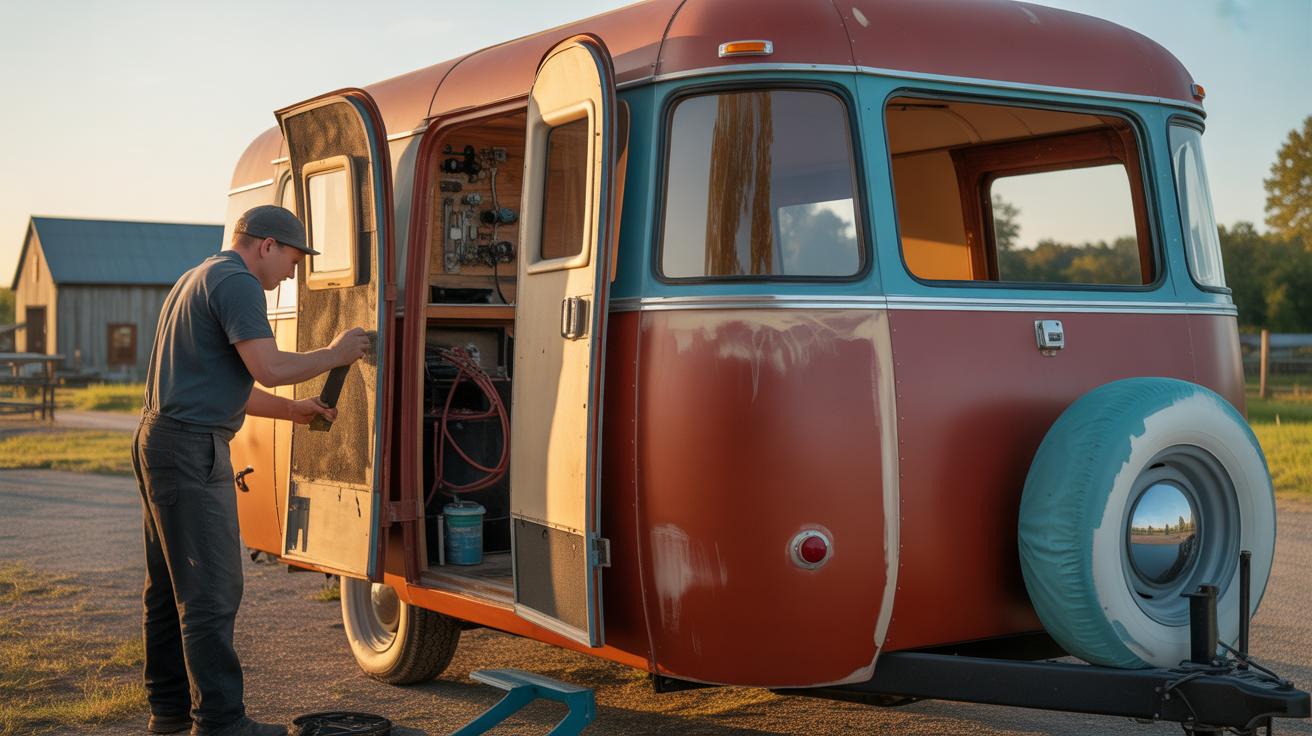
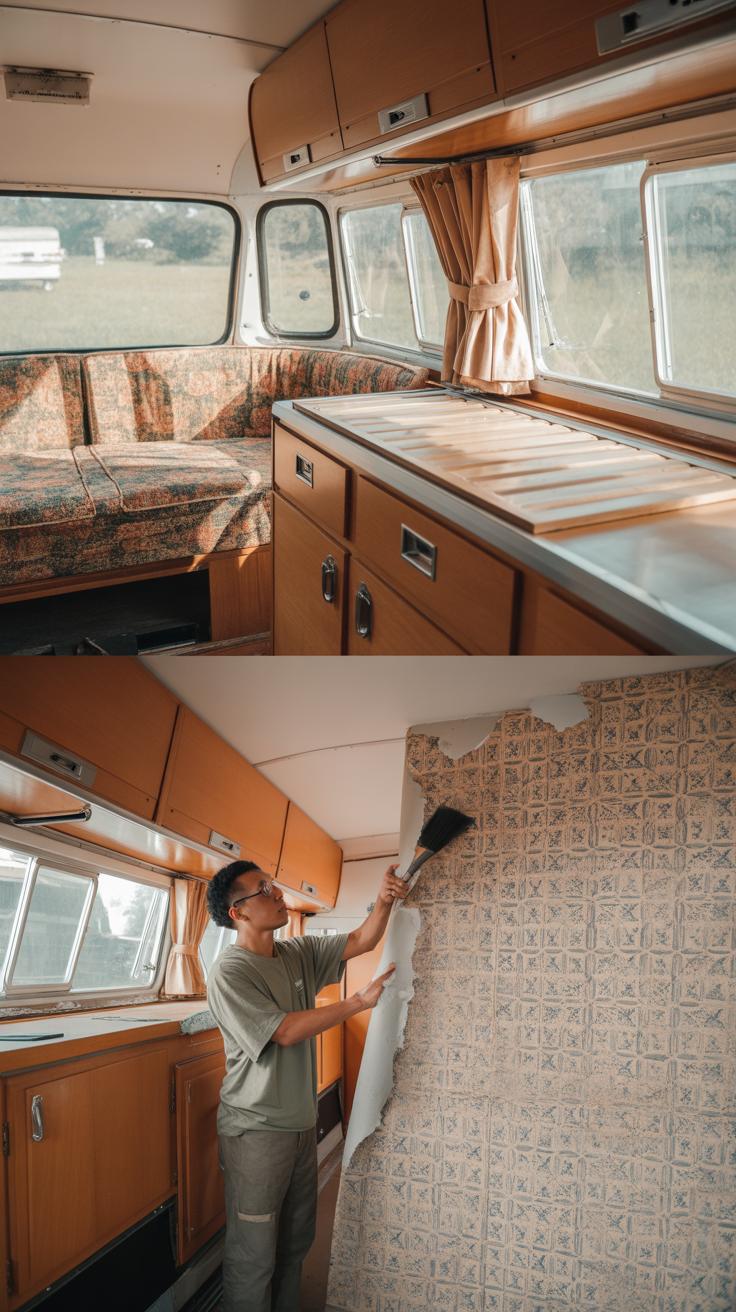
When you start stripping down your vintage camper, be careful with the old fabrics, insulation, and layers of dirt. Sometimes those materials are fragile, and you might think a harsh approach speeds things up, but it often causes more harm than good. Use gentle tools—a putty knife or a soft scraper usually does the trick. I’ve learned the hard way that peeling off old wallpaper or insulation requires patience. If you rush, you risk damaging the wood or metal underneath, and then you’re stuck with more repairs.
Clear out every bit of debris to avoid hiding any damage beneath it. You’ll be surprised how much dirt and grime can accumulate in cracks and corners over the years. Sometimes there’s even mold lurking there, so wearing gloves isn’t a bad idea. Take your time here. If you think something might be too stuck or fragile, try loosening it with a bit of water or mild cleaner first. It’s a little slower, yes, but it keeps the original structure intact, which is really what you want for restoration.
Preparing Surfaces for Repair and Painting
Getting your camper ready for repair or paint means more than just cleaning. After removing the visible dirt, sanding the surfaces comes next. This step smooths out rough areas and helps new paint or sealant stick better. I know it can be tempting to skip sanding to save time, but you’ll regret it later when paint chips or peels off. Use medium to fine-grit sandpaper, but don’t overdo it. You don’t want to thin out the metal or wood.
Washing the surface with soapy water or a degreaser after sanding removes dust and residues. Then, give it a thorough rinse and let it dry completely. Moisture trapped under paint will cause bubbles or rust, and no one wants that. Sometimes, especially with older campers, coatings might have lead or other unsafe elements—testing for these and handling them carefully is something I can’t stress enough, even if it slows things down.
By the end, your camper should feel smooth to the touch, clean, and ready. It’s an awkward but essential phase where patience really pays off. If you skip this step or rush it, your repairs won’t hold, and repainting won’t look right. It’s not glamorous, but it sets the foundation for everything that follows.
Repairing Structural Damage

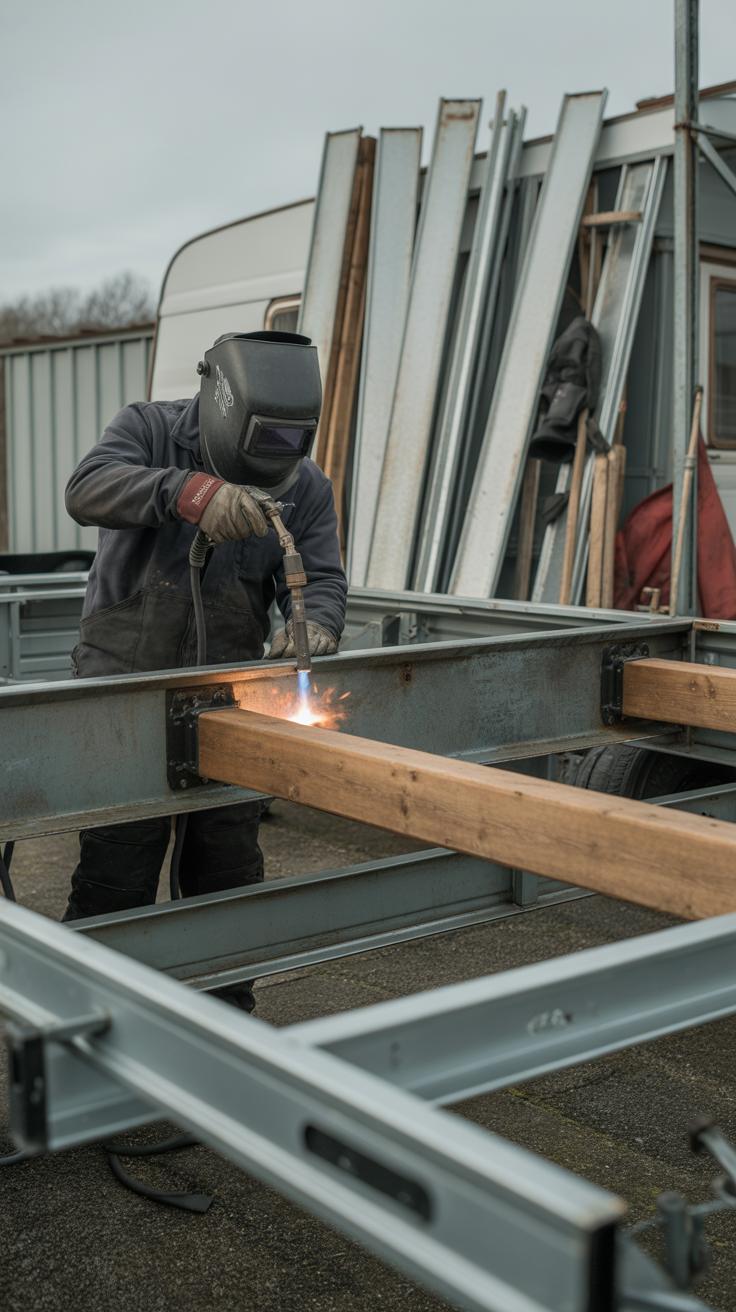
Rust creeping on the frame can be one of the most daunting problems you’ll face. First, you need to strip off all the surface rust. Use a wire brush or a grinder with a wire wheel. It’s a bit noisy and dusty, but this step is crucial. Once the flaky rust is gone, treat the metal with a rust converter to neutralize any remaining corrosion. This seals the metal and prevents further decay.
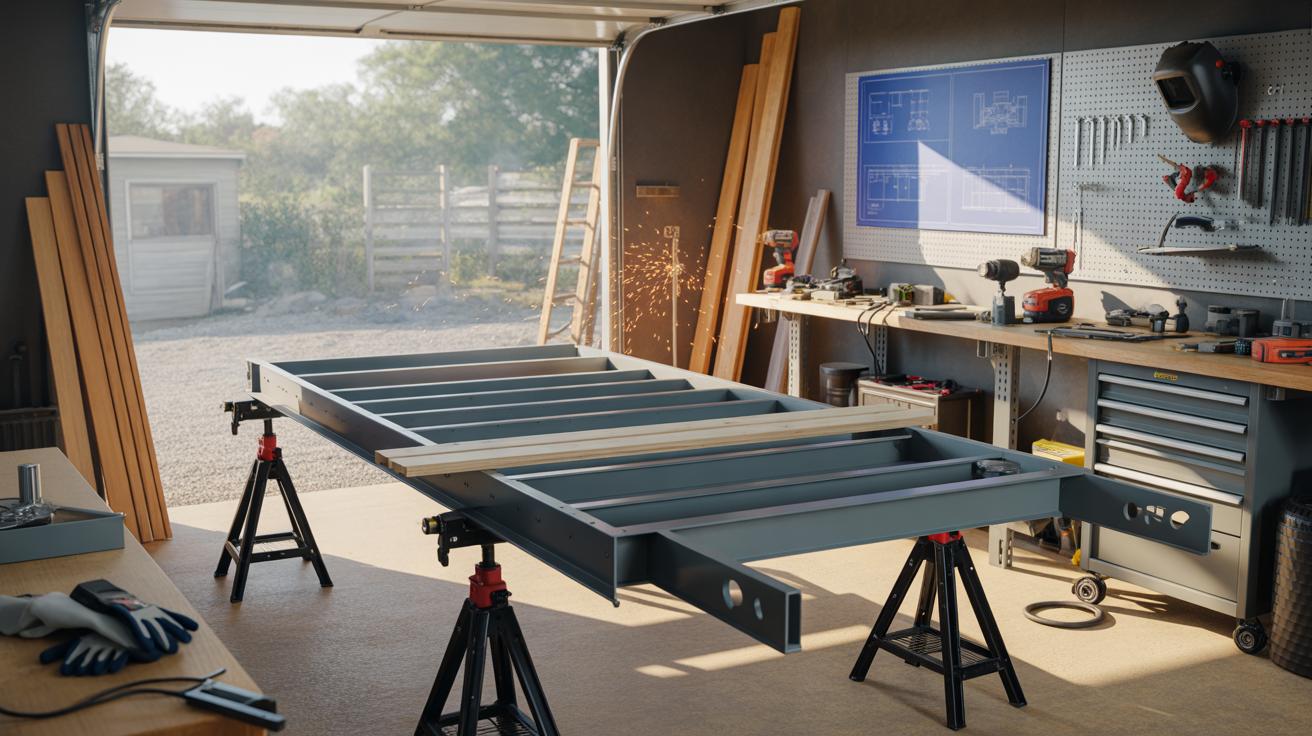
If the frame has weak spots or holes, you must decide whether to reinforce or replace the section. Sometimes, patch plates welded or bolted over thin areas work well. Other times, cutting out the bad part and fabricating a new frame piece is better, especially for parts that bear weight or stress.
For siding or panel damage, the key is matching the original material. Vinyl, aluminum, or wood options often vary depending on the camper’s era. Start by removing the damaged panel carefully—avoid bending or damaging adjacent pieces. Measure precisely, then cut your replacement panel to fit. When attaching, use the same fasteners the original camper had, whether rivets, screws, or nails. This keeps the look authentic. If you’re not sure about the material, looking up the exact model specs or consulting a vintage camper forum often helps—sometimes, these parts are surprisingly easy to source or replicate.
Getting these steps right means your trailer won’t just look good; it’ll hold up for years. I’ve found that rushing can lead to small mistakes which complicate later repairs. So, take your time here, even if it feels tedious.
Restoring Interior Features
Bringing back the charm of a vintage camper’s interior means paying close attention to details like woodwork, upholstery, and lighting. The wood surfaces—whether cabinetry, trim, or walls—often show wear or fading. Sanding these down by hand or with a fine-grit sander helps reveal the fresh grain beneath. You’ll want to pick stains that match the original tone or slightly deepen it without losing that classic feel. Using oil-based stains can give more authentic depth, though they take longer to dry.
Seats and curtains deserve similar care. Look for fabrics with patterns and textures that match the era. Vinyl and tweed were common choices decades ago. Reupholstering isn’t just about aesthetics; quality foam and backing materials will improve comfort. If possible, save some original fabric pieces for color matching. I once mixed a vintage pattern with modern fire-retardant backing—some might say it clashes, but it worked for the camper’s daily use.
Lighting and appliances can make or break the vintage vibe. Choose fixtures that replicate old styles—think rounded metal sconces or pendant lamps with simple glass shades. When installing, make sure the wiring permits safe use with modern bulbs. For appliances, look for compact, retro-style models designed for small spaces, like propane stoves or vintage-look refrigerators. They offer style without compromising on today’s basic safety and function.
Updating Electrical and Plumbing Systems
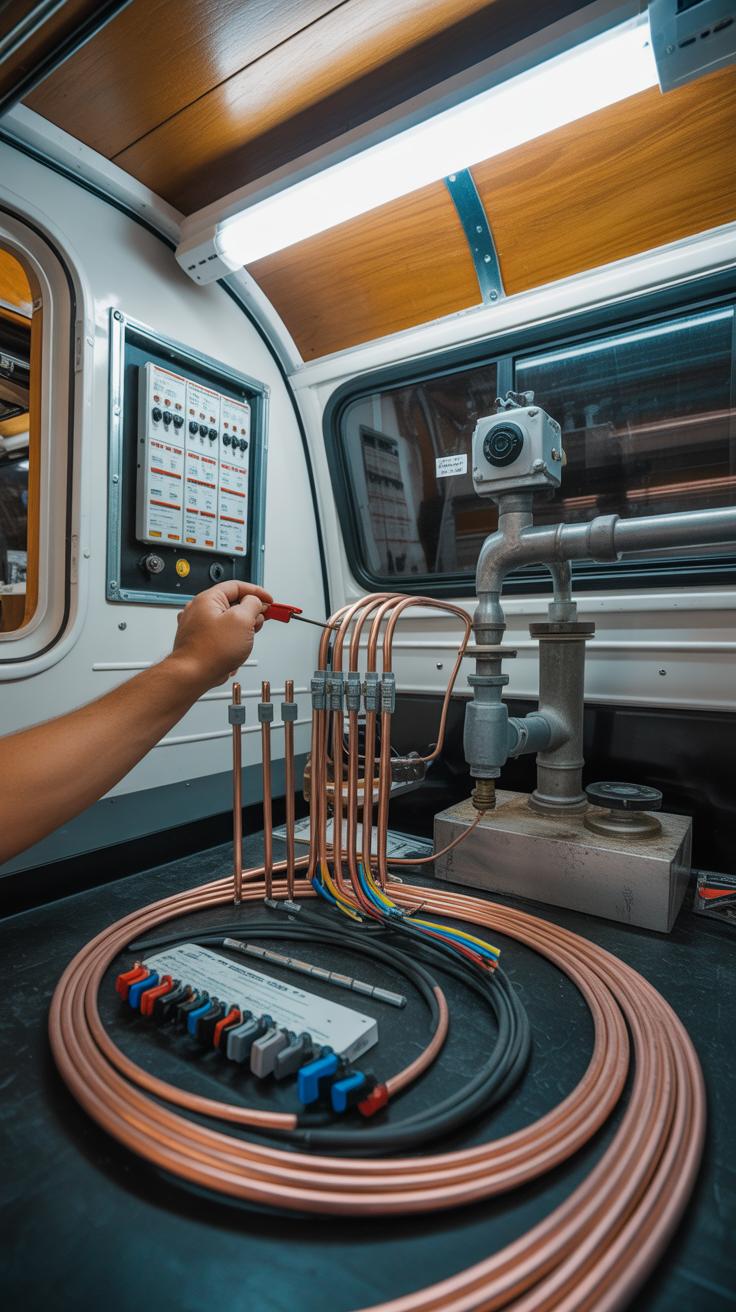
When restoring a vintage camper trailer, tackling the electrical and plumbing systems is crucial for safety and everyday use. Old wiring often deteriorates over time—brittle insulation, corroded connections—that can easily cause shorts or fires. Replacing this wiring with modern, code-approved materials makes the camper safer and more reliable. Start by mapping out the existing circuits, then run new wiring through the walls or under flooring carefully, avoiding sharp edges or tight bends. Adding ground-fault circuit interrupters (GFCIs) especially near any water sources is wise. I’d recommend installing additional outlets designed for 12V and standard 120V to balance vintage charm with today’s power needs.
Lighting also deserves attention. Traditional bulbs drain power quickly and don’t suit the low power supply in many campers. Switching to LED fixtures can reduce load while brightening the inside. Sometimes, you’ll discover the original fuse box isn’t enough to handle these upgrades, so installing a modern circuit breaker panel might be necessary.
On the plumbing side, expect old pipes—often galvanized steel or copper—to be rusted or clogged. Replacing them with flexible PEX tubing makes the system less prone to leaks and easier to work with, especially in tight camper corners. Water tanks frequently suffer from rust or damage; when possible, swap them out for newer, non-corrosive plastic models or seal the old tanks with appropriate lining kits. Faucet fixtures and valves tend to wear, so polishing isn’t enough; new, compatible fittings ensure water flow remains steady and safe. Don’t forget to insulate any exposed pipes to prevent freezing during colder trips. It’s not the most thrilling work, but it makes all the difference for dependable use on the road—or at the campsite.
Painting and Finishing Exterior Surfaces
Selecting Paint and Primer
Choosing the right paint and primer for your vintage camper is not as straightforward as it might seem. You want something that looks good but can also stand up to weather and wear—because campers get a lot of sun, rain, and road grit. I’ve found that oil-based primers often work better for metal or aluminum surfaces common on older trailers. They stick well and prevent rust, which is a frequent issue. For paint, acrylic urethane or enamel paints tend to offer durability without losing sheen too quickly.
Matte finishes might seem nice, but they often hide damage poorly and can chip faster. Glossy or semi-gloss finishes provide a tougher, more protective layer, so they’re usually the safer bet. While you might be tempted to use regular house paint, it rarely holds up outdoors on metal surfaces. Specialized automotive or marine paints, though a bit pricier, last longer and resist cracking.
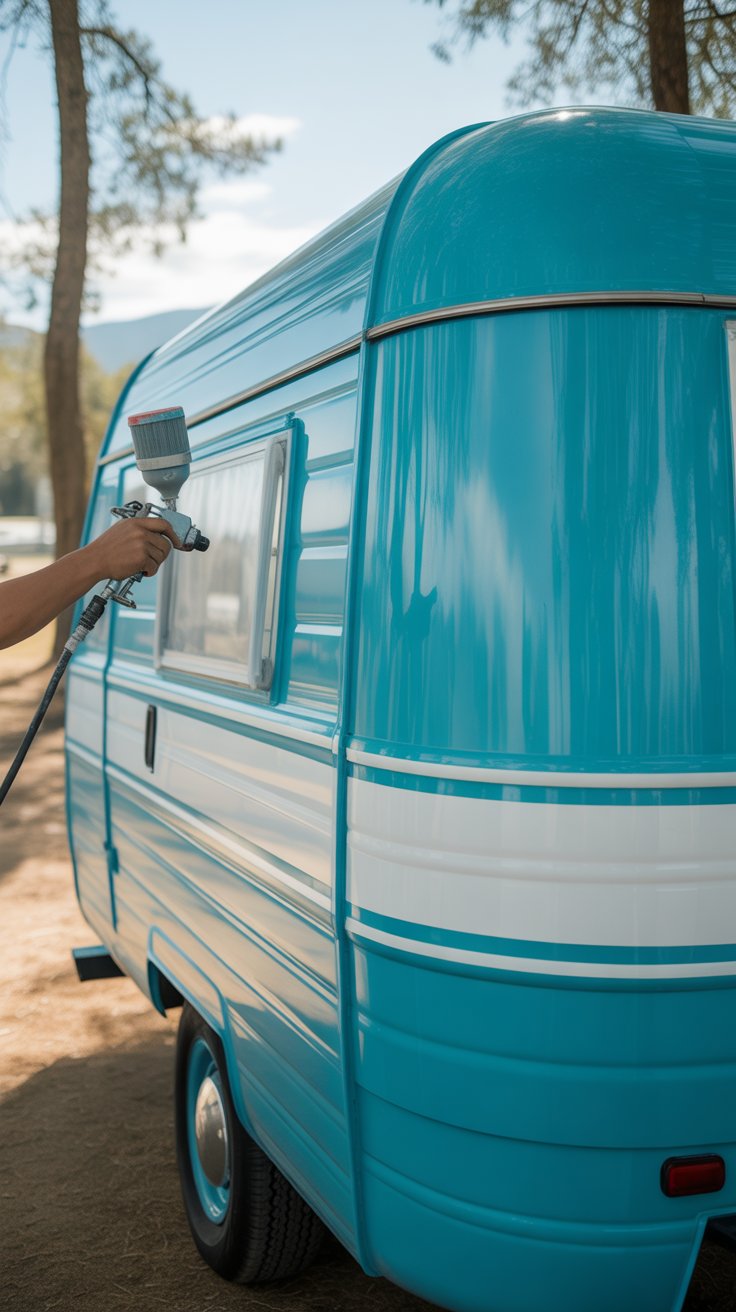
Techniques for a Smooth Finish
Getting an even coat of paint takes patience. Jumping straight into it without prep guarantees streaks or bubbles. Always start with clean, sanded surfaces—no grease or dust. I recommend applying several thin coats instead of one thick one; it helps avoid runs and unevenness. Spraying can get smoother coverage, but a good brush or roller works fine if you move steadily and watch your angles.
When painting, try to keep your strokes consistent in one direction at first, then go lightly across for a balanced look. It might take practice, but watching for drips before they dry will save hours of sanding later. Also, wet edges are your friends; keep the paint wet as you work along the panels to avoid lap marks. And yes, drying time matters—rushing only brings imperfections.
Simpler techniques sometimes yield surprisingly better results than overcomplicating the job. Don’t obsess too much on perfection—vintage campers have charm in their quirks, including slight uneven finishes. What matters most is that the paint protects your trailer and gives it a fresh face for the road.
Ensuring Safety and Roadworthiness
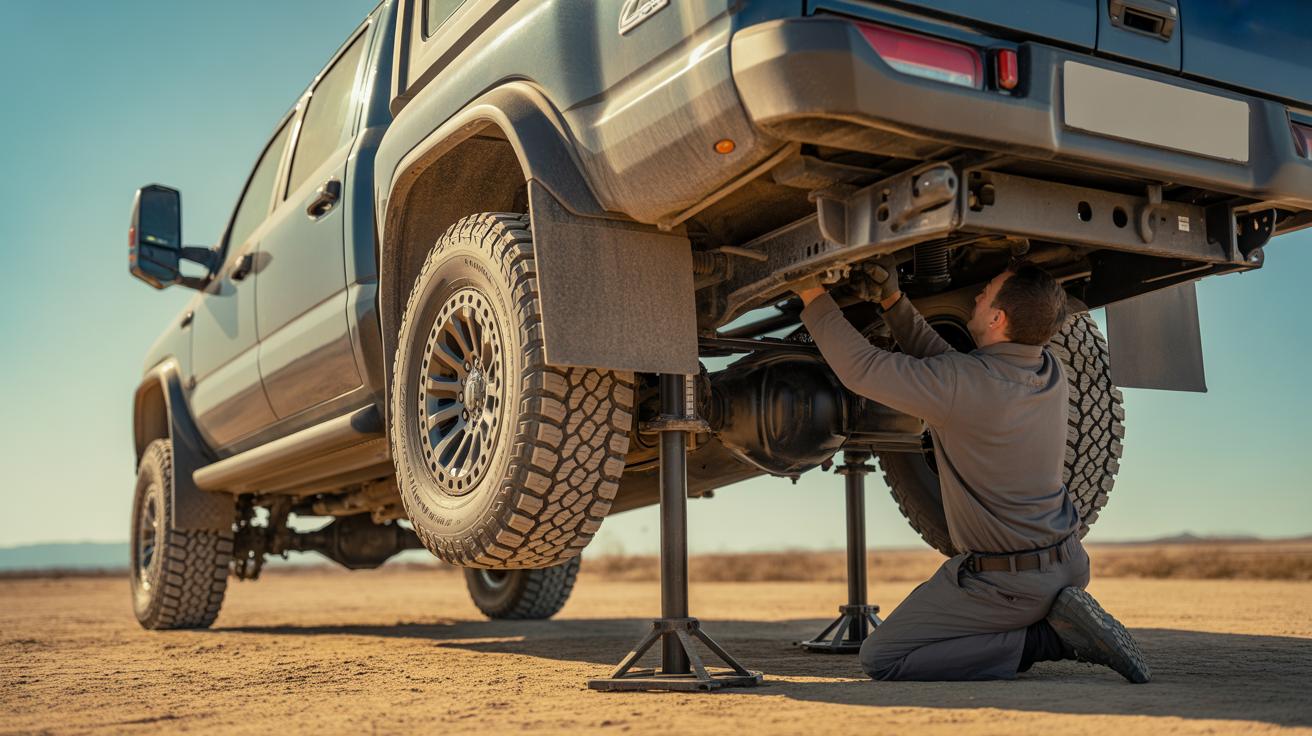
Checking and Repairing Brakes and Tires
Before you hit the road, brakes and tires demand your full attention. Start by testing the brakes—if your trailer has electric brakes, try pressing the brake controller in your tow vehicle; the trailer should slow accordingly without jerking. For surge or hydraulic brakes, inspect the mechanical components for rust or wear. Worn brake pads or shoes often reveal themselves through noises or decreased stopping power.
Tires require just as much care. Look for cracks, bulges, or uneven tread wear. Vintage trailers tend to sit unused for long periods, which can cause dry rot even if the tread looks fine. Check the tire pressure carefully—it might surprise you how fast it can drop in older tires. If tread depth is below four thirty-seconds or you spot any damage, replace the tires. Tire age also matters; even an unused tire over six years old may be unsafe, so don’t rely solely on appearance.
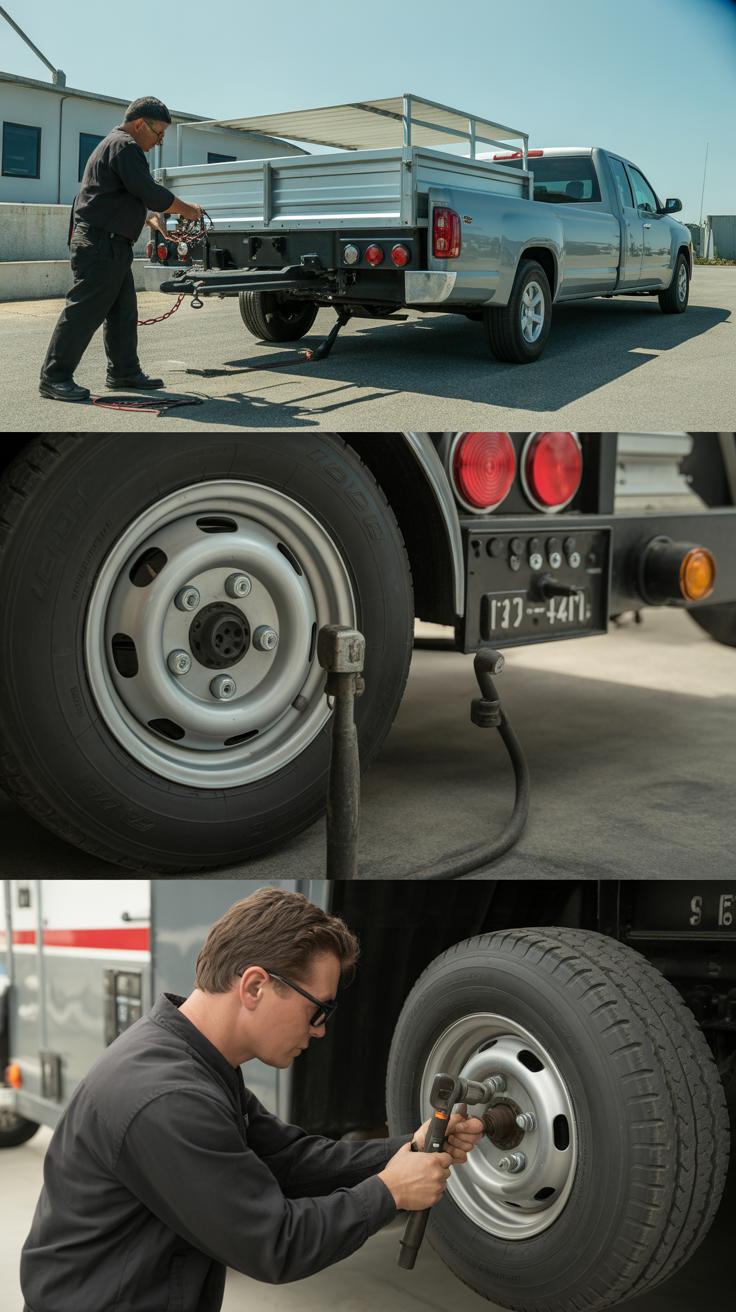
Verifying Lighting and Towing Equipment
Lights guide and warn other drivers—check every single bulb and connection. Hook up your trailer to the tow vehicle and test brake lights, turn signals, and running lights. Flickering or dim lights usually signal a poor ground or corroded wiring. Don’t overlook side marker lights if your camper has them; they can be crucial at night.
Next, the hitch and towing mechanisms. Inspect the hitch ball and coupler for cracks, excessive wear, or rust that could impair a secure connection. Safety chains should be solid, without twists or weak links. Electrical connectors need a snug fit with no corrosion; if your trailer uses an older plug style, make sure adapters are working right and that everything clicks firmly into place.
It might feel tedious, but these details keep the vintage camper trailer safe on the road—and make towing less stressful. After all, nothing spoils a trip faster than something avoidable breaking down or flashing warnings.
Keeping Your Restored Camper Maintained

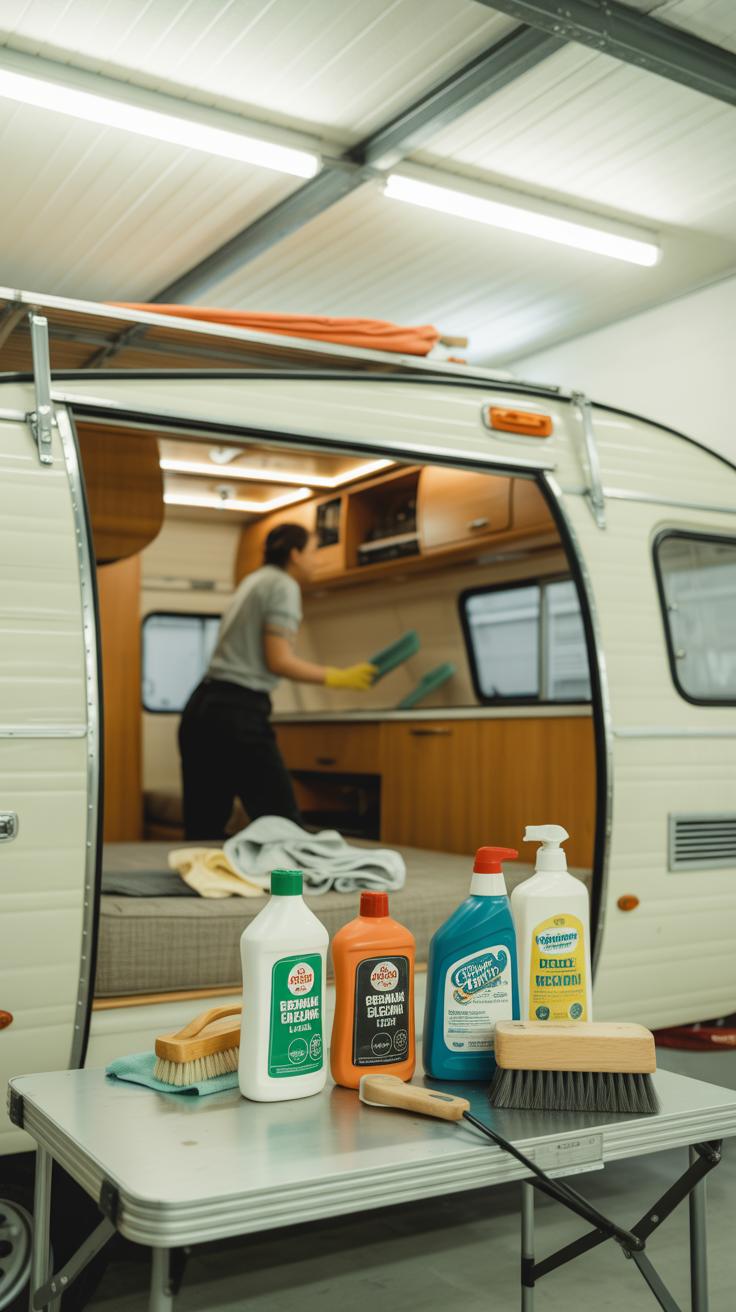
Once you’ve brought your vintage camper trailer back to life, keeping it that way takes some effort—but not as much as you might think. Regular cleaning does more than just make your camper look nice. Dirt, grime, and moisture can settle into cracks and seams, causing damage over time. I find setting a schedule, like cleaning every time you use it or once a month during storage, helps keep things manageable.
Don’t just wipe down surfaces; pay attention to spots where water tends to collect or where paint or sealant is wearing thin. Inspect seals around windows and doors carefully. A quick rinse and dry can prevent rust or mold buildup in unseen places.
Minor repairs can keep problems from getting out of hand. If something feels loose or squeaky, fix it early. A tightened screw or a touch of lubricant on hinges can save you headaches later. Small cracks or chips in paint? Address those before they spread. Sometimes it feels like you’re chasing little issues, but catching them early keeps the camper healthier and your repair costs lower.
Thinking over the long haul, do you really want to ignore a minor leak? Probably not. I found that dealing with small troubles right away prevents sudden surprises that can ruin a trip or your wallet. Regular upkeep might sound a bit tedious, but it’s the key to keeping your vintage camper feeling like it did the day you restored it.
Conclusions
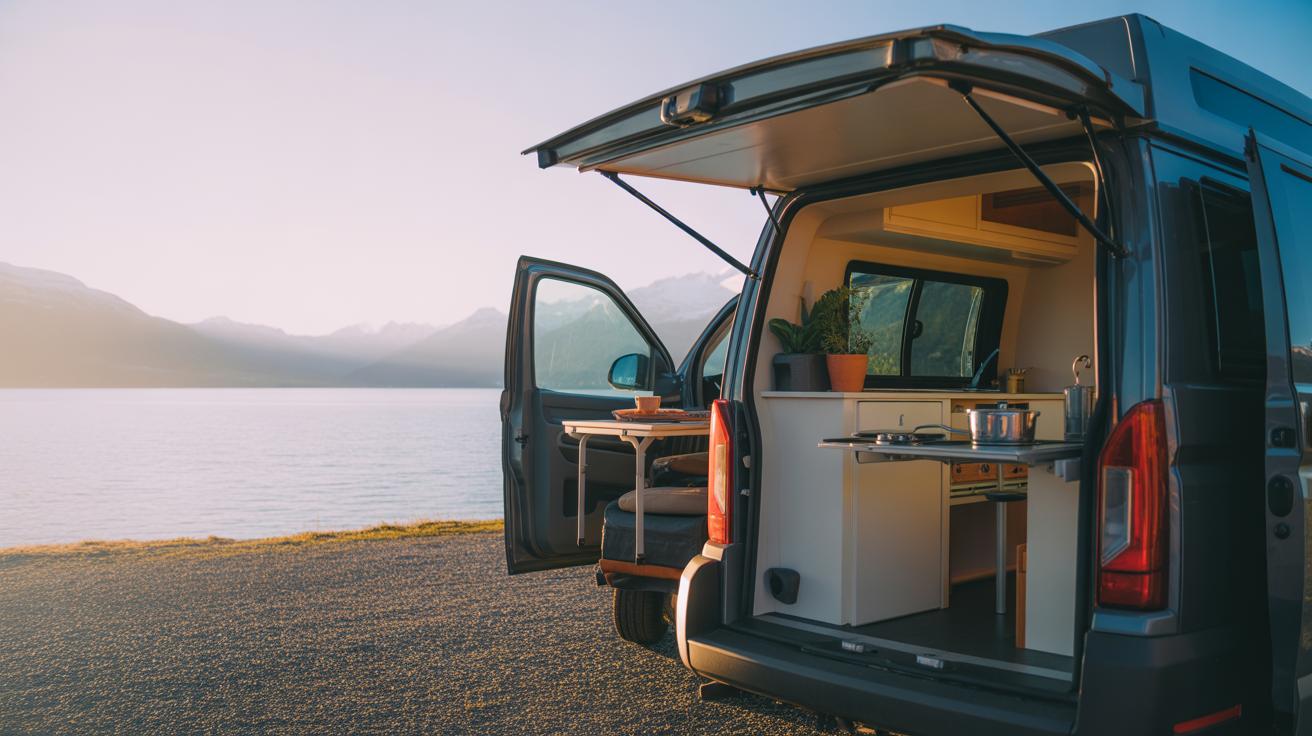
Bringing a vintage camper trailer back to life takes patience and effort but rewards you with a unique, personalized travel home. By following the restoration steps, you protect the trailer’s character and ensure safety on the road. Regular upkeep after restoration preserves your work and maintains value.
Now you know how to start, assess, repair, and upgrade your vintage camper trailer. Each step guides you closer to your goal. Taking action with confidence lets you enjoy the comfort and charm of your classic camper for many journeys ahead.