Introduction
Converting a truck for overland travel requires specific modifications to ensure safety and functionality. Essential Modifications To Convert An Overland Truck Safely cover a range of upgrades from mechanical to interior improvements. These changes help your truck handle off-road conditions and long journeys reliably.
Understanding what modifications matter most allows you to prepare your vehicle for remote travel. This article explores crucial safety changes and practical upgrades. You will learn about suspension improvements, tire choices, essential gear storage, and more. This knowledge helps you convert your truck into a safe, dependable overland vehicle.
Upgrading Suspension Systems
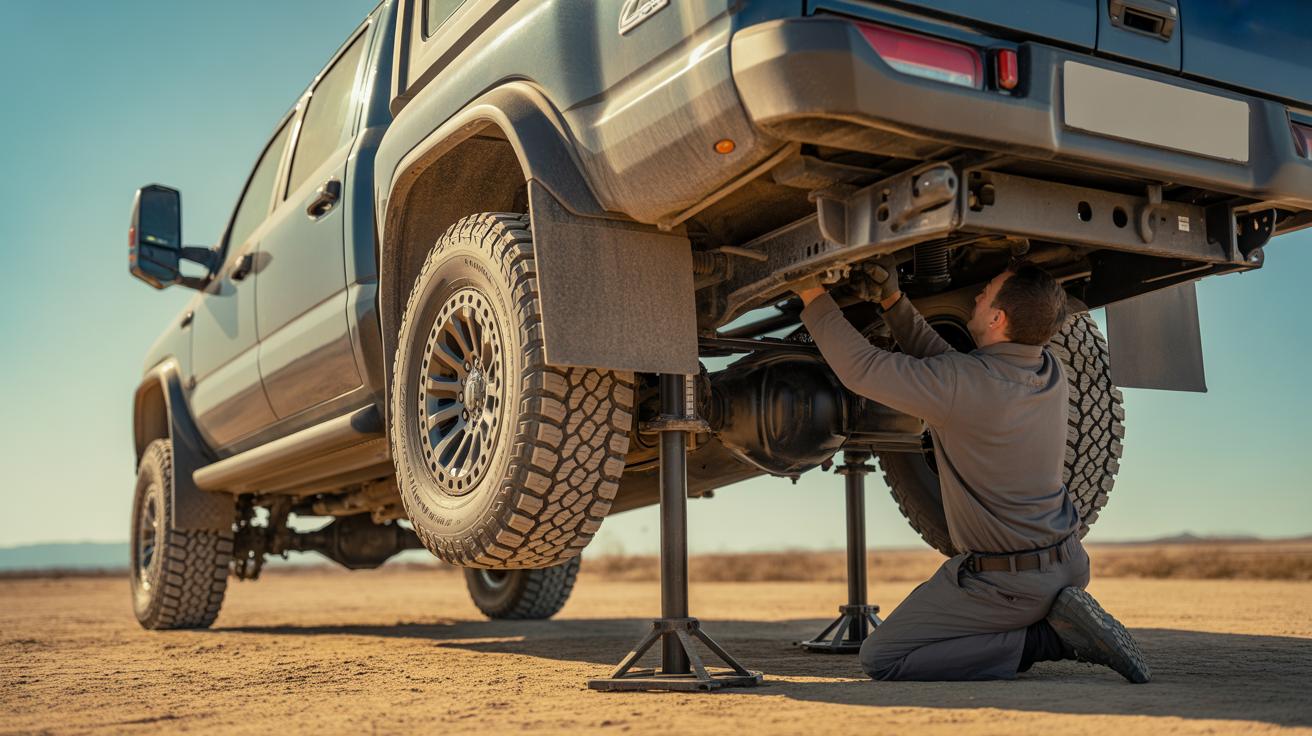
Upgrading the suspension system is crucial when converting an overland truck. The kind of rugged terrain you’ll face exposes your vehicle to constant jolts and stresses that stock suspension just can’t handle over time. A stronger suspension improves your truck’s ability to absorb shocks, keeping the ride smoother and more controlled, which actually impacts your safety by reducing vehicle instability and body roll on uneven ground.
You can choose from several types of upgrades like heavy-duty shock absorbers, reinforced springs, or complete lift kits. Each type plays a role: shocks dampen impact, springs carry the weight, and lift kits increase ground clearance. Together, they make handling rough trails more predictable and lessen wear on your truck’s frame and drivetrain.

This isn’t just about comfort either—it’s about control. Improved suspension keeps tires planted, which means better traction. On loose rocks or deep ruts, that grip can mean the difference between going forward or getting stuck—or worse, losing control. So upgrading suspension isn’t just an upgrade; it’s a safety measure that lets you push your overland truck further with more confidence.
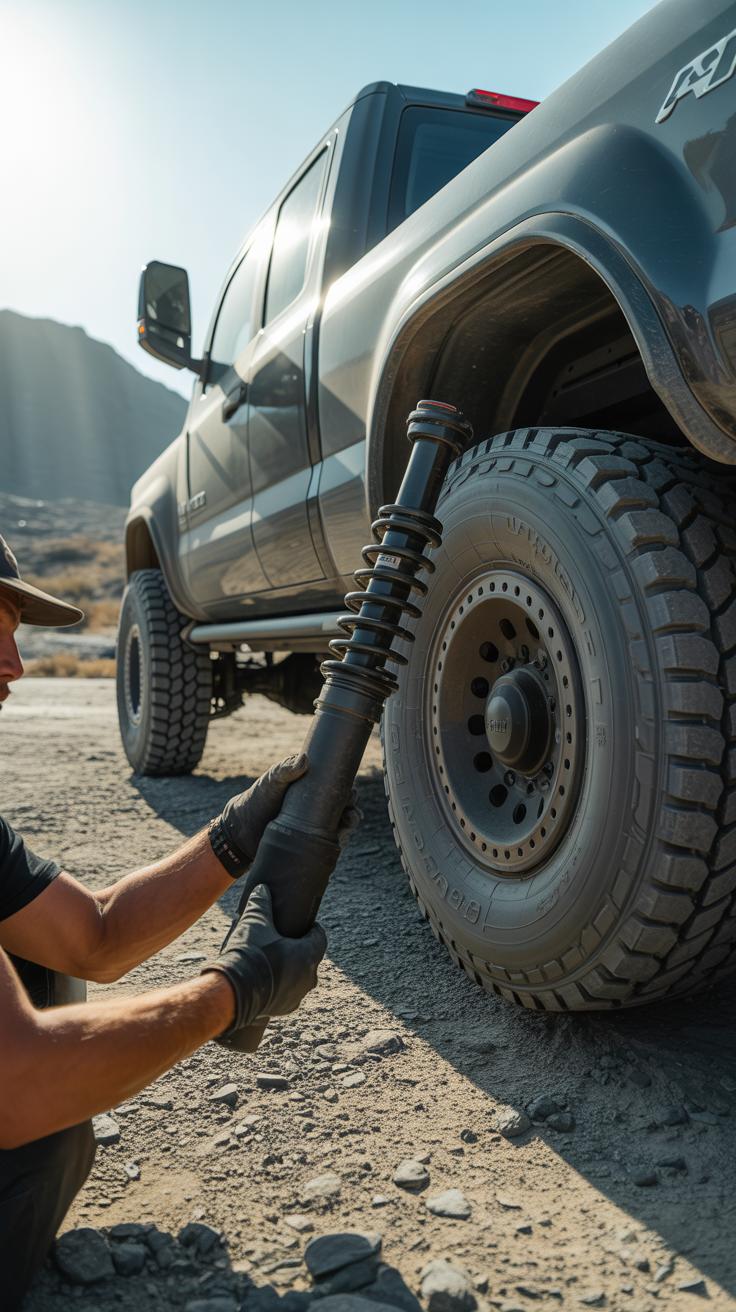
Choosing the Right Suspension Components
Picking suspension parts depends heavily on what kind of terrain you expect and how much weight your truck carries. You’ll want components that tackle both. Here’s a rough idea:
- Shock absorbers: Look for gas-charged or monotube types for better heat dissipation; they handle repeated bumps without fading.
- Springs: Coil springs suit lighter loads and provide more comfort, but leaf springs support heavier weights and are easier to maintain.
- Lift kits: These add clearance—vital for rocky trails or deep mud—but don’t just go tall. Balance height with stability, or you risk unsafe handling.
It’s worth considering your truck’s payload—gear, water, fuel tanks all add weight. A mismatch means poor performance or faster wear. Sometimes people overbuild their suspension “just in case,” which can make the ride too stiff, tiring even over moderate terrain. Finding the balance means thinking about your usual trips and loads rather than extremes alone.
Installation Tips for Suspension Upgrades
If you decide on upgrades yourself, preparation is key. Basic hand tools, a reliable jack, jack stands, and torque wrenches are must-haves. Don’t rush—some bolts need precise torque to avoid problems down the line.
Common mistakes include mixing components not designed to work together or forgetting to realign after installation. Suspension changes alter geometry, and misalignment can make your truck wander on the road or wear tires unevenly.
After installation, testing is critical. Take the truck on varying terrain at low speeds first. Pay attention to unusual noises or handling quirks. If it feels off, recheck bolt tightness and setup. Suspension tweaks often require some trial and error to get just right—you might end up adjusting or swapping parts after a few test runs.
Ultimately, upgrading suspension demands some patience but rewards you with better control, safety, and confidence when you’re out on tough trails.
Selecting Durable OffRoad Tires
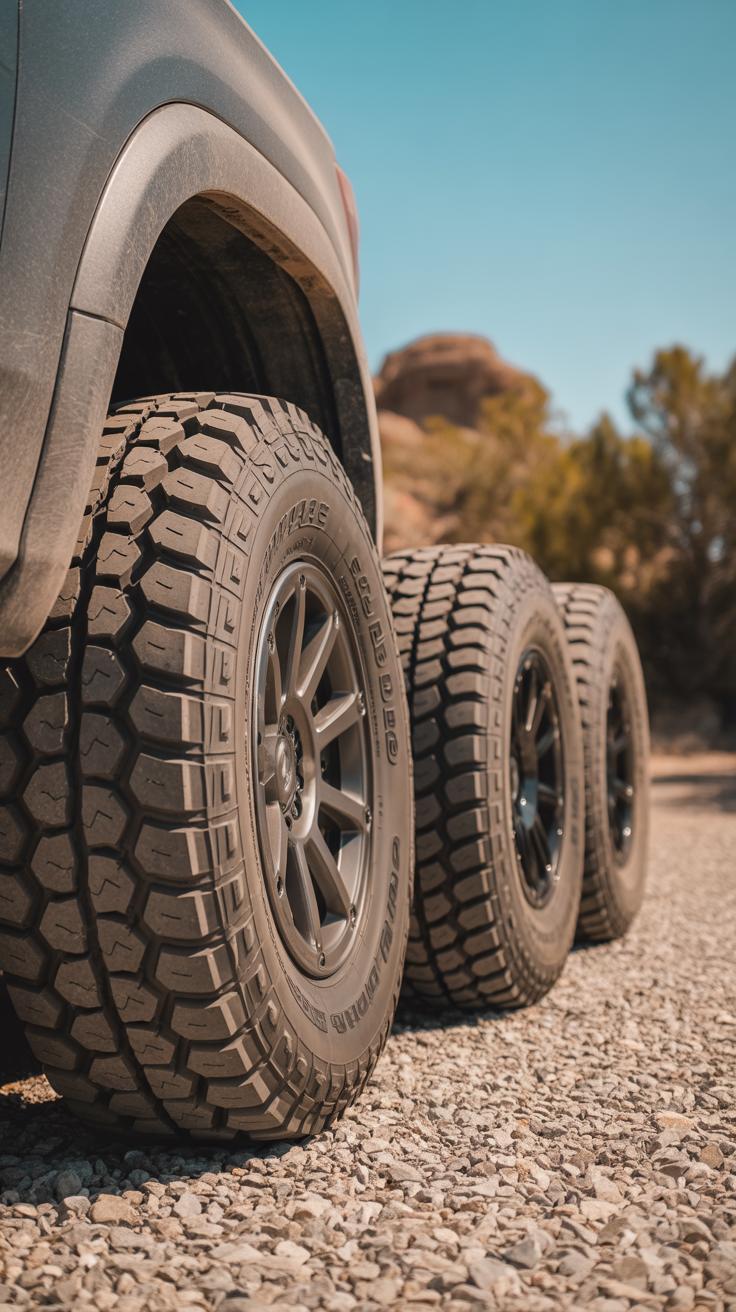
Your tires are the only part of the overland truck that actually touch the ground. Choosing the right ones impacts not just performance but safety in a real, tangible way. Overlanding tires aren’t just about tread depth; they need durability against sharp rocks, branches, and, yes, the occasional unexpected pothole that looks small but can ruin your day. I’ve found that tires resisting punctures can save you hours or even days in remote areas where help is far.
Look for tires with aggressive tread patterns that offer grip on slippery or uneven surfaces but don’t wear out too fast on pavement. Reinforced sidewalls improve resistance to tears and side punctures — things you don’t want to discover miles from the nearest town. Still, a tire that lasts long but loses traction can be dangerous in mud or loose gravel, so balance is key.
Comparing Tire Types

Off-road tires generally come in three types, each with pros and cons you’ll want to match to your routes:
- Mud-Terrain (MT): Deep, aggressive tread. They grip well in mud and loose dirt but can be noisy and wear faster on asphalt. Best if you’re mostly off the beaten path.
- All-Terrain (AT): A middle ground. Good on dirt, gravel, even some mud. Not the best at extreme conditions, but wear well on pavement. Often the safest bet if you switch surfaces a lot.
- Hybrid Tires: Blend features of MT and AT. Sometimes they compromise too much, meaning you might lose some grip in mud or durability somewhere else. I’ve seen people pick these hoping for the best of both worlds but end up with something less suited for heavy off-road.
Where will you spend most of your time? That question guides what tire type could work. Are you driving through muddy trails or mostly rocky and hard terrain? Your experiences might not match what’s advertised, so expect to reassess after initial trips.
Maintaining Tires on the Road
Once you pick the tires, keeping them in good shape is critical. Check air pressure frequently — it changes with temperature, and uneven pressure can wear tires unevenly or cause blowouts. Rotating tires helps wear evenly. It’s easy to forget but pays off in keeping your tires reliable longer.
Always carry a patch kit or repair tools. I’ve patched a couple of slow leaks that kept me rolling instead of stranded. Tire damage can come from tiny, easily missed picks or gradual leaks. Watching your tires carefully feels tedious but can avoid a roadside nightmare.
Enhancing Vehicle Lighting

Upgrading your truck’s lighting system is more than just a visual upgrade—it’s a crucial step for safety during night drives and tough off-road conditions. When trails get dark or weather cuts visibility, quality lighting can mean the difference between spotting an obstacle and crashing into it. Overland trucks benefit from a mix of lighting types designed to cover various scenarios, from close-range visibility to long-distance illumination.
Choosing Auxiliary Lighting Options
There’s a variety of auxiliary lights to consider, each serving a different purpose:
- LED Light Bars: Great for broad, bright coverage on wide trails or open highways. They flood the area with light, making it easier to see unexpected hazards.
- Fog Lights: These cut through dust, fog, and rain at low angles, avoiding glare that can blind you. Perfect for unpredictable weather conditions, especially on mountain passes.
- Spotlights: Focused beams that reach far distances—ideal for pinpointing landmarks or navigating narrow paths at higher speeds.
I found that combining these helps cover all angles. Relying on just one type often leaves gaps in visibility you’d barely notice until you desperately need more light.
Safe Installation and Wiring Practices
When installing new lights, the electrical system can’t be overlooked. Overloading circuits might seem like a distant worry until your lights flicker or, worse, trip the system in the middle of nowhere. It’s smart to:
- Use relays and fuses dedicated to each lighting device to avoid shorts.
- Choose wiring that matches or exceeds the amperage needs of your lights.
- Mount switches where they’re accessible but don’t clutter your dashboard, avoiding accidental activation.
Many skip proper wiring and regret it later—nothing quite like darkness and a dead circuit to slow you down. Of course, digging a bit deeper into wiring setups might seem tedious, yet it’s one of the most reliable ways to keep your lighting—and your trip—safe.
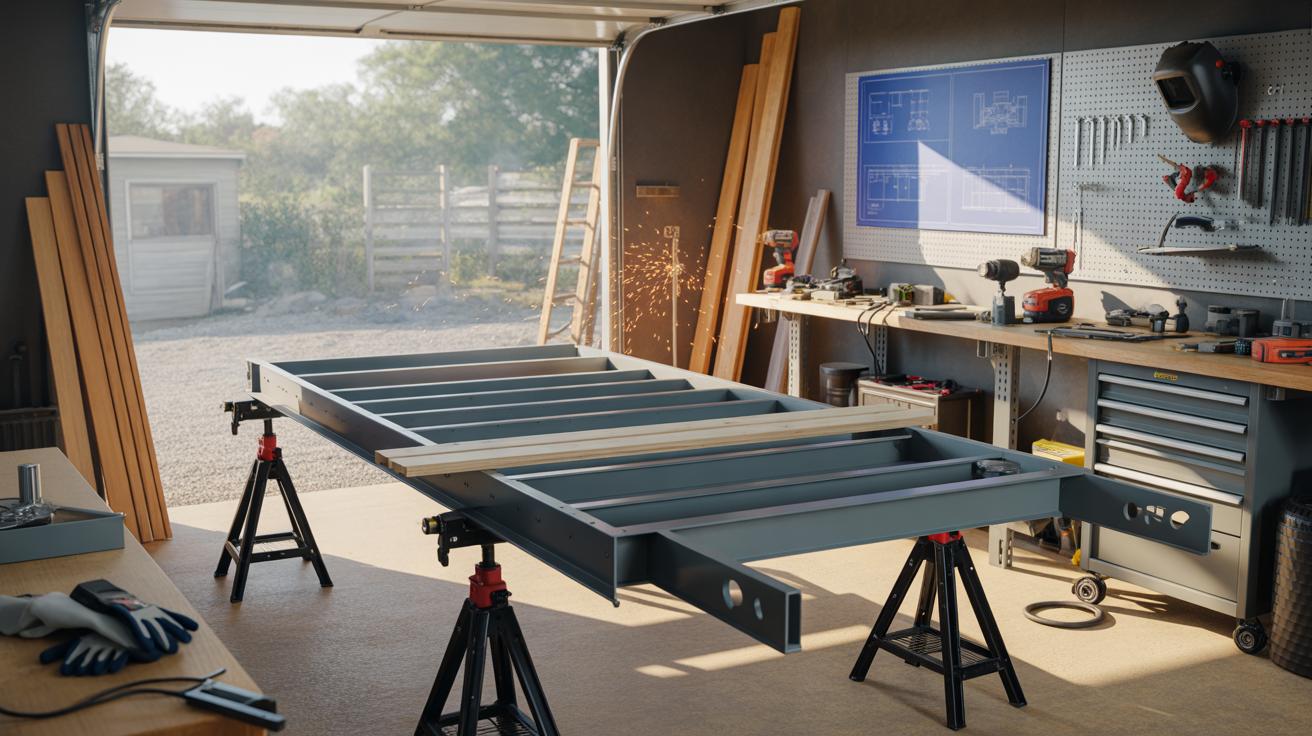
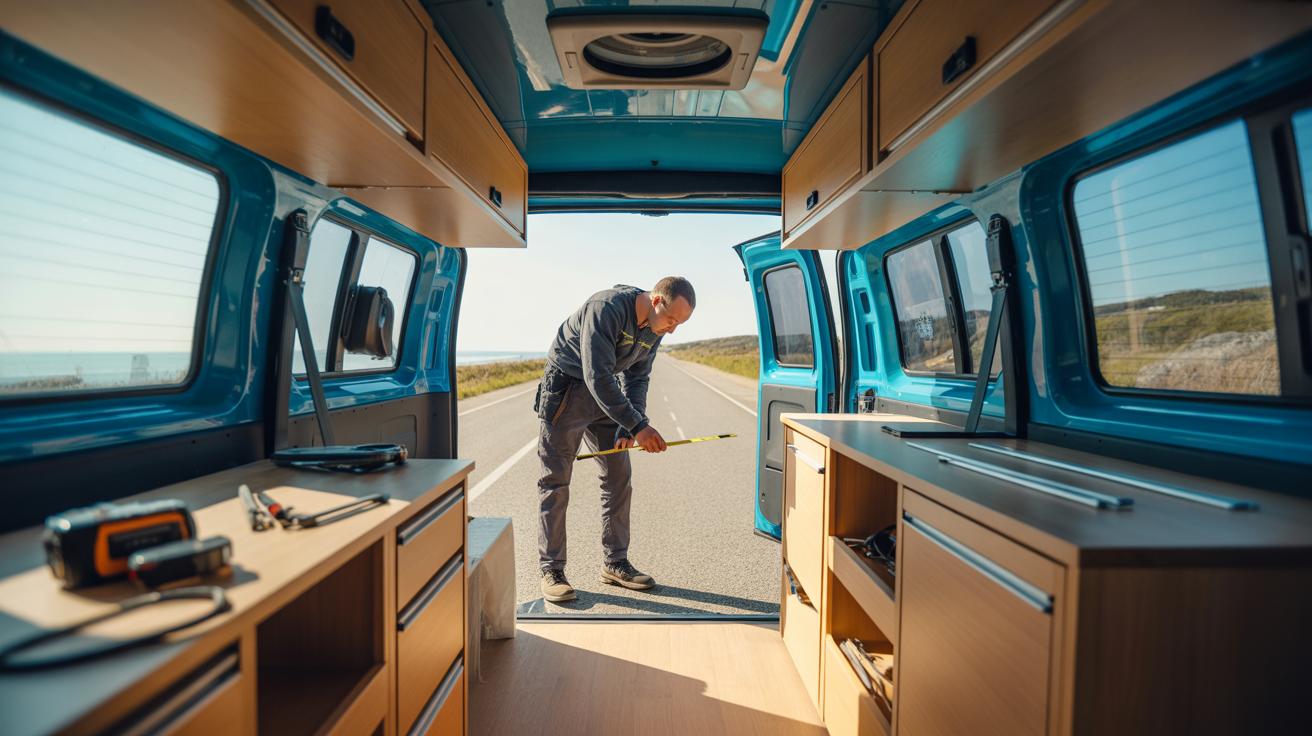
Installing a Roof Rack and Cargo Solutions

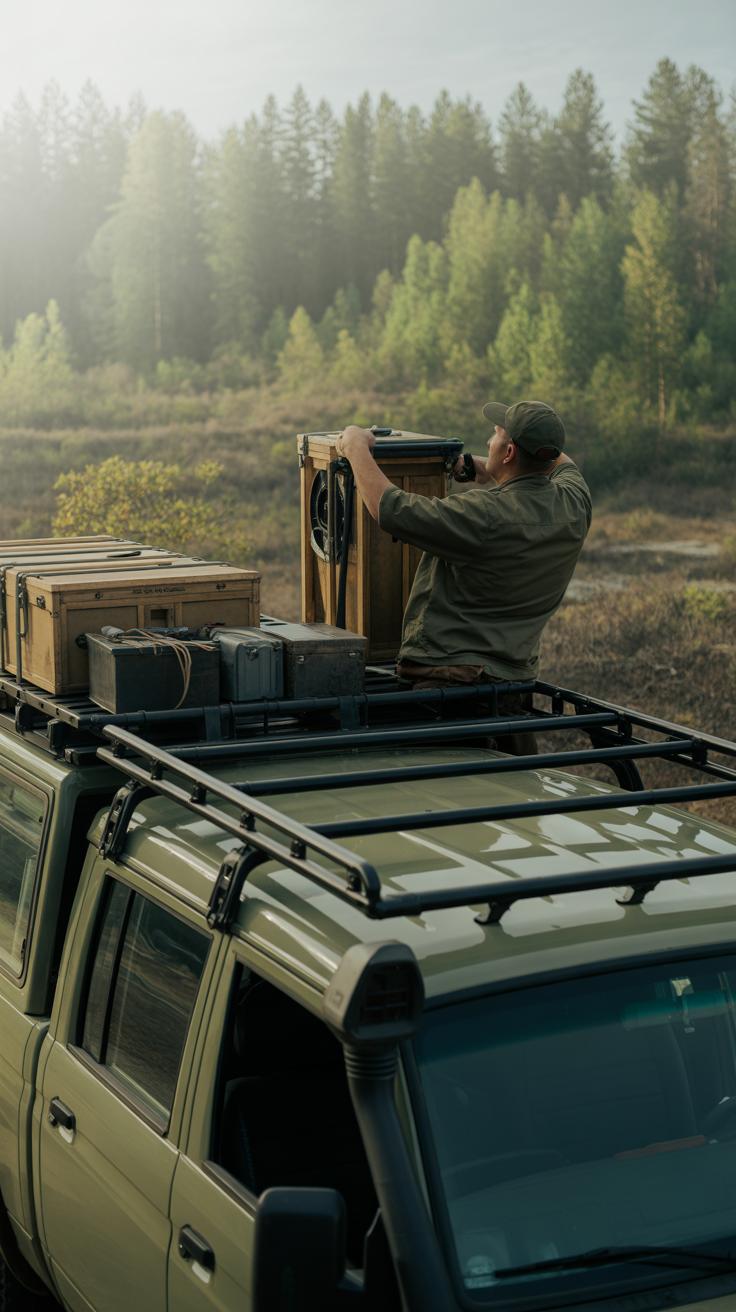
Adding a roof rack to your overland truck changes how you carry gear—and often for the better. When you’re packing for long trips, space inside the vehicle feels limited quickly. A roof rack offers extra room to hold items you might not want inside, like a rooftop tent, spare tires, or bulky containers.
Beyond simply creating more space, a roof rack helps keep your load balanced and organized. Properly managed cargo reduces the chance of gear shifting mid-trip, something that can throw your vehicle off on rough terrain or sudden stops. It’s not just convenience; it’s about safety. Loose equipment can cause distractions or even block your visibility if it moves around inside.
You have options between fixed racks, which stay put once installed, and modular systems that allow you to customize by adding or removing parts as needed. Fixed racks feel sturdier but might limit flexibility. Modular racks let you add mounts for jerry cans, recovery boards, or even extra lighting. I’ve seen setups where everything—from high-lift jacks to shovels—is secured on the roof, freeing up interior space without sacrificing accessibility.
Managing that load starts with more than just the rack itself. Straps and cargo nets become crucial, especially on bumpy roads. Using ratchet straps with padding around sharp edges protects both your gear and the vehicle’s finish. Cargo nets add another layer of security, preventing smaller items from slipping out or jostling unexpectedly. I’d say take a few extra minutes to double-check your tie-downs before hitting the trail; it pays off when you avoid damage or accidents down the line.
So, how do you decide what to put out there on the roof versus inside the cabin? It partly depends on weight distribution and what you need quick access to. But don’t forget about wind resistance and vehicle height—taller stacks can affect handling, especially in strong crosswinds. Balancing all these factors isn’t always straightforward, and you might find yourself adjusting your setup several times before settling on something that feels right.
Upgrading Braking Systems
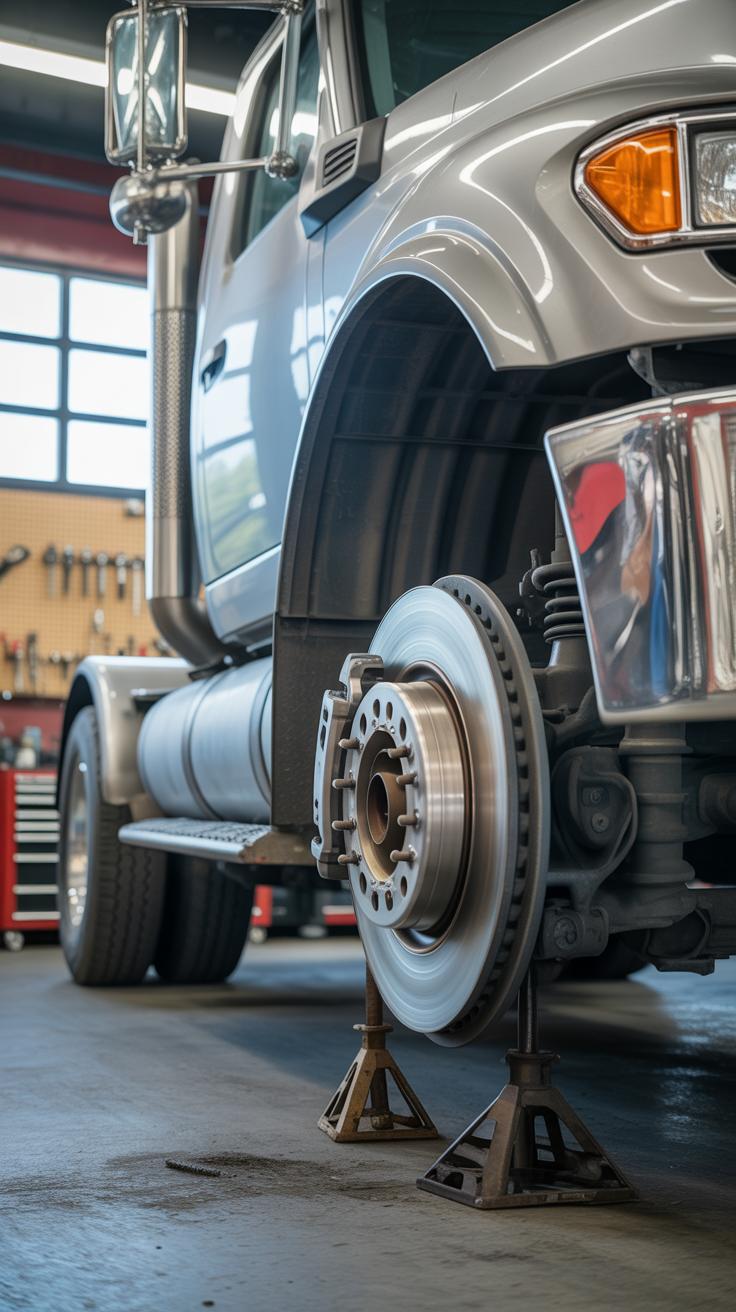
Upgrading the brakes on your overland truck isn’t just a nice-to-have—it’s about making sure you can stop safely under tougher conditions. When you’re hauling extra gear or tackling steep, uneven terrain, stock brakes might not cut it. Better brakes give you more control, especially on slippery surfaces or when descending a long, rough hill. You don’t want to test your luck with worn-out stopping power when you’re far from help.
Common upgrades often include larger diameter rotors and calipers that can handle more heat and stress without fading. You might also consider multi-piston calipers for stronger, more even braking force. Some people even switch to vented rotors—they help keep temperatures down and prevent warping during heavy braking.
Brake pads are a big deal, too. Materials matter here. Organic pads can work, but they wear quickly under heavy loads. Semi-metallic pads offer better heat resistance, while ceramic pads shed heat well and usually last longer. The trade-off? Some ceramic pads might not grab as aggressively off-road. It’s a balance—you want stopping power without losing modulation or causing extra rotor wear.

Maintaining your brakes through your overland trip can’t be overlooked. Check pads for uneven wear, inspect rotors for grooves, and keep an eye on fluid levels. Flushing brake fluid periodically prevents moisture buildup that can reduce braking efficiency. For long trips, it helps to plan maintenance stops just like you do for the engine.
Thinking about your braking system as a key safety upgrade could save you from tricky situations. Are you confident your truck can stop smoothly with a full load both on the highway and deep in the backcountry?
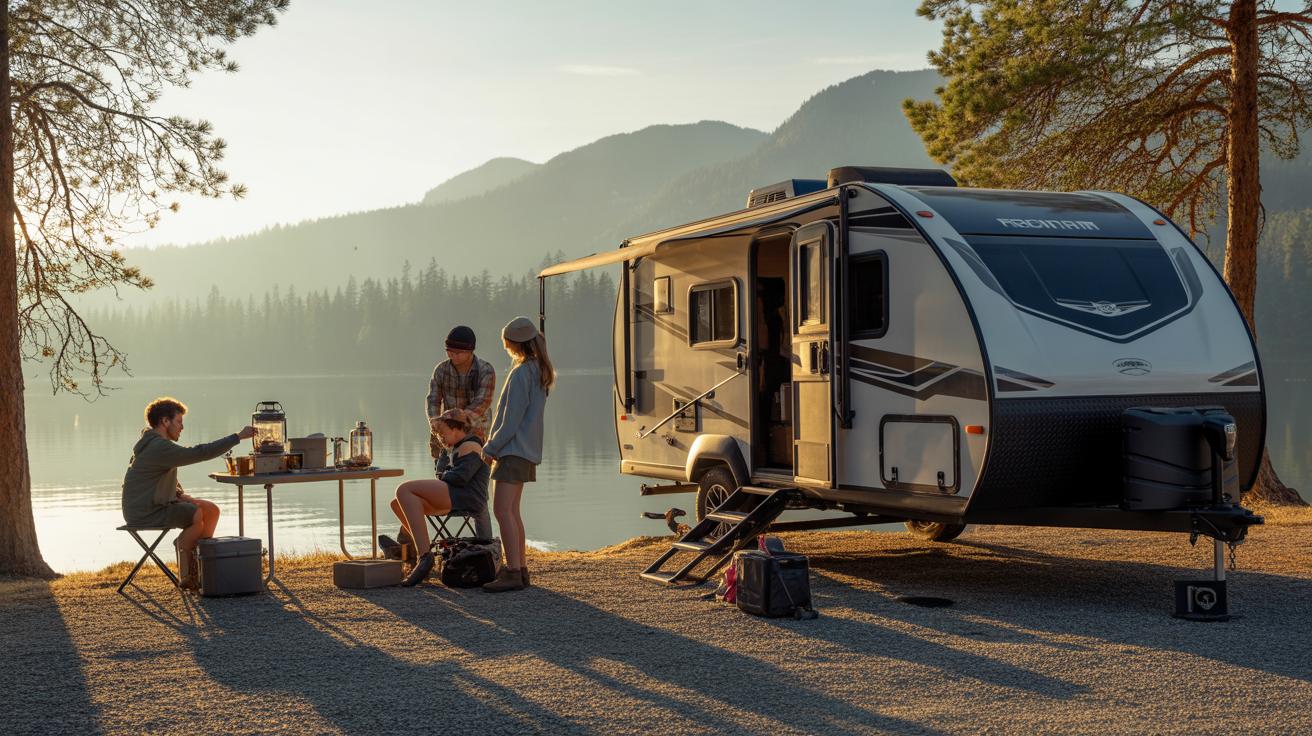
Improving Interior Comfort and Safety
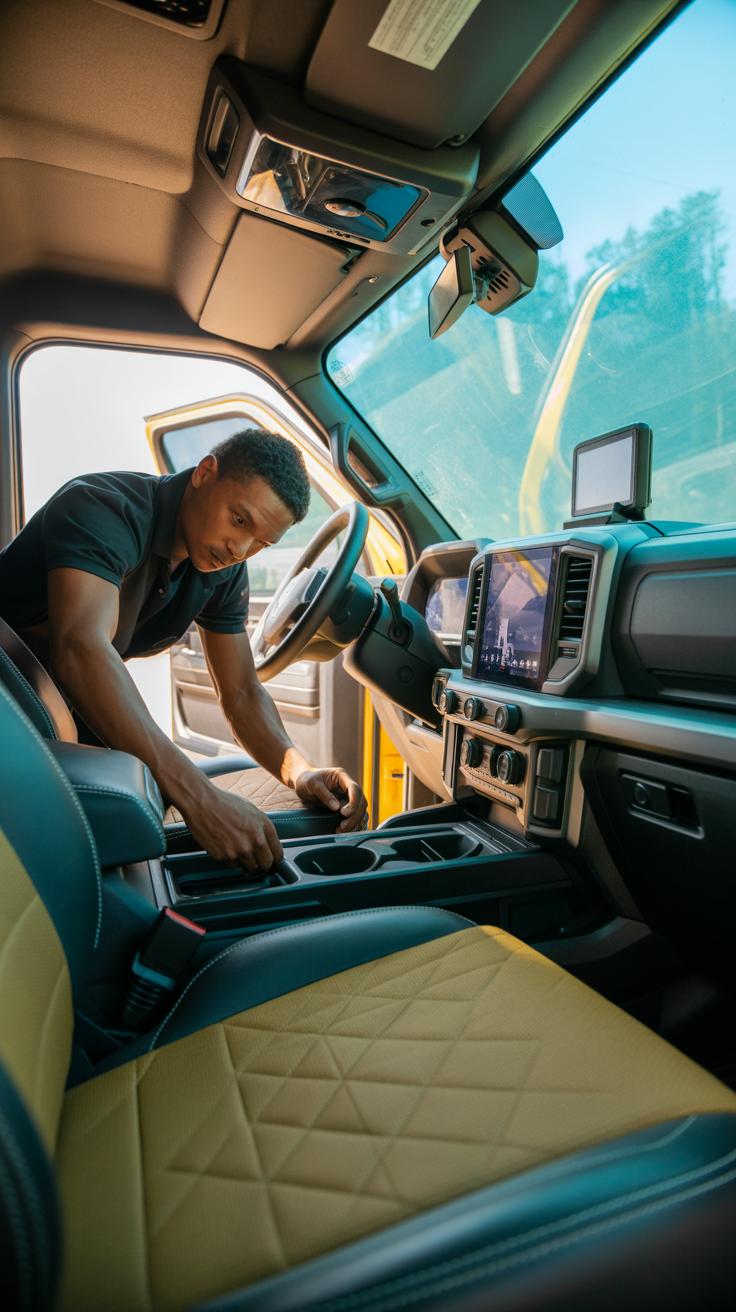
When you’re on rough trails or long stretches of remote road, the interior of your overland truck can quickly make or break your experience. Sitting on basic seats without proper support or security might feel fine at first, but after hours of bumps and jolts, it becomes clear something needs attention.
First, reinforcing your seats goes beyond comfort—it’s about safety. Seats designed to hold up under heavy movement or those with strong anchoring prevent injuries during sudden stops or impacts. Pair them with secure seat belts—preferably ones that meet or exceed safety standards—to keep you stable and reduce the risk of being thrown around inside the cabin.
Inside your truck, grab handles serve a critical role. You might underestimate how often you’ll reach for them on uneven terrain. They provide steady points to hold onto, making it easier to maintain your balance without relying solely on seat belts.
Fire extinguishers also belong right inside the cabin, ideally mounted within easy reach. Fires can start unexpectedly, from electrical faults or fuel spills, and having quick access to a fire extinguisher may save lives and gear.
For storage, clutter can be a serious annoyance and safety hazard. Loose objects flying around during rough rides aren’t just distracting—they can cause harm. Designing practical built-in storage compartments keeps everything orderly and secure. Think about adding lockable cabinets for valuables or essential tools, and overhead nets or racks for bulky but light gear.
Consider this: how often have you had to stop just to pick up something that tumbled under the seat? Simple secured storage units avoid those interruptions and keep your environment tidy and safer.
Adding Recovery Equipment
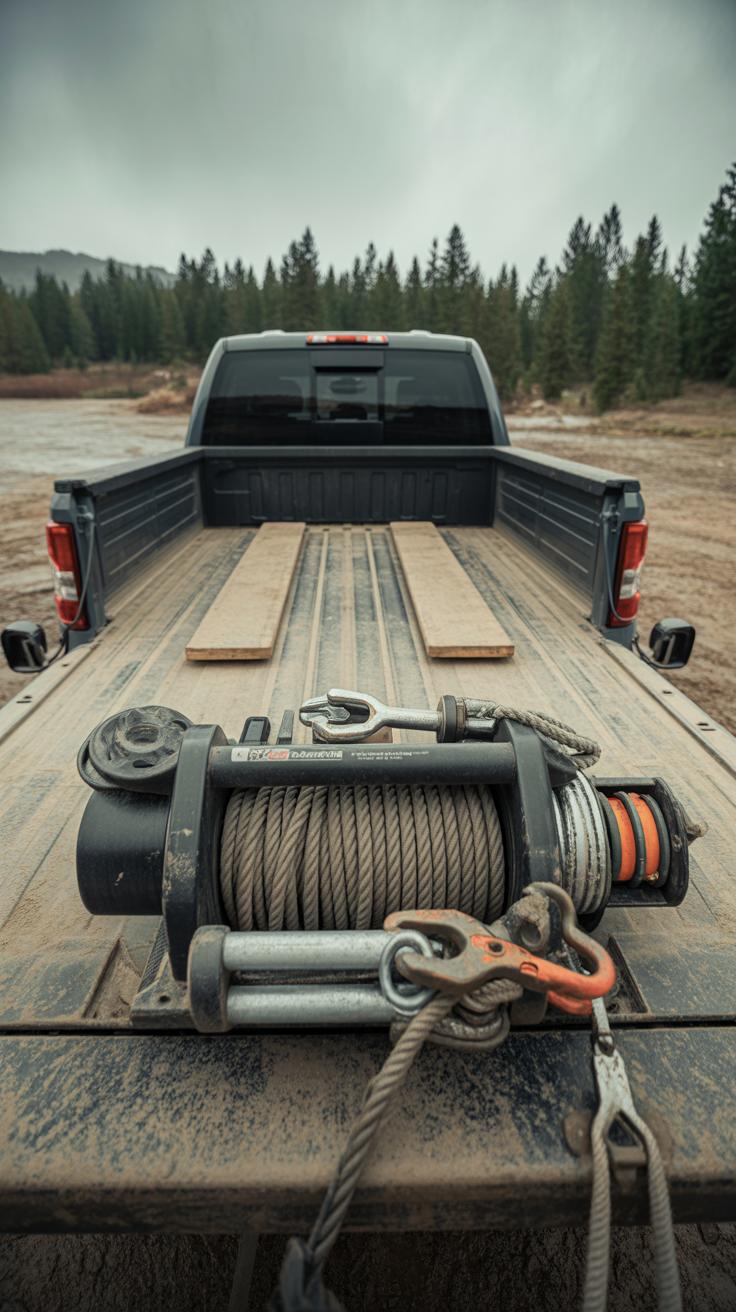
When you take your overland truck off the beaten path, getting stuck isn’t just a possibility—it’s almost a certainty at some point. That’s where recovery gear like winches, tow ropes, and traction mats become essential. These tools aren’t just accessories; they’re lifelines that help you navigate tough terrain and get yourself out of tricky situations without needing outside help.
Choosing the right recovery equipment depends largely on your truck’s weight and the type of terrain you expect to encounter. For example, winches should have a pulling capacity at least 1.5 times your vehicle’s gross weight. If your rig weighs around 7,000 pounds, picking a winch rated for 10,000 pounds or more offers a good safety margin. Tow ropes vary too—dynamic ropes stretch to absorb shock, while static ropes provide a steadier pull. The choice depends on the recovery scenario and your own comfort handling them. Traction mats, meanwhile, work best when they can support your truck’s weight without bending or breaking, so heavy-duty models designed for off-road trucks are best.
Using recovery gear safely means knowing how to avoid injuries and damage. For instance, always keep bystanders clear during winching—snapped cables can be dangerous. Use recovery points designed to handle stress rather than random bumper parts. Also, slow and steady pulls usually work better than sudden jerks, which can cause equipment failure. Personally, I’ve found that practicing these techniques in a controlled environment pays off—when you finally need that winch deep in mud, you’re not fumbling. It’s worth asking yourself how confident you feel before attempting recoveries on your own.
Preparing Electrical Systems
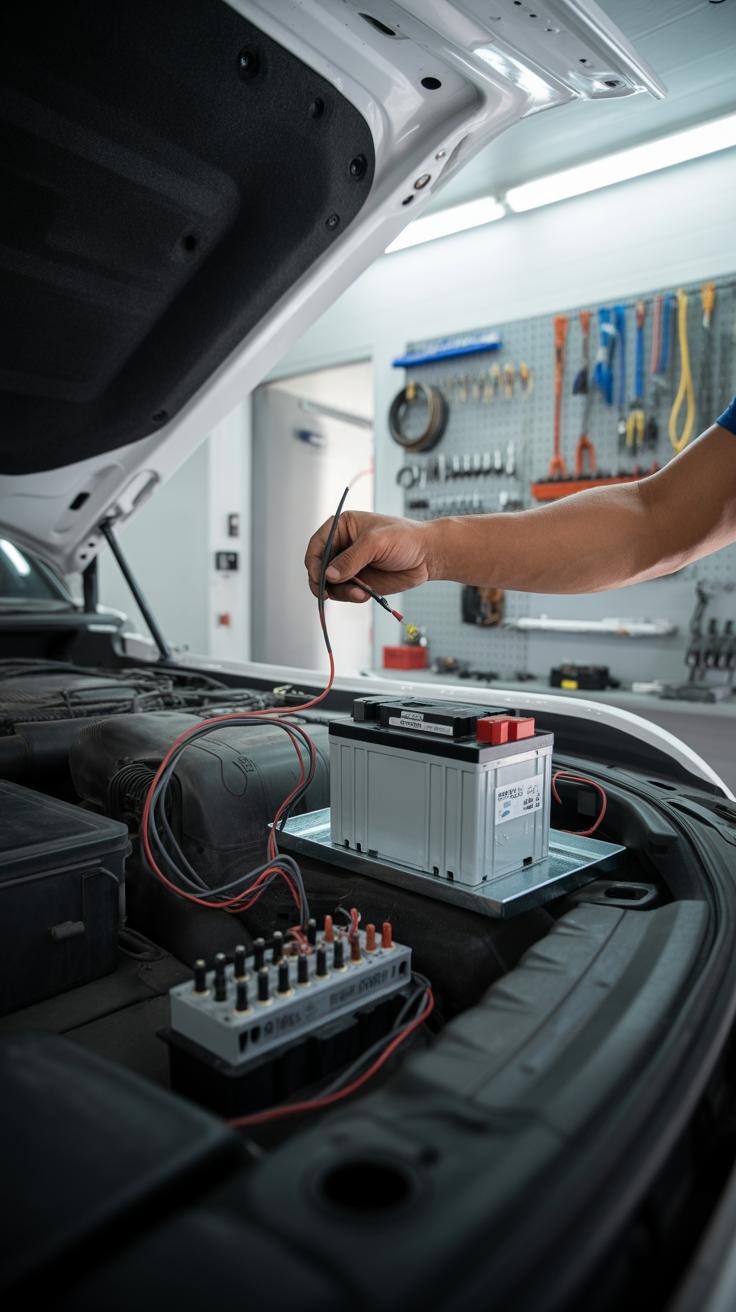
When you’re converting an overland truck, upgrading the electrical system isn’t just about adding a few gadgets. It’s the backbone for running things like fridge units, extra lighting, and communication gear safely and reliably. Your existing setup usually won’t cut it for the extra load, so enhancing wiring capacity and adding proper circuits matters. Without this, you risk system failures or worse—fires.
Think about how often you might use a fridge to keep food fresh on a long trip. It’s not just an afterthought; it demands constant power. Similarly, LED lighting and satellite equipment pull amps steadily, and your system should handle this without dipping into truck performance or killing your main battery.
Installing Auxiliary Batteries and Power Sources
Auxiliary batteries are the cornerstone for powering extra equipment on your overland build. Most people go for deep cycle AGM or lithium batteries to avoid the quick drain and provide consistent power over hours or days. Lithium types are lighter and last longer but can be more expensive upfront. AGM’s are heavier, but some still prefer them for their reliability and cost.
You’ll likely want to add solar panels too. Even modest panels can keep your auxiliary batteries topped up when the sun’s out. But here’s a question: do you rely heavily on solar, or do you back up with multiple charging methods? A mix of solar, alternator charging, and maybe even shore power offers flexibility—though it complicates wiring and system management a bit.
Inverters transform your DC power into AC, letting you run household outlets from your truck. Be cautious with sizing. Many overlanders oversize inverters, which wastes battery capacity. Match inverter size closely with your actual needs instead. I once saw a truck fitted with a 3000-watt inverter but barely any devices running—wasted space and power.
Protecting Electrical Components
Protection is often overlooked. You can have the best batteries and setup, but if wiring isn’t secured, or fuses aren’t right, you’re asking for troubles. Install fuses or circuit breakers on every positive line, preferably close to the battery connection point. This limits the risk of a short circuit causing a fire.
Cables must have proper gauge and good insulation. Undersized wire heats up under load, which is a hidden danger. I think many underestimate how fragile truck wiring can be when stretched thin. Use heat shrink tubing and cable conduits to protect against abrasion and moisture.
Don’t forget to ground everything properly. A bad ground connection can cause false faults or disruptive electrical noise. It’s a detail easy to miss but crucial for stable operation.
Conclusions
Each modification plays a key role in making your overland truck safe and capable. Mechanical upgrades protect your vehicle’s vital systems while interior changes improve comfort during travel. Choosing the right parts and installation methods matters just as much as what changes you make.
By planning your truck conversion with safety as a priority, you prepare for challenging terrains and long trips. These essential modifications let you explore remote locations confidently and keep your vehicle in good working order. You now have a solid foundation to start your overland truck conversion journey.