Introduction
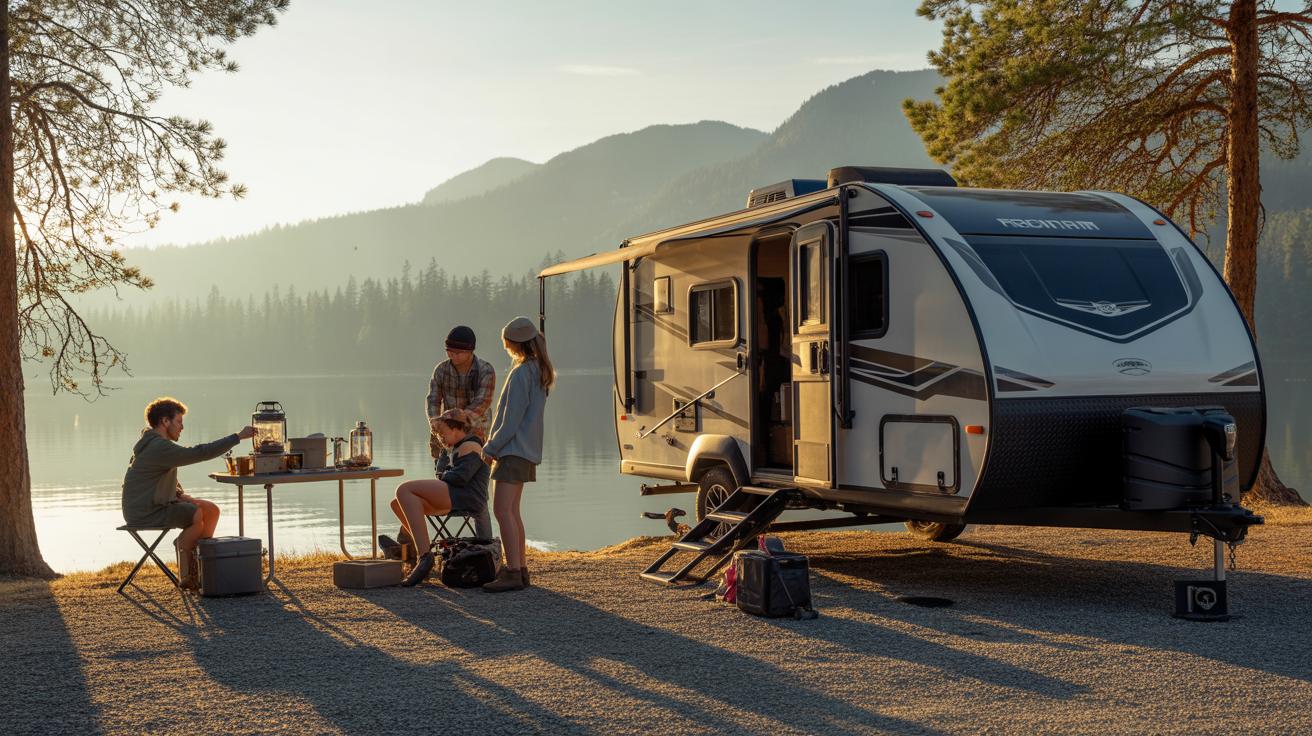
Building your own DIY camper trailer can open up exciting opportunities for travel and adventure. Instead of relying on expensive ready-made options, you can customize the trailer to fit your own needs and style. This guide will walk you through each step, from understanding what a camper trailer is to assembling the parts and finishing the build.
You will explore practical details about the structure, materials, tools, and design choices. By the end of the article, you will know exactly how to start and complete a camper trailer project, getting ready for your next road trip with a home on wheels.
Planning Your DIY Camper Trailer Project
When you begin planning your camper trailer, the first thing to figure out is your budget. How much are you really ready to spend? Building yourself means you can control costs, but materials and parts can add up fast. Sometimes it pays to shop around or reuse parts from old trailers or vehicles. Don’t forget to set aside some extra money for unexpected needs—something always pops up.
Next, think about how much space you want inside. Are you aiming for a cozy sleeping nook, or do you want room to cook and store gear? Space affects weight, size, and ultimately how you tow the trailer. Maybe you want something compact and easy to maneuver, even if that means less comfort. Or perhaps you’re willing to trade maneuverability for a bit more luxury. Your tow vehicle’s capacity will also shape this decision.

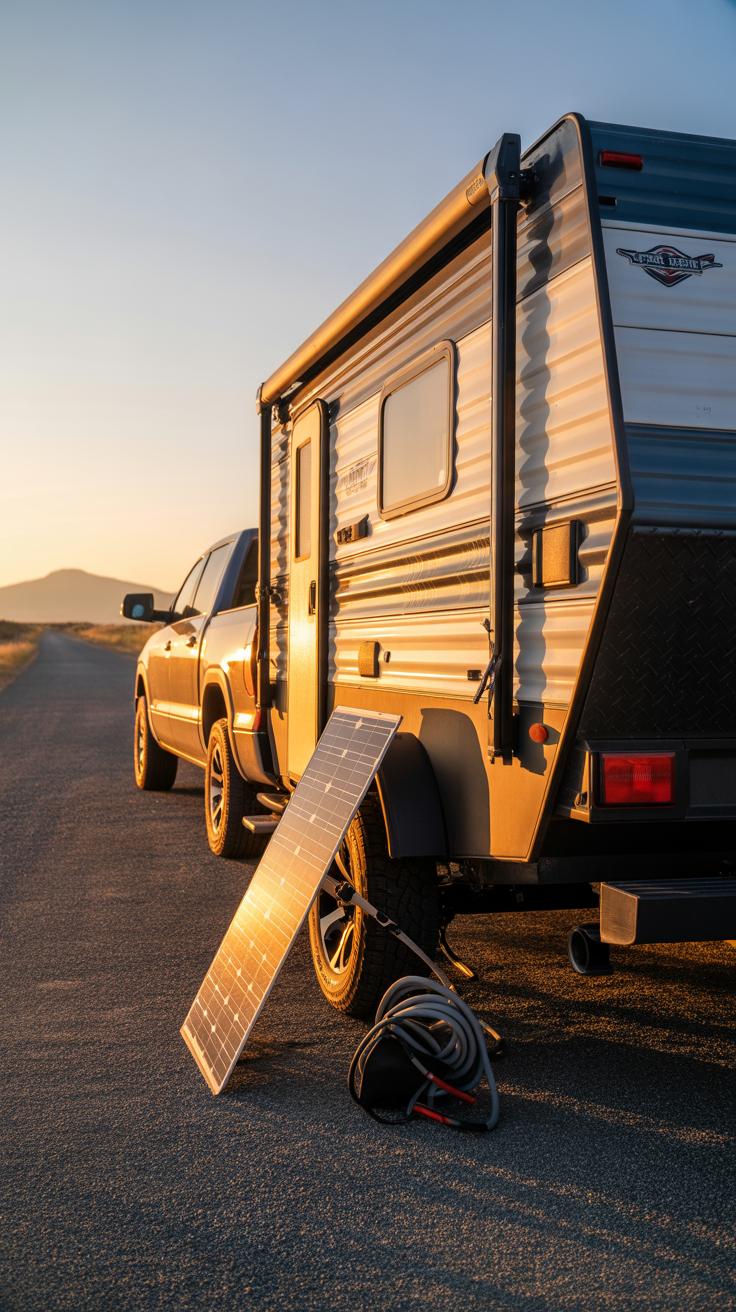
Features need some early thought too. What’s non-negotiable for you? A decent bed, a kitchenette, maybe solar panels? Some features might seem appealing but add complexity or cost, so balancing wants with practical limits is key. Wiring, plumbing, ventilation—these all require planning. Nothing worse than realizing mid-build you forgot a vent or extra outlet.
Don’t overlook local laws and regulations. Trailer weight limits, lighting rules, or size restrictions vary depending on where you live. If you skip this, you could end up with a trailer that’s illegal to tow or requires expensive modifications later. Check registration and insurance requirements too. The last thing you want is to pour time and money into a camper you can’t legally use.
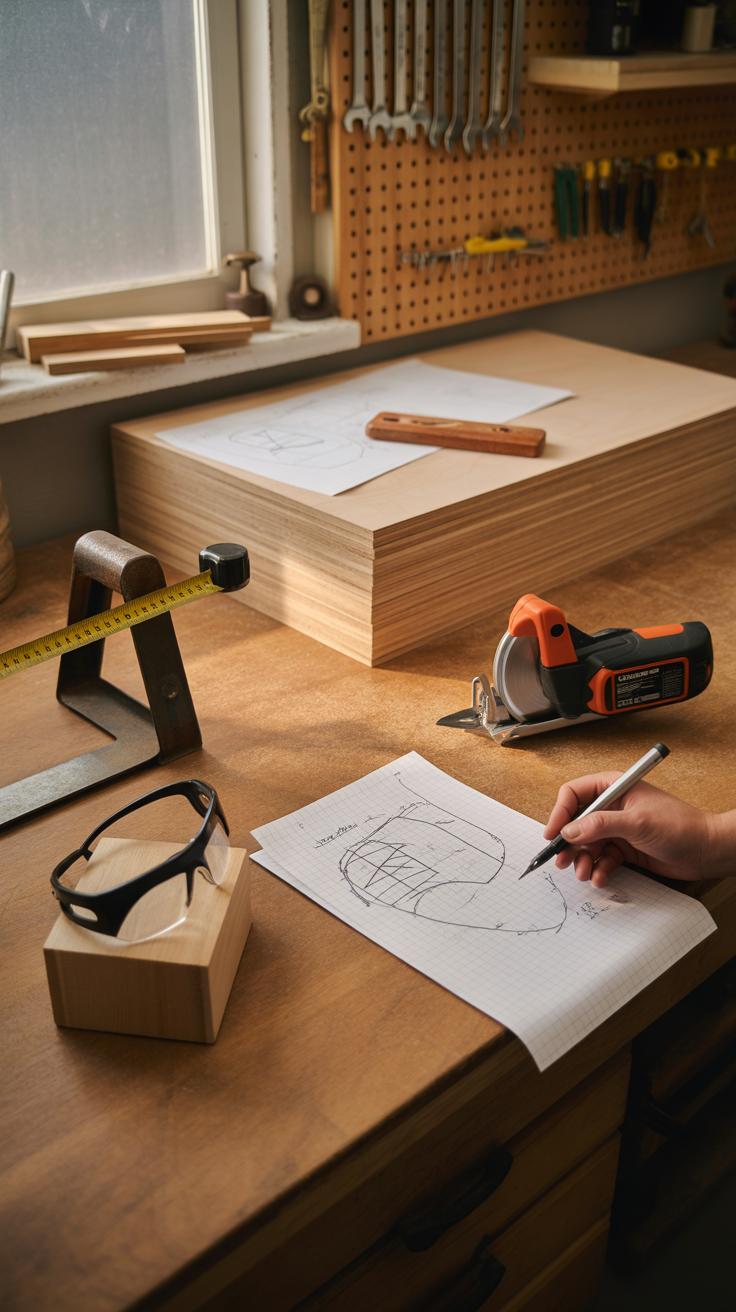
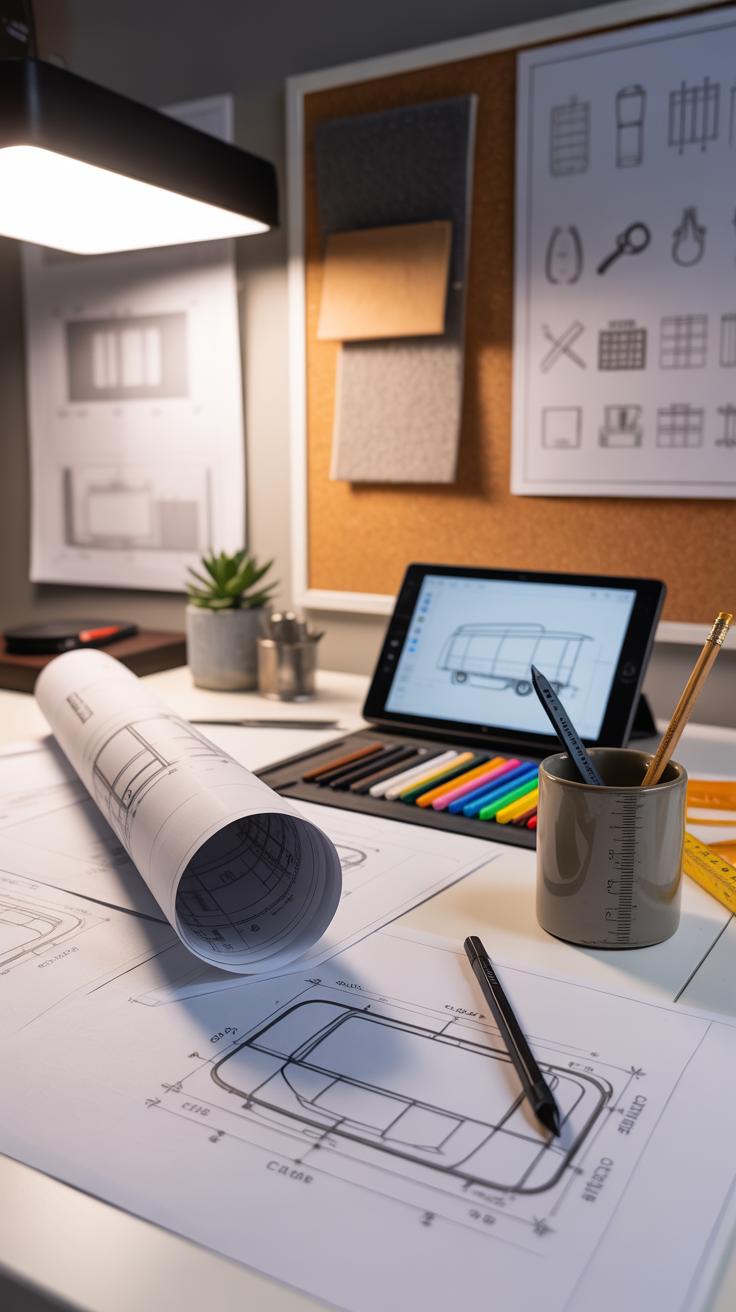
Finally, sketch some rough plans or get basic measurements down before buying anything. This keeps you on track and helps visualize the finished product. Planning reduces surprises, though some surprises might be part of the fun. What will your camper trailer really look like, and how will it fit your lifestyle? These questions guide you through a project that feels less overwhelming and more personal.
Planning Your Diy Camper Trailer Project
When you start planning your DIY camper trailer, the first thing to wrestle with is your goals versus your budget. What exactly do you want in your trailer? Space for sleeping, cooking, storage, maybe even a small bathroom? It helps to write down a clear list of essentials and a few nice-to-haves because you’ll probably have to make some compromises along the way.
Setting a budget can feel tricky—how do you know what’s realistic? I’d suggest looking at what materials and parts might cost upfront, then add a buffer for unexpected expenses. Try to stick to your budget as much as you can; it’s easy to get carried away once you dive into ideas and upgrades.
Space is another big factor to pin down early. Think about how many people will use the trailer and how much gear you want to carry. Are you planning short weekend trips, or something longer? The size affects not just comfort but also towing requirements and where you can store your camper when it’s not in use.
Feature-wise, what matters most to you? For example, would solar panels or extra battery storage be worth the cost? Or maybe a fold-out dining area? These features can add complexity and price, so decide what’s necessary versus what’s bonus material.
Legal rules can get complicated depending on where you live. You might need permits, or there could be size and weight limits for trailers on the road. It’s worth checking local regulations early on—there’s nothing worse than building a trailer you can’t legally tow or park.
Once your goals and limitations are clear, spend some time gathering design ideas. Look at different trailer styles and layouts online or in magazines. Sometimes you find something that clicks––or sparks an idea you hadn’t considered. Sketch some rough plans. Which layouts seem practical? Which ones feel right for your lifestyle and travel plans?
Research is a bit of a balancing act. You want enough information to guide your build but not so much that it becomes overwhelming or stalls your progress. It’s okay to change your mind as you go, too—that’s part of the process.
Choosing The Right Materials And Tools

When building your DIY camper trailer, the choice of materials can really shape the entire project—not just how it looks but how it performs on the road. Frames often use metal, typically steel or aluminum. Steel is strong and easier to weld if you’ve got the skills, but it tends to be heavier and can rust if not protected well. Aluminum feels lighter, which helps with towing, and resists rust better, though it’s trickier to work with and often costs more.
For walls and flooring, plywood is a go-to. It’s sturdy, affordable, and fairly easy to cut or shape. Some builders prefer marine-grade plywood because it handles moisture better. Fiberglass is another option, especially for outer shells—offering weather resistance and a sleek finish. Yet, working with fiberglass demands patience and some practice; it can get messy and needs protective gear.
Your floor needs to stand up to weight and wear, so think about plywood topped with a waterproof vinyl or laminate. Roofing often mirrors wall materials but sometimes uses lighter metals or layered composites for weatherproofing.
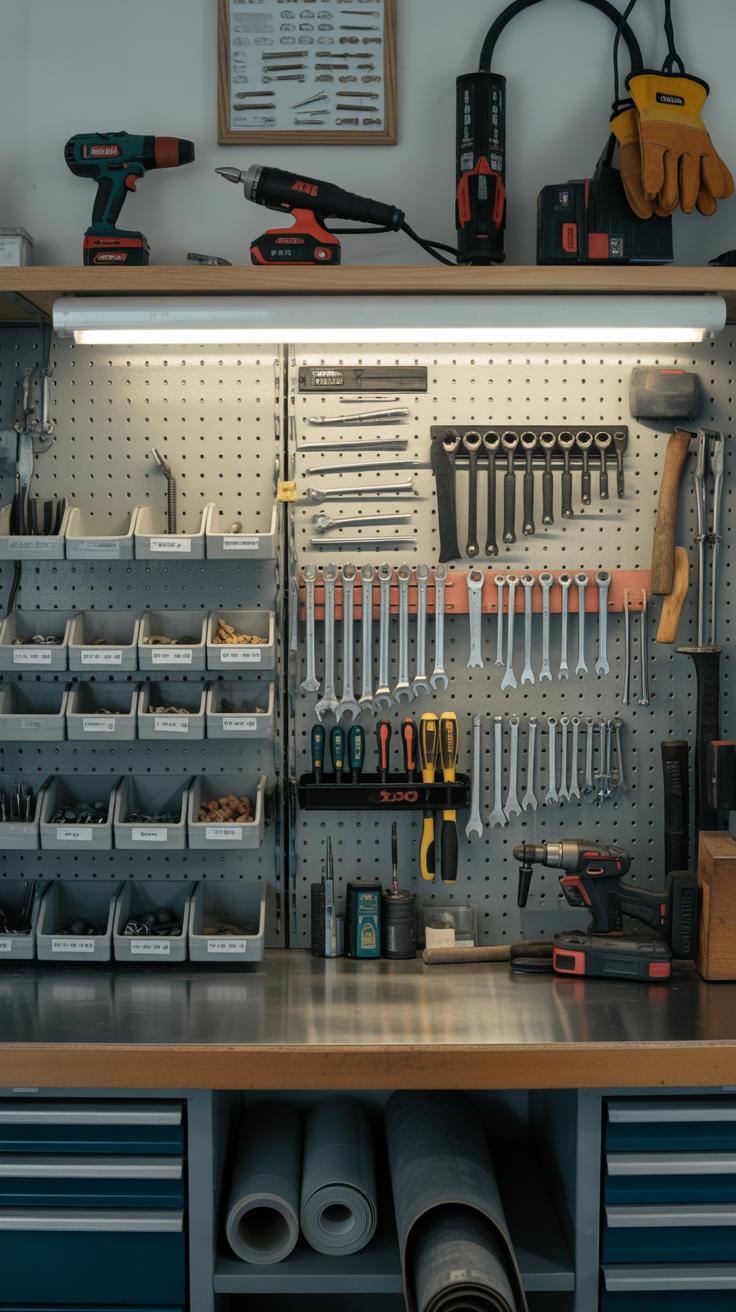
The tools you gather set the tone for your build. Here’s a practical list:
- Circular saw – for cutting wood and plywood efficiently.
- Angle grinder – useful for trimming metal and smoothing edges.
- Drill with bits – for making holes and driving screws in various materials.
- Welding machine – unless you plan to bolt frame parts only, some welding skill is handy.
- Measuring tape and square – precise measurements keep the build tight and aligned.
- Screwdrivers and wrenches – basic hand tools for assembly.
- Clamps – to hold parts steady during gluing or fastening.
Sometimes, you’ll need specialized tools depending on your material choices. For example, working with fiberglass might require respirators and sanding blocks. It might feel like gathering a lot up front, but investing in at least decent tools pays off—your build speed and quality improve noticeably.
Do you feel a little overwhelmed yet? That’s normal. But remember, the right blend of materials paired with these tools will set a solid foundation for everything that comes next. It’s hard to plan every step perfectly, but picking materials you’re comfortable working with is a good start.
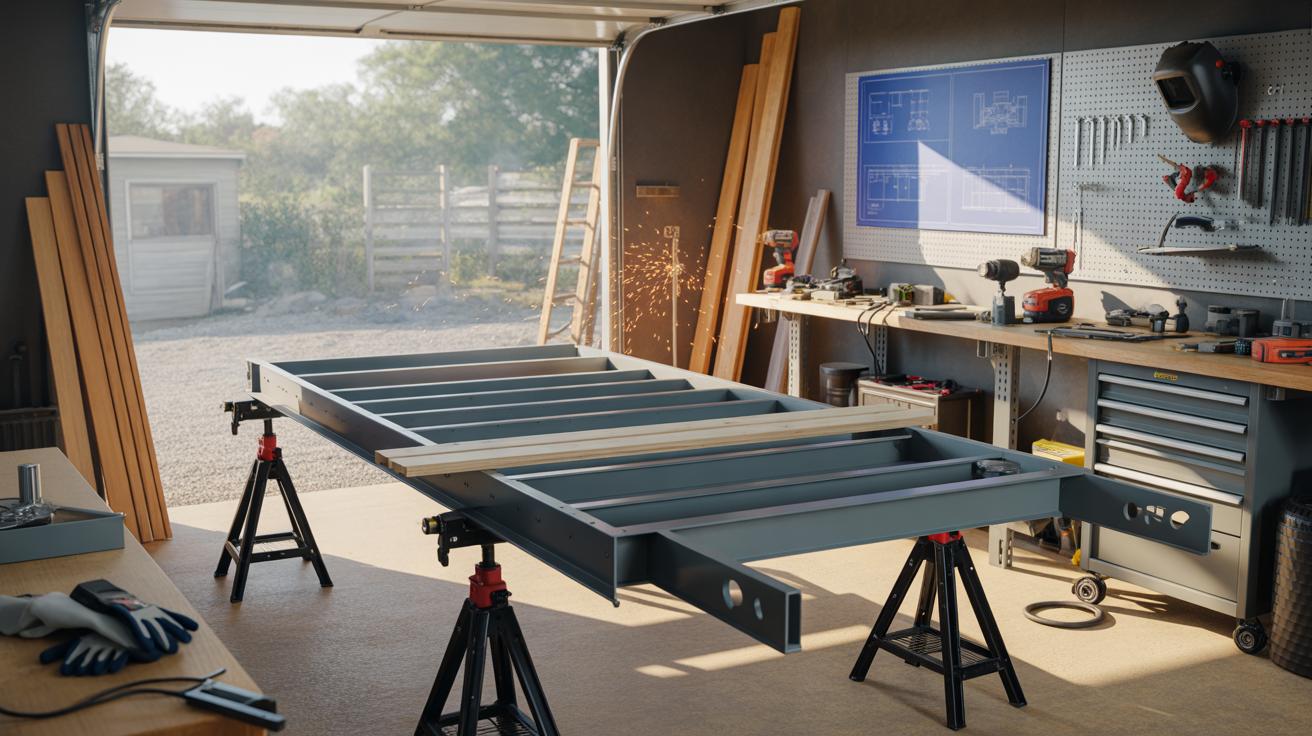
Designing The Frame And Structure
Frame Types And Support
When it comes to building your camper trailer’s frame, choosing the right style is crucial. You’ll often see frames built from steel or aluminum, each with pros and cons. Steel’s strength is appealing, but it’s heavier and can rust if not treated properly. Aluminum is lighter and resists corrosion but might flex more under heavy loads. Whatever you pick, the frame should handle weight evenly without sagging.
There are a few common frame styles. The most basic is the rectangular frame, simple to build but sometimes less resistant to twisting forces. Then there’s the C-channel, which offers better rigidity by design. Some even use A-frame tongues for added support near the hitch. Your choice depends on your trailer’s intended size and payload. I remember trying a simple rectangular frame once, but it felt a bit too bendy on rough roads — so I switched to a C-channel design for later projects.
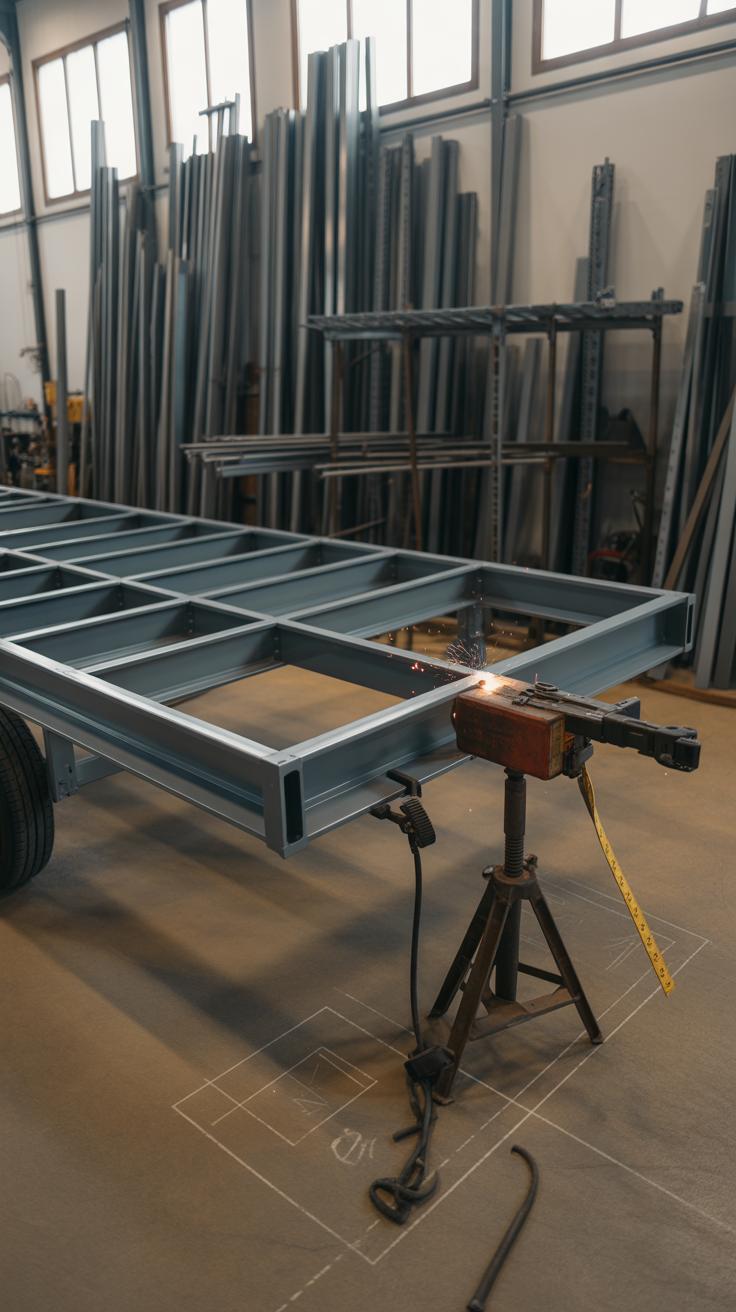
Measuring And Cutting Frame Parts
Getting the frame parts measured and cut right feels like half the battle. You want everything square, or the trailer might wobble or look off. Start by marking your steel or aluminum pieces with a carpenter’s square or a metal scribe. Double-check each measurement—never trust your first marking. Measuring tape can stretch slightly, so it’s good to measure twice, cut once, as the saying goes, even if it sounds overused.
Cutting metal parts usually involves a chop saw with a metal blade or an angle grinder. Keep your cuts straight and try not to leave rough edges that could get in the way during welding or bolting. I’ve sometimes had to recut parts when the angle shifted a bit, which was frustrating but taught me patience. When you line up all your cut pieces, test-fit them on a flat surface to confirm angles and lengths before any welding.
Assembling The Base And Axles
Building The Base
The base is the foundation of your camper trailer—it needs to be flat, strong, and reliable. You want a platform that supports weight evenly and won’t flex or twist when loaded. Start by selecting sturdy materials; steel or treated wood are common choices. Steel gives durability but requires welding skills. Wood can be simpler and just as effective if properly treated and supported.
Cut your materials to size and arrange them into a rectangle that matches your frame dimensions. Pay attention to spacing. Cross members should sit no more than 18 inches apart to avoid sagging. Make sure everything sits level before securing it. Bolt or weld the frame to the base structure tightly. Don’t rush this part; any weak joints might cause problems later, especially when you’re carrying heavy gear.
One trick I learned was to double-check the flatness by placing a long straight edge across the base and shimming wherever there were gaps. It felt tedious, but it paid off in the end.
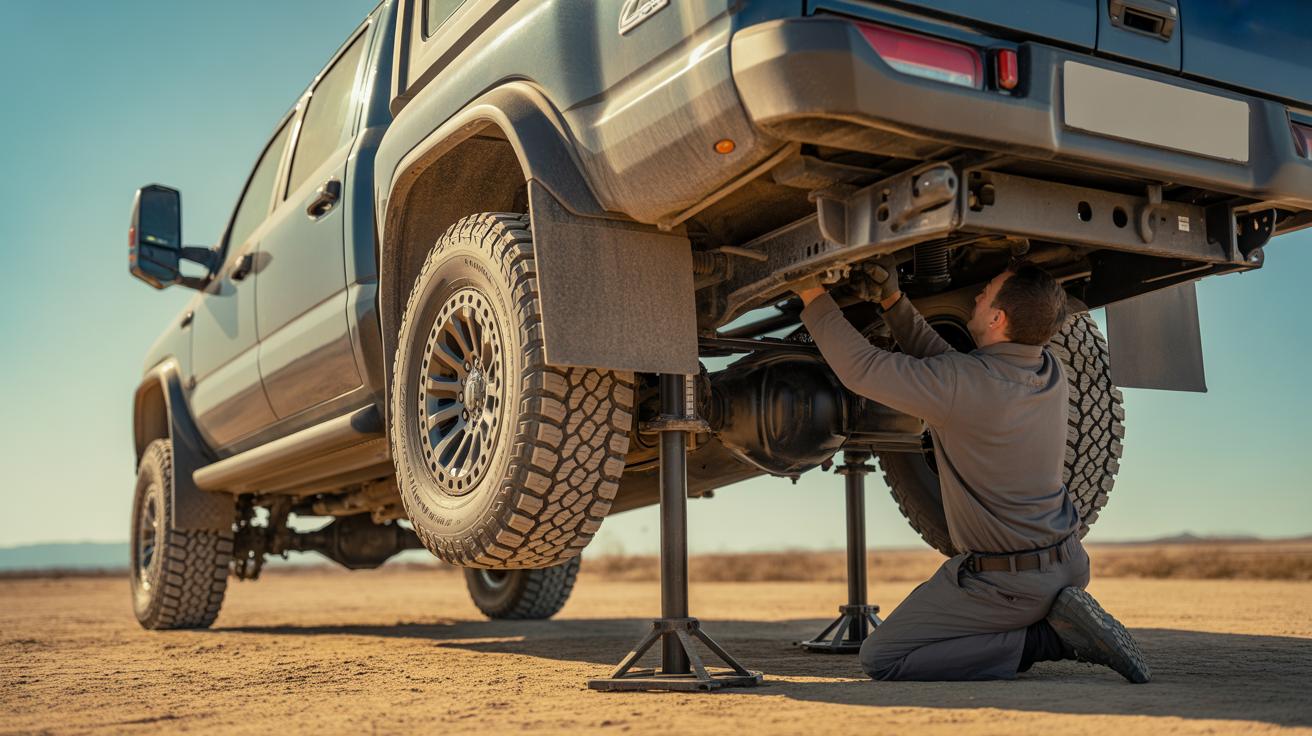
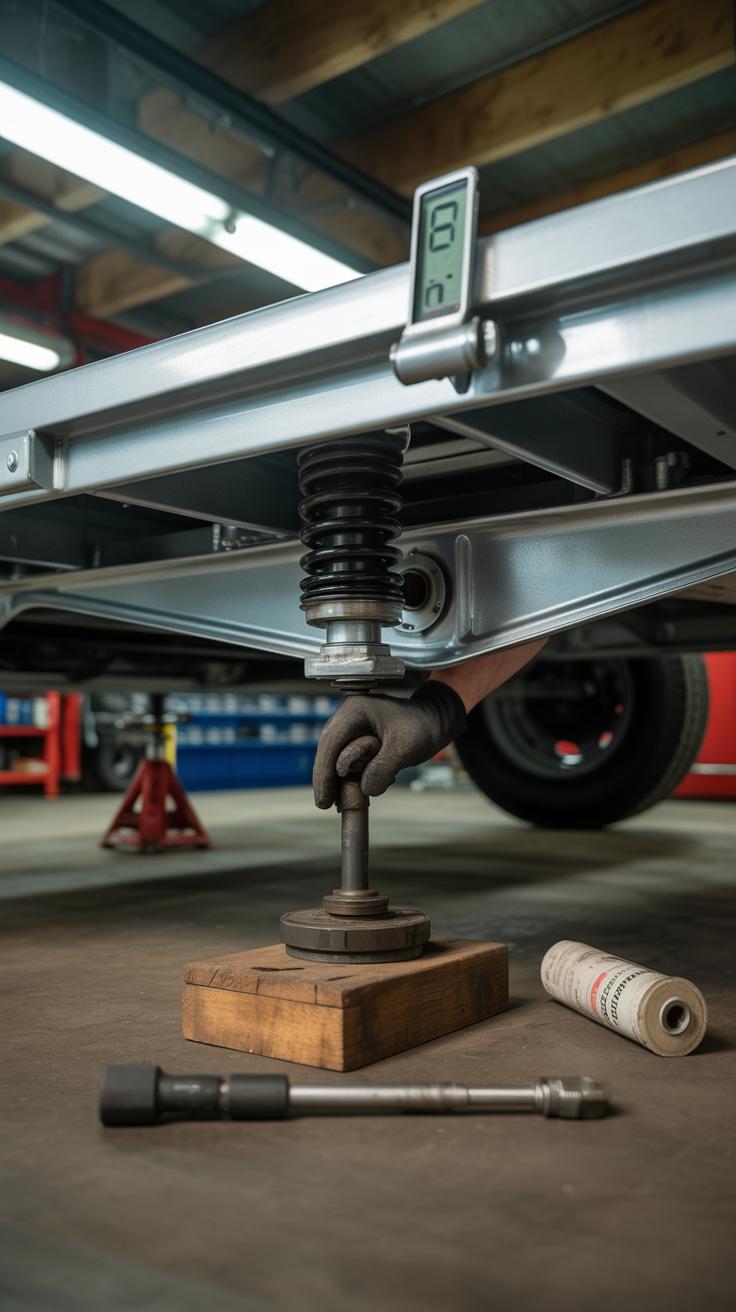
Installing The Axles And Wheels
Axles are what give your trailer mobility, and attaching them correctly is critical for safety and smooth towing. First, identify the axle rating that matches your desired trailer weight—don’t underestimate this. If your trailer is too heavy for the axles, things could get dangerous fast.
Follow these steps:
- Position the axles evenly under the base, making sure they are centered and aligned side-to-side. This affects balance and tire wear.
- Use axle hangers or plates—depending on your setup—to attach the axles. Bolt them firmly, tightening all nuts, but avoid over-torquing which might strip threads.
- Slide the wheels onto the axle shafts, then install bearings, seals, and locking nuts. Grease the bearings well; dry bearings can fail quickly.
- Spin the wheels to check they turn freely without wobble or resistance.
It’s tempting to rush through mounting wheels, but taking your time here can save headaches later. A poorly installed axle won’t just affect driving—it could lead to costly repairs or worse. I remember once thinking, “Maybe this is fine,” only to find a wheel needed redoing miles down the road.
Constructing The Walls And Roof
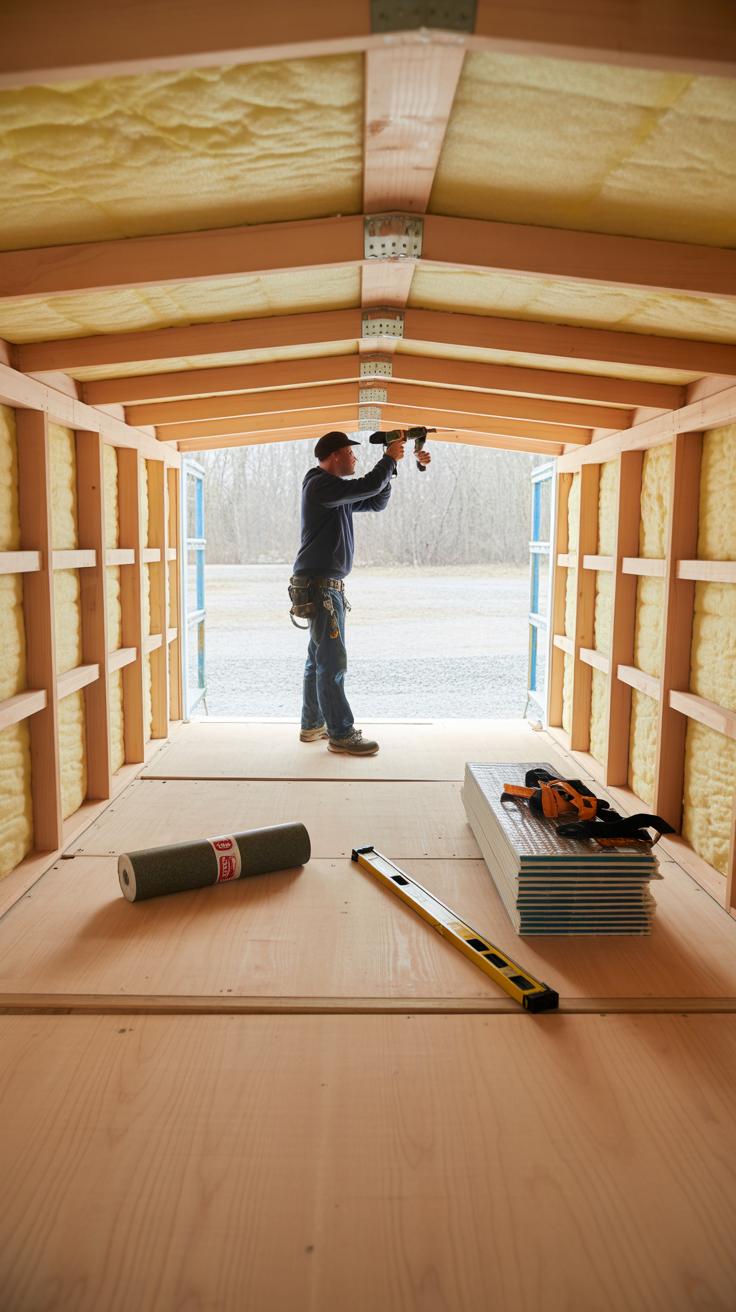
Building The Walls

Once your base is set, it’s time to raise the walls. Start by measuring your trailer frame carefully—walls need to fit snugly without forcing. Use sturdy lumber or metal studs, depending on your skill and materials available. One thing I learned the hard way: never rush wall framing. If one side is even slightly off, everything else gets tricky.
Plan for doors and windows early on. Cut openings while assembling each wall section rather than later; small errors multiply if you wait. For doors, a basic framed door with simple hinges works well. Windows can be tricky—you want enough light but also protection. I recommend double-pane windows for insulation, but you might settle for something simpler if budget is tight.
Insert insulation as you build—foam board or spray foam fits inside the wall cavities. Insulation isn’t just about warmth. It also reduces condensation, which can slowly ruin your trailer’s interior. Then, cover walls with plywood or a similar sheeting to strengthen the structure before moving on.
Adding The Roof
The roof is your primary defense against weather—rain, sun, wind. You’ll want it angled enough for runoff but not overly steep which could complicate setup. I found a slight slope, around 10 degrees, balances water drainage with easy construction.
Build your roof frame using rafters cut to match your wall length. Attach them securely, and cover with a waterproof membrane or roofing felt. This layer stops leaks better than just relying on siding or shingles outside.
Metal roofing panels are popular choices—durable and lightweight. But if you go with plywood or OSB sheeting, add a layer of waterproof sealant and good-quality shingles or rubber roof covering on top to keep water out.
Ventilation matters too—install roof vents or small windows that open. Trapped heat can make living inside uncomfortable and damage materials, so think about airflow before sealing everything tight.
Installing Interior Features

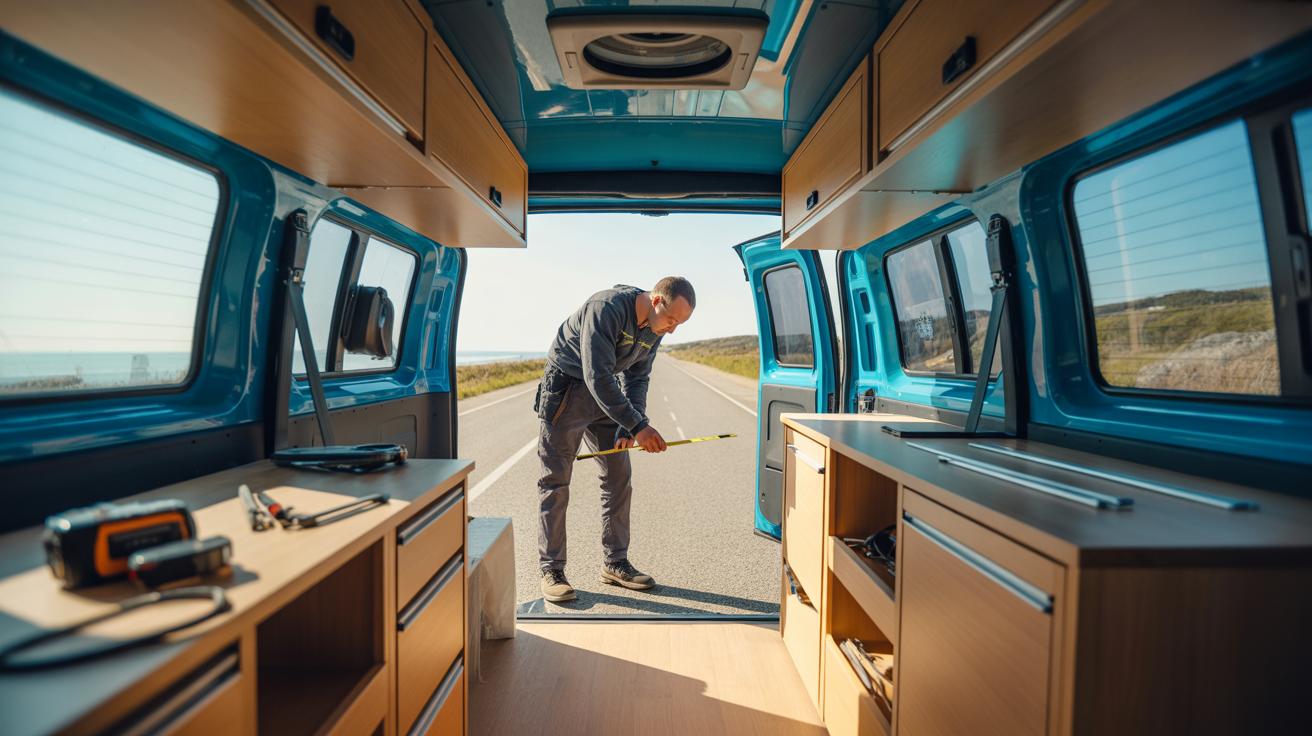
Beds And Storage Solutions
Creating a cozy place to sleep is key for any camper. You can build a fixed bed frame or go for a foldable option like a Murphy bed or a bench that doubles as a sleeping area. Sometimes, making the bed area multifunctional is better, like using cushions on a flat platform that can convert from seating to sleeping. Think about the mattress thickness too—too thin, and it’ll feel like camping on a board; too thick, and storage underneath may be limited.
Storage inside a trailer must be smart. You want to use every inch without clutter. Overhead cabinets are great but watch for head clearance. Under-bed storage can hold bulky items like blankets or camping gear. Drawers and cubbies can fit smaller essentials, but don’t crowd them—easy access makes a big difference. Hooks and nets can hold lighter things like hats or kitchen towels. Don’t forget wall-mounted solutions—they’re simple to add and don’t take up much space.
Basic Kitchen And Utilities
For cooking, start simple: a small butane stove or portable electric burner works well and is easy to install. You could build a fold-out kitchen counter to save space. Adding a compact sink helps, but remember, plumbing in a small trailer can get tricky; a removable water container for fresh water and a separate one for grey water often makes sense.
Electrical outlets are handy if you bring a battery bank or hook up to shore power. Installing a basic 12-volt system might cover your lighting, USB charging, and small appliances without fuss. Lighting should be bright enough but not harsh—LED strips or small puck lights are popular. Water storage depends on your needs—some use jugs with pumps, others prefer gravity-fed systems. It’s a good idea to plan for all these utilities early because retrofitting later can get complicated.
Finishing Touches And Safety Checks

Painting And Sealing
Once your camper trailer’s structure and interior are set, the next crucial step is protecting it from the elements. Painting and sealing aren’t just about looks—they guard against rust, water damage, and wear from sun exposure. Go for weatherproof paint made for metal and outdoor use. I usually recommend starting with a quality primer to make the paint stick better and last longer.
Sealing all joints and seams with a marine-grade sealant creates a waterproof barrier that keeps moisture out. Don’t overlook hidden areas under the frame or around fasteners; those spots often get ignored but can cause trouble down the road. Take your time with this—skipping steps might save a day, but you could regret it with leaks or rust later. It feels like double work, but it pays off.
Performing Safety Checks
Before you think about towing your trailer anywhere, run thorough safety checks. Start by testing the frame’s solidity—check welds, bolts, and suspension for any flex or cracks. You want the trailer to handle bumps without coming apart, right? Then, move on to brakes and lights. Make sure brake connections work smoothly and that all lights—brake, turn signals, tail lights—are fully functional and visible.
Towing capability deserves special attention. Attach the trailer to your vehicle and try a few slow turns, stops, and gentle accelerations in a safe spot. Check if the hitch feels secure and stable, and watch for any odd noises or sway. Ask yourself: does it feel confident enough for a real trip? It might sound tedious, but these checks could be the difference between a safe journey and a roadside disaster.
Preparing To Hit The Road With Your Diy Camper Trailer
Legal Requirements And Documentation
Before you take off with your DIY camper trailer, make sure you’ve got the paperwork in order. Licensing and registration rules can vary quite a bit depending on where you live, so check with your local motor vehicle department. You might need a special trailer registration or a separate license plate. It’s also worth confirming if your camper trailer needs to meet specific safety standards, such as brake requirements or lighting regulations.
Do you have all the necessary documents? Keep your registration, proof of insurance, and any inspection certificates handy in the vehicle. Spot checks happen—sometimes unexpectedly—and the last thing you want is to scramble for papers.
Also, know the weight limits for your trailer and towing vehicle on highways and local roads. Wearing the wrong combination could land you a fine or cause problems on steep grades. Roadside laws, like speed limits for trailers or mandatory safety chains, vary and are easy to overlook if you’re new to towing. Don’t assume your camper trailer counts the same as a regular trailer.
Packing And Travel Tips
Packing your DIY camper trailer smartly makes all the difference. Spread weight evenly to avoid sway, and secure all items firmly. Think about what you’ll actually use. There’s a temptation to overload, but lugging unnecessary gear just makes driving harder.
Plan your route with realistic stops in mind. Rest areas or campgrounds that accommodate trailers can be limited, especially on less-travelled roads. A GPS app with trailer settings might help; sometimes, the shortest path isn’t the best for a camper trailer.
Don’t forget the basics: water, emergency kits, and tools for quick fixes on the road. And check your tire pressure before every trip—that little step can save a lot of trouble.
Finally, try a short drive near home first. See how the trailer handles, practice hitching and unhitching, and get comfortable with the extra length and weight. You’ll be glad you did when you hit the long stretches.
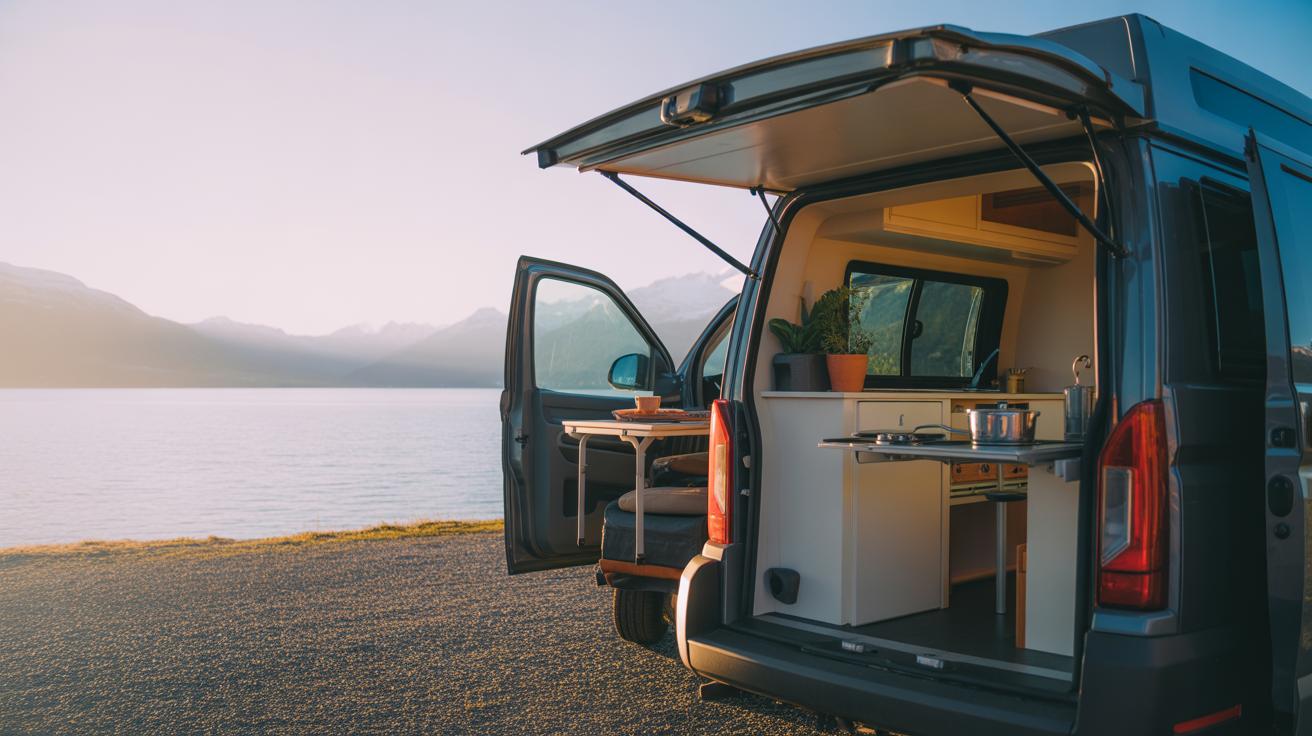
Conclusions
Constructing a DIY camper trailer is a rewarding project that combines creativity, skill, and planning. You will gain freedom over your travel arrangements and the satisfaction of having built something useful with your own hands. Each stage, from initial design to final touches, is important to ensure a safe and comfortable camper trailer.
Now that you understand the detailed steps and considerations, you can gather materials and start building with confidence. Enjoy the process and look forward to hitting the road in your self-made camper trailer, designed fully for your needs and adventures.