Introduction
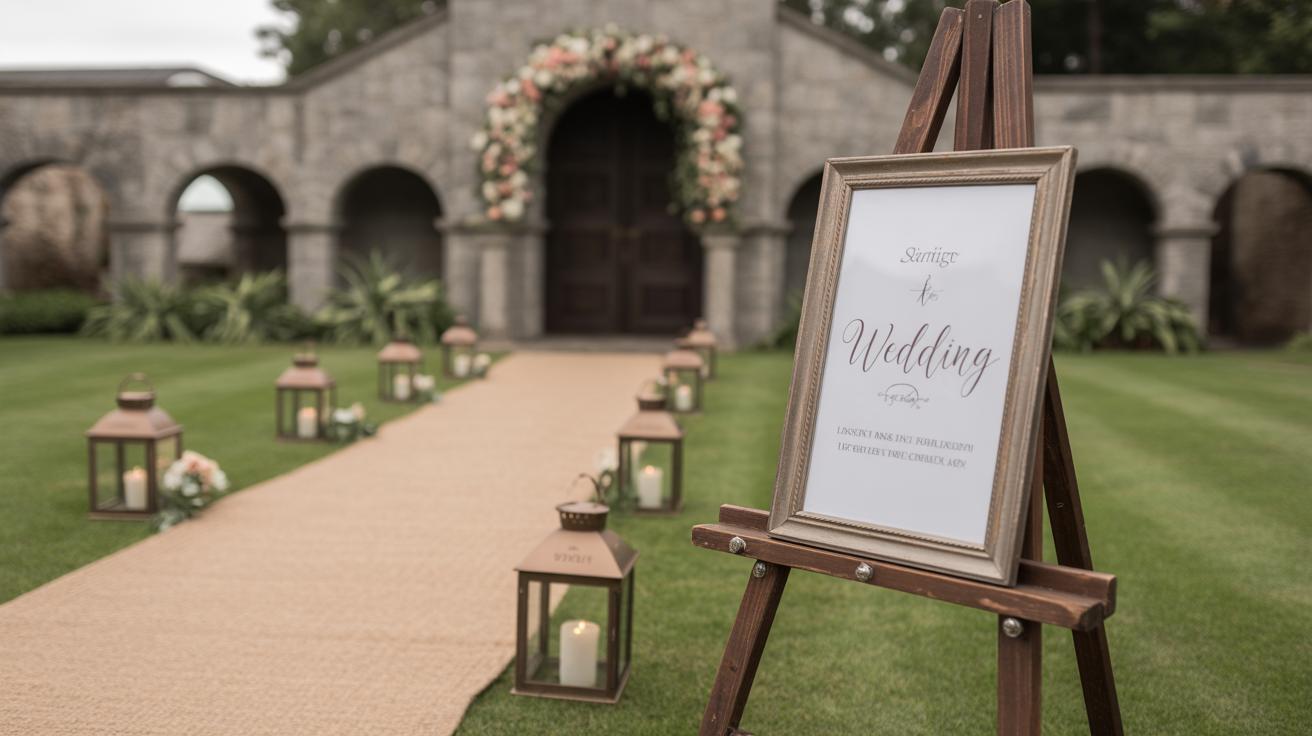
Wedding signage guides guests through your big day. It helps set the mood. Creative wedding signage ideas fit any theme you pick. Signs can show directions, welcome guests, or share special messages. They add a personal touch to your event.
This article shares ideas to help you pick the right signs. You will learn about different styles and materials. This will make your wedding feel special and organized. We cover tips for easy-to-make signs. Plus, ways to match signs to your theme. With these ideas, your wedding signage will shine.
Choosing Materials For Wedding Signs
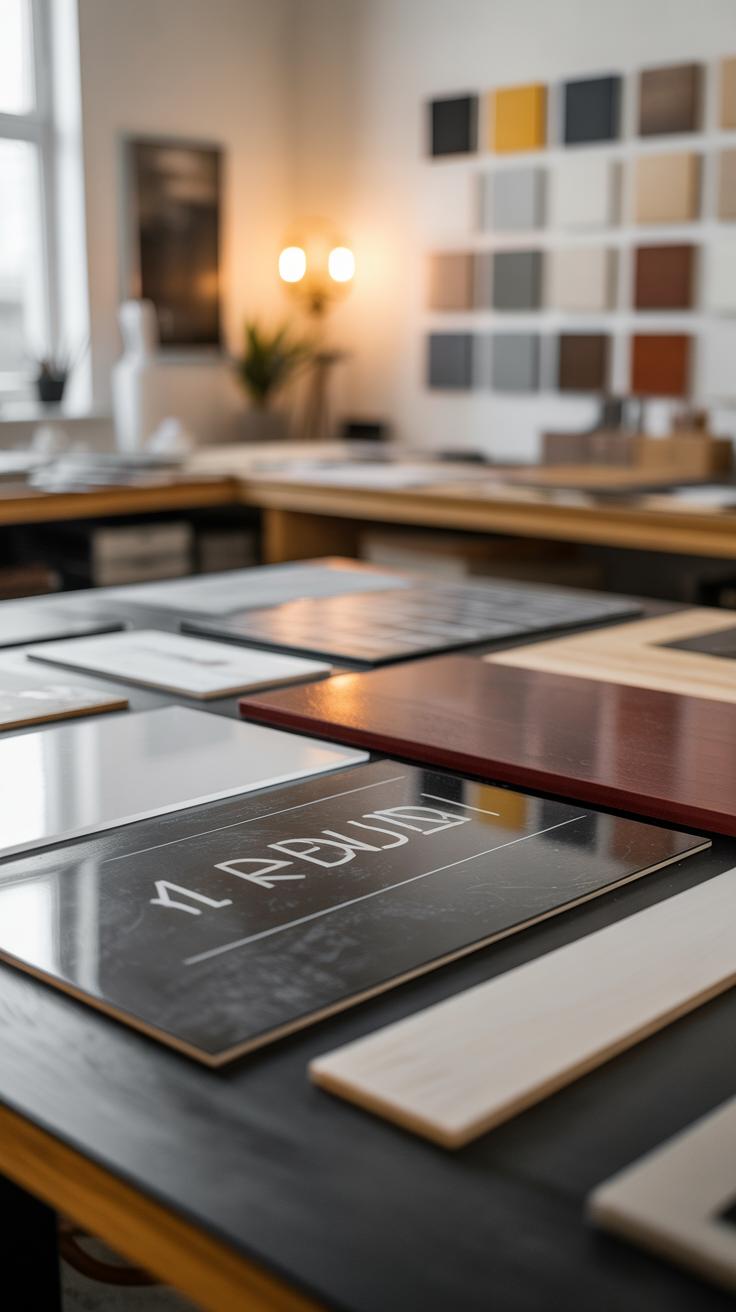
When it comes to wedding signs, the materials you pick shape not just the look but also how the signs hold up during your event. Different materials work better depending on where you plan to use them—indoors or outdoors—and what vibe you want to create.
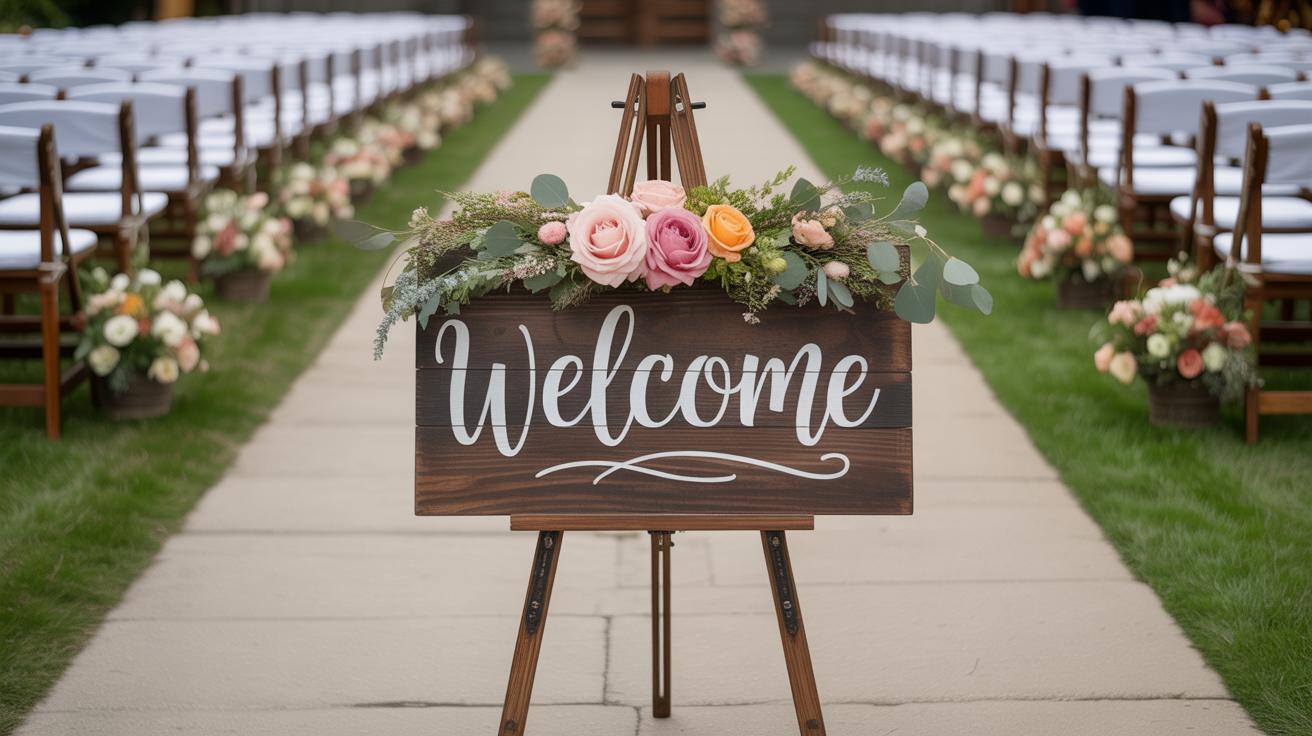
Wood gives a natural, warm feel. Painted or engraved wood signs fit well with rustic or vintage themes, and they’re sturdy enough for outdoor use. You might see wooden welcome boards or directional arrows in garden weddings, for example. But wood can be heavy and not as easy to move around.
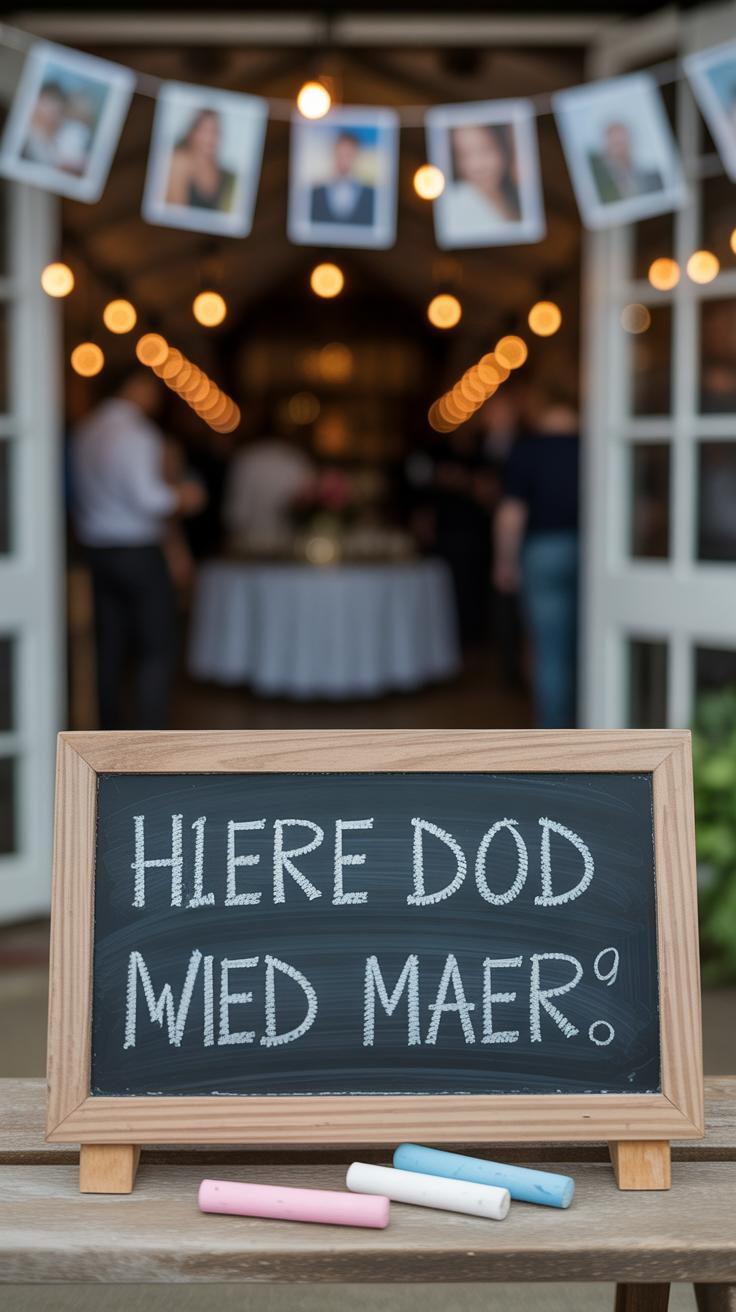
Chalkboards offer that casual, handmade touch. They let you change messages quickly, which is handy if plans shift. Plus, the look can range from playful to elegant, depending on the handwriting or fonts you choose. Chalkboards work best indoors or in covered outdoor spaces, since rain can ruin them.
Acrylic signs bring a sleek, modern vibe. Clear or frosted acrylic can catch light nicely, making the text pop. They’re lightweight and weather-resistant, so suitable for many settings. You might see acrylic table numbers arranged in a minimalist setup or clear ceremony signs.
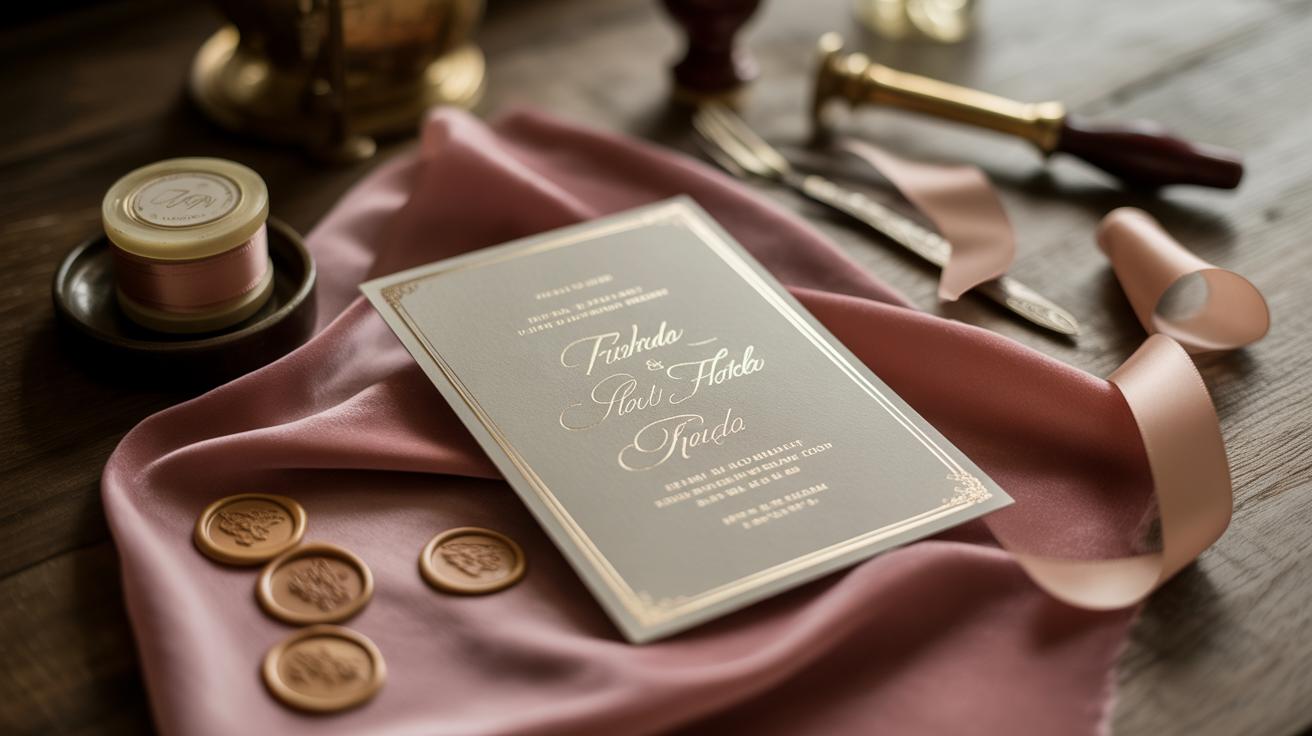
Paper signs might seem fragile, but when framed or laminated, they’re surprisingly versatile. Printed paper can showcase intricate designs or fine details, aligning closely with more formal or artistic weddings. They’re usually better indoors, though, since wind or moisture can cause trouble.
Choosing the right material involves thinking about durability, aesthetics, and how much handling signs will get. Sometimes mixing materials can add interest—like a wooden sign with acrylic lettering or chalkboard framed in wood. Overall, the material helps your signs look like part of your wedding’s personality and mood.
Durable Materials For Outdoor Weddings
When your wedding is outdoors, choosing the right material for your signs matters a lot. Wood and acrylic often stand up better to wind, sun, and even a light rain than something like paper. Wood has this natural strength and charm, but it can warp if left in damp conditions for too long. Acrylic feels sleek and modern, and it resists moisture pretty well, making it a solid pick if you expect unpredictable weather.
To protect your wooden signs, consider sealing them with a waterproof finish or spray. I’ve seen signs that look great even after a few hours in light rain—usually because they were sealed well in advance. For acrylic, avoid direct scratching and use cleaning wipes specifically made for plastics; this keeps the surface clear without damage. Also, when placing signs outdoors, try to position them where they won’t be constantly exposed to harsh sunlight or strong winds that might knock them over. Sometimes, small details like using heavier stakes or anchoring the base can make all the difference.
Stylish Indoor Signage Choices

For indoor weddings, materials like chalkboards or high-quality paper work beautifully. Chalkboards add a relaxed yet creative vibe—plus, you can easily update or customize messages last minute. Paper signs, especially when printed on textured or heavyweight stock, bring a touch of elegance and can match your stationery perfectly. I recall a good friend’s wedding where they used gold-foil lettering on thick paper for table numbers, which really boosted the room’s sophistication.
Chalkboards pair well with rustic or vintage themes but can also look surprisingly chic in modern spaces, depending on the frame and handwriting style. Paper signs, on the other hand, let you experiment with patterns, colors, and fonts more freely, so they’re great for coordinating with colors or unique décor inside halls and tents. Just remember indoor lighting can affect how readable your signs are, so test them in the actual space before the big day. Not all lighting works for every material.
Choosing the right sign material is a small decision with far-reaching effects. Think about not just how it looks, but where and how long it will be displayed. The best material fits both your setting and your style—sometimes that means mixing a couple of options, too.
Signage Ideas For Different Wedding Themes
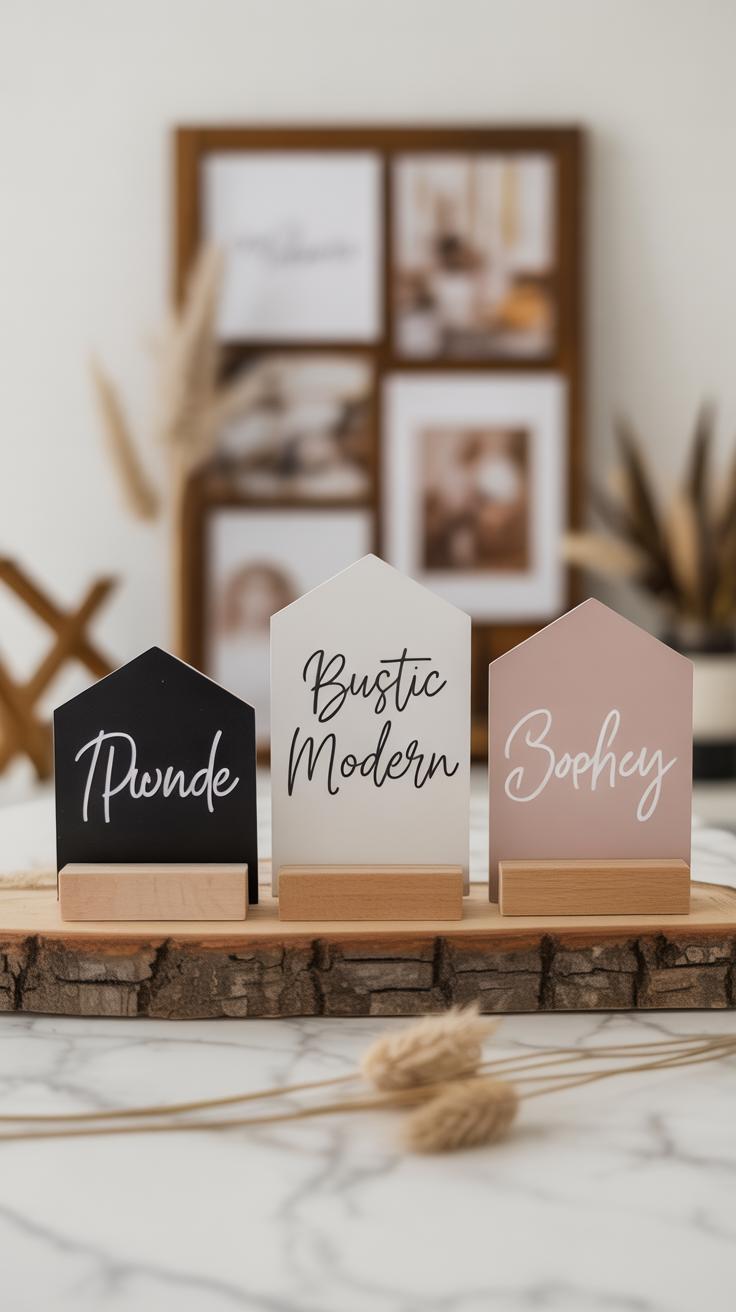
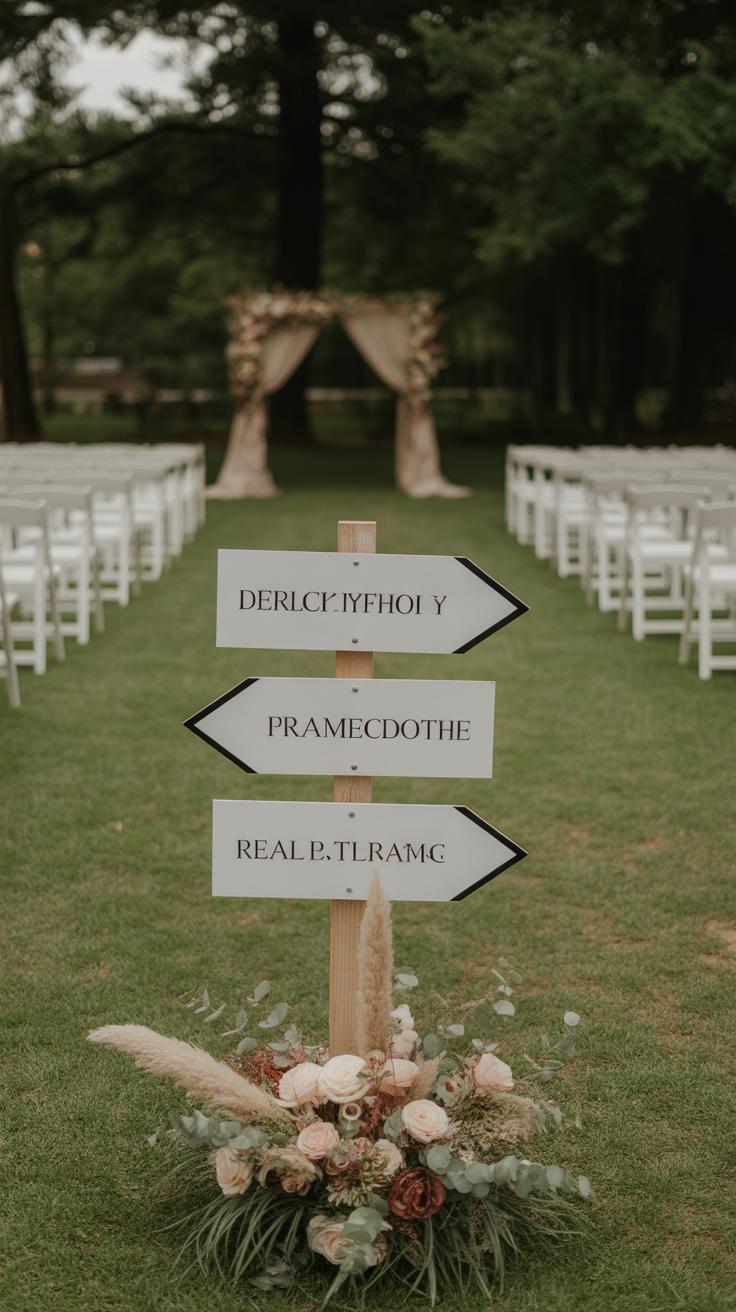
Matching your wedding signage to your theme can really pull the whole look together. For rustic or vintage weddings, think wood as your base — weathered planks or chalkboards framed with rough wood work well. Using handwritten fonts or calligraphy adds a personal, warm touch. Colors tend to stick to neutrals or muted tones, like cream, sage, or faded blue. Things like “Welcome” signs, seating charts, or even directional arrows can be painted or written in this style, blending naturally with outdoor barns or garden settings.
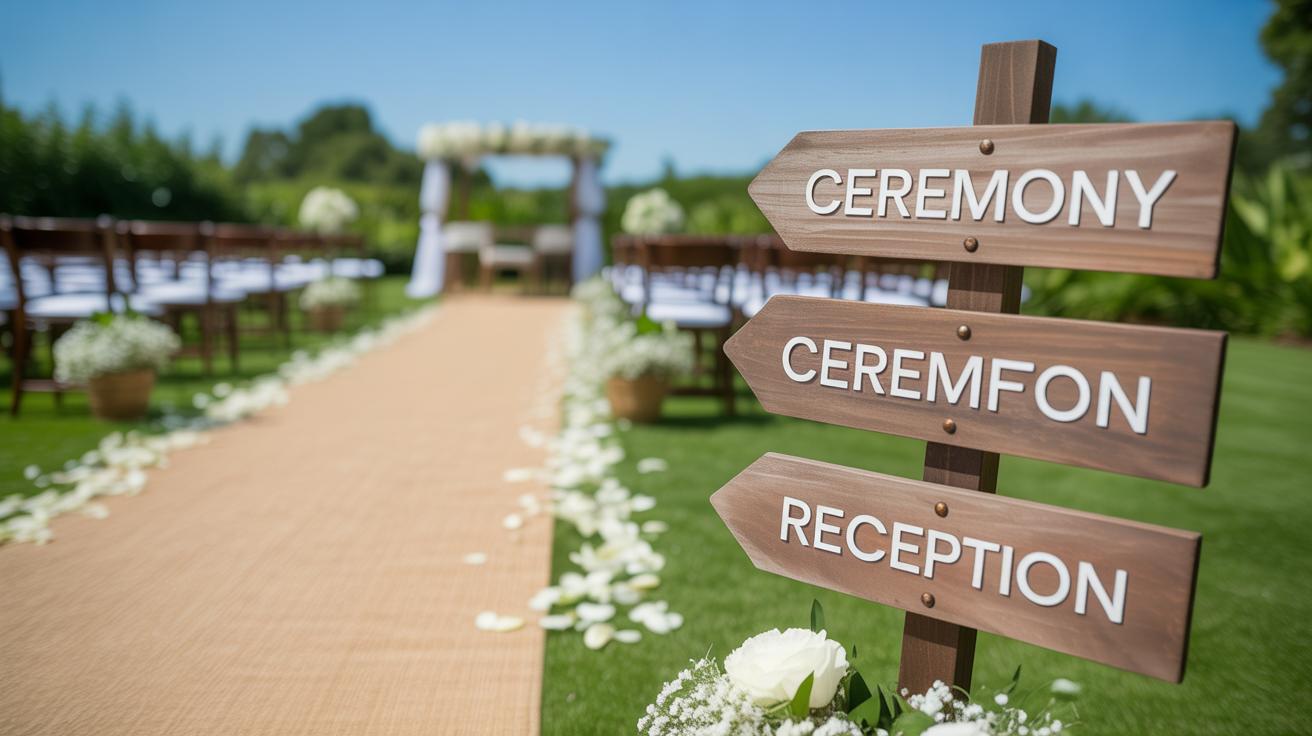
Modern and minimalist weddings call for a completely different vibe. You want your signs sleek and simple, with clean lines and not much text. Acrylic or metal bases with black or white print look sharp. Sometimes just a single word—“Ceremony,” “Drinks,” or the couple’s initials—makes a statement. For fonts, stick to sans serif or geometric types. Less really is more here, and the signage almost fades into the background, letting the other details stand out.
Crafting DIY Wedding Signs

Basic Supplies For DIY Signs
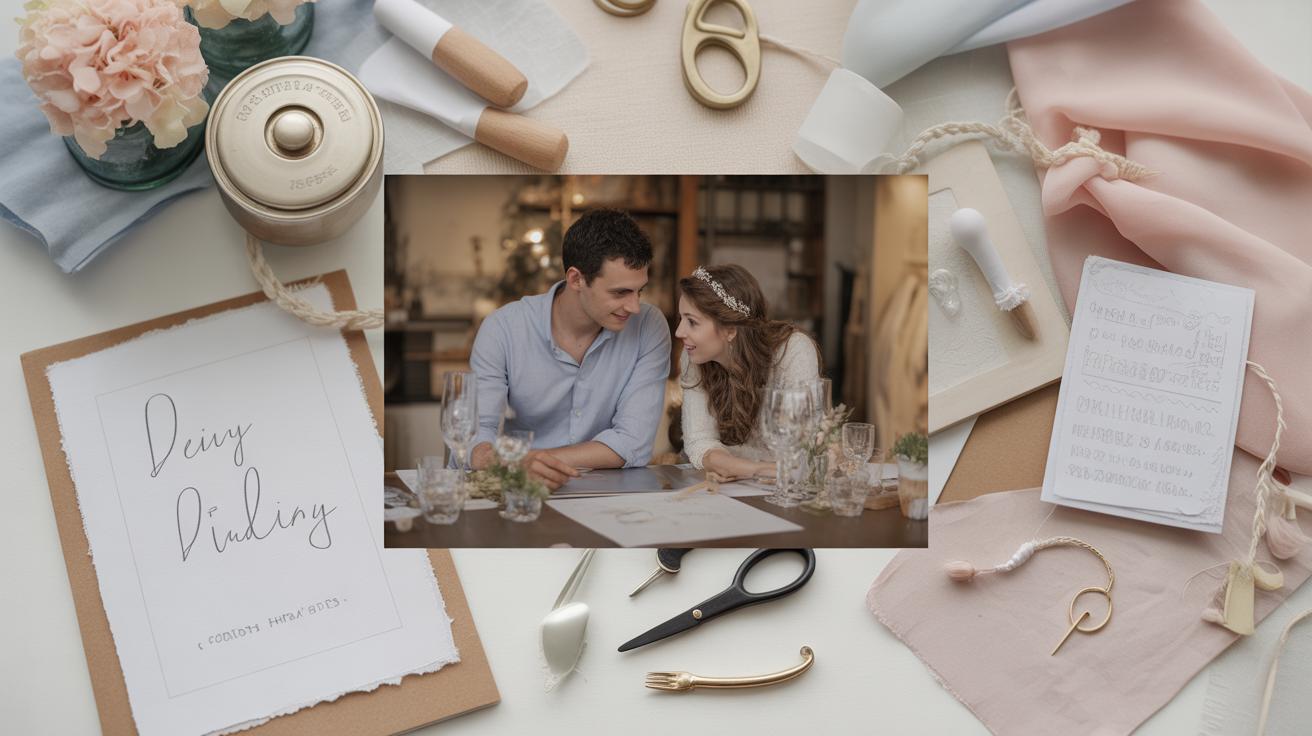
If you’re thinking about making your own wedding signs, start simple. You don’t need a fancy setup, just a few basic materials that won’t break the bank. Grab some wooden boards or thick poster boards—these make the best bases. Paint sticks, acrylic paints in various colors, and a handful of brushes come next. Round and flat brushes work well for different lettering styles.
Don’t forget stencils if you want crisp letters without struggling, and keep some painter’s tape handy to mark your design edges. Sandpaper helps smooth rough wood, and a pencil is great for sketching your message first. Preparing your boards means cleaning any dust off, maybe a light sanding if the surface feels rough. A primer or white paint base helps colors pop, though you might skip this if going rustic or distressed.
Simple Steps To Create Your Signs
Start by planning your message. Sketch it lightly on your board with a pencil—that way, you have a guide. Use stencils if your handwriting isn’t the strongest, or try freehand if you feel adventurous. Painting inside the pencil lines, try not to overload your brush; too much paint can smudge and look messy.
Let each color dry before adding another to avoid blurry edges. If mistakes happen, sand lightly or paint over with a background color once dry. A coat of clear varnish seals your sign and adds durability. Keep your letters big and clean, because guests usually glance at signs quickly while walking by. If a sign feels too cramped, simplify the message or enlarge your lettering. This isn’t about perfection—sometimes worn edges or slightly uneven letters add charm. But legibility is key, so take your time with each stroke.
Incorporating Personal Messages Into Signs

Adding personal messages to your wedding signs gives them a memorable, warm touch. Guests notice when signs go beyond simple directions or labels—they start to feel a part of your story. You can try different types of messages like favorite quotes that reflect your relationship, welcoming notes that invite everyone to relax and celebrate, or fun facts about how you met or your shared interests. I once saw a sign that revealed the couple’s first date story right by the guestbook, and people lingered there longer than expected, chatting and smiling.
Choosing The Right Message
Picking a message that suits the mood is tricky but rewarding. Is your wedding casual or formal? Lighthearted or romantic? Your words should match that vibe. Short and clear is usually best—guests don’t want to read a novel midway through the ceremony. Think quick snippets that make them smile or feel welcomed, something guests will remember without effort. You could even pick a line from a song or a playful instruction—something that feels relevant yet simple enough to digest at a glance.
Placing Messages Effectively On Signs
How you arrange your text makes a big difference. Font size has to be big enough to read from a distance but not overwhelming. Leave enough space between lines—cramped text can feel confusing or uninviting. Color contrast matters too: dark letters on a light background or vice versa, so the words pop. When I’ve worked on signs, I noticed guests tend to stop where the message looks balanced and clean, not crowded. Don’t overfill the space, but don’t leave too much empty either. It’s a subtle balance that helps your messages shine.
Using Lighting To Highlight Wedding Signs
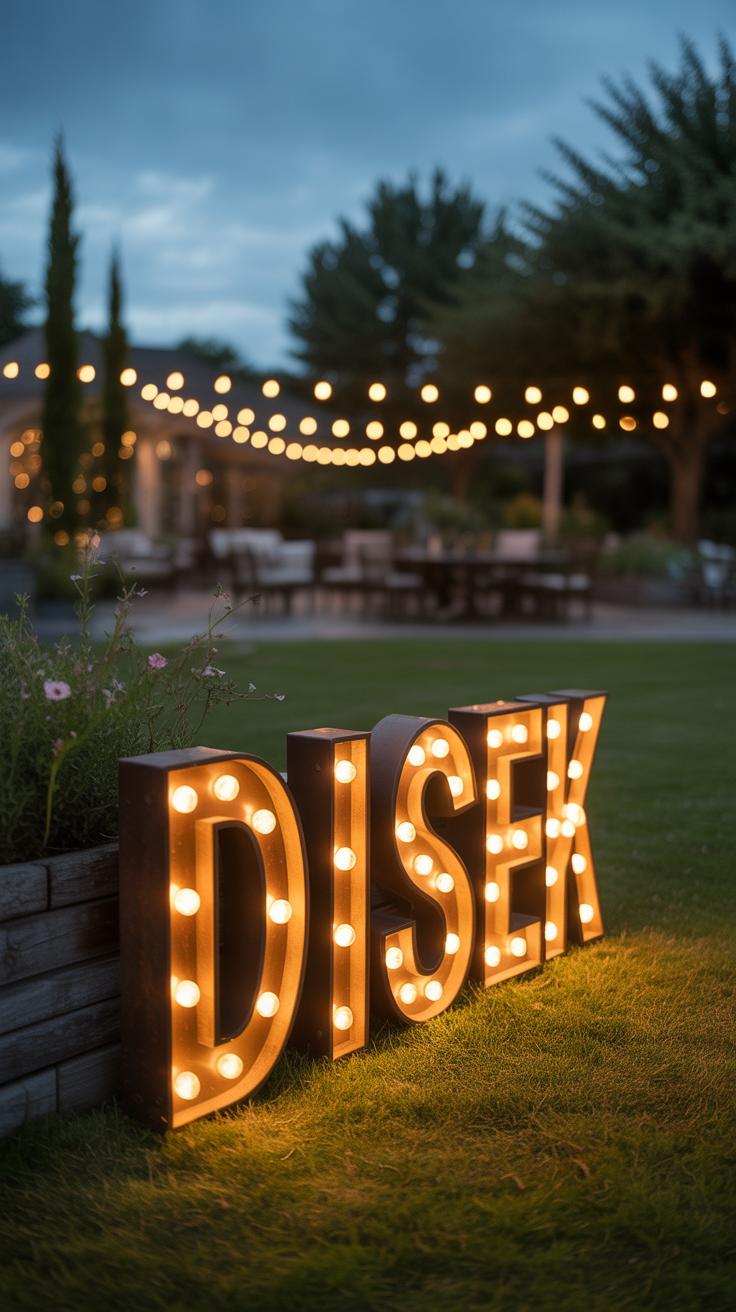
Lighting can make or break how your wedding signs catch the eye. When done right, it turns simple words into something almost magical. Fairy lights are a popular choice. They add a gentle glow that feels intimate and warm, perfect for rustic or garden-themed weddings. They can be draped around a frame, twined through foliage, or even wrapped directly on the sign.
Spotlights offer a sharper focus, especially on bold signs. Point one or two at your welcome sign or seating chart to make sure nothing is missed. But be mindful—too harsh a light can create glare, so test beforehand. Candles bring a softer flicker, which can highlight elegant calligraphy, but you’ll need to keep safety in mind.
Lighting Ideas For Outdoor Signs
Lighting outdoors is tricky but rewarding. You want something that works well at night without any hazard. Solar lights are a clever pick because they charge during the day and come alive at night, no wiring fuss. Place them along pathways or near sign bases to gently brighten things up.
Weather-protected bulbs are another choice, designed to resist rain or wind. They let you keep consistent, reliable lighting anywhere. String lights with waterproof casing can frame signs nicely and survive most weather. But think about power sources and securing cables invisible and safe from tripping.
Indoor Lighting Ideas For Signs
Inside, lighting feels more controllable, yet you still want your signs to pop. Warm light bulbs do wonders to create an inviting atmosphere. Position lamps or small spotlights to highlight your signs without washing out the text.
Placement is key. Hanging signs near light fixtures or placing them where natural light hits during the day can boost visibility. Sometimes indirect light works better than direct—it softens shadows and keeps things readable. Remember, too much light can feel stiff, so balance is everything.
Placing Wedding Signs Where They Matter Most
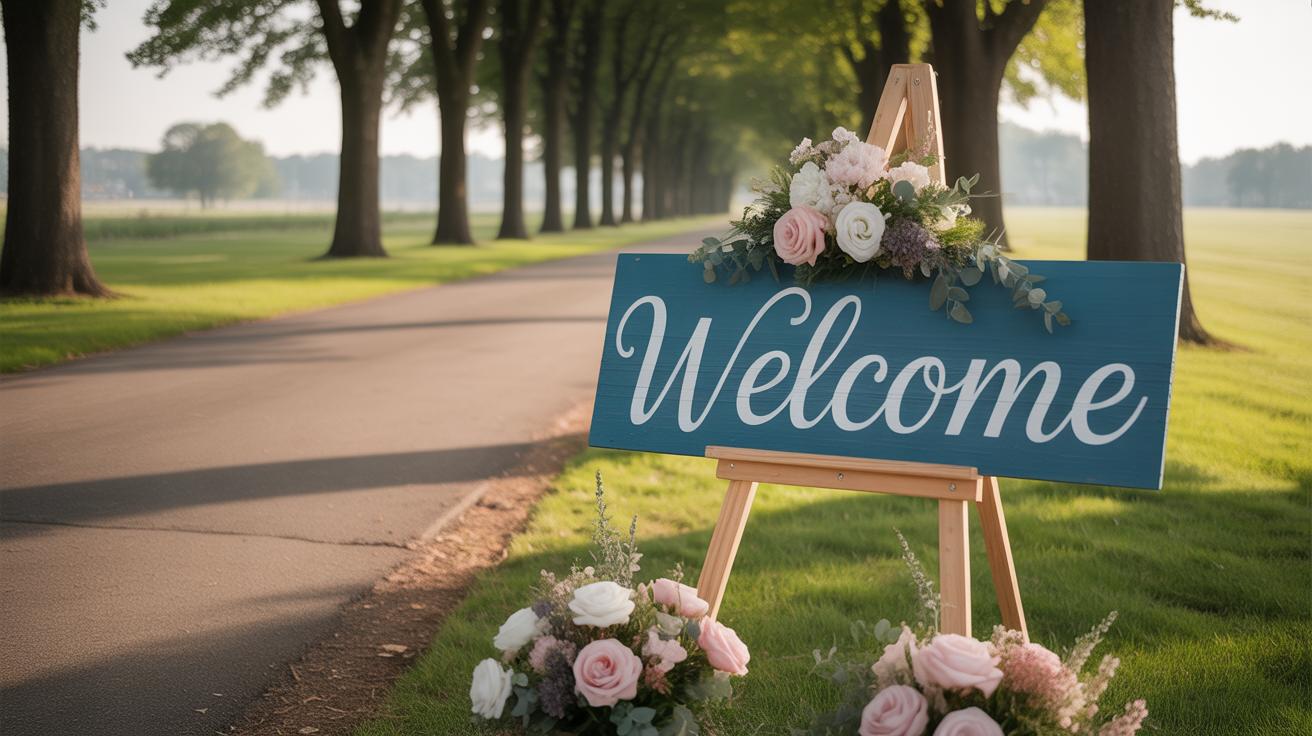
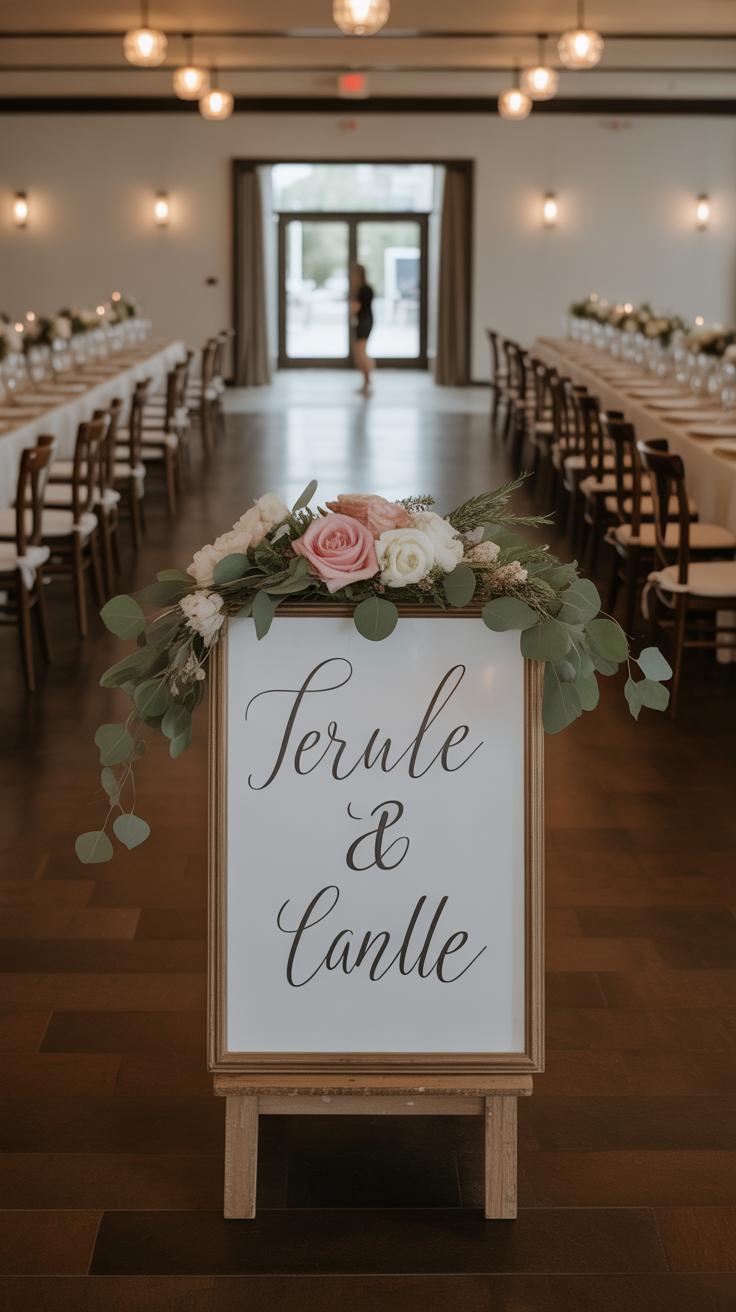
Where you put your wedding signs can make or break your guests’ experience. Signs should be placed where they naturally catch attention but don’t overwhelm. Think of entrance signs first—they set the tone before anyone even steps inside. A bold welcome sign or a custom board can invite guests warmly, so place it right at the venue’s entrance or parking area. This way, people know they’re in the right spot and feel included immediately.
Next comes directional signage. Your guests will appreciate clear arrows or pointers leading to restrooms, cocktail hour spaces, or different reception zones. These signs should be visible from a distance and ideally positioned at any confusing junctions or pathways. I remember attending a wedding where no one could find the dance floor—signs there could’ve saved a lot of wandering.
Seating charts belong somewhere accessible and space-friendly, usually near the entrance of the reception hall. The last thing you want is guests guessing their table numbers or crowding a narrow hallway. If your layout is complicated, consider more than one chart or smaller signs for sections. This helps people find their seats swiftly without unnecessary hassle.
Key areas such as the bar, gift table, or photo booth benefit from their own signs too. They not only inform but can add personality—like a cheeky “Cheers Here” by the bar or a playful note at the photo booth. Naturally, these signs should be at eye-level or angled conveniently so guests don’t miss them while socializing.
In the ceremony and reception spaces, signs can do more than just communicate—they enhance the ambiance. At the ceremony, you might place signs that quietly instruct on when to rise or remind guests to turn off phones. Near the reception, creative menu boards or fun hashtags on signs encourage interaction. Decorations blending with signage make these pieces feel part of the décor, not just functional.
Where do you think your guests get most confused? Placing signs there, clearly and thoughtfully, can make all the difference.
Incorporating Technology Into Wedding Signs
Technology can add a fresh twist to your wedding signage, making it more interactive and useful. You might think of signs just as pretty boards, but digital and tech elements actually offer practical perks that could surprise you.
Using QR Codes On Wedding Signs
QR codes are a quiet game-changer. Placing them on signs lets you share a lot without cluttering the design. Guests can scan and instantly see the timeline, menu, gift registry, or even a map of the venue.
Why does this matter? Well, digital info updates can happen last minute without reprinting signs. Plus, QR codes free up space, keeping signs clean and readable.
Some quick tips if you want to try this:
- Make sure the codes are big enough and placed where phones can easily scan them.
- Test them to avoid frustration—broken links or slow sites can annoy guests.
- Pair QR codes with a brief instruction like “Scan for details” so older or less tech-savvy guests aren’t confused.
It’s subtle but effective—kind of like sneaking tech into tradition. I guess it’s ideal if you care about both style and substance.
Digital Displays And Screens
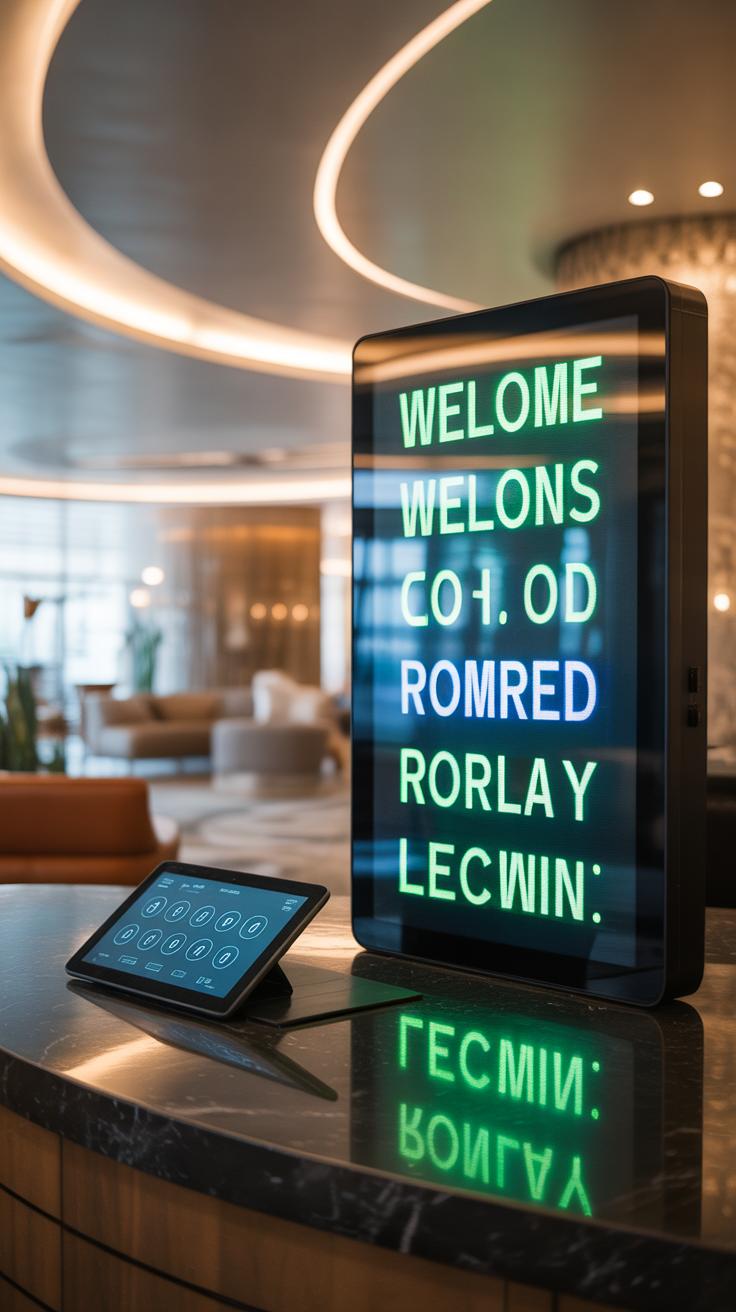
Digital screens can replace static signs with something more dynamic. Imagine a screen showing a welcome message, then switching to the seating chart or a highlight reel of your story. It’s attention-grabbing and versatile.
This approach tends to suit weddings with a modern or high-tech vibe more than rustic or vintage ones. But then again, mixing a touchscreen stand in a traditional setting might just spark some interesting conversations.
Here are some practical uses:
- Display schedules that update in real time in case of delays.
- Run looping videos or slideshows of memories to personalize the atmosphere.
- Use interactive screens for guests to leave messages or RSVPs on the spot.
Keep in mind, tech requires power sources and someone to manage it during the event. It’s more setup, but it can pay off with wow-factor and convenience.
Would you trust a screen over a good old wooden sign? It’s a balance, but for those drawn to gadgets, it’s worth exploring.
BudgetFriendly Wedding Signage Tips

Saving money on wedding signs doesn’t mean you have to sacrifice style. You might be surprised how far a little creativity and resourcefulness can go. For example, using recycled materials is not just eco-friendly but also borders on personal. Old wooden pallets, leftover paint, or even scraps of fabric can be transformed into charming, unique signs with just a bit of effort.
Think about borrowing signs from friends or family who recently had events. Sometimes, these are tucked away gathering dust and could get a fresh lease on life at your wedding. Or, if you enjoy DIY projects, making your own signs can add character. Even if you’re not a natural artist, simple chalkboards or printed templates on inexpensive paper can look great when framed or mounted thoughtfully.
Reusing And Repurposing Materials
Old picture frames become signage canvases after a quick paint job. Scrap wood waits for some sanding and staining before displaying your welcome message. Vintage windows, shutters, or mirrors, cleaned and polished, provide a distinctive backdrop for directions or seating charts.
To freshen up these items, try light sanding to smooth rough edges, then apply a coat of chalk paint or spray paint in your chosen color. Attaching vinyl lettering or hand-painting messages over these surfaces can look surprisingly modern despite the rustic base. Sometimes uneven textures add character rather than detracting from the final look.
Finding Affordable Signage Options
You don’t need to break the bank by searching only top-end stores. Craft stores offer a wide range of affordable materials like chalkboards, corkboards, and blank canvases. Online marketplaces such as Etsy or eBay often feature pre-made signs at reasonable prices, or supplies you can personalize yourself.
Local thrift shops and flea markets are goldmines too. You might stumble upon wooden crates, frames, or plaques at fractions of their original cost. Bulk buying vinyl letters or stencils online can keep costs down if you plan on making multiple signs. It’s a bit of a hunt but worth it if you want to stretch your budget while adding a personal touch.
Have you ever noticed how a sign with a little imperfection stands out more than a flawless, expensive one? Sometimes, these budget-friendly approaches bring more personality to your wedding than something store-bought and mass-produced.
Tips For Coordinating Wedding Signs With Other Decor
Color Matching And Style Harmony
When choosing your wedding signs, matching colors to your overall palette can make a big difference. It’s tempting to pick whatever looks good on its own, but signs that reflect your chosen colors help tie everything together. Think of your signs’ lettering and backgrounds as part of the same color story as your flowers or linens. If you have soft pastels in your bouquet, a bold neon sign might feel out of place—even if it says something meaningful.
Fonts matter just as much as colors. Using the same font style throughout your invitations, menus, and signage provides a sense of consistency. It needn’t be overly formal, but switching wildly between script and block letters can feel jarring. Also, materials count: wood, acrylic, or chalkboards each bring a certain vibe. Mixing too many can clutter the aesthetic, so try to use similar textures or finishes. I once saw a rustic wedding where the signs were glossy plastic—it just didn’t click with the rough wood tables and wildflowers.
Making Signs Part Of Your Overall Theme
Signs shouldn’t feel like an afterthought. Try to look at your wedding’s decor as a whole and find ways for the signs to ‘live’ within that space. For example, at a garden wedding, placing signs near flower arrangements or weaving greenery around their frames can let them blend in naturally. For a modern theme, minimalist designs with clean lines fit better than ornate calligraphy on distressed wood.
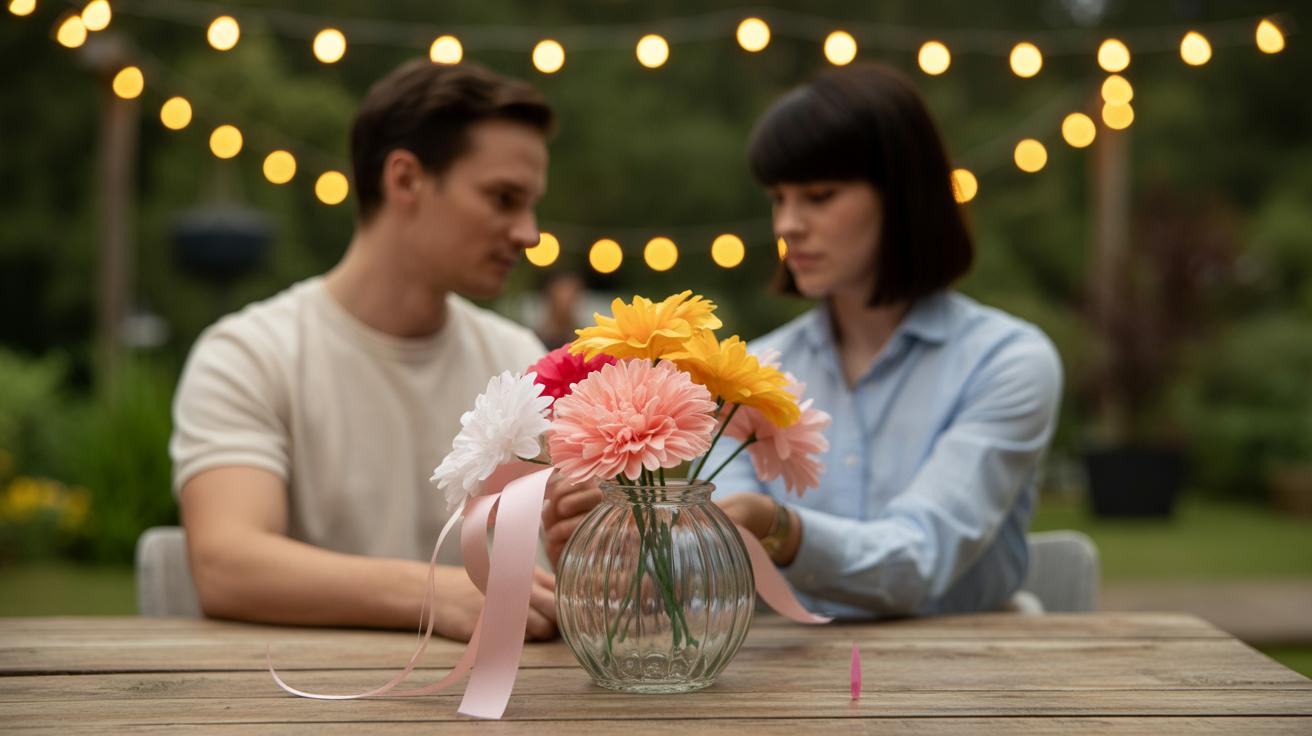
Ask yourself: Does this sign complement the vibe I want to create? Use placement strategically—like hanging a welcome sign on a door that already has floral wreaths or positioning a menu board next to centerpiece candles. Sometimes, subtle touches like tying ribbon from the bouquets onto the signposts can unify the look. It might sound small, but these details build a polished, thoughtful setting. I guess, at least for me, it makes the event feel more intentional rather than random bits thrown together.
Conclusions
Wedding signage adds charm and function to your celebration. Choose signs that match your style and guide guests well. Use simple words and clear fonts for easy reading. Pick materials that fit your wedding spot and weather. Add personal touches to make signs unique to you.
With creative signs, your wedding theme comes alive. Signs help guests enjoy and follow your day. Keep ideas flowing and mix styles smartly. Your wedding signage can truly speak for you. Use these ideas to create a beautiful, welcoming event everyone will remember.