Introduction
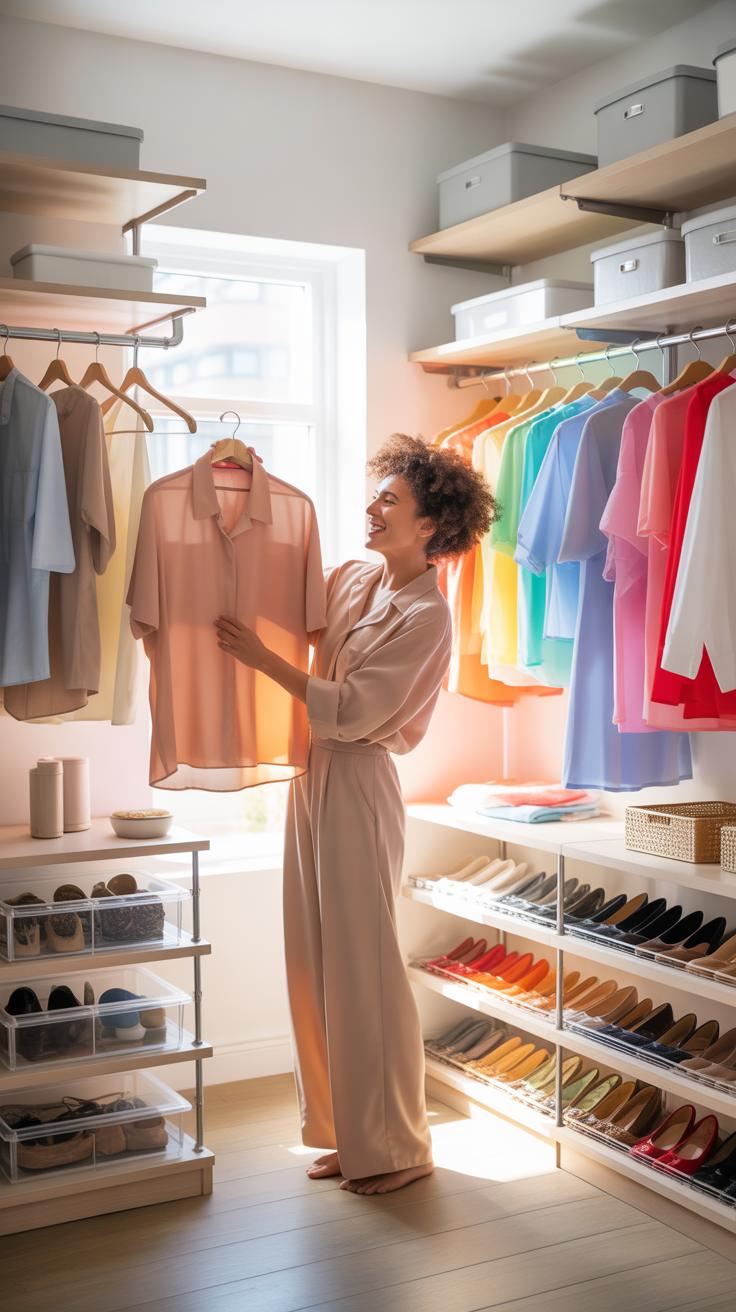
You want to keep your small closet neat and ready for event planning supplies. Small Closet Organization Tips For Efficient Event Planning Spaces help you save time and space. Proper organization makes your event prep smooth and fast. It lets you find what you need without stress.
This article guides you through easy ways to organize your small closet. You will learn storage ideas, maintenance tips, and how to set up a system that works for event planning. These steps help you create a place where everything fits and looks tidy.
Identify Your Closet Needs
Before you start organizing, get a clear picture of what exactly fills your small event planning closet. Take a moment to pull everything out—or if that feels like a big task, at least peek inside and jot down what’s there. You might find items you forgot about, or things that don’t really belong. It helps to make a list and then group supplies by how you use them, not just what they are.
Try breaking your list into categories like decoration materials, paperwork, tools, and cleaning supplies. This way, you won’t rummage through unrelated clutter when you’re prepping for a last-minute event. Think about how often you use each item. For instance, wrapping paper and tape might be daily go-tos, while specialty centerpieces might be stored for rare occasions. This distinction aids in deciding where each thing should live within the closet.
What Items Are Essential For Event Planning?
Running an event means juggling many small but crucial supplies. Most closets will benefit from keeping basics like scissors, tape, staplers, markers, and notepads on hand. Party decor such as balloons, banners, and tablecloths often take up more space but you want them accessible. Don’t forget chargers or extension cords; they’re not glamorous but often lifesavers.
Event planning also relies heavily on organizational tools — think labeled bins for ribbons, zip bags for small items like pins or clips, and clipboards for checklists. I’ve noticed that those cheap plastic drawers work well, too, especially if your closet is narrow. It’s better to pick items that you use repeatedly rather than crowding the space with “just in case” things that linger indefinitely.
How To Sort Items By Use And Size
Sorting your closet can feel overwhelming, but a simple system works better than trying to reinvent the wheel. Start by separating frequently used items from those you only grab occasionally. For example, tape dispensers and scissors get front-row spots. Bulky items like folding chairs or larger decor pieces deserve a corner or bottom shelf where they won’t block access.
Fragile items need gentle handling—they should be stored in sturdy boxes or on shelves with some padding. Odd shapes and sizes can be tricky; it might help to use clear containers so you find things faster. Think about what you pull out the most in a bustling event setup. Those things deserve quick, easy reach.
Maximize Vertical Space
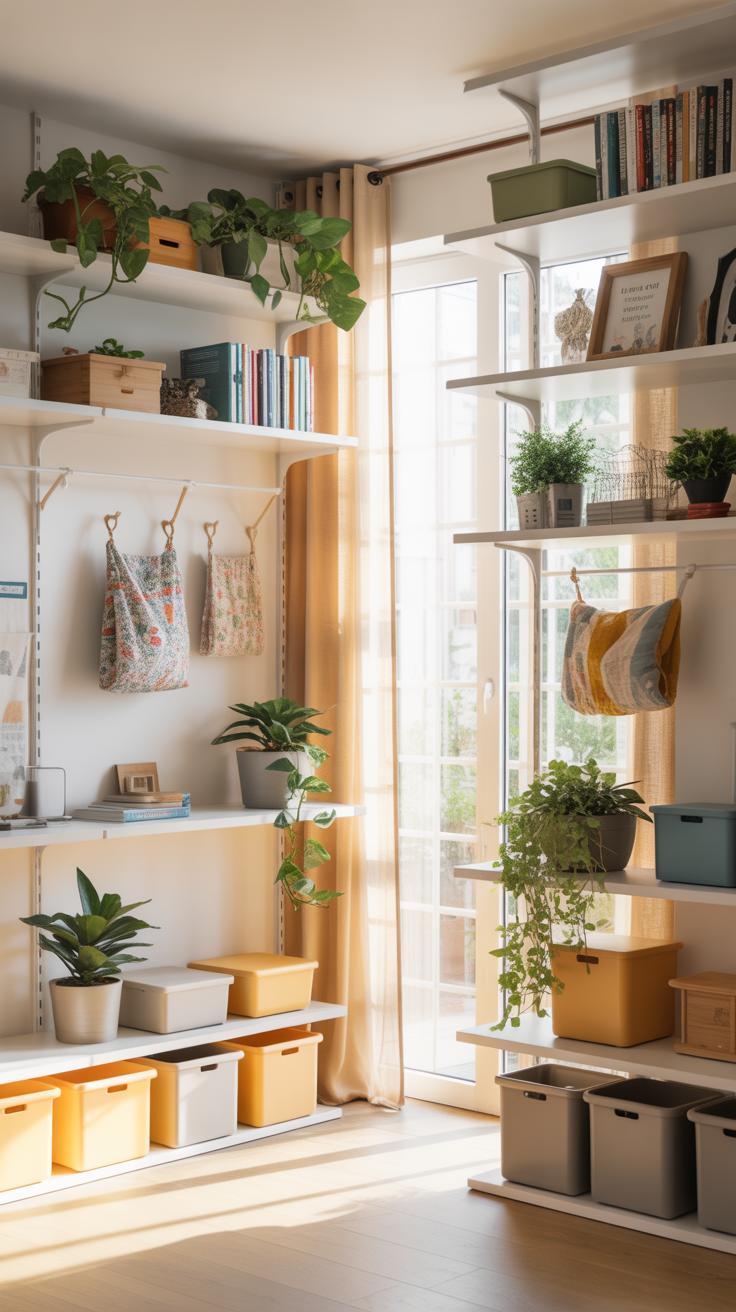
Using the walls inside your small closet can change the way you see that space. Instead of thinking just about the floor or a single shelf, look up. Vertical shelving lets you stack items and keep things visible without cramming stuff into piles. You might start by measuring the height of your closet walls—because, oddly enough, the best shelves aren’t always the tallest but the ones that fit just right. It’s kind of like clothes: the right fit matters.
Wire shelves work well if you want airflow and avoid dust buildup. They’re also lighter and easier to adjust in height if you’re not committed to a permanent setup. Wood shelves, on the other hand, feel sturdier. They hold heavier items like boxes of supplies or event decorations without bending or sagging. Tube shelving, with its metal poles and glass or plastic boards, looks sleek and can open up the space by reflecting light. But it may not handle heavy gear as well as wood.
Don’t forget hooks and rods. They transform blank wall patches into storage real estate. Add hooks behind the door or on empty wall spaces to hang accessories, bags, or even tools. Rods let you hang items vertically—think of rolling up banners or hanging cords. This frees up the floor and shelves, making each inch count. Sometimes, just a few well-placed hooks can make your closet feel twice as big.
Use Clear Storage Containers
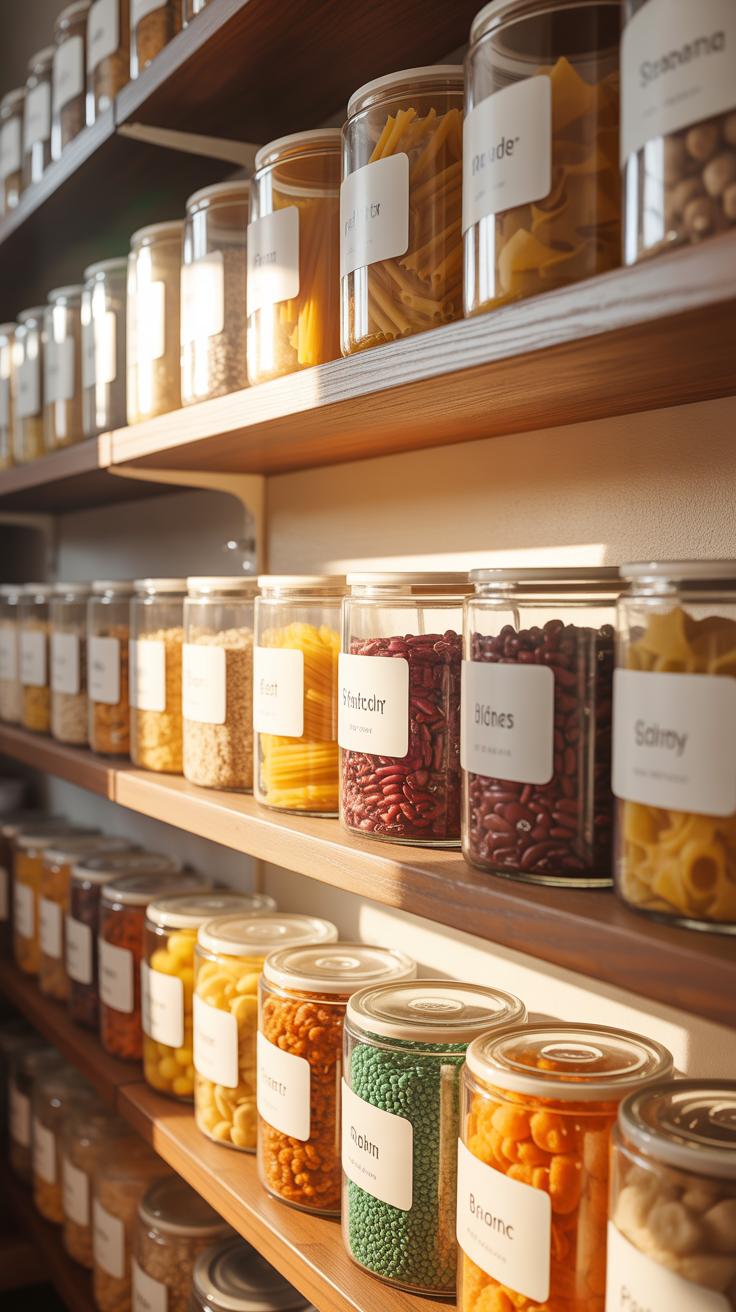
When you’re juggling all those event supplies, it’s tempting to just toss everything into any container lying around. But clear storage containers change the game—you can see what’s inside without digging through stuff. That quick visibility saves time, especially when you’re rushing to find tablecloth clips or extra candles before guests arrive.
There’s something oddly satisfying about spotting the items you need instantly. Of course, it doesn’t mean you won’t sometimes reach in blindly, but the chances drop considerably. Clear containers give you a decent overview at a glance, which is exactly what small closets crave: less rummaging, less chaos.
Types Of Containers To Use
Not all containers are created equal, though. Here are some practical options:
- Plastic bins with snap lids – stackable and sturdy, perfect for heavier items like tools or pots.
- Drawer units – ideal for smaller supplies such as ribbons, cards, or pens. They keep things separated but accessible.
- Boxes with handles or built-in compartments – useful for dividing things like party favors or napkins.
Plastic wins over cardboard for durability and moisture resistance. You want containers that can survive multiple openings without fast wear or collapsing.
Labeling For Easy Identification
Labels aren’t just stickers; they’re your little helpers when chaos creeps back. Using clear, simple labels—maybe printed or neat handwriting—can speed up finding what you need. Try to keep the wording straightforward: “Tablecloths,” “Candles,” “Balloons.” You don’t want to squint or guess what’s in the box.
Some people rely on color-coded labels, but sometimes that adds complexity or confusion if the color system isn’t obvious. I find clear text usually does the trick. Plus, labeling each container’s outside and maybe even its lid helps when you pull a box from a deep shelf. Still, sometimes when you’re in a hurry, even labels get overlooked—but at least they’re there when you need them.
Create Zones For Activities

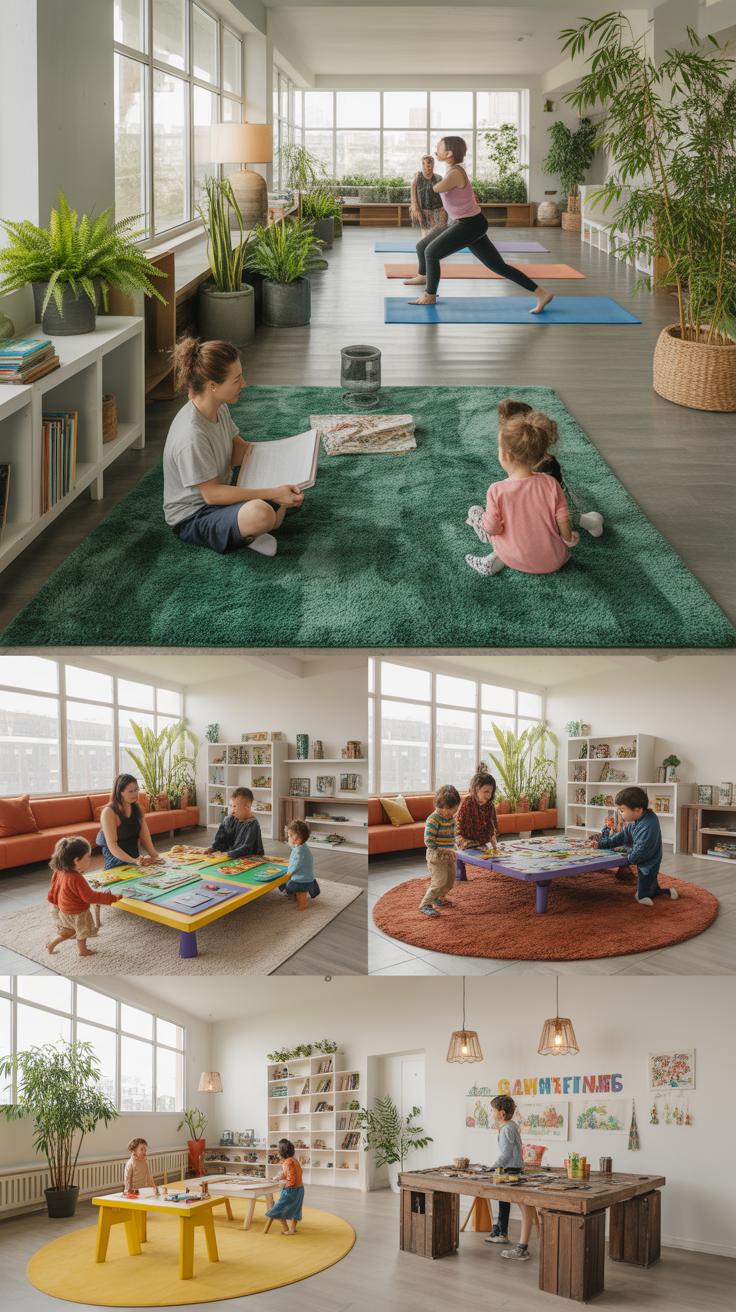
When you’re working with a small closet for event planning, the key is to break it down into clearly defined zones instead of just a random jumble of supplies. It might feel a bit tricky at first—there’s barely any space—but carving out areas for specific tasks actually makes your life easier. You can almost instantly find what you need without rummaging around, which is a huge time-saver when the clock’s ticking.
Start by imagining your closet as a tiny workshop. You want a place for wrapping gifts, another for storing decorations, maybe even a spot for tools if you’re into craft-heavy events. Each zone should have its own system: shelves, bins, hooks—whatever fits best.
Setting Up A Wrapping Station Zone
Think about your wrapping station like a mini gift-wrapping shop inside the closet. Dedicate a shelf or a narrow section where you can keep wrapping papers upright—rolling them instead of folding helps avoid creases and lets you see patterns at a glance. Stack your ribbons and tapes nearby, maybe in small containers or even clear mason jars if that’s what you have on hand. Scissors, cutters, and pens should be within arm’s reach—hang them on hooks or place them in a small cup. The goal here? Not losing time hunting for half-missing tape or scissors buried under piles. I’ve found that having these items designated in one spot feels oddly satisfying, like the closet sort of breathes easier.
Storing Decorations Separately
Decorations need their own care because they’re often delicate or bulky, not easily squished beside rolls of tape. A shelf or bin dedicated solely to decorations—broken down by type if possible—keeps things neat and reduces damage. Clear, stackable containers work well here so you can quickly spot what’s inside without tearing open everything. Soft items like fabric garlands or paper flowers deserve wrapping in tissue or bubble wrap placed carefully inside boxes to avoid crushing. You might even hang lightweight items like wreaths on a back wall or door inside the closet—don’t overlook vertical space. Separating decorations also helps you mentally prep for an event: when you open that zone, you’re stepping into the décor, not the chaos of leftover supplies.
Is your closet starting to feel more usable already? Breaking it down like this makes planning less of a headache. What zones could you add? Maybe a card station or tool area? It’s worth experimenting because the zones you create should reflect how you actually work, not just what you think should fit.
Maintain Regular Closet Checks
Keeping a small closet tidy can feel like a constant battle, especially when you’re deep in event planning and juggling many details. Setting up a simple routine to check and refresh your closet regularly helps keep clutter at bay without burning too much time.
Weekly Quick Tidy Process
Take just 10 minutes each week for a quick tidy. What should you do? Start by scanning for obvious messes—items out of place, random papers, or supplies left on the floor. Straighten hangers, refold event brochures, and swap out any expired goods—maybe forgotten labels or outdated menus. Sometimes, just adjusting the arrangement can make the space feel less cramped. It’s a quick reset that prevents small chaos from growing.
Monthly Deep Clean Checklist
Once a month, dig deeper. Spend about 30 minutes clearing out unused or outdated items. Here’s a checklist you might find handy:
- Remove everything from shelves and hooks.
- Check for anything expired or no longer needed, and toss or donate those items.
- Wipe down all surfaces—shelves, rods, and floor.
- Reassess storage—do certain supplies need better containers or labels?
- Replace or repair any broken hangers or boxes.
- Sort event materials by frequency of use to keep everyday items accessible.
This process feels a bit tedious, but skipping it usually leads to overwhelming clutter later on. By maintaining this habit, your small closet becomes more manageable. You get a clearer picture of what’s in there, which is crucial when you’re racing against deadlines. Does this sound like something you could fit into your schedule? It might just make your workdays a little simpler.
Compare Storage Systems Options

Choosing the right storage system for a small event planning closet can feel tricky. There are popular types that come up often, each with its quirks and perks. How do you decide which one fits your space and needs? Let’s break down some common options and see where they might work best.
Wire Shelving Versus Wood Shelving
Wire shelving is usually lighter and lets air circulate better, which can keep things from getting musty. You can see what’s stored at a glance, which is handy when you’re juggling last-minute event details. They are often adjustable, too, making them flexible for different sized items like linens or decor pieces. But sometimes, wire shelves feel less sturdy—heavier bins can sag or shift. Plus, smaller items might fall through the gaps unless you add liners.
Wood shelving looks nicer, often blending better with a professional setting or more polished storage areas. It can hold heavier stuff without bending and tends to feel more solid. Yet, it’s usually heavier and less easy to adjust once installed. And wood might absorb moisture or show scratches over time, which could be a hassle if your events involve outdoor gear or bulky equipment. So, you get a trade-off between aesthetic and adaptability versus lightweight and breathability.
Custom-Built Versus Ready-Made Units
Custom-built units can fit every inch of your closet, which is tempting if you’re fighting for every bit of space. They allow you to tailor shelves, drawers, and hooks exactly to your gear—perfect if your event supplies vary a lot in shape and size. Still, they usually cost more upfront and take time to design and install. If you need quick organization and can stay flexible, maybe off-the-shelf units will do the trick.
Ready-made systems are easier to set up and often less expensive. They come in standard sizes and shapes that might mean some wasted space, especially in awkward closets. Still, they’re great if your storage needs change frequently or if you prefer moving things around. I guess it depends on how much you want to invest in the closet itself versus your event stuff.
When does custom feel worth it? If your events require specialized equipment or lots of varied items and you want a neat, permanent setup, it could make sense. But for most small closets, ready-made systems offer enough flexibility and save hassle. What’s your priority—perfect fit or convenience?
Avoid Common Closet Mistakes
Overpacking The Closet
Overstuffing your small closet might seem like a way to keep everything handy, but it often backfires. When you cram too many items in, space disappears quickly. Clothes get wrinkled, boxes get shoved behind other things, and finding what you need turns into a frustrating scavenger hunt. I once tried to fit an entire season’s worth of supplies into a tiny closet—big mistake. It felt like the space was shrinking.
Prevent overpacking by setting limits. Ask yourself if an item truly belongs in your event planning closet or elsewhere. If you rarely use something, maybe store it outside the closet. Consider rotating seasonal gear or keeping overflow in labeled bins outside. Also, try smaller containers or adjustable shelving to better fit what you really need.
Ignoring Item Accessibility
Stuff stored deep or high up often gets forgotten. Items you don’t see become invisible, even if they’re crucial. This happens a lot with small closets—things piled too far back or stacked without clear order. I’ve found myself digging through layers just to find one tiny tool, and honestly, it wasn’t worth the hassle.
Make accessibility a priority. Keep frequently used items at eye level or front and center. Use hooks, clear bins, or pull-out drawers to reach things easily without a fight. Don’t hesitate to rethink your closet layout if you realize some things belong somewhere more visible. After all, a cluttered space might look full, but if you can’t reach what you need quickly, the clutter wins.
Plan For Seasonal Changes

Storing Off-Season Supplies
When your closet is tight, off-season items can quickly become a nuisance. Think about those bulky winter decorations or summer party gear you only pull out now and then. You might want to use stackable bins or vacuum-sealed bags to compact these items—this doesn’t take much space and keeps things tidy. Clear containers are helpful because you can spot what’s inside without digging through everything. If you find yourself opening the closet each time you need something from another season, maybe rethink your placement strategy. It’s easy to underestimate how much space those hats, lights, or extra linens actually take up until they’re all piled together.
Try labeling each bin clearly. You don’t have to be fancy, even simple handwritten notes on tape work well. This saves time and frustration when deadlines approach and you can’t remember where that spring wreath disappeared. Quiet corners in the closet or even under shelves can be good spots for off-season stock, keeping your active event supplies within easy reach.
Switching Zones Seasonally
Assigning zones in a small closet sounds nice, but what if those zones need to shift with the seasons? You might have a “summer party” area with bright linens and outdoor décor, then a “winter event” zone with warmer textures and holiday lights. Switching these zones every few months keeps your most-used supplies upfront without overcrowding.
One way to make this easier is to use removable bins or baskets that can move in and out quickly. Maybe your Halloween stuff stays on middle shelves from late September to November, then moves out for the sleigh bells and snowflake decorations to take its place. It’s a bit like seasonal reshuffling, but it makes finding what you really need faster than hunting through a cluttered mess.
Sometimes, though, you might hesitate to completely switch zones because some items get used in more than one season. That’s okay. In that case, leave a “multi-season” area somewhere easy to access. After all, not every event fits neatly into just one part of the year.
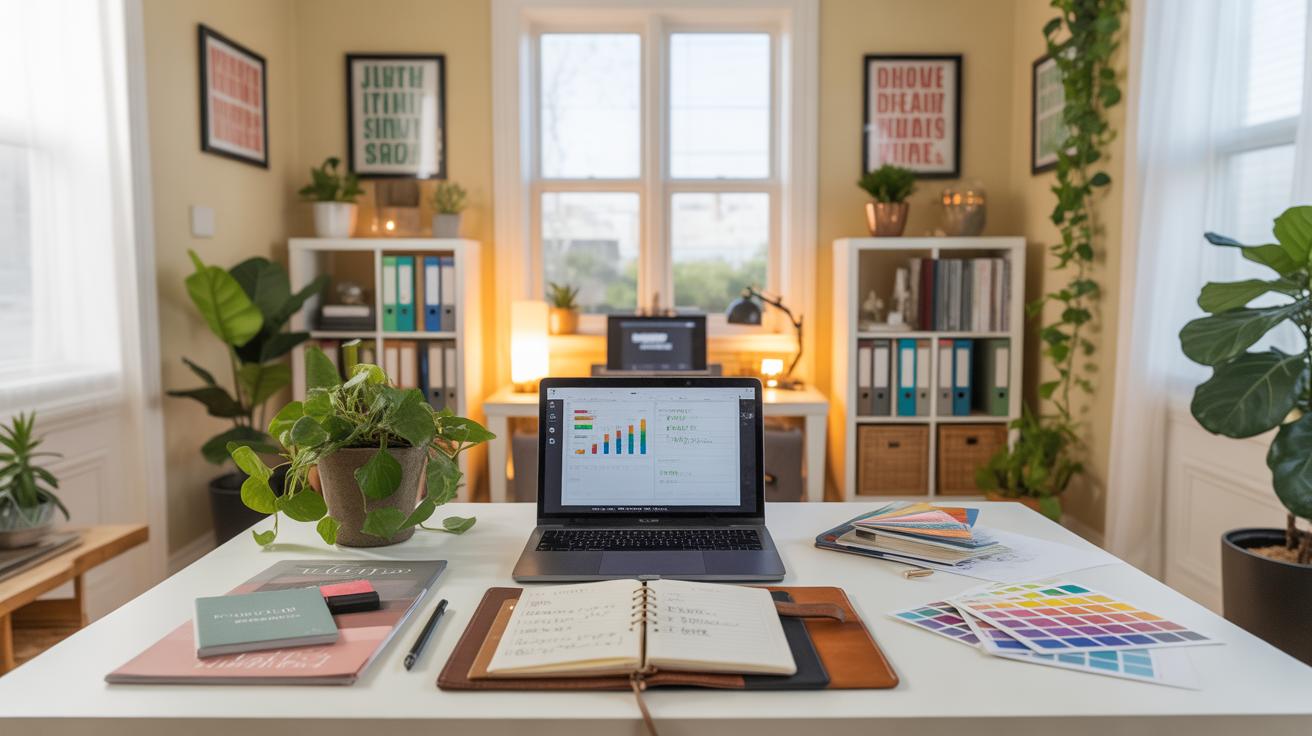
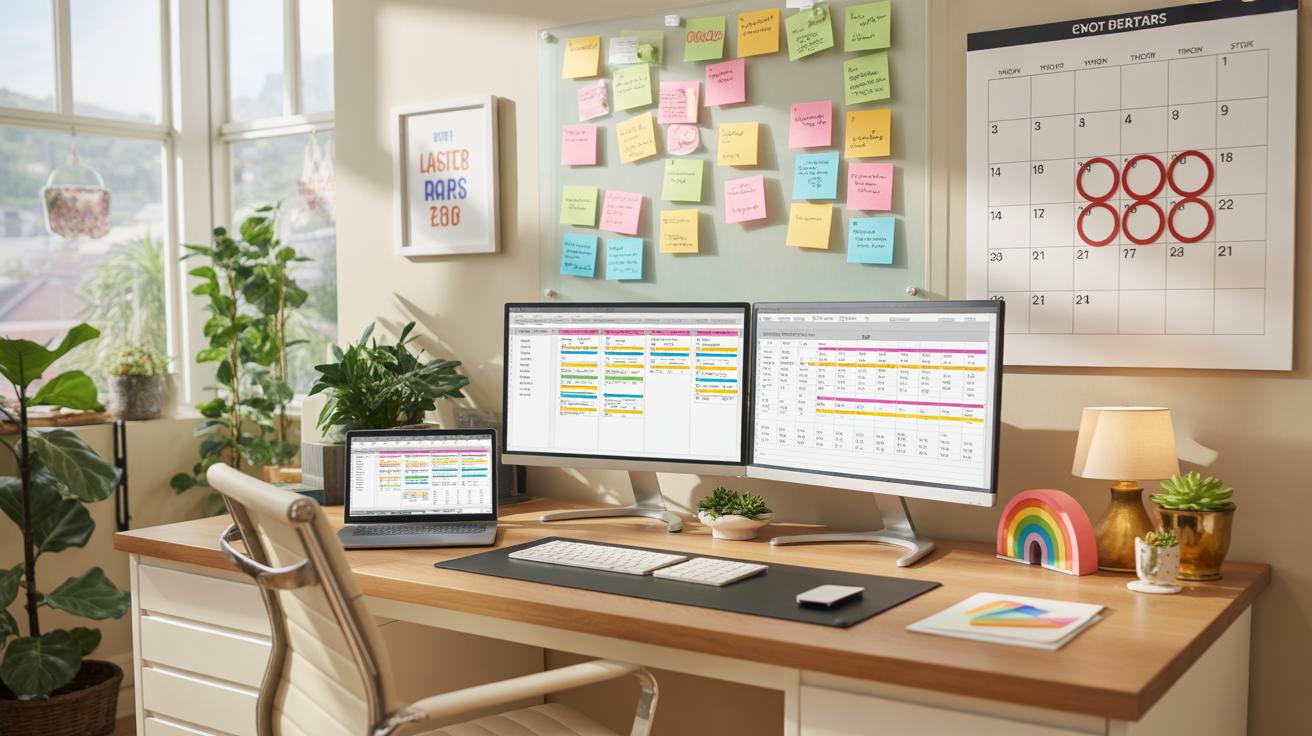
Track Inventory Regularly

Keeping track of event supplies in a small closet can feel overwhelming. But actually, it doesn’t have to be complicated. A simple, consistent method makes a big difference. One easy way is to create a basic checklist. Write down every item you store along with how many you have. Then, update it whenever supplies move in or out. You don’t need fancy systems to start—just pen and paper or a simple spreadsheet can work fine.
Using Inventory Checklists
Making a checklist is straightforward but also personal. Start by categorizing items—think decorations, tableware, or tools. Next to each category, note quantities. Every time you put something away or take something out, update the list. It may feel tedious at first, but after a few times, your mind will get used to it. Plus, you’ll catch when things run low before it becomes a problem.
Implementing Digital Tools
If you’re a bit more tech-oriented or handling larger amounts of supplies, apps might help. Tools like Sortly, Airtable, or even Google Sheets let you track items easily. They can alert you when stocks get low—or if something hasn’t been used in months. I find that scrolling through an app beats sifting through scribbled notes, but that’s just me. Still, digital tools can save you time and headaches once you’re set up. Try a few and see what suits your style best.
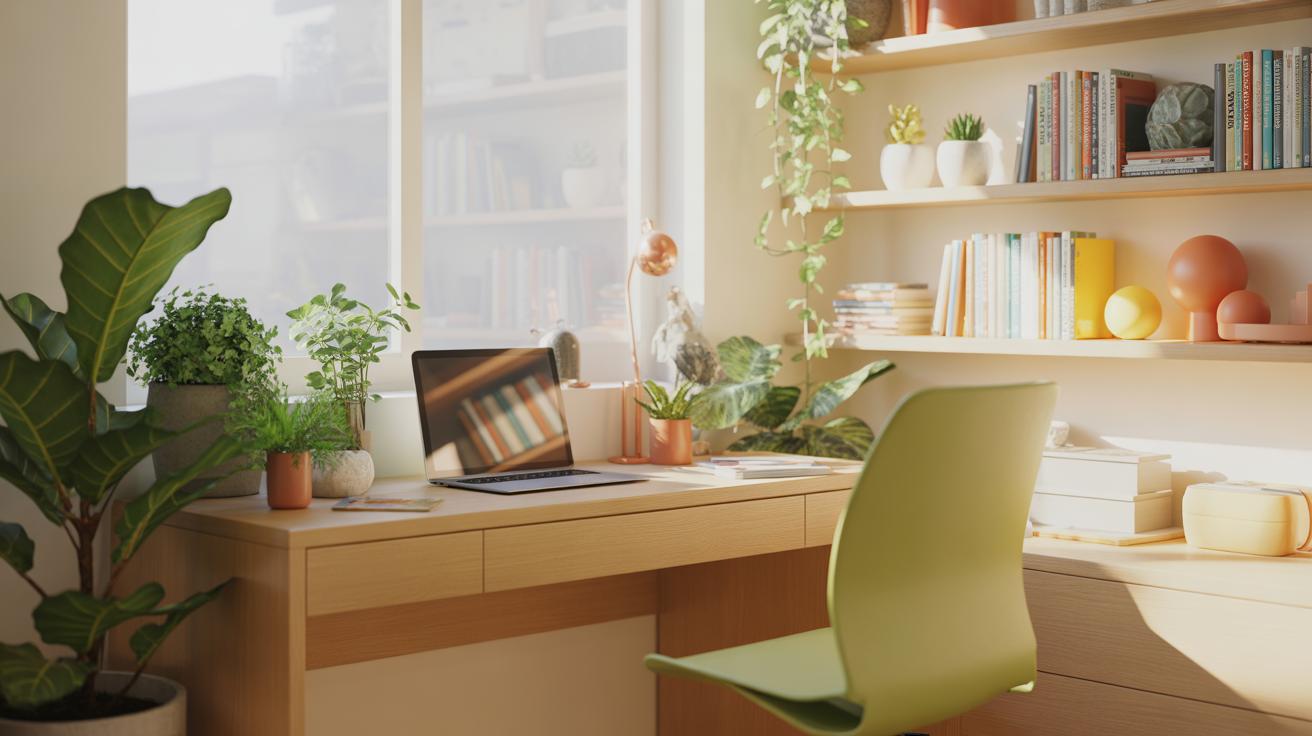
Example Small Closet Setup
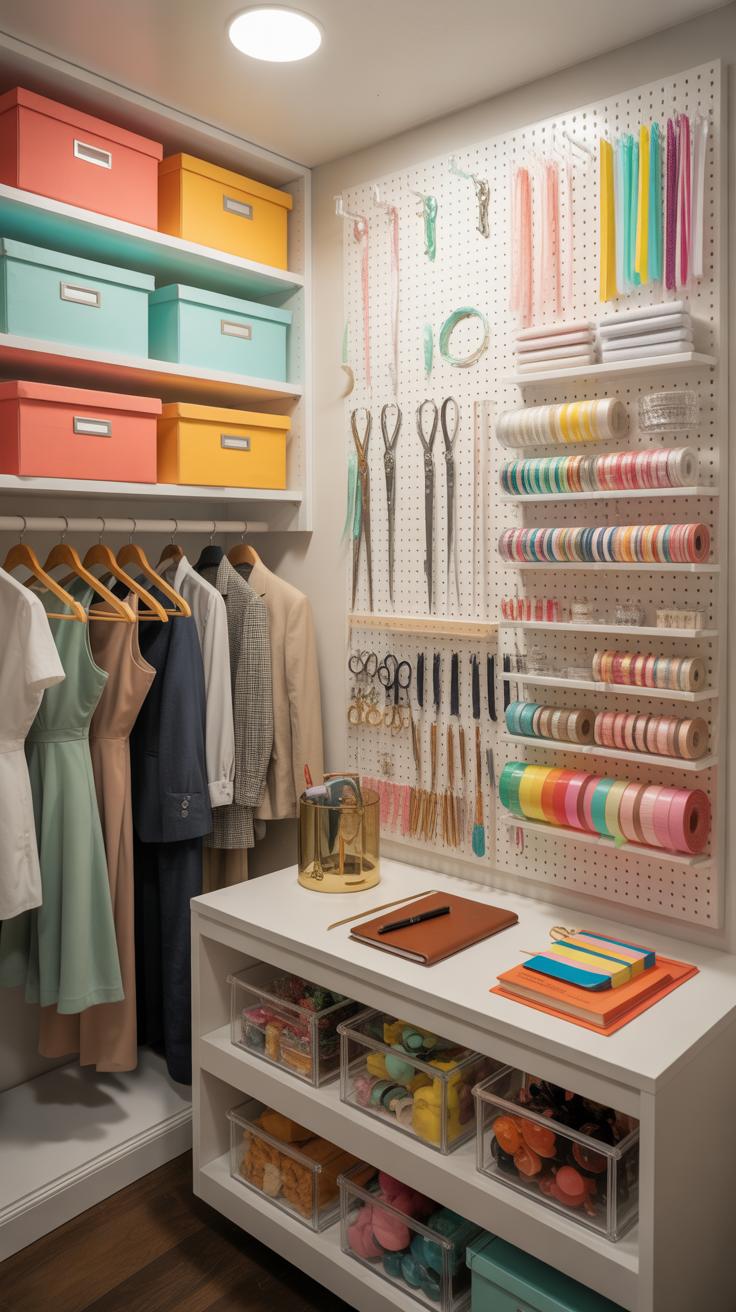
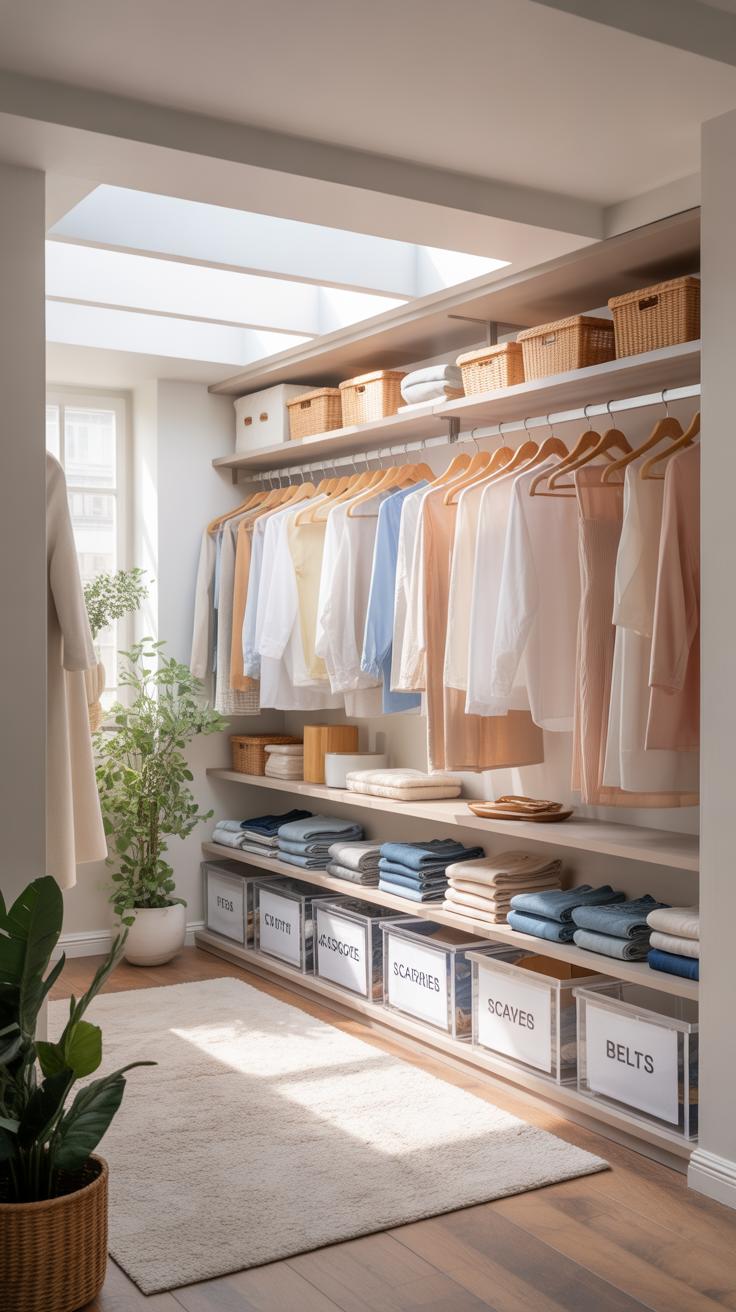
Imagine a closet no wider than three feet, yet packed with everything you might need to organize events. The back wall holds a slim, tall shelving unit with adjustable shelves. Here, you stack labeled bins containing ribbons, name tags, and small decor items. To the right, a narrow rod stretches across the width to hang event materials – banners, tablecloths, odd-shaped items that can’t be folded. Below that, a low shelf holds clear containers with tools like scissors, tape, and markers, all within quick reach.
The left side is dedicated to a pegboard, outfitted with hooks for hanging cables, clips, and rolls of tape. At the bottom, a small drawer unit fits snugly into that awkward corner space, storing extra batteries and backup chargers. A foldable step stool rests vertically behind the door, easy to grab when reaching higher shelves. This setup feels tight but surprisingly flexible. You might find yourself surprised how much ground you cover despite the lack of space.
Step By Step Closet Arrangement
First, pick apart your event supplies by category. Create three zones: materials, tools, and miscellany. Materials go on adjustable shelves at eye level since you’ll grab those often. Start by installing a narrow shelving system on the back wall. Use containers here, with clear labels—there’s no point keeping things out of sight if you can’t find them quickly.
Next, dedicate one side wall to hanging items. A sturdy rod or a pegboard works well. Pegboards let you adjust as needed—a perk when your event stash evolves. On the opposite side, fit a small drawer or stackable bins near the floor for smaller, easy-to-lose items. This mix keeps like things together but simplifies access.
Don’t forget the door: add hooks or a slim rack for lightweight yet frequent-use things like scissors or tape. Every inch counts, and that vertical space often goes unused.
Benefits Of The Setup
This setup cuts down the frantic “where did I put that?” moments. Knowing exactly where ribbons or batteries live saves untold time during busy event days. It also forces you to limit clutter—you can’t stuff every last thing if shelves and hooks have their limits. And, well, that constraint often sparks creativity in how you pack and sort.
Space seems to stretch when things have a clear home. You won’t waste energy moving piles or hunting for connectors. The pegboard keeps the frequently used tools front and center; no digging through bins means less stress. This arrangement nudges you toward preparedness without feeling overwhelmed by options. You might end up realizing that less chaos actually brings more calm. Or at least a bit of it.
Conclusions
Small closets can become a big help for event planning when organized well. Using smart storage, keeping order, and customizing shelves can save time and effort. Each tip builds on the last to give you a system suited to your needs.
Try the ideas to see what fits your space and style. Keep checking and adjusting to keep your closet ready for your next event. With clear steps, your small closet will work hard for you.