Introduction
Origami is the art of folding paper into various shapes. It began in Japan but is now enjoyed all over the world. This article explores amazing origami art ideas to impress your guests. Origami is not just fun, it can also add a special touch to your home or parties.
You will learn simple designs and creative ways to use origami. We break down the folding process into easy steps. Whether you are a beginner or want new ideas, this article will guide you. Let’s explore how you can create origami art that stands out and delights everyone.
Understanding Origami and Its History
What is Origami
Origami, quite simply, is the art of folding paper into different shapes. The word itself comes from two Japanese words: “ori,” meaning fold, and “kami,” meaning paper. That gives you the basic idea—no cutting, no glue, just folding a single sheet of paper. It’s like turning a flat square into something three-dimensional. You can create animals, flowers, geometric forms, and more, all through careful creasing and bending. I think what’s interesting is how something so simple—just folding—can lead to such a range of results. You don’t need fancy tools or materials, just your hands and a bit of patience.
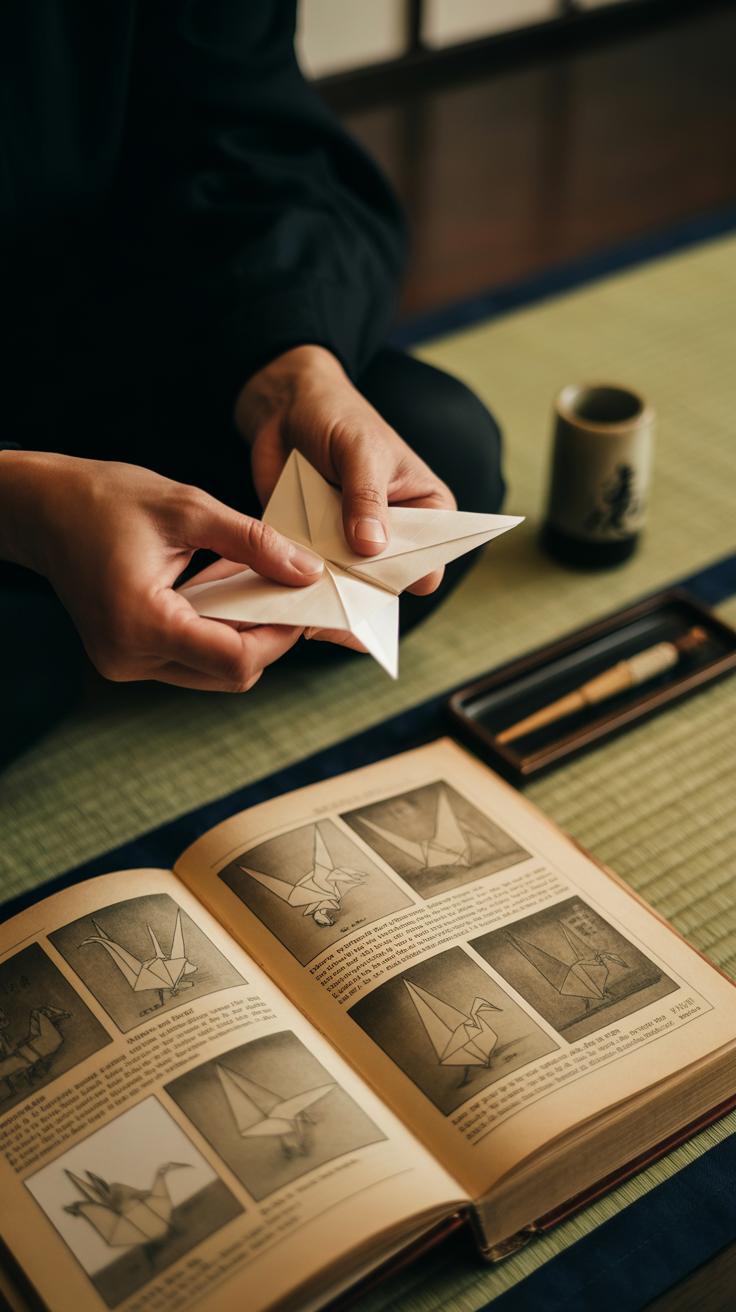
How Origami Began
Origami’s roots trace back to Japan, where people have been folding paper for over a thousand years. Originally, it was used for ceremonial purposes—folded paper shapes often accompanied gifts or sacred rituals. What’s a little surprising is how it wasn’t always this detailed art form; early origami was more about symbolic meaning than intricate designs. Over time, paper folding evolved beyond religious or formal settings, turning into a recreational hobby that spread beyond Japan’s borders. Today, it’s practiced worldwide, from classrooms to art galleries. So, origami has shifted from a niche tradition to a global pastime, though its core—folding paper without cutting or glue—remains unchanged. Does that simplicity make it feel more accessible, or oddly restrictive? Maybe both, depending on how you approach it.
The Basic Origami Folds You Need to Know
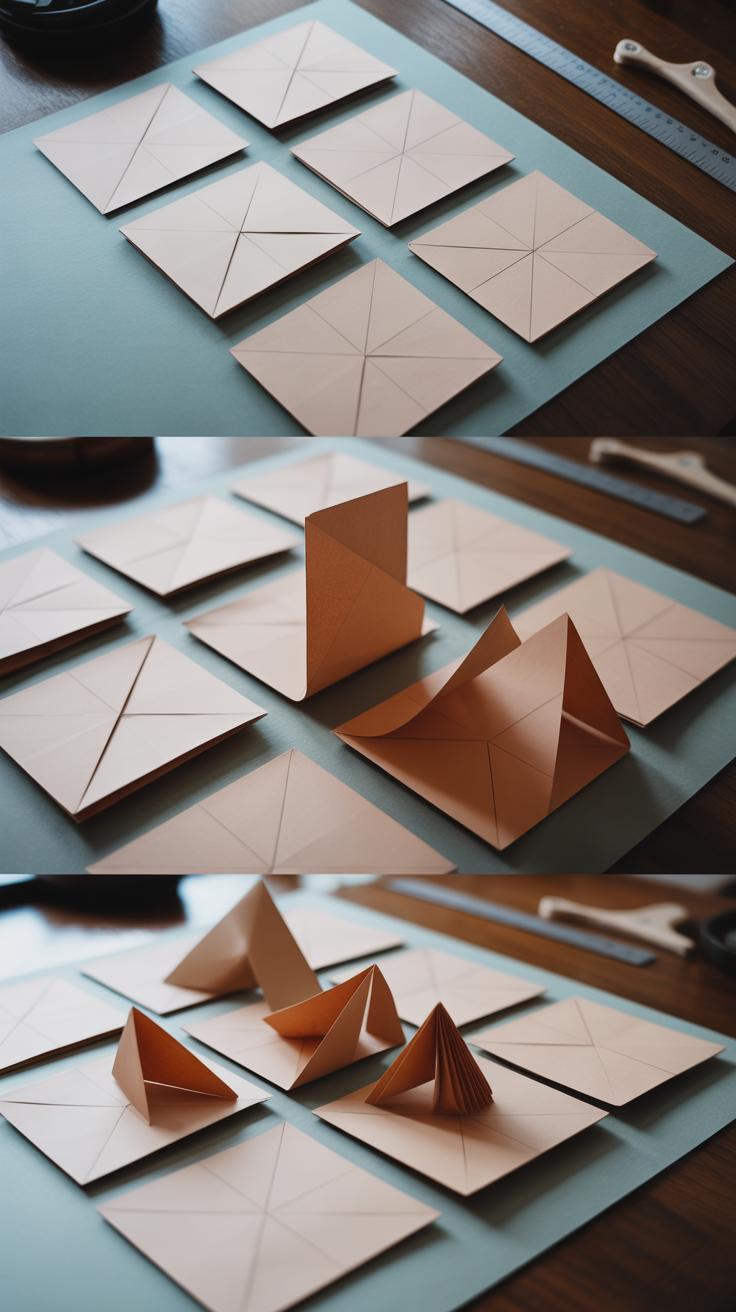
Origami might look complicated, but it really comes down to a handful of simple folds. Knowing these folds well makes creating any model much easier. The two most common folds you’ll encounter are the valley fold and the mountain fold. A valley fold is where you fold the paper towards yourself, like making a V-shape, while a mountain fold is the opposite, folding the paper away to create a peak. These basic folds are the foundation for almost every origami form.
Besides those, you will often see the squash fold, where you open a flap and press it flat, and the reverse fold, used to tuck paper inside or out to shape limbs or beaks, for example. Petal folds, which lift and fold layers in a particular way, are also common in flower designs.
What’s interesting is how these simple folds combine. For instance, multiple valley and mountain folds can create a box shape. Adding squash and reverse folds can turn that box into a crane’s wings or a flower’s petals. So, understanding the folds is less about memorizing and more about seeing how they work together to build forms.
Common Fold Types
Here’s a quick breakdown:
- Valley Fold: Fold paper toward you; creates inward creases — perfect for making basic shapes and bases.
- Mountain Fold: Fold paper away from you; creates outward creases — often used to add dimension.
- Squash Fold: Open a flap, press it flat; used to spread layers evenly, like in making petals.
- Reverse Fold: Fold paper inside or outside along a crease; great for shaping details such as tails or heads.
- Petal Fold: Combine folds that lift and flatten sections; mostly in flower or bird designs.
Simple enough? Each has a purpose depending on what you want to create, but there’s no harm in experimenting. Sometimes, mixing folds unexpectedly leads to neat results.
Folding Techniques
Making precise folds is surprisingly important if you want your origami to look sharp. I’ve found the paper’s edge or the tip of a fingernail works well for creases. Press hard but gently—too much force can tear thin paper.
Align edges carefully before folding. It feels a bit tedious at first, but patience pays off. A smooth, clean fold helps the model hold shape better. Also, unfolding and refolding a few times can refine creases for tricky folds.
Using a flat surface, like a table, rather than your lap makes controlling folds easier. And if you want to get very precise, a bone folder (a tool often used in crafts) can be helpful, though your finger usually suffices.

Have you noticed how a neat fold changes the entire look? It’s subtle but crucial. Your paper should feel almost like it’s been shaped rather than just bent. Once you master this, moving to more complex models becomes less intimidating.
Easy Origami Models to Impress Beginners
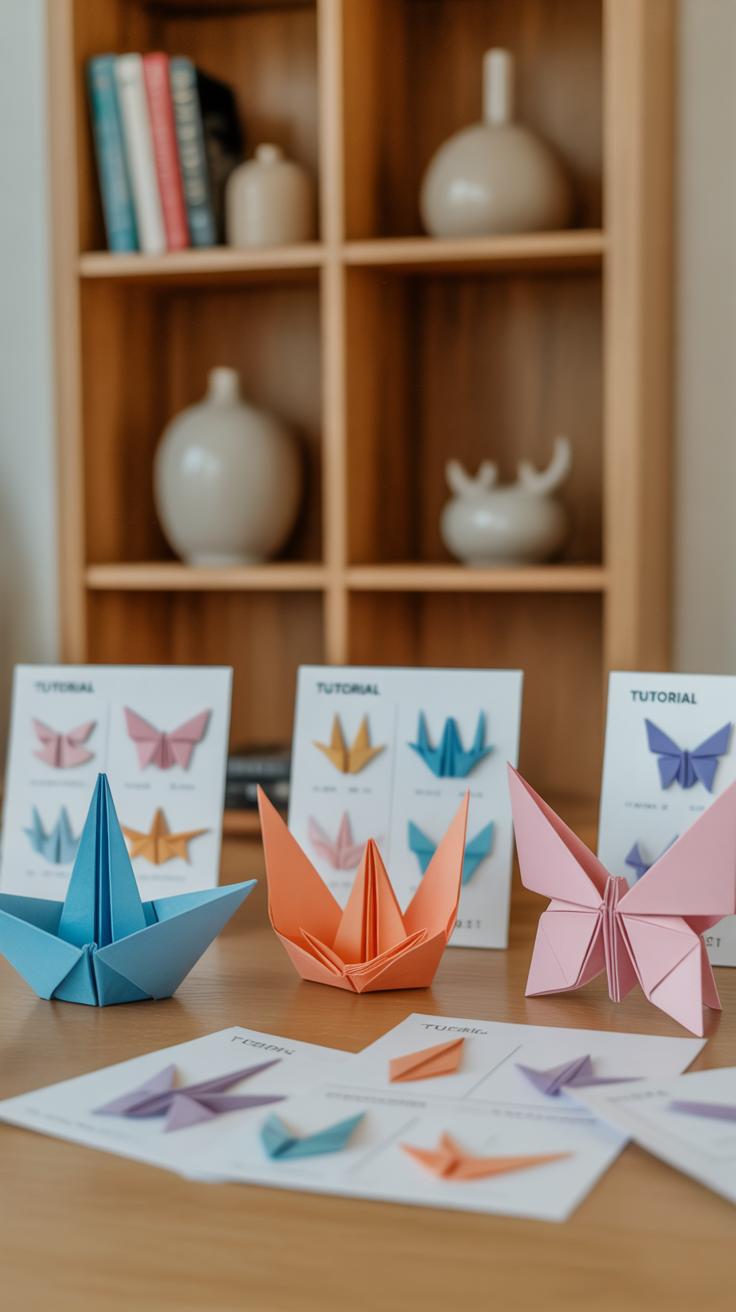
If you’re just starting with origami, it helps to pick simple models that still look impressive. The paper crane is a classic and surprisingly doable once you get the hang of the basic folds. Begin with a square sheet of paper. Fold it diagonally both ways, then flip and fold it in half horizontally and vertically. Collapse these creases into a square base by bringing the corners together in the middle. After that, shape the wings and head by folding the flaps in precise but not perfect ways. The crane takes practice, yet it feels rewarding every time you successfully lift those wings.
Now, for something even easier—the paper boat. Start by folding your rectangular sheet in half lengthwise, then fold the top corners down to meet the center fold, creating a pointed roof shape. Fold the bottom edges upward on both sides and pull open the middle. Flatten it into a diamond, then fold the bottom corners up again. When you finally open up the boat, you’ll have a floating little vessel that somehow never gets old.
Flowers are more delicate but still surprisingly simple. Use a square sheet and fold it diagonally to create creases, then fold each corner into the center. This forms a smaller square, which you fold multiple times to reveal petal shapes. Opening and gently pulling those petals yields a charming bloom, simple yet elegant. These models, while straightforward, really show off what folding paper can do. So why not try making each of them? You might find you enjoy the little imperfections along the way as much as the final product.
Using Origami for Party Decorations
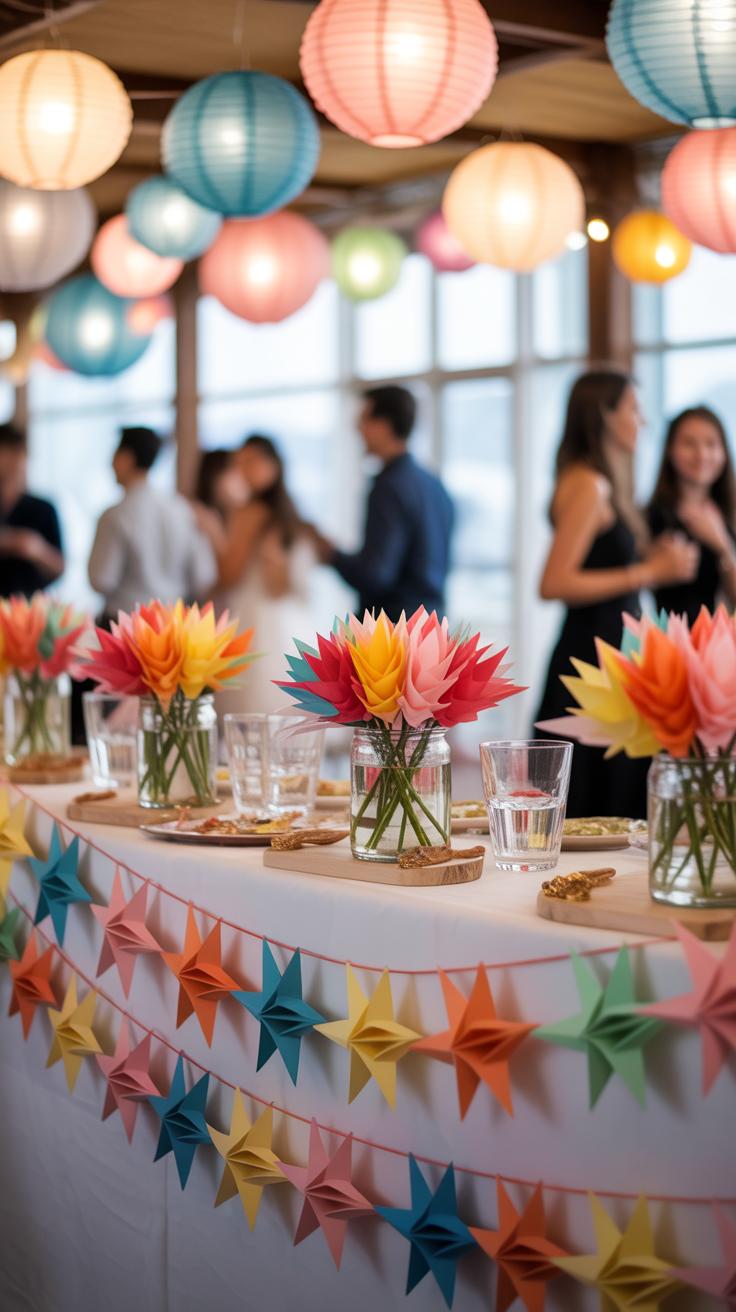
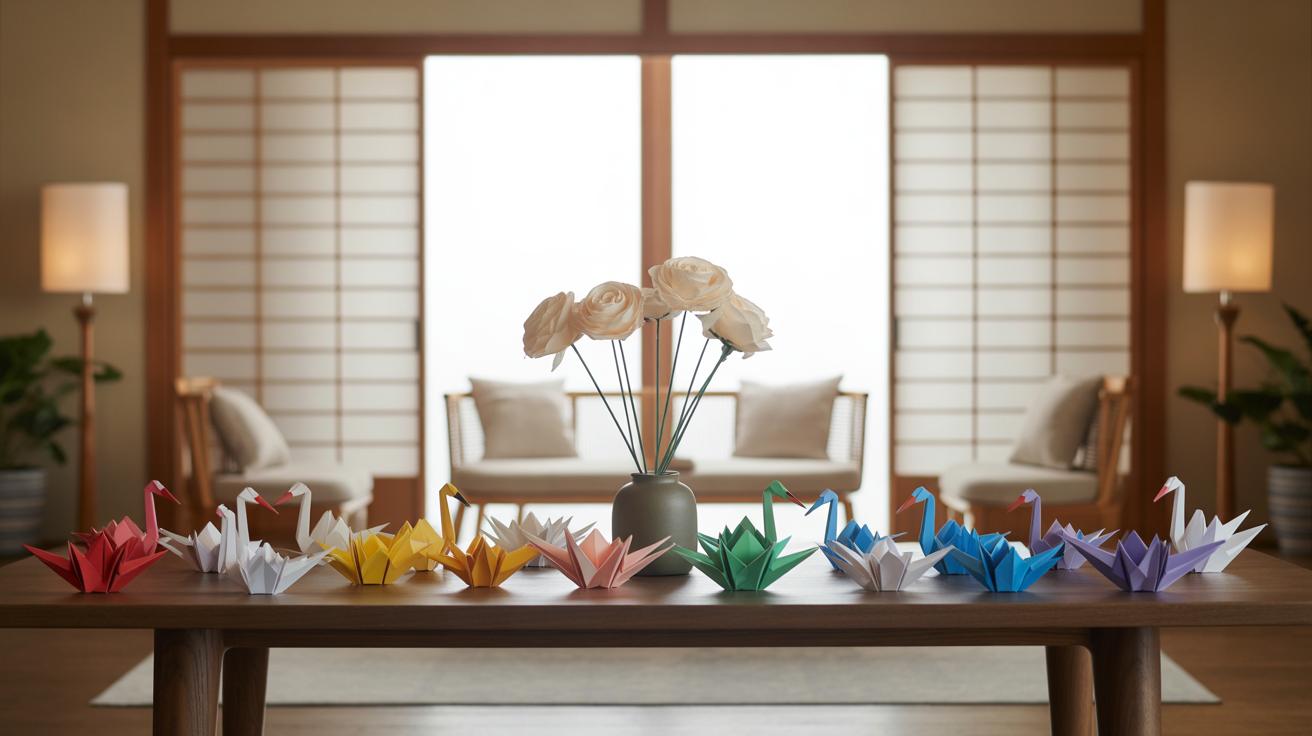
Origami can really change the vibe of a party, and it’s easier than you might guess to make simple decorations that look quite special. For example, paper garlands are a classic choice. You could fold small cranes, stars, or even simple flowers and string them together. I think the charm lies in mixing colors and shapes to avoid a flat look. Once hung across doorways or walls, these garlands invite curiosity. Don’t just think of them as lines of paper; they add a subtle texture, catching light in unexpected ways.
When it comes to table decor, origami has more potential than most realize. Folding elegant centerpieces like tulips or lotus flowers can create a focal point without costing much space or effort. And napkin holders—well, that’s a fun twist. Imagine folding a swan or a simple band that gently embraces a napkin, giving the table a cohesive feel. You’ll probably find guests peeking closer, intrigued by what seems like delicate art.
Place card holders are another clever use. Pinching a small folded heart or star that stands upright can hold a name card neatly. It’s practical and adds a warm, personal touch. Plus, you can match the style to the party’s theme, or vary shapes slightly for a casual, playful look. The best part? These ideas don’t require many materials—just paper and a bit of time. Have you ever tried folding an entire set of decorations ahead? It might be a quiet, enjoyable challenge before the guests arrive.
Creating Personalized Origami Gifts
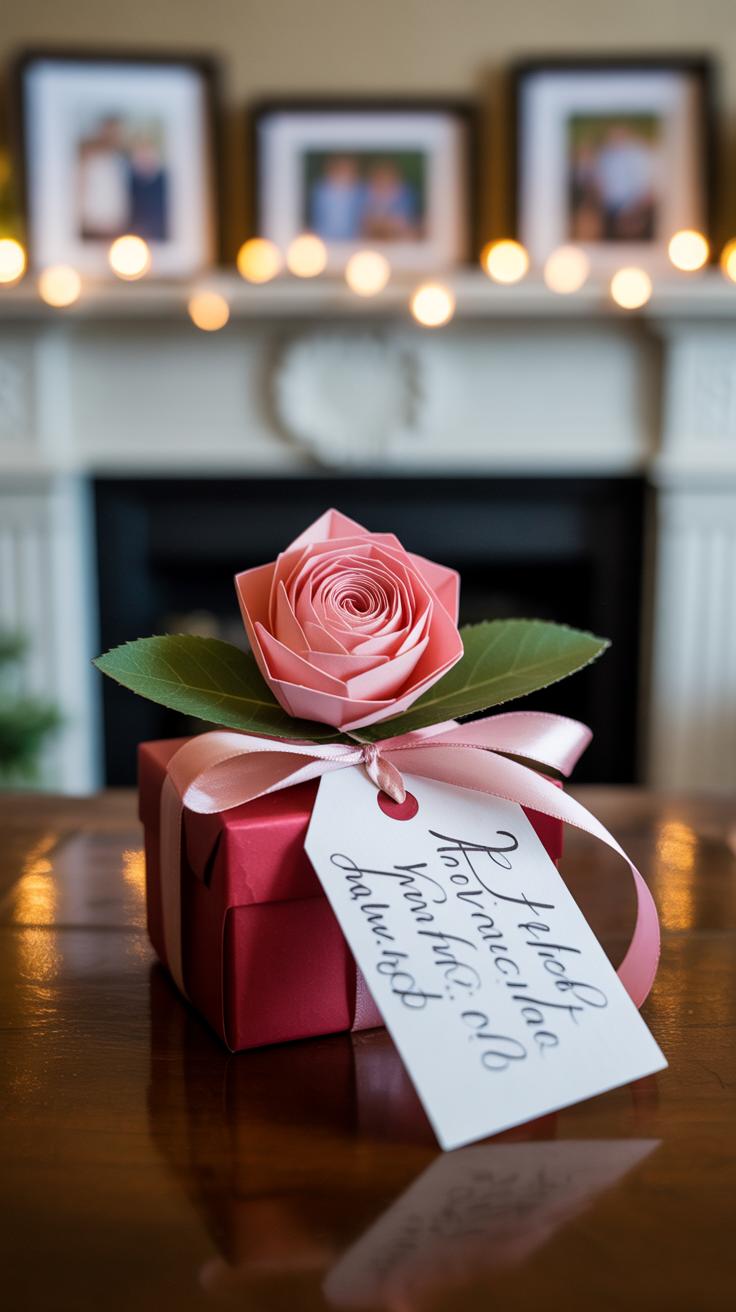
Origami offers a simple yet surprising way to create unique gifts that feel personal. When you fold a gift box or a carefully crafted envelope by hand, it shows thoughtfulness beyond just picking something from a store. Maybe you’ve noticed how much people appreciate little handmade touches—origami can provide that, without needing fancy tools or materials.
Take custom folded envelopes, for example. You can turn a square of patterned paper into a neat envelope tailored to fit notes, gift cards, or even cash. They add charm and a sense of occasion. Plus, you can experiment with colors and paper textures, making each envelope a small work of art. I remember once folding an envelope from leftover wrapping paper—it looked better than anything store-bought.
Bookmarked origami adds a personal flair as well. Simple shapes like corners or delicate cranes turned into bookmarks make reading feel a bit more special. They’re especially great as quick gifts when paired with a favorite book. The folding is straightforward but still feels thoughtful.
Folding Gift Boxes
Small origami gift boxes hold surprises inside and are surprisingly easy to fold. Start with a square piece of paper, fold it into a smaller square by bringing edges to the center, then alternate collapsing and tucking folds to form the base. The lid typically requires a slightly larger square, folded similarly but allowing for a looser fit. The result: a box that snugly holds rings, candies, or little trinkets.
These boxes stand out because you made the container as well as presenting the gift inside. Plus, they’re reusable—your guests might keep them around, perhaps for storing keepsakes or desk items. It’s a kind of gift doubling back on itself, which feels neat.
Origami Bookmarks and Envelopes
Creating origami bookmarks and envelopes is a great way to craft customized gift accessories. Corner bookmarks are made by folding a square piece of paper into a triangle and then creating a pocket that slides over the corner of a page. You might decorate yours with stickers or even little messages.
Envelopes can be folded from various paper sizes, and you can adjust flap shapes and closure styles for different looks. Some folds produce more secure envelopes, while others are easy to open and close, perfect for notes or invitations. Trying out different papers and simple embellishments really changes how these feel; they can be playful or elegant.
If you want your gifts to stand out just a bit more, folding your own boxes, envelopes, or bookmarks may be exactly what you need. The process isn’t complicated, but the effect is often memorable, maybe even better than what you’d find in a store.
Advanced Origami Techniques for New Challenges
Wet Folding Basics
Wet folding changes the way paper behaves, making it possible to achieve smooth, curved shapes that look almost sculpted. You dampen the paper slightly before folding, which softens it and lets you bend edges without those harsh, stiff creases traditional origami creates. It’s not just for looks; the moisture allows folds to “settle” more naturally, giving your model a more lifelike, three-dimensional feel.
I found it a bit tricky at first—too much water and the paper tears or warps, too little and it’s stiff as ever. But when done right, wet folding can transform something simple like a crane into a figure that seems to breathe. It’s perfect for animals or flowers where smooth curves matter. You might wonder if it’s worth the extra effort—well, it depends on what you want from your art. It’s definitely a nice skill to try once you want to move beyond flat angles.
Multi-sheet Origami
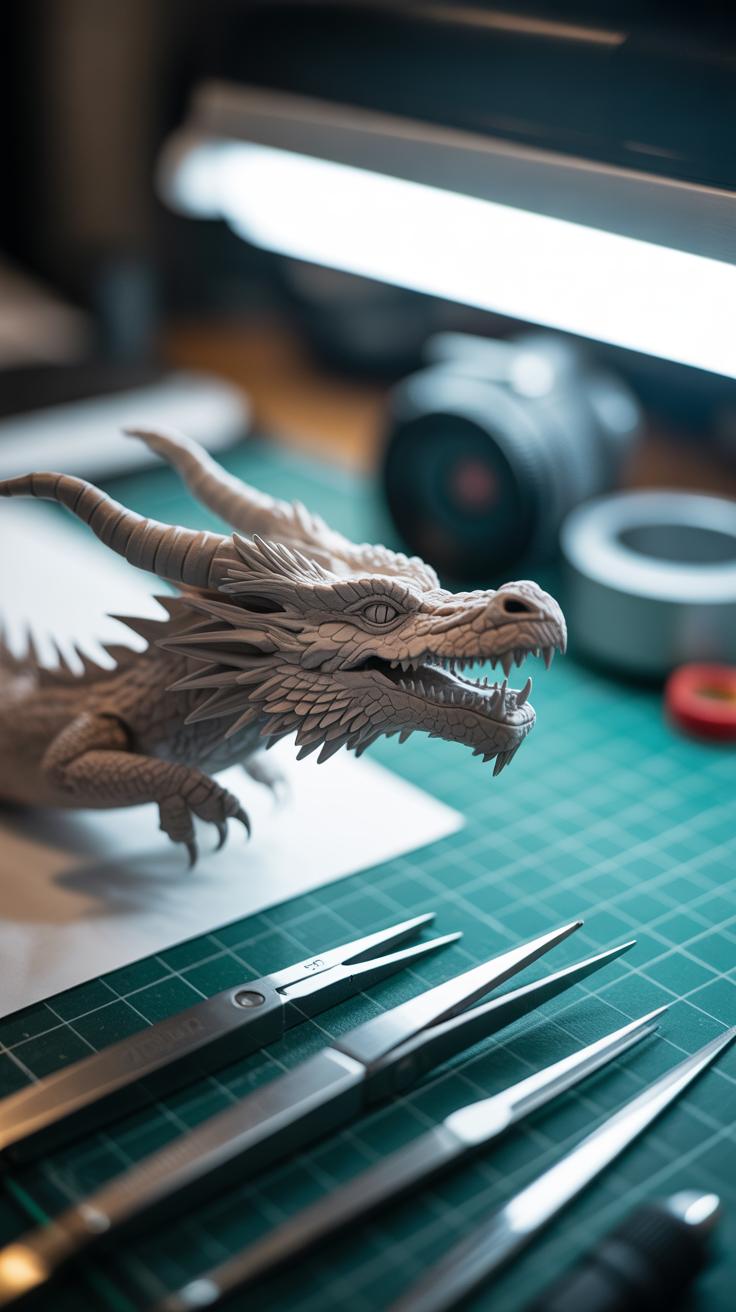
Working with multiple sheets is a whole different ball game. Rather than folding a single square, you combine two or more pieces to build intricate designs that single sheets simply can’t handle. This technique lets you create models with distinct colors or textures that contrast beautifully, like a dragon with vivid wings or a geometric star with layered details.
It requires more planning, and sometimes the parts can be harder to keep together without glue or clever tucks, which might go against strict origami purists’ beliefs. But, honestly, the effect is worth it. You can build modular structures or even assemble complex creatures by folding components separately and joining them. If you’ve mastered basic folds, multi-sheet work might open a door to more ambitious, impressive pieces that can truly catch your guests’ attention.
Origami Materials and Tools To Use
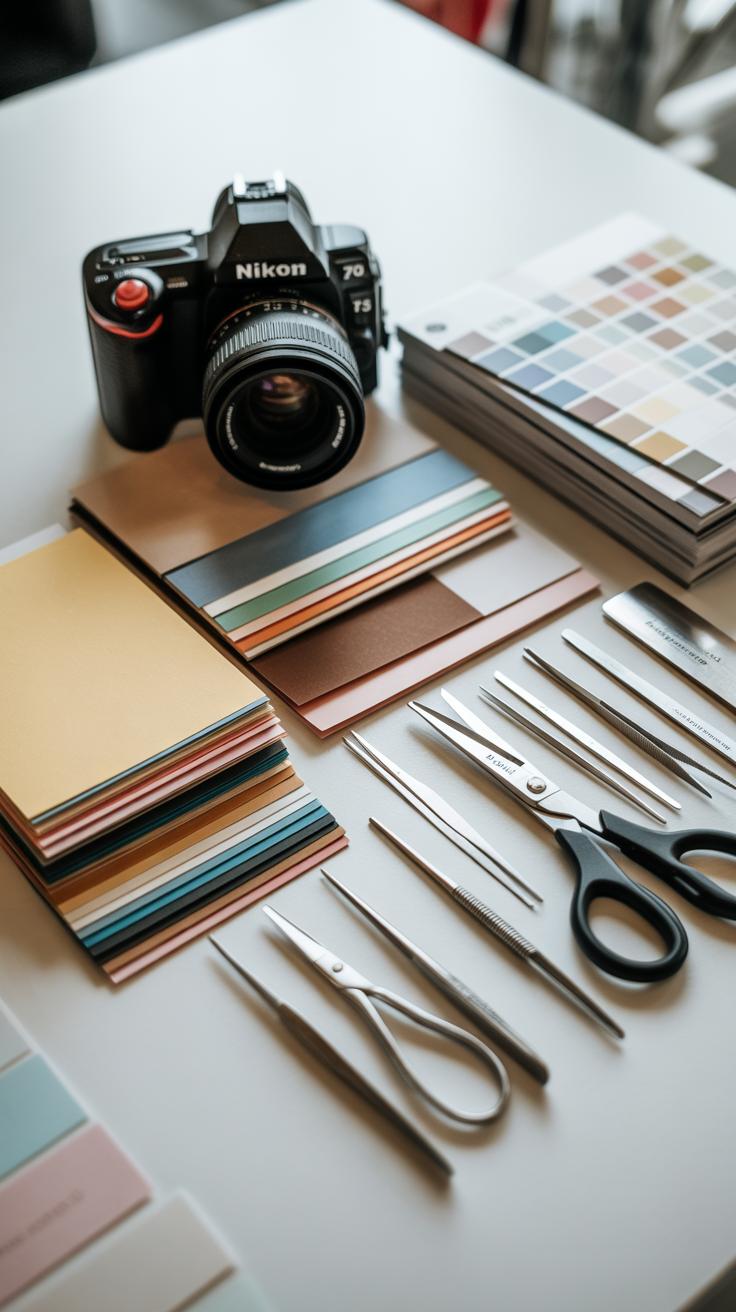
Choosing Origami Paper
Picking the right paper for origami feels like a small art in itself. Good origami paper usually is thin but strong enough to hold sharp creases. It shouldn’t tear easily, yet it must fold crisply. Traditional washi or kami paper tends to work well because it balances flexibility and durability. You’ll find that these papers come in vibrant colors and patterns, making your creations pop visually.

Regular printer paper can do the job if you’re just experimenting, but it often feels stiff or too thick. Sometimes you’ll see glossy or coated papers, but they can resist folding and crease oddly. If you want color, colored copy paper or lightweight scrapbook sheets might surprise you with how well they perform. Specialty papers, like foil-backed or textured ones, add flair but demand careful handling.
Origami papers are usually square and sized around 6 to 8 inches, but that’s not a strict rule. You can buy them at craft stores, online shops, or even some bookstores. I once grabbed a pack from a local market and ended up loving the patterns—unexpected finds can be pretty fun.
Useful Tools for Folding
While your hands are the main tools, a few extras can help bring precision and ease to folding, especially with tricky designs. A bone folder, for instance, smooths and sharpens creases without tearing or wrinkling the paper. It’s subtle, but it makes a noticeable difference.
Tweezers might seem odd for paper art, but they’re handy when folding tiny corners or reversing small folds that your fingers just can’t reach well. You’ll use them surprisingly often, even if at first you think they’re overkill.
Cutting mats and sharp scissors or craft knives come in handy if you want to experiment with non-square shapes or trim edges. They help keep cuts clean. Plus, having a flat and hard work surface can improve your entire folding experience—it’s amazing how much that matters!
Choosing the right materials and tools can change how much you enjoy origami. What papers or gadgets have you tried? Sometimes what looks best on paper isn’t always easiest to fold, and that’s part of the journey.
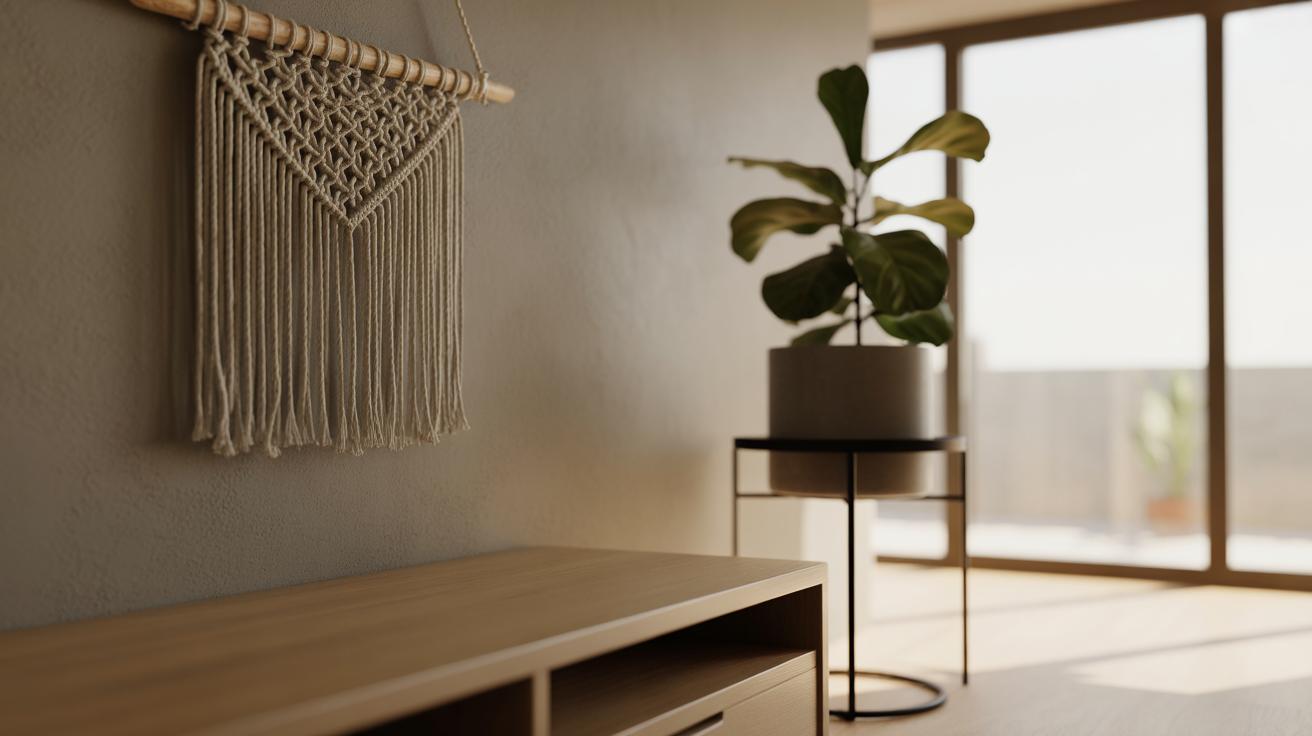
Incorporating Origami into Home Decor
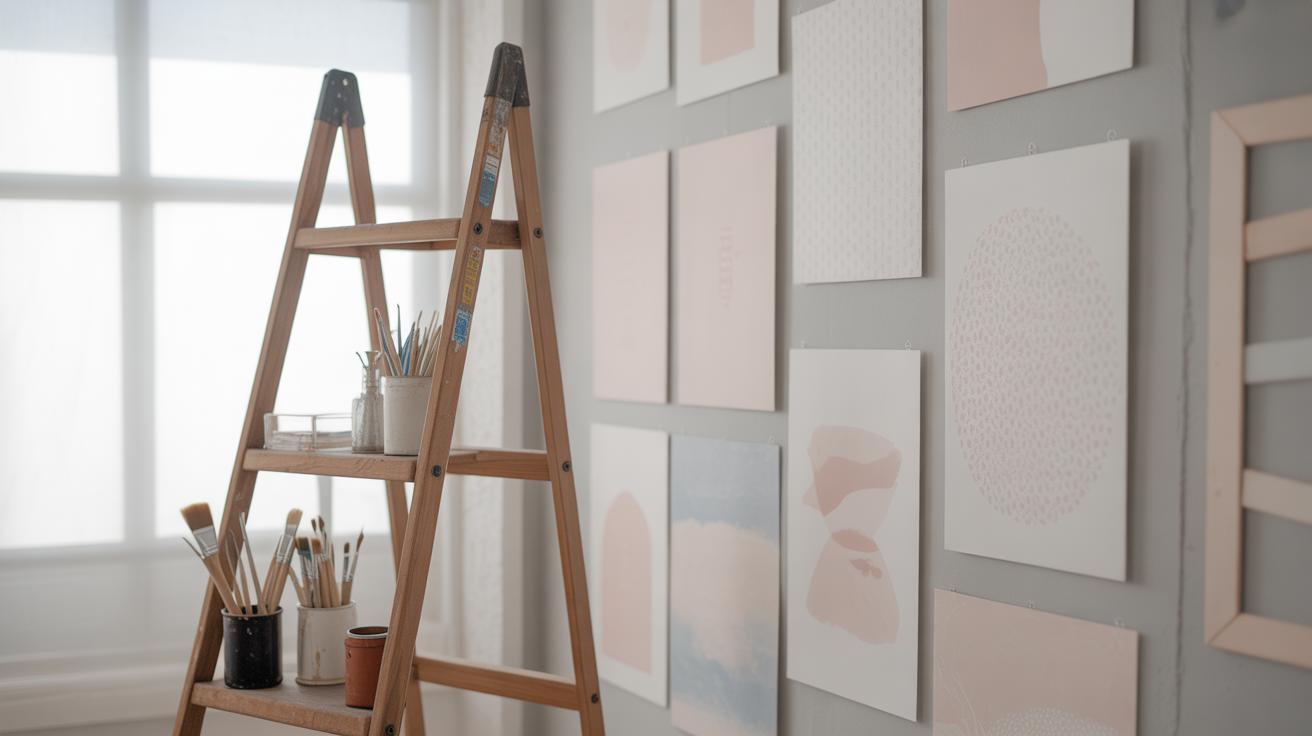
Framed Origami Art Pieces
You can make simple yet intriguing wall decor by framing origami creations. Start with folding shapes that have clean lines and clear silhouettes, like cranes, stars, or flowers. A single piece on a neutral background can stand out much more than you’d expect. Sometimes, grouping several smaller folds in one frame gives a kind of collage effect that feels fresh and personal. I’ve tried mounting some cranes on colored paper, then putting them in shadow boxes to add depth—the result felt surprisingly modern.
When displaying, think beyond plain frames. Matting with textured or patterned paper can add interest without overwhelming the origami. Also, experiment with frame size and style—minimalist black frames work well for intricate designs, while wooden frames suit natural themes. Placement matters too; hanging them in hallways or above shelves catches light differently and can invite closer inspection.
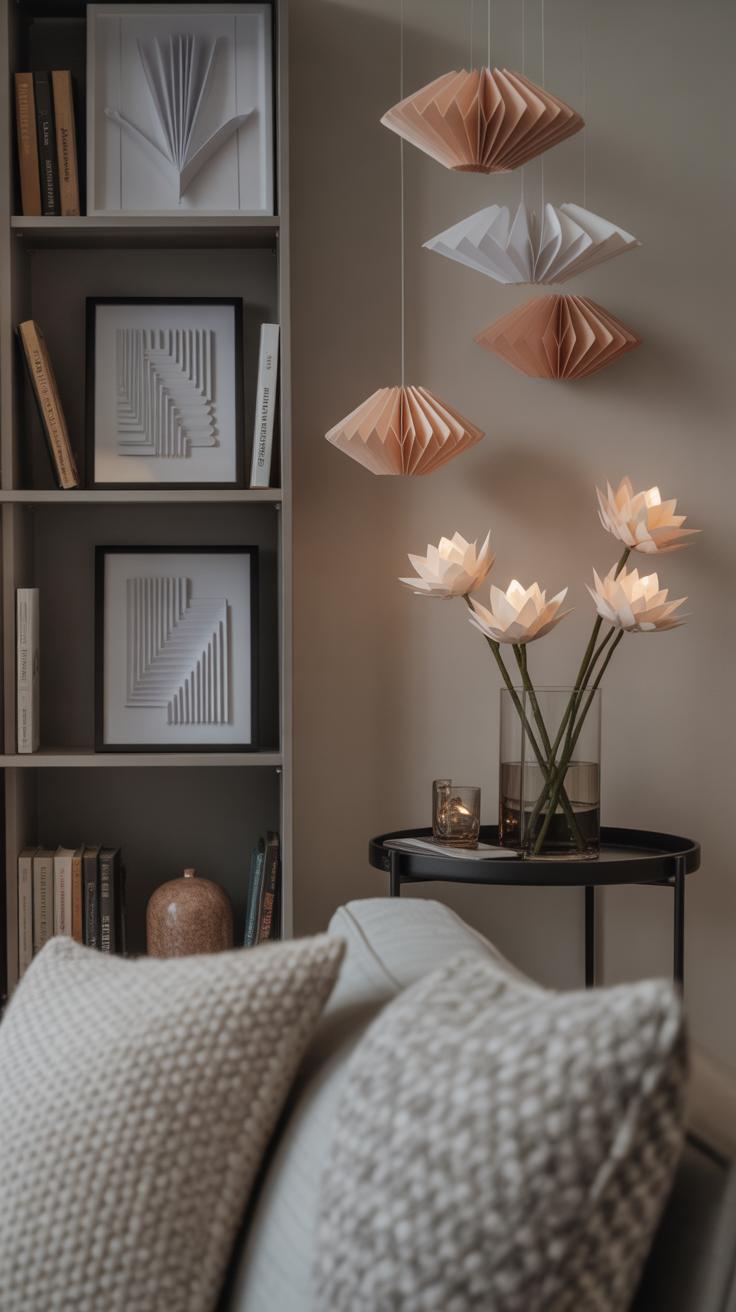
Origami Mobiles and Lampshades
Origami mobiles offer an elegant way to add movement and softness to your rooms. Simple folds like paper cranes, butterflies, or modular stars can be strung together on thin threads or invisible wire. You might hang them in corners, near windows, or above beds. The gentle swaying often feels calming—though, personally, I’ve noticed that heavier paper sometimes tugs them down, so lighter sheets usually work better.
Origami lampshades, meanwhile, bring interesting shadows and highlights. Using translucent paper, you can fold shapes like lanterns or geometric patterns that softly diffuse light. Complex modular designs can create layered effects, but even simpler folds cast charming patterns on walls. Making sure the lampshade fits your lamp’s frame and won’t overheat is important. Some people paint or color their paper to change the mood, which might be something to try if you prefer warmer or cooler lighting vibes.
Does Origami feel too delicate for everyday spaces? Sometimes, but with a little care and creativity, it can surprisingly hold up. Plus, nothing quite matches the conversation starter it becomes when guests notice your handiwork.
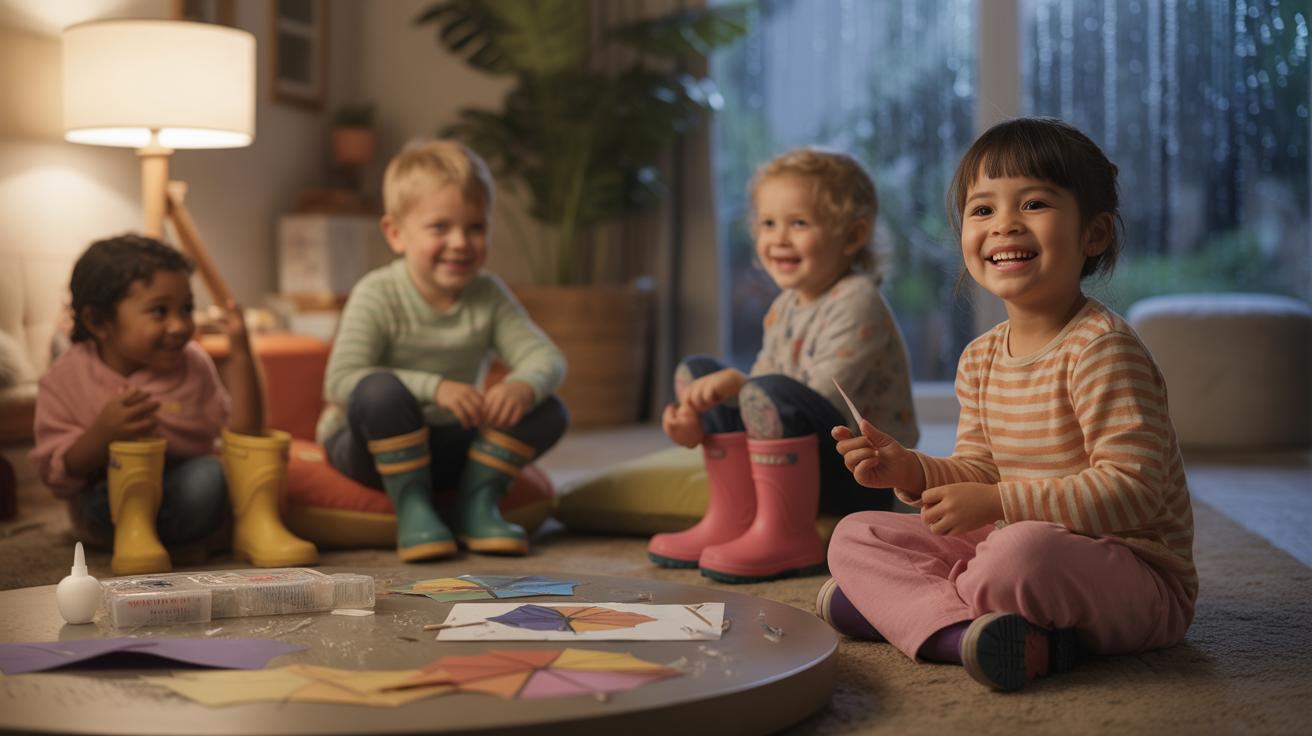
Teaching Origami to Others

When sharing origami with friends, family, or groups, breaking down each fold into simple, manageable steps makes a big difference. Don’t rush through instructions; take your time explaining the crease types, where edges meet, and the exact angles. Sometimes, showing rather than telling can clear up confusion—fold alongside your learners and talk through each move aloud.
Keeping people engaged isn’t always easy. You might try mixing quick, easy models with slightly more challenging ones so interest stays steady. Also, ask questions like “What do you notice about this fold?” or “How could we adjust this part to make it different?” It sparks curiosity and keeps minds active.
Simple Teaching Methods
Visual aids help—a step-by-step diagram or a video can reinforce what you’ve shown. Don’t overwhelm learners with too many folds at once. Instead, focus on one fold type per session before combining them. Celebrate small wins; praise the effort even if the shape isn’t perfect. Origami can be frustrating, but patience really pays off.
Sometimes, letting learners practice folds on scrap paper before working on the final model allows mistakes without pressure. I’ve found that gentle repetition—revisiting tricky folds—gradually builds confidence. And it’s okay to take breaks or shift focus if things start feeling tedious.
Encouraging Design and Creativity
Once basics are down, encourage learners to experiment. For example, challenge them to create new folds from familiar bases like the square or bird base. Inspire them to combine folds in unexpected ways or play with paper colors and patterns to change the outcome.
You could organize an activity where everyone invents their own simple origami model, then shares the process. It helps people see origami beyond instructions and opens a door to personal expression. I’ve noticed that when learners take ownership, their enthusiasm grows noticeably. Do you think encouraging original designs can unlock a deeper understanding of the art? It often does.
Origami Beyond Art Practical Uses

Origami in Engineering
Origami goes way beyond folding paper into pretty shapes. Engineers have taken those creases and folds and applied them to real-world problems. Think about folding solar panels that can expand in space, or airbags that need to pack tightly but open quickly during impact. These designs borrow directly from origami principles.
For example, stents in medical treatments use folding techniques to shrink down for insertion and then expand inside blood vessels. The way they unfold mimics some classic origami folds, making them easier and less invasive. Similarly, architectural designs use folding patterns to create structures that can collapse and then open up — like festival tents or emergency shelters. The flexibility origami offers is actually pretty useful when you need something compact yet functional.
Fun Origami Uses Around You
Have you noticed how some packaging folds cleverly? Like juice boxes or certain takeout containers — their design allows them to hold more while using less space. Origami-inspired folds help these packages save material and still keep things fresh or spill-free. Simple folding tricks also improve everyday objects, such as foldable maps or pop-up greeting cards.
Even those tiny paper fans or gift boxes you sometimes see? They aren’t just for decoration. Their folds make them easy to carry, assemble, or store. Next time you unwrap something compact, pause and think — could origami have been a part of making it convenient for you? It’s fascinating how such an ancient art quietly shapes many things around us.
Conclusions
Origami is a versatile craft. It lets you create beautiful, physical art pieces using simple paper folds. This article showed you easy folds and creative projects to try at home. With practice, your skills will grow, and your designs will impress many.
Make origami a part of your decoration or gifts. Use the ideas here to add charm to events and personal spaces. Origami art is rewarding and enjoyable. Start folding today and see how your creations can bring joy and wonder to your guests.


