Introduction
Jewelry making is a rewarding craft that lets you create unique pieces for yourself or loved ones. By mastering a few essential jewelry techniques, you can turn simple materials into beautiful accessories. This article looks at fundamentals every DIY crafter should know, guiding you step by step through practical skills and tips.
You will explore various techniques from basic stringing and wirework to more detailed methods like soldering and setting stones. With clear instructions and examples, you will gain the confidence to start your own projects. Whether you want to make simple bracelets or complex rings, these skills will form the foundation of your work.
Understanding Jewelry Tools and Materials
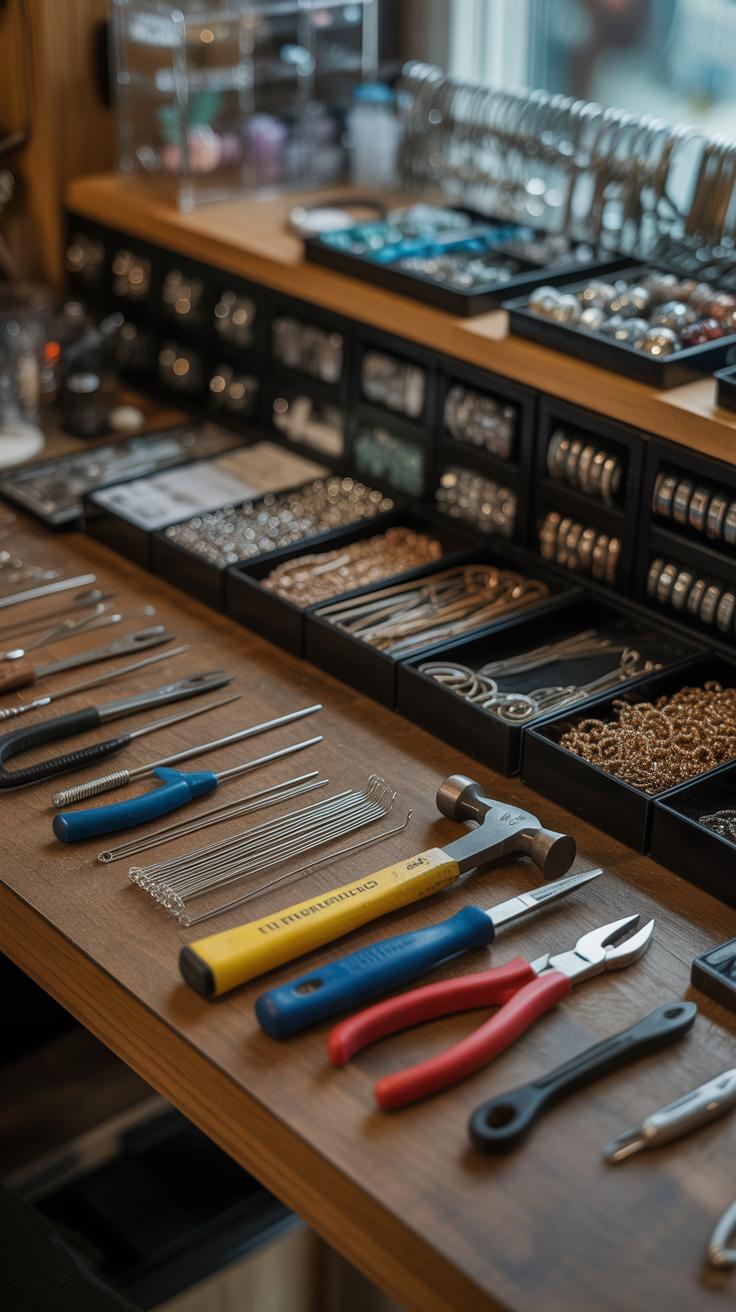
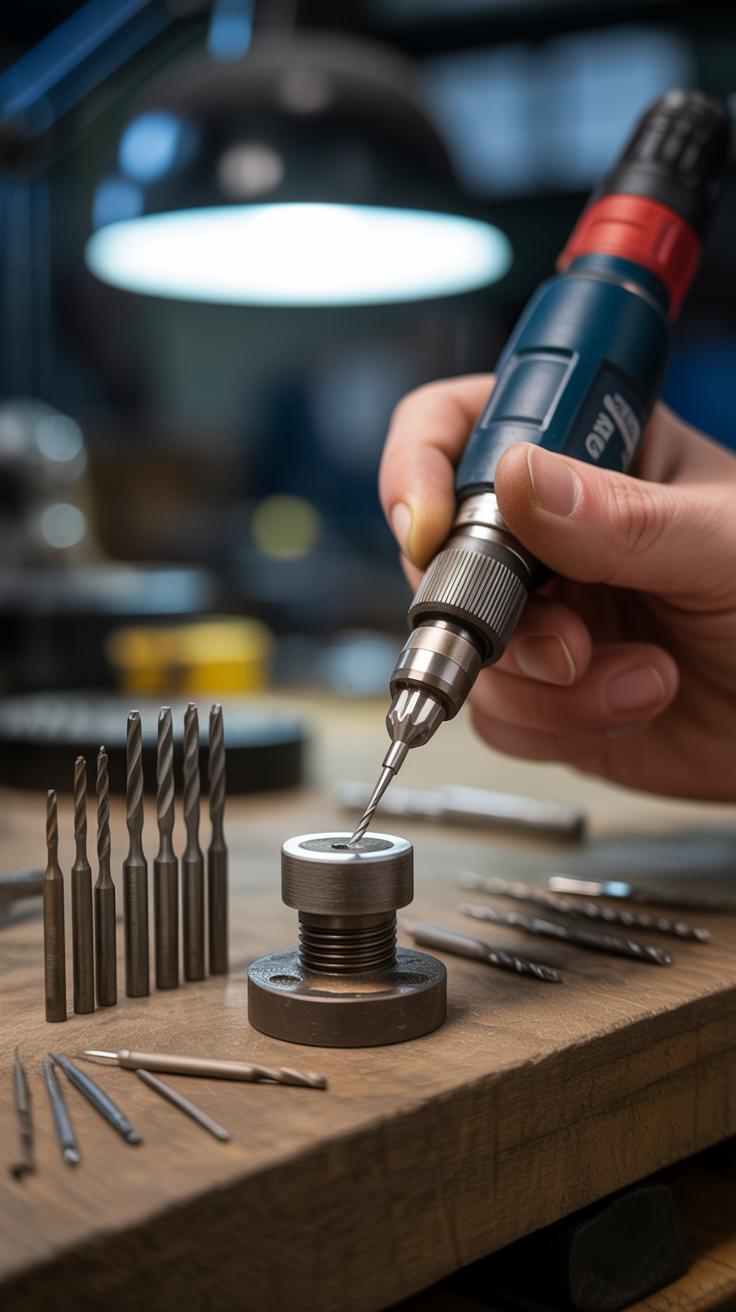
Starting with the right tools makes a big difference when you dive into jewelry making. You don’t need a giant toolkit, but a few basics will help you bring your ideas to life without frustration. For instance, pliers come in different types—round-nose, flat-nose, and chain-nose. Each serves a special purpose: round-nose pliers are great for bending wire into loops, while flat-nose pliers grip pieces without leaving marks. You’ll also want wire cutters to snip wires cleanly and tweezers to handle tiny beads or delicate findings. These tools might seem simple, but they’re essential for precision and control.
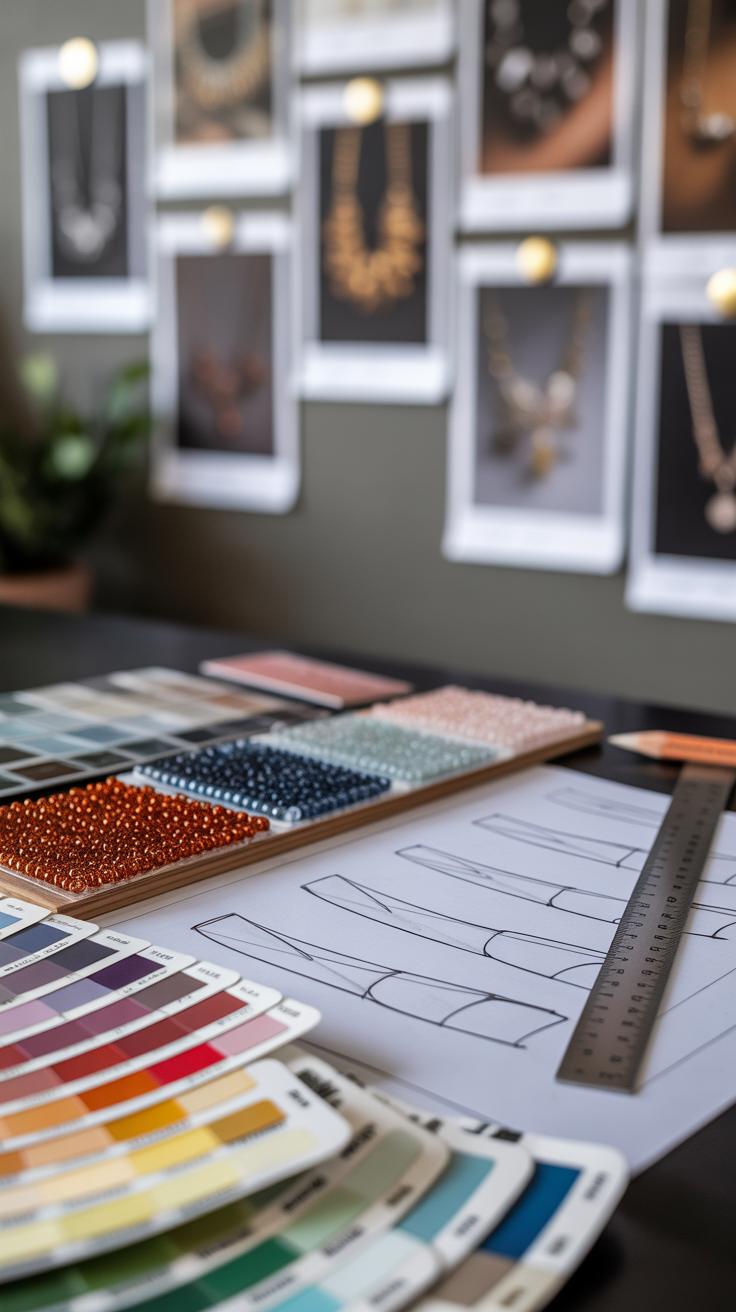
When it comes to materials, choices depend a lot on what you aim to create. Common supplies include beads, wires, clasps, and stones—all of which come in various shapes and sizes. For example, you might opt for copper wire for its flexibility, or stainless steel for durability. Clasps vary too, from lobster claw to toggle, each giving a different finish to your pieces. Picking materials can feel overwhelming at first. Maybe start with what feels comfortable or what matches your style. Sometimes, mixing materials leads to unexpected results, which can be a good thing.
Think about the project you want to make, and let that guide your selections. Are you making a delicate bracelet or a bold statement necklace? The weight and texture of materials matter here. You don’t want to choose heavy stones for simple earrings, or flimsy wire for robust designs. Sometimes, you have to experiment to see what works best. Don’t shy away from trying different combinations—that’s often how you discover your unique touch.
Using Wire to Create Jewelry
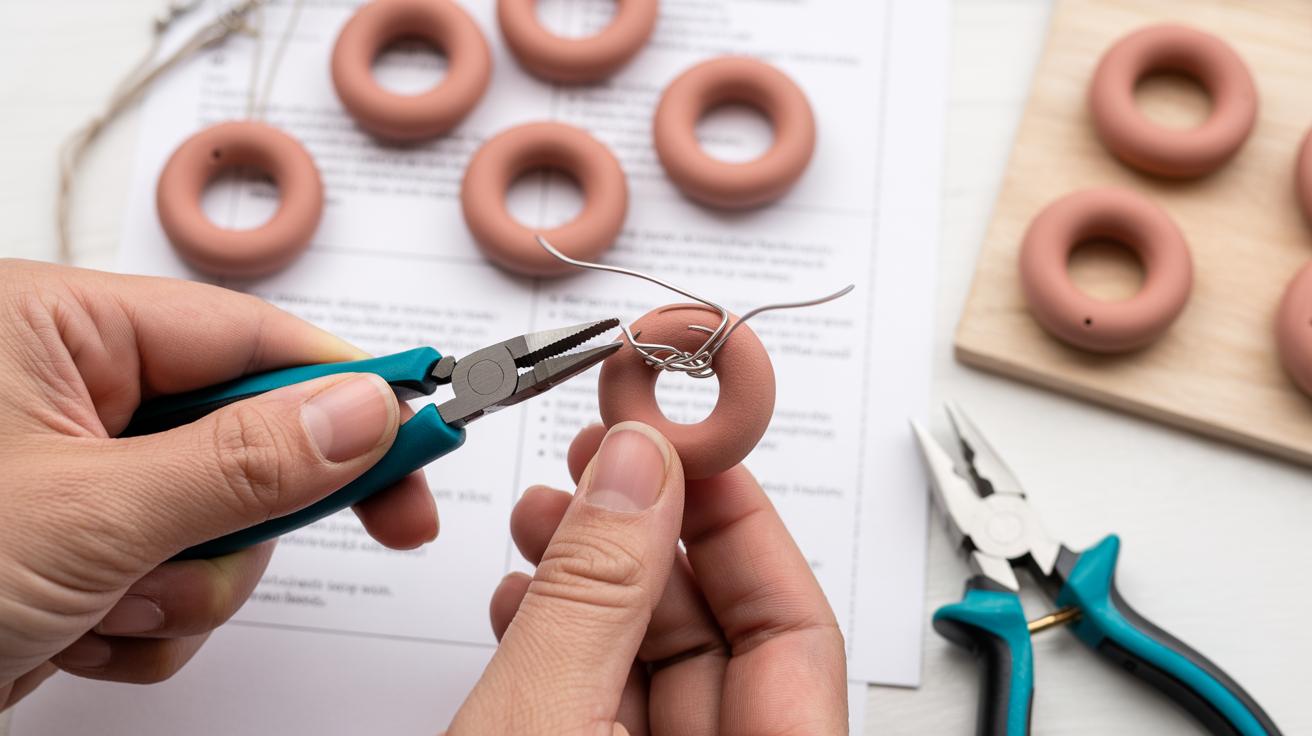
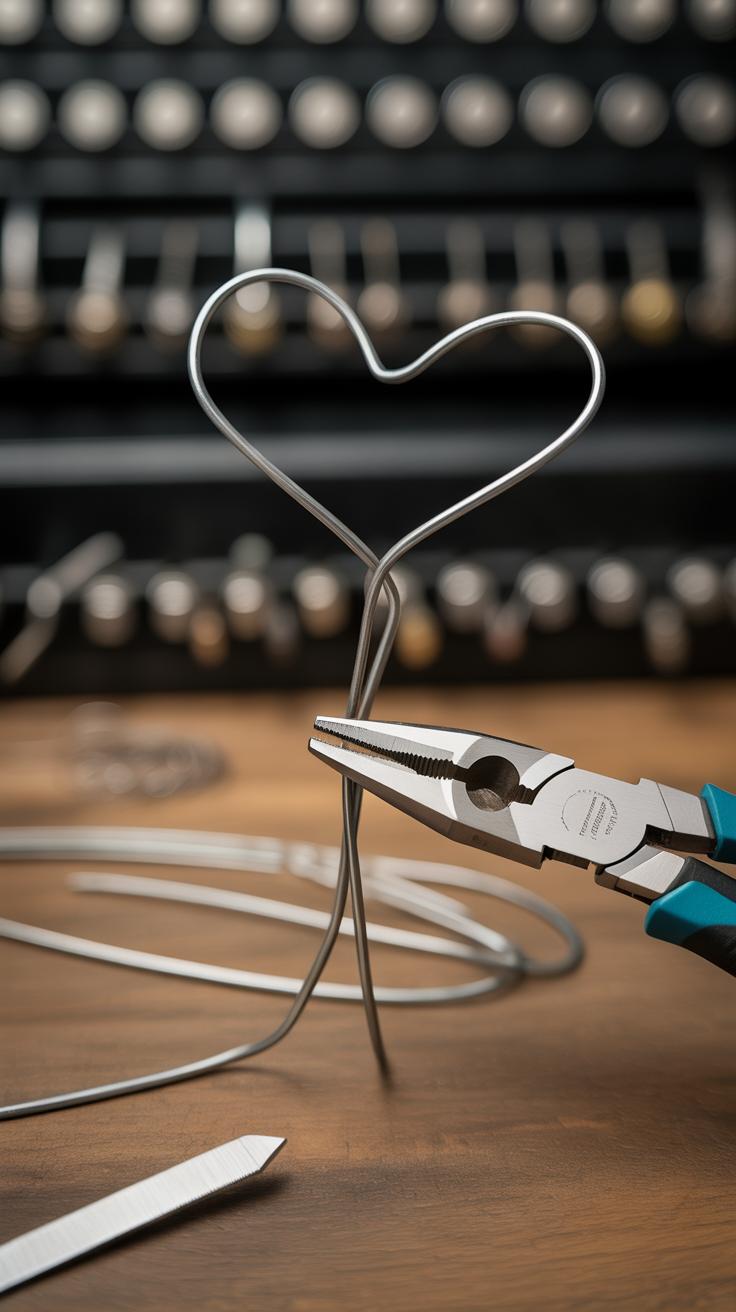
Working with jewelry wire is both practical and creative. You start by cutting wire to size, and you want to do this safely. Use wire cutters made for jewelry—regular scissors won’t cut it, and you might end up with uneven edges or worse, hurt yourself. Hold the wire steady with flat-nosed pliers while snipping to keep control.
Shaping wire is a bit like guiding a stubborn friend into a new pose. You bend it slowly using round-nosed pliers or your fingers for gentle curves, and flat-nosed pliers for sharper angles. If you’re new to this, try making simple shapes like circles or squares first. It feels awkward at first, but practice softens the learning curve.
Loops and wraps are foundational techniques for connecting beads or making components. Loops are basically tiny circles at wire ends; wraps are smaller coils that secure those loops. Here’s a simple way to start:
- Cut a short length of wire
- Thread on a bead if you want
- Use round-nosed pliers to bend the wire above the bead into a loop
- Wrap the remaining wire around the base of the loop 2-3 times
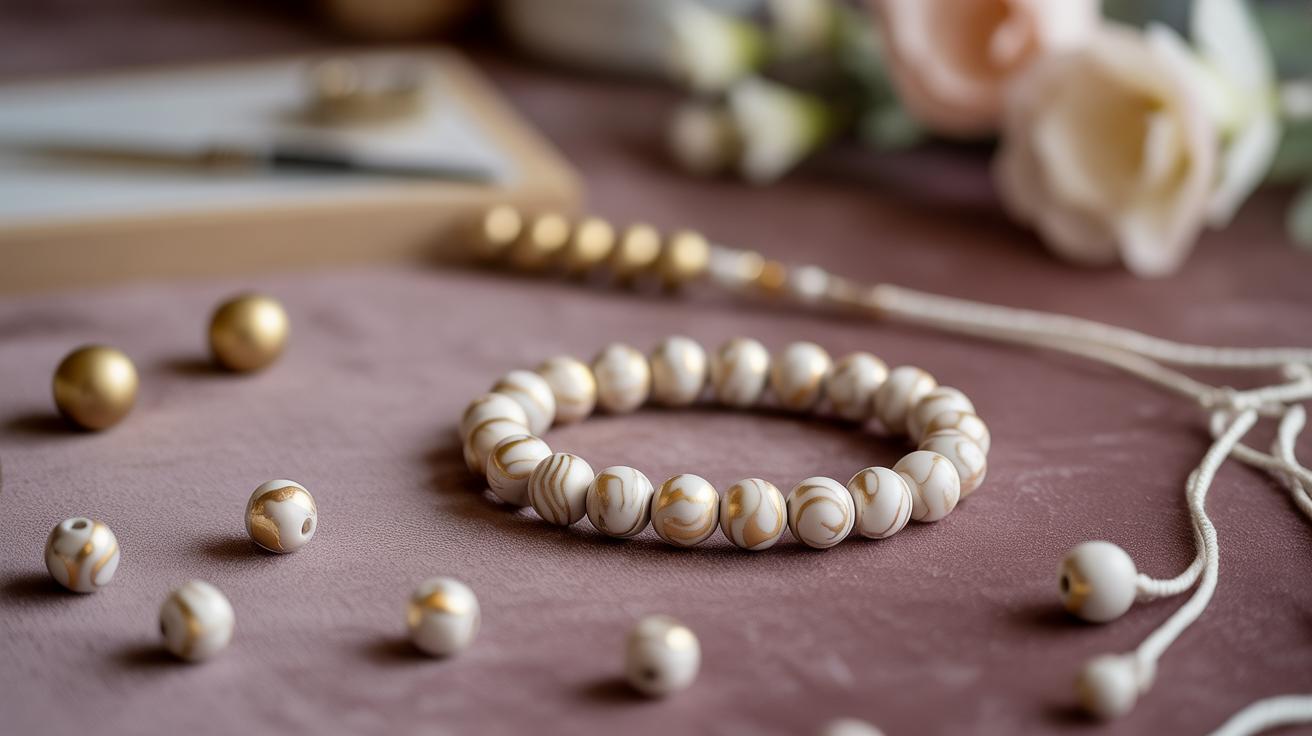
This “wrapped loop” is versatile, letting you link beads or attach clasps. You might find your wraps get messy at first, and that’s okay. With time, your coil tightens, and loops become uniform. Don’t worry too much about perfection; the charm often lies in handmade quirks.
Beading Techniques for Beginners
Beading often feels like the most straightforward part of jewelry making, yet it can trip you up if you don’t know how to handle thread or wire properly. When stringing beads, pick a strong beading thread or flexible wire that matches your bead holes. Before adding beads, cut your thread a few inches longer than your desired length—you’ll need that extra to tie knots or attach clasps.
Slide your beads on one by one, making sure to keep a bit of space at each end for securing. Once you’ve strung all your beads, the tricky part comes: securing those ends. Usually, you’ll knot the thread tightly or use crimp beads on wire. Crimp beads act like tiny clamps when squeezed, holding everything in place—it’s a small step that really makes a difference in durability.
Attaching Clasps and Closures
Adding a clasp might seem straightforward, but there are a few ways to go about it depending on the style you want and the materials used. For a beginner, jump rings and lobster clasps rely on simple tools like pliers. Open a small jump ring by twisting sideways, loop it through your bracelet’s end loop or crimp bead, then hook on the clasp before closing back tightly.
You might also try magnetic clasps if you want something easier to put on, though they aren’t as secure for heavier pieces. Some DIY crafters prefer toggle clasps for their style and strength. Either way, test your finished bracelet to make sure clasps hold well and sit comfortably. This step lets you add a professional touch, even to simple bead projects.
Soldering Basics for Jewelry
What is soldering and when to use it
Soldering is the process of joining two or more metal pieces by melting a filler metal, called solder, to create a strong bond. This technique is key when you want to make durable connections that won’t easily come apart, unlike gluing or wire wrapping. You might use soldering to attach jump rings, join chain links, or add a bezel to hold a stone. It’s often the step that turns rough-cut metal shapes into wearable jewelry.
Not every project needs soldering, though. If you’re just linking beads or making simple wire designs, it might not come up. But once you want clean, lasting joints—or work with metals like silver or gold—it’s hard to avoid. Knowing when and where to solder can save time and prevent unnecessary complexity.
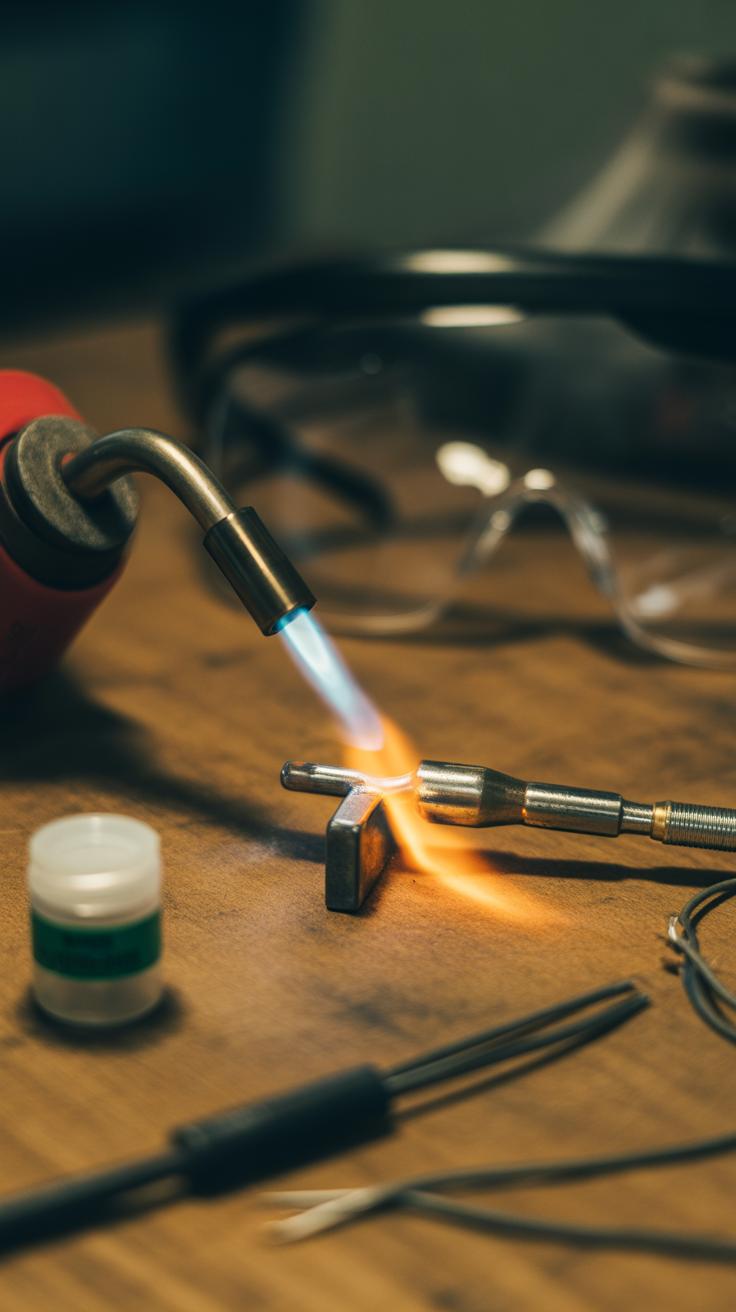
Tools and safety for soldering
To solder well, you need a few essential tools:
- A soldering torch or soldering iron designed for metalwork
- Solder, usually in wire or sheet form, matched to your metals
- A heatproof surface, like a soldering block or firebrick
- Flux, which helps clean and prepare metal surfaces for joining
- Jeweler’s pick or tweezers to place solder precisely
- Protective eyewear and a well-ventilated workspace
Safety is one of those things you absolutely can’t skip. Working with open flames or hot metal means you need to be cautious—never rush the process. Keep flammable materials away. Use safety glasses because tiny hot bits can fly unexpectedly. Good ventilation helps avoid inhaling fumes from flux or solder. I once underestimated this and regretted it—better to be safe than sorry.
Remember, soldering isn’t just about melting metal; it’s about control and patience. Approach it carefully, and you’ll find the technique adds a whole new level of craftsmanship to your jewelry making.
Stone Setting Methods
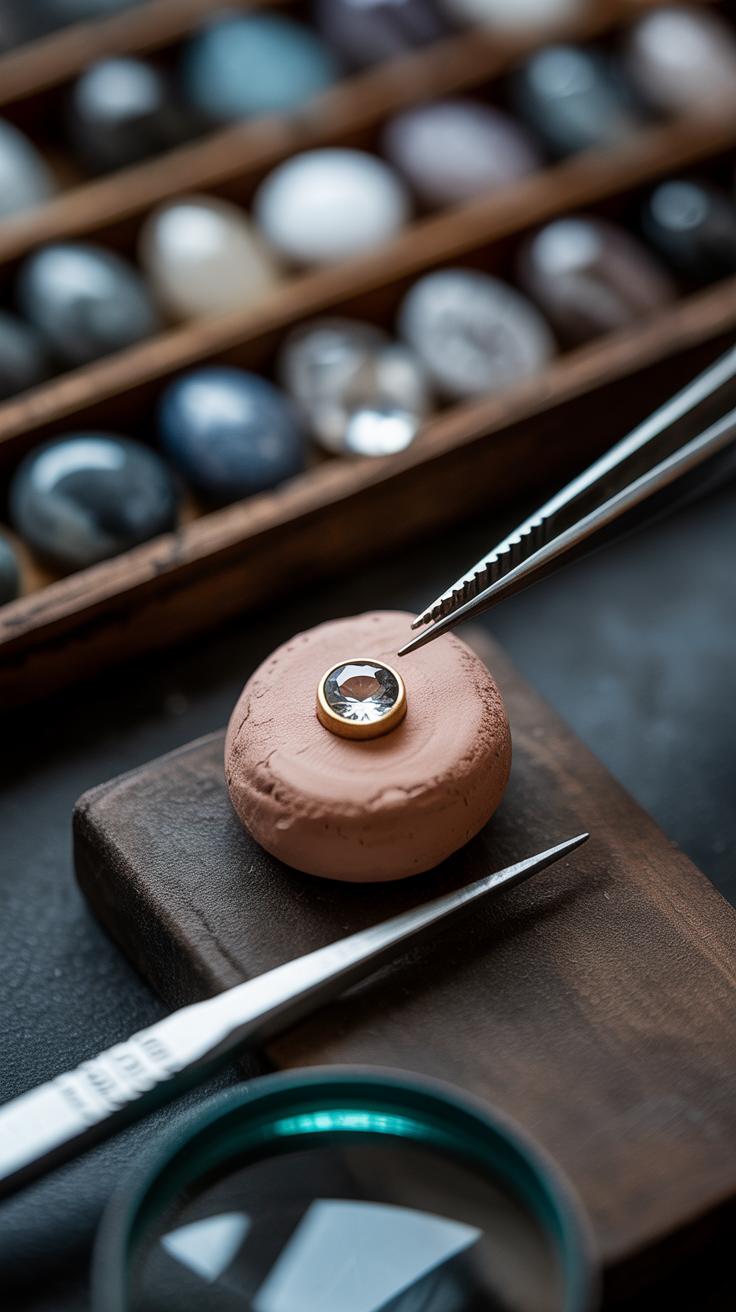
Setting stones or beads into your jewelry can feel tricky at first, but once you get a handle on a few basic methods, it opens up a lot of creative doors. Two common and simple styles you might want to try are prong and bezel settings. Each has a distinct way of holding stones—and they suit different designs and skill levels.
Prong Setting Explained
Prong setting uses small metal claws—prongs—that grip a stone tightly, usually elevated so light can reach it from many angles. The prongs bend over the edges to hold the stone firmly in place. You might have seen this often in rings that show off diamonds or other gems.
To try this yourself, start with at least four prongs around the stone. They keep it secure, but you still get to enjoy the stone’s sparkle prominently. Prongs can be simple or shaped into decorative tips, which can affect both the look and how safe the stone feels. It’s a bit fiddly—bending those prongs evenly takes patience. But once you get it right, the result feels solid and quite elegant.
Bezel Setting for Beginners
Bezel setting involves creating a metal rim or collar around the stone. You basically wrap the metal around the edges to hold the stone snugly. This style is sturdy, often more protective than prongs, especially for softer or irregularly shaped stones.
To create a bezel, you cut a strip of metal that matches the stone’s perimeter, then shape and solder it to fit exactly. After that, you place the stone inside and carefully push the bezel’s edge over the stone’s side. It takes some careful work, making sure not to damage the stone when pressing the metal over. The bezel setting tends to give a sleek, modern look—sometimes a bit less flashy but very solid.
Wondering which method suits your piece better? It might depend on the stone’s shape, your tools, or even how rough you expect the jewelry to be worn. Both techniques reward patience and give you a strong foundation for your designs.
Finishing and Polishing Techniques
Getting your piece to look neat and professional often comes down to how you finish and polish it. Polishing metal surfaces can make a huge difference, but it’s not always as straightforward as just buffing away. Sometimes, the key is to be patient and go step-by-step so you don’t accidentally remove more metal than you want.
Here’s a simple way to polish and remove tarnish or minor scratches:
- Start by gently sanding the metal with fine-grit sandpaper or polishing cloth to smooth out rough spots.
- Use a polishing compound appropriate for the metal type, applying it with a soft cloth or a rotary tool at low speed.
- Buff the surface steadily, checking frequently—sometimes you think it’s done, but a tiny spot needs more care.
- For tarnished silver, a paste of baking soda and water can work wonders, just don’t scrub too hard or the finish might dull.
- Wipe off any leftover compound with a clean cloth and inspect under good light to catch missed areas.
When it comes to cleaning jewelry safely, you want to avoid harsh chemicals, especially on pieces with delicate stones or coatings. Mild soap and warm water often do the trick.
- Soak your jewelry briefly in soapy water, then gently brush with a soft toothbrush around nooks and grooves.
- Rinse thoroughly but gently—you don’t want water trapped in tiny crevices that could cause damage later.
- Dry with a soft towel or let air dry on a clean cloth to avoid water spots.
- If your piece is very delicate, a simple wipe-down with a polishing cloth might be safer than any liquid cleaning.
Sometimes, the best way to get a professional shine is just careful, consistent attention and knowing when to stop polishing. Overdoing it can dull your work instead of improving it—that’s one thing I’ve learned after a few over-polished pieces lying around.
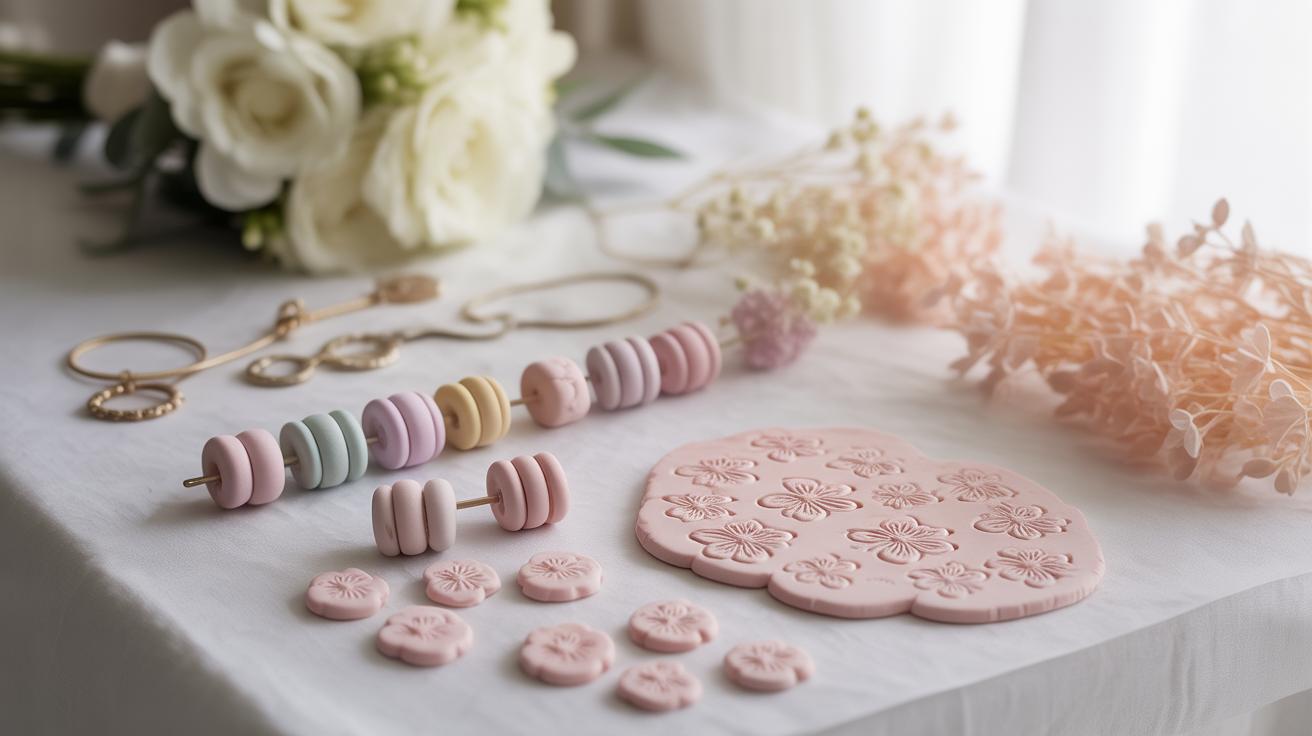
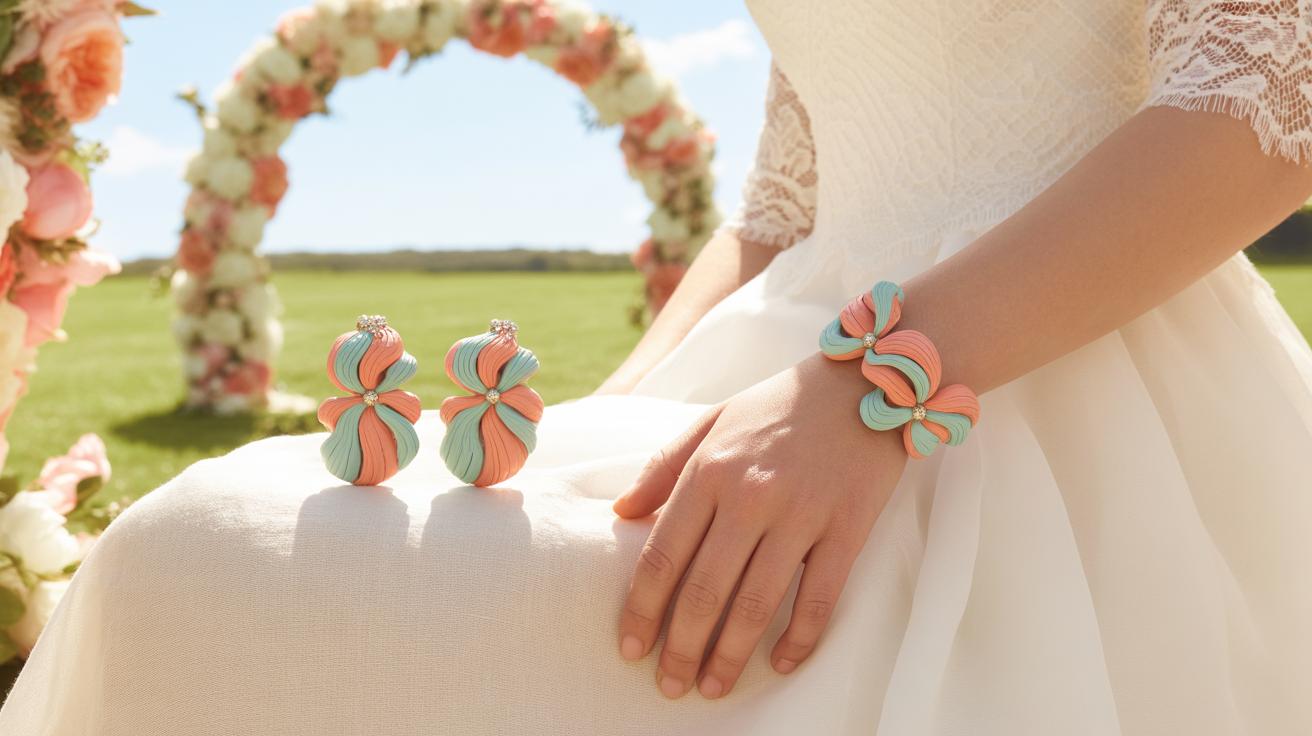
Design Principles for Handmade Jewelry
When planning your jewelry projects, thinking about basic design principles can really shape how your pieces come together. Balance, for example, isn’t just about making things equal on both sides—it’s more about creating a sense of harmony. Sometimes one side can carry more weight or detail, but the overall feel still feels right. You might try arranging beads or charms so that nothing feels too heavy or cluttered in one spot. This might mean clustering smaller elements to offset a bold centerpiece.
Choosing colors can seem straightforward until you realize the same shades can feel completely different depending on how they’re combined. Pairing cool tones like blues and greens can give a calming vibe, while mixing warm reds and oranges can make your piece feel lively, but maybe a bit too much if overdone. Themes also guide your choices. Are you going for a vintage look, or maybe a modern twist? Mixing motifs, like leaves with geometric shapes, can add personality, but sometimes it can get confusing if you don’t keep an eye on the overall style.
Sometimes you might think clashing colors are a no-go, yet a bold contrast here and there can make your piece stand out. So maybe don’t be afraid to experiment—but look back at your design from different angles and light to see if it still works for you. What kind of story do you want your jewelry to tell? Asking yourself that helps steer your choices beyond just what looks nice at first glance.
Troubleshooting Common Issues
Fixing broken connections
Broken clasps, loops that spring open, or snapped wires are some of the most frustrating things when making jewelry. You might think a busted clasp means starting over, but often it’s just a small fix that can save your piece.
Try these steps before tossing anything out:
- If a loop opens, use round-nose pliers to gently close it back. Avoid squeezing too hard—you don’t want to weaken the metal further.
- Snapped wires can sometimes be reconnected by wrapping the broken ends securely with thin wire, creating a new loop. It won’t be invisible, but it’s functional and neat.
- For clasps, check the spring mechanism first. Sometimes dirt or slight bending causes them to stick. A little gentle bending or cleaning can bring them back.
- Replacement parts are an option, but repairing in place can teach you more and avoid wasting materials.
Fixing these small details yourself builds confidence. That said, some breaks might be too severe to repair neatly, so knowing when to start fresh is important too.
Preventing material damage
Damaging beads or metals during crafting happens more often than you’d expect, especially when rushing. I once cracked a semi-precious stone simply by holding it too tightly with pliers—lesson learned.
To reduce risks, a few simple habits help:
- Use the right pliers. Flat-nose ones wrapped with masking tape protect delicate pieces.
- Don’t apply excessive force. Sometimes slow and steady wins over brute strength.
- Keep beads on soft surfaces. Working over a padded mat cuts down the chance of chips from accidental drops.
- Store metals properly. Avoid mixing steels and softer metals in the same container to prevent scratches.
- Test your wire or thread with your beads first. Some beads don’t like sharp edges and can crack unexpectedly.
Sometimes you think damage is unavoidable, but often tiny adjustments in handling prevent it. What one learns through trial and error might have saved hours if only they’d slowed down a bit.
Expanding Your Skills with Advanced Techniques
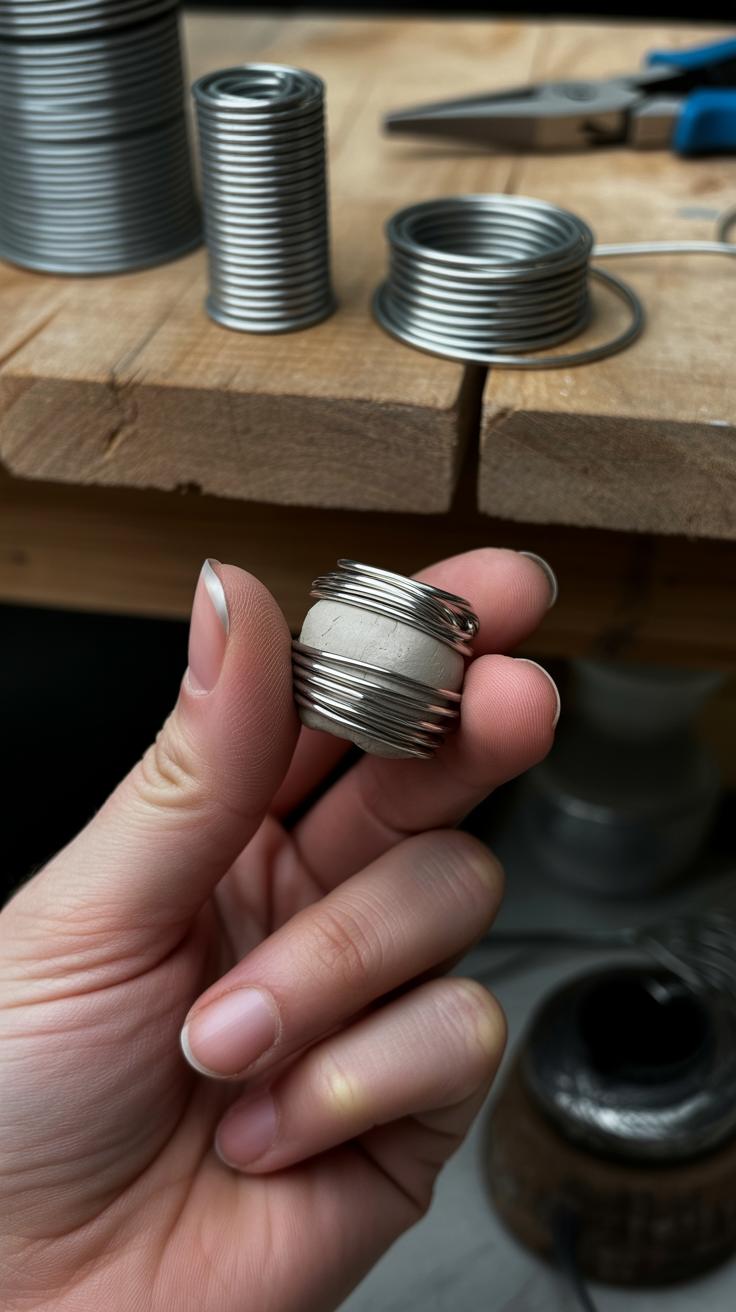
Once you’re comfortable with the basics, it’s natural to want to push a bit further—try techniques that challenge you and add complexity to your work. For example, advanced wire work can really change what you’re able to create. Think about coiling—wrapping thin wire tightly around a thicker base wire to add texture or pattern. Or weaving wire, which involves intertwining strands in intricate ways, almost like making a tiny metallic fabric. Some even try knitting wire, which feels unusual at first but opens up new shapes and forms you simply can’t make with plain bending.
It might seem tricky but breaking these down step-by-step helps. I remember the first time I tried coiling; it was fiddly, but once I got the hang of it, the extra detail added a lot to my pieces. I think that once you experiment, your style can evolve naturally.
Another pathway is mixing materials. This is where you step beyond just metal or beads. Imagine combining metals with fabrics—like weaving thin strips of leather or silk with copper wire. Or layering rough stones next to polished metals for interesting contrasts. There’s no single rule here, which makes it both freeing and slightly confusing at times. You might ask yourself: what works visually? What holds up physically? I find testing and tweaking as I go often leads to the best outcomes.
To learn these, resources help a lot—books focused on wire techniques, online tutorials, even local workshops could be worth exploring. Sites like YouTube or jewelry-specific blogs provide detailed videos that let you pause and rewind, which is priceless. Also, joining a maker community, online or in person, helps because you pick up tips and tricks that aren’t in any tutorial.
Conclusions
As you try these jewelry techniques, you will find your skills grow with each new project. You learn how to combine tools and materials in creative ways that express your style. Practice is key to improving, so keep experimenting with what feels right for you.
Mastering essential jewelry methods opens a world of crafting possibilities. You can make gifts, sell your creations, or simply enjoy the satisfaction of making something beautiful by hand. Your journey with jewelry starts here, with practical skills that lead to creative freedom.