Introduction
Planning a wedding can feel like a big task, but breaking it down into clear steps helps make it easier and enjoyable. This guide will walk you through the key parts of planning your wedding. You’ll learn how to set your budget, choose the right venue, and pick everything needed to make your day special.
Planning well helps you feel less stressed and more excited for your wedding. From choosing the guest list to designing invitations and arranging the ceremony, this guide will help you stay on track and create a day that you and your guests will remember happily.
Setting Your Wedding Budget
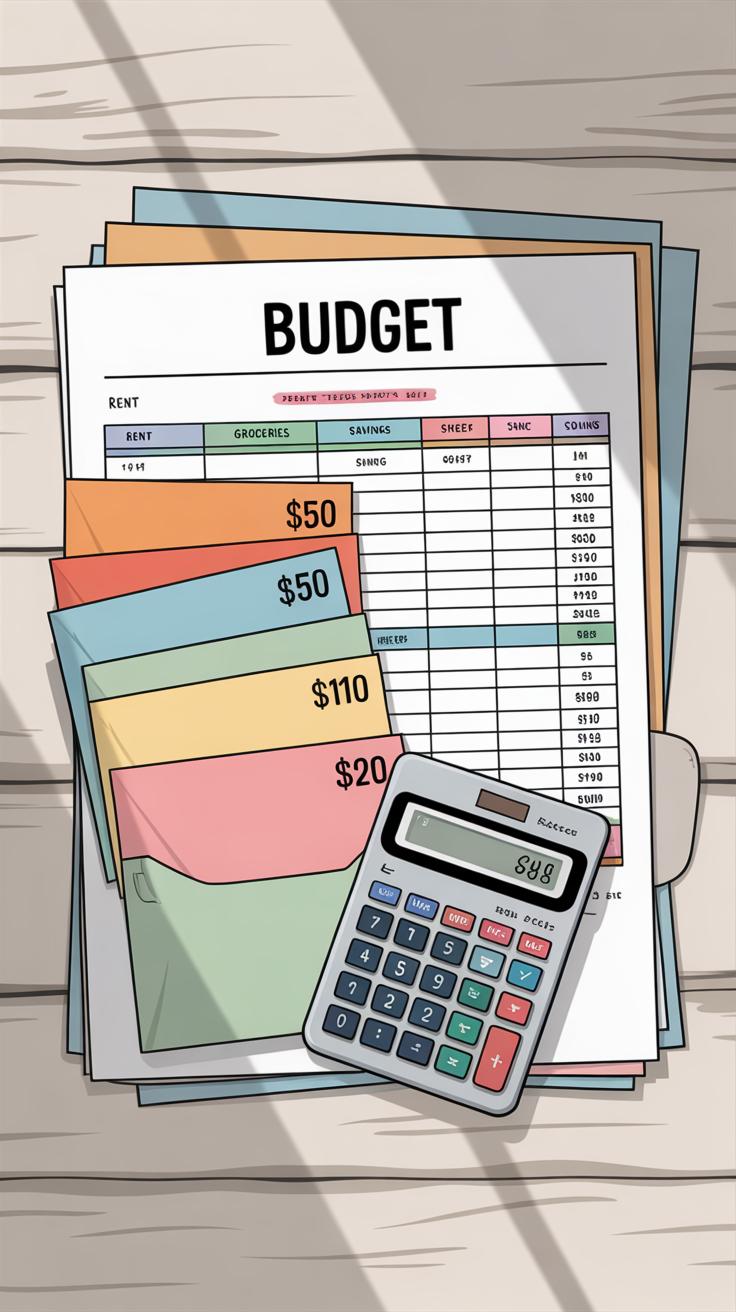
Starting your wedding planning with a clear budget can really save you a lot of confusion and stress later on. Think about all the parts—venue, food, attire, decorations, entertainment, photography—everything adds up quickly. It’s easy to forget smaller costs like tips, transportation, or even marriage license fees. Try listing all these out before you do anything else.
Once you have a general idea, prioritize what matters most to you. Maybe the venue is a non-negotiable splurge, but you’d be fine cutting back on flowers. Or perhaps the food is your top priority. Recognizing this early lets you shuffle funds around if needed.
Don’t expect your initial budget to be perfect. As you get quotes and firm numbers, adjust. If the numbers don’t add up, ask yourself what can be scaled down, or if you might want to increase your total budget. It’s a balancing act, and that’s okay.
Setting a budget early is also a guardrail against overspending and the financial headaches that come with it. A common mistake is to underestimate costs or ignore the smaller expenses. Nothing throws a wrench in plans quite like unexpected bills piling up. Some couples, for example, start with a ballpark figure but don’t update it once details are finalized—leading to a shock closer to the date.
Keeping track is key. A simple spreadsheet works well. List each category, estimated costs, actual spending, and remaining budget. Update it regularly as you book vendors or make purchases. It doesn’t have to be fancy—sometimes a notebook works just as well if you’re more comfortable there. Some free online tools and apps can help too, if you want something more automated.
As costs become clearer, revisit your priorities and adjust. If your photographer costs more than expected, maybe the decor budget shifts a bit. It’s better to tweak along the way than feel stuck or surprised. Wouldn’t you agree that a little flexibility goes a long way?
Choosing the Wedding Date and Venue
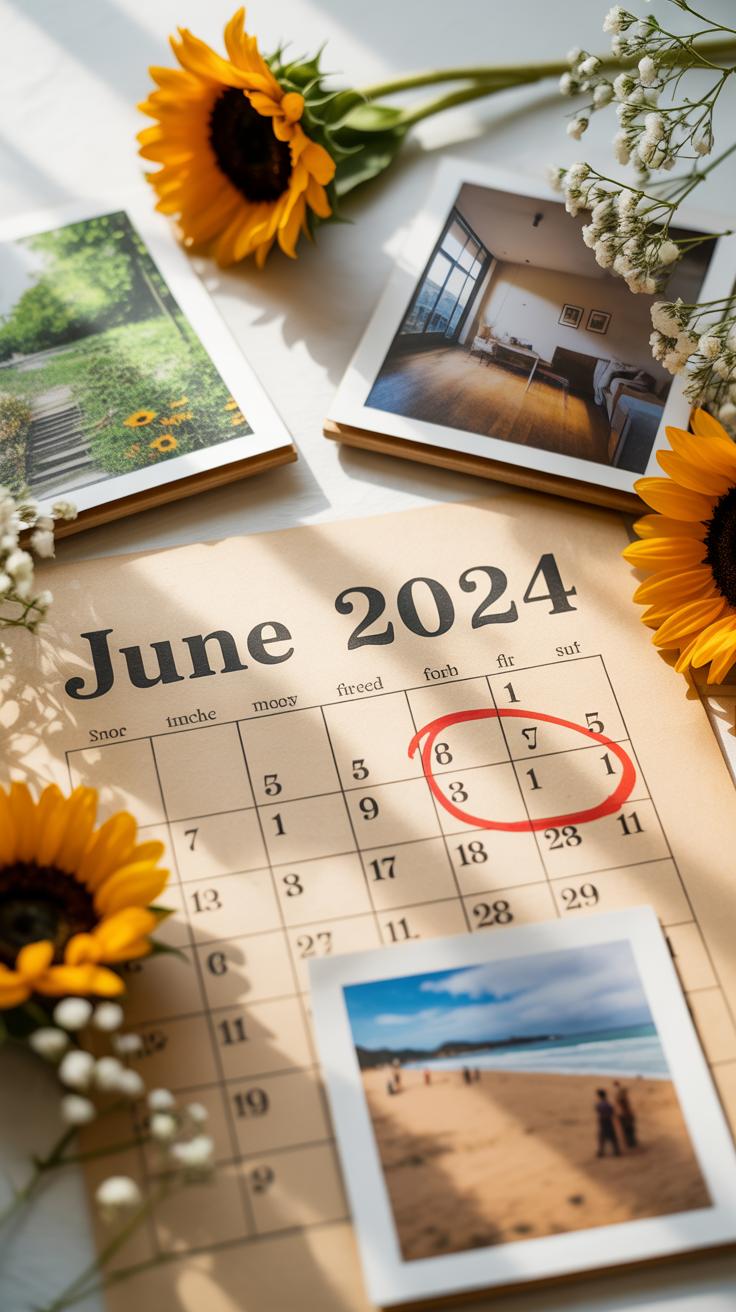
Finding the Perfect Date
Picking the right date feels like a mix between strategy and guesswork. You want enough time to plan, but also to give your guests a heads-up so they can clear their calendars. Think about the season—you might prefer spring for flowers or fall for mild weather. But then again, autumn can bring unexpected rain, and summer might be too hot for some.
Don’t overlook holidays. Some dates might seem convenient, like a long weekend, but others could clash with family commitments or travel plans. If your guests mostly travel from out of town, a weekend is usually better, but sometimes a Friday works if you want to save costs or snag venues that offer deals on weekdays.
Looking at your own timeline, are you hoping for a quick wedding? Or do you want plenty of time to nail every detail? Setting the date early helps solidify plans and gets your venue on board before others grab your spot.
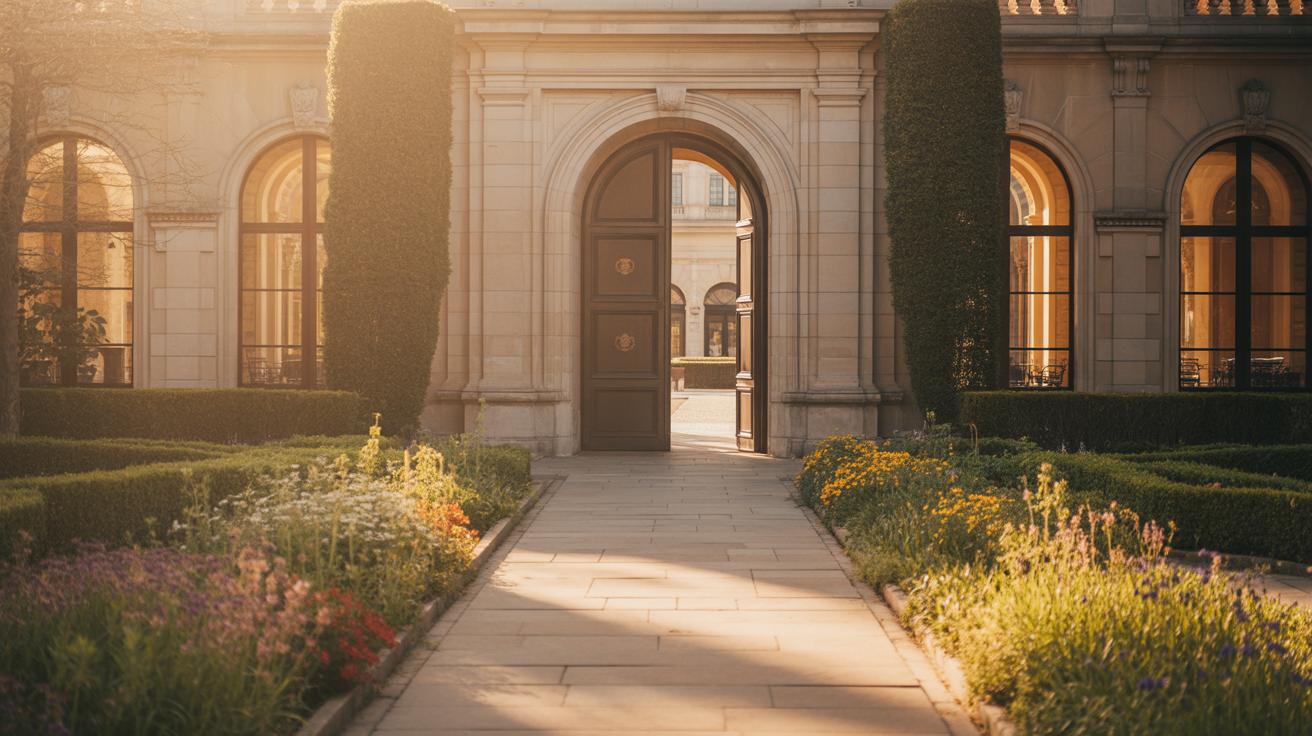
Selecting a Venue That Fits Your Style
Finding a venue that feels “right” isn’t just about appearance. You need to consider guest capacity first. Too small, and it feels cramped. Too large, and it can look empty or inflate costs. Match your guest list size with venue capacity—this saves headaches later.
Next, think about your wedding vibe. Are you imagining a rustic barn or a sleek modern hall? Maybe something outdoors? The venue sets the tone for everything else, so make sure it fits your style but also your budget.
When visiting venues, take notes and photos. Ask about key details like available dates, rental fees, included amenities, and restrictions (alcohol policies, noise curfews, etc.). Don’t hesitate to compare a few spots—even if the first one feels perfect. You’ll want to weigh options before committing.
Also, book as early as possible. Popular venues, especially those with charm or prime locations, fill up fast—sometimes more than a year ahead. That early reservation can save you from last-minute stress.
Creating Your Guest List and Sending Invitations
Building a Guest List That Works
When creating your guest list, start with the total capacity of your venue. It’s easy to lose track and invite more people than the space can comfortably hold, which can quickly blow your budget. Begin by listing your immediate family and closest friends—those you can’t imagine your big day without. Then, add extended family, close colleagues, and perhaps a few others. You might find yourself juggling who really needs to be there versus who “should” be there.
Think about plus-ones carefully. Giving everyone a guest can be costly and space-consuming. Maybe limit plus-ones to those in serious relationships or long-term partners, rather than every single invitee. It’s a bit awkward—there’s no perfect rule, just what you feel comfortable with. And what about work friends? If you invite a few, you may have to invite the whole team. Sometimes drawing the line here is just about personal preference and courtesy.
Invitation Design and Management

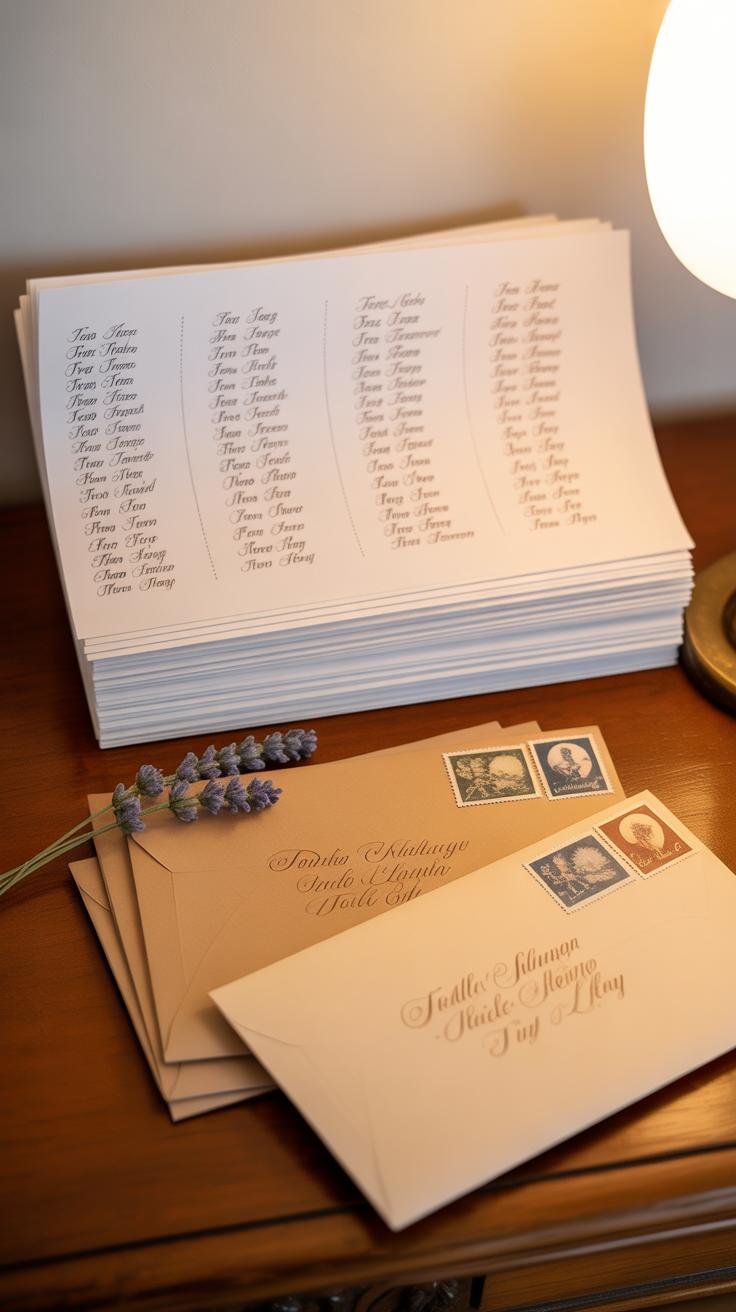
Once your list is in shape, collect mailing addresses. This might mean reaching out directly or asking family members for help. Online tracking tools can help keep this organized, so you’re not scrambling later.
For invitations, you can choose between traditional printed cards or digital invites. Printed ones add a formal touch but come with printing and postage costs. Digital invitations save money and offer quick RSVP tracking but may feel less personal. The design should clearly state the essentials: date, time, location, and RSVP deadline. Keep wording simple and readable—no need for fancy fonts that confuse.
Send invitations about eight weeks before your wedding date. For destination weddings or long-distance guests, earlier is better—maybe twelve weeks out. Track RSVPs as they come in. It’s helpful to have a list or spreadsheet where you can mark responses and note any dietary restrictions or other details you’ll need for seating and catering.
Planning the Ceremony and Reception Details
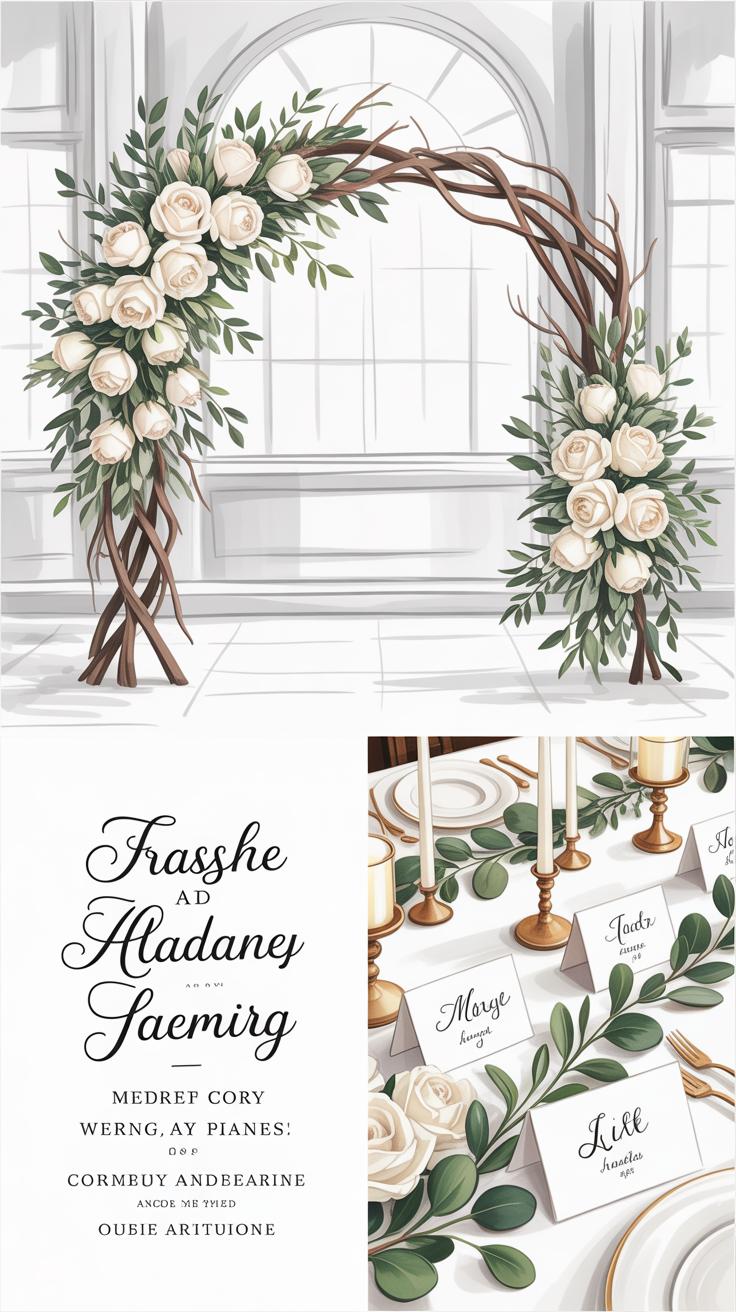
Planning the flow of your ceremony and reception takes some thought—and patience. Start by mapping out the key moments you want: the walk down the aisle, vows, ring exchange, and any readings or rituals. Think about who will do what—will you have a friend read a poem or someone else participate? Choose an officiant you trust, someone whose style fits your ceremony mood, whether formal or casual.

Music sets the tone, so pick pieces that feel meaningful. Maybe classical for walking in, something lighter for the recessional. At the reception, music choices can shift—dance tunes versus dinner ambiance, for instance. Seating takes a bit of juggling. Decide whether to assign every seat or just tables. Group family, friends, coworkers, and anyone who might get along (or not) carefully.
Timing matters more than you think. Avoid cramming every special moment back to back. Spread speeches, cake cutting, and first dance to keep energy balanced. I once saw a reception where the toasts all happened before dinner finished—it felt rushed. Don’t let that be you.
Designing the Ceremony
Choosing your ceremony style often means balancing tradition and personality. Are you leaning toward religious customs or something more modern? Think about the wording for your vows and readings. Writing your vows adds a personal touch, even if you keep them simple. You don’t have to be poetic, just honest—that tends to resonate more than anything ornate.
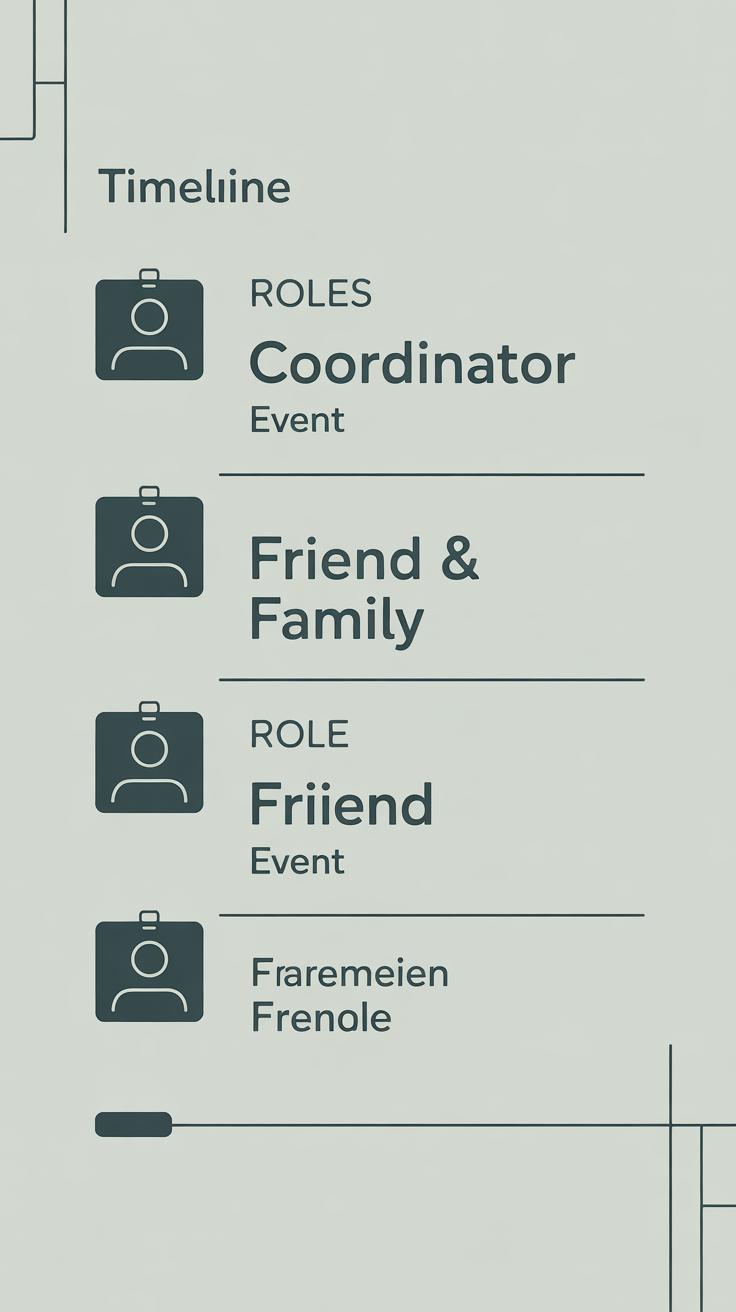
Roles can include readers, ushers, flower girls, even a family member giving a blessing. These choices help people feel involved but beware of adding too many complex parts. Simple can be powerful. If you want rituals—like sand mixing or unity candles—make sure they’re meaningful to you, not just “because.”
Organizing the Reception
Food and drinks shape the reception atmosphere. Decide if you want plated meals or buffet style. Think about guests with dietary needs—it’s easy to forget gluten-free or vegetarian options. Offering a variety of drinks, both alcoholic and not, keeps people happy and hydrated. You might want a signature cocktail but consider if having too many options is overwhelming.
Entertainment can be a DJ, a band, or even a playlist you control yourself. Know your crowd and venue space—loud music might work differently indoors than outside. Allow some downtime, too. Guests appreciate moments to chat and eat without noise.
Seating plans should aim for comfort and conversation. Don’t hesitate to move someone if seating feels off. Transitions between activities—like moving from dinner to dancing—go smoother with clear cues. Lighting shifts, announcements, or small breaks all help keep things flowing without confusion or awkward pauses.
Choosing Attire and Vendors

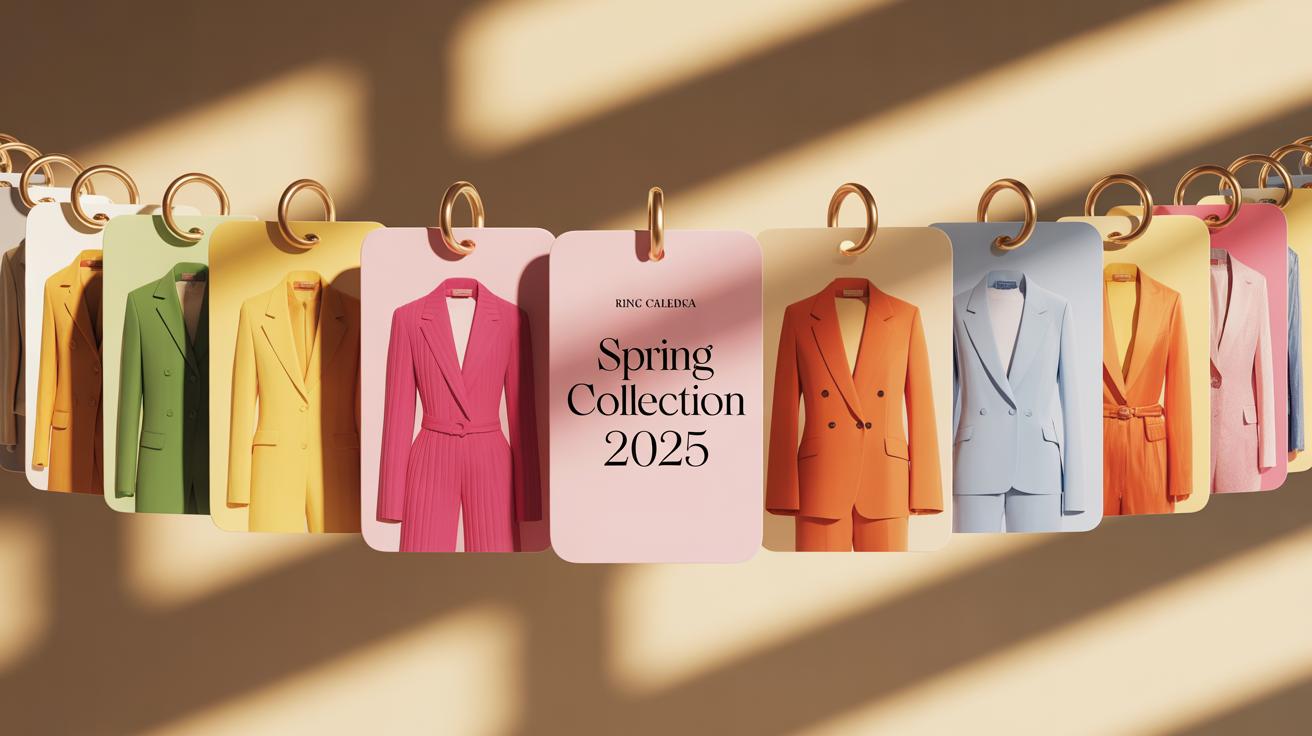
Selecting Your Wedding Outfit
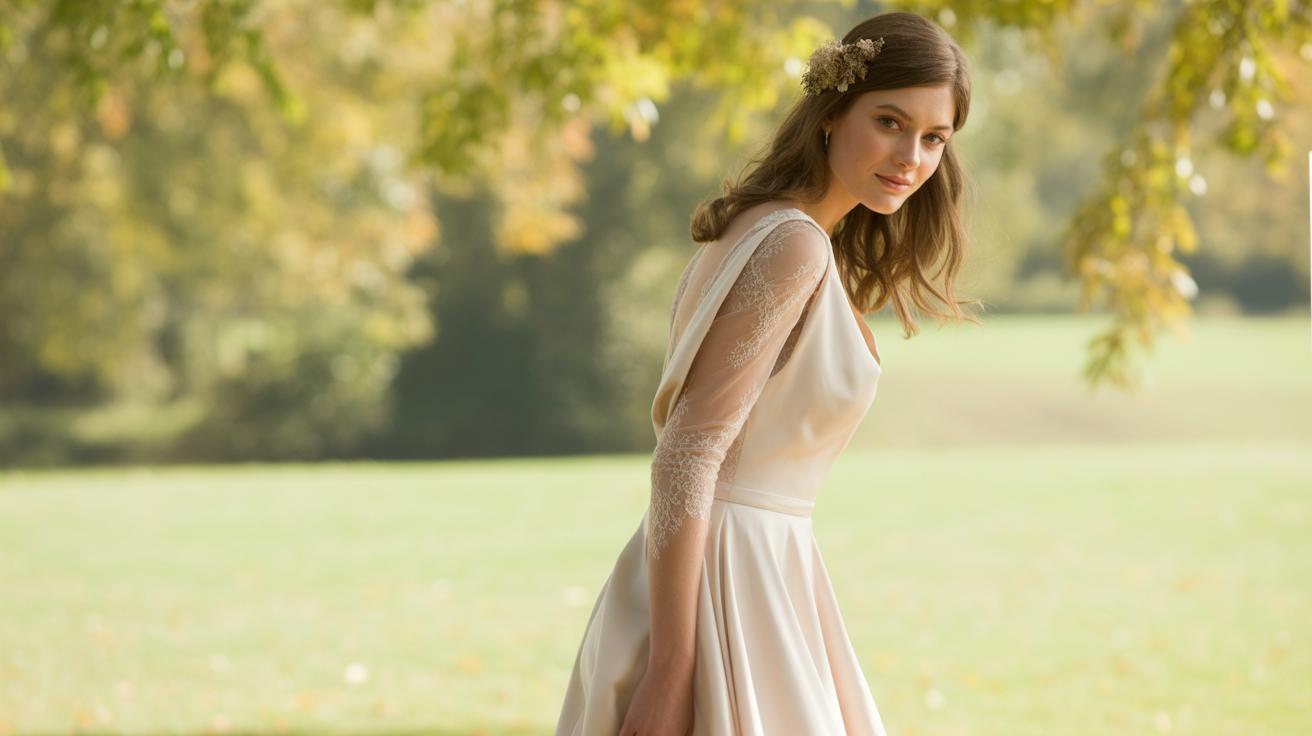
Finding the right wedding outfit takes time and patience—sometimes more than you expect. Start early, ideally six to nine months before the wedding, especially if you want a custom dress or suit. Browsing online shops and bridal boutiques helps you get a sense of styles you like. Don’t limit yourself to traditional options; sometimes less expected choices fit your personality better.
Set a clear budget before falling in love with a dress or tuxedo that stretches your finances. Remember to include costs for alterations, shoes, and accessories. Alterations can make or break the fit, so leave at least a few weeks for multiple fittings. If you wait too long, rushing the process can get stressful and mess with your confidence on the big day.
Hiring Key Vendors

Your vendors shape much of the wedding’s feel, so pick those who understand your vision but also respect your budget. When researching, look at reviews, portfolios, and ask friends for referrals. A photographer’s style, a florist’s arrangements, or a caterer’s menu should all resonate with what you picture.
Before booking, ask specific questions like:
- Have you worked at my venue before?
- What’s included in your packages or services?
- Can you accommodate special requests or dietary needs?
- What is your cancellation or backup plan?
Don’t rush this step. Sometimes, a vendor who seems perfect at first doesn’t fit as you dig deeper. Scheduling tastings, test shoots, or sample arrangements can help confirm your choice before committing. Keep a clear calendar because many vendors book quickly, especially on popular dates.
Scheduling the Day and Assigning Roles
Creating a clear timeline for your wedding day can feel overwhelming, but breaking it down hour by hour helps keep things manageable. Start from the morning preparations—hair, makeup, dressing—and set realistic times so you’re not rushing. For example, allow about two to three hours for getting ready, then build in extra buffer time for photos before the ceremony. Think about when key moments will happen: the ceremony itself, photo sessions, speeches during the reception, and the first dance. Spacing these out reasonably prevents everyone from feeling rushed or stuck waiting around.

Assigning roles to your helpers makes a big difference. Give each person a specific task like coordinating vendors’ arrivals, managing the guest book, or handling transportation. Be clear about what you expect but keep instructions simple. Share printed schedules with your main helpers and vendors so everyone stays on the same page without constant check-ins.
Plan backups for potential hiccups: what if it rains during an outdoor ceremony? Or if a vendor is late? Having an alternate indoor location or a contact to call in emergencies can save the day. Delays are a pain, but a little buffer in your timeline and a few backup plans can help you stay calm, even when things go sideways.
Managing Your Wedding Registry and Gifts

Creating a Useful Wedding Registry
Setting up your wedding registry can feel like a task you’d rather postpone, but it’s actually a chance to think about what you genuinely need for your life together. Start by listing essentials first—kitchenware, bedding, items that fit your daily routines. If you’re moving in together, imagine what’s missing or could be upgraded. It’s okay to include some fun or less practical things too; just keep a good balance.
Many couples choose two or three stores to spread out their options. This way, guests can pick what suits them—and you avoid having everything tied to one place. Online registries also help you merge different store selections into one link, making it easier to share. Don’t forget to include various price points so everyone feels comfortable buying gifts. Sometimes, an unexpected item becomes a favorite—so leave room for spontaneity.
Handling Gifts and Thank You Notes
Tracking gifts gets tricky once they start arriving. Set up a simple spreadsheet or app where you jot down who gave what and when. This helps a lot when it’s time to write thank you notes—because yes, you should start those soon after the wedding, even if you’re feeling overwhelmed by everything else going on. It doesn’t have to be lengthy; a heartfelt, personal note goes a long way.
If you get duplicates, think about donating extras or exchanging them, but keep mental notes of those donors so you don’t accidentally skip someone. Some couples keep thank you cards with gifts as they arrive, others try to sit down regularly to write. Either way, pacing yourself helps prevent a last-minute scramble, which is usually no one’s idea of fun after a big day.
Final Preparations and Enjoying Your Wedding Day

Final Checks Before the Wedding
In the last few days, your focus should narrow to a handful of crucial details. Double-check all contracts with your vendors—reconfirm times, locations, and services. It’s easy to assume things are set, but a quick call or email can save stress later.
Make sure your dress or suit fits as expected. Maybe try it on again and move around in it; sometimes, minor alterations show up only then. Also, confirm final guest counts with your caterer and venue. People change plans, and your headcount may shift.
Don’t forget to pack essentials—wedding rings, your vows if written down, emergency kits (think safety pins, tissues). These little things get overlooked but are so important on the day.
Staying Calm and Enjoying the Celebration
When the wedding day arrives, it’s easy to feel overwhelmed. But remember, this day is about you. Pause to breathe now and then. Maybe step outside for a few quiet moments or check in with someone calm to ground yourself.
Try to stay present. It sounds cliché, but focusing on small details—the laughter of a loved one, a shared glance—helps make memories real. Don’t get too caught up in the schedule; spontaneity can be part of the fun.
Above all, give yourself permission to enjoy. Yes, things might not be flawless. But that doesn’t matter. What stays with you are feelings, connection, and those little moments you choose to notice.
Conclusions
Wedding planning is a process that takes time and patience. Each step you complete brings you closer to the day you dream about. Remember to keep your needs and wishes in focus, but also be ready to make some choices quickly to keep things moving.
With careful planning and good decision-making, you can enjoy the journey and create a wedding day that feels just right for you. Use this guide as your helper to stay organised and calm. Your perfect wedding day is waiting ahead, and with steady steps, you’ll get there easily.