Introduction
Hand sewing is a valuable skill that anyone can learn and use to enhance their wardrobe. It involves using a needle and thread to mend, alter, or decorate clothes. These easy hand sewing projects can help you bring new life to your old clothes, making your wardrobe more personal and unique.
This article explores simple and practical hand sewing projects designed for all skill levels. Whether you want to fix a hem, add cute patches, or create custom embellishments, these projects can save you money and give your clothes a fresh look. You will also find useful tips to sew comfortably and effectively, helping you gain confidence in your sewing skills.
Getting Started with Hand Sewing
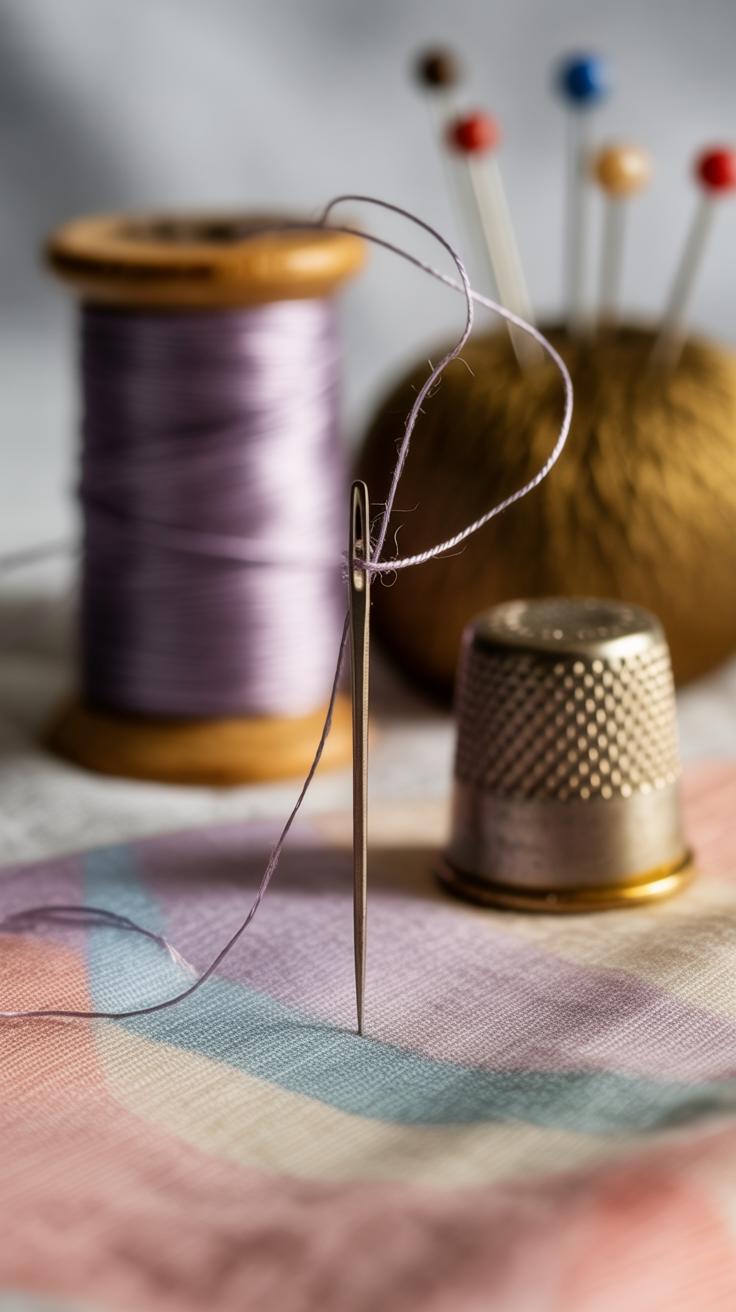
Before you start stitching your wardrobe upgrades, it’s good to have the right tools on hand. You don’t need much—just a few basics will do. Needles come in many sizes and types, so picking the right one depends on the fabric you’re working with. For lightweight fabrics like cotton or silk, a fine needle, say size 7 or 8, usually works well. Heavier fabrics like denim call for a sturdier needle, maybe size 10 or 12. Sometimes, you might be tempted to use any needle lying around, but that can make sewing frustrating or even damage the fabric.
Thread choice is surprisingly important, too. Cotton thread blends nicely with natural fabrics, while polyester thread carries more strength and stretch, making it the better match for synthetics or knits. I’ve found that matching the thread color closely doesn’t always matter—sometimes a contrast thread adds a bit of character. Just watch for thread thickness; too thin, and the seam might be weak; too thick, and it won’t pass through the fabric smoothly.
Other tools? Sharp fabric scissors are a must. Avoid using general-purpose scissors—they can dull quickly and lead to uneven cuts. A thimble might feel old-fashioned, but it can save your finger when pushing needles through dense materials. And if threading needles is tricky for you, a small needle threader can be a quiet but appreciated helper.
As for stitches, starting simple keeps things from getting overwhelming. The running stitch is the basic one—think of it as quick, even little dots connecting your fabric. Backstitch takes a bit more practice but it’s stronger, good for seams that need to hold. Whipstitch is your go-to for closing raw edges or attaching patches. Each stitch has its quirks, but once you get the hang of them, you might be surprised how much you can fix or change with just these staples.
Mending Holes and Tears
When you find a hole or a tear in your favorite shirt or pants, it’s tempting to toss it aside. But hand sewing gives you a chance to breathe new life into those pieces. The key is to choose a method that fits the size and location of the damage, so your fix holds up over time.
Small Hole Repairs

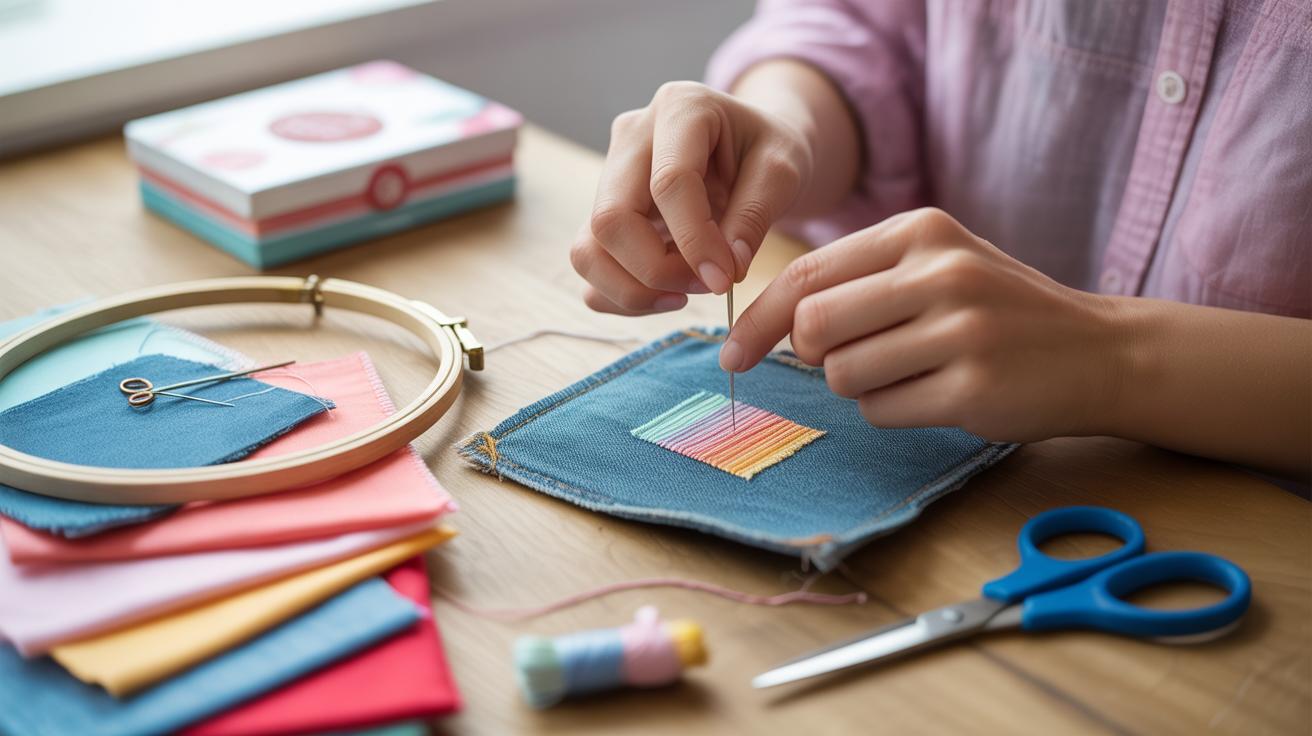
Small holes, like those caused by wear or tiny snags, can often be tackled by darning or patching. Darning involves weaving new thread across the hole, almost like reweaving the fabric itself. To do this:
- Trim any loose threads around the hole.
- Place a small embroidery hoop or frame beneath the hole for stability—this isn’t absolutely necessary but makes the process smoother.
- Use a thread that matches the fabric color, and stitch vertical lines back and forth, filling the hole.
- Next, weave horizontal stitches under and over these vertical threads.
- Keep your stitches close but not too tight, so the fabric doesn’t pucker.
If darning seems a bit fiddly, a simple patch works too. Cut a fabric piece slightly larger than the hole and pin it in place underneath or over the damaged area. Use a whipstitch or running stitch around the edges to hold it. You might feel the patch edges, but with care, it blends well enough for regular wear.
Fixing Larger Tears
Tears are trickier but not hopeless. I think it helps to think of them like a puzzle that needs steady hands. First, you’ll want to line up the torn edges as neatly as possible. Then, secure them with pins or basting stitches to keep everything from shifting while you work.
For bigger damage, patches become more than just fixes—they add strength. Cut a patch from a fabric like the original garment or something slightly heavier for reinforcement. You can place it on the inside of the garment to keep things neat or on the outside if you want to make a style statement.
Start stitching around the patch with strong backstitches or a blanket stitch. Don’t rush. Reinforce the area by sewing multiple rows of stitches parallel to each other, especially where the fabric is likely to take stress. Over time, I’ve realized that the stronger the stitch, the longer your clothes stick around.
While it’s not always perfect, these mending methods do make a real difference. Have you ever tried darning and felt stuck? It’s okay. Every repair teaches you a little more about how your clothes live and wear. And that makes your wardrobe a bit richer, I think.
Hem Adjustments Made Easy
Shortening Hems
Changing the length of pants, skirts, or dresses by hand might sound tricky, but it’s quite straightforward once you break it down. First, figure out how much you want to shorten—try the garment on with the shoes you’d normally wear and mark the new hem line with pins or chalk. You’ll want to allow a small extra margin (about half an inch) for the fold.
Next, press the hem up twice to hide the raw edge inside. This step helps keep things neat and prevents fraying. Then, take your needle and thread—matching the fabric color usually works best—and use a simple slip stitch or blind hem stitch to sew the fold in place. These stitches are nearly invisible on the outside, so your clothes won’t look altered unless you look closely.
I sometimes find that working slowly and turning the garment often saves stress and avoids puckering. It’s a bit like walking a tightrope: short, careful stitches keep everything flat and smooth. If you sew too loosely, the hem might sag later; too tight, and the fabric puckers—finding a balance comes with a little practice.
Reinforcing Loose Hems
If your hems start coming undone or hang loose, you don’t have to toss the garment out. Reattaching them by hand not only saves money but also prolongs the wardrobe’s life. Begin by smoothing out the loose hem and pinning it back in place where it should sit.
Then, using a whip stitch or a hemming stitch, sew the hem firmly but gently onto the garment. Make sure your stitches catch both the hem and the main fabric without creating bulky threads on the outside. Sometimes you might notice small gaps forming after washing or wear—if that happens, go back and add a few stitches to those spots.
Personally, I find it helpful to reinforce areas that often face stress, like side seams or corners of skirts and pants. Doing this can delay the same hem loosening again. You might wonder if all hems loosen eventually—probably, but hand stitching gives you control over how long your clothes last before they do.
Adding Patches and Embellishments
Choosing and Applying Patches
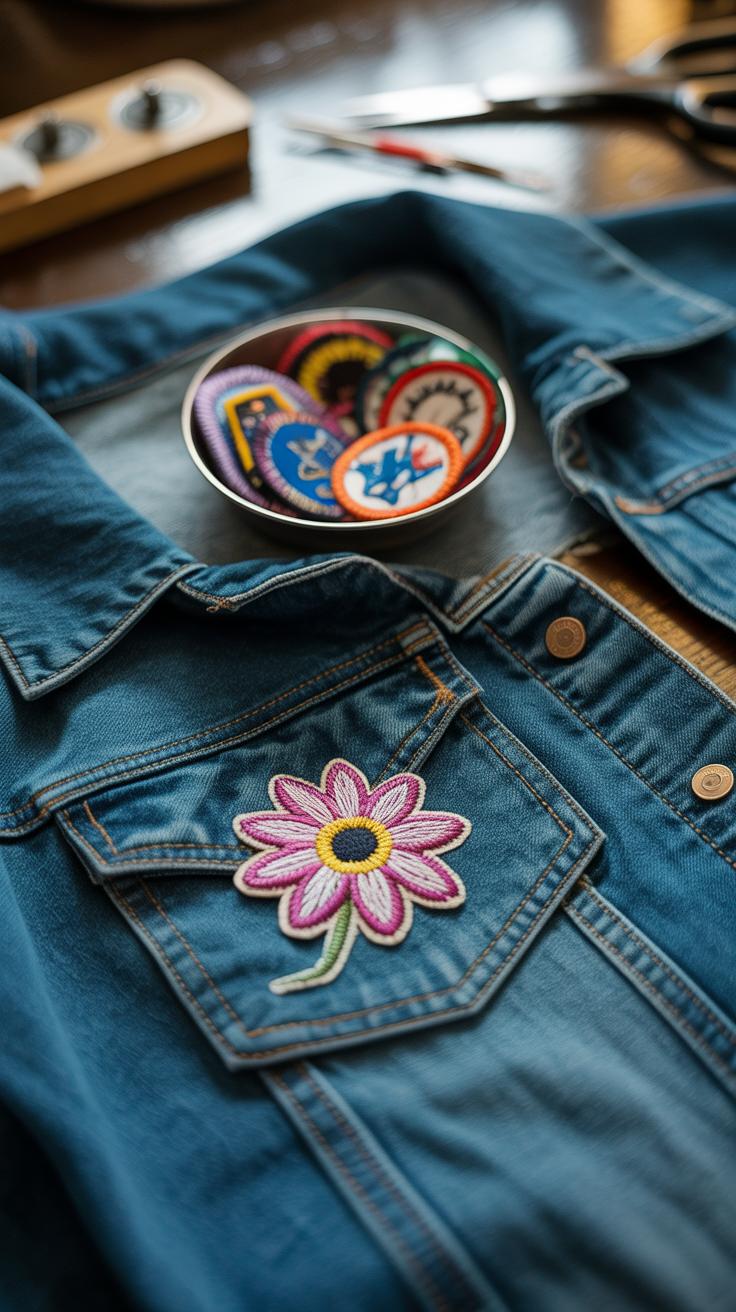
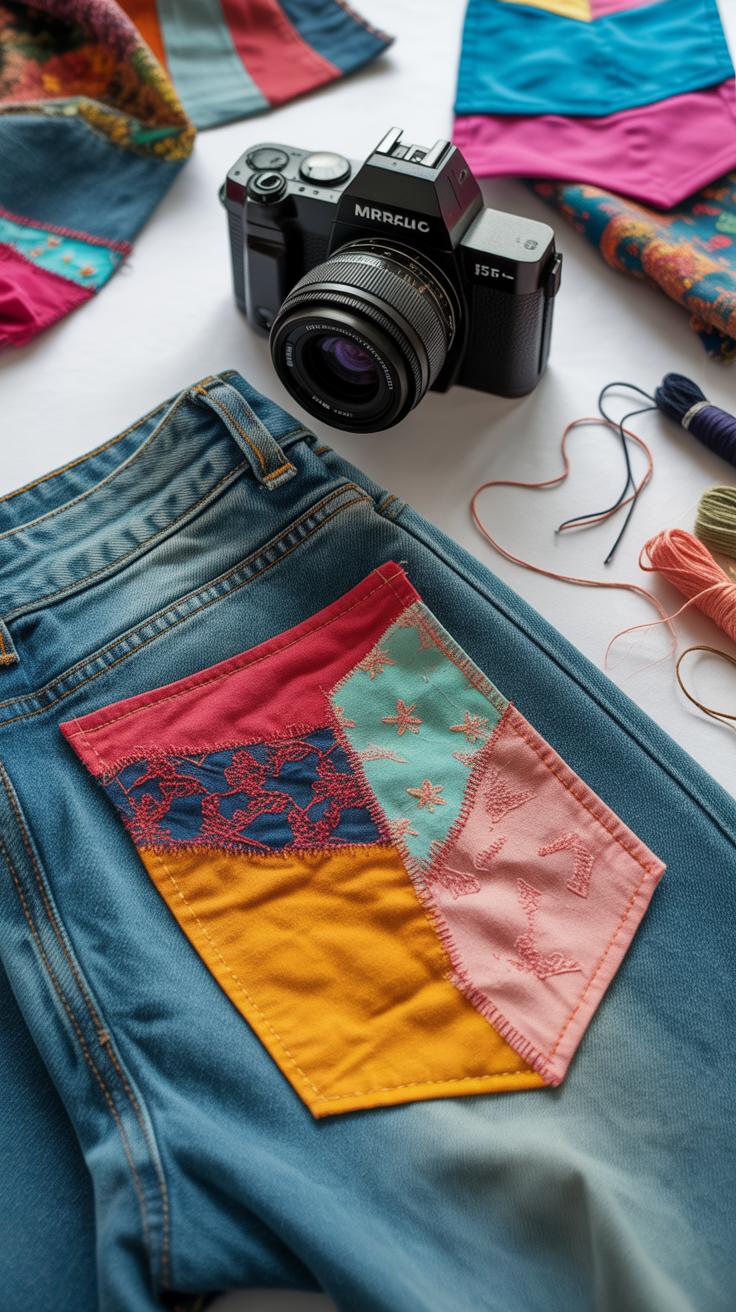
Patches come in many forms. You have the classic fabric patches—denim, cotton, felt—that work well for covering holes or just adding a bit of character. Then there are iron-on types, which feel like a shortcut, but sewing them on by hand secures them better over time. Sometimes it’s not about hiding flaws but showing off personality. Maybe you want a leather patch on your elbow or a colorful patterned patch on your jacket pocket. It’s your call.
When sewing patches to clothes, the key is to prep the area first. Smooth it out and pin the patch firmly. Use small, even stitches around the edges for a neat look, or go wild and create a raw, hand-stitched vibe. If the patch covers wear and tear, sewing all around the edges holds it longer. If it’s decorative, maybe a few strategic stitches suffice, so it doesn’t look too bulky or stiff.
Creative Embellishments with Hand Sewing
Beyond patches, beads, buttons, and simple embroidery can transform a basic garment into something quite unique. Attaching buttons by hand might seem old-fashioned, but imagine adding a cluster of small, colorful buttons along a collar or cuff—it adds subtle charm. Beads can be sewn along hemlines or scattered over a pocket, catching the light unexpectedly.
Simple embroidery stitches—think running stitch, backstitch, or little French knots—can outline seams or spell out initials. It doesn’t require fancy skills to start. I once added a small embroidered flower on a plain tee and it felt like the shirt suddenly had a story. Do you prefer delicate detail or bold statements? Either way, these small touches let your clothes say something personal without overwhelming them.
Reshaping Clothes with Darts and Tucks
Creating Darts
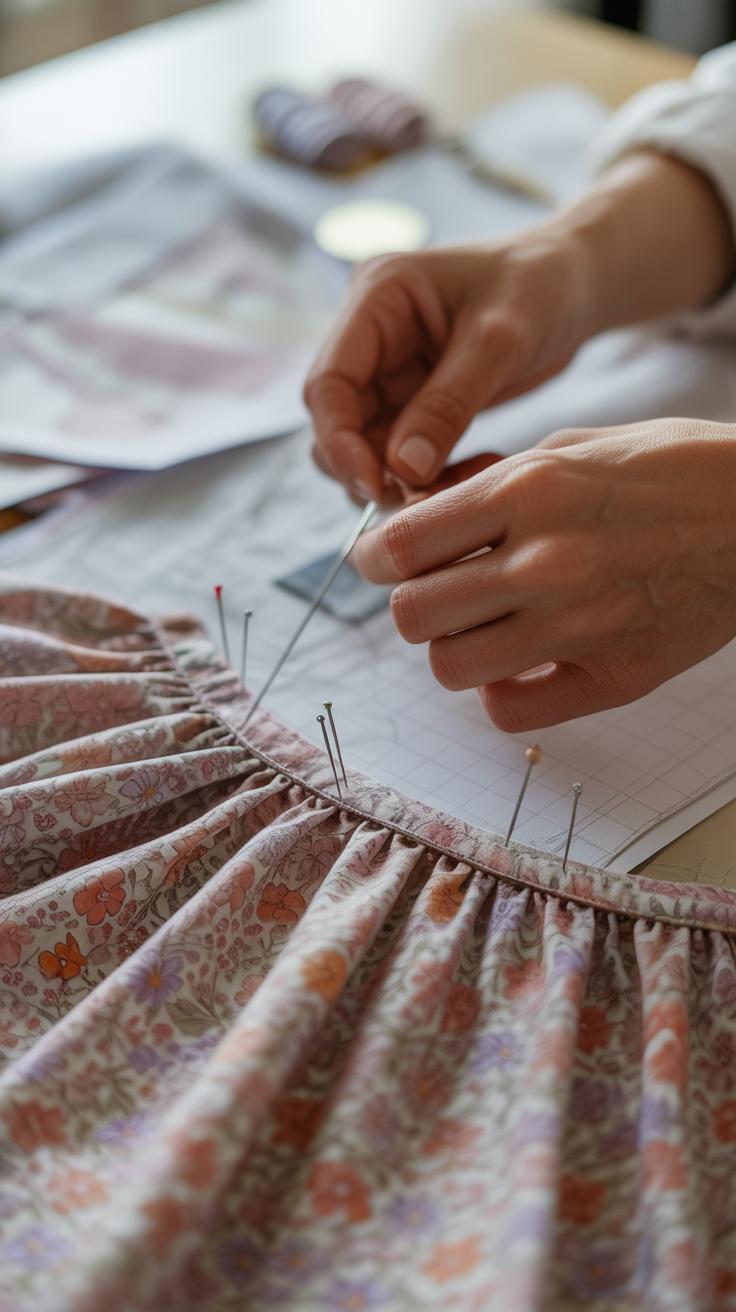
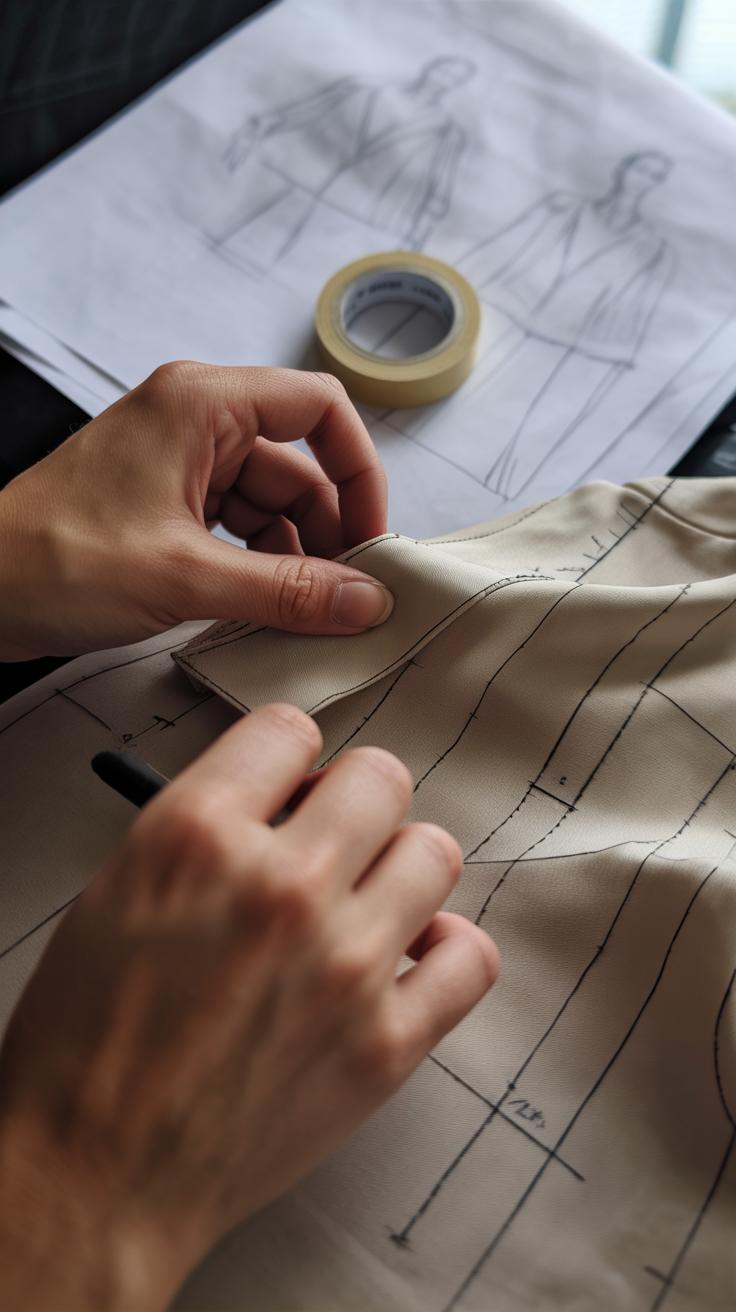
Darts are simple folds sewn into fabric that help adjust the shape of a garment, often around the bust or waist. They remove excess fabric and contour your clothes to your body’s curves, making items feel less boxy or loose. To sew a dart by hand, you start by marking the dart legs – these are the lines that will be sewn together. Then, you fold the fabric right sides together along these lines, pinning it if needed.
Use small, neat stitches starting from the wide end of the dart and tapering to the point. The narrow end pokes inward and shouldn’t have a bulky seam. I find it easier to press the dart flat toward the center or side seam for a cleaner look. Darts work well to take in an oversized shirt or dress, so it fits your shape better without needing a full remake. It’s almost like sculpting your clothes—except with a needle and thread.
Adding Tucks for Style and Fit
Tucks are folded strips of fabric sewn in place, and they can do more than just change fit. You might use them to shorten a dress or blouse without cutting fabric away, or to add some subtle texture and visual interest. When you fold a tuck, the fabric creates a ridge you then stitch down along the fold.
Unlike darts, tucks do not necessarily taper; they’re usually uniform in width and can be spaced evenly for a pattern effect. You can sew them parallel to each other to add volume control, or place single tucks vertically to slim a garment’s silhouette. I once added several fine tucks to a loose cotton shirt’s front panel, and it gave the top surprising structure and some personality without overcomplicating things.
Both darts and tucks are small adjustments. Yet, they can dramatically improve how your clothes feel and look. If you pause before tossing a too-big shirt or an oddly shaped dress, think about these techniques. Maybe a few well-placed stitches will make the difference.
Replacing Buttons and Clasps
Removing and Choosing Buttons

Removing old buttons might seem simple, but it calls for a bit of care. Use a small seam ripper or a pair of sharp scissors—slow and steady is the trick—to avoid damaging the fabric around the button. Pulling or yanking can create those tiny holes or tears you don’t really want.
When you’re choosing replacements, think not just about matching the original buttons exactly but maybe about what fits the personality of the garment now. Maybe that shirt could use a slightly bigger button for contrast, or a different material to add some texture. Sometimes, going with something that’s close but not identical can refresh the whole look without feeling mismatched.
Also, consider the button’s function. Is it going to take a lot of strain, like on a coat? Then sturdier options like metal or thick plastic work better. For lighter fabrics, a delicate shell or wood button might be fine. Don’t rush this choice; picking the “right” button matters more than you might expect.
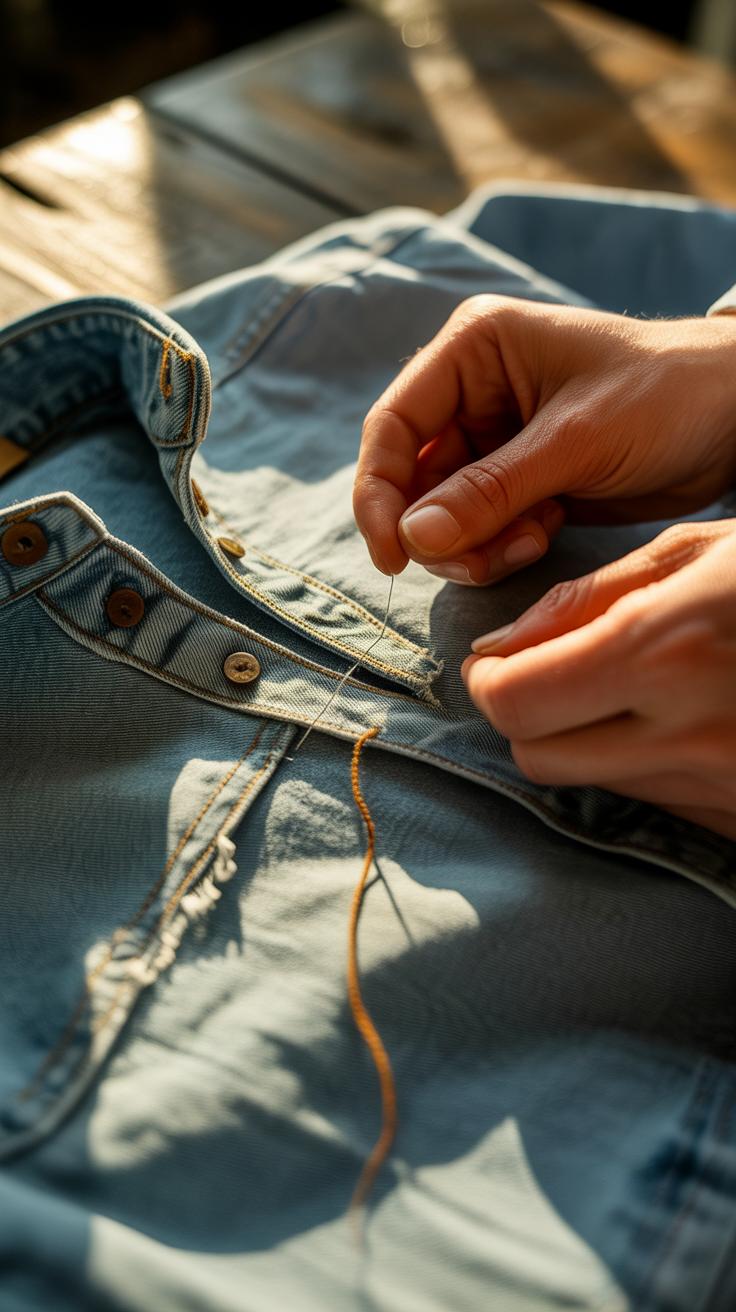
Sewing Buttons Securely
Sewing buttons on by hand is genuinely a skill you can get comfortable with pretty quickly. Start by threading a needle with strong thread—double it for extra hold—and knot it firmly at the end. Place the button exactly where you want it; you might want to mark the spot lightly with a pencil or tailor’s chalk.
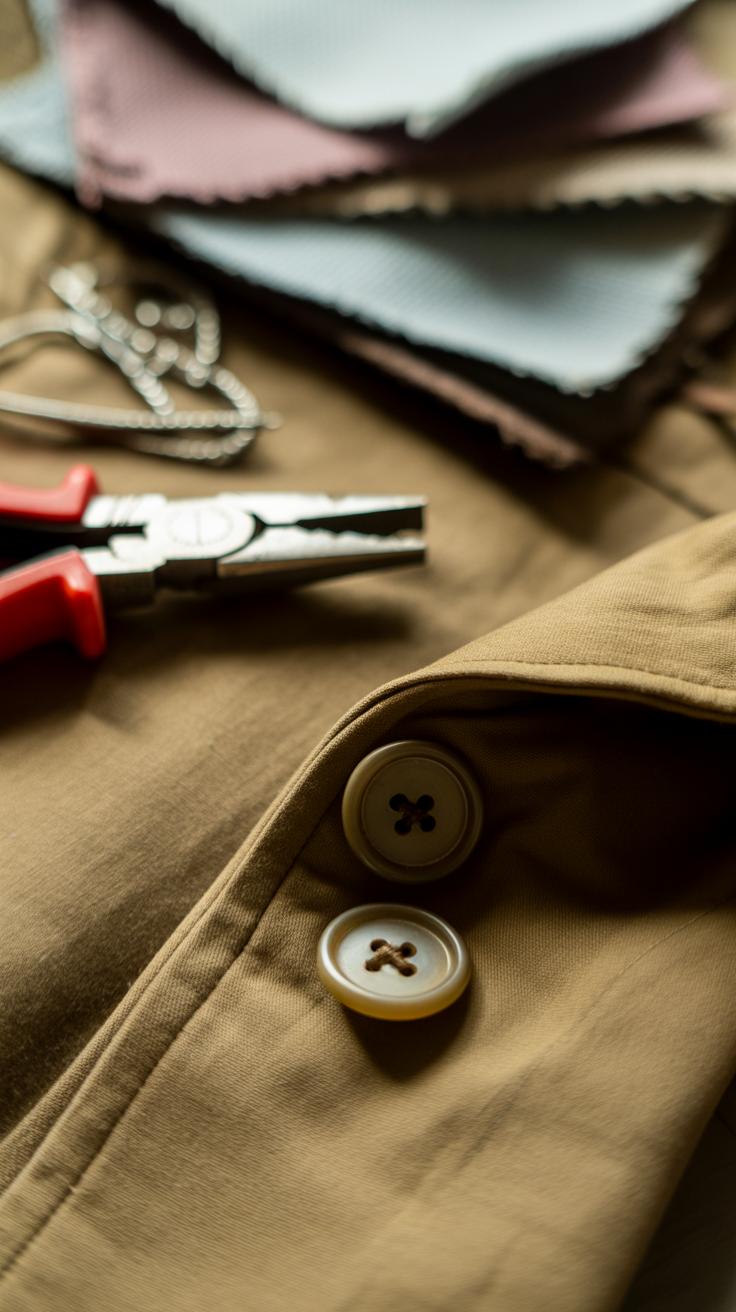
Push the needle up through the fabric from underneath, then thread it through one hole of the button, then down through the opposite hole. Repeat this back-and-forth a few times—usually around five or six stitches per hole keeps the button tight.

For buttons with four holes, sew in a crisscross pattern or parallel rows, depending on the original style. Leave a tiny gap between the button and fabric if the garment is thick—that little space helps when you button up. Finally, wrap the thread a few times around the stitches beneath the button to create a shank, then knot everything securely on the inside. You want these buttons to stay put, right? This method usually does the trick.
Simple Decorative Stitches
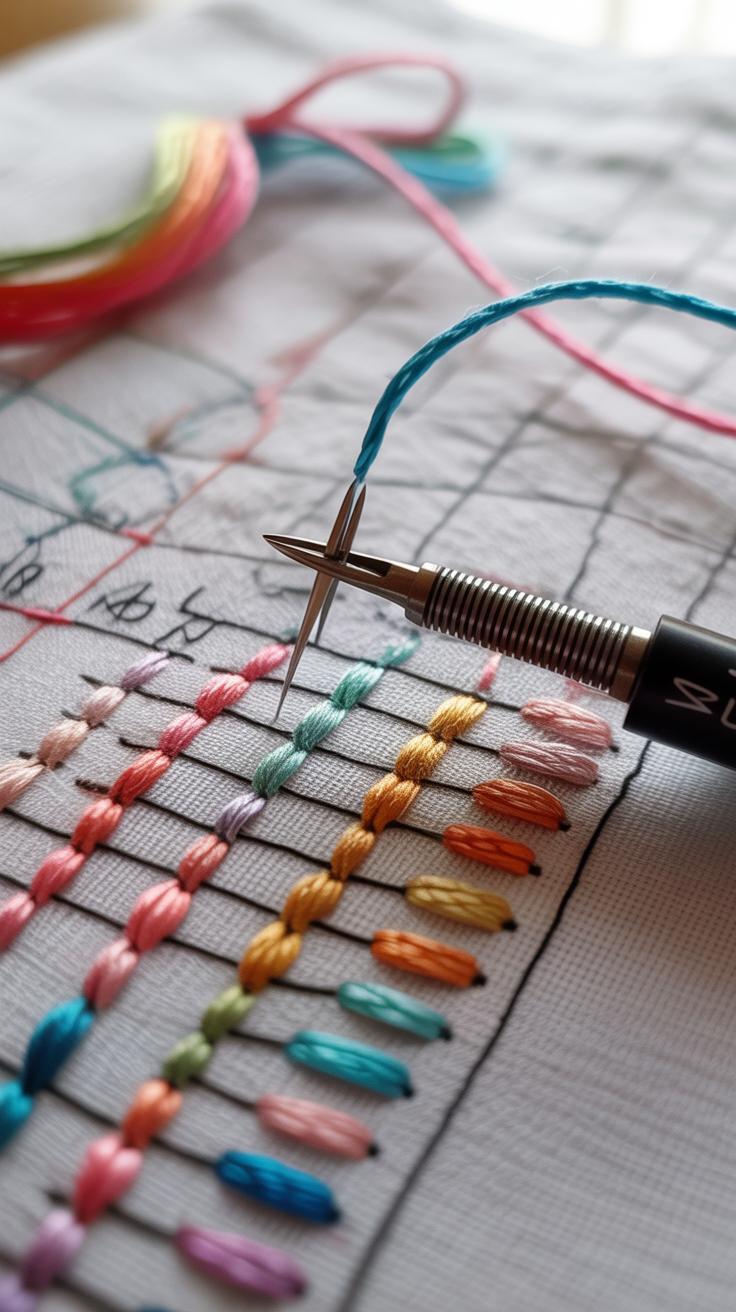
Adding simple decorative stitches to your clothes can refresh your wardrobe in ways you might not expect. These stitches don’t just hold fabric together—they bring character and a bit of personality to your garments. If you’ve ever looked at a plain shirt and thought, “This could use something,” a running stitch or a blanket stitch might be just what you need.
Running and Blanket Stitches
The running stitch is one of the easiest and most versatile stitches to learn. You use it to outline patterns or create subtle texture on your clothes. Think of running stitches as dashes that trace the lines you want to highlight. You don’t have to be perfect here; slight irregularities actually add charm. Try outlining a pocket or a collar. It’s a quick way to add interest without overwhelming the fabric.
The blanket stitch, on the other hand, works wonders for edging. If you want to decorate the edge of a scarf or the hem of a skirt, the blanket stitch creates a neat, looped border that feels a bit handcrafted. At first, I found it a tad tricky to keep even spacing, but once it clicks, the effect is subtle and striking.
French Knots and Lazy Daisy
Now, if you’re in the mood for something a bit more textured, French knots and lazy daisy stitches are your go-to. French knots are tiny knots made by wrapping the thread around the needle, then pulling it tight to form a small, raised dot on the fabric. It sounds fiddly—and it kind of is—but those little knots can really brighten up an area, like the center of embroidered flowers or scattered across a collar for a delicate speckled look.
Lazy daisy stitches create petal shapes with small loops, resembling simple flower petals. They’re perfect for adding soft, floral touches to a plain shirt or even a denim jacket. What I like is that they break the monotony of straight lines and add a lyrical, freeform quality. These stitches make a piece personable, almost like it has a story to tell, even if you’re just starting out with hand sewing.
Sewing on Linings and Patches Inside Your Clothes
Adding Linings for Comfort
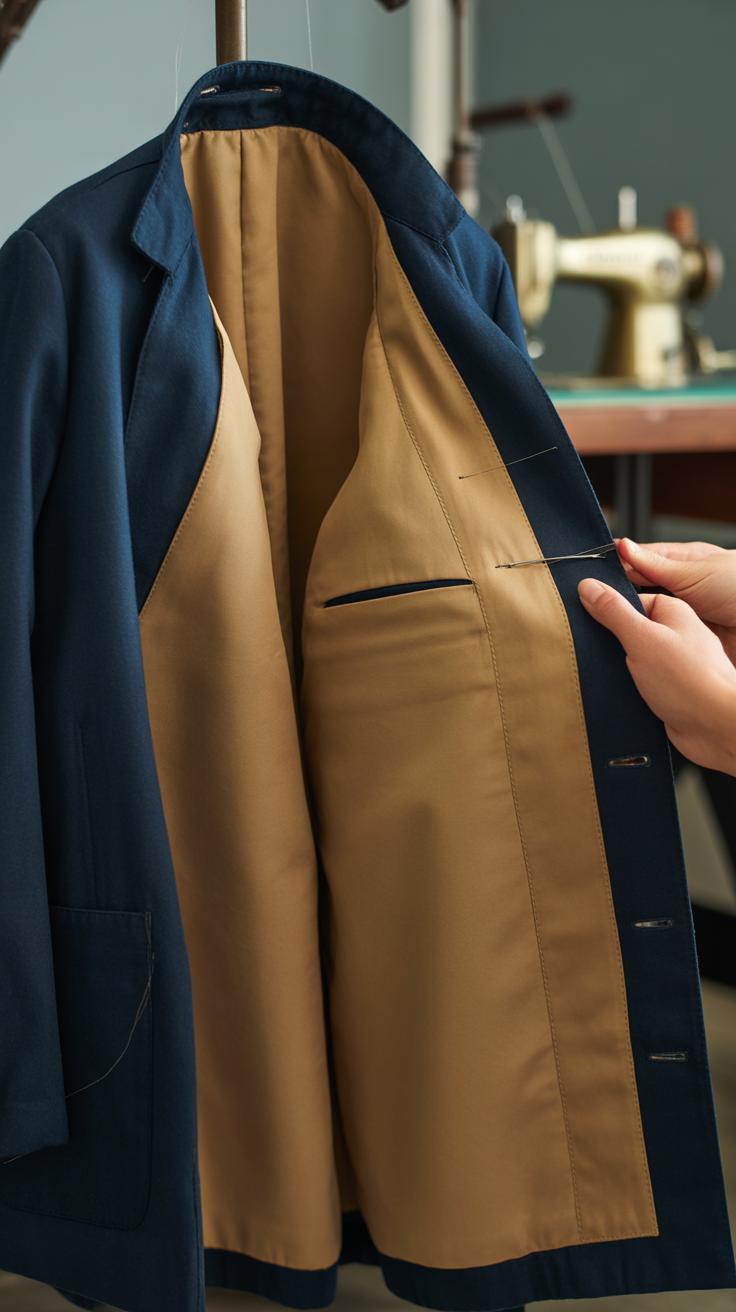
Linings inside clothes make a big difference—sometimes you might not notice until the fabric starts to itch or feel rough against your skin. They help garments hold their shape, reduce wear, and add a layer that can even make a piece warmer or smoother. You don’t need fancy tools to add linings; simple hand sewing works quite well, especially if you’re working on sleeves or light jackets.
Start by choosing a lining fabric that feels soft but still matches the garment’s weight. Cut it slightly smaller than the garment’s area to avoid bulk. Then pin or baste the lining in place from the inside. A basic running stitch or slipstitch works—try to keep stitches small so they don’t show through. You might find it helpful to attach linings to seams first and then sew around edges, leaving one side open to turn it inside out neatly. It might feel fiddly at first, but once you get the hang of it, it’s oddly satisfying to watch a worn piece suddenly feel new and more comfortable.
Internal Patch Application
Internal patches are a quiet fix—it’s all about reinforcing worn spots without making your clothes look like a patchwork quilt on the outside. Think of areas like underarms, elbows, or inner thighs. Patching here helps clothes last longer without drawing attention.
To sew an internal patch, first cut a piece of fabric slightly larger than the worn spot. Use something similar in weight or a sturdier material if you want durability over comfort. Pin the patch on the inside, then sew around the edges with small, tight stitches. You can use a whipstitch or a backstitch, depending on how strong you want the hold. Sometimes, I forget to trim the patch’s edges neatly, and the extra fabric bunches up inside—but that’s okay; it generally settles after washing.
Have you ever noticed your favorite shirt wearing out in one spot? Adding a discreet patch on the inside might make all the difference between tossing it and keeping it for another season. It’s a simple fix but feels a bit like giving your clothes a second chance.
Upcycling Old Clothes with Hand Sewing
Turning old clothes into something fresh doesn’t need fancy machines or expensive materials. With just some basic stitches, you can give your wardrobe a whole new life. For instance, those worn-out shirts can become sturdy, practical bags. Simple running stitches along the seams and a bit of hemming can make a basic tote that’s perfect for errands or a quick trip.
Or take a skirt you no longer wear. Try reshaping it into a cool top by cutting and re-sewing parts together. It might feel a bit awkward at first, working with pieces that weren’t made for this purpose, but the results can surprise you. The key is patience and willingness to experiment.
Combining different fabrics also adds an interesting twist. Mixing a soft cotton shirt with a bit of denim or lace can refresh a tired garment. Think about where to join fabrics—should the contrast be subtle or bold? Sometimes, a small patch of a different texture on a cuff or collar changes everything. Don’t hesitate to use scraps you might’ve tossed before.
Have you tried layering fabric textures before? Sometimes an unfinished look can be part of the charm, making your creation feel more personal. What about colors and patterns—do they have to match perfectly? Maybe not. There’s a lot of freedom here, and maybe that’s why so many find hand sewing to be quietly satisfying.
Maintaining Your Sewing Supplies and Workspace
Organizing Needles, Threads and Tools
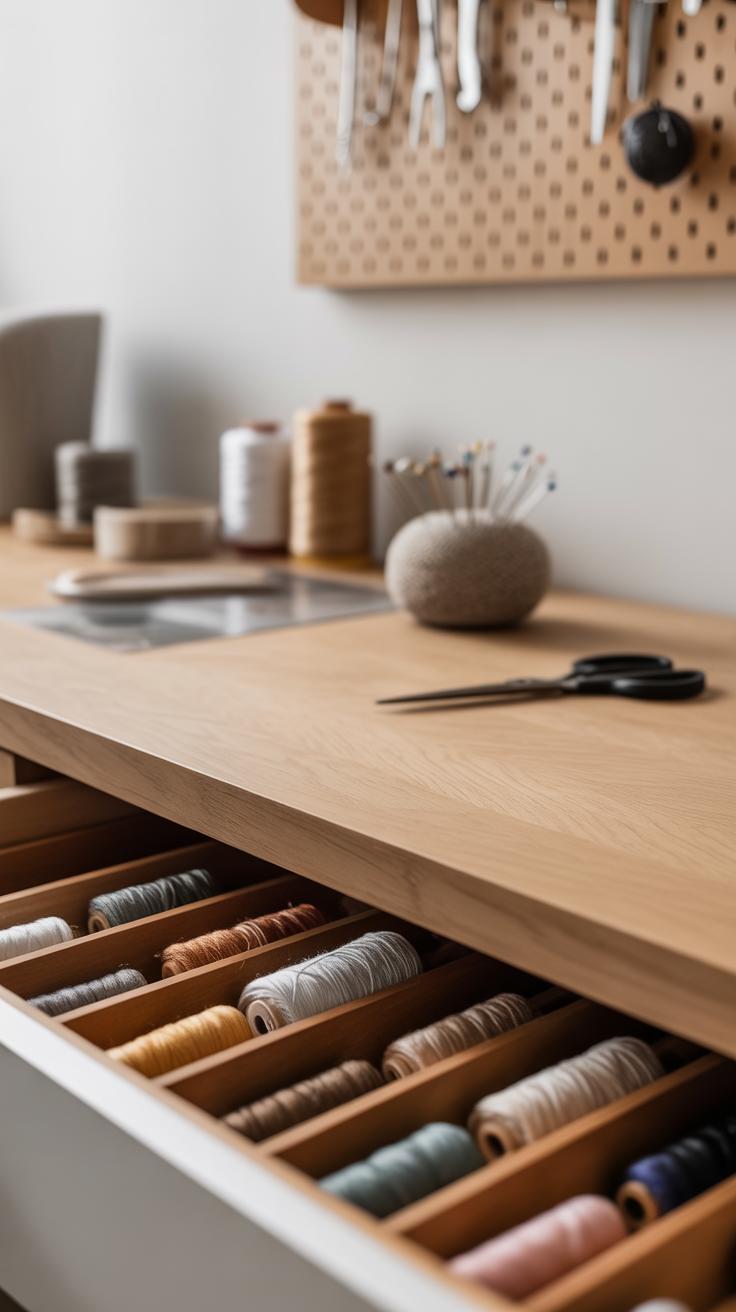
When you sew by hand, the little things matter more than you might think. Keeping your needles, threads, and other tools sorted saves time and spares frustration. Try using a needle case or magnetic pin holder to keep needles in one spot instead of scattered around. Thread can easily tangle, so winding it on small bobbins or storing it in a thread box with compartments helps a lot.
I’ve noticed that mixing up colors is a common problem if threads aren’t clearly separated. Labels can be a simple fix—just a small note or sticker next to each color. Tools like small scissors, thimbles, and tape measures should also have a designated drawer or container. You want to find what you need quickly, especially if you’re in the flow and don’t want to break concentration.
Keeping things tidy feels easier if you have a routine for putting things back after each sewing session. Still, some days it just doesn’t happen, and that’s okay. The point is to make the disorganization less frequent, not perfect.
Creating a Comfortable Sewing Spot
The place where you sew can really affect how much you enjoy it. Bright, natural light works best, but a good lamp can fill in when daylight isn’t around. I’ve found that harsh overhead lights tire my eyes faster, so a desk lamp you can adjust feels better.
Your seat matters too. If you sit in an uncomfortable chair, sewing can become a chore. Something supportive but not stiff, a little cushion maybe, helps for longer projects. It’s easy to overlook comfort until aches start setting in.
Try to keep your workspace uncluttered but within arm’s reach of what you need. A small tray or container for scraps and pins helps avoid mess. Some people like to play soft background music or a podcast while sewing—I’m still deciding if it helps or distracts me.
What’s your ideal sewing spot? Have you ever thought about how the environment changes your focus or motivation? Sometimes just a small rearrangement can make you want to pick up your needle again.
Conclusions
Engaging in easy hand sewing projects can transform your wardrobe quickly and affordably. By mastering basic sewing techniques, you can mend damaged clothes, customize designs, and express your creativity. This skill opens up many opportunities to personalize your fashion and avoid unnecessary purchases.
With practice and the right projects, hand sewing becomes an enjoyable and practical hobby. Remember to start with simple tasks and gradually take on more complex projects. Your wardrobe will benefit from your efforts, and you will appreciate the satisfaction of wearing clothes you crafted and improved yourself.


