Introduction
Halloween is a time filled with fun, creativity, and spooky excitement, especially for kids. Making Halloween crafts is a great way to get children involved in the festivities and to add a personal touch to your Halloween decorations. Children can use simple materials at home to craft spooky and delightful items that bring the spirit of Halloween alive.
In this article, you will discover simple, safe, and creative Halloween craft ideas for kids. These projects help kids learn new skills and express their creativity. You will also find useful tips to guide kids through crafting, making it an enjoyable and rewarding experience for the whole family.
Choosing Safe and Easy Materials for Kids
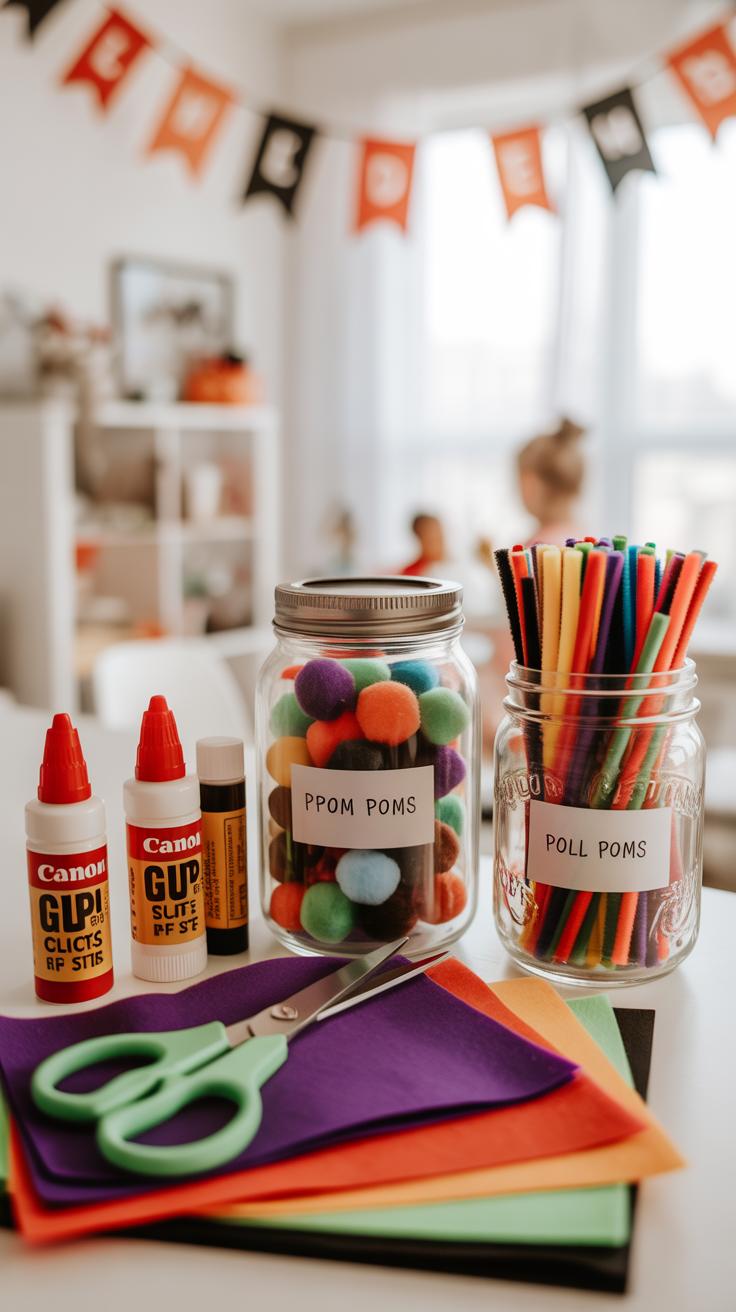
When picking out materials for Halloween crafts, safety has to come first—though ease of use is close behind. You want things kids can handle without frustration or risk. Paper is usually a good start. Construction paper, cardstock, or even old magazines work well. They’re easy to cut, fold, and decorate. Glue sticks are better than liquid glue for little hands—they’re less messy and dry faster, which helps keep the craft area under control.
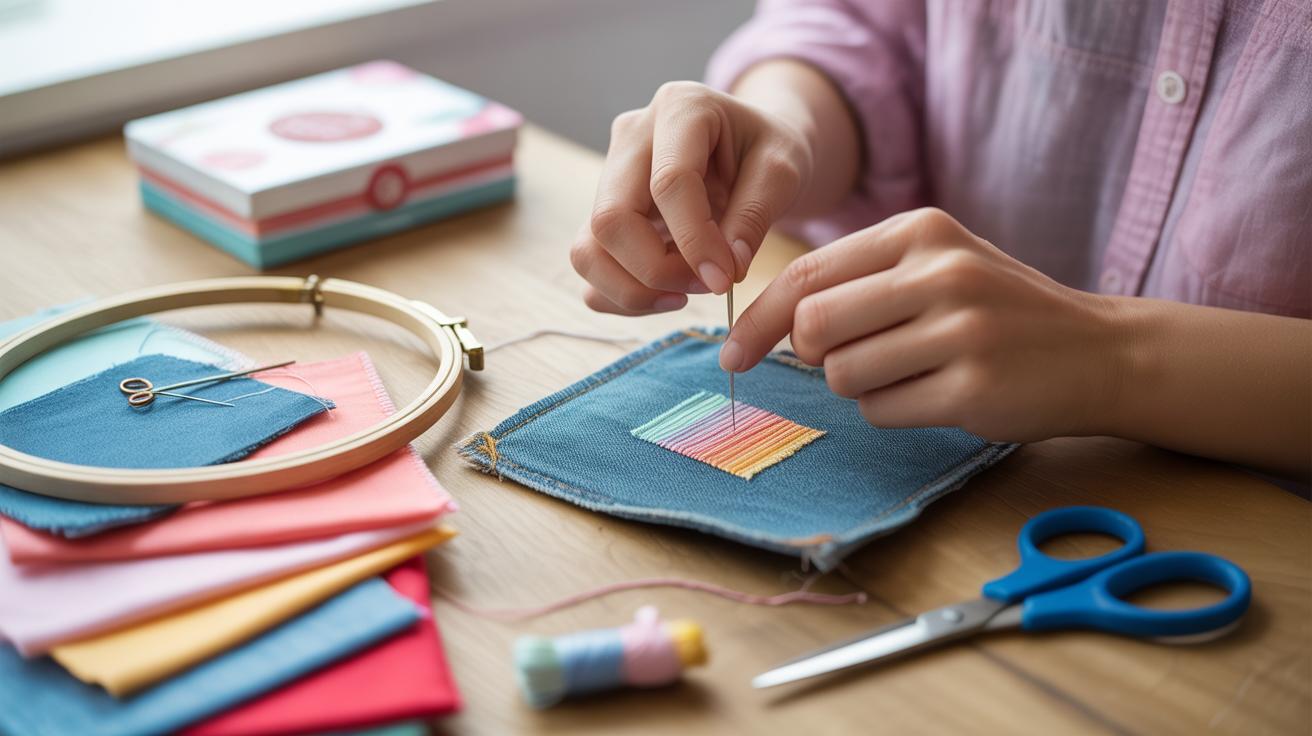
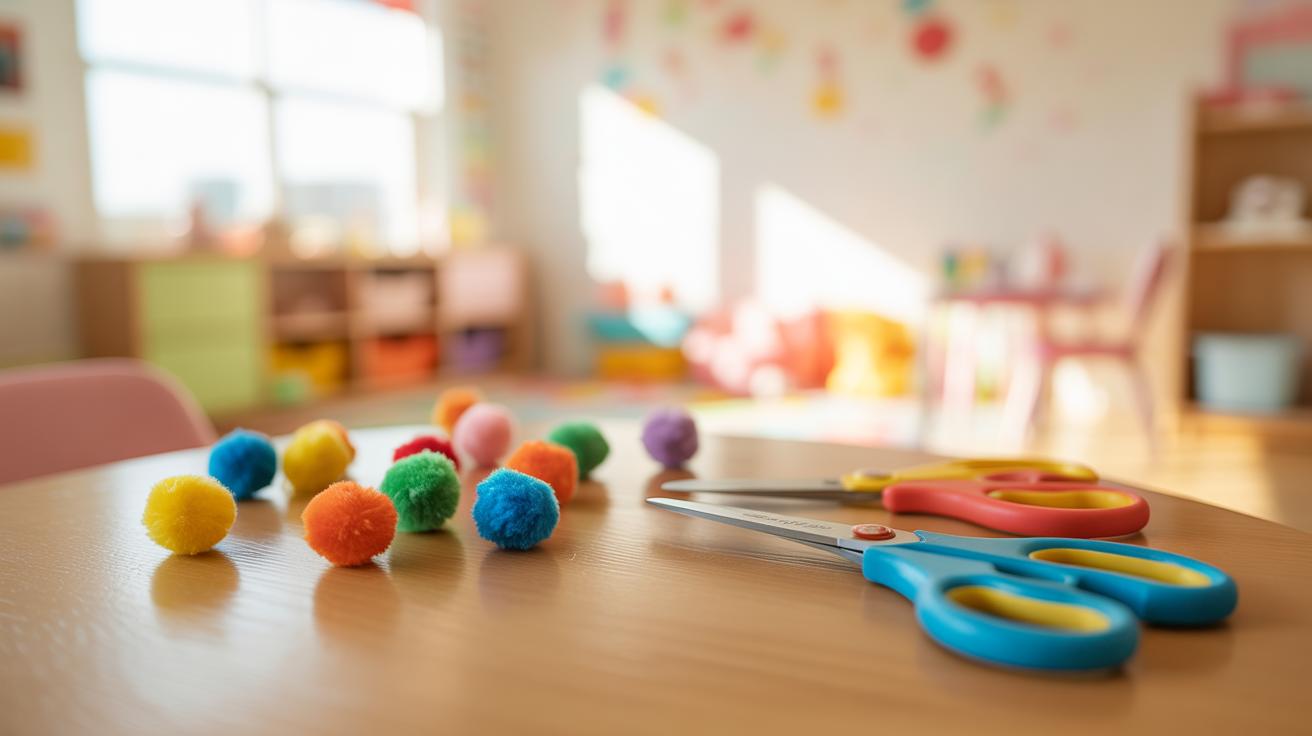
Scissors always raise a little worry. But with child-safe scissors, the risk goes way down. They won’t cut through skin easily, yet they still work well enough to trim paper. Supervision is key here. Don’t just hand kids scissors and walk away, no matter the age. Staying nearby lets you step in quickly if things get tricky.
Markers, crayons, and non-toxic paints are good choices too. Washable versions mean that if kids get a bit adventurous—or a bit careless—cleaning up won’t turn into a major ordeal. Trying new things is part of the fun, but keeping hazards low makes that possible. Creating a neat, organized workspace helps too. When there’s no clutter in sight, accidents happen less often. Papers aren’t flying everywhere, and nobody’s accidentally snipping a piece of clothing. It might sound obvious, but those small precautions matter—especially if you’ve ever seen crafting turn chaotic in a heartbeat.
Simple Paper Crafts to Decorate Your Home
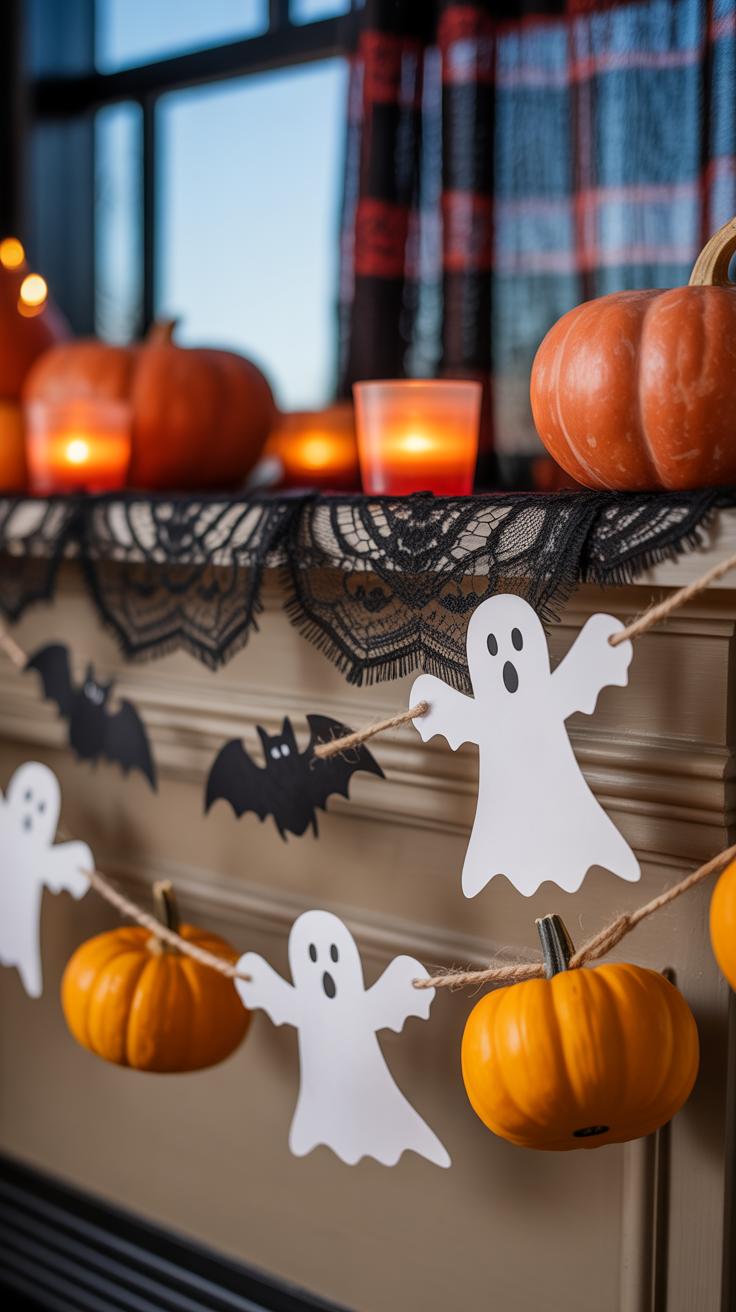
Paper crafts are some of the easiest and most enjoyable ways for kids to bring Halloween decorations to life. Think about classic shapes like bats, ghosts, pumpkins, and spider webs. Cutting these shapes out of black, white, or orange paper makes the whole process simple but effective. You don’t need anything fancy—just colored paper, scissors, and maybe some markers or stickers to add personality.
When it comes to cutting, encourage kids to make gentle curves or jagged edges depending on the creature they’re creating. For instance, spider legs can be thin and pointy, while pumpkins can have a more rounded, smooth outline. Let them experiment with tearing paper too; it adds a fun texture that scissors can’t always achieve. Don’t worry if the shapes aren’t perfect; sometimes they look better a bit rough around the edges.
Once cut, decorating is the part where kids can really get creative. Simple tools like markers let them add eyes, smiles, or spooky expressions. Stickers can introduce shiny or textured details, and a little glitter glue might also work if you have some on hand. You might find that the decorations become more personal this way—sometimes even a spider web with purple accents looks cooler than a plain white one.
Now, displaying these crafts can be as fun as making them. Hanging bats from the ceiling with thread gives the room a floating effect. Ghosts taped to windows catch the light, creating friendly, flickering shadows. Try stringing pumpkins and spiders into a garland for doorways or mantels. Let the kids help decide places to showcase their handiwork—sometimes their ideas surprise you and look better than expected. What corner could use a little Halloween spirit in your home?
Crafting Spooky Masks and Costumes
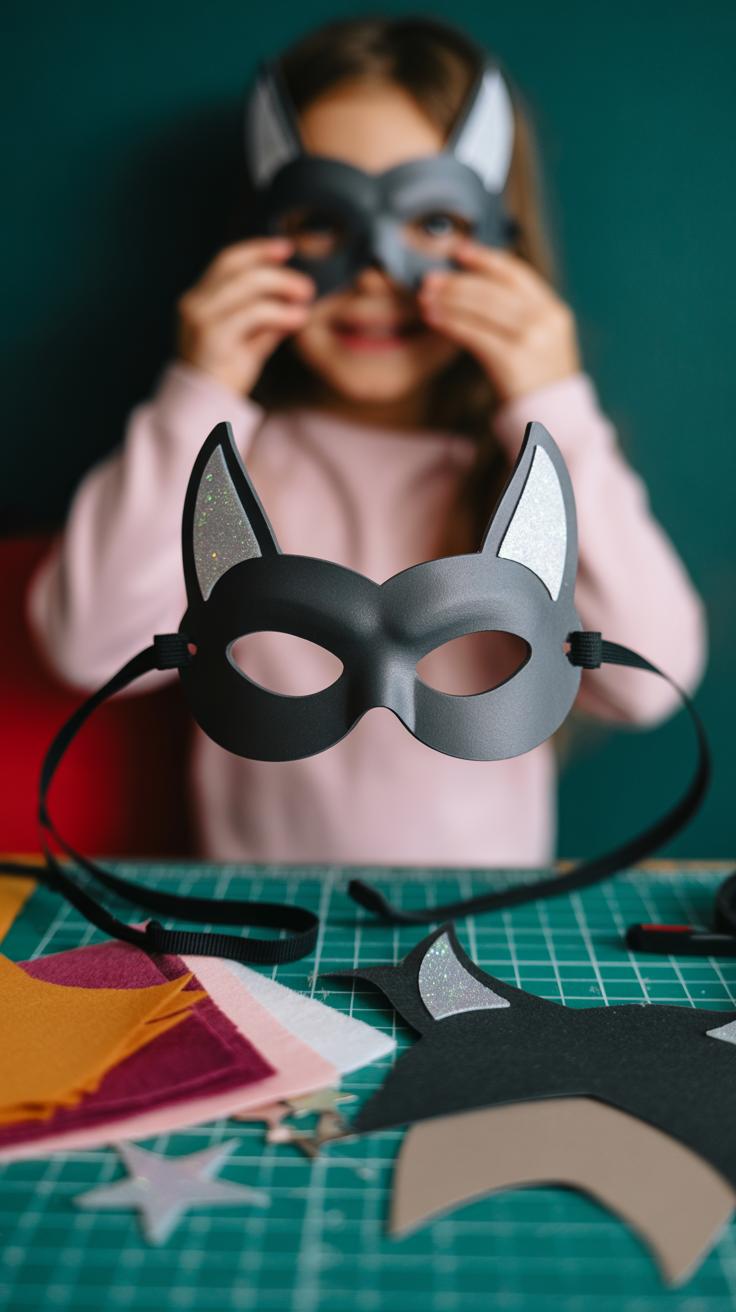
Making Halloween masks with kids can be really fun and surprisingly simple. You can use paper plates as a solid base—they’re easy to cut and paint, and they hold their shape well. Start by cutting out eye holes. It’s best to mark where the eyes go before cutting, and maybe let a grown-up handle the sharp tools. Kids love picking their own designs, so let them choose between spooky ghosts, creepy cats, or even silly pumpkins.
Painting is where things get interesting. Use washable paints and encourage mixing colors. Don’t worry too much about perfect lines; spills can add character. Sometimes, bright orange with black stripes works better than something complicated. A little imperfection makes the mask feel more unique.

Once the masks are ready, elastic bands are easy to attach. Just tape or staple them to the edges of the plates. Elastic fits most kids and keeps everything comfy. You can also try ribbon or yarn if that’s what you have lying around.
To add more to the costume, simple accessories can make a big difference. For example, headbands with paper bats or tiny paper horns are quick to make and fun to wear. Cut shapes from construction paper, decorate with markers or glitter, and glue or tape them onto a simple band.
For hats, a cone shape from cardstock or heavy paper works well. Kids can draw spiderwebs or paint pumpkins on before wearing. Capes often use old t-shirts or fabric scraps. Tie around the neck loosely for easy removal, and feel free to add felt shapes or stickers for that final spooky touch.
Pumpkin Decorating Without Carving
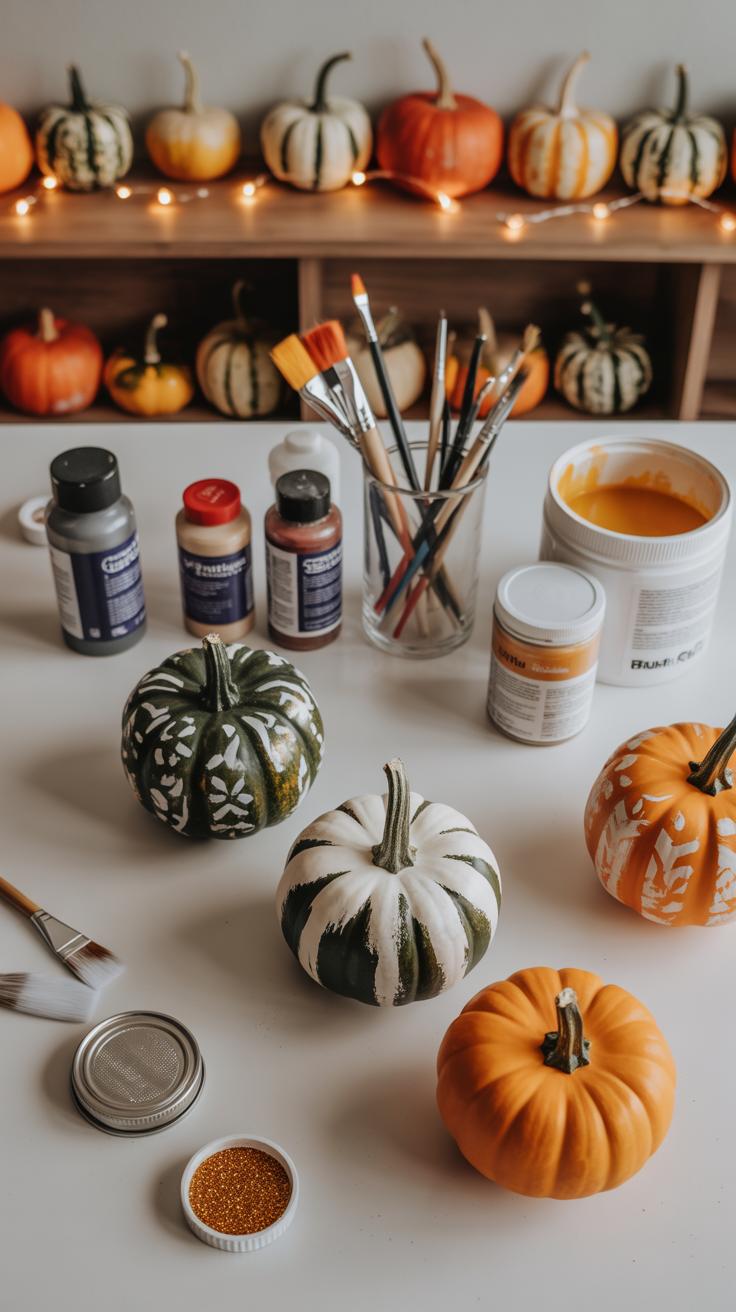
Carving pumpkins can be tricky and a bit risky for kids, so exploring other decorating methods is often a better choice. Painting pumpkins offers a fun, safe way to personalize your pumpkins without the mess or danger of knives. You might paint classic jack-o’-lantern faces or try patterns like polka dots, stripes, or even moons and stars. Funny faces with oversized googly eyes or silly mustaches often get plenty of laughs at Halloween parties.
Using Halloween-themed stickers is another simple way to add character. Bats, ghosts, cats, and witches come in all sorts of shapes and sizes and stick right onto the pumpkin’s smooth surface. You can mix and match or layer them for a textured effect.
Gluing on decorations, like glitter, felt shapes, or small plastic spiders, adds a tactile element kids usually enjoy. You might need to help with glue guns, but something like craft glue works well for most lightweight decorations. This method lets kids be spontaneous—stick a witch hat here, some fake cobwebs there—and see what happens.
Have you ever tried adding unusual items like buttons, feathers, or yarn? Sometimes these unexpected touches turn out surprisingly cool, even if they don’t look like “traditional” pumpkins. Decorating without carving opens up many possibilities—and it’s not just about looks, it’s about the creative joy that comes with sticking, painting, and imagining.
Creating Halloweenthemed Puppets and Toys
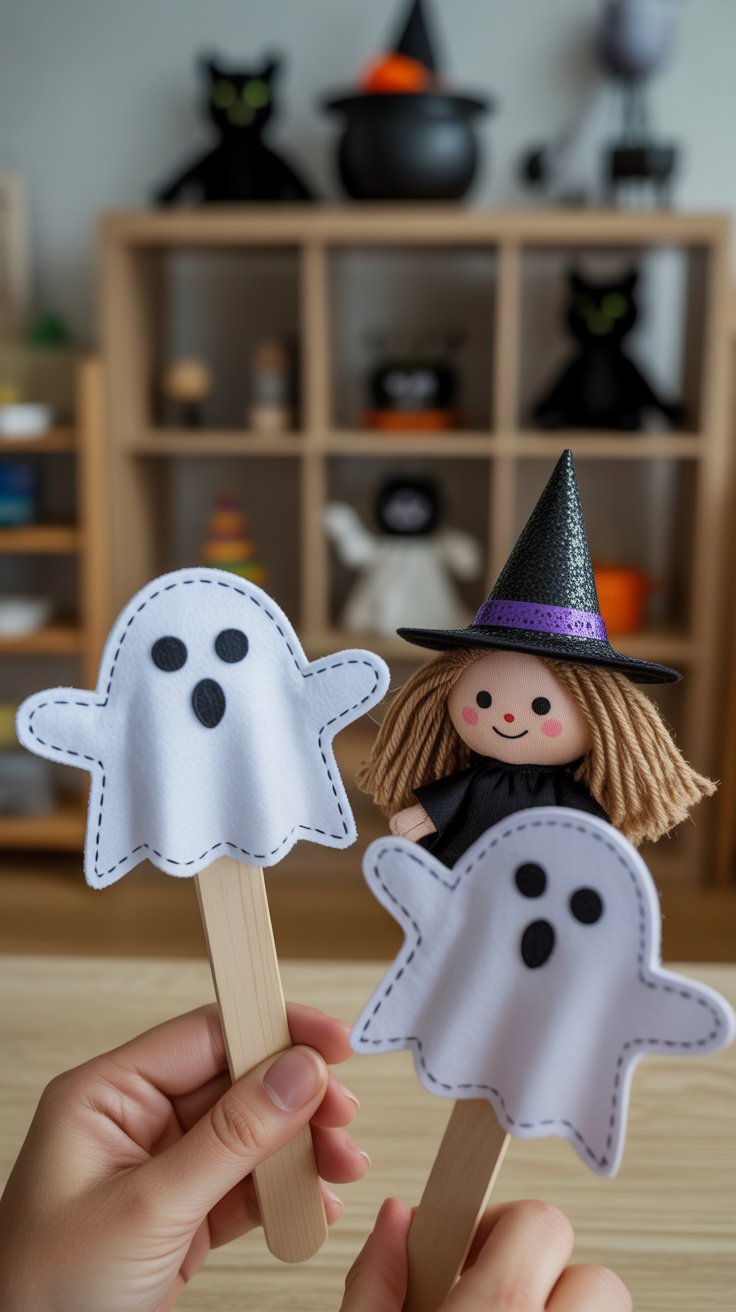
Making puppets and toys for Halloween can be a perfect way to keep kids busy and inspired. Old socks, for example, can easily turn into quirky little monsters or creepy creatures. Just gather some buttons for eyes, felt pieces for teeth or wings, and maybe a bit of yarn for hair. The fun part is watching how each sock puppet takes on its own personality—some turn out scarier than others, which can be a surprise.
Paper bag puppets are just as straightforward. Grab a brown lunch bag, and you’ve got a base ready to become ghosts, witches, or spiders. Use markers to draw spooky faces or add stickers and glued-on shapes for more texture. Kids usually love the chance to customize their puppets however they like, though sometimes they get a bit carried away with decorations. But isn’t that part of the charm?
Both projects invite creativity without needing tricky materials or tools. Plus, the finished puppets are great for storytelling or a little Halloween show afterward. Ever tried making spider finger puppets? They’re small but fun, and a little challenging for fine motor skills. Overall, these crafts blend ease with imaginative play, so they’re worth trying—and maybe keeping handy for last-minute spooky fun.
Using Recycled Materials for Crafts
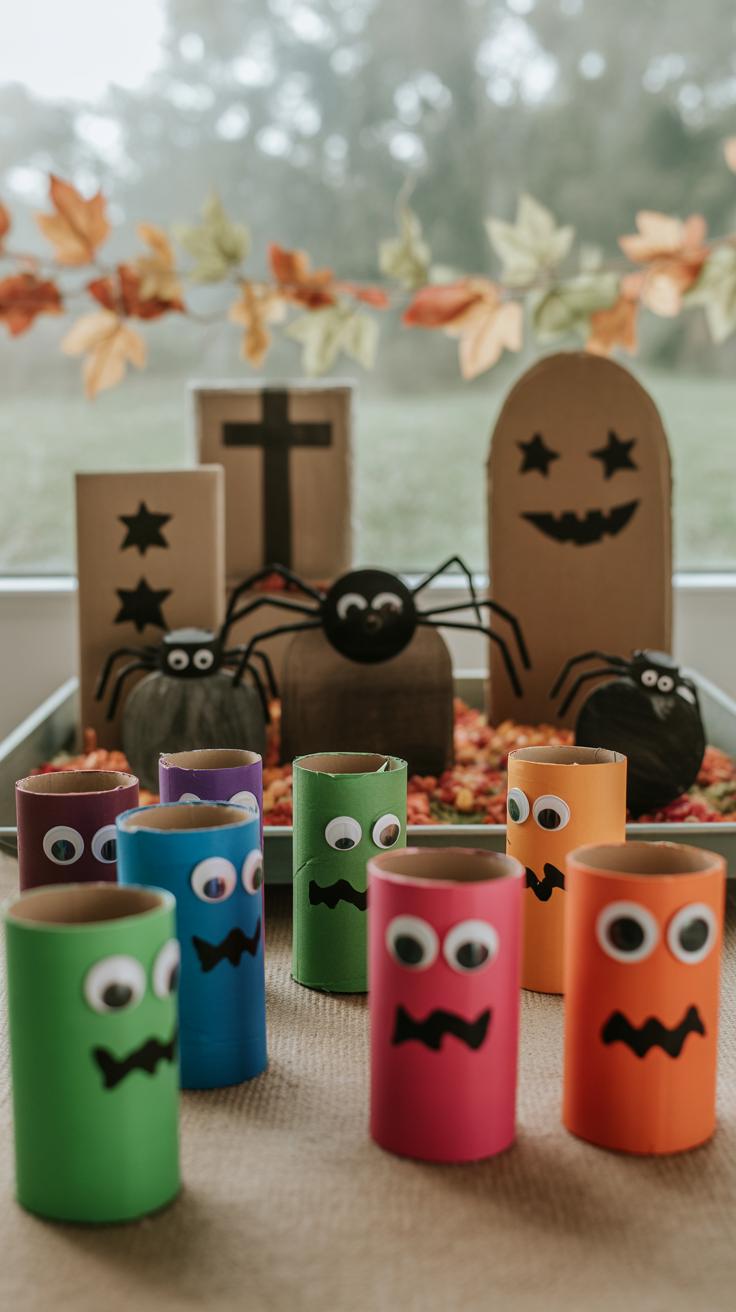
Recycled materials can be a treasure trove for Halloween crafts—things you’d normally toss out turn into spooky decorations or playful toys. You might be surprised how everyday items like toilet paper rolls, egg cartons, and jars can spark creativity.
Creative Ideas with Toilet Paper Rolls
Take toilet paper rolls, for example. They’re just the right size for making mini mummies or little bats. Wrap the rolls with strips of fabric or paper towels for that mummy look, then glue on some googly eyes. Or cut wings out of construction paper and attach them to the roll to form bats. The kids love how something so simple becomes a character with just a bit of paint or markers. I remember my niece getting really excited when her bat had tiny fangs drawn on—it made the project feel more alive, even if it was only paper and rolls.
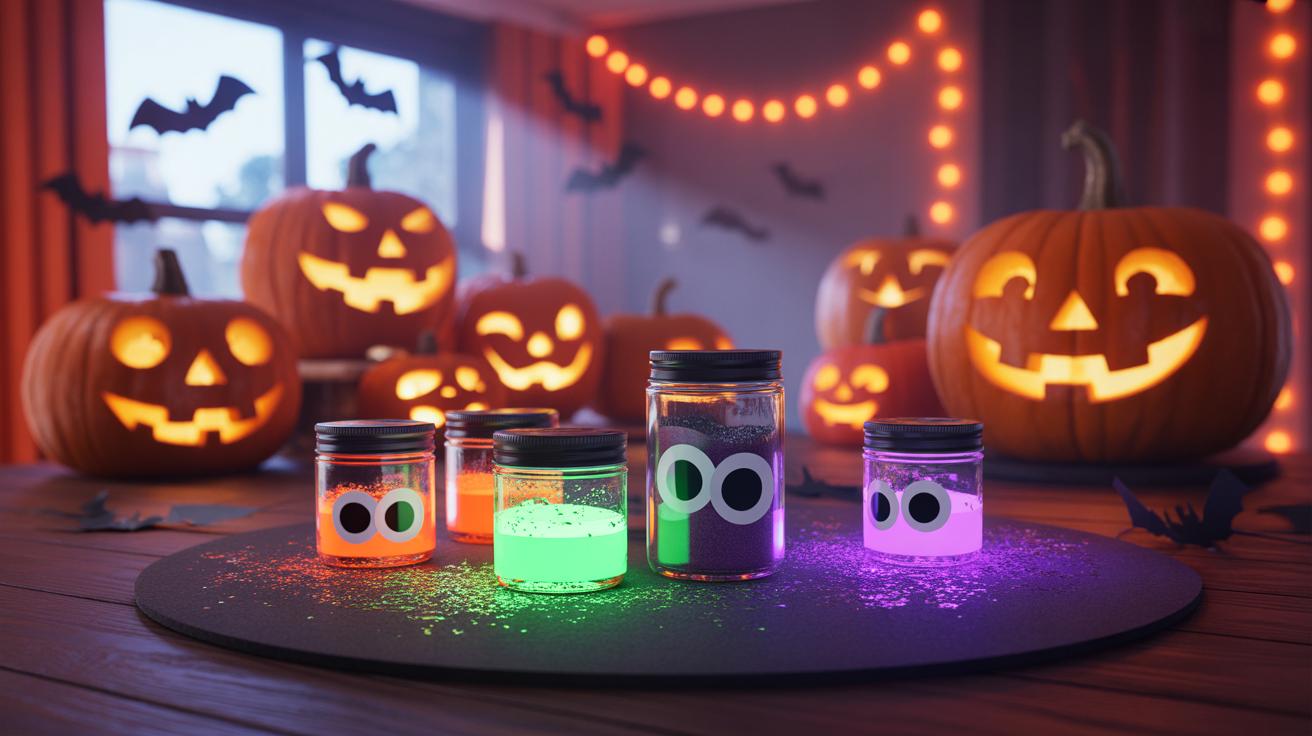
Egg Cartons and Jar Decorations
There’s also egg cartons. When cut apart, they make perfect spider bodies. Add pipe cleaner legs and draw creepy eyes. It doesn’t take long, but it’s oddly satisfying to see these humble cartons transform into little creatures. And jars? They turn into glowing lanterns in almost no time. Fill them with battery-operated tealights and decorate the outside with paint, markers, or tissue paper. Sometimes just a few dots or stripes can turn a jar into something eerie or magical. I guess the charm lies in how these recycled items get a second chance at usefulness—plus, kids seem to appreciate knowing they’ve made something from scratch, without waste.
Organizing a Halloween Craft Party for Kids

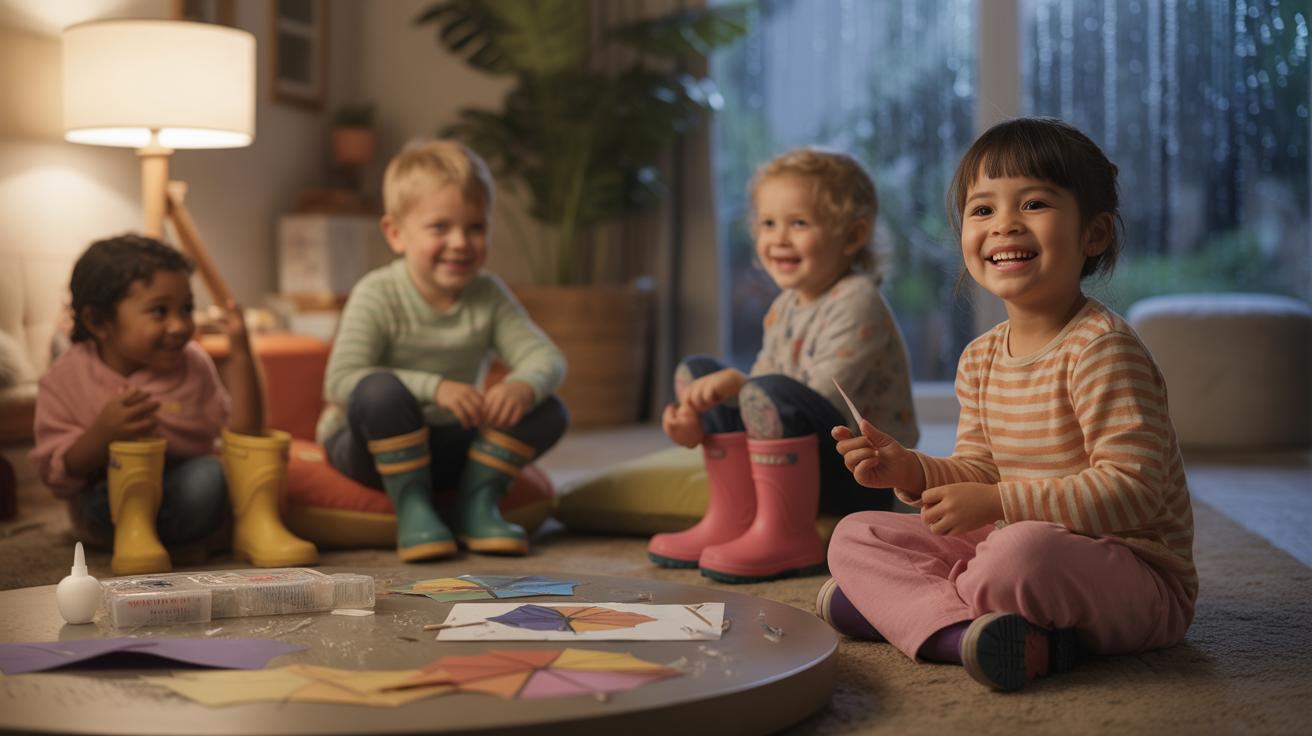
Planning a Halloween craft party can feel a bit overwhelming, but breaking it down makes it manageable—and fun. Start by choosing a small group of friends or family so things don’t get too chaotic. Having three to five kids works well, especially when you want to give each child enough attention.
Think about setting up a few distinct craft stations around your space. Each spot can feature a different project: one for pumpkin decorating, another for spooky masks, maybe one for glittery spider webs. Having kids rotate between stations keeps the energy flowing and stops boredom from creeping in. It also means less waiting around, which can get tricky with younger children.
When preparing materials, gather everything beforehand—glue sticks, scissors, paints, maybe some extra scraps from earlier crafts. Having a little mess is okay, but being too disorganized usually means interruptions. You might find yourself reminding kids not to share scissors or to wait their turn, which breaks the creative mood.
Keeping kids on task doesn’t have to be a long lecture. Short instructions work best. I’ve found that kids latch on better when you show rather than tell them just once or twice. And cheering them on, like saying “That’s spooky!” or “Wow, look at those colors,” sparks motivation. Sometimes, a quick break is gold—let them stretch or grab a snack before jumping back in.
One tricky bit? Balancing structured activity with free creativity. Some kids just want to experiment beyond the station’s project, and that’s okay. It doesn’t have to be perfectly tidy or perfectly planned. After all, a little unpredictability can make the party more memorable.
Displaying and Preserving Your Kids Halloween Crafts
Creative Display Ideas
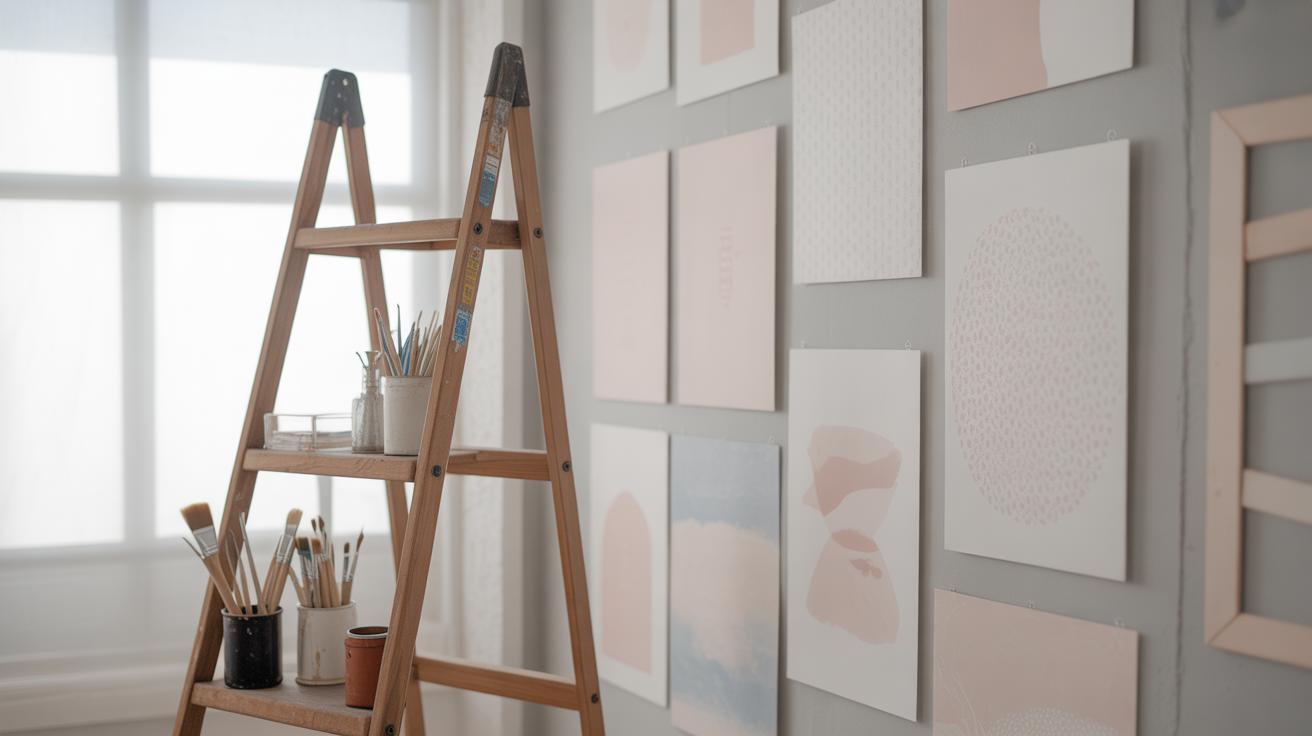
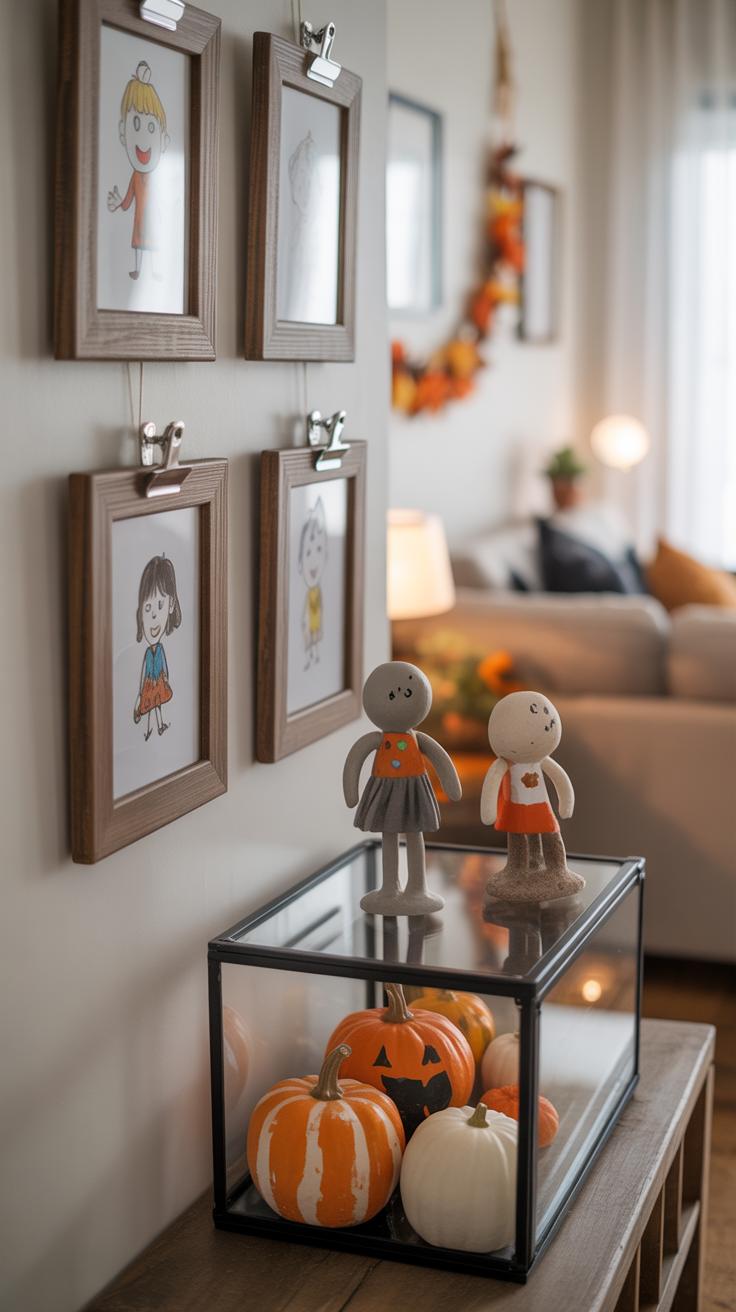
You’ve got a pile of spooky, silly, and sweet creations from your kids’ Halloween crafting sessions, so why not show them off? Hanging crafts on walls can brighten up any room and give your kids a real sense of pride. Think about using washi tape or clothespins on a string to create an easy, changeable gallery. It’s simple but fun, and you can swap out pieces as new crafts come in.
Another idea is dedicating a small shelf or corner specifically for Halloween crafts. You can arrange pumpkins made from paper, spiders woven from pipe cleaners, or ghostly paper bags there. It becomes a tiny seasonal museum that gets everyone talking. My nephew loved having his “display shelf” and kept adding his weird little monsters to it daily—sometimes cluttered, but that’s part of the charm.
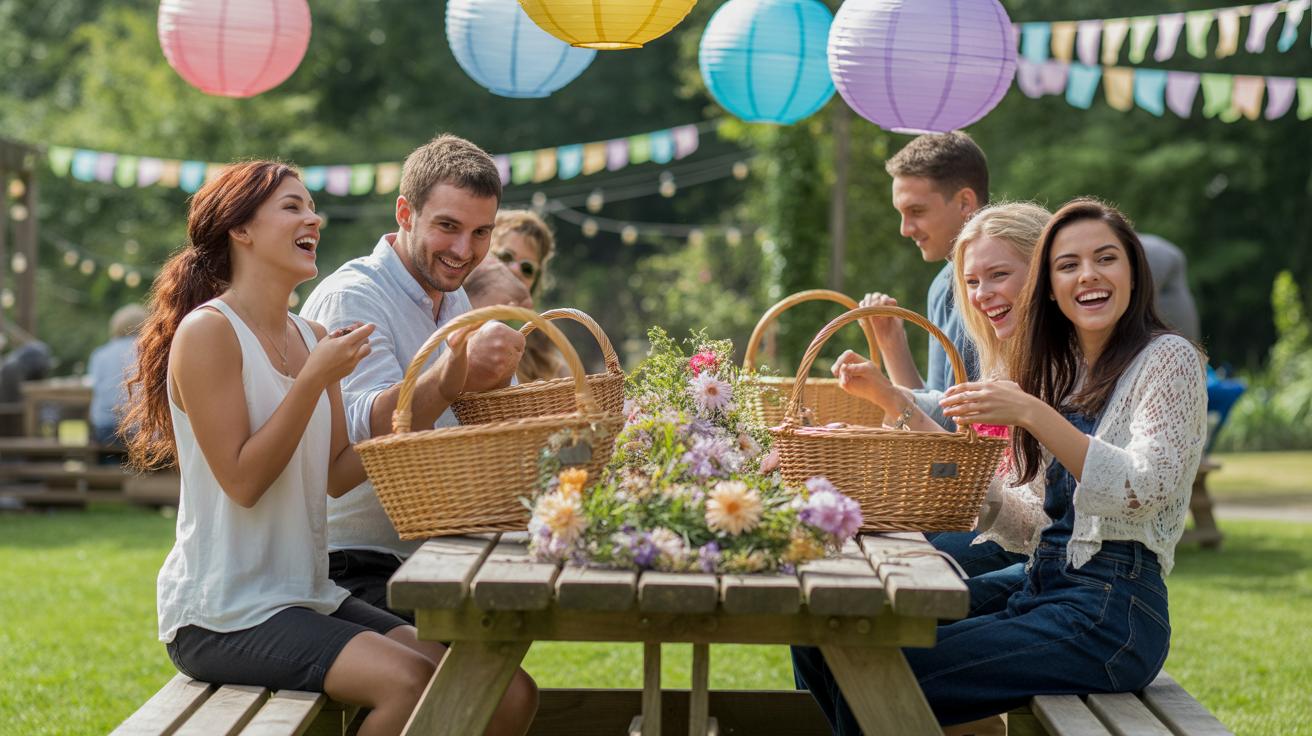
Photo albums work well too, especially for crafts that are too fragile or bulky to keep around all year. Snap pictures of the crafting process or the final pieces. Later, you can create a digital or physical book. Looking through that album next year might be kind of amazing. Have you noticed how kids forget what they made? This brings back memories without the mess.
Storing Crafts Safely
When Halloween is over, don’t just toss those crafts in a box and hope they survive until next year. Storage needs a bit of thought. Using sturdy boxes with dividers or folders can keep paper crafts flat and prevent wrinkles or tears. Label everything too—trust me, it makes finding that creepy bat much easier next October.
Laminating is a sneaky little trick especially for flat crafts like masks, drawings, or cutouts. It protects them from spills and fading yet keeps the original finish mostly intact. Not every piece needs laminating, though. Sometimes, the shine or texture might change, which your kids could actually like or not. It’s almost a creative decision on its own.
You might also want to find a cool container that lets crafts breathe a bit—too airtight can sometimes make things damp or sticky over months. Have you ever found a soggy paper pumpkin? I have—and it’s sad. So maybe use some tissue paper or soft cloth between items.
Keeping those crafts safe doesn’t mean freezing them in time. Maybe some won’t make it, or your child will want to toss things on their own—but having a plan helps keep more memories alive, and that’s kinda the whole point.
Conclusions
Halloween crafts for kids offer a wonderful way to combine creativity and celebration. Crafting helps kids develop their fine motor skills and imagination while making memories with family and friends. With simple supplies and fun ideas, you can easily create festive decorations that brighten your home and make Halloween extra special.
Whether it’s painting pumpkins, making paper ghosts, or creating spooky masks, engaging your kids in Halloween crafts encourages creativity and hands-on learning. Try these ideas to bring joy to your children and create Halloween decorations that tell a unique story of your family’s celebration.


