Introduction
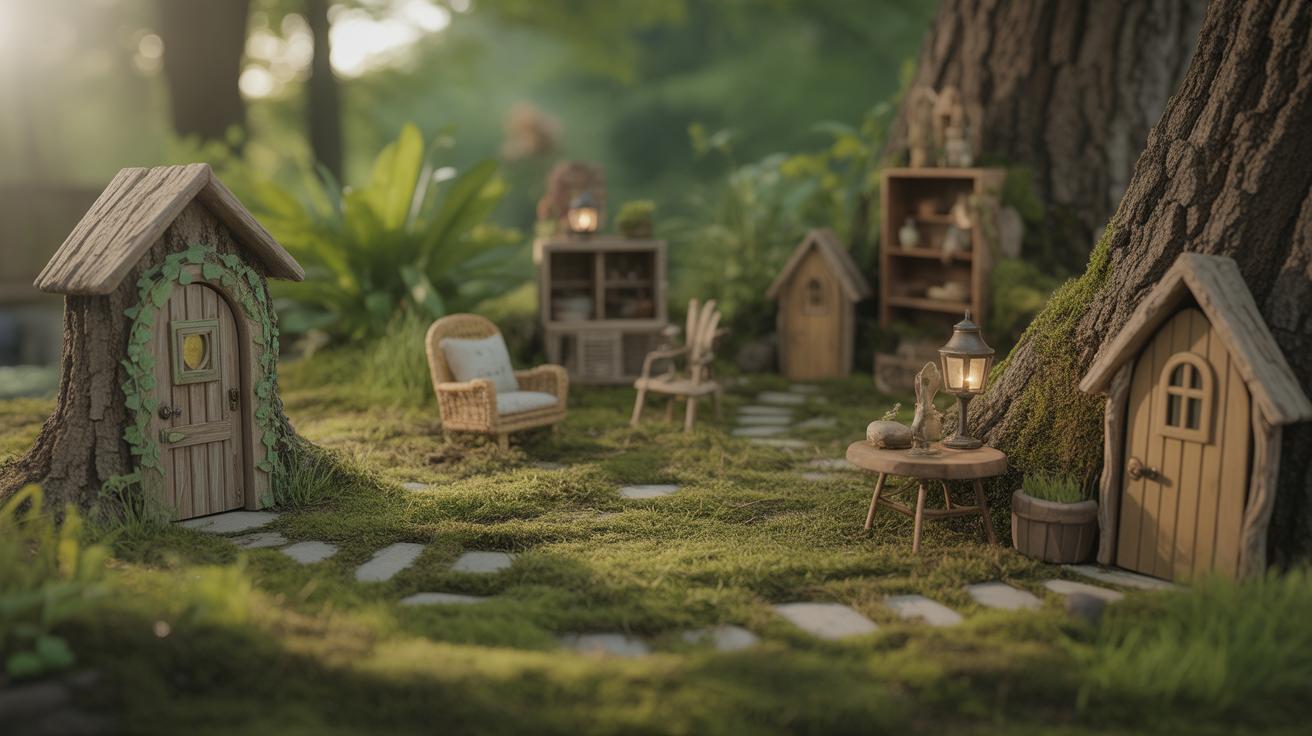
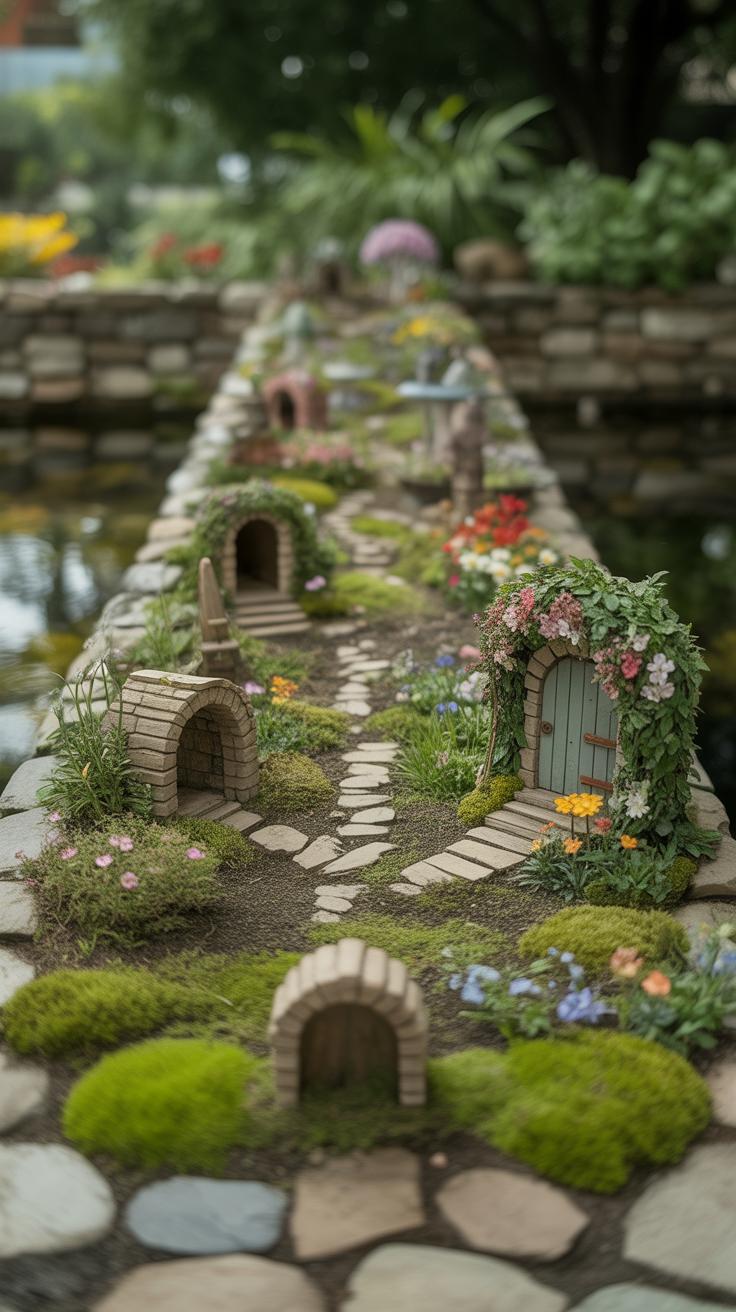
Fairy crafts bring a touch of magic to your garden by creating a tiny world where fairies might live. These crafts are fun and simple to make. You can use natural materials and everyday items to build fairy doors, fairy houses, and decorations that spark imagination and beauty.
In this article, you will explore many ways to make your garden enchanting. You will learn how to make fairy crafts that suit your style and outdoor space. These ideas will help you and your family enjoy crafting while adding charm to your garden.
Choosing Materials for Fairy Crafts

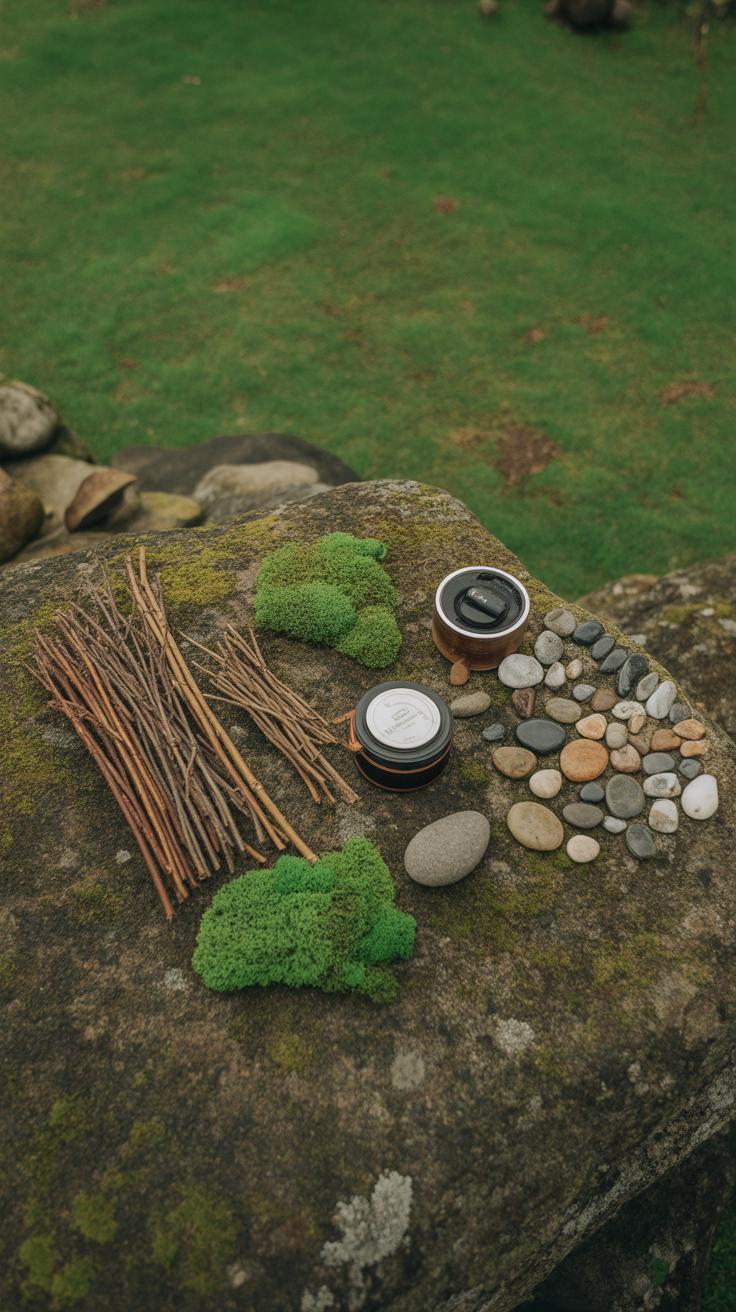
Picking materials for your fairy crafts can be surprisingly simple and fun. You don’t have to look far—often, what you need is right around your home or in your garden. Natural items like twigs, pebbles, leaves, and pinecones work well. They bring an earthy feel that fits perfectly with garden fairy themes. Plus, they’re safe for outdoor use and won’t harm plants or wildlife.
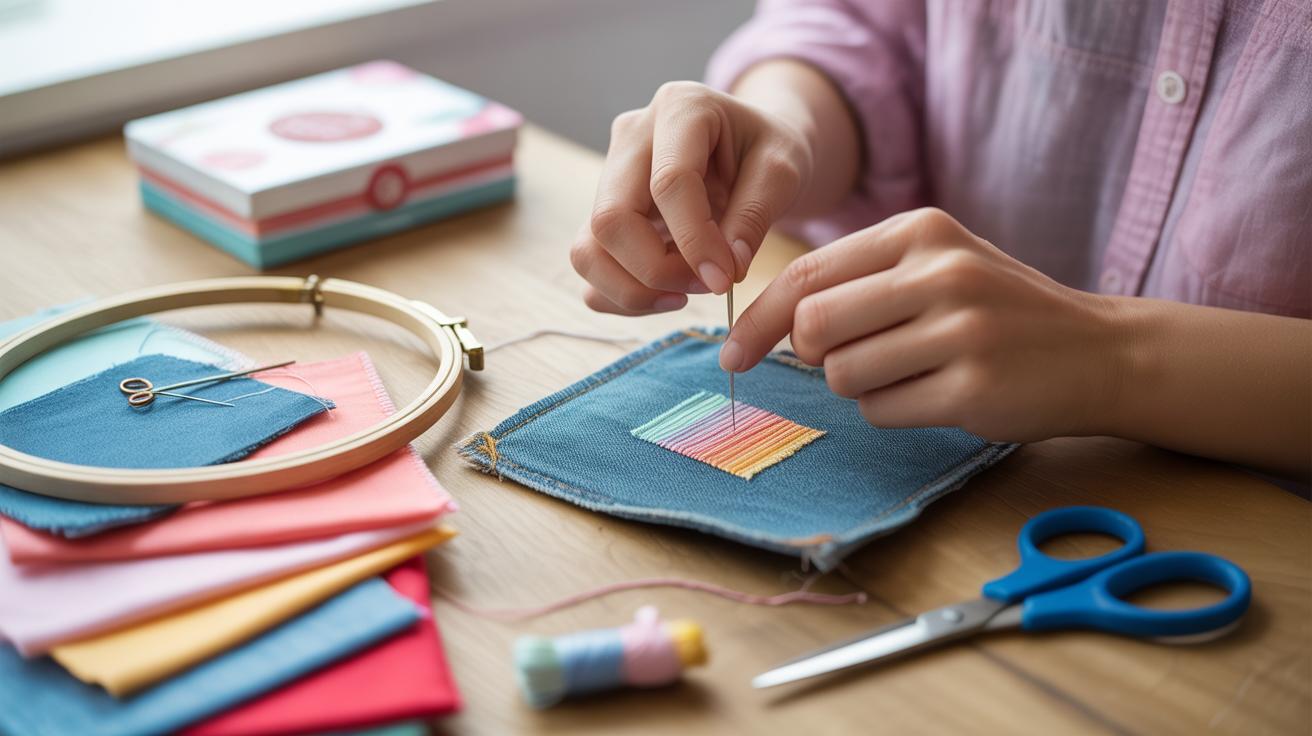
Think about recycling too. Old buttons, bits of fabric, scraps of wood, or even broken jewelry can become tiny windows, roofs, or decorations on your fairy houses. Using these saves money and adds a unique touch. I remember once turning a cracked teacup into a fairy bathtub — unexpected but charming!
When you start gathering, prioritize things that won’t fade too fast or crumble away in the weather. Soft cardboard or paper might work indoors but not outside unless protected. Wood, stones, and dried moss tend to last longer.
Sometimes, choosing materials involves a bit of trial and error. You might pick something that seemed perfect but then doesn’t stick or hold up well. That’s part of the process—learning what fits your garden’s space and conditions. This hands-on approach encourages you—and anyone helping you—to spend more time outdoors, exploring and collecting, which feels like a reward in itself.
Fairy Craft Material Choices
Natural Materials to Use
When picking materials for fairy crafts, natural items almost always work best. Twigs can become tiny fences or wooden beams for miniature houses. Flat stones serve well as little stepping stones or fairy tables. Leaves, especially those with interesting shapes or colors, make perfect fairy wings or roof shingles. Pine cones add texture and even look like tiny trees themselves. Collecting these from your garden or a nearby park offers a deeper connection to the environment you’re decorating. Plus, there’s a certain charm in letting the fairy world grow from the earth’s own bits and pieces.
Don’t worry about imperfections—they add character. A cracked stone or a bent twig can spark new ideas. And sometimes, just holding these natural materials sparks creativity more than any instructions would.
Using Recycled and Household Items
Not everything has to come from nature, though. Many household items can find a second life in your fairy garden. Bottle caps can transform into tiny plates or colorful pond bases. Old buttons, especially the vintage ones, create whimsical door knobs or fairy eyes. Fabric scraps, even the tiniest bits, make great fairy clothing, curtains, or flags. It’s surprising how everyday trash can become magical with a bit of imagination.
Before tossing anything, ask yourself: Could this be part of a fairy’s world? Sometimes I catch myself saving odd bits—like a broken jewelry piece or a piece of ribbon—thinking someday they might fit into a fairy project. Recycling like this not only saves money but also adds unexpected textures and colors your garden might lack otherwise.
What odd items do you have lying around that could become fairy treasures? It’s fun to explore and rethink the potential of what’s often overlooked.
Making Miniature Fairy Doors
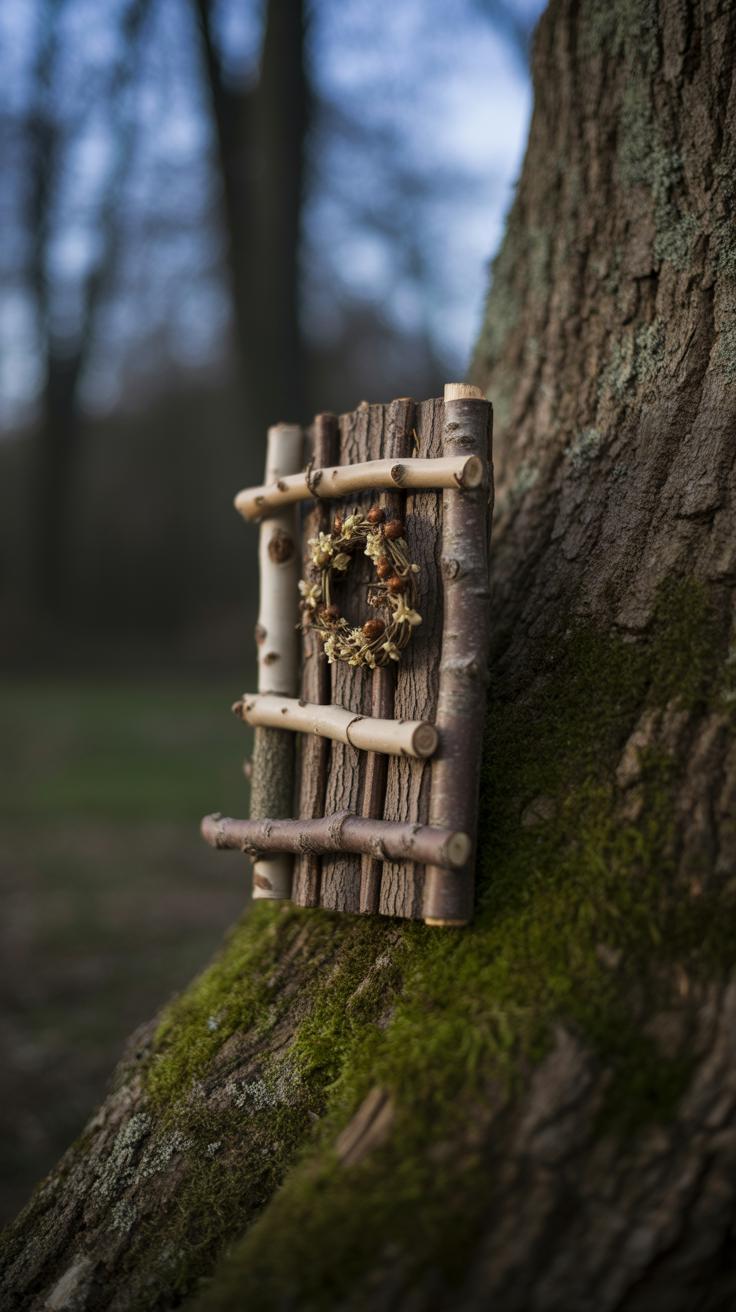
Tools and Materials Needed

Creating a tiny fairy door doesn’t require fancy tools. You’ll want some small wooden pieces—craft sticks, thin plywood, or even old cigar boxes work well. A simple saw or sturdy scissors (for softer wood) will help shape your door. Grab some craft paint, a few brushes, and strong glue—like wood glue or a hot glue gun if you’re comfortable with it. Small hinges add a nice touch, but they’re not essential, especially for kids. You might also want tiny knobs, buttons, or beads to act as door handles.
Step-by-Step Door Making
First, pick your wood piece and sketch a simple door shape on it—maybe a rectangle or an arched top. Cut the shape out carefully, ask for help if needed. Then, smooth the edges gently with sandpaper or a nail file; rough edges don’t usually scare fairies, but your fingers might appreciate it. Painting the door comes next—choose colors you love, or stick to simple browns and greens for a natural effect. Allow the paint to dry completely.
Once painted, glue on any decorative pieces like buttons or small beads as handles. If you’ve got hinges, attach them now; otherwise, just glue the door directly onto the tree trunk or garden wall. Sometimes, placing the door slightly ajar makes it feel more inviting. You might wonder if there’s a “right” way to do it—probably not. That’s what I like about it. Experiment, and see how your little door changes the feel of your garden spot.
Crafting Fairy Houses
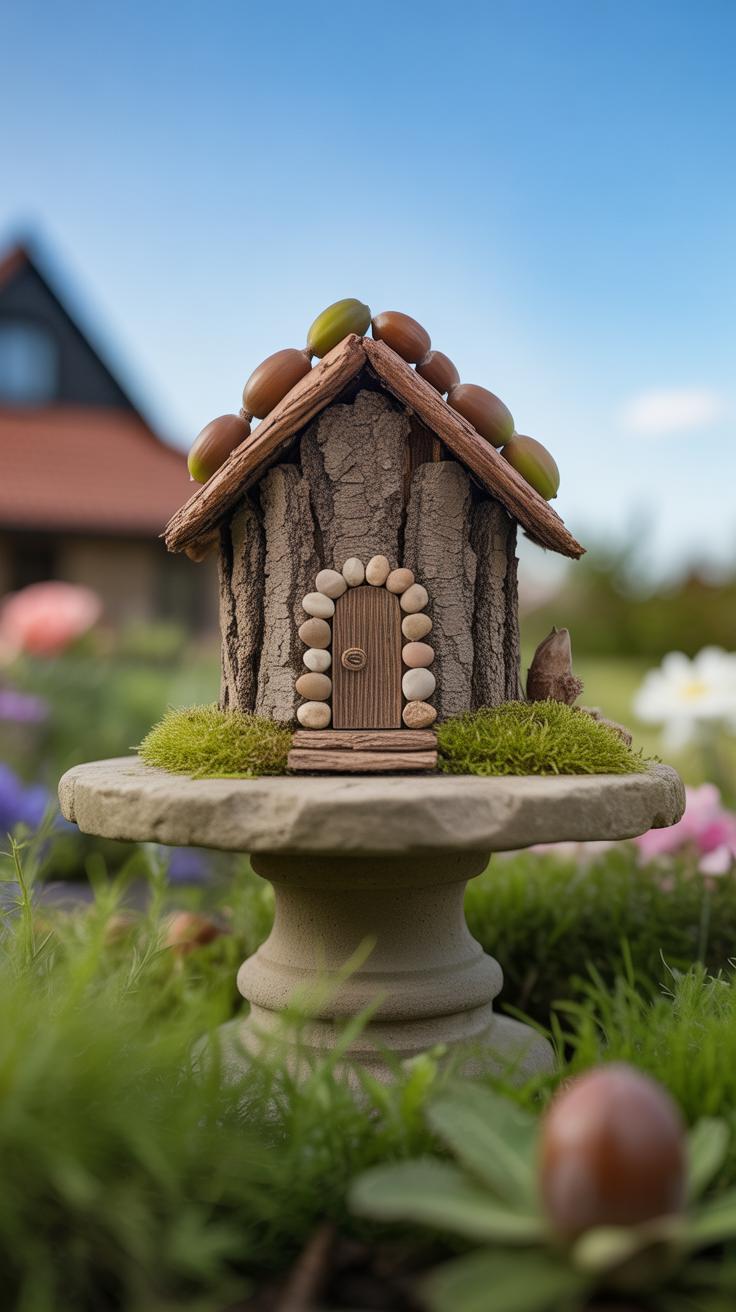
Building with Natural Materials
Starting with a good base is key for your fairy house. Stones can work well as a foundation because they’re sturdy and provide a natural feel. Try stacking small, flat stones to make walls that won’t easily topple. If you prefer, bark from fallen trees makes excellent walls or roofs—its texture gives the house a rustic charm. Moss is great for filling gaps or softening edges, and it even acts like natural insulation. Don’t overlook sticks: they can frame the structure or create tiny fences.
One thing I discovered while experimenting is that using different sizes and shapes keeps things interesting and prevents your house from looking too uniform. You might think you need precision, but that unevenness actually adds to the appeal. Just be patient when balancing materials; sometimes, what looks unstable at first will hold in place after a bit of rearranging.
Decorating Your Fairy House
Once the structure is set, decorating is where you can really let your creativity shine. Painting parts of the house in soft colors can brighten it up, but it’s fine if you want to leave natural materials as they are. Small flowers, like tiny daisies or clovers, can be glued or gently pressed onto the walls or roof to bring life to the design. Adding mini crafted furniture – say a tiny bench made from twigs or a little table fashioned from acorn caps – makes the house more inviting. It’s odd, but even small touches like a tiny door knocker painted on the bark can give the whole thing personality.
Think about what kind of fairy might live there. Would they prefer a cozy, flower-covered nook or a more rugged, earthy hideaway? There’s no single right way, and sometimes the best ideas come from just trying something out and seeing if it feels right. What kind of fairy house would you build?
Creating Fairy Garden Furniture
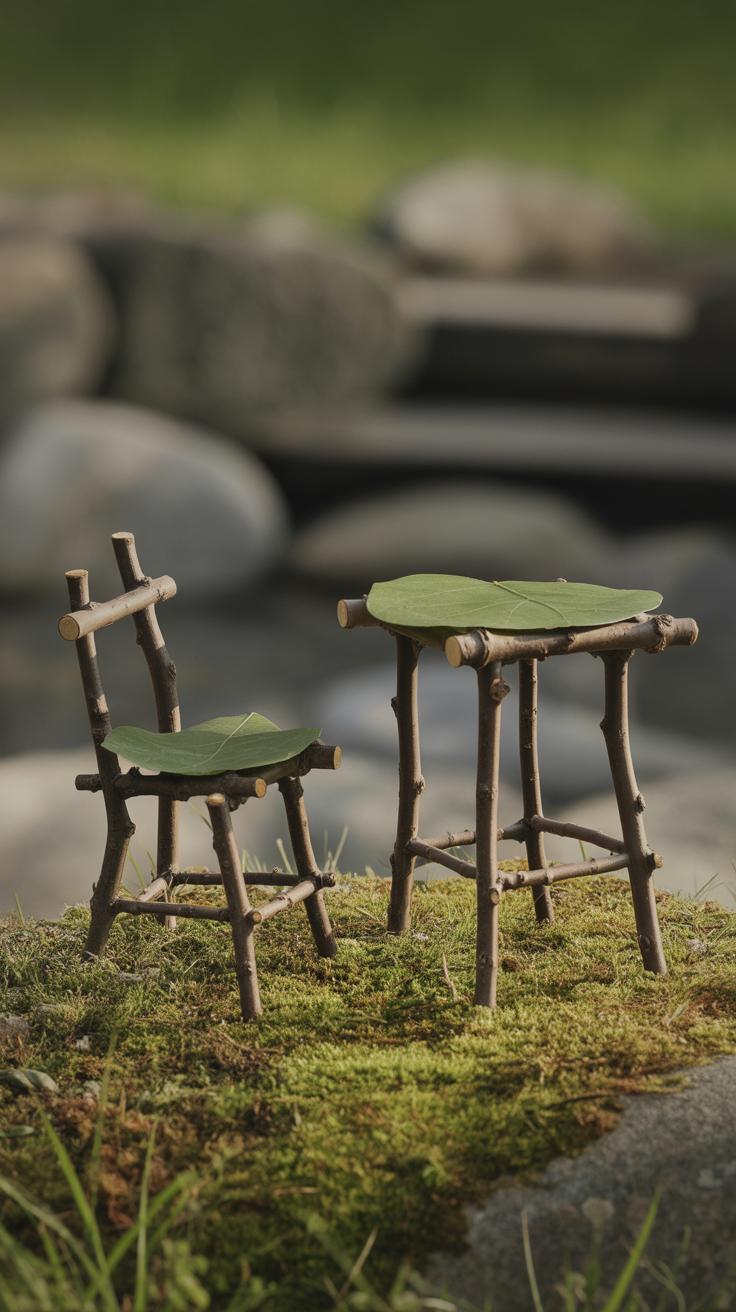
Making tiny furniture for your fairy garden can be quite fun—and it doesn’t have to be complicated. You might be surprised what simple items around the house can become a little chair or table with just a bit of imagination. Think of popsicle sticks, twigs, and small stones. They’re easy to find, easy to work with, and don’t require fancy tools. You can gather a handful of these, and suddenly, your fairy garden feels more alive.

For example, popsicle sticks are great for making table tops or bench seats. Twigs can serve as legs or arms for chairs. Small stones work well as bases or decorative feet. Don’t hesitate to mix materials—you may find combining a twig’s rough texture with smooth stones creates something unexpectedly charming.
Building miniature furniture usually involves simple steps. You might start by gluing sticks together to form a chair frame, then add tiny twigs for legs. For a swing, two sticks can hold a stone or a piece of bark for the seat, suspended by thin string tied at each end. It sounds basic, but can look delightful once in your garden.
One thing to keep in mind: nothing must be perfect. Some chairs will lean a bit—maybe even wobble. That’s part of the charm, isn’t it? You might try a few versions before getting something you like. Or not. Maybe having a leaning chair is its own kind of magic.
Do you ever wonder what stories these little furnishings would tell if they talked? While you craft, consider what your fairies might need—a comfy spot to rest, a tiny table for tea, or a swing hanging from a mini tree branch. It makes the work feel more personal, almost like setting a scene for unseen guests.
Adding Lights and Decorations
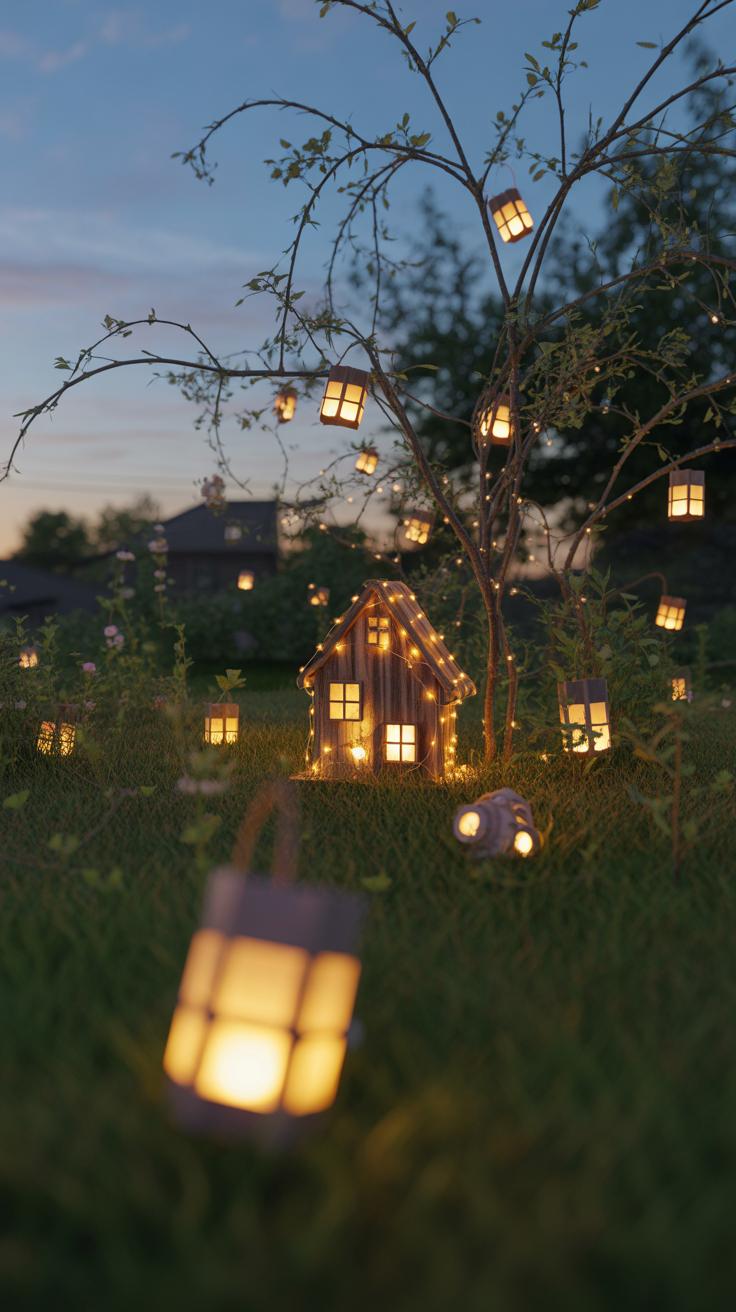
When you want to make your fairy garden come alive after dark, tiny lights can work wonders. I’ve found that small solar or LED lights are perfect because they don’t need wires running everywhere, which keeps the scene neat and safe. You can tuck these little lights inside lanterns or drape them around miniature trees. Sometimes, I carefully poke tiny holes in leaves or flower petals to thread them through—it gives a subtle, twinkling effect.
Solar lights are great because they recharge during the day, but place them where they get enough sunlight. LEDs last longer and stay cool, so they won’t burn nearby craft materials, which is a relief. When installing, try to hide batteries or switches under moss or inside crafted boxes to keep the magic intact.
Other decor ideas can really change how your fairy garden feels. A small path made of tiny stones adds a sense of journey—sometimes I mix in little shells or colorful gravel I found, just because it looked nice. Tiny flowers can brighten corners, and a bit of glitter dusted on leaves or pathways adds an unexpected sparkle. But be careful with glitter; too much might feel, well, a bit over the top. Somewhere between subtle shine and fairy-tale sparkle is usually just right.
Have you tried mixing these ideas or adding your own twist? Sometimes blending the practical with playful surprises makes the best little worlds.
Maintaining Your Fairy Garden Crafts
Weatherproofing Crafts
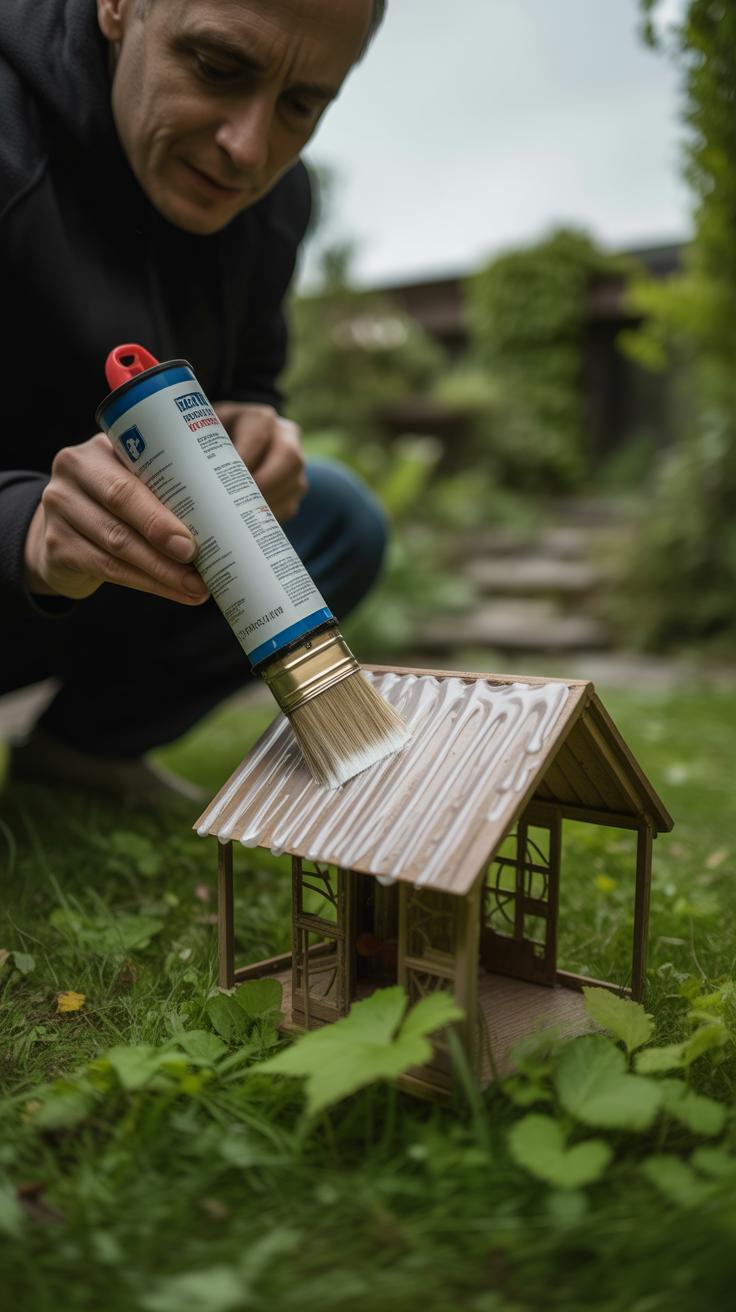
When your fairy garden faces sun and rain, your crafts need a bit of protection to stick around longer. Wood, for instance, can swell or fade, but a simple coat of clear outdoor sealant does wonders. I once skipped this step with a wooden fairy house, and after one rainy week, it looked shattered. Lesson learned.
Fabric pieces—think tiny fairy clothes or wings—should get treated with a water-resistant spray. It keeps colors from running and stops mold from setting in. Paper crafts are trickier, though. You might want to replace those more often or use laminated paper, but if you want to keep them outside, try brushing a thin layer of clear craft glue on both sides. It’s not bulletproof, but it buys you some time.
Regular Care and Cleaning
Check your fairy crafts every few weeks. Dust, dirt, and spider webs can pile up faster than you expect. A soft cloth or small brush helps clean without harming delicate pieces. When something breaks—a leg here, a wing there—don’t throw it away immediately. Fix it with hot glue or a dab of white glue. Sometimes, a small repair adds character, making your fairy garden feel more alive.
Also, rotate or move craft items if you see they’re weather-beaten. Moving a fairy door to a shadier spot might save it from sun damage. I can’t say it’s always worth the effort, but it’s fun to see how your garden evolves with a little care. Have you tried rescuing your weathered fairy crafts? It’s a bit like gardening itself—a bit of patience and regular tending go a long way.
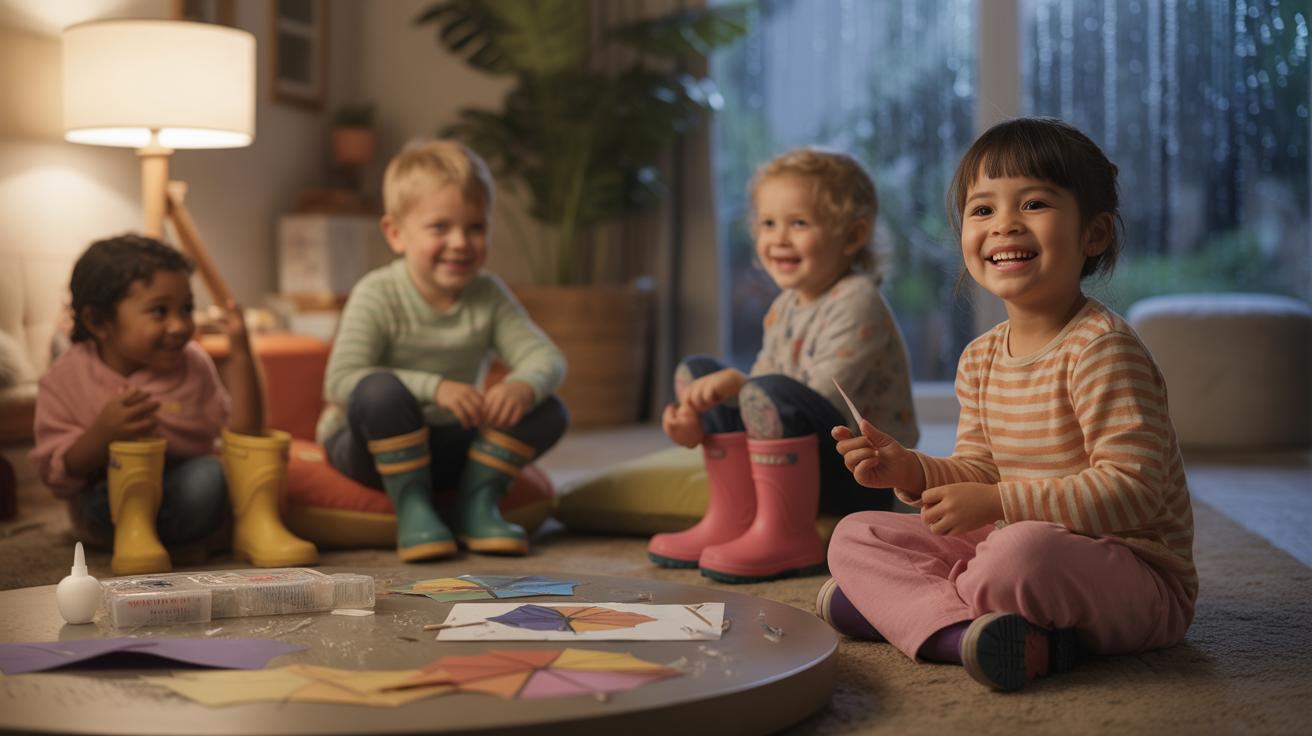
Involving Kids in Fairy Craft Projects
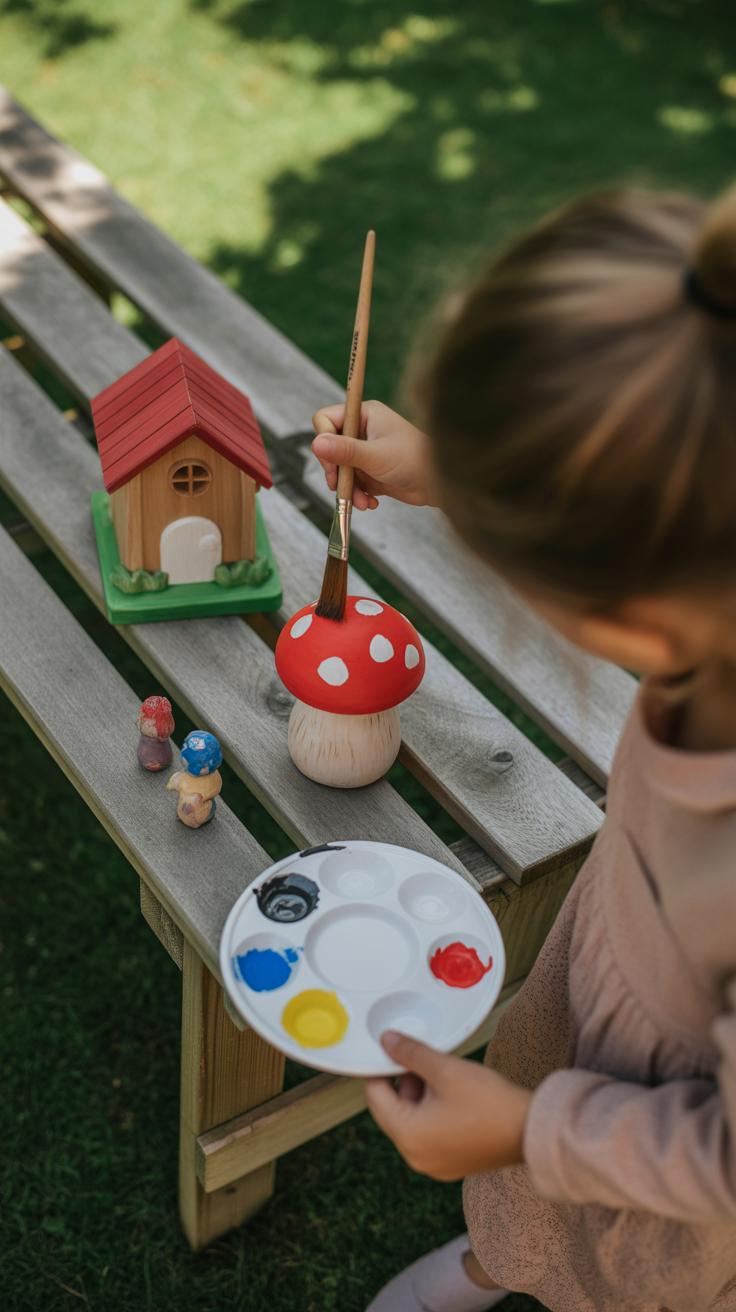
Getting children involved in fairy craft projects can be a wonderful way to spark their curiosity about the natural world while letting their creativity run wild. Kids often love making tiny fairy doors or painting acorn caps, and these little tasks create a sense of magic around simple things you might normally overlook. Sometimes, it feels like the crafts keep their attention better when they know the end result will become part of a living garden rather than just another art project sitting on a shelf.
Fun for All Ages
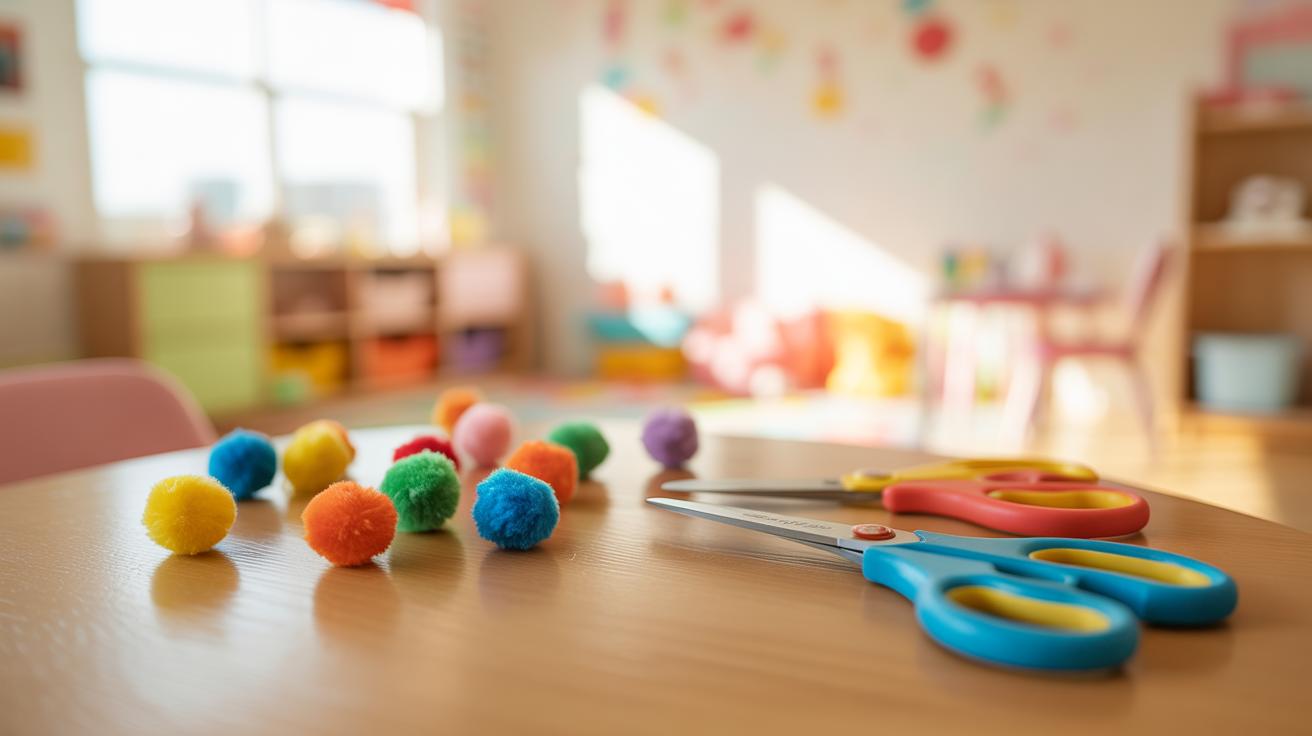
Not all kids can handle complicated craft tasks, so choosing simpler projects is key. Think about sorting and gluing small pebbles to form paths or constructing fairy houses from pinecones. These activities keep young hands busy without overwhelming them. You can also turn repetitive tasks, like threading beads or tearing colored paper for flowers, into games. Mixing in storytelling about fairies or nature legends often helps to hold their interest longer—sometimes, you’ll be surprised how invested they get. Maybe you’ll want to switch up activities if interest fades; that’s okay too.
Learning Benefits of Crafting
Crafting with kids offers more than just fun. It supports fine motor skills as they develop hand-eye coordination through cutting, gluing, and assembling small pieces. Imagination gets a boost when they think up fairy characters or invent little stories about the garden. Plus, being outdoors collecting materials connects them to nature in a tangible way, nurturing a subtle appreciation for plants and insects. Sometimes, it feels like those small moments of crafting are the ones that stick with them longer than school lessons—the simple joy of making something with their own hands.
Expanding Your Fairy Garden
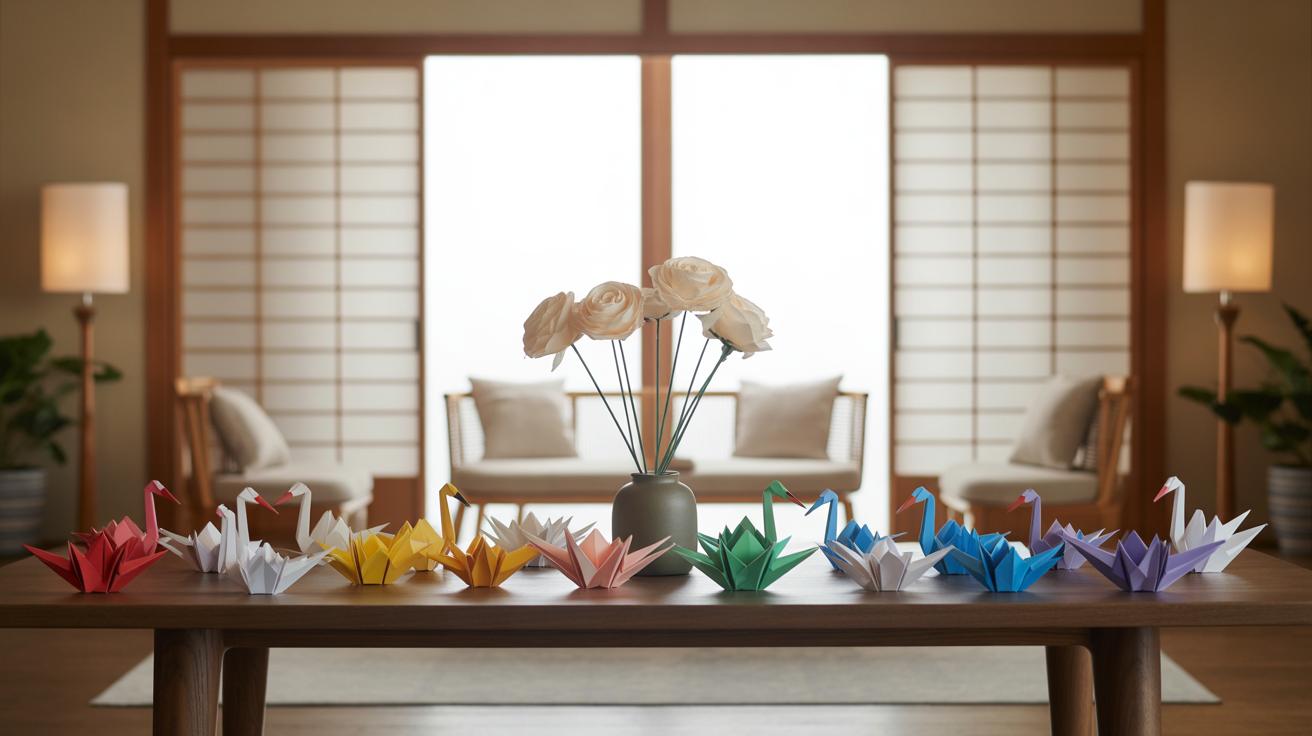
One way to keep your fairy garden feeling alive is by introducing new fairy creatures. You don’t have to buy everything — crafting your own tiny fairies, animals, or even cheeky gnomes can add a personal touch. Sometimes I find that homemade figures, made from air-dry clay or painted stones, bring a unique charm that store-bought ones just can’t match. Plus, small animals like birds or rabbits carved or painted by hand often spark little stories in the garden that feel more connected to the space.
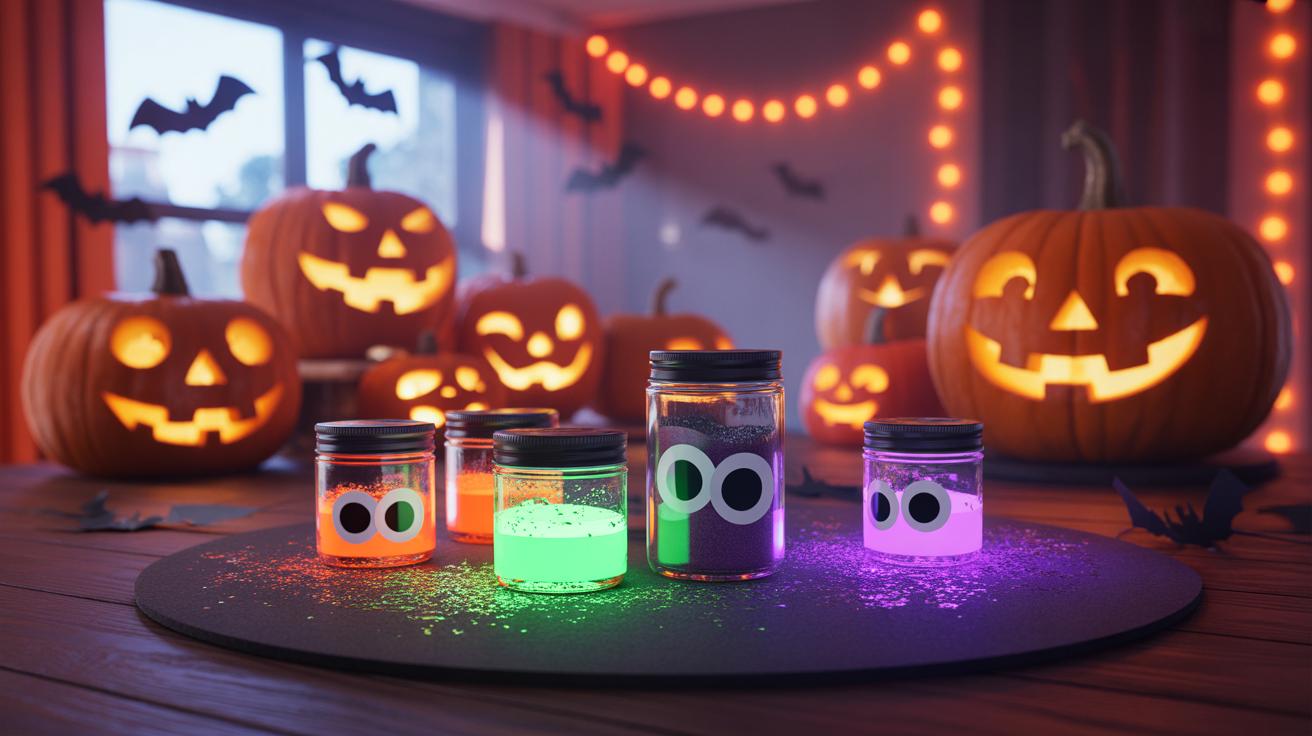
Changing your garden’s layout or theme can also breathe new life into it. Try rearranging pieces to create fresh perspectives—what if the fairy house faces a different direction? Or move a pond from one corner to another? You might explore seasonal themes, like an autumn fairy nook with tiny pumpkins and dry leaves, or a beach-inspired spot with shells and smooth driftwood. This keeps the experience fresh—for you and anyone else who visits.
Have you noticed how shifting a few details can remind you why you started your garden in the first place? What story do you want to tell next with your tiny creations?
Conclusions
Fairy crafts provide a fun way to connect with nature and creativity. Making these projects helps you design a special place right in your garden where stories and wonder can live. You don’t need fancy tools or skills—just your imagination and some simple supplies.
Try these crafts and watch your garden come alive with small magical touches. Each piece adds to the charm and invites you to spend more time outside. Your fairy garden can be a peaceful spot or a lively play area. Either way, it’s a gift of joy for you and your visitors.


