Introduction
Easy DIY art projects offer a quick way to add personality and style to your walls without spending much money. You don’t need special skills or expensive materials to create beautiful art pieces. With a few basic supplies and creativity, you can transform plain walls into a gallery of your unique creations.
In this article, you’ll explore simple DIY art ideas that bring instant charm to any room. Each project is designed to be beginner-friendly and fun. Whether you want a colorful abstract piece or a nature-inspired design, these ideas will help you decorate your space in a way that feels personal and fresh.
Choosing Your DIY Art Materials
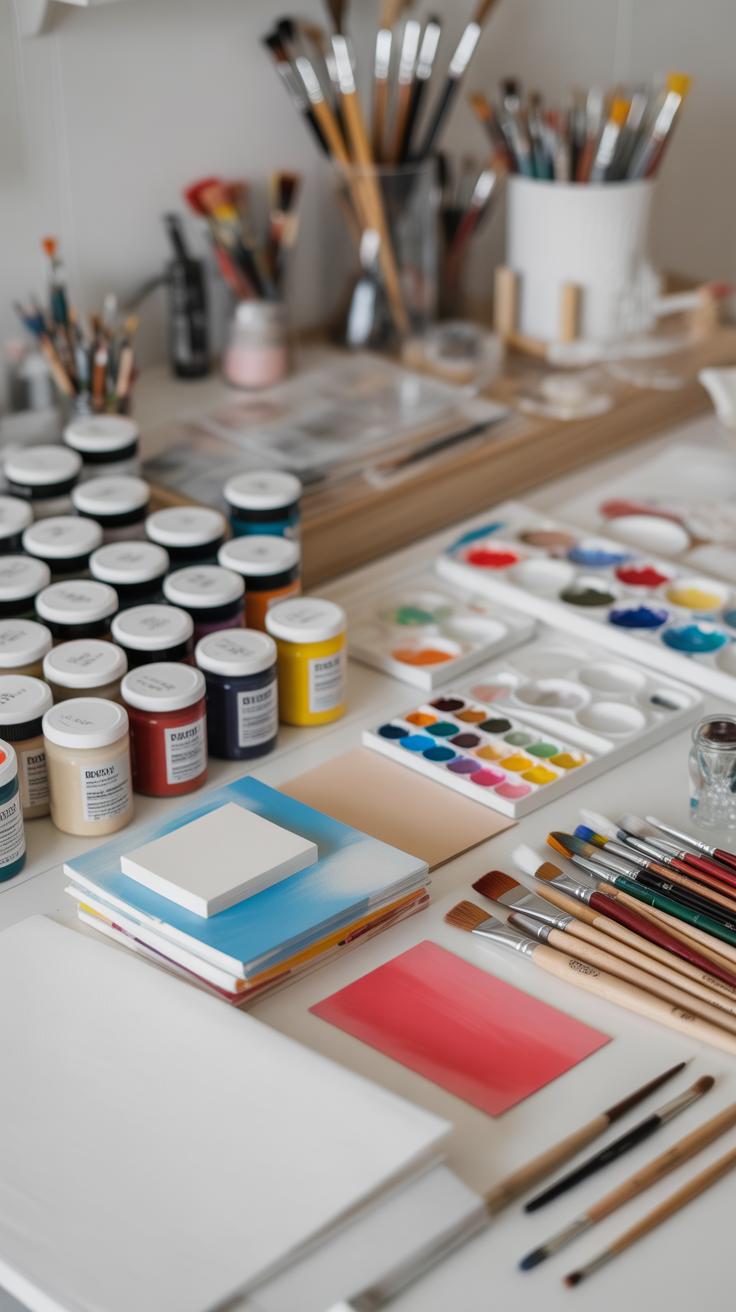
When picking materials for easy DIY wall art, the goal is to keep things simple and affordable without sacrificing creativity. You don’t need fancy supplies to make something that looks great on your wall. Basic, accessible materials work just fine and can even spark more inventive ideas.
Some go-to materials include acrylic paints, which dry fast and come in many colors. They’re good for beginners since they don’t require special solvents. Canvas or thick paper is useful, but you can also try wood panels or even sturdy cardboard if you want to experiment and keep costs low. Brushes come in all sizes; a few standard round and flat brushes will cover most techniques without confusing you with too many choices.
Glue sticks or craft glue have their place too, especially if you want to add texture or bits of paper or fabric. Don’t forget pencils and markers—they’re easy to control and perfect for adding details or outlines.
Finding affordable materials might take a little patience, but it’s doable. Thrift stores often have discounted canvases or leftover supplies. Dollar stores offer paints, brushes, and paper at low prices, sometimes with surprising quality. Don’t overlook household items like old magazines, fabric scraps, or even cardboard from packaging—they can all become part of your art. I once made quite an interesting piece from torn book pages and some leftover acrylic, which was pretty satisfying and cost me almost nothing.
Would you try mixing recycled items with traditional art supplies? It can open new possibilities you hadn’t considered before.
Simple Painting Techniques for Wall Art
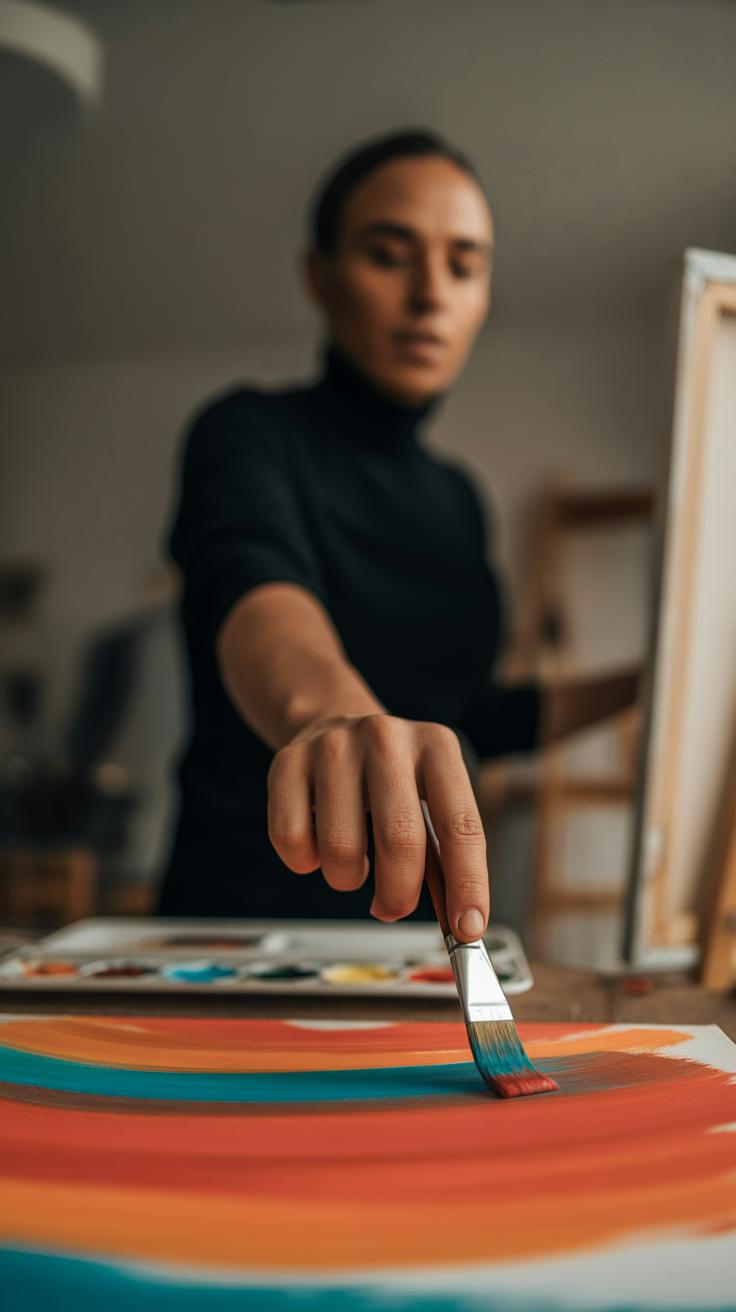
When you want quick art that truly brightens a room, simple painting techniques can deliver surprisingly good results without much fuss. If you’re not into detailed work, try using broad brush strokes or even a sponge to dab paint onto canvas or thick paper. This lets you cover space fast and creates texture that catches the eye.
One method I find quite forgiving is layering colors in washes—thin paint applied lightly. It might look basic at first, but each layer adds depth. Sometimes you could overwork it, but that’s part of the charm; your piece feels alive, rather than precise or sterile.
Another idea? Experiment with paint dripping or flicking. Sounds risky, but a few splatters can add energy and spontaneity and break the monotony of flat surfaces. Don’t worry about perfection here—that’s the point.
If you want to focus on shapes or forms, don’t hesitate to use blocks of color or abstract patterns. By limiting your color palette and varying brush pressure, you can generate striking effects with just a few strokes. It feels quick, almost casual, but the result is quite eye-catching in its simplicity.
Abstract and Color Blocking Styles
Creating abstract designs or color blocks is probably easier than you think, even if you’re not experienced with painting. Start by picking two or three colors that naturally go well together—or clash, if you prefer something bold. Then, use a flat brush or sponge to apply blocks of those colors side by side.

Think about shapes: rectangles, irregular squares, circles—anything you like. Don’t worry about precision; the charm often lies in the imperfections. You might find that overlapping patches add unexpected interest, or blending edges with a dry brush.
Sponges, in particular, can give you soft edges and interesting textures with little effort. It might feel like you’re just playing at first, but you’ll notice how your wall art starts looking modern and clean. And if you don’t like a spot, a quick wipe or repaint fixes it—no stress.
Using Stencils and Tape for Shapes
Stencils and painter’s tape are your best friends if you want neat shapes without lots of freehand painting. You can buy simple stencils online or make your own from cardboard or plastic sheets—cut out stars, triangles, stripes, whatever suits your style.
Apply the stencil onto the canvas or paper, then dab or brush paint over it. Once you peel it off, you get crisp, distinct patterns that stand out. It’s a good way to add a graphic touch that seems a bit more deliberate, but requires minimal effort.
Painter’s tape works well for geometric designs. Stick strips in patterns—like grids or angled lines—paint over them, and remove while the paint is still wet for clean edges. The tension between painted and unpainted sections creates balance, or maybe tension, depending on the shapes you choose.
Some people shy away from tape, worried it might pull off paint or paper. Honestly, I’ve found it’s pretty reliable if you remove it carefully and don’t leave it stuck too long. It lets you execute complex-looking patterns in minutes. Your wall art can transform dramatically with these simple tools and a bit of creativity.
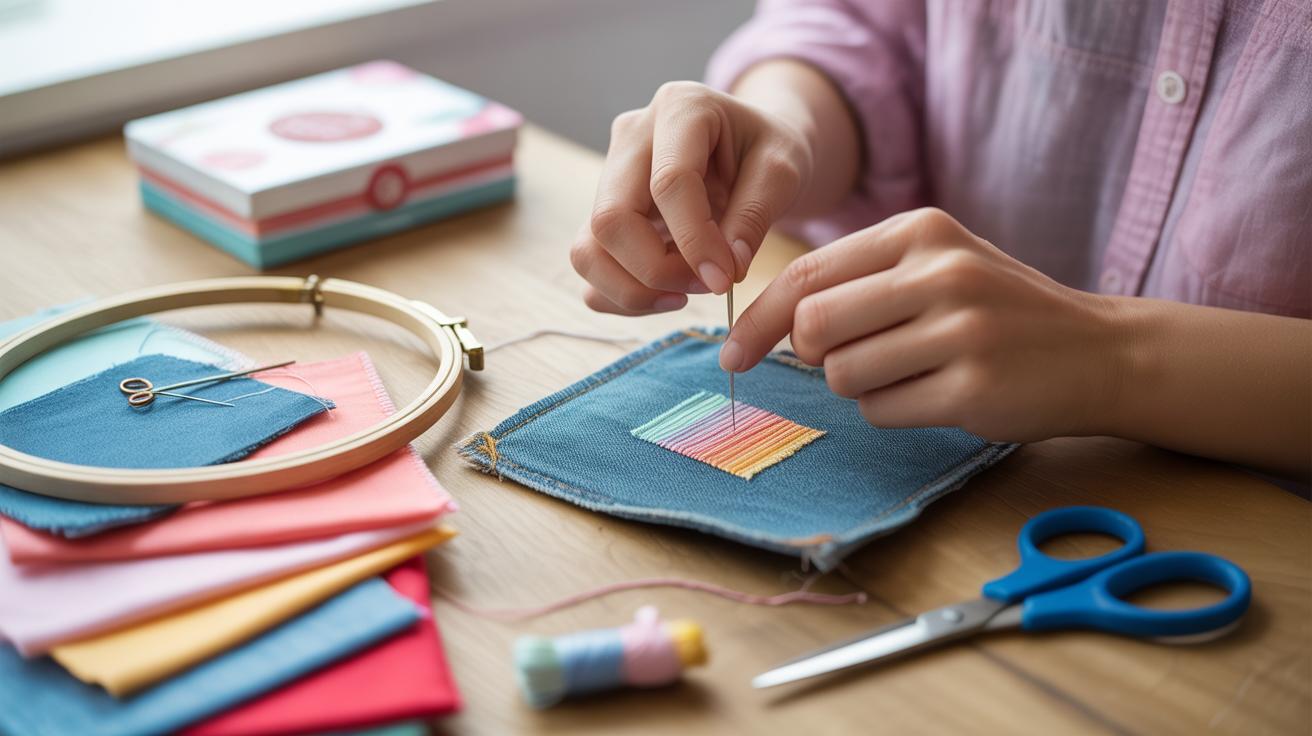
Creating Wall Art with Paper Crafts
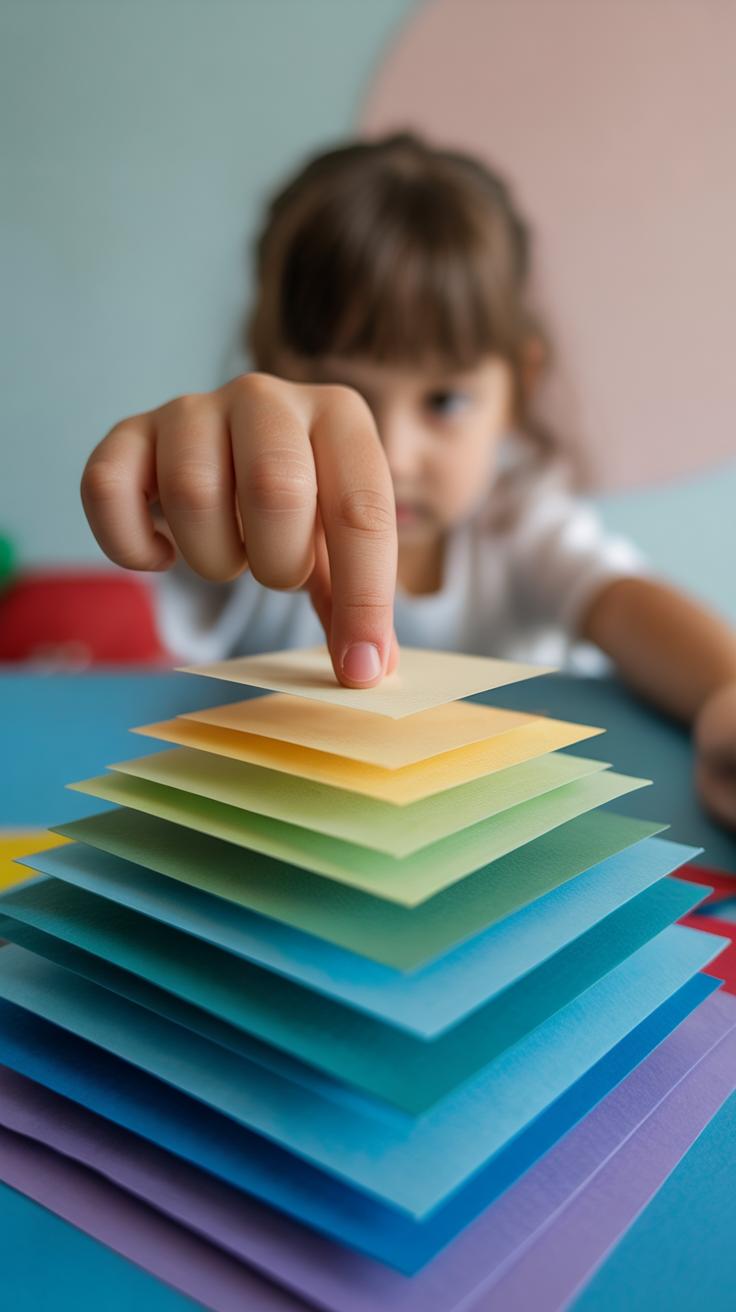
Paper crafts offer a surprisingly quick and flexible way to create wall art that feels personal and lively. When you think about paper collages, it’s really just about layering cutouts from magazines, colored sheets, and scraps—you arrange and glue them down in patterns or images that catch your eye. Maybe you start with a theme, like nature or abstract shapes, or just go with whatever colors speak to you at the moment. Sometimes the best pieces come from a somewhat random mix, layered until it feels right, rather than overplanning.
One thing I noticed is that paper collages invite a kind of playful messiness. Your scissors or hands don’t need to be perfect. In fact, uneven edges often add charm. You might want to use a glue stick to avoid soaking the paper, keeping everything crisp and flat. Experimenting with transparency by layering tissue paper or vellum can add unexpected depth, too.
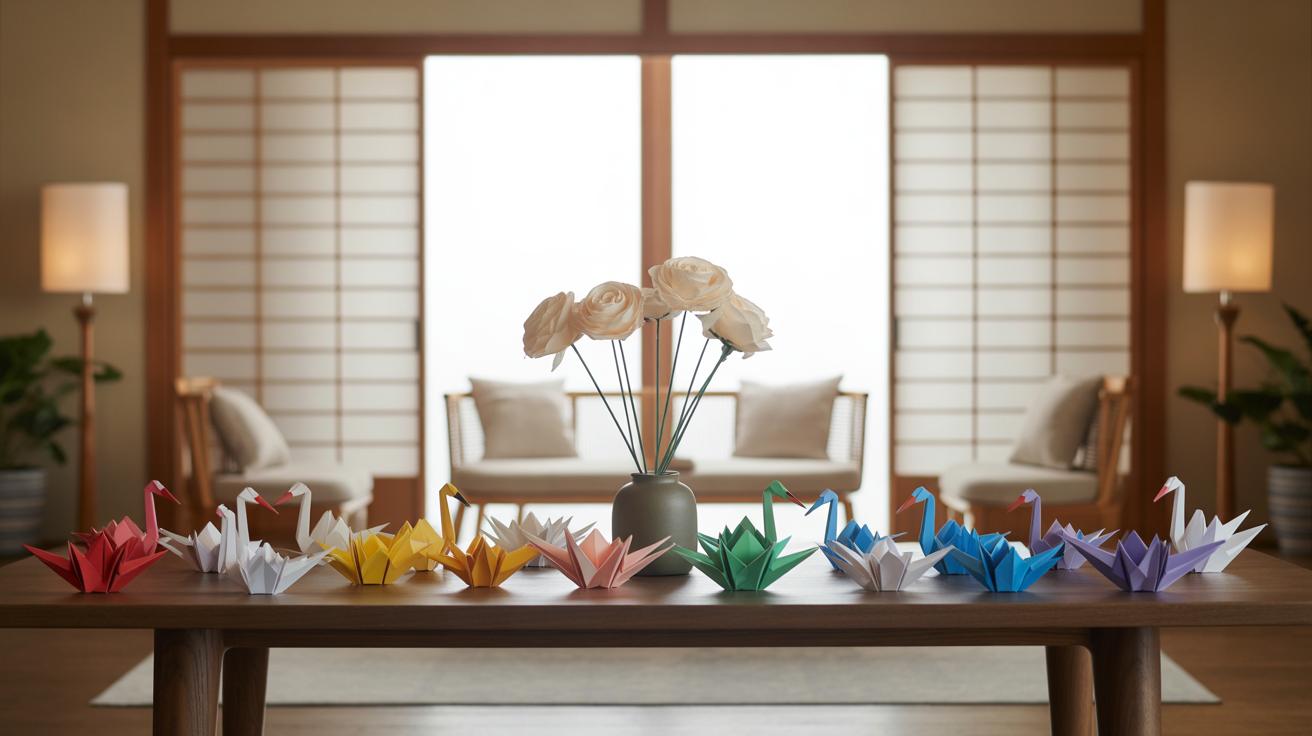
Origami and other folding arts provide another great approach. Folding simple shapes, like cranes, stars, or boats, allows you to build three-dimensional pieces that literally jump off the wall once framed or pinned. You can decorate these with markers, small paints, or even patterned paper to make each piece unique. Thinking about how the light falls on the folds, or how pieces interact when grouped in a frame, adds another layer to the design.
Have you ever tried combining both? For instance, a collage backdrop with origami shapes mounted on top. It doesn’t take long, but it creates a more textured, interesting composition. It’s easy to underestimate how much personality paper crafts add, and how they can brighten a space without much fuss. Maybe that’s why I keep coming back to paper anytime I want fresh wall art in a snap.
Using Nature for Art Decor
Nature offers plenty of simple, beautiful materials you can turn into wall art without much fuss. If you enjoy the outdoors even a little, you might find it rewarding to bring some of those little organic treasures inside. Natural pieces add a calm, understated feel that often feels missing in typical store-bought decorations. It’s quite something to look at a wall piece and actually know it’s made from something you found on a walk.
Pressed Flowers and Leaves
Pressing flowers or leaves is an easy way to capture their delicate shapes and colors in a frame. You just need a few basic supplies: some heavy books or a flower press, blotting paper or plain tissue, and a frame of your choice. Place the flowers or leaves between two layers of paper, then stack heavy books on top.
The trick is patience. It can take a week or more for them to fully dry and flatten. Once pressed, arrange them in a simple pattern on a plain background, then frame them under glass. I’ve often experimented with mixing different leaves for a subtle color contrast. Sometimes it works, sometimes it feels… a bit chaotic, but it’s all part of the fun.
Natural Textures and Materials
Even small twigs, bark pieces, or smooth stones can add interesting texture to your wall decor. Think about arranging a cluster of twigs inside a shallow shadow box. Or glue bark pieces onto a canvas for a rough, tactile surface. Stones can be glued in simple, geometric lines or patterns—sort of like natural pixels on a screen.
It doesn’t need to be perfect or overly designed. In fact, slightly random arrangements often look more authentic. Don’t hesitate to combine materials—you might find that mixing stone with a few pressed leaves creates an unexpected, yet pleasing result. How do you feel about blending these raw elements? It’s curious how they change the mood of a room, not just the look.
Personalizing Your Art with Words
Adding text to your DIY art can turn a simple piece into something deeply personal. Whether you choose a meaningful quote, a special date, or a name, words add a connection that purely visual elements sometimes can’t capture. I’ve noticed that even a short phrase, placed thoughtfully, changes how a piece feels in a room.
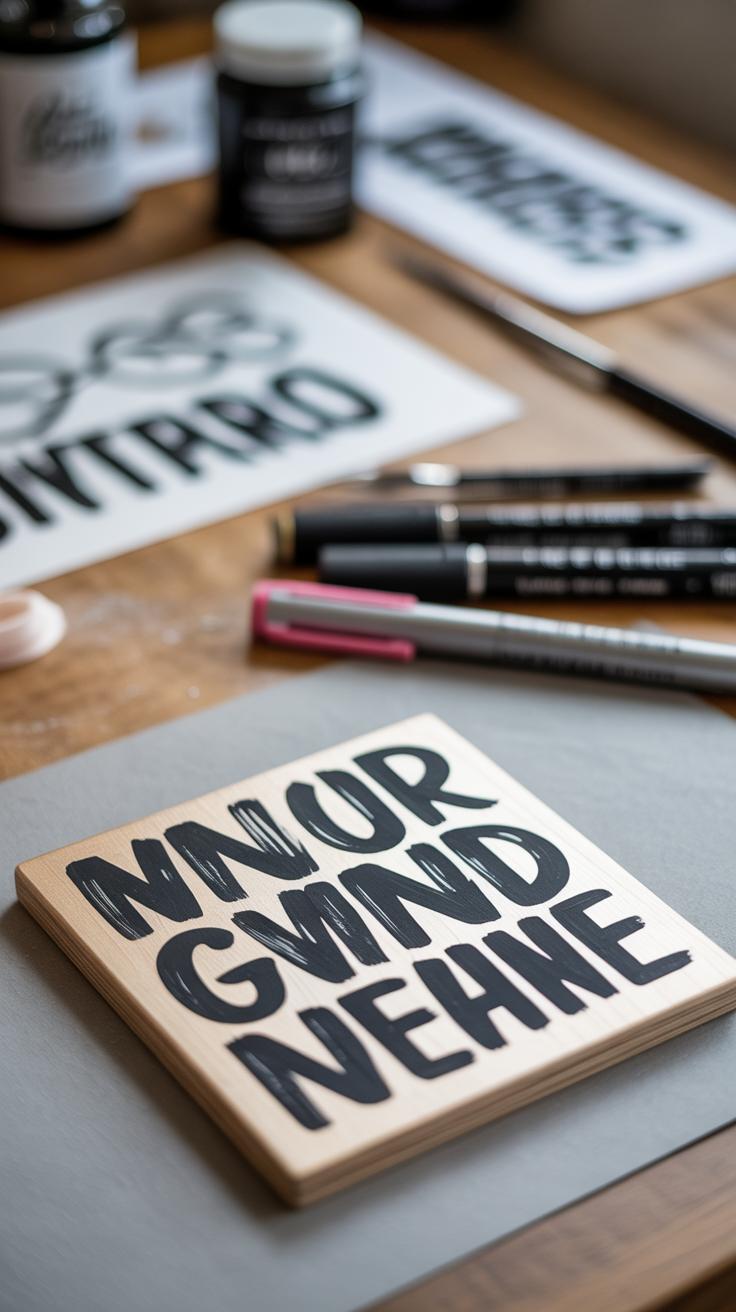
If you want to write your own words, hand lettering is a great start. You don’t need to be a calligrapher—some basic strokes and consistent spacing go a long way. Try starting with block letters for clarity, then experiment with simple flourishes or varying thickness by pressing harder or lighter with your pen. It might feel awkward at first, but practice on scrap paper. You might find a style you didn’t expect to like.
Not comfortable with freehand writing? Letter stamps and stickers can give you neat, clean text every time, and they’re easy to work with. Stamps give a slightly imperfect, handmade look, while stickers offer precision. Both allow you to add words without worrying about shaky writing, which can be a relief if your handwriting isn’t the best. Just arrange letters before sticking or stamping permanently—that planning step saves a lot of frustration.
Have you ever experimented with combining hand lettering and stamps? Sometimes mixing techniques creates unique effects, like a bold stamped word paired with delicate handwritten text. These options open up the possibility to tailor your art exactly how you want it, even if you thought text wasn’t your thing before.
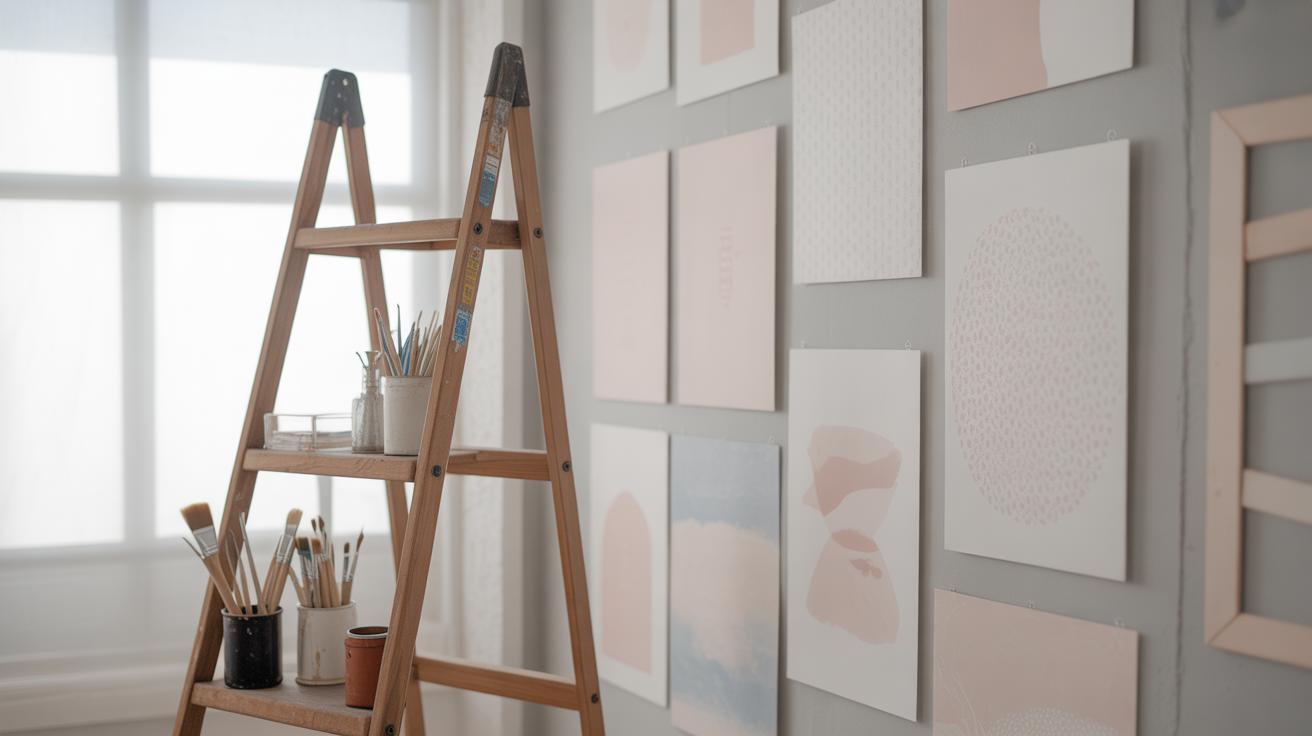
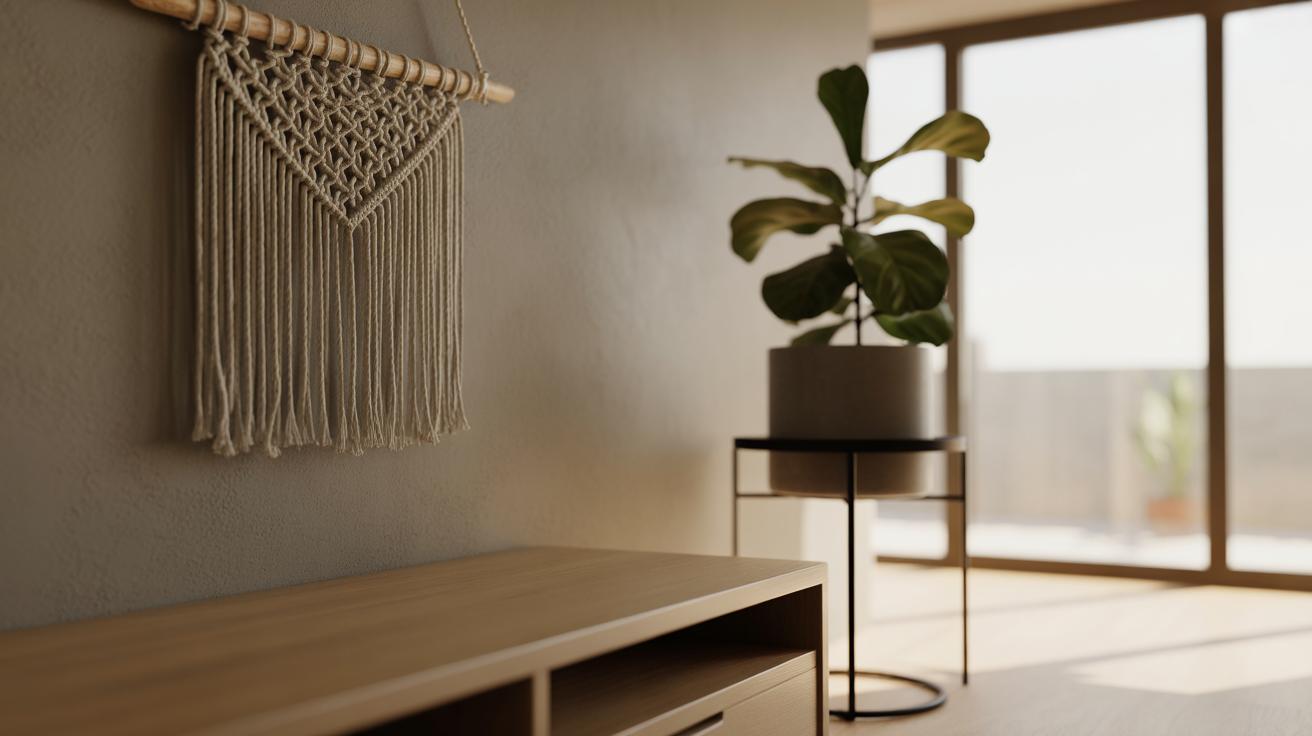
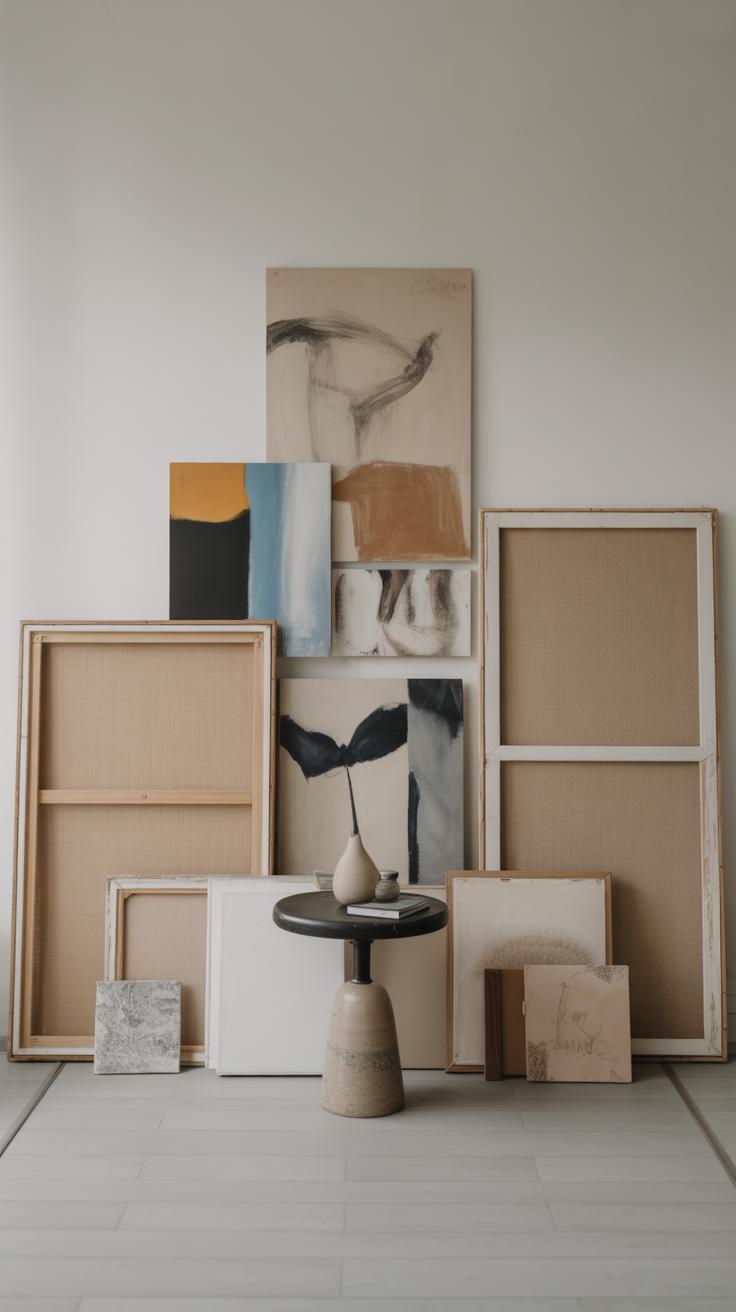
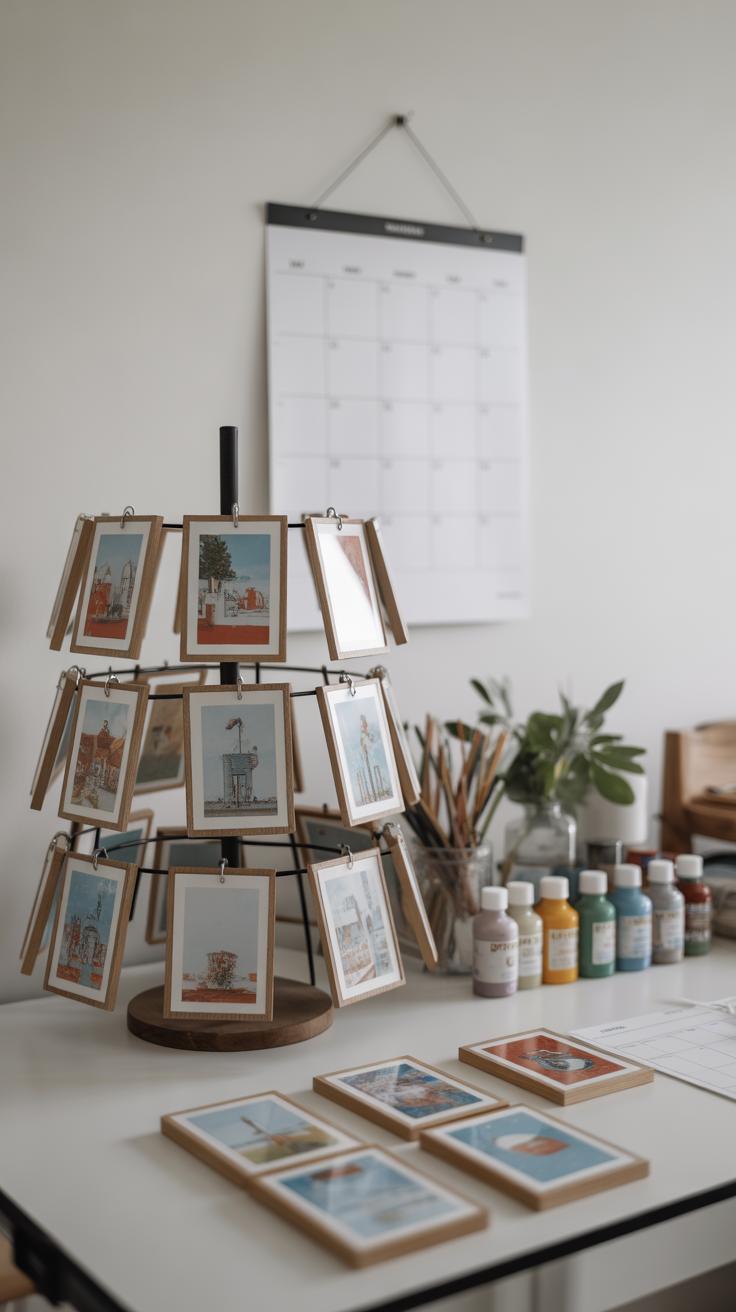
Framing and Displaying Your DIY Art
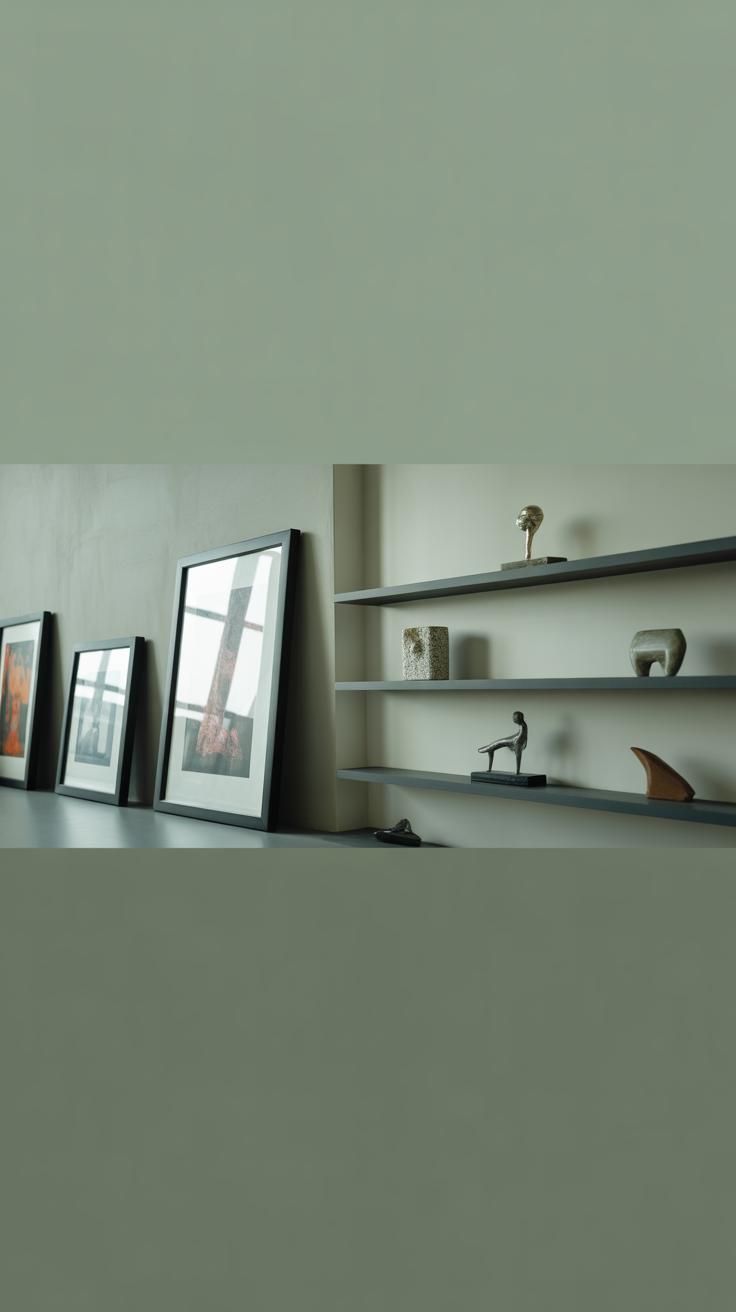
Choosing the right frame can feel surprisingly tricky, even for simple pieces. I think it helps to start by looking at your artwork’s style and colors. If your DIY art is bold and colorful, a plain white or black frame can create a nice contrast that stops the frame from competing with the art itself. On the other hand, softer, muted pieces might look better with wood frames or ones with a bit of texture—nothing too fancy, but not completely flat either.
Frames don’t have to be expensive either. Stores often have basic options at low cost, and sometimes thrift shops or flea markets surprise you with affordable finds. You might even want to mix frame styles a bit if you’re planning a display with multiple pieces, but don’t overthink it; sometimes a little mismatch adds character.
Making your own frame isn’t as complicated as it sounds. Simple frames can come from cutting strips of thin wood and nailing or gluing them together. This approach gives you control of size and finish, and you can paint or stain frames to match your room—or artwork. Some people have used cardboard or foam board for a lightweight option that still looks tidy.
If framing feels overwhelming or not quite right, consider alternative ways to hang your pieces. Clips attached to wire or a string on the wall let you swap art easily and add a casual, creative vibe. Washi tape is another option—you can create borders straight on the wall around your art. It’s fun, non-permanent, and adds a touch of color or pattern without overshadowing your work.
This part feels really personal to me because the way you frame or hang art can change its whole mood. What’s your space like? How formal or informal do you want it to feel? Sometimes experimenting a little helps you find what works best.
Combining Multiple Art Pieces for Impact
When you gather several DIY art pieces, arranging them together can create a stronger impression than any single one alone. But it’s not just about hanging them side by side. It’s a bit like putting together a puzzle where the pieces are shapes, colors, and styles.
Start by considering the wall space—big or small, its shape affects your layout choices. Sometimes, a loose grid pattern works well, but uneven spacing or asymmetrical groupings add character. Don’t rush this; try different arrangements on the floor first or use paper cutouts on the wall to visualize the setup.
Creating a gallery wall means mixing sizes and styles without making things look chaotic. You might place one bold, large piece as an anchor and surround it with smaller, simpler works. Or alternate between framed sketches and colorful prints, which adds texture and interest. Keep the balance by spacing elements thoughtfully and allowing the wall to breathe.
To maintain cohesion, look for common threads. It could be a shared color palette, a theme, or even the frames themselves. Matching frames can tie together wildly different artworks, but changing frame styles might better suit your vibe if you want a casual, eclectic mix. Ask yourself: does this piece speak to the others? If not, consider repositioning or swapping it out.
Finally, don’t hesitate to change things up over time. Your display isn’t set in stone. Sometimes, moving pieces around reinvigorates the whole space, offering a fresh perspective almost effortlessly.
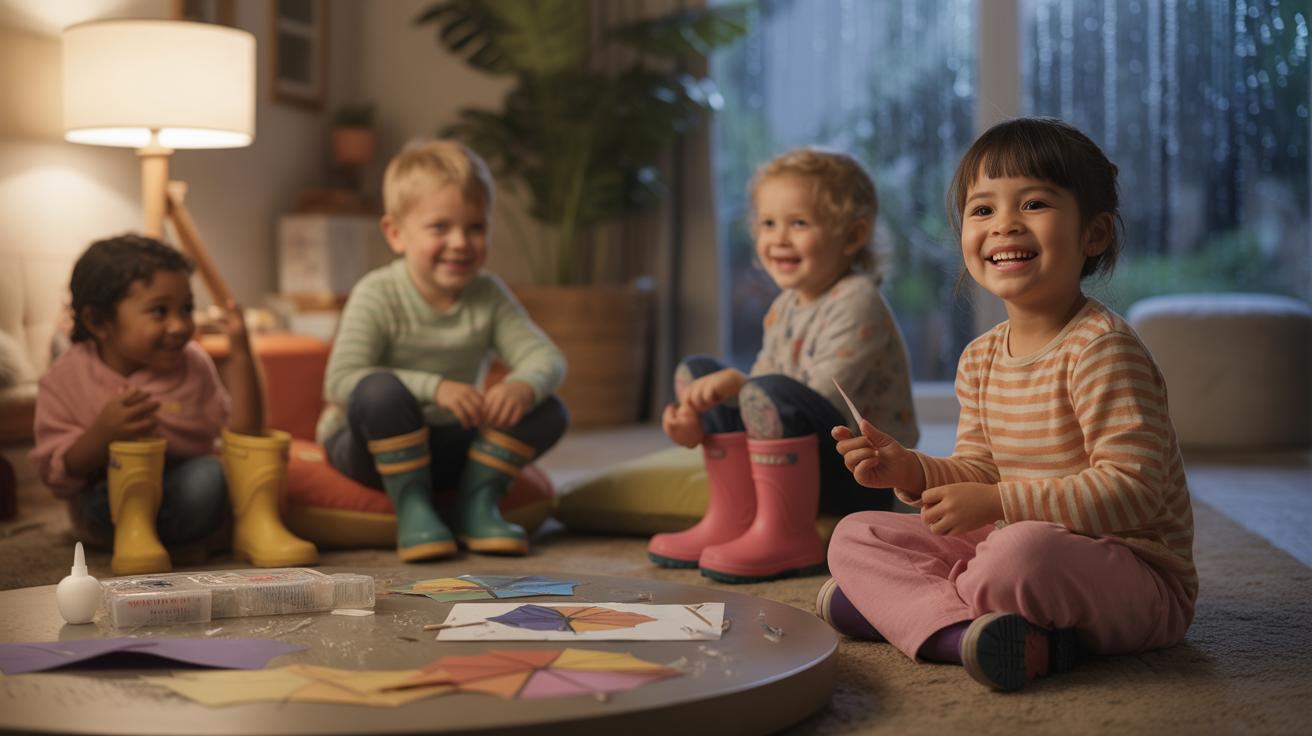
DIY Wall Art Ideas for Kids and Families
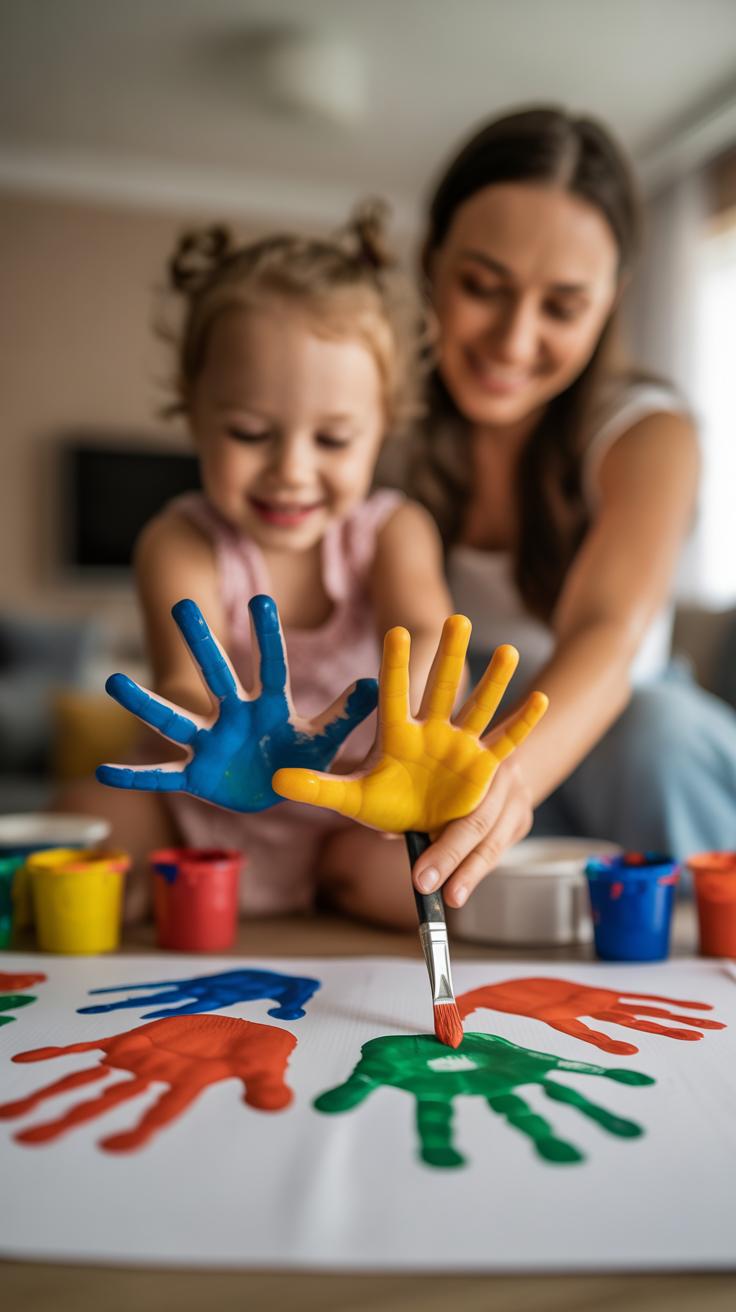
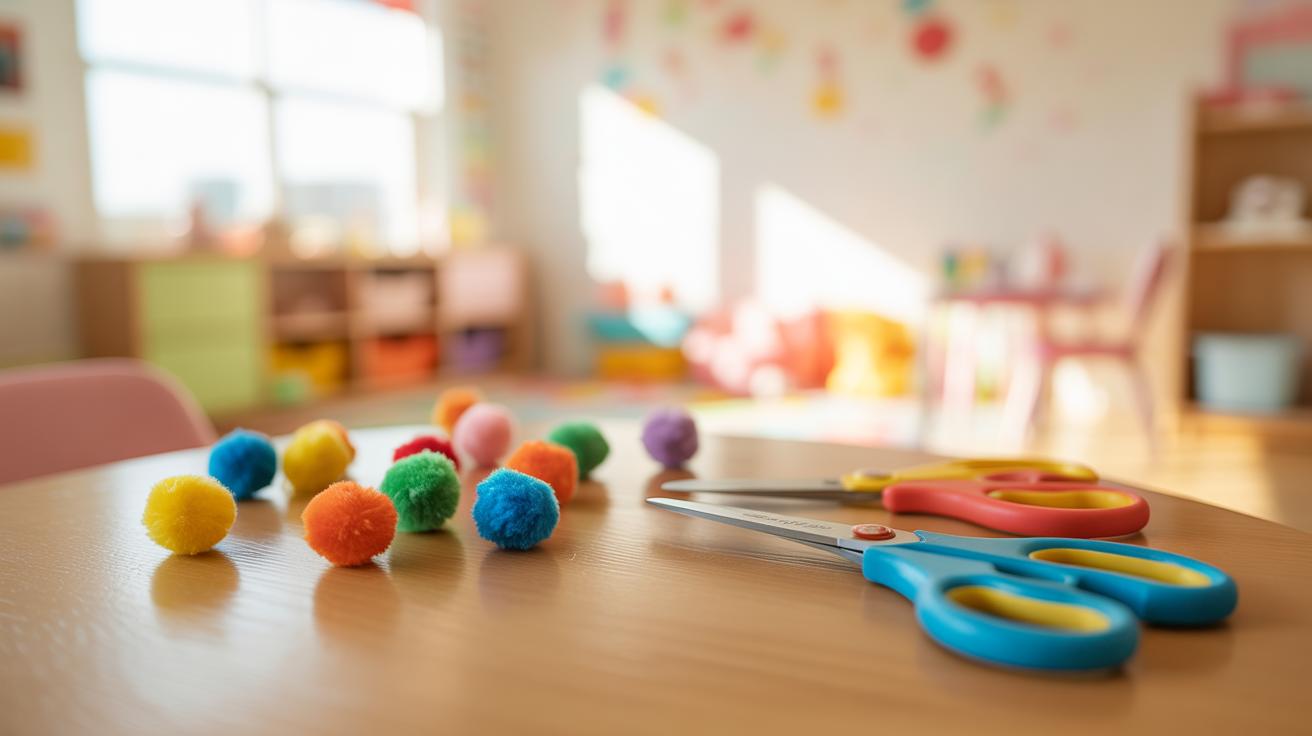
Getting kids and family involved in making wall art can be more rewarding than you might think. These projects don’t have to be complicated—sometimes the simplest ideas bring out the most genuine creativity. Think about painting with fingers or sponges; kids love feeling the paint without worrying about mess. These activities can easily turn into vibrant canvases full of unexpected patterns and colors.
One fun idea is to create handprint or footprint art together. Each family member adds their unique mark, resulting in a piece that’s personal and a little unpredictable. It doesn’t matter if it looks perfect—what counts is that everyone has contributed. You might be surprised how these lively splashes add personality to any wall quickly.
Family collaborations can also work with more structured pieces. For example:
- Start a large canvas where each person paints a section or adds a different element in rounds.
- Try a theme, like seasons or favorite animals, letting everyone interpret it in their own style.
- Add some simple stamping or collage with old magazines or fabric scraps to vary the textures and keep it interesting.
Playing with scale and combining individual efforts into one project lends a feeling of connection you can actually see hanging on your wall. It might not be flawless, and maybe that’s the point. Sometimes, those little irregularities make the art—and the memories behind it—feel more alive.
Keeping Your DIY Art Fresh and Updated
Rotating Art Pieces
Switching up your wall art now and then is a simple way to keep your space feeling alive without much hassle. You don’t have to rotate everything at once—maybe just one or two pieces every few weeks or months. This can rekindle your interest in your own creations, making your room feel different without extra cost or effort.
Try storing some pieces tucked away in a portfolio or folder, and then swapping them out when you feel like a change. Oddly, seeing something familiar again after time apart can give you a fresh perspective on it. It’s like rediscovering a favorite book. Also, rotating your art invites you to see what really fits your mood or current style.
Adding Seasonal Touches
Seasonal updates don’t need to be complicated. A few small additions to your existing art can make it reflect the time of year. For instance, adding paper leaves around a framed print in autumn or lightly painting snowflakes on glass covers during winter shifts the look quickly.
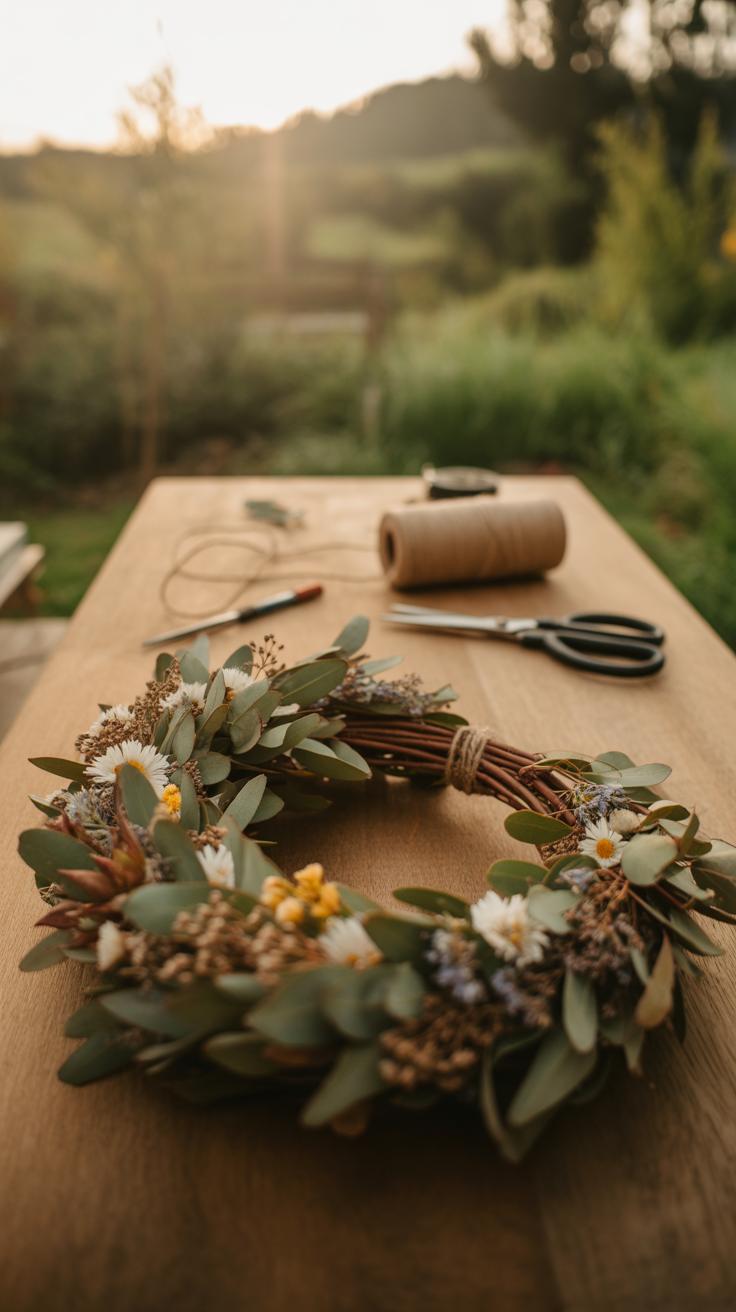
You can also hang small wreaths, attach simple garlands, or swap out mats and frames for colors that match the season. It’s not about overhauling your whole wall but layering little changes that nod to holidays or weather. And sometimes, those subtle touches are what make a room truly feel welcoming throughout the year.
Conclusions
Trying easy DIY art projects can make your home feel more welcoming and reflect your personality. These projects help you express creativity while saving money on artwork. With practice, you can tailor each design to suit your style and space perfectly.
Taking time to create your own wall decor can turn your home into an inspiring place. Remember, art doesn’t have to be complicated. Start small, enjoy the process, and watch how your walls come alive with your personal touch.


