Introduction
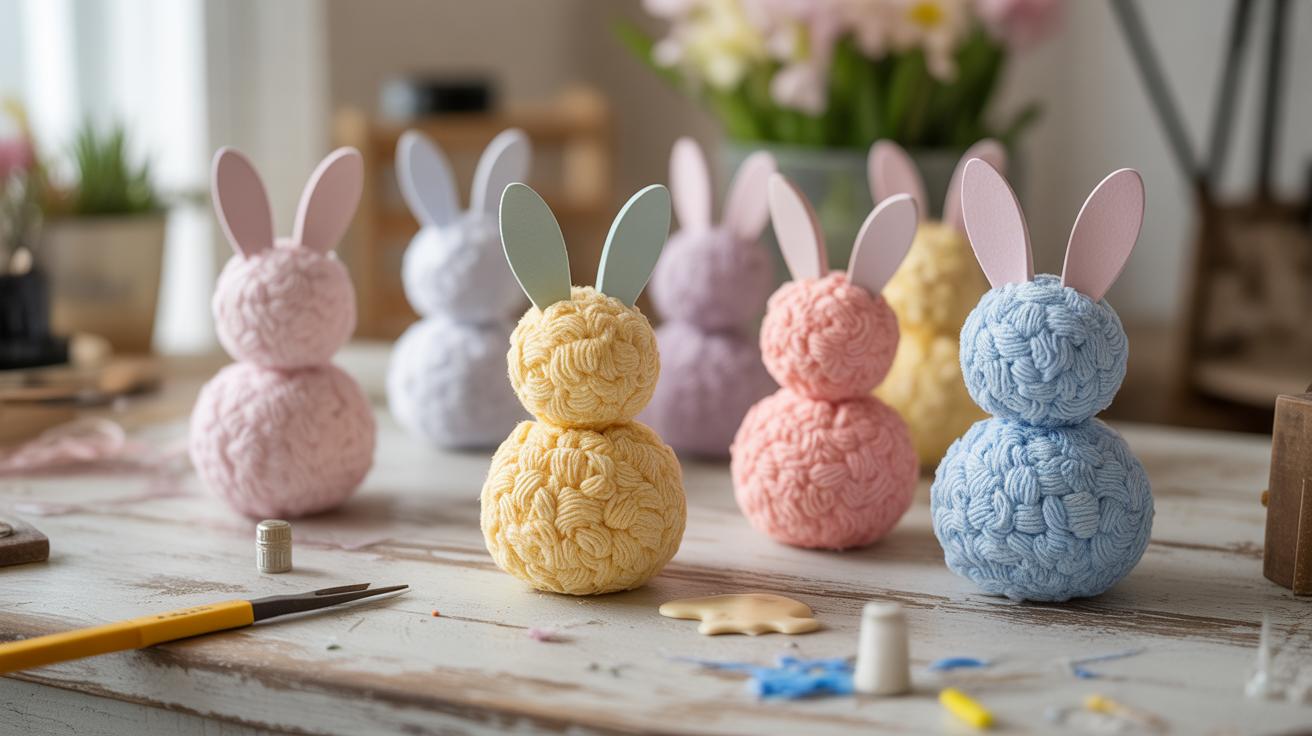
Easter is a great time to enjoy fun crafts with your kids, especially when you focus on creating Easter bunnies. Cute Easter Bunny Crafts For Kids To Make bring joy and creativity to the holiday season. These activities are designed for children, making it easy for them to participate and make their own decorations.
In this article, you will discover simple and creative Easter bunny craft ideas. Each project is explained with easy steps so you can join your kids and make wonderful memories together. These crafts also help children improve their motor skills and express their imagination.
Materials Needed for Easter Bunny Crafts
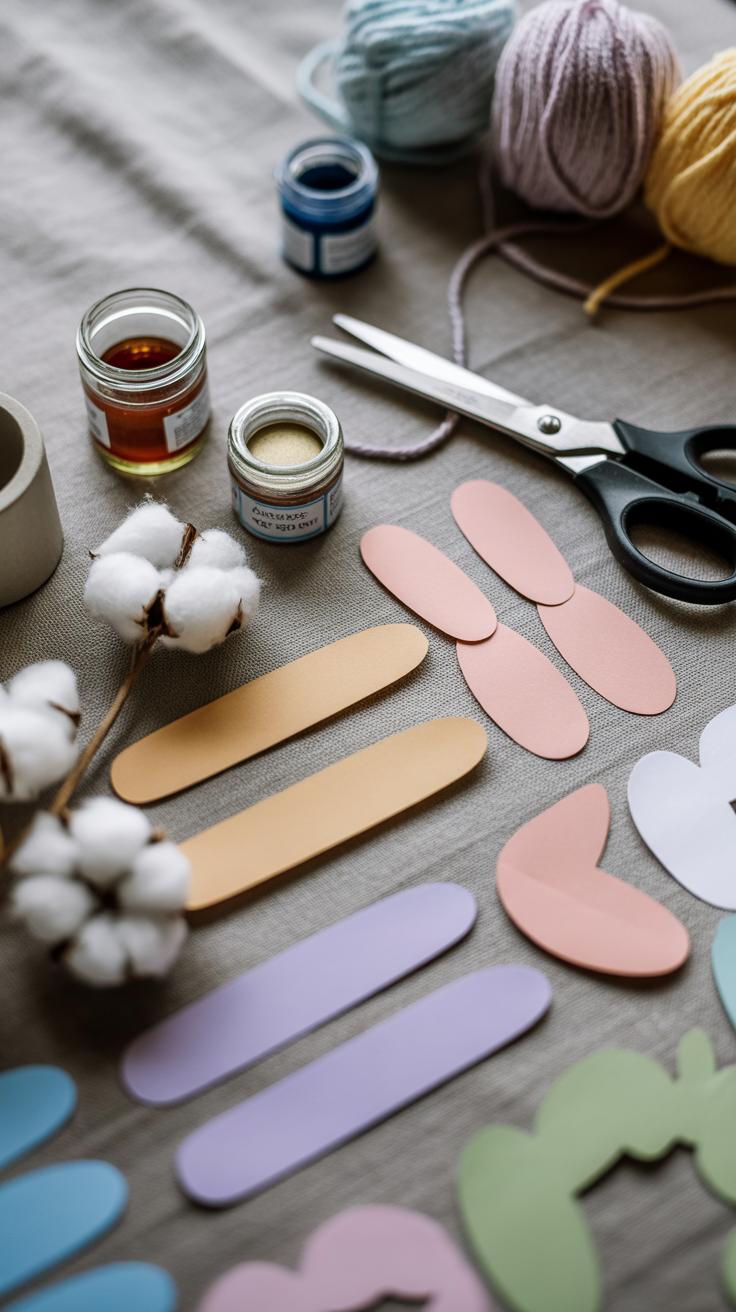
When gathering materials for Easter bunny crafts, you’ll find most items are probably already around your home. Simple, everyday supplies can do the trick—and sometimes it’s easier if you don’t have to hunt for something special.
Start with basics like paper, scissors, and glue. Plain white paper or construction paper works well for making different bunny shapes. Scissors should be kid-friendly, unless you’re handling the trickier cuts yourself. Colored pencils, crayons, or markers can bring the bunnies to life with soft pastel tones or bright colors, depending on your child’s mood.
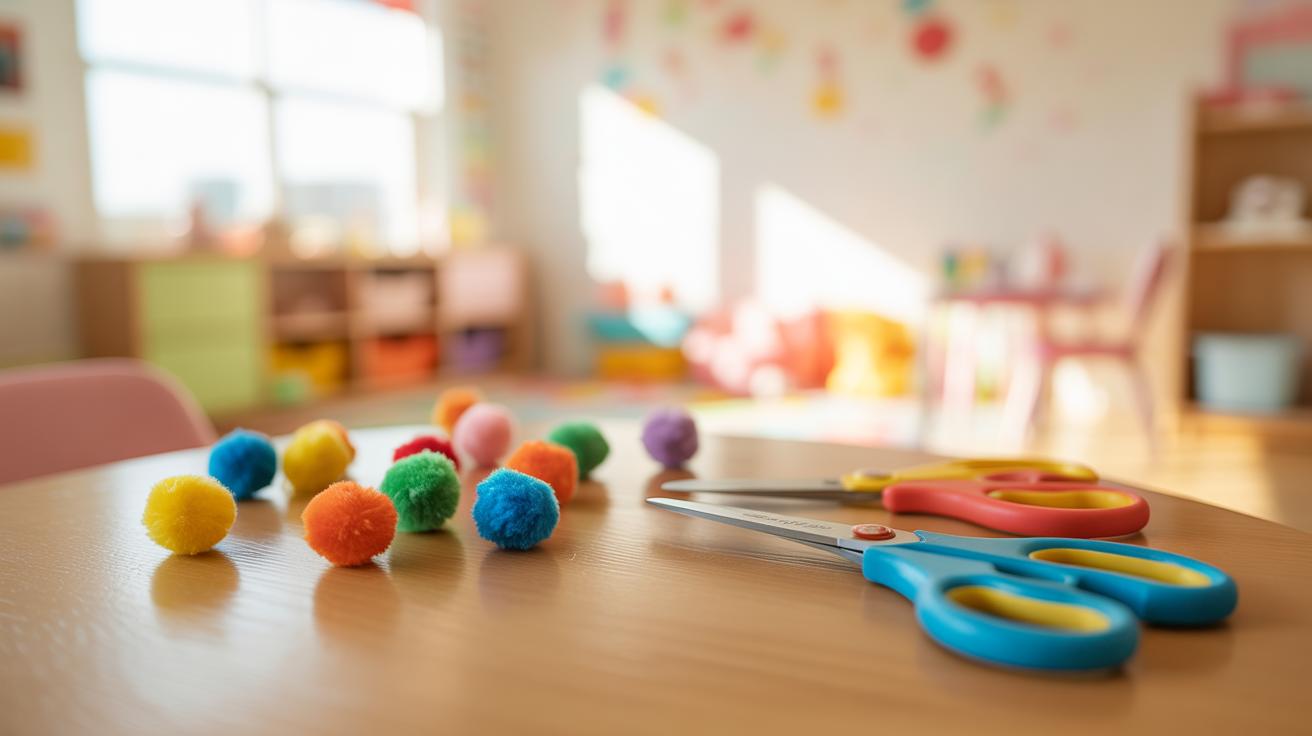
Think about other household items too. For example, cotton balls make fluffy tails, and scraps of fabric or old ribbons can turn into little bow ties or ear decorations. Googly eyes add personality—though sometimes children just prefer to draw their own eyes. You might have a small stash of stickers or pipe cleaners lurking somewhere. They’re perfect for whiskers or extra details.
Here’s a short list of what usually works well:
- Paper (plain, colored, or construction)
- Scissors (scissor skills vary with age, so help where needed)
- Glue stick or white glue (some kids prefer the stick for less mess)
- Crayons, colored pencils, or markers
- Cotton balls or pom-poms for tails
- Googly eyes or stickers
- Ribbons, fabric scraps, or pipe cleaners for extra fun
Sometimes, it’s tempting to grab everything in sight, but a simpler setup keeps things flowing smoother. When kids see familiar materials, they often feel more confident to start. And maybe, just maybe, the mess won’t be too overwhelming for you.
Easy Paper Easter Bunny Craft
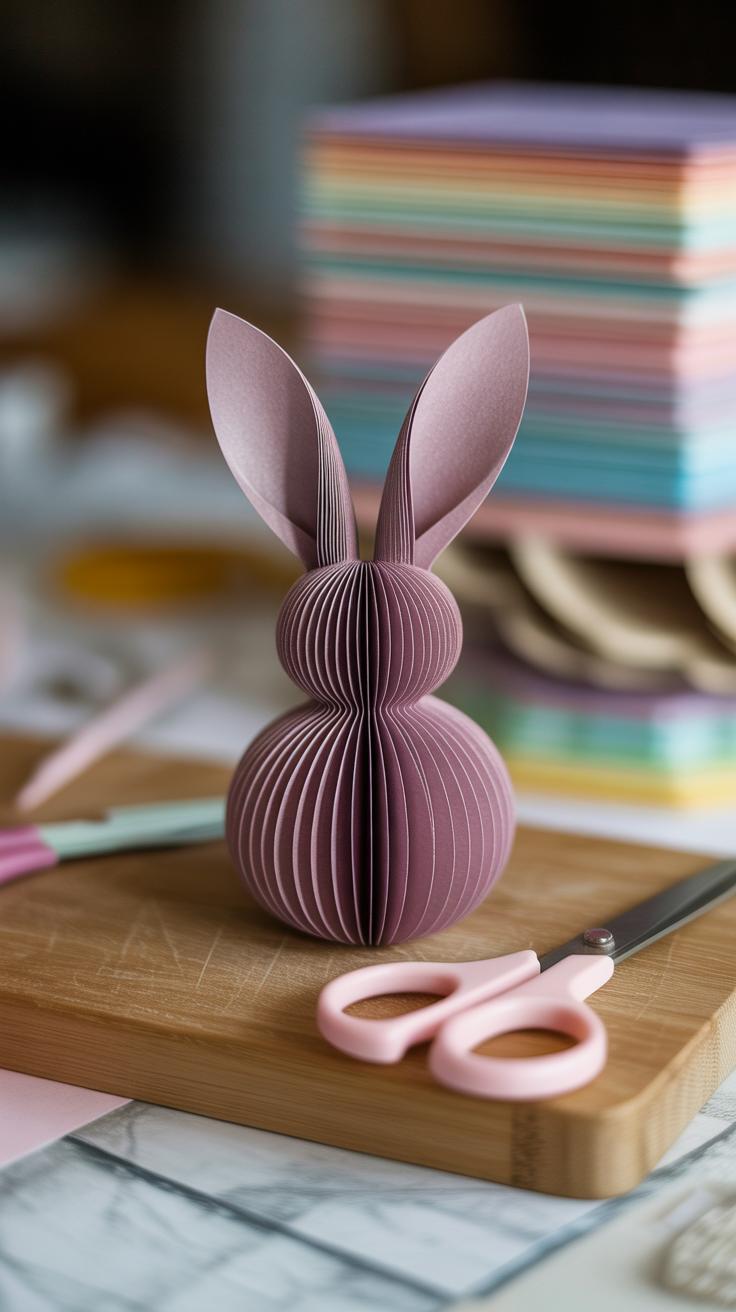
Making a simple Easter bunny from paper is a great way to keep things fun and easy for kids, especially if they’re just starting to work with scissors and folding. The trick is to keep the shapes basic and the steps clear.
Folding and Cutting Steps
Begin with a square piece of paper—colored paper can be more festive but plain white works fine too. Fold it in half diagonally to make a triangle. Then, fold that triangle in half once more, so you end up with a smaller triangle.
Now, here’s where cutting shapes comes in. On the folded edge, you’ll cut a rounded shape to form the bunny’s head and ears. Think of a long oval with two pointy bits on top for ears. Be careful with the scissors—maybe watch closely or help out if kids are younger.
When you open the paper up, it will look like a symmetrical bunny’s face with ears. It’s simple but quite charming. Because the paper is folded, fewer cuts are needed, making this less tricky for beginners. You might notice that not all folds are perfectly even, but that’s part of the charm.
Decorating the Paper Bunny
Once the shape is ready, it’s decorating time. Crayons offer a nice, soft color, while markers give a bolder look. Let kids add eyes, a nose, whiskers—whatever personality they want.

Stickers work well too, especially for eyes or little flowers to make the bunny unique. You could even ask your kids why their bunny looks this way; sometimes, it leads to funny stories or surprising creativity. Adding a bowtie or buttons with leftover paper scraps or tiny pieces of fabric makes the bunny even more special.
There’s really no wrong way here. The beauty of this craft is how kids’ own touches take a simple shape and turn it into something—well, theirs.
Cotton Ball Bunny Craft
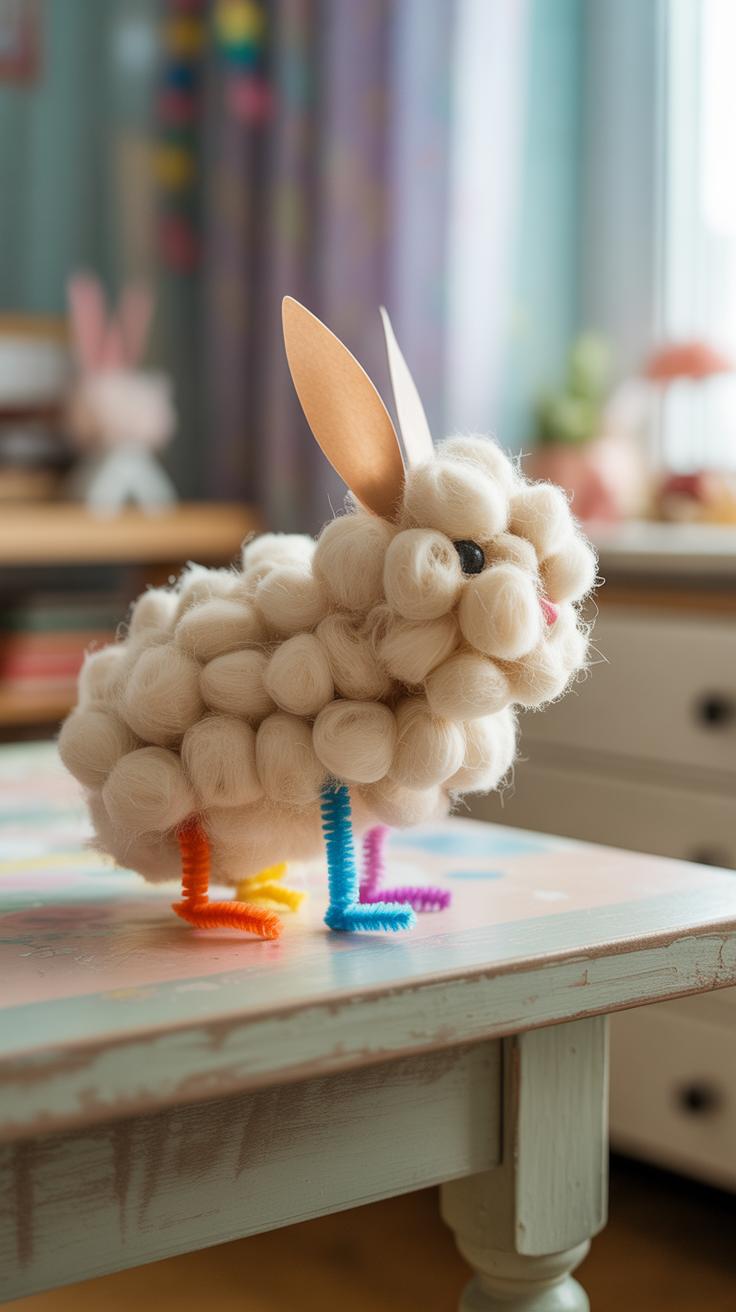
Building the Bunny Body with Cotton Balls
This craft begins with a simple base, like a thick piece of paper or cardboard. Start by thinking about the basic shape you want—usually a round body and a smaller, round head. Then, glue cotton balls directly onto the surface, placing them close together but not too densely packed, so the fluffiness really shows. You can gently squish the cotton balls to help shape the bunny more evenly, though it doesn’t have to be perfect. It’s kind of fun watching the bunny take form as the cotton clusters grow.
One trick is to layer the cotton balls; a single layer often feels too thin and flat, so adding a second one makes the bunny feel soft and three-dimensional. If you don’t have cotton balls, cotton pads can work too, though the texture will differ. Let the glue dry well before moving on. If the base is stiff, like cardboard, it holds up better, but paper will do if you’re careful not to saturate it with glue.
Adding Facial Features and Details
Once the fluffy body is in place, it’s time for the bunny’s face and ears. Craft eyes can be googly eyes or small black buttons—whatever you have handy. For the nose, a tiny pink pom-pom or a dot of colored paper works well. You might even try drawing the details with markers, though adding some texture can be charming and more tactile for kids.
Making the ears is fun because you get to get a bit creative. Cut two oval shapes from felt or construction paper, folding slightly at the base to make them stand up better. You can glue a smaller pink shape inside for contrast or leave them plain. Attach the ears to the top of the cotton ball head, pressing gently so they stay put. Sometimes ears wobble, which isn’t a problem—it just adds to the charm. Once the bunny’s eyes, nose, and ears are in place, you’ve got a soft, fluffy friend ready to sit on a shelf or decorate your Easter table.
Popsicle Stick Easter Bunny
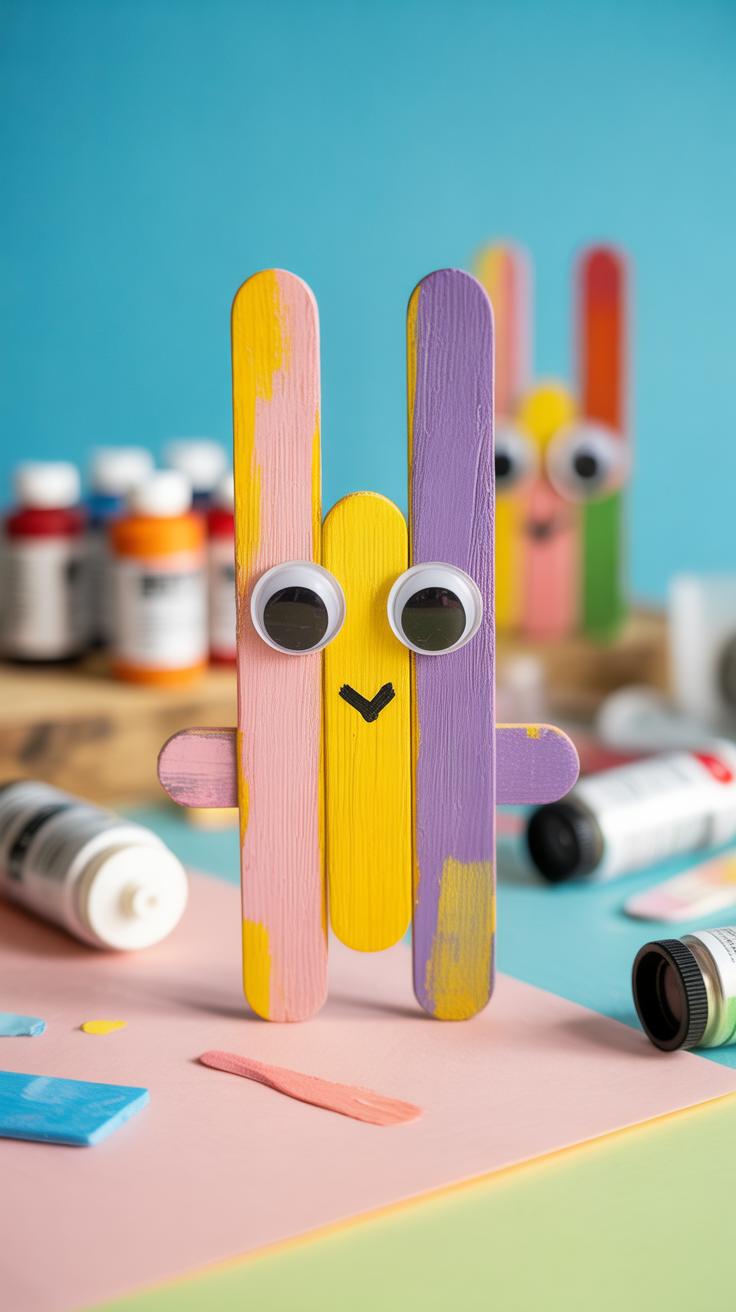
Constructing the Bunny Frame
Start by laying out five popsicle sticks flat on a table. Use three sticks vertically and glue two sticks horizontally across them to create a rectangular frame. This will form the bunny’s body. Then, take two more popsicle sticks and cut them in half. Arrange these half-sticks above the rectangle in a V shape to make the bunny’s ears, attaching them carefully with glue. You might find that pressing the sticks gently to dry under a heavy book helps keep everything steady.
For the bunny’s face, glue a smaller popsicle stick or a piece of craft foam at the center of the rectangle. This gives a spot to decorate the bunny’s features. While it may look a bit rough at first, the shape becomes clearer as you build. Patience pays off here.
Painting and Decorating Tips
Once the glue dries, give your bunny a base coat using acrylic paints or even washable tempera. White or pastel colors work well, but don’t hesitate to mix in soft pinks or light greys for a different vibe. Try not to overload the sticks with paint to avoid warping. Let the paint dry completely before moving on.
For details, draw or glue on eyes and a nose. You can use googly eyes, buttons, or simply paint dots. Adding a small cotton ball for a tail or a pom-pom nose can bring some texture. Mark whiskers with a fine-tip marker or thin strips of paper. If you feel adventurous, a tiny bow around the neck made from ribbon adds a nice touch. It doesn’t have to be perfect— sometimes the uneven lines and quirky shapes make the bunny even cuter.
Egg Carton Easter Bunny Craft
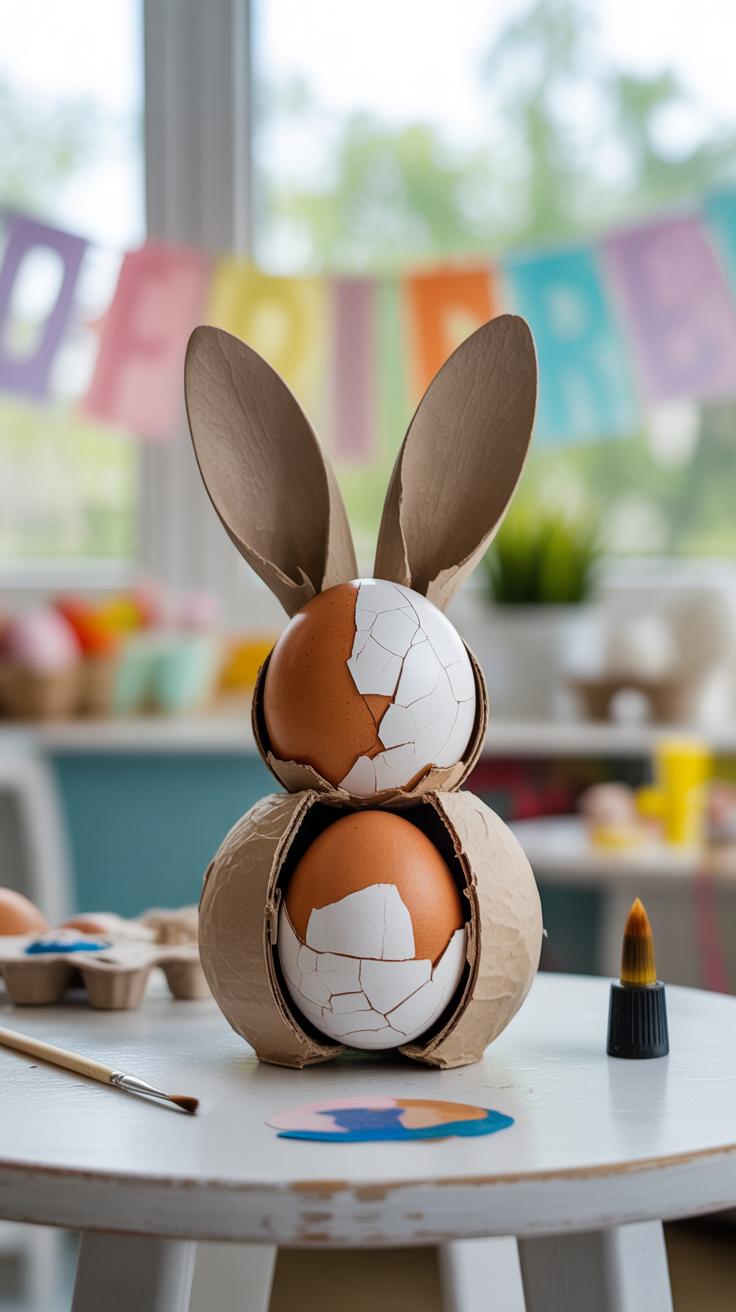
Repurposing egg cartons for Easter bunny crafts is a smart way to mix creativity with recycling. Egg cartons are easy to find and shape, making them perfect for a hands-on project with kids. The trick lies in careful cutting and shaping—don’t rush this step. Sharp scissors work best, but depending on the carton’s thickness, kids might need help to avoid frustration or minor snags.
You can cut out individual cups from the carton to form the bunny’s head and body. Imagine those rounded cups as the bunny’s cheeks or paws. With a few adjustments, the carton pieces start looking like bunny ears and tails too. Sometimes, the egg carton’s natural texture adds a nice dimension—don’t try to smooth out everything perfectly, a little roughness can make each bunny unique.
After shaping, coloring is where the magic happens. Watercolors, crayons, or markers all work well. Guide the kids to add details like floppy ears and a soft nose, maybe with cotton balls or colored paper scraps. For eyes, small stickers or drawn dots do the job. Whiskers can be simple lines drawn with a marker or thin pieces of string glued on. The best part? There’s no right or wrong way—each bunny ends up a bit different, and that’s just fine. Have you noticed how those imperfect edges give each bunny a tiny bit of personality? It’s a reminder that crafting isn’t about perfection but about fun and imagination.
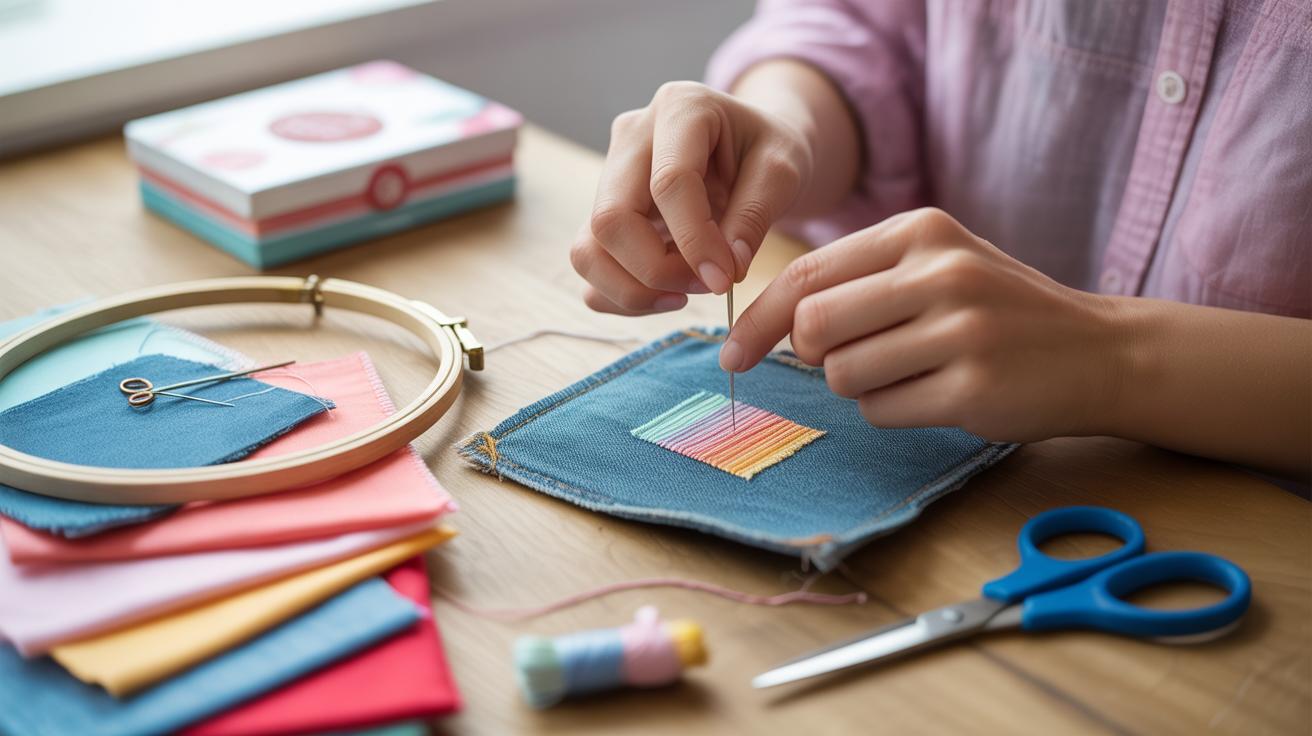
Felt Easter Bunny Craft
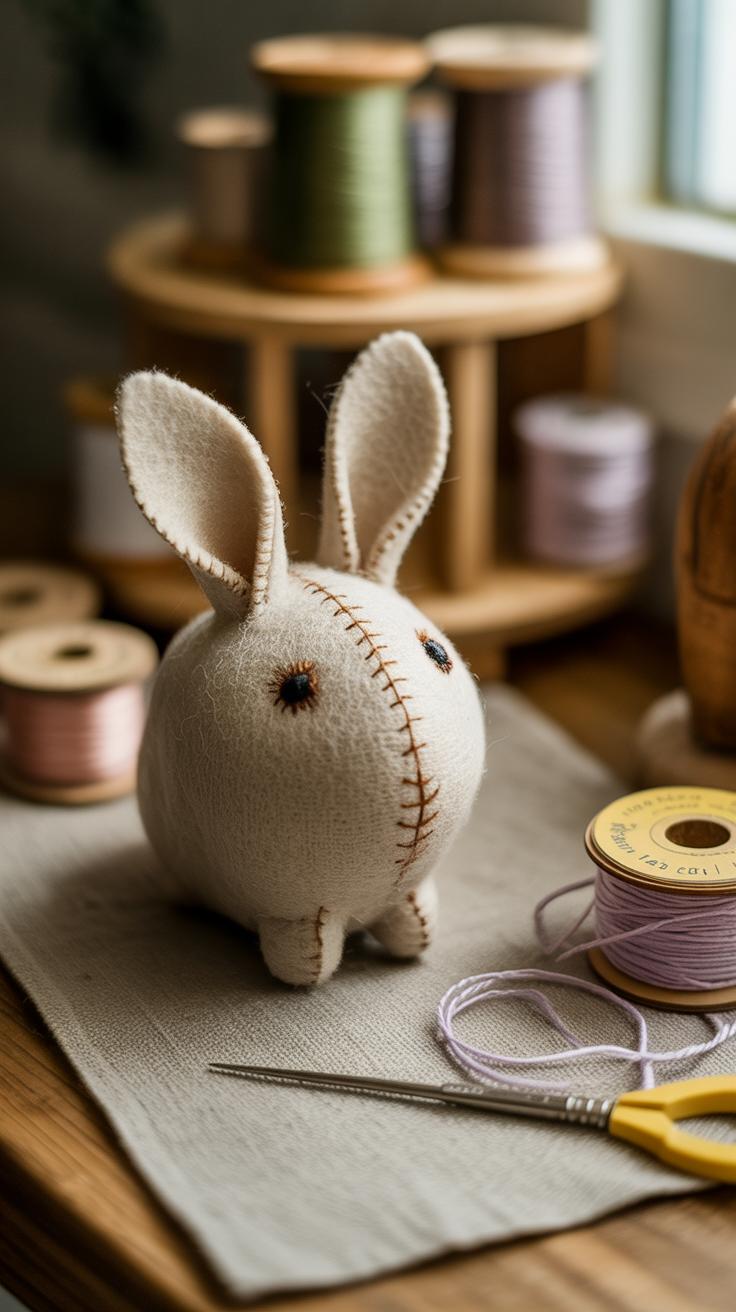
Felt is a fantastic material for Easter bunny crafts because it’s soft, colorful, and easy to shape without sewing. This no-sew project lets kids create bunnies using just glue and scissors, which means less fuss and quicker results. It’s a simple way for younger children to feel like real crafters without needing a grownup’s sewing skills.
Cutting Felt Shapes
Start with kid-friendly scissors—they have rounded tips and smaller handles to fit little hands comfortably. Show your kids how to hold the scissors properly and take their time cutting out bunny shapes from felt squares or rectangles.
You might want to pre-draw basic outlines of the bunny body, ears, and paws with a marker. This makes cutting easier and more precise, especially if your children aren’t used to scissors. Keep in mind, felt is forgiving—if the edges aren’t perfect, it won’t spoil the craft. In fact, some kids leave edges a bit jagged, and the bunnies still turn out charming. The tactile feeling alone often keeps children focused and calm.
Assembling and Decorating the Felt Bunny
Once the shapes are ready, it’s time to glue them together. Use white craft glue or fabric glue—it dries clear and sticks well. Help the kids layer the ears onto the bunny’s head, then attach the paws. You’ll want to avoid too much glue because felt soaks it up, which can make the pieces soggy or take longer to dry.
Now, for the fun part: decorating. Small felt or paper circles work great as eyes, but googly eyes can add a playful twist. Bow ties cut from different colored felt pieces make a nice touch, maybe with some drawn whiskers or a pom-pom nose. If your kids want, they can also add little flower stickers or glitter—but be ready for glue mishaps. Sometimes, less decoration works better, especially for younger crafters who get overwhelmed by too many details.
At the end, you’ll have a felt Easter bunny that’s quick to make and cute enough to display or gift. And maybe you’ll find yourself inspired to add more felt projects to your spring craft time.
Creating Easter Bunny Masks
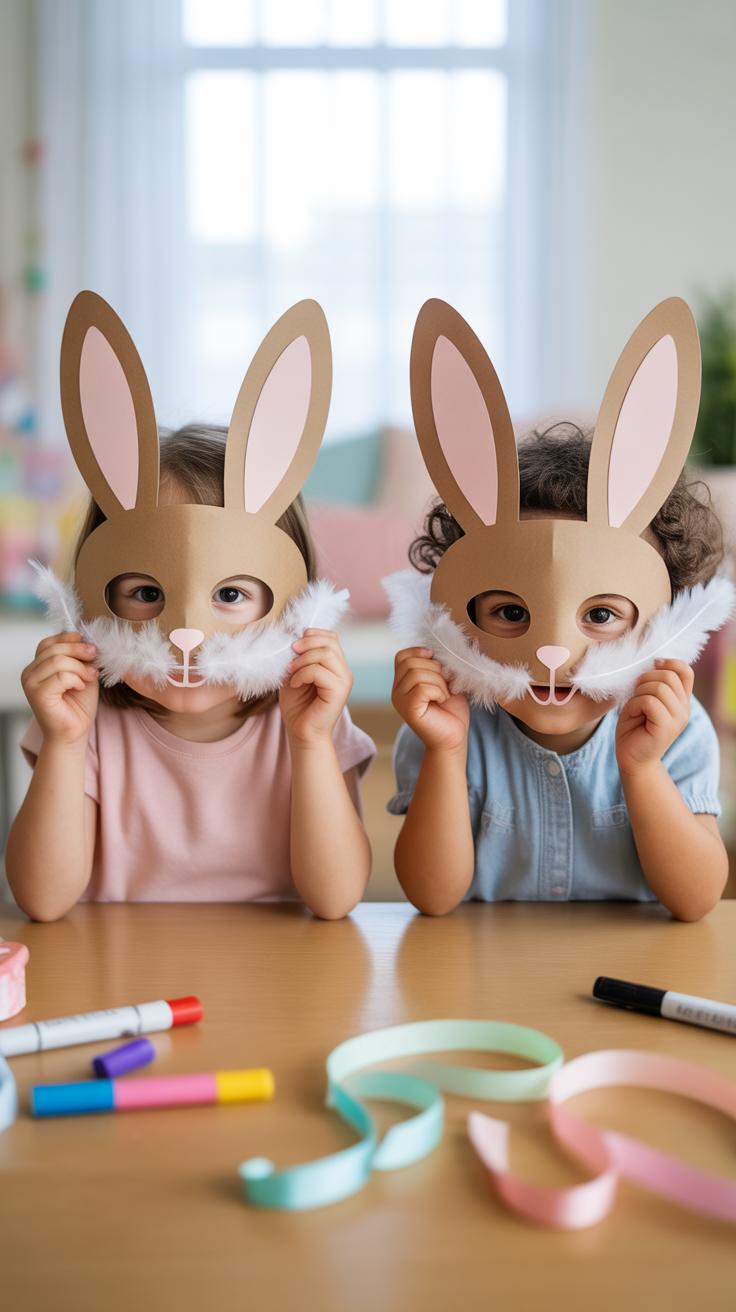
Designing and Cutting the Mask Base
Start by drawing a simple bunny face on a sturdy piece of paper or lightweight cardstock. You don’t need fancy shapes—think basic ovals for the face and some elongated ovals for the ears. It’s okay if the lines aren’t perfect; kids often prefer a bit of quirkiness in their masks.
Make sure to leave enough space around the edges so the mask comfortably fits a child’s face. You might want to cut out eye holes carefully—sometimes, I find it helps to hold the mask up to the child’s face before cutting so you can guess the best placement. Scissors or a craft knife can work, but kids might need a bit of supervision here.
Once the face and ears are cut out, double-check that the mask feels lightweight enough to be worn all day without discomfort. You can always trim or adjust the shape if it seems bulky.
Adding Elastic and Decorative Features
Next, attach elastic bands to each side of the mask so it can be worn hands-free. Poke small holes near the mask edges—don’t make them too close to the edge, or they might tear—and tie or staple the elastic band securely. You can test the fit by gently stretching the elastic around a child’s head. Adjust length as needed!
Now comes the fun part: decorating. You might paint the mask with soft pastel colors or glue on paper bits to create textured fur or whiskers. Some kids like adding glitter, while others prefer simple shapes cut from paper for eyes, nose, and mouth. It’s worth trying different materials—felt pieces, cotton balls, or even fabric scraps can add interesting effects.
This process encourages creativity. Each mask turns out unique. And, when the masks come off, your kids get to enjoy wearing their Easter creations while playing or celebrating together. Have you noticed how a simple mask can spark so much imaginative play? It’s funny how these small crafts make a holiday feel more alive.
Using Easter Bunny Crafts to Teach Kids
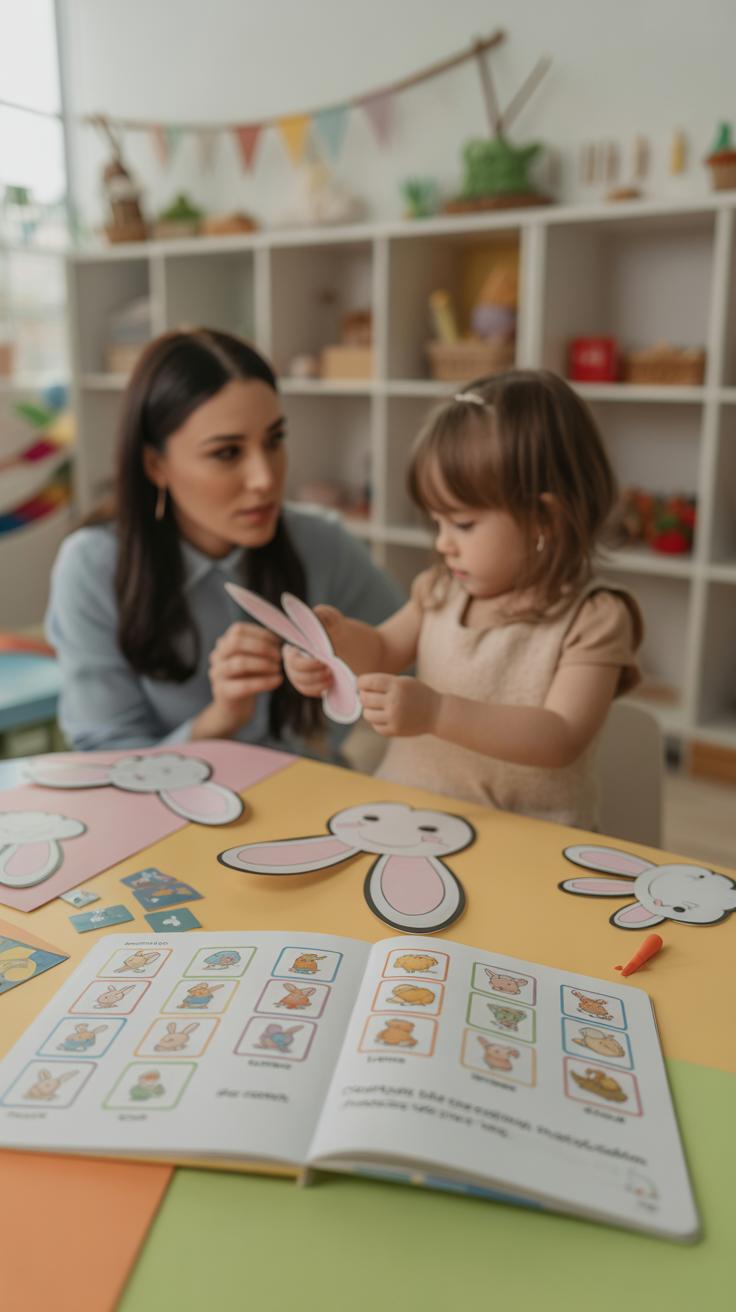
Making Easter bunny crafts with kids is more than just fun—it opens up a space for learning and discovery. While kids glue, color, and cut, they’re also practicing creativity. Each piece they design is unique, showing how imagination works in real time. And beyond that, these crafts can be a gentle way to introduce Easter traditions that might be unfamiliar.
For example, talking about why the bunny is such a common Easter symbol can lead to stories about new life and springtime celebrations from different cultures. Kids might ask questions like “Why does a bunny hide eggs?” which gives you a natural chance to explore traditions without it feeling like a lesson. It’s a casual, hands-on way to tie crafting to history or meaning.
Learning Through Crafting
When kids work on these bunny crafts, they’re building fine motor skills—cutting carefully around the ears, gluing whiskers or attaching cotton balls. These small tasks enhance hand-eye coordination. You might notice a child getting a bit more confident with scissors or learning how to press down glue just right. It’s subtle but real progress.
At the same time, there’s color recognition involved. Choosing which colors go where, maybe mixing pastels with brighter shades, lets kids explore their preferences and understand contrasts. Sometimes, they might hesitate or change their minds, which is all part of learning through trial and error.
Sharing Easter Traditions
Craft time can also be a quiet moment to share stories. You could tell your child about Easter’s origins or explain how people celebrate across the world. For instance, discussing the eggs’ symbolism can connect to ideas of rebirth and spring in nature, making these abstract concepts a little more tangible.
Some kids might wonder why the bunny is so important or why eggs are painted. These questions naturally bring in cultural tales and personal family traditions. When you share your experiences or the stories behind the symbols, it helps kids appreciate more than just the craft—they start to see a bigger picture. Maybe it sparks a conversation about your own childhood Easter memories, too. And that’s where learning becomes personal, in a lighthearted way.
Conclusions
Creating Easter bunny crafts with your kids offers more than just holiday decorations. It allows you to spend quality time together, encouraging creativity and learning. The variety of projects means you can choose one that suits your materials, space, and your child’s skill level.
Try different ideas from this article to find what your kids enjoy the most. Watching their smiles as they proudly show their crafts is a joyful reward. These simple activities will make your Easter celebrations more special and memorable for the whole family.


