Introduction
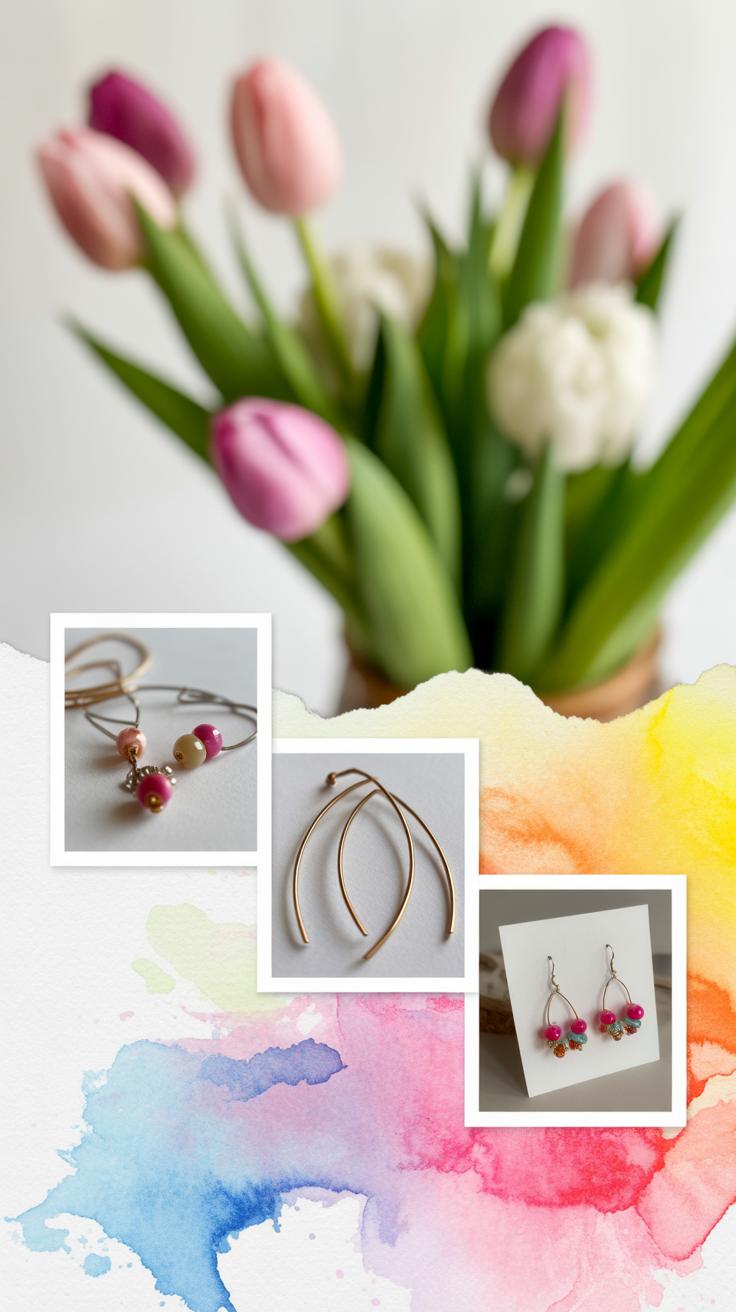
Show Stopping Earrings DIY Handmade For Bridal Parties is about learning to make beautiful earrings by yourself. Earrings have been a popular jewelry choice for a long time. Handmade earrings add a personal touch and can make your bridal party stand out on the special day.
This article will guide you through the simple steps needed to create your own earrings. From choosing the right materials to following clear instructions, you will learn how to make earrings that fit the style and theme of your bridal party. You can add your creativity and make something special for this important event.
Choosing the Right Materials for Handmade Earrings
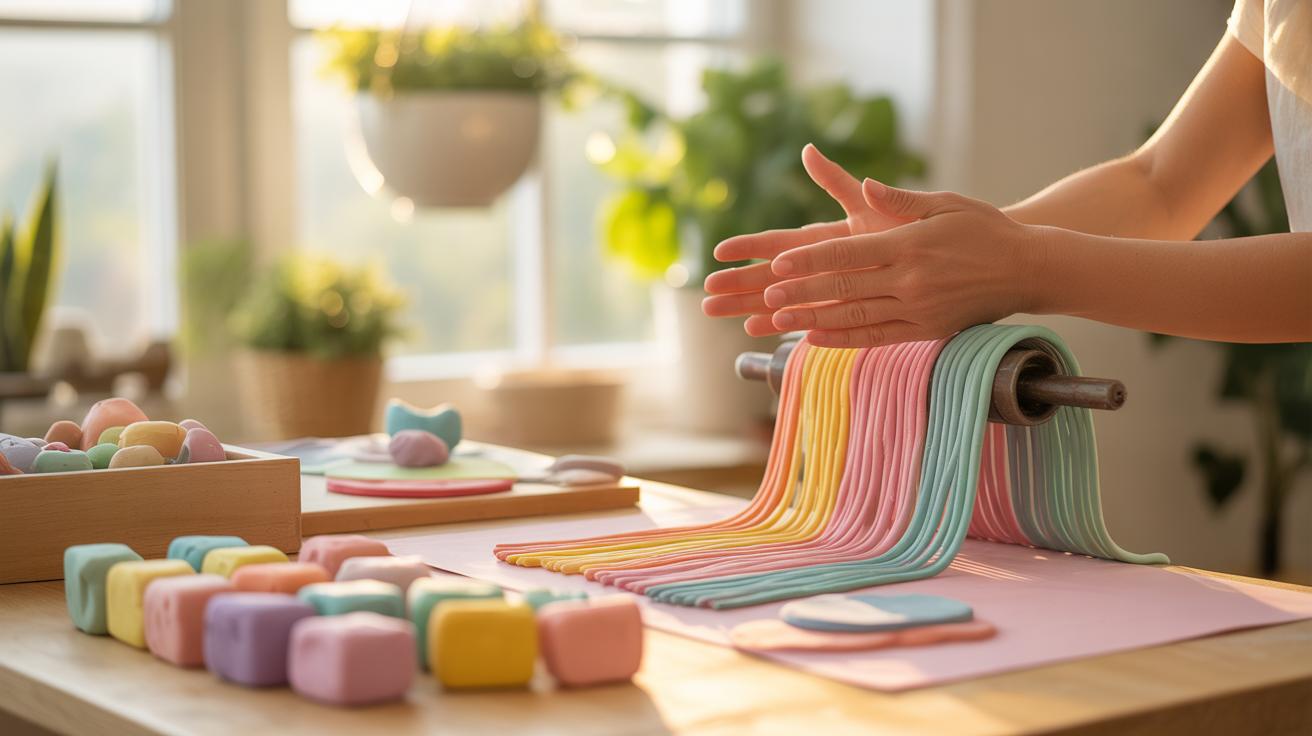
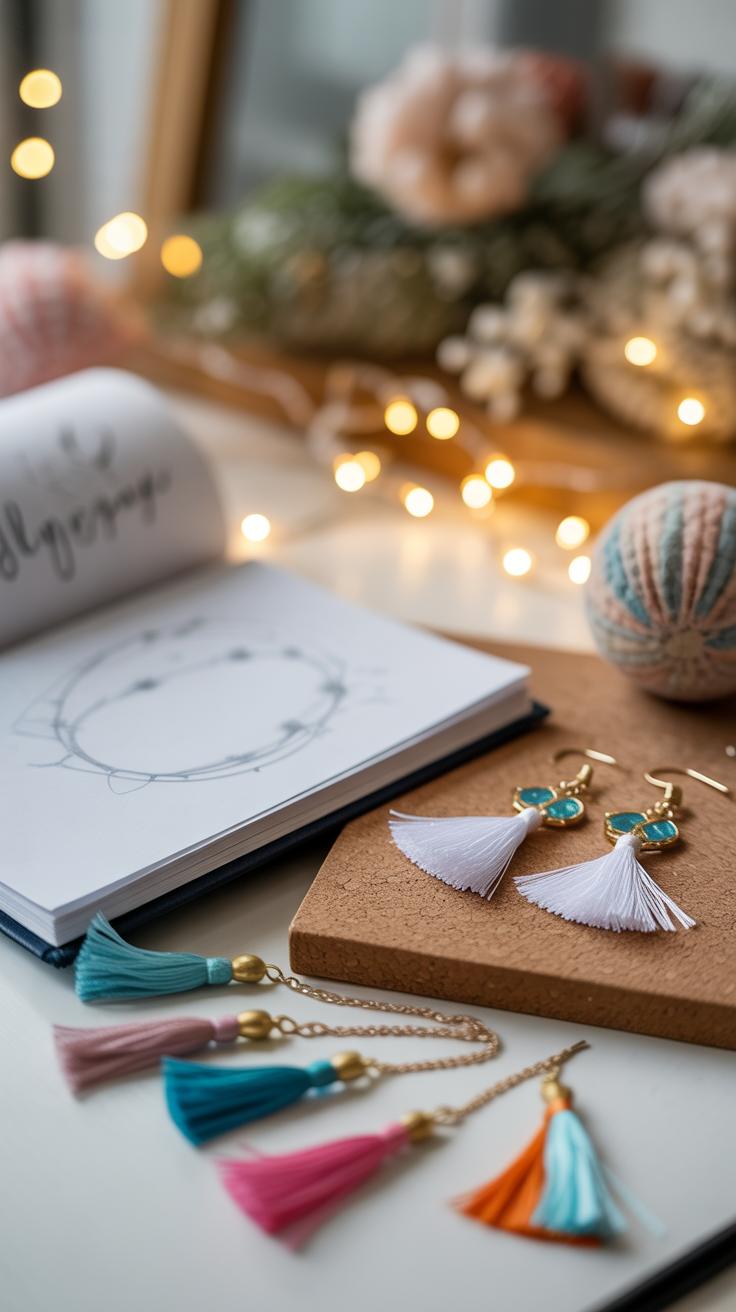
When you start making earrings for a bridal party, the material you choose really shapes the whole feel of the piece. There’s quite a variety to pick from, and each comes with its quirks. Metals like gold, silver, and brass are classic choices for earring components—earwires, hooks, or connectors—because they hold up well and look polished. But don’t overlook copper or plated metals if you’re on a budget or want a warmer tone. They can surprise you.
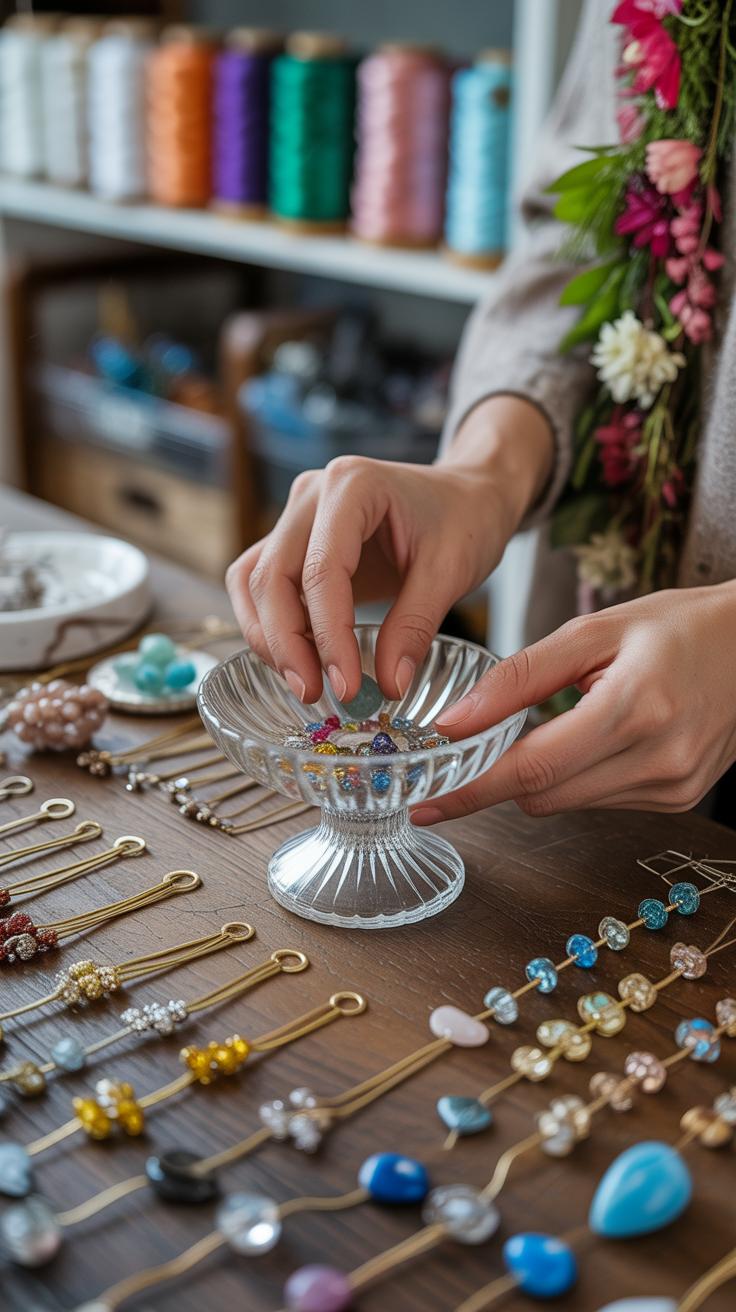
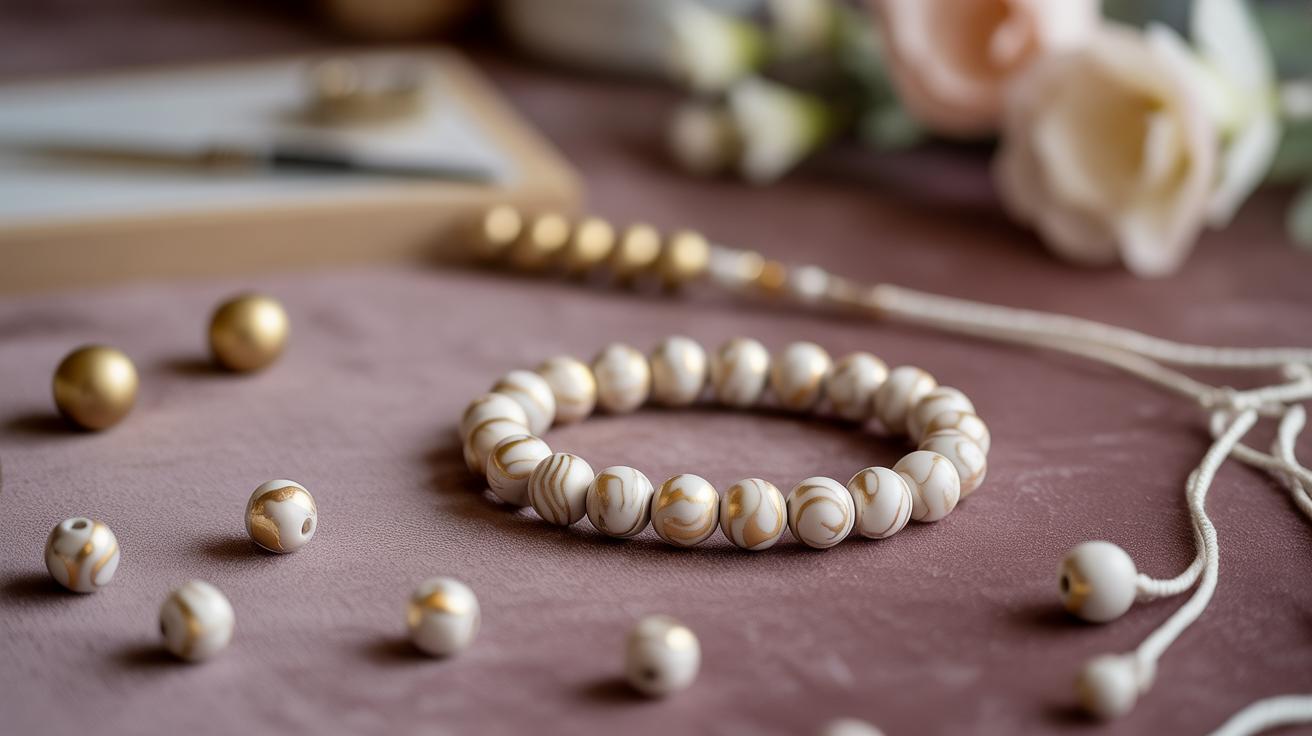
Beads and stones bring personality to your DIY earrings. Pearls, for example, suit traditional or vintage-themed weddings. You might find quartz or amethyst stones appealing if your bridal party leans toward boho styles. Threads and tassels add softness and movement, which can make a subtle statement without overshadowing the dresses. They’re lightweight too, which helps, since comfort really matters when the day is long.
Picking materials that harmonize with the wedding’s color and vibe is tricky. Think about the palette first—if it’s blush pink and gold, maybe rose gold findings with soft pink beads work best. For a rustic barn wedding, rougher textures like leather or wooden beads can fit perfectly. Comfort is another piece of the puzzle. Heavy metals or large, dangly stones might look stunning but could be uncomfortable after a few hours. Your goal is to blend style with something the bridal party will be happy to wear all day without fidgeting.
Essential Tools for Making DIY Earrings
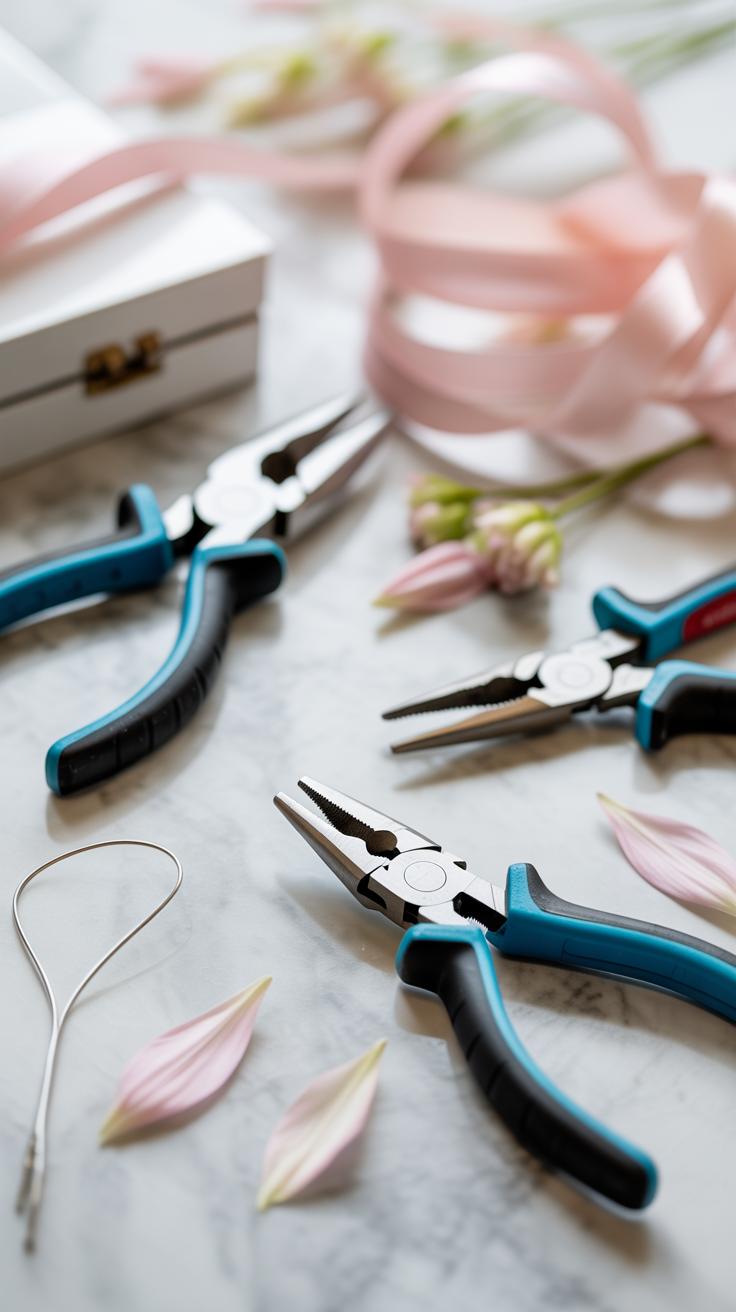
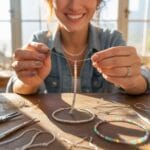
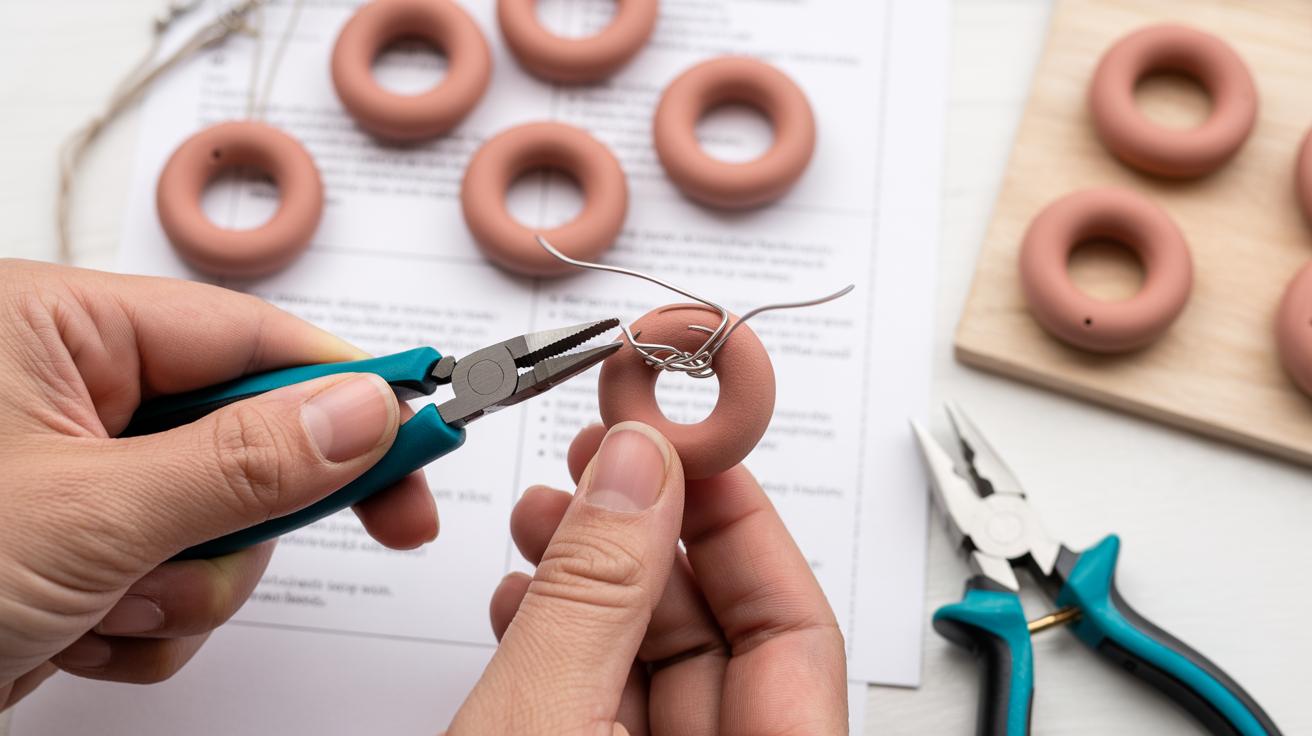
When you’re ready to start making your own earrings, having the right tools makes a big difference. You might be surprised how just a few basics can open up lots of possibilities. For example, needle-nose pliers are a must-have. They let you bend wire precisely, grab tiny parts, and open or close loops. Their thin tips make holding small earring components so much easier than using your fingers.
Wire cutters are another essential. They do exactly what you’d guess: cut wire cleanly without fraying. It’s tempting to try scissors, but you’ll quickly realize those won’t last or work well. A fine pair of cutters also makes trimming headpins or eyepins simple, which are common in earring-making.
Needles or beading needles help when working with threads or delicate materials. They let you string beads smoothly or push thread through tiny holes. Glue, too, has a place when you want to secure embellishments or fabric pieces—with the right kind, like jewelry-specific adhesive, your pieces stay put without mess.
You might also need jump rings and earring hooks, though these aren’t exactly tools but rather the components you’ll manipulate. Having some tweezers can help pick up beads and position them carefully.
Wondering where to find these things? Craft stores usually stock basic jewelry tools, often in beginner kits, which can be cost-effective. Online marketplaces have plenty of options too, sometimes cheaper if you don’t mind waiting for shipping. And here’s a thought: if you’re just starting or only doing a small project, borrowing tools or even repurposing household items—like small pliers from a toolbox—can work fine. I once used needle-nose pliers meant for electronics; they surprised me with their precision.
Before buying, think about what you really need. Do you want to invest in a pair of decent pliers, or try borrowing? Sometimes owning your tools encourages you to keep experimenting. Other times, it’s better to take it slow.
Simple Techniques to Start Making Earrings
Basic Wiring and Beading
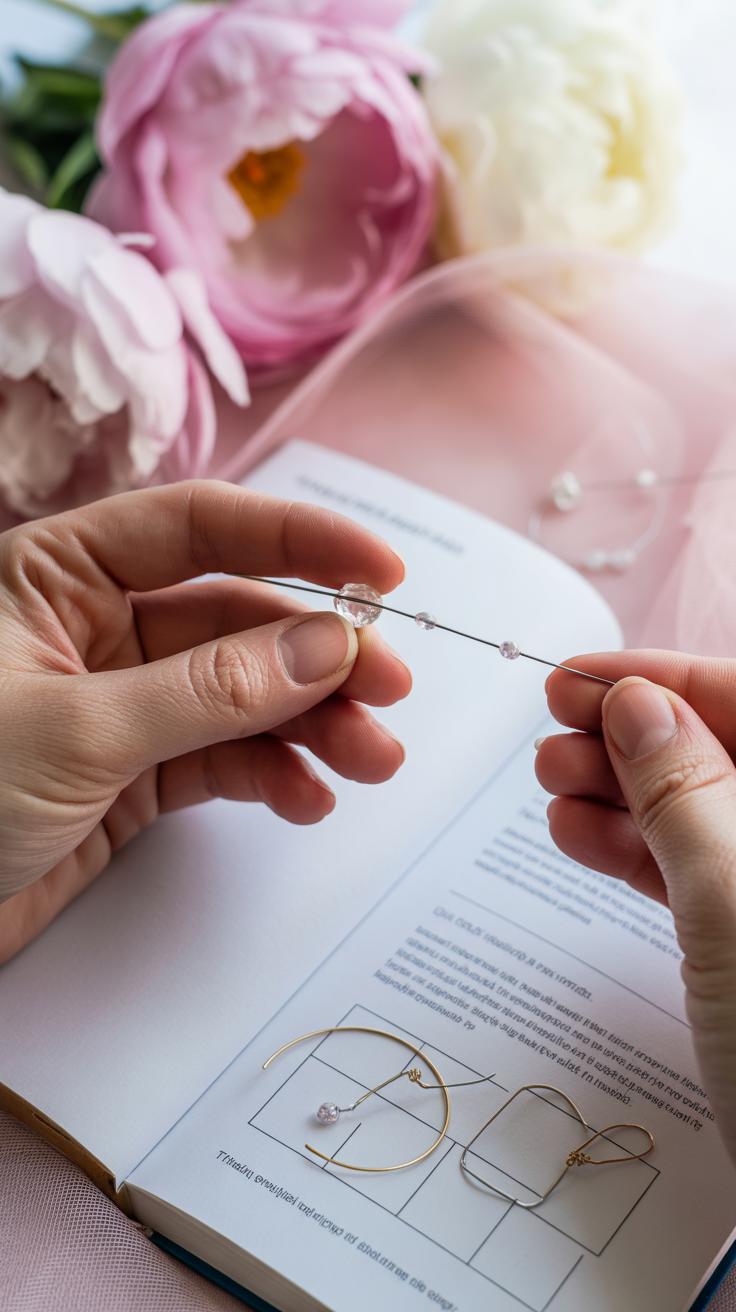
Start by threading beads onto thin wire or headpins. You can use wire cutters to trim the end just past the last bead—it doesn’t need to be perfect right away. Once your beads are in place, bend the end of the wire around pliers to create a small loop. This secures the beads and keeps them from sliding off. It might feel fiddly at first to get the loop tight and neat, but with a bit of practice, it gets easier. If the wire feels too stiff or too soft, try experimenting with different gauges. Thicker wires hold shapes better but might be harder to bend; thinner wire is easier to work with but might not support heavier beads as well.
Another thing to try is threading beads onto a flexible string or thin chain. That way, you can combine wire segments with threading, mixing textures for something unique. Just mind that stringy materials need a finishing touch to stop the beads from falling off—a clasp or knot is necessary, but we’ll touch on hooks and fasteners shortly.
Creating Hooks and Fasteners
When it comes to attaching earrings so they stay put, the simplest way is to use ready-made ear hooks. You can buy these on their own and attach your wired beads loops straight onto the bottom. But if you want to make your own hooks, round-nosed pliers become your best friend. Bend a piece of thicker wire into a small curve that fits comfortably in the ear. It doesn’t have to be a perfect hook right away—adjust by feel.
Fastening is about security without fuss. To close your hooks and loops, use flat-nosed pliers to gently squeeze the ends shut. This prevents your earrings from slipping off. Some people prefer using tiny rubber stoppers on the back of hooks for extra peace of mind, especially for heavier designs. It’s a small detail that can matter, especially if you’re gifting to a bridal party—you want those earrings to last through celebrations and beyond.
What kind of look do you want your hooks to have? Rounded and delicate, or maybe something a bit chunkier? It’s fun to play with simple shapes and finishes here. You may find yourself tweaking the shape multiple times before getting it “just right,” and that’s okay. The process itself often sparks new ideas for your design.
StepbyStep Guide to Crafting Your First Pair
Preparing Your Workspace and Materials
Start by clearing a small area where you won’t be interrupted. Maybe a kitchen table or a well-lit desk works well. You want space enough to lay out tools and beads without things getting tangled or lost. I usually keep a small tray handy to catch tiny pieces—not sure why, but it feels less frantic.
Gather your materials before you begin. For a simple pair, you’ll need:
- Headpins or eye pins
- Beads of your choice
- Ear hooks
- Round-nose pliers
- Wire cutters
Having all these within arm’s reach saves you from scrambling mid-process. It’s a minor detail, but you’d be surprised how much it helps the flow.
Creating the Earrings with Clear Instructions
First, pick your bead or combination of beads. Slide them onto a headpin until they sit at the bottom.
Next comes the tricky part—making a loop at the top of the pin. Hold the wire just above the beads firmly with round-nose pliers. Bend the wire gently around one jaw of the pliers to create a loop. It may take a few tries, but don’t rush it.
After you form the loop, trim any excess wire with your cutters, leaving just enough to close the loop tightly.
Now, open the loop slightly—don’t pull it apart, just twist it sideways—and attach it to the ear hook. Once secured, close the loop firmly again.
Repeat the same steps for the second earring. You might notice the loops don’t look identical at first, and that’s okay. Each handmade pair will have subtle differences, which adds charm.
Would you try adding a small charm next time? The basics here open the door to lots of creative possibilities.
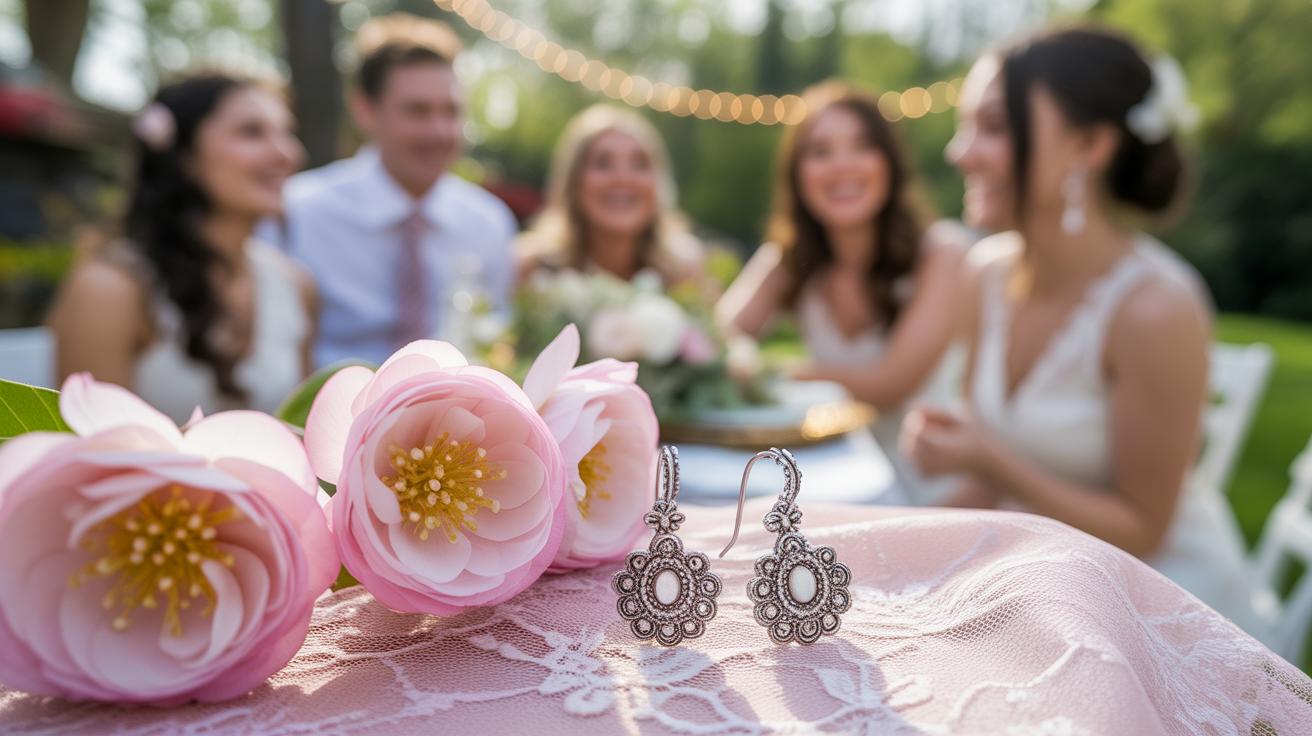
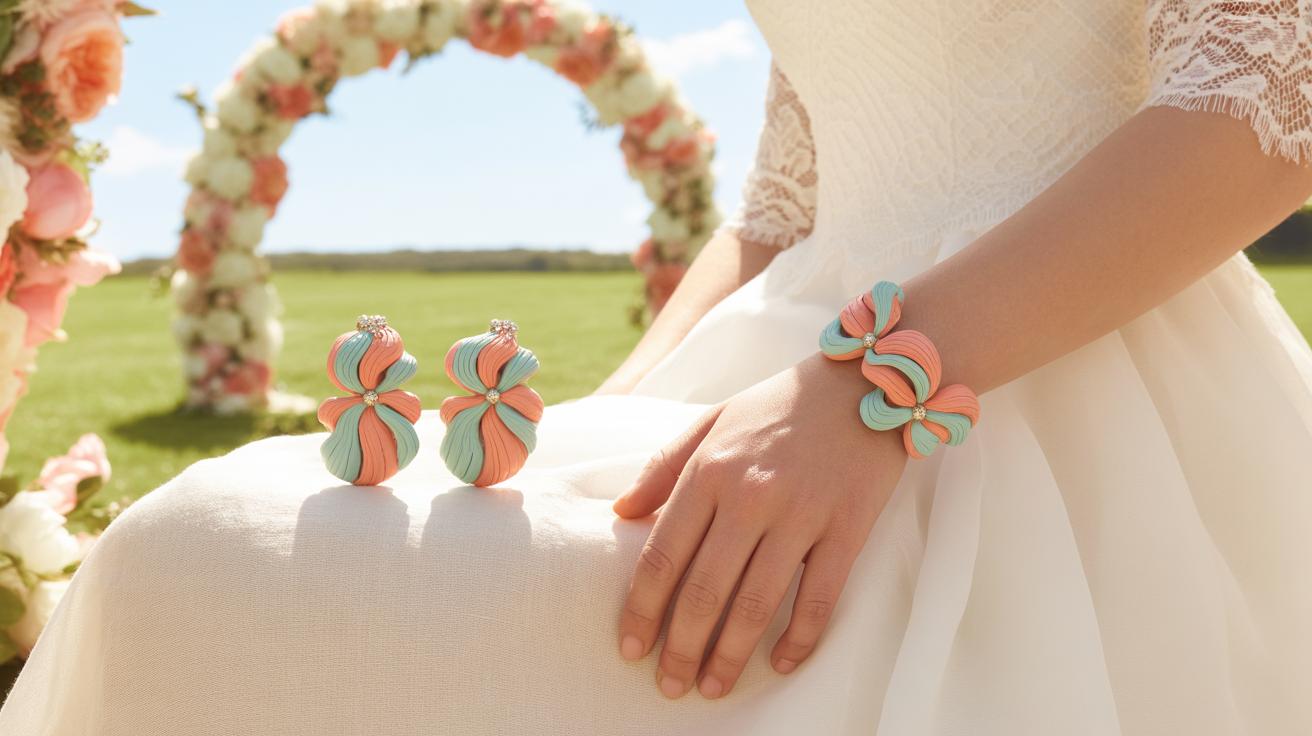
Personalizing Earrings for Each Bridal Party Member
When making earrings for a bridal party, tailoring each pair to fit the individual’s style or role adds a thoughtful touch. Think about the personality of each person. Maybe the maid of honor prefers something bold and geometric, while a bridesmaid might lean toward delicate floral shapes. It’s okay if that means mixing very different styles within the same collection.
You can match the role with design choices too. The bride might have a pair with subtle sparkle, while the whole party wears simpler versions. Or try giving the flower girl a tiny charm or pastel tone to make her feel special without overwhelming her more youthful look.
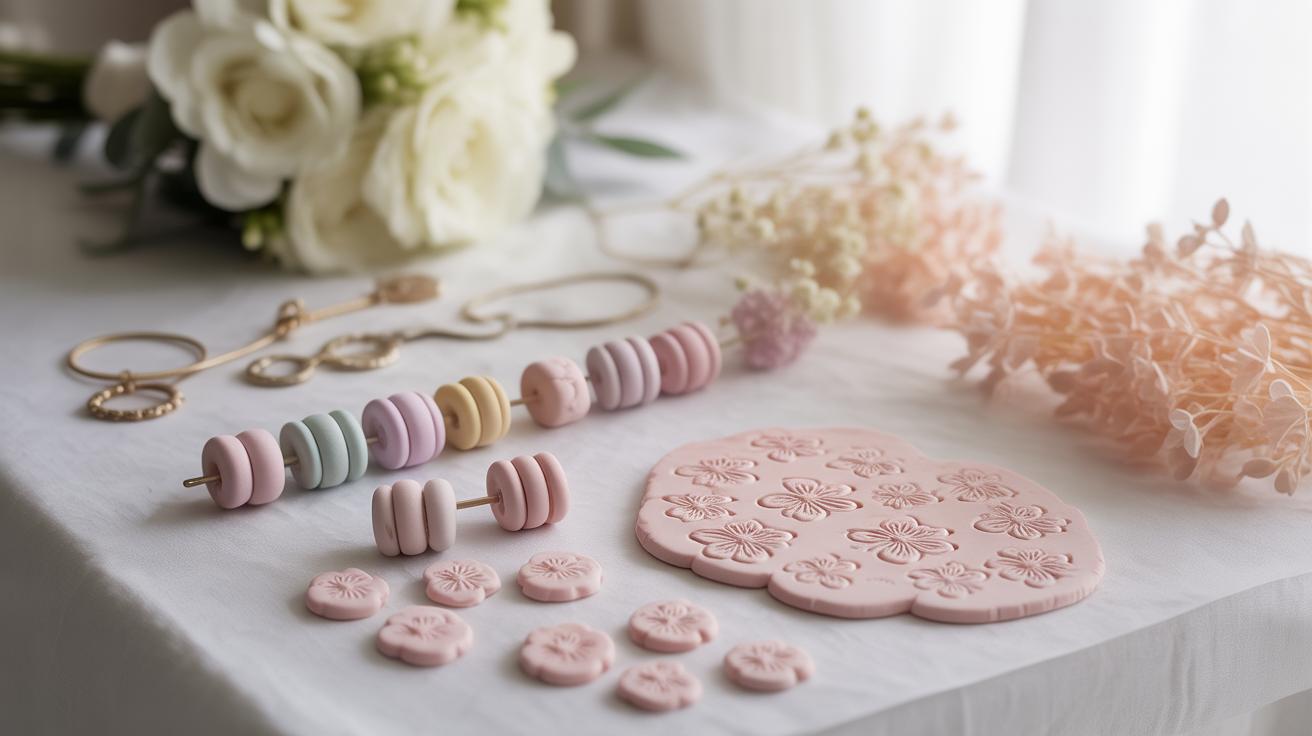
Choosing Colors and Designs
Picking colors is a bit tricky since you want them to coordinate with the wedding palette and personal taste. Think about what suits their complexion or usual wardrobe—cool tones for someone who wears a lot of navy or warm shades for those earthy colors. Patterns don’t need to be loud. Sometimes subtle accents like marbled beads or a hint of shimmer say more than a full-on floral print.
Don’t hesitate to contrast either. A bridesmaid’s personality might surprise you, so a pop of unexpected color can be a good thing. Colors convey mood; a confident friend might like strong reds or blacks, while someone more reserved may prefer soft pastels. Do you know their style well enough? That’s often the hardest part.
Adding Special Touches and Details
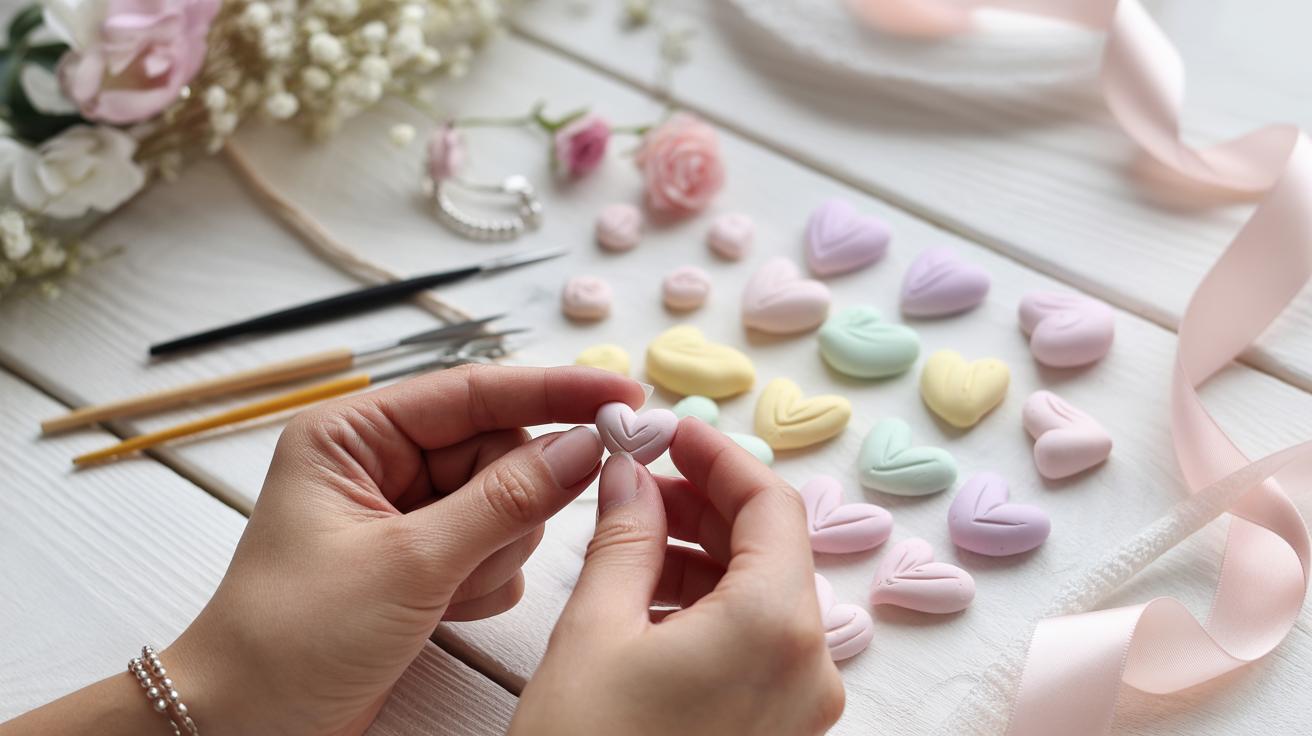
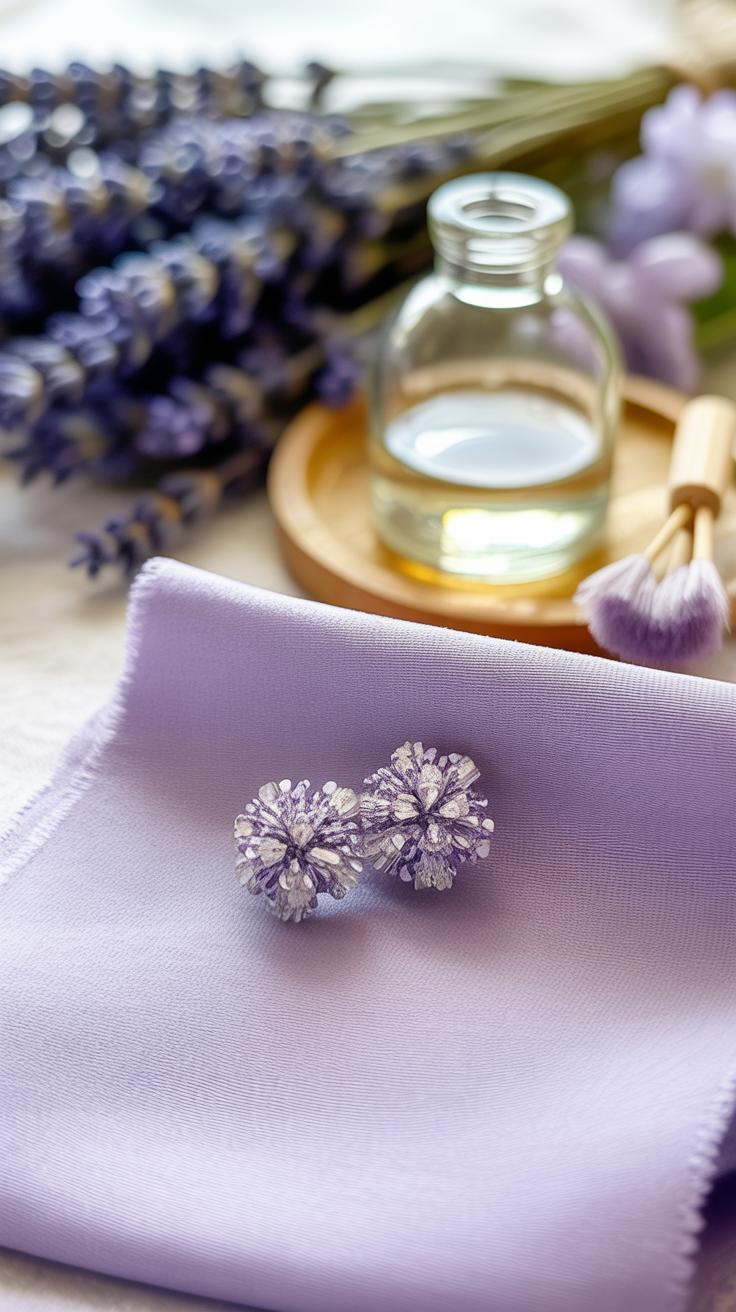
Personalizing with charms or initials creates meaning beyond looks. A small heart charm for a close sister, or a tiny initial bead for each friend. Sometimes adding something as simple as a pearl or a subtle drop bead changes the whole vibe. You can even include something related to an inside joke or shared memory if it fits the aesthetic.
Little decorations like tiny crystals, metal accents, or even a miniature flower add layers of detail. But it’s easy to go overboard, so I’d suggest keeping these touches delicate—enough to notice when you look closely. These small bits become conversation starters and make each piece feel unique. It’s fun to see how guests react when noticing those details during the “big day.”
Caring for Handmade Earrings to Keep Them Beautiful
Cleaning and Handling Tips
You’ll want to treat your handmade earrings gently, especially since delicate components can’t always take rough treatment. When cleaning, avoid harsh chemicals which might damage beads, metals, or finishes. Instead, a soft cloth slightly dampened with water often works fine. I’ve found that cotton swabs help reach small corners without risking scratches.
Taking earrings off before activities like showering or swimming keeps moisture—and who knows what else—away from your pieces. Oils from your skin can also wear down finishes over time, so give your earrings a gentle wipe after wearing them, just to be safe. It might feel tedious, but it actually extends their life significantly.
Proper Storage Solutions
How you store your earrings can make all the difference. Tucking them into a jewelry box with separate compartments reduces tangles and scratches. If you don’t have many compartments, small fabric pouches or even repurposed pill organizers can do the trick, keeping pairs together and protected.
Try to keep earrings away from direct sunlight and humid areas. I once stored a set near a window thinking it was harmless, but colors faded faster than I expected. A cool, dry drawer or a dedicated jewelry stand often works better.
Sometimes, the simplest solution is the best one: just laying earrings flat and separated will help avoid bending wires or loosening beads. So, yeah, while you might be tempted to stash them quickly somewhere, a little care in storage really pays off.
Inspiring Ideas to Enhance Your DIY Earring Project
Sometimes the best earrings come from mixing things that wouldn’t usually go together. Think about combining metals like silver and gold in one piece. That contrast turns simple designs into something that catches the eye. Or adding small glass beads in soft pastel shades can make earrings feel light and airy—perfect for a bridal vibe.
Have you tried blending textures? Imagine smooth metal domes paired with tiny rough-cut stones or even delicate fabric elements. It’s that unexpected mix that can make your earrings stand out more than plain metal alone. You might find it feels surprisingly natural once you start experimenting.
Trends can spark ideas, but sticking only to what’s “in” might limit you. Try taking a classic drop earring shape but giving it a modern twist with geometric angles or asymmetry. Or, take traditional pearl designs and add a splash of bold color somewhere—in the hook or in a dangling part. This way, the earrings honor bridal tradition but still feel fresh.
Maybe you wonder how much you should follow trends or keep things timeless? There’s no right answer. Sometimes the pieces that feel the most “you” combine both—an heirloom feel with a dash of today’s style.
Sharing Your Handmade Earrings with Your Bridal Party
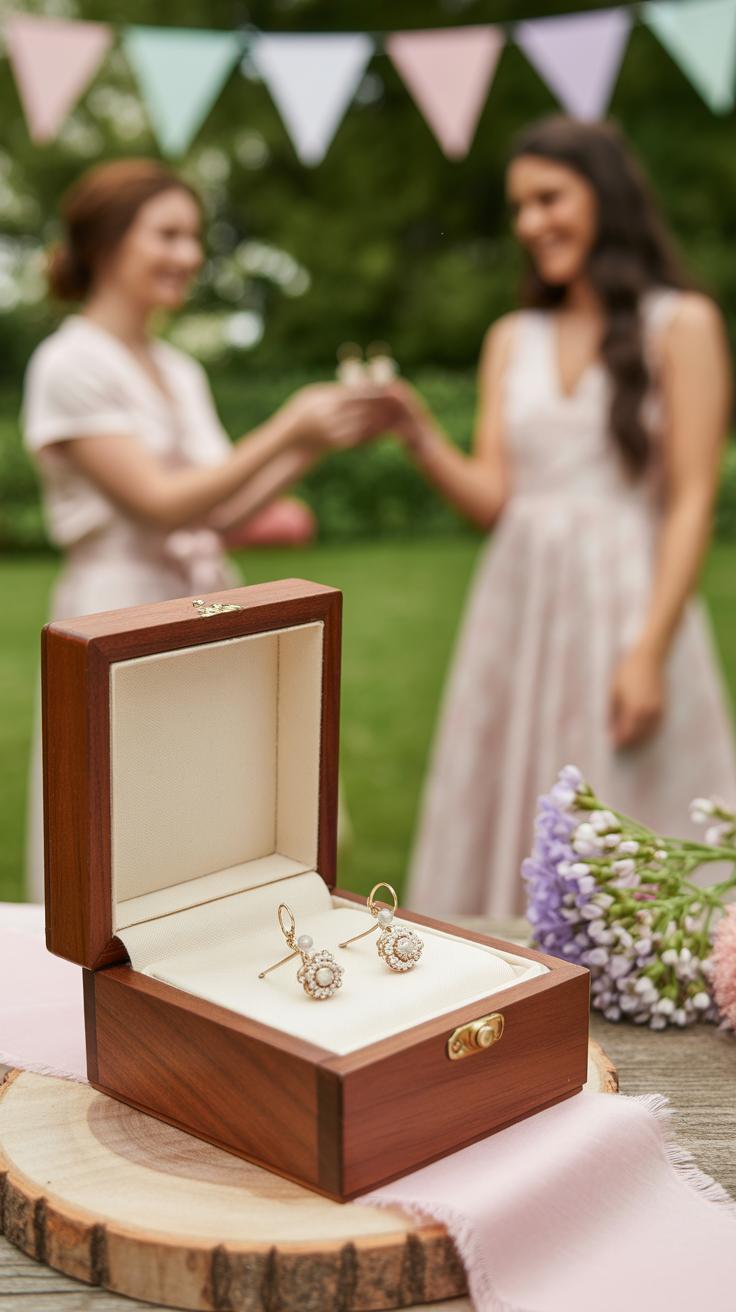
Packaging and Presentation Ideas
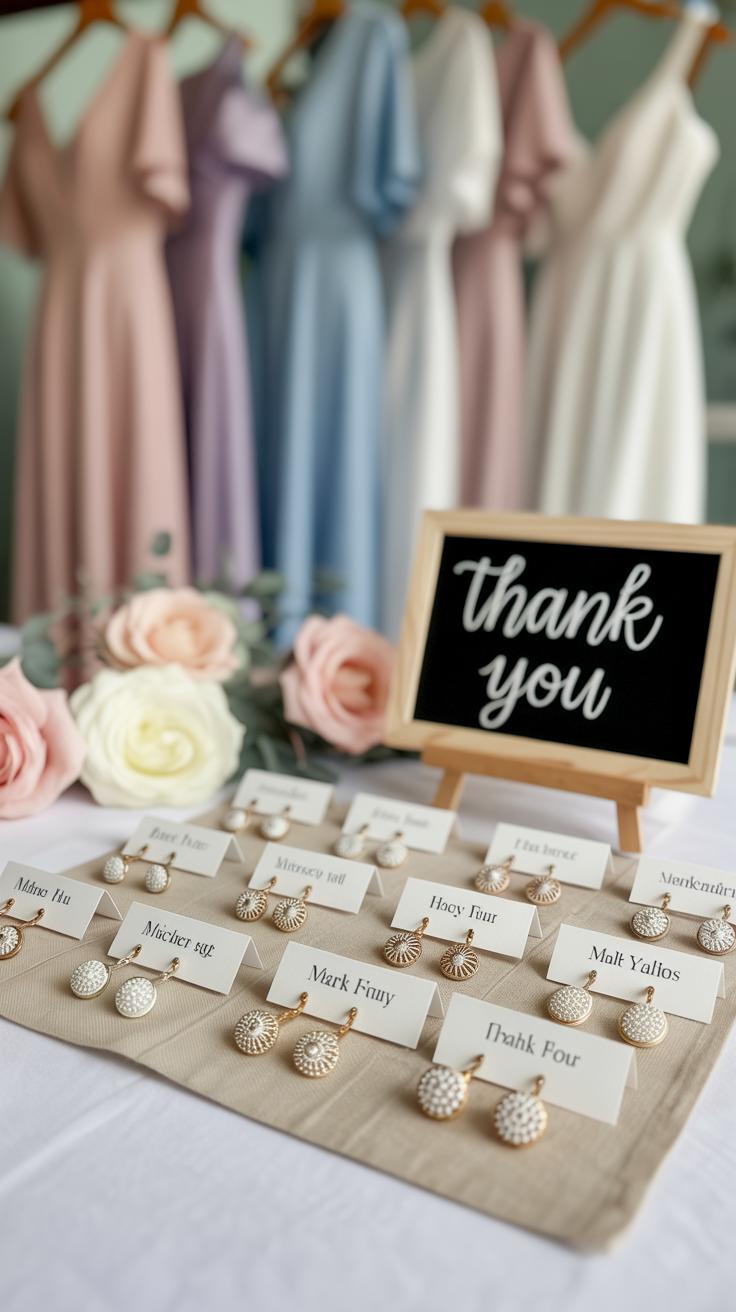
When it comes to packaging your handmade earrings, simple is often best, but don’t let simplicity fool you. A small kraft box lined with soft fabric can feel unexpectedly elegant. You might consider wrapping the box with a delicate ribbon or twine to add a personal touch without going over the top. Personalizing tags with each bridesmaid’s name or a short, heartfelt note can elevate the gift, making it feel less like an afterthought and more like a keepsake.
Another idea is to use mini pouches made from organza or velvet. These are practical and lovely, especially if your earrings are lightweight. The texture of the pouch adds contrast to the smooth finish of your earrings and invites a tactile experience that’s surprisingly impactful. You could even tuck in a tiny dried flower or sprig of greenery to connect the packaging to the wedding’s overall theme.
Making the Experience Special
Giving the earrings can be much more than just handing over a gift. It’s an occasion, a chance for connection and a moment to pause amid the chaos of planning and excitement. Maybe gather your bridal party for a morning coffee or evening toast, and then present the earrings one by one. Watch their reactions — quiet smiles, surprise, maybe even a little gasp — they’re genuine moments that linger.
You could also share a brief story behind the design or how you made them. Sometimes, that personal detail makes all the difference, turning a pretty accessory into something meaningful. Alternatively, placing the earrings on their dressing room mirrors or at their place settings at rehearsal dinners adds an element of surprise and thoughtfulness.
What really makes the experience stick is intention. Even small gestures show you care, and when the earrings come with a side of shared moments, they become treasures rather than just another item to wear.
Conclusions
Making DIY handmade earrings for bridal parties is a fun and meaningful activity. You get to create personalized jewelry that matches the wedding theme. Using simple materials and tools, anyone can learn to design and craft beautiful earrings.
These earrings can be a memorable part of the bridal celebration. You can enjoy the process and give something unique to your friends or family. This project can bring joy and a sense of achievement, showing your care and creativity in a simple way.