Introduction
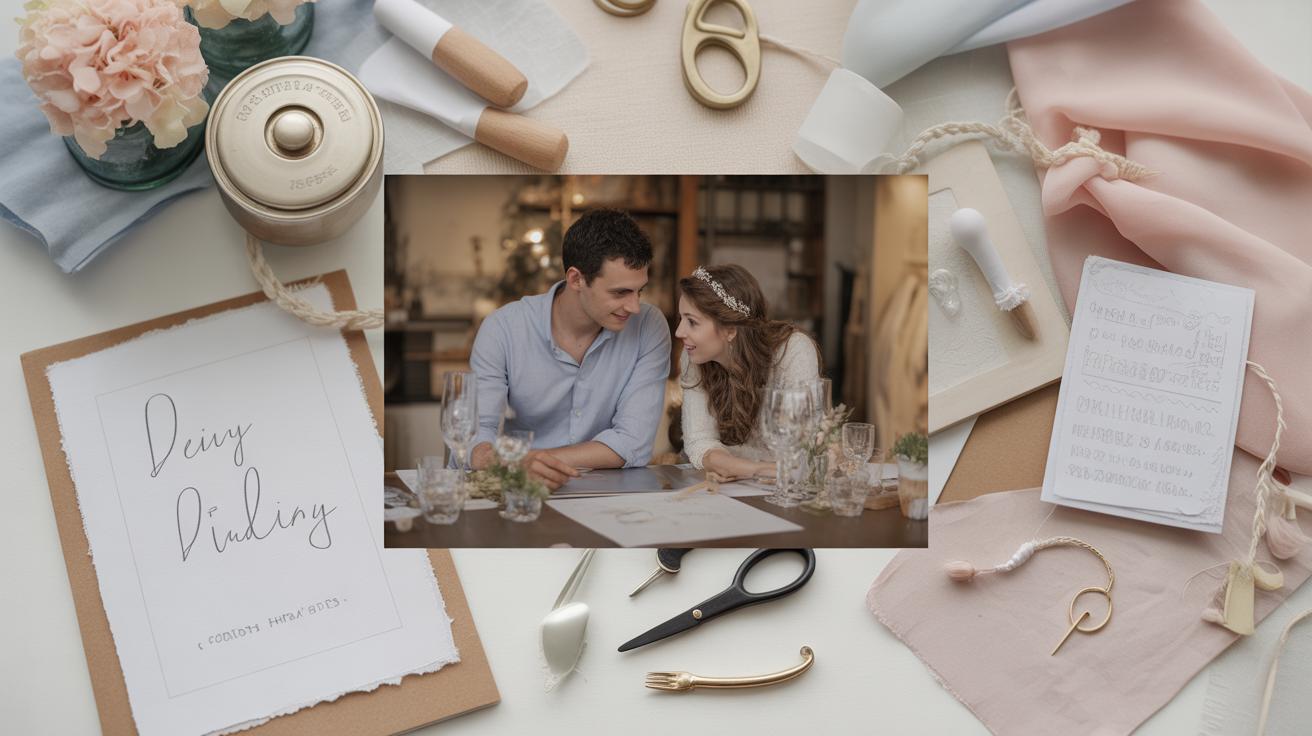
Planning a wedding can feel overwhelming with so many decisions to make. Many couples want their wedding to reflect who they are as a pair. Taking on diy wedding projects lets you add personal touches while staying on budget.
This article explores essential diy wedding projects for every couple. You will learn how to create meaningful decorations, organize your timeline, and craft your ceremony details. Whether you want simple crafts or full diy setups, these ideas help you lead the way on your wedding day.
Getting Started With Diy Wedding Planning
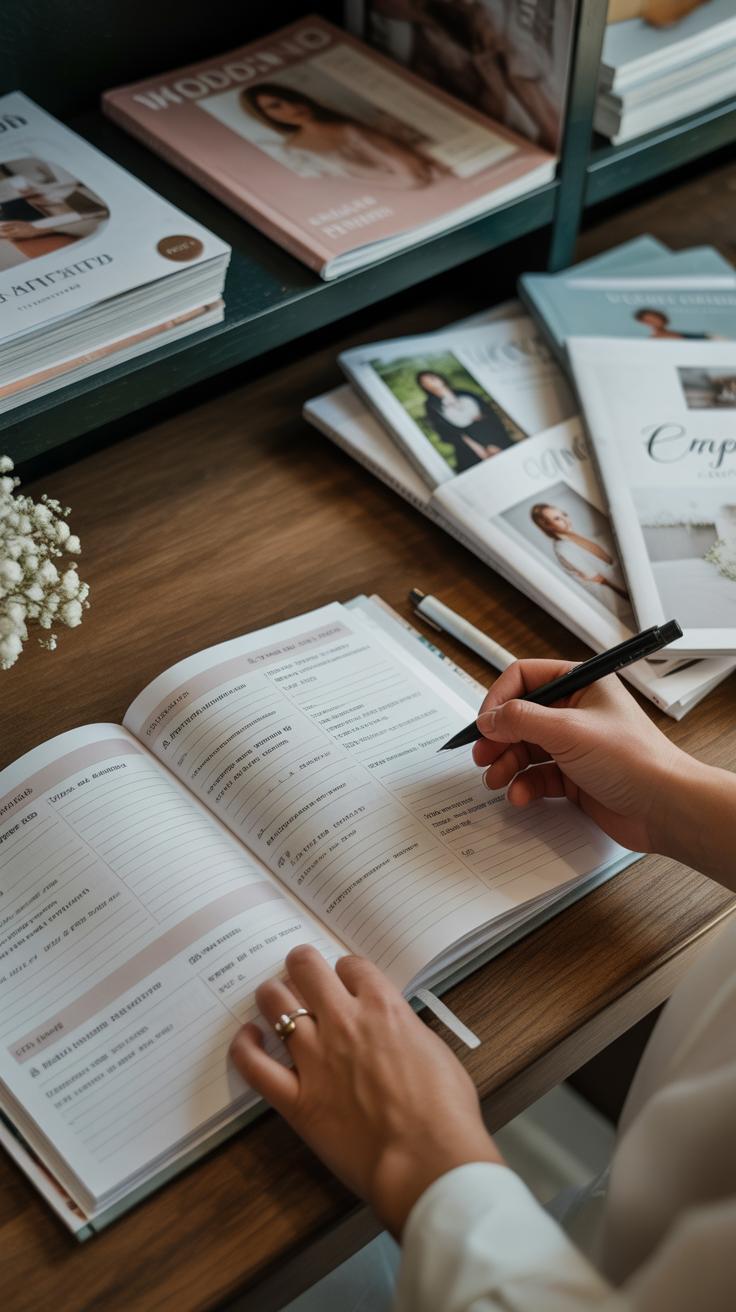
Starting your DIY wedding planning can feel like stepping into a maze. You know you want it personal, but where exactly do you begin? First, setting a practical budget helps keep things grounded. Jot down what you can realistically spend—not just on the DIY projects, but the whole wedding. Think of it as a guiding framework rather than a strict limit.
Next, consider your priorities. What parts of the wedding matter most to you to DIY? Maybe it’s the table centerpieces, or perhaps the décor. It’s tempting to try everything yourself, but focusing on a few key elements makes the process manageable and less stressful.
Picking a theme that matches your style and suits DIY efforts can really shape your planning. A rustic-themed wedding, for example, lends itself to natural materials and simple crafts, while vintage might call for repurposed items and delicate details. On the other hand, a modern style might mean clean lines and minimal projects but still very much personal. Think about what fits your taste and what you’d enjoy making.
Remember, it’s okay if your plan shifts as you go. Starting is really about figuring out what feels right for you and building from there.
Invitations And Stationery You Can Make
Designing Your Own Invitations
You don’t need to be a graphic designer to create invitations that feel personal and fit your wedding style. Simple software like Canva or Adobe Spark offers ready-made templates that can be tweaked easily. You can play around with fonts, colors, and layouts without much of a learning curve. Even Microsoft Word or Google Docs can work if you keep things basic.
Matching the invitation design to your wedding’s vibe helps guests get a sense of what’s coming. For example, a rustic theme might use earthy tones and textured paper, while something modern could lean on clean lines and minimal graphics. Try to keep your design consistent across save-the-dates, RSVP cards, and thank-you notes.

One thing I found when trying this myself—don’t get stuck trying to make it perfect. Sometimes a small imperfection adds charm, and honestly, it makes the invite feel handmade rather than mass-produced.
Printing And Assembly Tips
Deciding where to print depends on your comfort level and budget. Printing at home might save money and allows quick checks, but ink and paper can add up. If you go this route, use a good-quality cardstock and test a few sheets before printing all. Look for ink that won’t smudge, especially if you plan to write on the invitations later.
Professional printers offer consistency, and some companies let you upload your design and choose the paper type. The turnaround can take a bit longer, so plan accordingly.
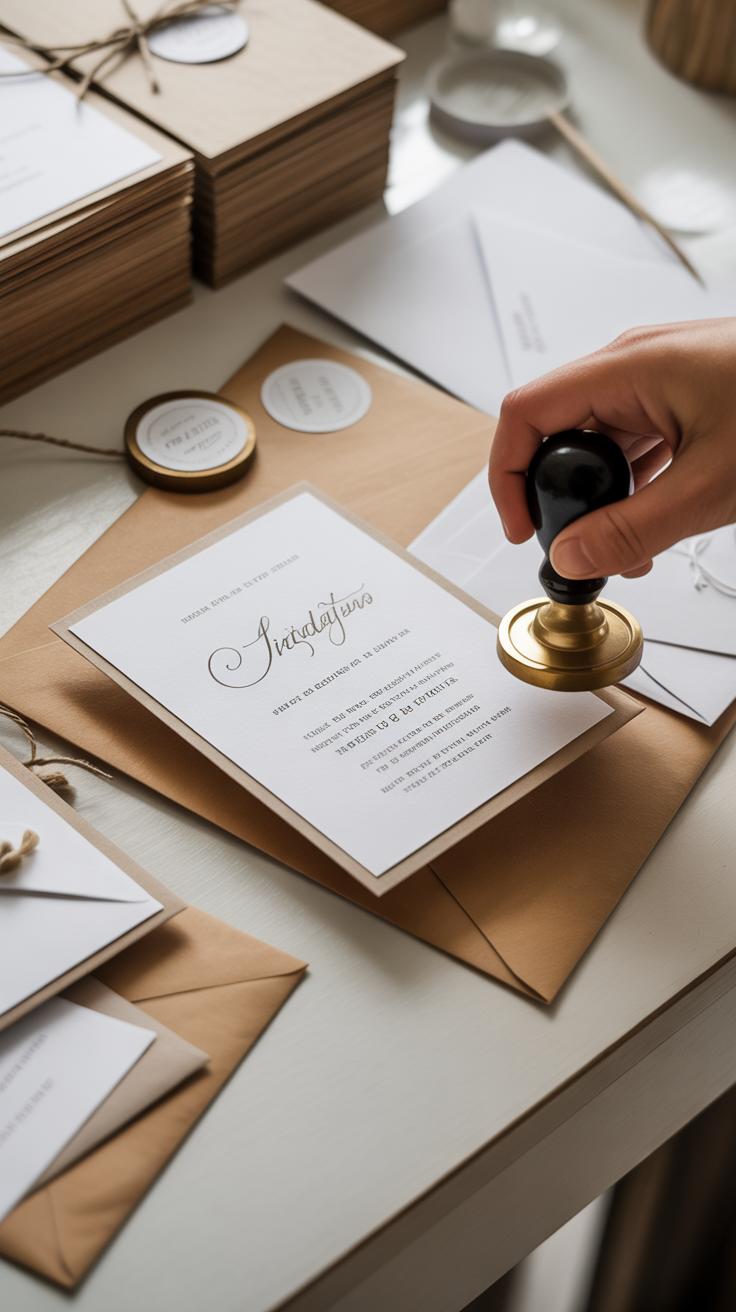
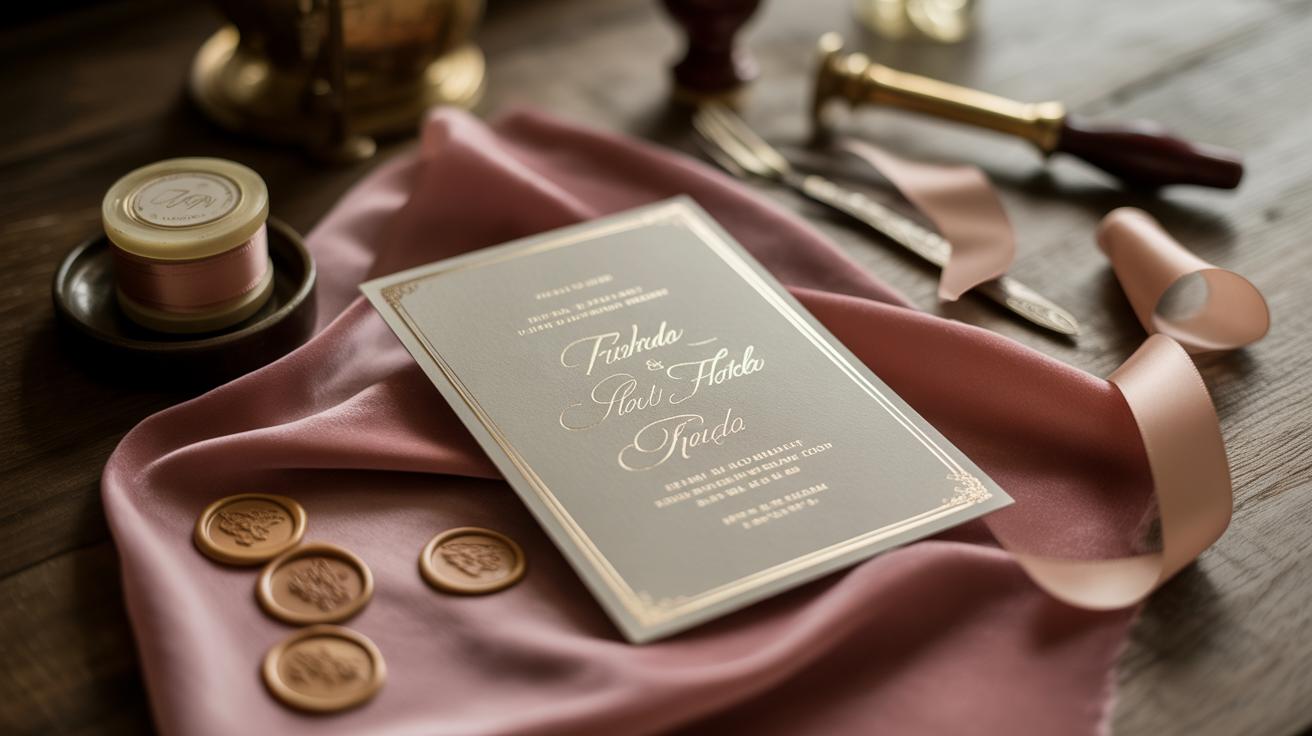
The assembly is where you can really add personality. Think of tying ribbons around the entire set of cards, slipping in a wax seal for a touch of old-world charm, or even hand-stamping small flourishes. These details don’t need to be expensive, but they do make a difference in how guests perceive your effort and style.
If you want a bit of advice from someone who’s struggled: don’t overcomplicate assembly the day before sending. Trying to glue, tie, and seal hundreds of invites in one sitting can be—well, a bit stressful.
Decorations To Craft For The Venue
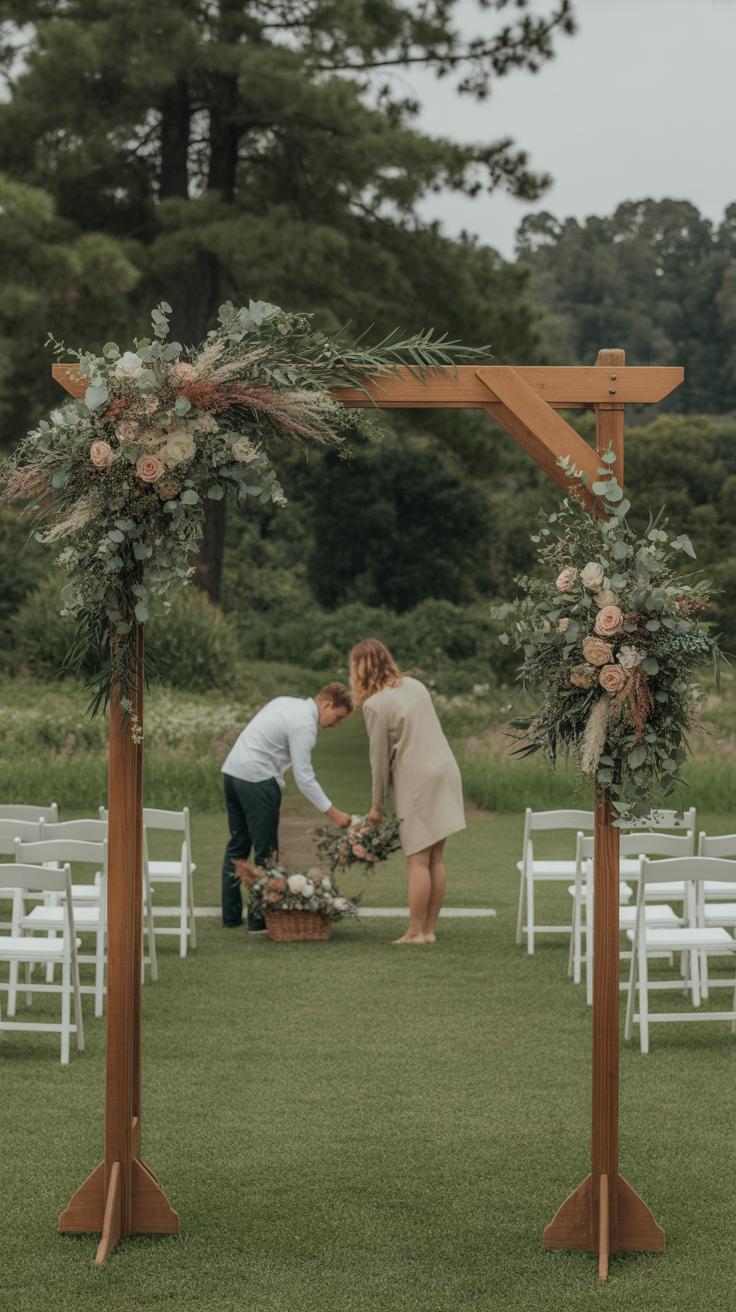
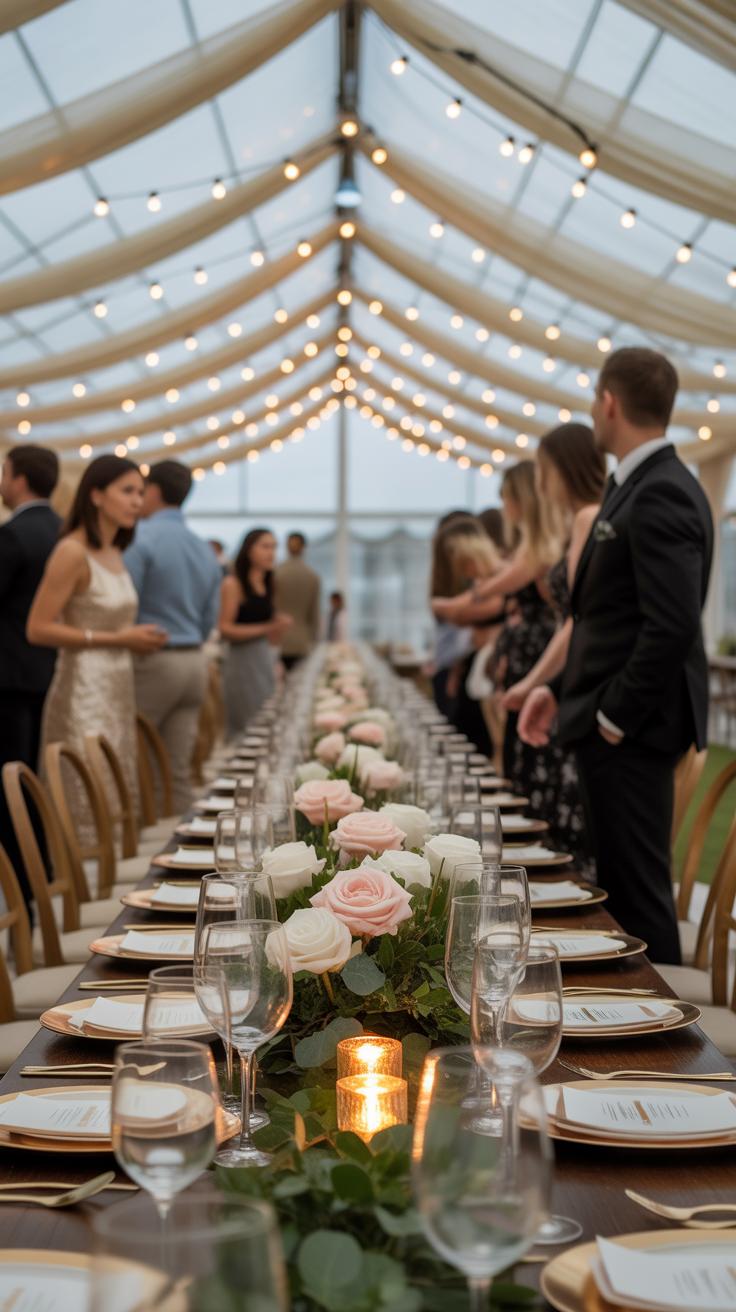
When it comes to dressing up your ceremony and reception spaces, DIY decorations let you inject personality into every corner. Floral arrangements stand out—picking the right mix of flowers and greenery can shape the whole vibe. Think about what’s in season and fits your color scheme. Simple flowers like daisies, roses, or eucalyptus often work well and are easier to handle. If you’re not a pro florist, start small: gather stems, trim leaves below the waterline, and arrange them loosely for a natural feel. Don’t fuss too much over perfection—sometimes a slightly wild look is more charming than overly polished.
Table centerpieces can mirror bouquets or use different textures like candles, wooden accents, or small potted plants. Creating them involves layering different heights and elements—try a few test runs on your own table before committing.
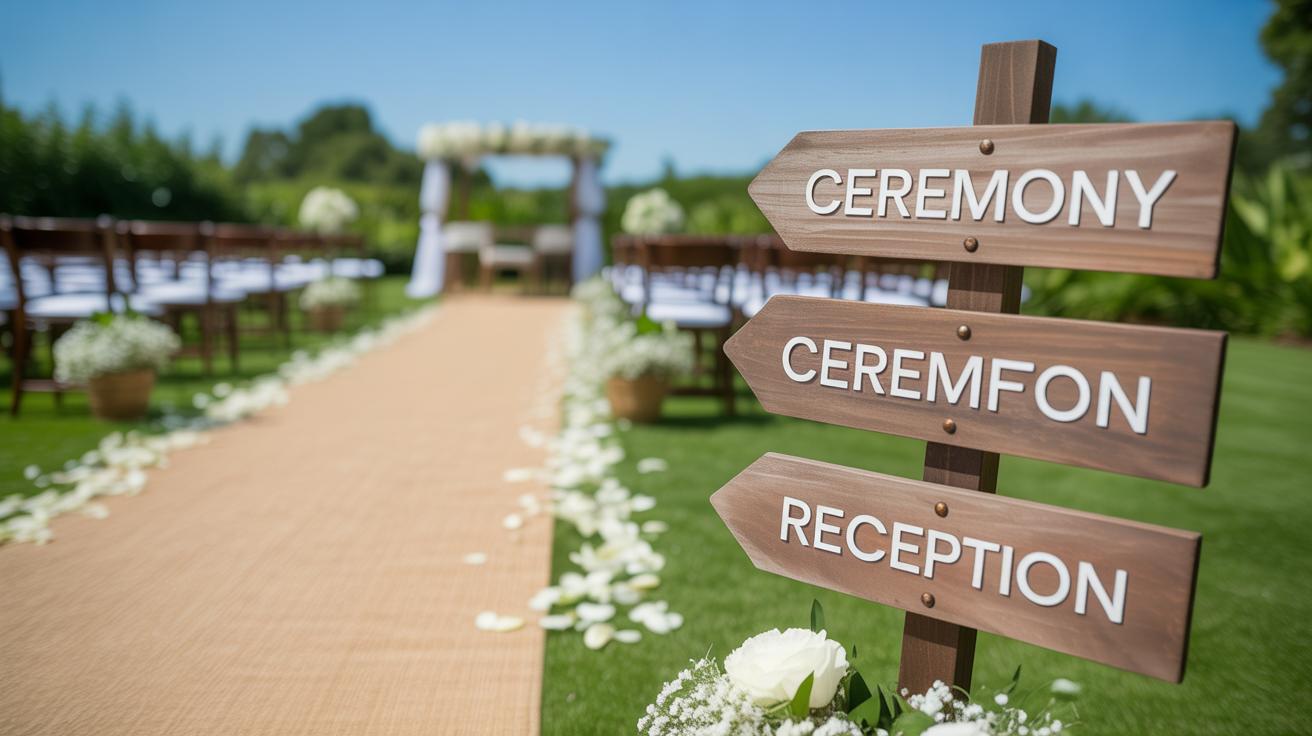
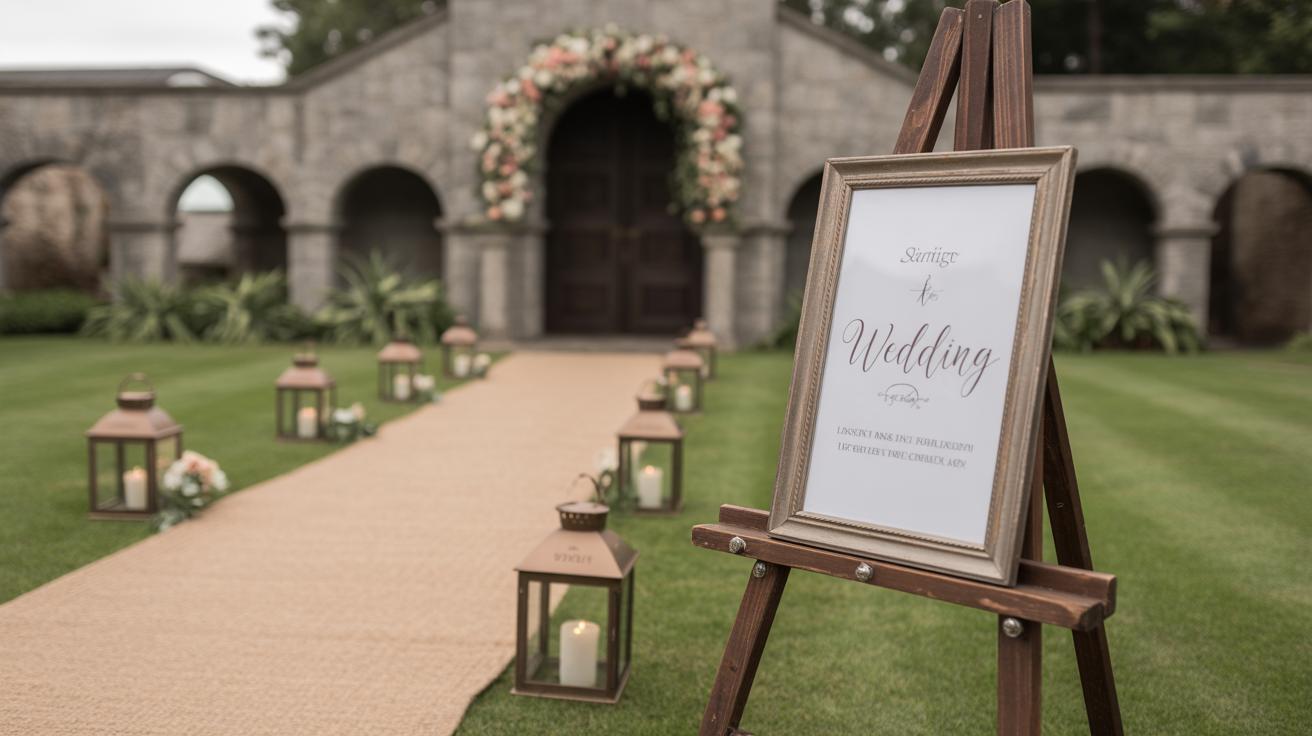
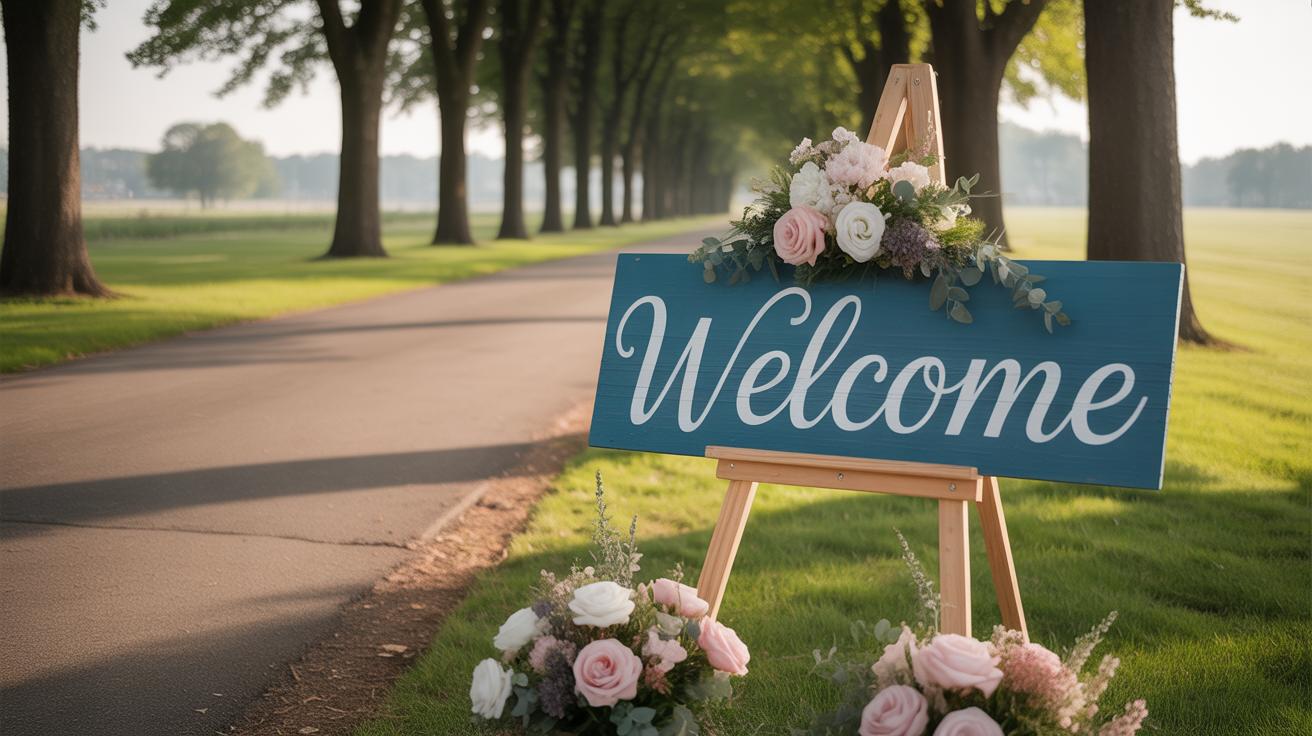
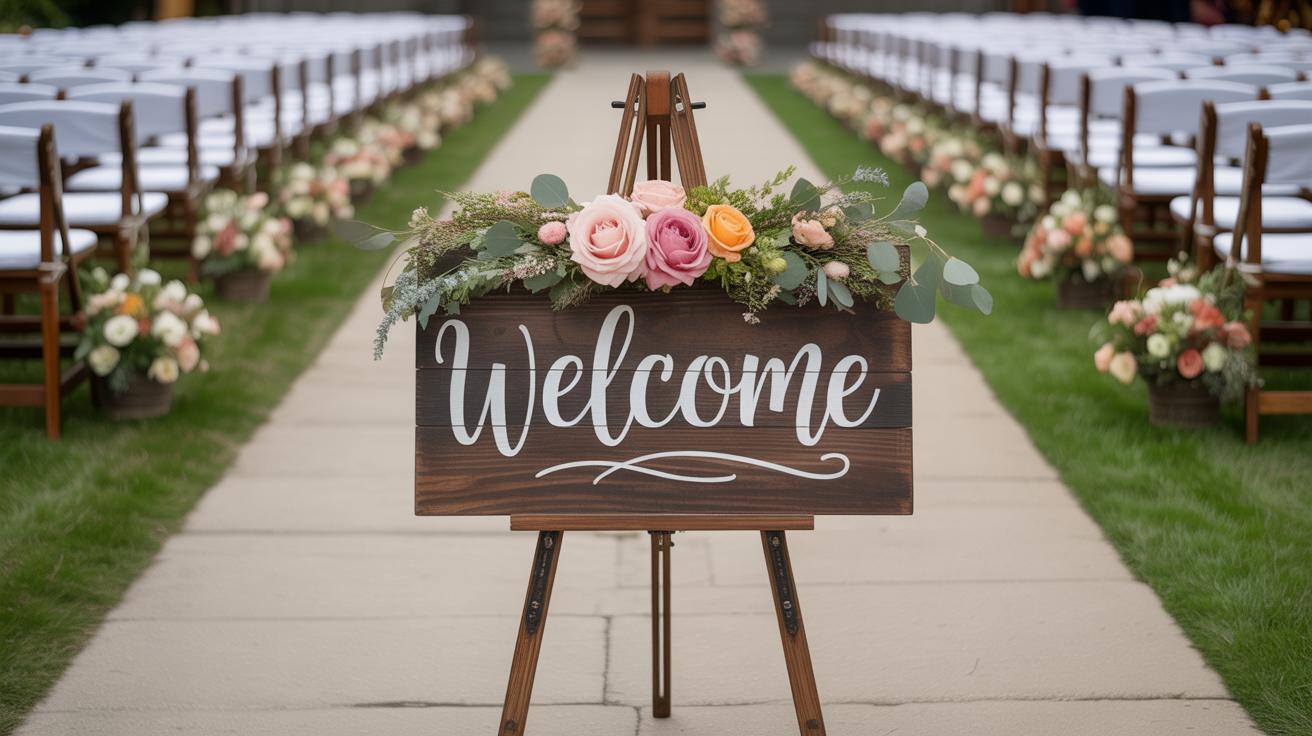
Signs add both style and function. Craft a welcome sign with painted wood or chalkboard to greet guests. Hand lettering isn’t a must; stencils or printed templates can help. For table numbers and place cards, you can repurpose materials like cardboard, mirrors, or acrylic sheets. If you enjoy a bit of calligraphy practice, go for it. Otherwise, print something simple and glue it on a decorated base. Little touches, like twine-wrapped frames or bits of greenery, jazz up the plainest pieces.
These decorations don’t just fill space—they guide, welcome, and express who you are. They can be as bold or subtle as you like, but either way, making them yourself means you’ll see your effort reflected at every glance during the day.
Diy Wedding Attire And Accessories

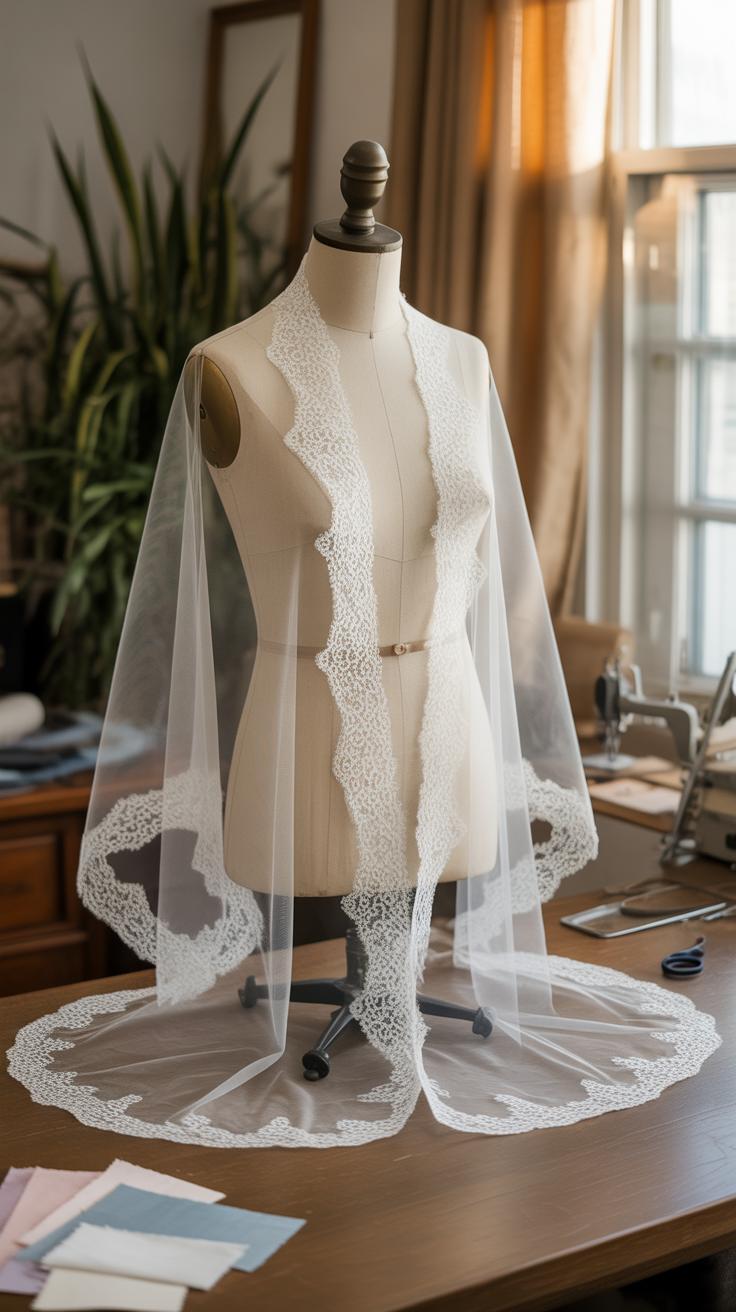
Personalizing your wedding outfit is one of those projects that can feel really rewarding. It’s not just about wearing something off the rack; it’s about adding small touches that truly represent you. For example, you might sew on tiny beads along the neckline of a dress, or carefully stitch an embroidered patch onto a jacket lapel. These details don’t have to be fancy or complicated—sometimes just a few hand-sewn stitches can change the whole vibe of a gown or suit. I remember a bride who hand-painted delicate floral motifs on her veil, and it made the piece uniquely hers without overwhelming the design.
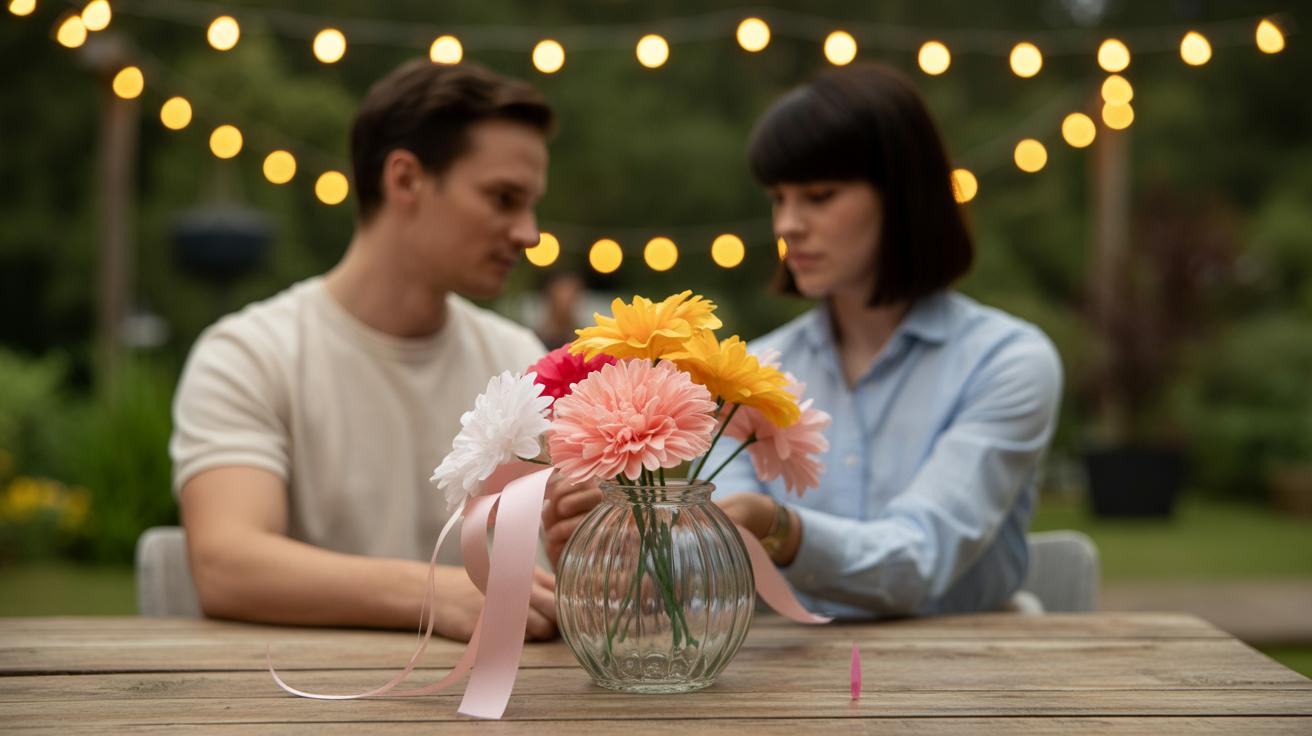
Making accessories is another great way to add personality. Think about creating your own hairpieces, like floral clips or ribbon wraps. These can echo the colors of your bouquet or the theme of the wedding. Or, you could craft boutonnieres from fabric scraps or even paper flowers if you want something that lasts longer. DIY jewelry, like a necklace with meaningful charms or custom bracelets for the bridal party, adds a personal touch too.
Some find it fun to make ties or bow ties themselves—picking fabric that feels right and cutting it to size. It’s these little details that can make people stop and say, “Oh, that’s interesting,” or “Where did you get that?” But really, you made it. Does adding handmade elements to your outfit make you nervous or excited? Sometimes, mixing store-bought and handmade parts can be the best of both worlds.
Planning Your Ceremony Diy Style
Writing your own vows is a deeply personal way to express what your relationship means. You don’t have to be a poet or spend hours agonizing over every word. Start simply: think about what your partner truly means to you, what promises feel honest, and what you want to carry forward together. A good structure might be a brief introduction, a few specific promises, and a closing that looks toward your shared future. For example, you could say, “I promise to listen, even when it’s hard,” or “I vow to support your dreams, big or small.” These small, sincere lines often mean more than anything grandiose. Sometimes, just jotting down memories or qualities you admire helps the words flow better than forcing “perfect” vows.
Creating a ceremony order can feel overwhelming, but you and your partner can design it around what feels most natural. Maybe you want a short, simple processional followed by a reading from a close friend, then your vows. You don’t need a long list of traditional elements—feel free to mix things up or leave some parts out. Writing it down on a checklist helps keep everything clear. Discussing the plan with your officiant or loved ones makes it run smoother, too.
When it comes to décor, simple touches can transform your space without professional help. Think fabric draping: long strips of soft material can frame your altar or line the aisle with a warm touch. Adding lanterns or candles (battery-operated for safety) gives a cozy, intimate feel. You might try hanging small bouquets or tying ribbons to chairs—these take just minutes but add personality. Sometimes, less is more, and your handmade effort will shine because it’s yours, not overly styled.
Diy Reception Ideas That Impress
Creating Seating Charts And Guest Books
Seating charts don’t have to be dull or confusing. A clear layout helps guests find their spots quickly, but making it creative adds a personal touch. Think about using a large frame with recycled wood and attaching name cards with mini clothespins or string—something simple, yet charming. You could also try a vintage mirror with table assignments written in metallic marker. It’s practical, but also doubles as decoration.
Guest books offer many options beyond the usual notebook. What if you invite guests to write notes on puzzle pieces or small cards hung on a wire display? This kind of interactive guest book encourages participation without putting pressure on everyone to write long messages. I once attended a wedding where guests left Polaroids and captions; it created a lively keepsake that kept people talking.
Making Personalized Favors And Signs
Favors can be as simple as small jars of honey or homemade jam, tied with a thank-you tag. These little gifts show appreciation in a way that feels thoughtful but not overdone. Or maybe packets of seeds that guests can plant later—there’s something nice about giving something that will grow over time.
For signage, making food station labels yourself is easier than you might think. Hand-lettered cardstock on miniature easels or chalkboards can guide guests and add charm to the reception. Think about signs that are both fun and helpful, like “Build Your Own Taco” or “Sweet Treats This Way.” A clear sign at the bar listing drink options? That helps guests feel welcome and reduces the number of times you get asked the same question.
These projects might sound small, almost trivial, but they really add layers of meaning. Plus, creating them yourself means you can tweak every detail until it truly feels right for your day.
Photography And Videography Diy Options
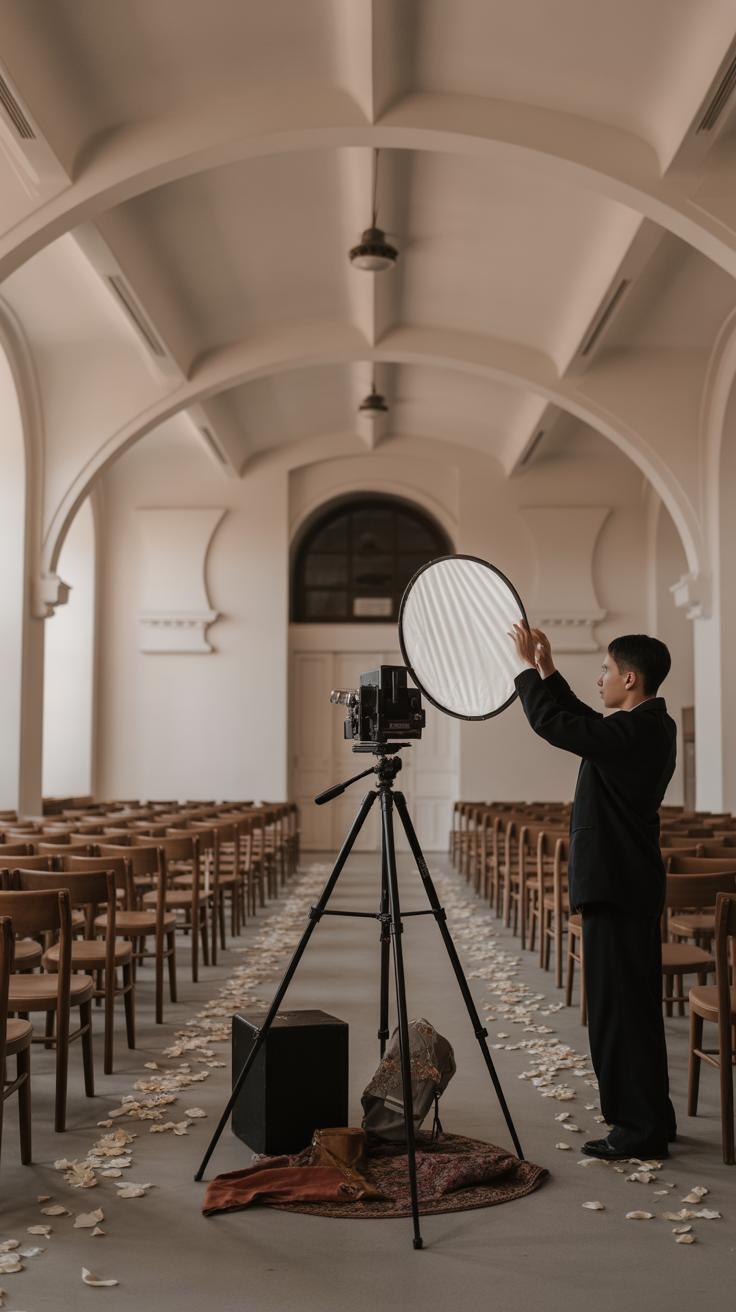
You might wonder how to make your wedding photos and videos feel truly personal without spending a fortune on professionals. One simple way is to include some DIY elements that capture moments from new angles or with a bit of fun unpredictability. For example, handing out disposable cameras to select guests encourages them to snap candid shots you might otherwise miss. It’s a bit of a gamble—you won’t know what you’ll get until the film is developed—but sometimes those imperfect pics tell the most honest stories. Plus, asking a few guests to film parts of the ceremony or reception on their phones adds another layer to your video memories, filling in spaces that official videographers might not catch.
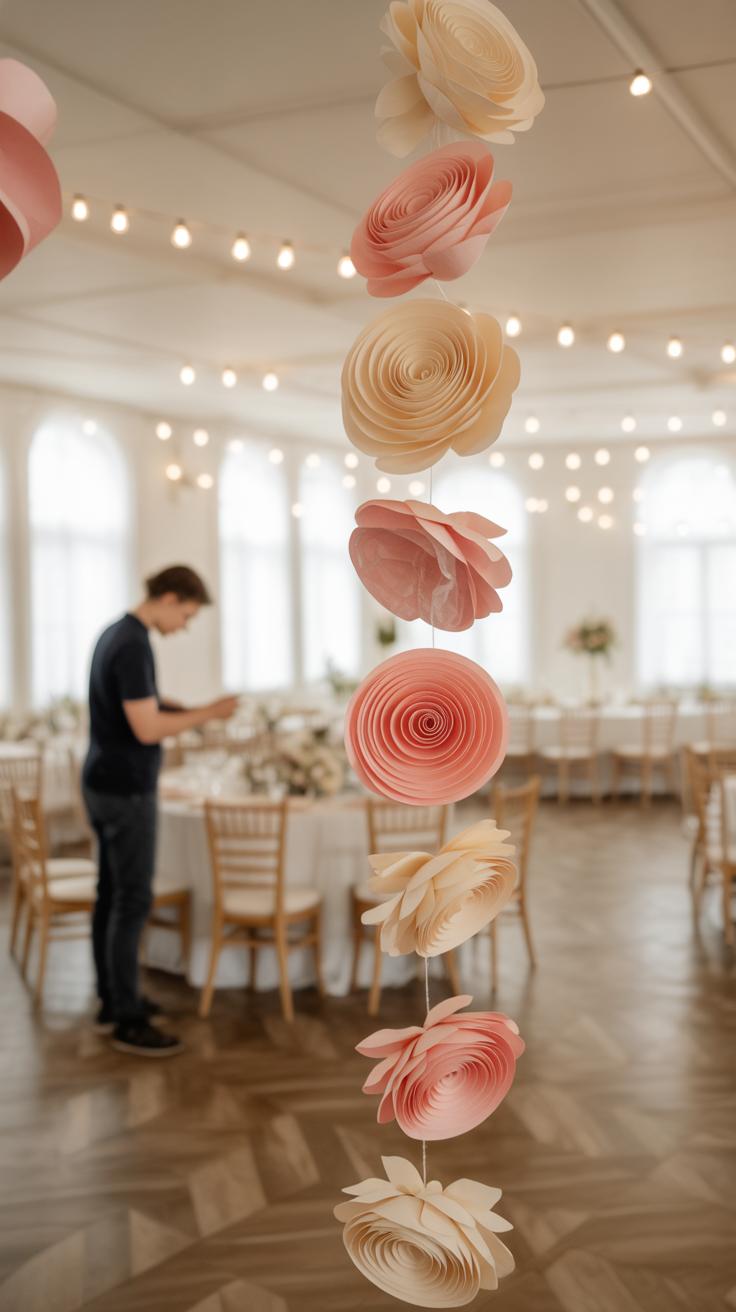
Another idea that often gets overlooked is crafting your own backdrops for photos. You don’t need a photography studio. A simple fabric drape, a cluster of fairy lights, or even handmade paper flowers can provide a striking background. It sets the tone and adds a personal touch in a way that rented setups just can’t. You might spend more time fiddling with the setup than expected, but it’s worth it for that unique, homemade feel.
Encouraging Guest Photo Contributions
One of the best ways to get more photos from different perspectives is simply asking your guests to snap away. Let them know—perhaps through a printed note at the welcome table or a brief mention during speeches—that you’d love to see their candid shots. You can suggest they use their phone cameras, or any device they have, and share the photos afterward through a shared folder or an app. It’s surprising how many people enjoy this kind of involvement. Plus, it helps you collect a variety of moments from your wedding without depending entirely on hired photographers.
Crafting Your Own Photo Booth Setup
A DIY photo booth can be surprisingly easy and fun. Start with a basic backdrop—this could be anything from a plain curtain you dress up to a decorated wall with balloons or greenery. Add some props that fit your theme or just bring a few goofy hats and glasses to keep things lighthearted. Then, set up a camera on a tripod or even use a smartphone with a timer or remote shutter. Guests will enjoy the chance to be a little silly, and you’ll end up with pictures that capture genuine smiles. It’s not hard to do, though you might want to test your setup a few times beforehand to make sure the lighting and framing work well enough.
Diy Music And Entertainment Planning
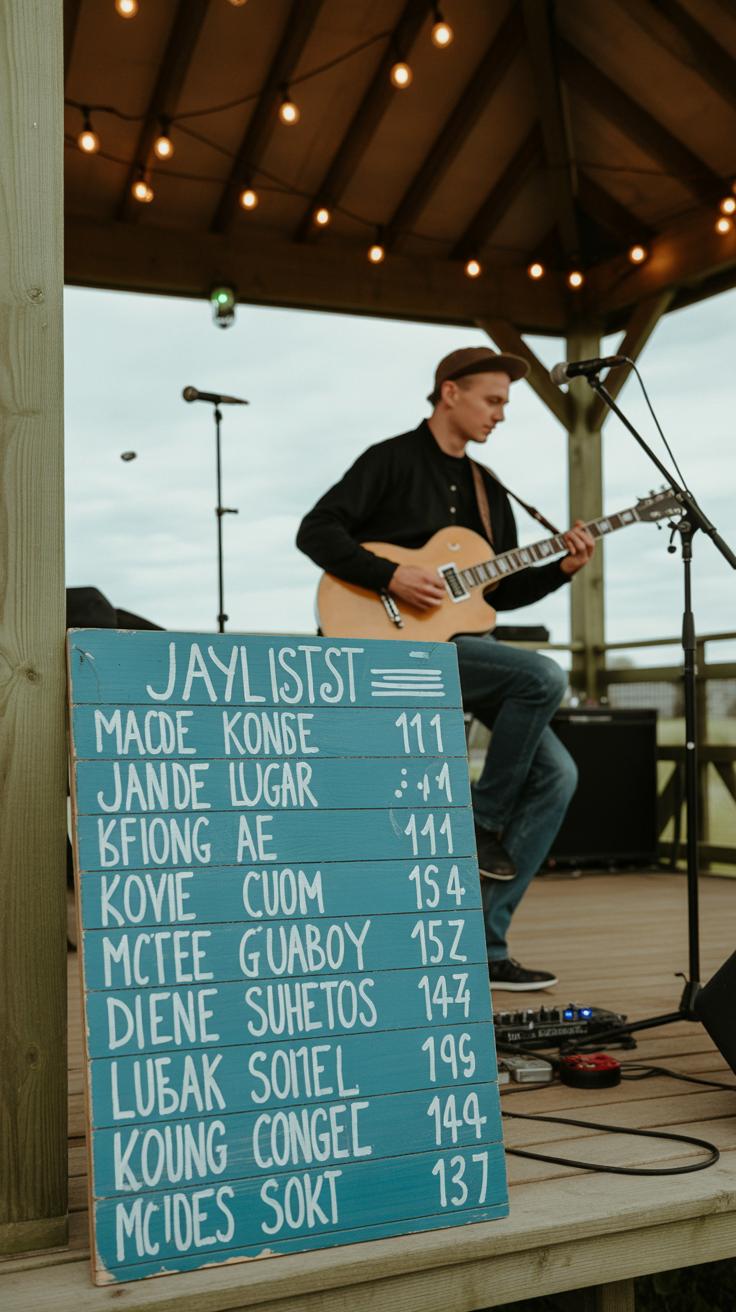
Creating your own wedding music playlists can make the entire event feel more personal. Think about dividing songs into segments: the ceremony, the dinner, and the dancing. For the ceremony, you might want gentle instrumentals or meaningful songs that reflect your story. When dinner starts, softer background tunes can set the right mood without overwhelming conversations.
Then comes the dancing playlist, which is usually the most fun. You don’t have to stick to one genre—mix old hits with newer tracks or songs that remind you of special moments. I once helped a couple build a playlist that had their friend’s indie band’s songs mixed with classic dance tunes. It surprised everyone in a good way. Building these playlists ahead lets you avoid awkward silences too.
For entertainment, simple games can add a lot. Lawn games like cornhole or giant Jenga work well outdoors, but you can keep things indoors with trivia games about the couple. Something as easy as “How well do you know the bride and groom?” can spark laughter and conversation among guests who might not know each other. Interactive activities don’t have to be elaborate; sometimes the best moments come from small, thoughtful touches.
Does your guest list lean young or older? That might guide your choices. And don’t forget to ask close friends or family what games or music they enjoy. It’s your day, but you want your guests to have a good time too. The balance isn’t always easy to strike—but trying is definitely worth it.
Organizing Your Diy Wedding Timeline

When you’re knee-deep in DIY wedding projects, time can easily slip away before you notice. That’s why setting a clear timeline is crucial. Start by listing every single project you want to tackle—from making invitations to setting up centerpieces—and decide roughly when each needs to be done. Some tasks might seem small but can take more time than expected, so build in some wiggle room.
Try breaking your timeline down by weeks or months, depending on how far out you are. For example, start bigger projects like crafting signage several months ahead, and leave last-minute details closer to the big day. I once found myself scrambling the week before because I underestimated the time needed to finish guest favors.
On the topic of help, picking the right people to share the load is a game-changer. Think about who enjoys these kinds of projects or who’s just eager to chip in. It might be your cousin who’s great with crafts or a friend who loves organizing. Then, be clear about who’s doing what—don’t assume they’ll remember without a little guidance.
On the wedding day itself, having helpers take on specific roles can reduce stress dramatically. Someone to oversee decorations, another to manage last-minute music cues—these small delegations keep the day moving. You might want to create a simple task list for each helper, so everyone knows their responsibilities without you needing to micromanage.
Conclusions
Embracing diy wedding projects empowers you to shape your special day exactly how you want. Every handmade detail tells your story and connects close friends and family. Diy efforts also save money which you can use elsewhere.
Start planning your diy projects early and break tasks into steps. Focus on what means most and enjoy making memories together. Your diy wedding can be beautiful, budget-friendly, and filled with personal meaning.