Introduction
If you want to add a personal touch to your home, crochet projects are a great way to start. They let you create warm, inviting accents that make your space feel cozy and unique. You don’t have to be an expert to begin. Simple projects with basic stitches can quickly become beautiful items for your home.
This article explores 10 easy crochet projects that anyone can do. From soft blankets to charming kitchen accessories, each project is designed with comfort and style in mind. You will learn step-by-step how to bring these cozy accents to life and brighten up your home.
Getting Started With Crochet Basics
Choosing Your First Yarn And Hook
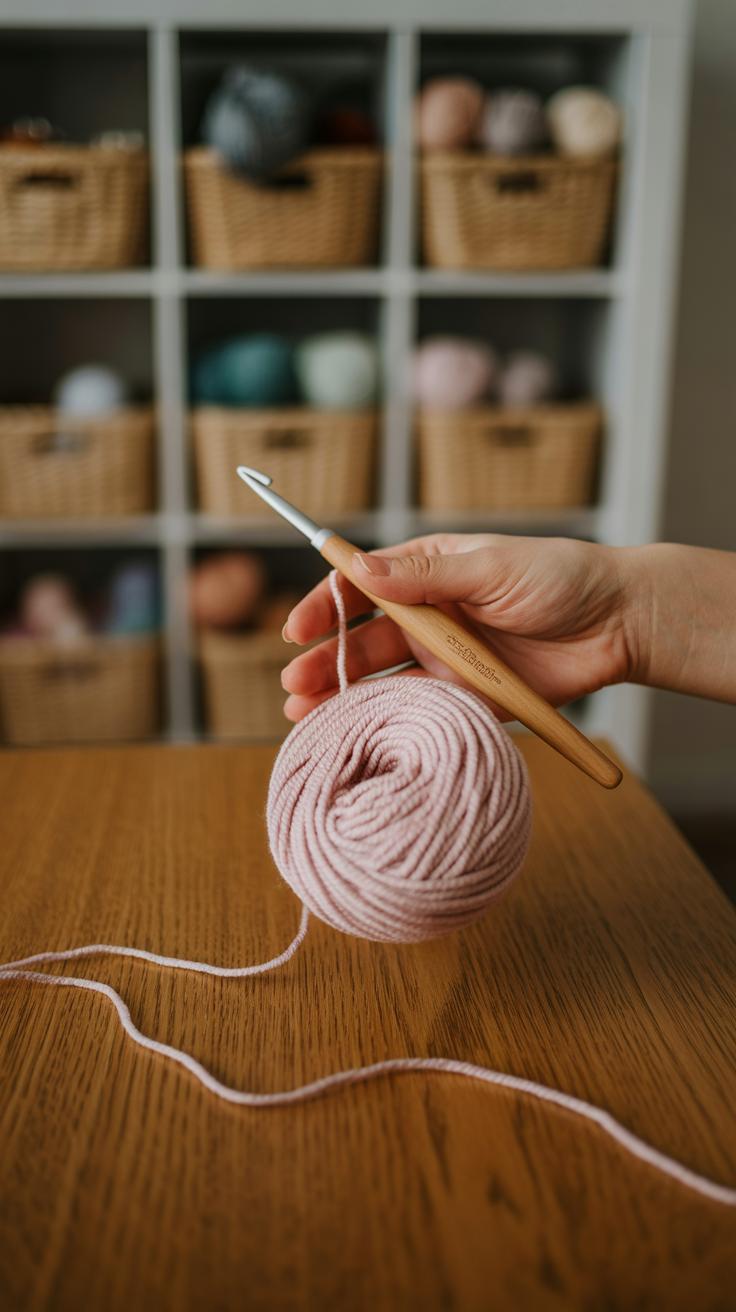
Picking your first yarn can feel like a small adventure, or a bit confusing. For home accents like pillows or coasters, a medium-weight yarn—often called worsted weight—is usually a safe bet. It’s thick enough to show your stitches clearly but not so bulky that it feels overwhelming to work with. Pair that with a hook size around 5mm to 6mm; this combo makes it easier to keep your tension consistent and avoid frustration.
When it comes to colors, it’s tempting to dive into all the shades you like, but maybe start with neutrals or soft tones that blend well with most decor. Think light grays, creams, or dusty blues. These tend to complement various styles without clashing, though it’s perfectly fine to add a pop of color once you feel more confident.
Learning Basic Crochet Stitches
The foundation of crochet lies in just a few stitches. Start with the chain stitch—it’s the backbone of everything. Think of it as making a row of loops that your other stitches can grab onto. Then, move to the single crochet, which creates a tight, dense fabric—great for sturdy accents like coasters or placemats. Finally, the double crochet offers a lighter, more open texture, which works well for blankets or curtains.
Practice these stitches slowly. Don’t rush. Try to make each stitch the same size or close, and don’t worry if it takes a while to get there. Some people say it feels awkward at first, but if you keep at it, muscle memory kicks in. Maybe try making small swatches of each stitch pattern—watch your progress, and you’ll notice subtle improvements.
Crocheting Cozy Blankets And Throws
Selecting The Perfect Blanket Pattern
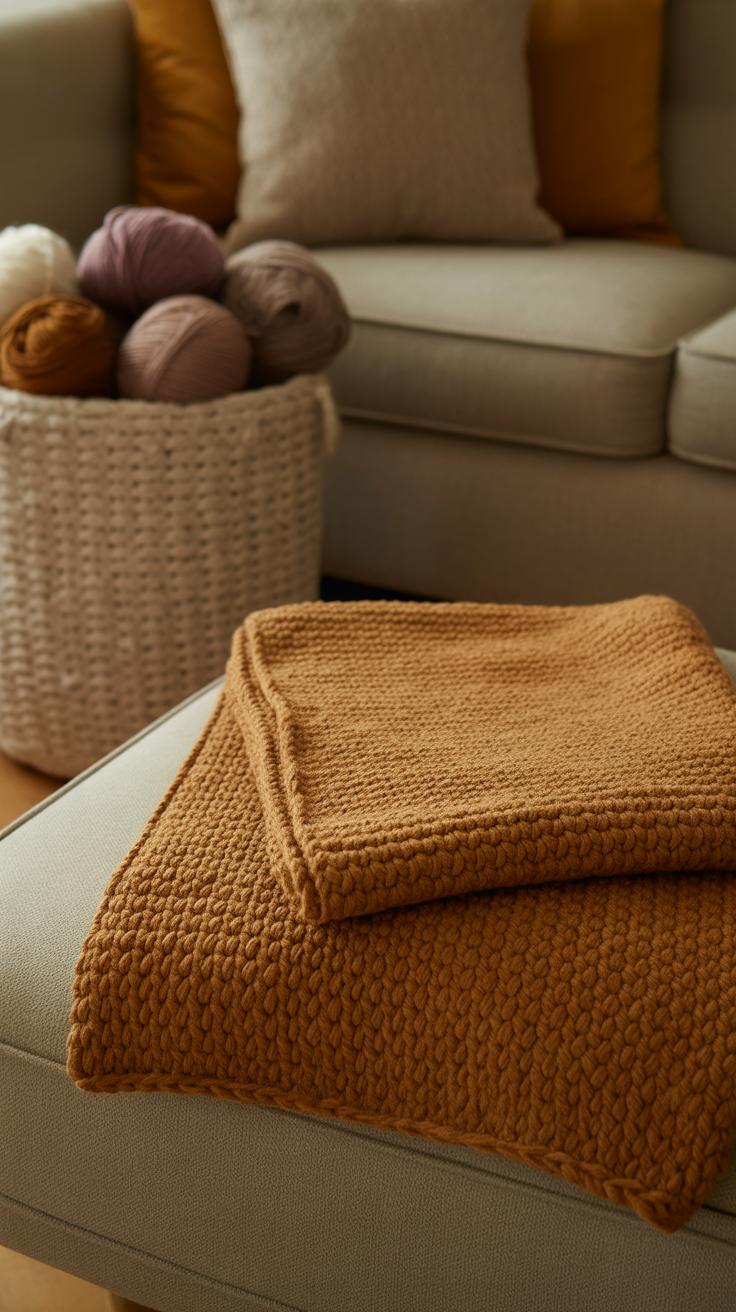
When it comes to choosing a blanket pattern, beginners often find granny squares or ripple stitches quite manageable. Granny squares let you work in small, repeatable units, which means you can stop and start without losing track. Plus, mixing colors is easier—you don’t have to commit to one big piece at once. Ripple stitch, on the other hand, produces a gentle wave effect that adds visual interest without complexity. Both patterns allow some breathing room to practice tension and stitch count. One may feel more satisfying depending on your personal rhythm—some find the repetitive motion of ripple soothing, while others prefer the modular approach of squares.
Techniques For Soft And Warm Textures
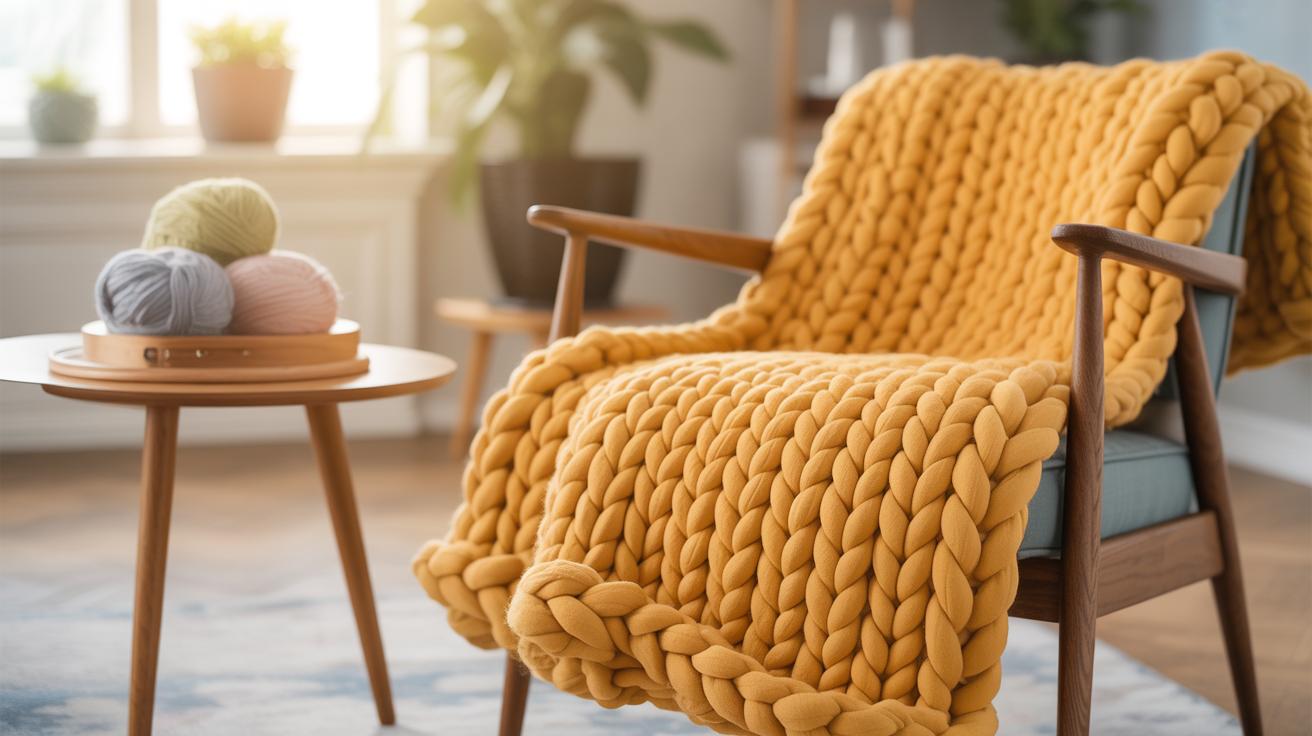
The warmth and softness of a blanket depend largely on your yarn choice and stitch density. Thicker yarns, like chunky wool or acrylic blends, naturally trap heat better. But don’t overlook the feel—wool can be warm but scratchy for sensitive skin, while softer acrylics might lack the same insulating quality. Also, tighter stitches create denser fabric, holding in more warmth. For example, using half double crochets or double crochets in close rows can make a snugger, warmer throw. Sometimes, looser stitches feel more breathable, which might be better for warmer climates or if you tend to get hot easily. It’s a balance, really—finding that sweet spot between softness and enough thickness to actually cozy up. I found that layering stitches with a slightly chunky yarn gave me a blanket that’s inviting but not overly heavy.
Making Cute Crochet Pillows

Simple Pillow Shapes To Try
When starting with decorative pillows, it’s easiest to focus on basic shapes like squares and circles. Squares are straightforward—you just crochet two identical panels and stitch them together. Circles involve working in rounds, increasing evenly to keep the shape flat. You can also try rectangles if you want a neck roll or lumbar pillow, though those need a bit more attention to size. Seams often come together with slip stitch or single crochet joins, which add a nice edge. Sometimes I find whip stitch by hand works better for a softer finish, though it takes more time.
Edges can be finished with simple borders—like a few rounds of single crochet or a scalloped shell stitch to give some subtle texture. If your stitches aren’t perfectly even, don’t stress. Those little imperfections give your pillow personality, right?
Choosing Materials For Comfort And Style
Yarn choice matters for pillows—not just looks but how comfy they feel. Soft, medium-weight yarns like acrylic blends or cotton usually work well; they hold shape yet feel pleasant against skin. Wool’s cozy but can be scratchy; maybe better for occasional use pillows. Avoid anything too stiff unless you’re going for a firm structure.
For filling, polyester fiberfill is popular—affordable and easy to fluff up. But I’ve also used shredded foam or even old fabric scraps when I wanted a denser feel. If you want natural options, wool stuffing can add warmth but might clump a bit. Don’t underestimate how much pillow filling affects your pillow’s vibe—a pillow that’s too flat or overstuffed can quickly lose charm.

Think about washing, too. Cotton covers with removable inserts make cleaning easier. Sometimes I crochet a pillow cover that doubles as a cozy cozy case—reminds me that practicality and style can meet.
Creating Charming Crochet Coasters
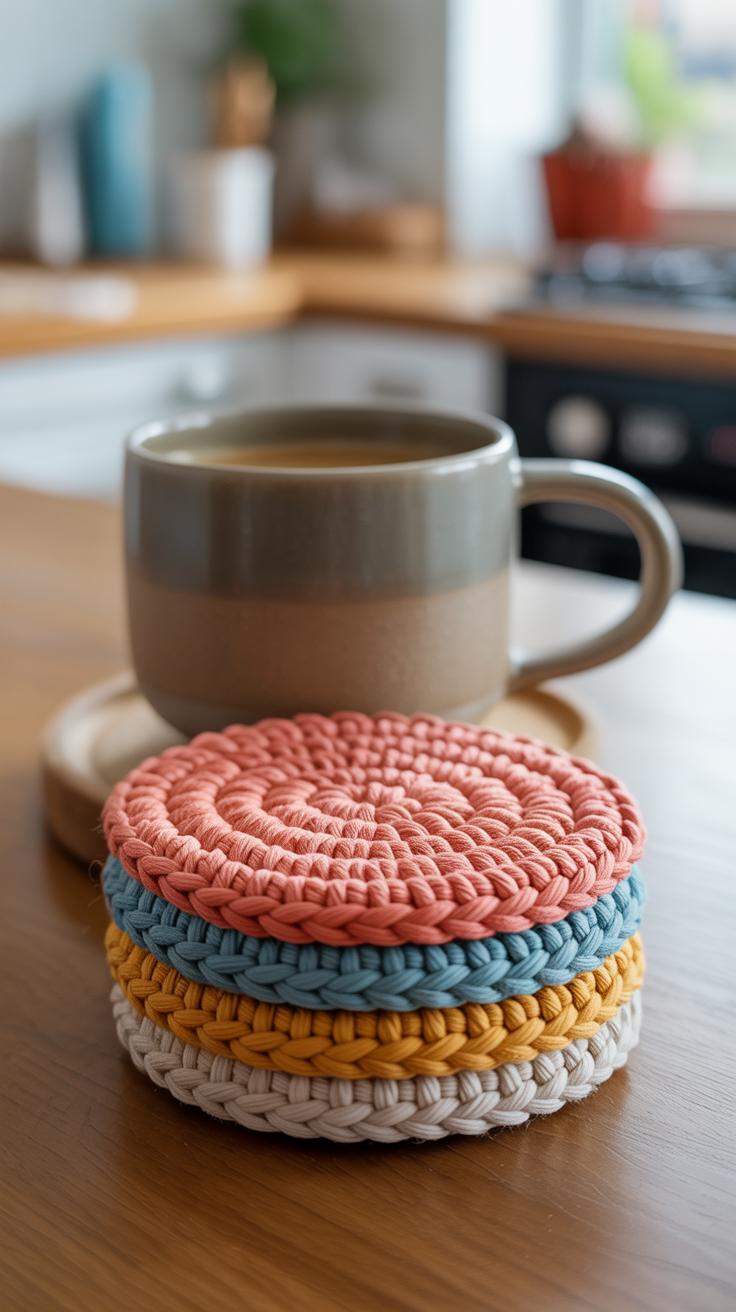
Crochet coasters are small but mighty additions to your home. They help protect wooden tables from water rings and heat marks while adding a cozy touch. Making them is straightforward—and you can easily tailor shapes and colors to fit your space or mood.
Basic Coaster Shapes And Sizes
Most people stick to circles, squares, or hexagons because they’re simple and fit well under cups or mugs. Circles, for example, have a classic vibe and are quick to finish. Squares can be pieced together for a patchwork effect—sometimes that looks nicer than you’d expect. Hexagons offer a slightly modern twist but take a bit more counting.
Size matters, too. Usually, 4 to 5 inches across works well for average cups. Too small, and you risk spills; too large feels bulky and unnecessary. You could experiment with slightly bigger sizes for teapots or large mugs if you like.
Adding Color And Texture To Coasters
Color choice can make your coasters pop or blend softly with your décor. Bright colors bring energy but might clash if overdone. Pastels or neutrals tend to feel more soothing. I’ve tried mixing two colors in stripes or spirals, which instantly livens them up without being overwhelming.
Texture also plays a role. Simple stitches like single crochet keep things smooth, but trying bobbles or waffle stitches adds grip and interest. These raised textures not only look appealing but catch condensation better. You might want to balance texture and smoothness depending on your style and how much cleaning the coaster will need.
Have you thought about combining shapes and textures? A square coaster with a raised flower pattern could be surprisingly charming. Or a pastel hexagon using a soft yarn might serve double duty as décor and function. The possibilities feel endless once you start fiddling with colors and stitches.
Crafting Stylish Crochet Curtains
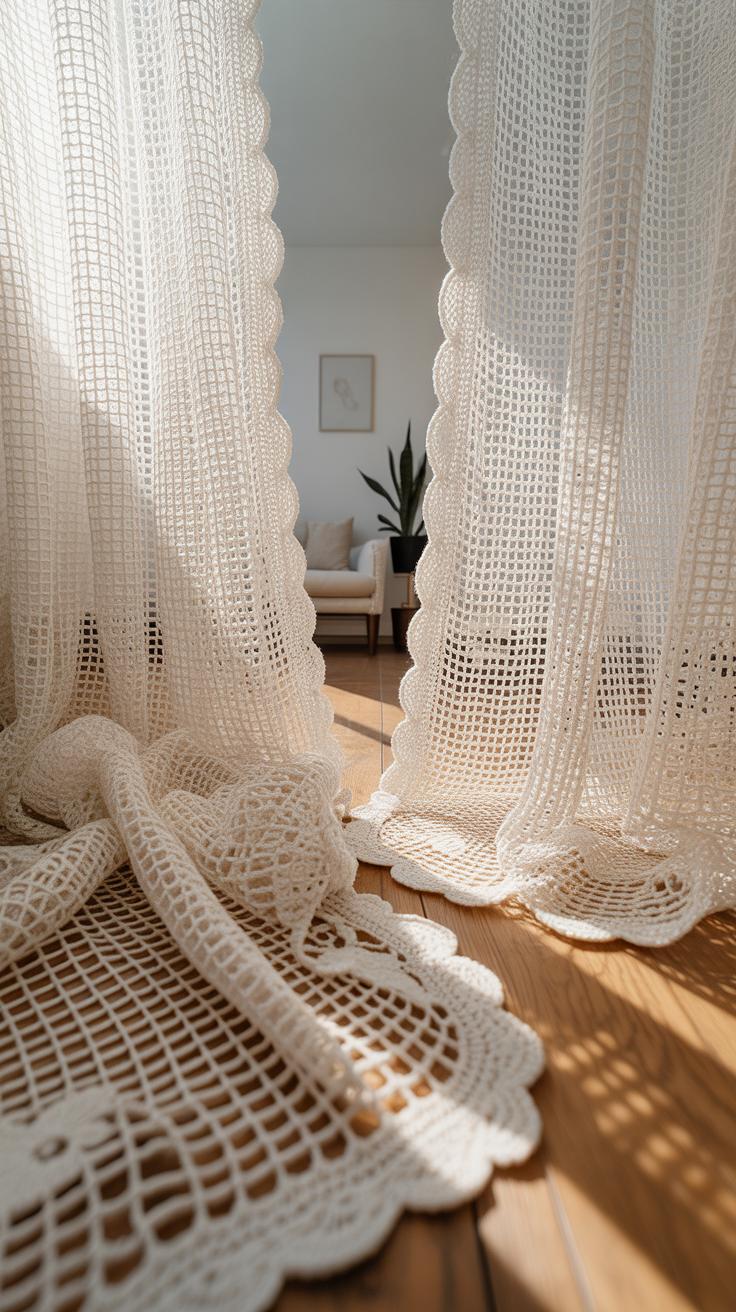
Crochet curtains can soften a room’s atmosphere without blocking too much light. The right yarn and pattern make all the difference. For curtains that drape gently and let sunlight filter through, choose lightweight cotton or linen yarns. They’re breathable and tend to hold shapes well, avoiding that heavy, droopy effect you might get with thicker yarns.
Patterns with open stitches create a subtle, lace-like texture that balances privacy and brightness. You might think using more intricate lace is better, but sometimes simpler designs actually work best—less fuss, and light passes through more evenly. I’ve found single crochet mixed with chain spaces in repeating rows creates just enough openness without becoming a tangled mess.
Selecting Patterns For Lightweight Curtains
Open lace patterns are ideal because they let the window shine through, literally. Look for stitches like:
- Shell stitches with gaps
- Mesh patterns alternating chains and double crochets
- Simple fan or V-stitch repeats
These don’t just brighten the room; they add gentle texture that can feel surprisingly warm. Complex lace might seem tempting but can make curtains stiff or block too much air and light. Plus, easy patterns mean you finish faster.
Measuring And Hanging Your Crochet Curtains
Before you jump in, measure your window carefully. Note the width you want to cover and the length from rod to sill or floor. Remember, crochet stretches a bit but also has weigh that pulls—so give yourself some wiggle room. Maybe add an inch or so wider than the window frame to account for gathers.
For hanging, curtain rods with rings or clips usually work best since hooks can snag your yarn. If you prefer a rod pocket design, make sure your top edge has a sturdy, tighter stitch. Sometimes adding a sewn-in lining or fabric band helps while keeping the crochet flexibility.
It might feel a bit tricky balancing softness and structure, but once your curtains hang and the sunlight filters through those stitches, it’s definitely worth it.
Designing Crochet Table Runners
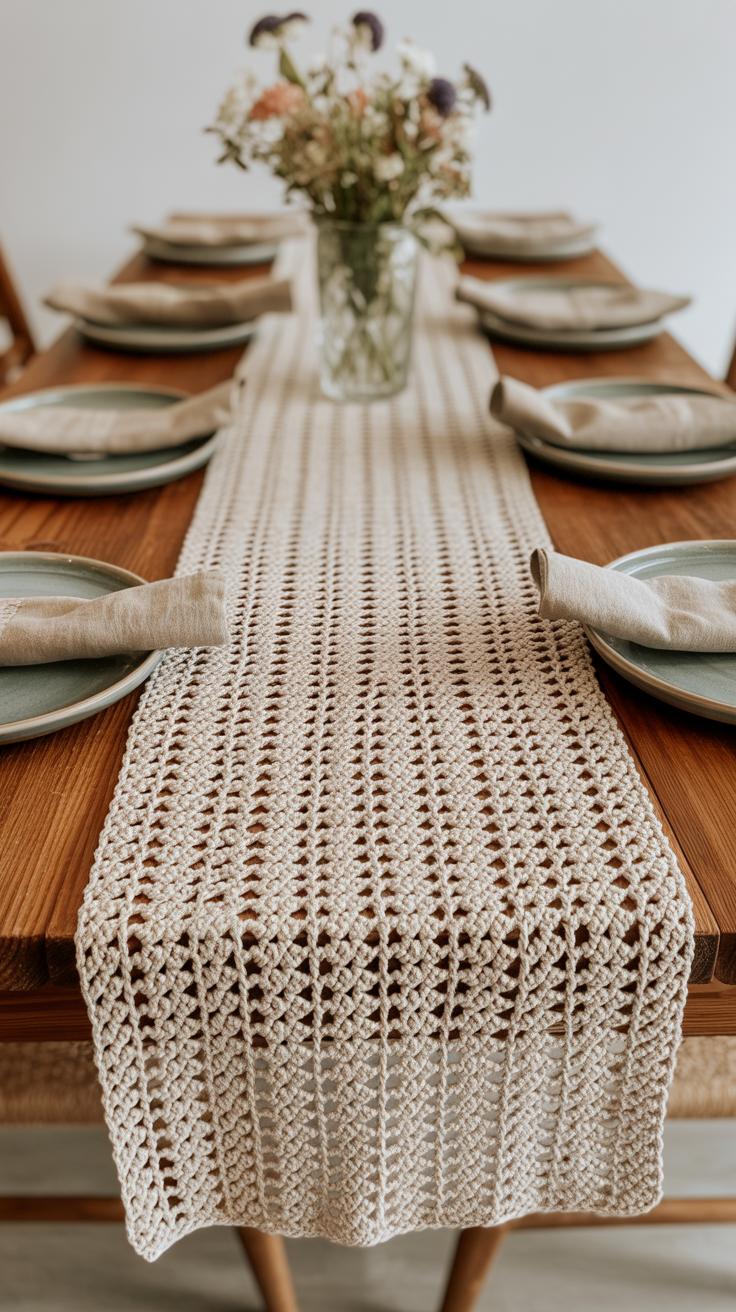
Choosing The Right Length And Width
Getting the table runner size right is surprisingly crucial. You’ll want to measure your table’s length and width before starting. For length, most runners hang a bit over each end—usually around 6 to 12 inches on both sides, but it really depends on your style. Too short can feel awkward. Too long might get in the way.
Width needs balance too. Think about how much of the table you want covered—some like a narrow strip just down the center; others prefer a wider runner that nearly reaches the edges. To find your perfect fit, grab a tape measure and maybe a bit of string or ribbon to lay across. Try different lengths and widths that seem comfortable. Trust your gut here; there’s no “right” size for every table.
Simple Patterns For Table Elegance
When it comes to patterns, simple often wins for table runners—especially if you want an elegant, clean look. Basic crochet stitches like single crochet, double crochet, or the granny stitch can create subtle texture without overwhelming your space. You might also consider combining rows of open stitches with solid ones to add a bit of visual interest.
Motifs like flowers or small geometric shapes can be crocheted separately and joined, or directly incorporated into the fabric. If you’re a bit unsure, starting with a repetitive shell stitch or a chevron pattern can feel manageable and still look sophisticated.
Choosing the right yarn affects the outcome too. Cotton or cotton blends usually hold shape nicely and wash well, making them practical for dining tables. Or you could try a lighter-weight acrylic if you want something softer and less formal. I once used a shiny mercerized cotton that gave the runner a subtle sheen—worked well for festive occasions.
What patterns do you find most appealing? Sometimes, the simplest stitches create the most quiet elegance, don’t they?
Making Functional Crochet Baskets
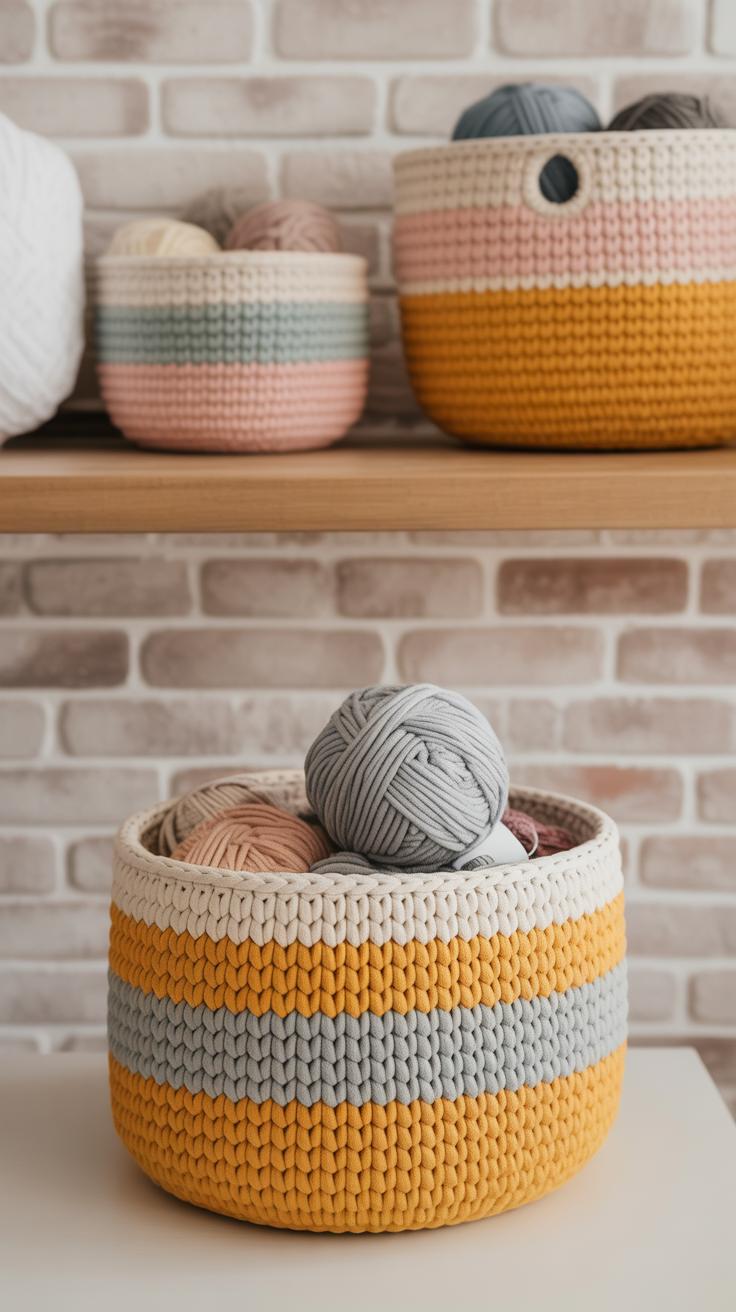
When you want to crochet baskets that actually hold their shape and keep things tidy, the yarn you pick and how you put the stitches together matter a lot. Thick yarns—like chunky cotton or even fabric yarn—work best because they give the basket weight and firmness. I’ve tried softer yarns before, but the basket ended up sagging after just a few uses. You want something with enough body to support whatever you’re storing inside.
Tight stitches are key, too. I usually go for single crochet or half-double crochet, making each round fairly snug. It’s tempting to work loosely, but the looser the stitch, the less structure your basket will have. It’s a balance—you want it tight enough to hold but not so tight your hands hurt halfway through.
For shapes, round baskets are the easiest place to start. You crochet a flat circle, increasing evenly until it’s the right size, then stop adding stitches to build straight walls. Square baskets take a bit more planning, especially around the corners where you have to make sharp turns and sometimes add extra stitches to keep that boxy shape. Reinforced bases help both types stand up better—you can add an extra round or two, or even slip a sturdy piece of cardboard inside.
Crocheting Soft Plant Hangers
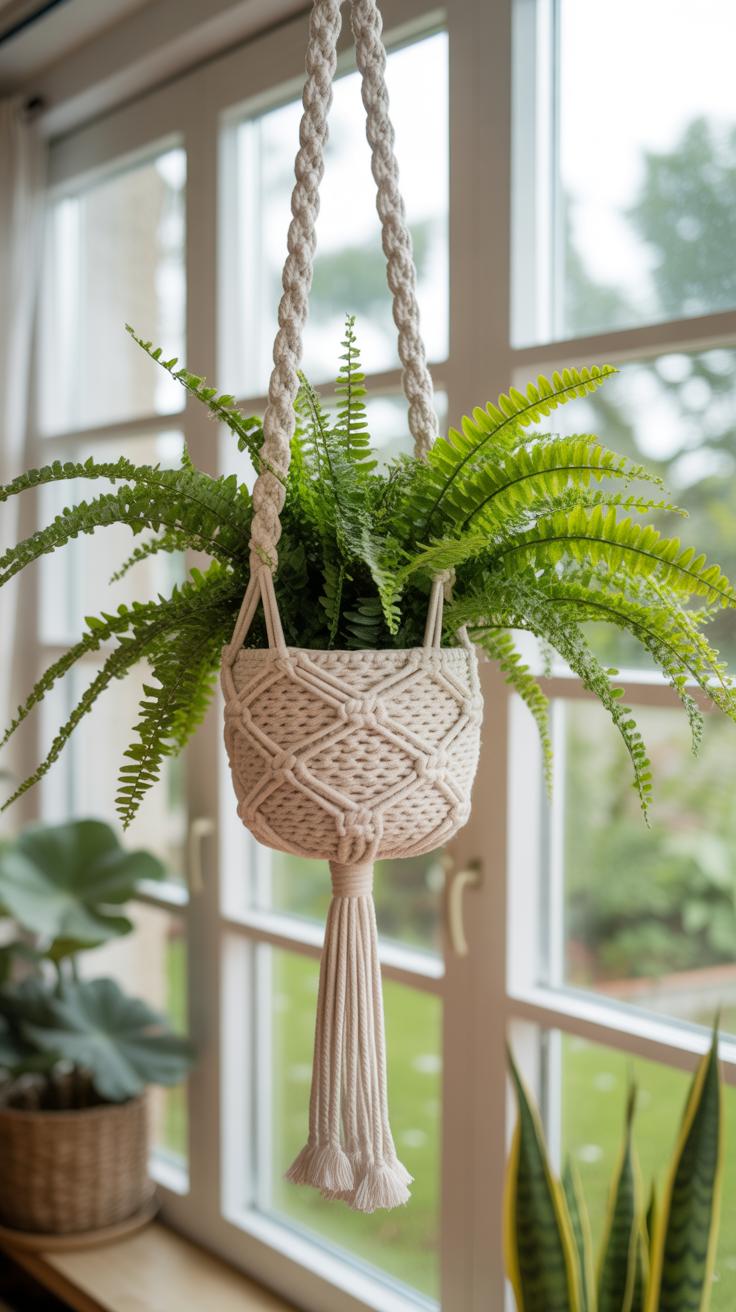
Making crochet plant hangers is a practical way to save space while adding a touch of charm to your home. They’re surprisingly simple to create, especially if you enjoy a bit of knotting alongside your crochet. Start with a sturdy base—crochet a flat circle or square that will support the pot securely. From there, work simple chains that will become the ropes holding your planter.
Combining crochet stitches with macrame-style knots can improve the strength and style of the hanger. For example, after crocheting a few rounds, switch to creating slip knots or half hitch knots to form the suspenders. These knots grip the planter firmly without cutting into the yarn.
Some pattern tips to keep in mind:
- Use tighter stitches for the base for better support.
- Keep the hanging straps even to distribute weight.
- Experiment with openwork patterns to let the plant peek through.
When choosing yarn, think about durability—cotton blends or synthetic fibers hold up well, especially if your plants sit near windows or in humid areas. They last longer outside too and won’t harm your plants. Natural fibers like hemp also work but may wear faster indoors.
Have you tried mixing knotting and crochet for a project like this? It’s a neat way to combine techniques and creates a unique result that feels personal, even if you’re just beginning. Plus, it’s kind of satisfying to watch a simple string become something that not only looks nice but actually holds your plants up.
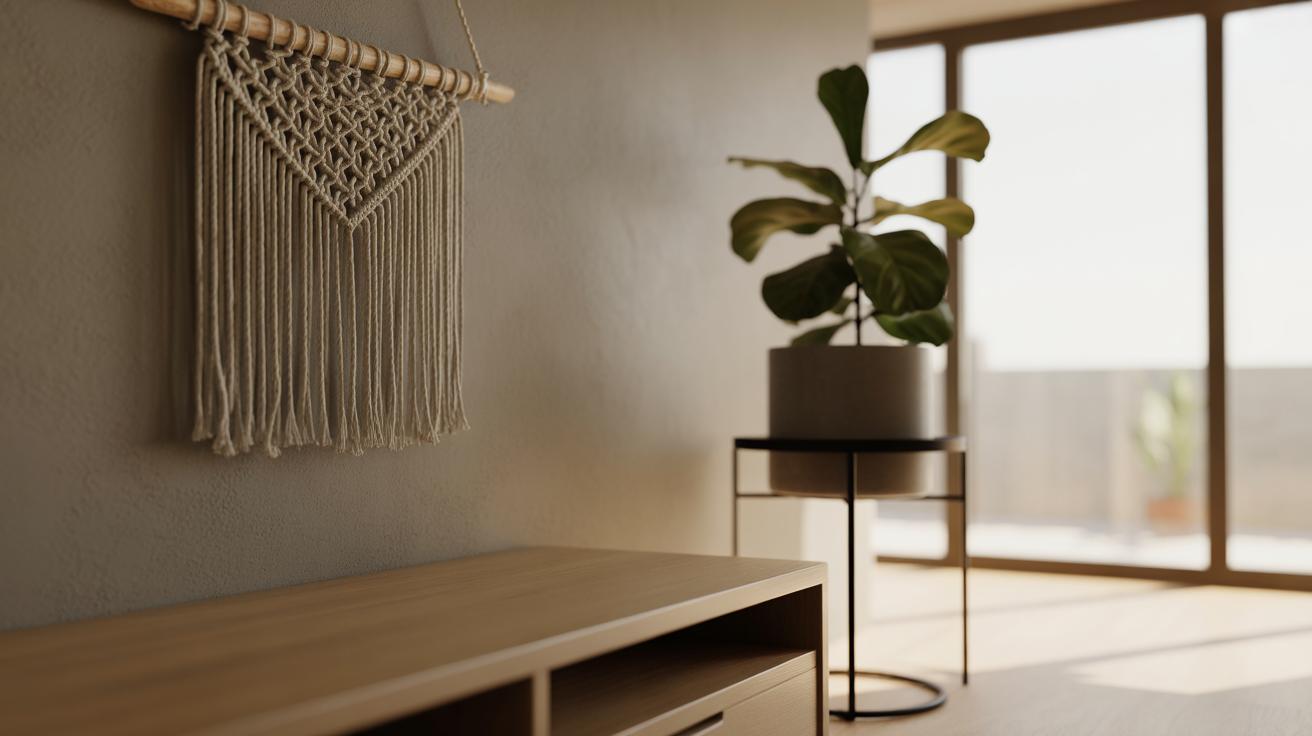
Decorating With Crochet Wall Hangings
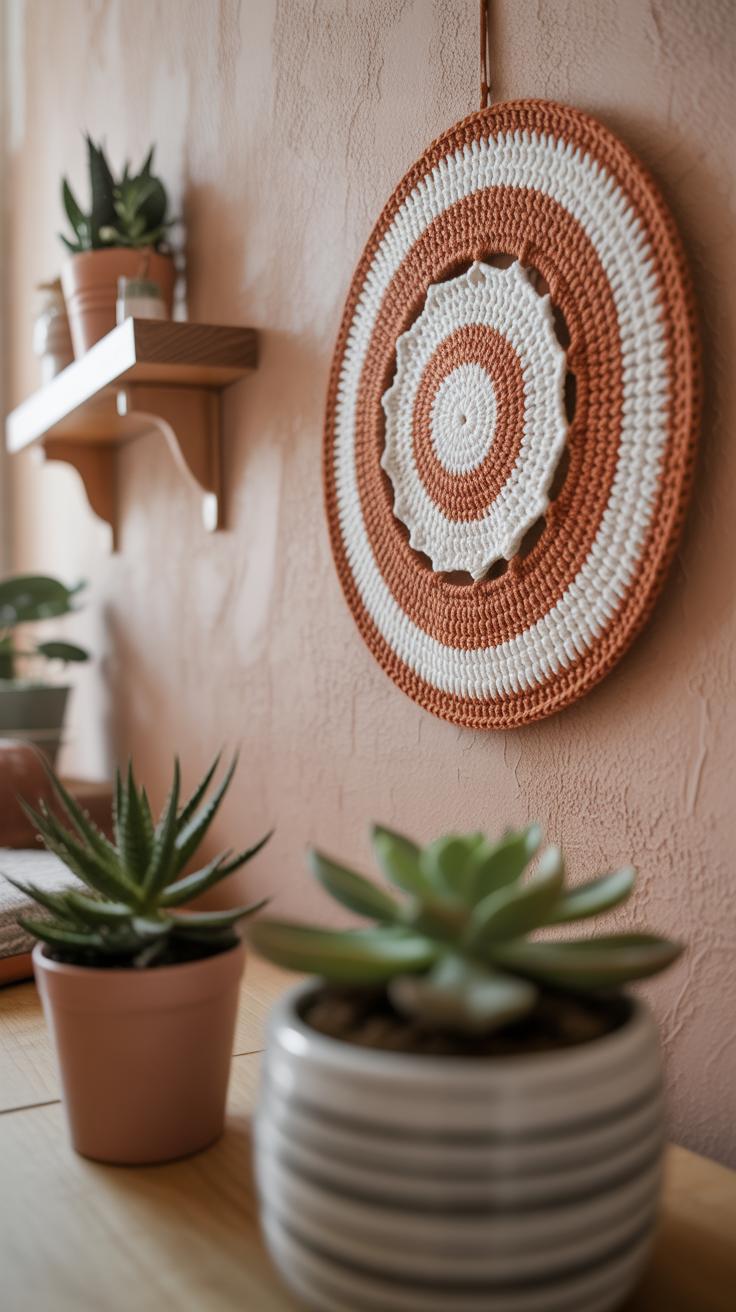
Wall hangings are a simple way to bring a cozy, handmade feeling into your living space. When you create your own crochet wall décor, you can choose shapes and sizes that suit your style—and your walls. For example, round mandalas offer a soft, intricate look, while geometric shapes like triangles or diamonds add a cleaner, modern touch. Sometimes mixing different sizes works well; think of a cluster of smaller pieces instead of one large one. It breaks monotony and feels more personal. Color schemes can vary, too. Neutral tones like cream, beige, or soft grays fit almost anywhere. Yet, a pop of color—maybe mustard yellow or dusty pink—can brighten a dull corner without overwhelming it.
Easy Wall Hanging Patterns
If you’re just starting, mandalas are a popular pattern to try. They’re repetitive and meditative, and you end up with something really striking. Geometric shapes like squares, triangles, or hexagons are good, too—they’re straightforward and quick. You can find many beginner-friendly patterns online that use basic stitches. Some come with diagrams that helped me immensely when visual explanations clicked better than written instructions. Don’t feel you have to follow patterns slavishly; you can drop a row or mix colors as you go. That’s part of the fun, I think.
Mounting And Displaying Crochet Art
How you display your wall hangings matters. The most common way is using simple wooden rods or branches threaded through the top loops. This gives a natural, earthy vibe. You might also consider stretching your piece on a lightweight frame—think embroidery hoops or canvas stretcher bars—for a neat, modern finish. If you want your work to stand out, space around it helps. Avoid crowding hangings together unless you’re going for a gallery wall. Hanging cords or leather straps can be easy to attach and add an extra bit of texture. If you’re like me, sometimes the simplest methods—just a loop over a nail—feel enough. What matters? The piece feels at home on your wall and draws your eye naturally.
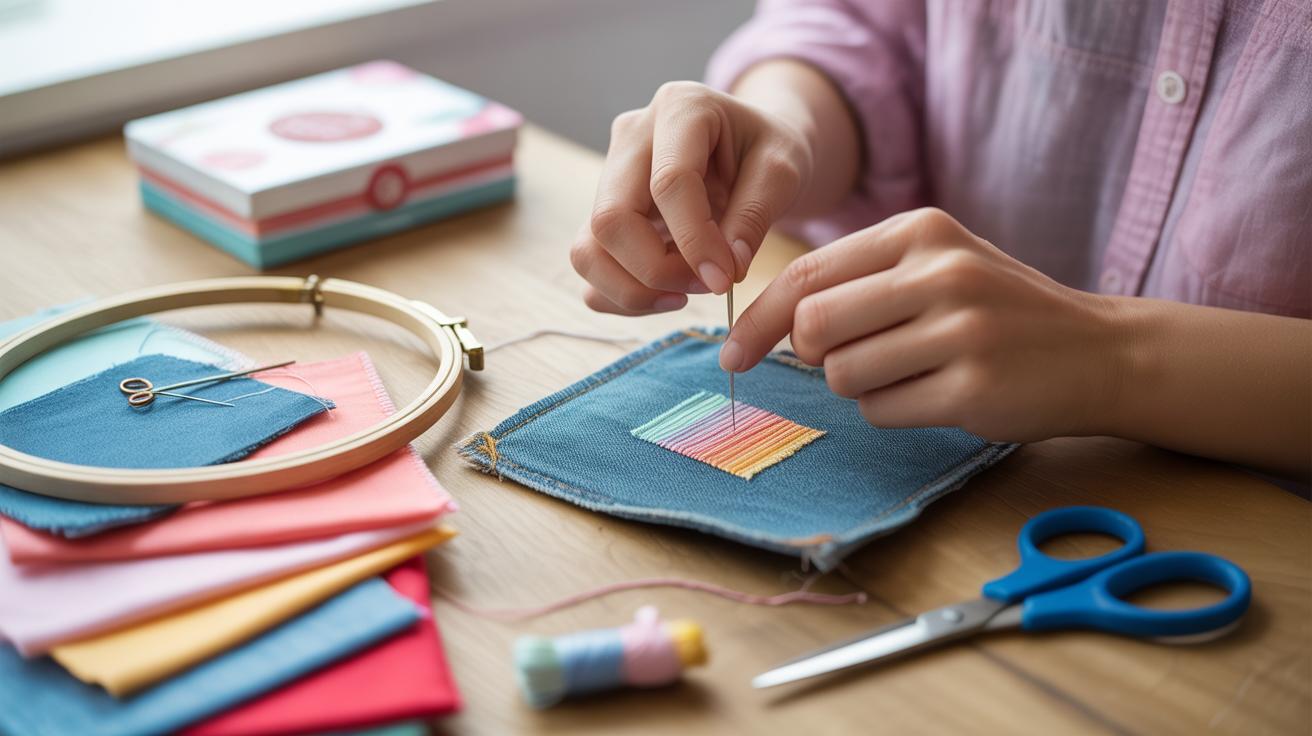
Adding Personal Touches With Crochet Accessories
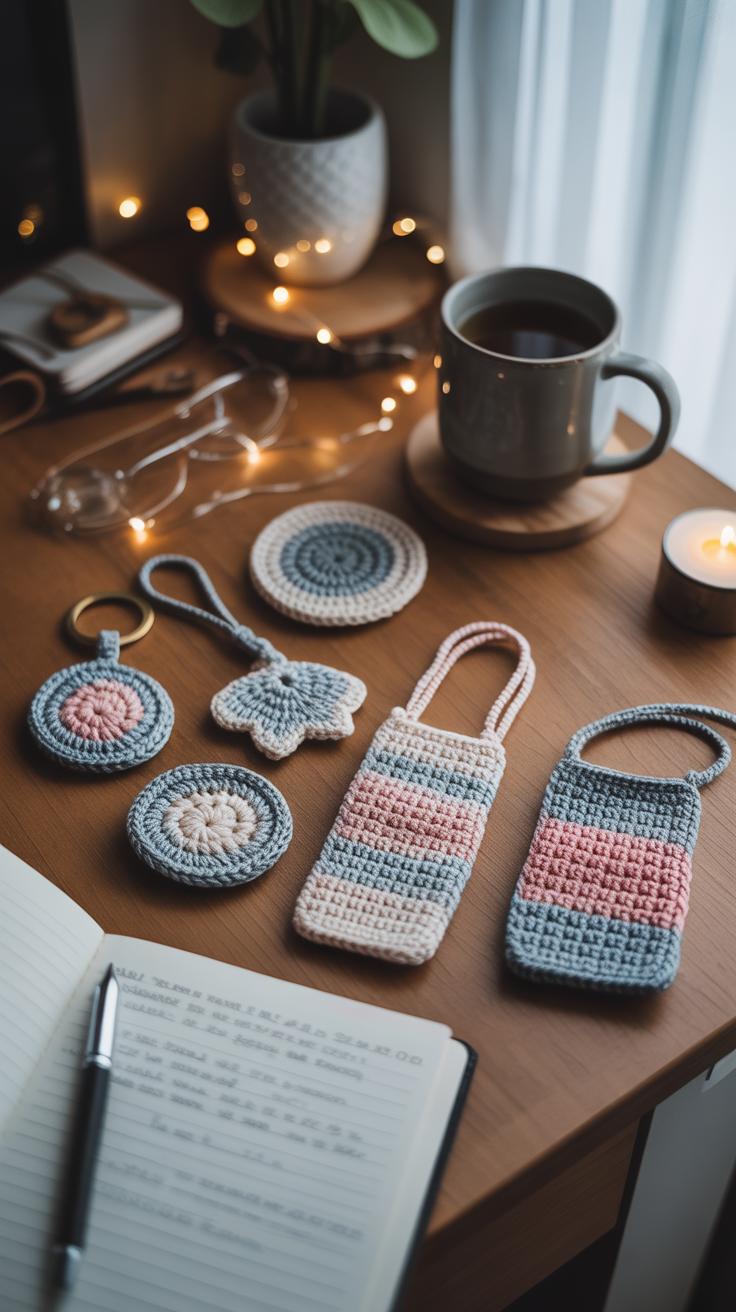
Small crochet accessories are a surprisingly easy way to add character to your home. Things like bookmarks, pot holders, or decorative bowls aren’t just functional—they bring warmth and personality to everyday spaces without demanding a huge time investment.
If you’re just starting, picking patterns that don’t drag on for weeks is key. Something straightforward like a simple granny square pot holder or a basic round bowl can build your confidence. That quick sense of accomplishment makes you want to keep going, right?
When you choose colors and textures that look right with your existing decor, it kind of ties everything together—without feeling forced. Think about soft neutrals for calm, or a pop of your favorite shade to break up monotony. Oddly enough, sometimes a mismatch adds character, though it’s tricky to pull off without looking cluttered.
- A crocheted pot holder in a hue that picks up the kitchen curtains.
- A small bowl on a coffee table that’s both decorative and useful for keys or trinkets.
- Bookmarks that showcase your taste and make reading moments special.
These little projects are more than just crafts. They tell the story of your space in simple stitches. Have you thought about what kind of crochet accessory might reflect your daily life best?
Conclusions
Making your own crochet home accents is rewarding and fun. You get to see your creations transform your space while enjoying the craft itself. The 10 projects covered here show you that even beginners can make useful and lovely items for their homes.
Start with simple stitches and small projects, then build your skills as you go. Your home will become more inviting and warm with each new crochet piece you add. Take your time, enjoy the process, and watch your living space come alive with your unique touch.