Introduction
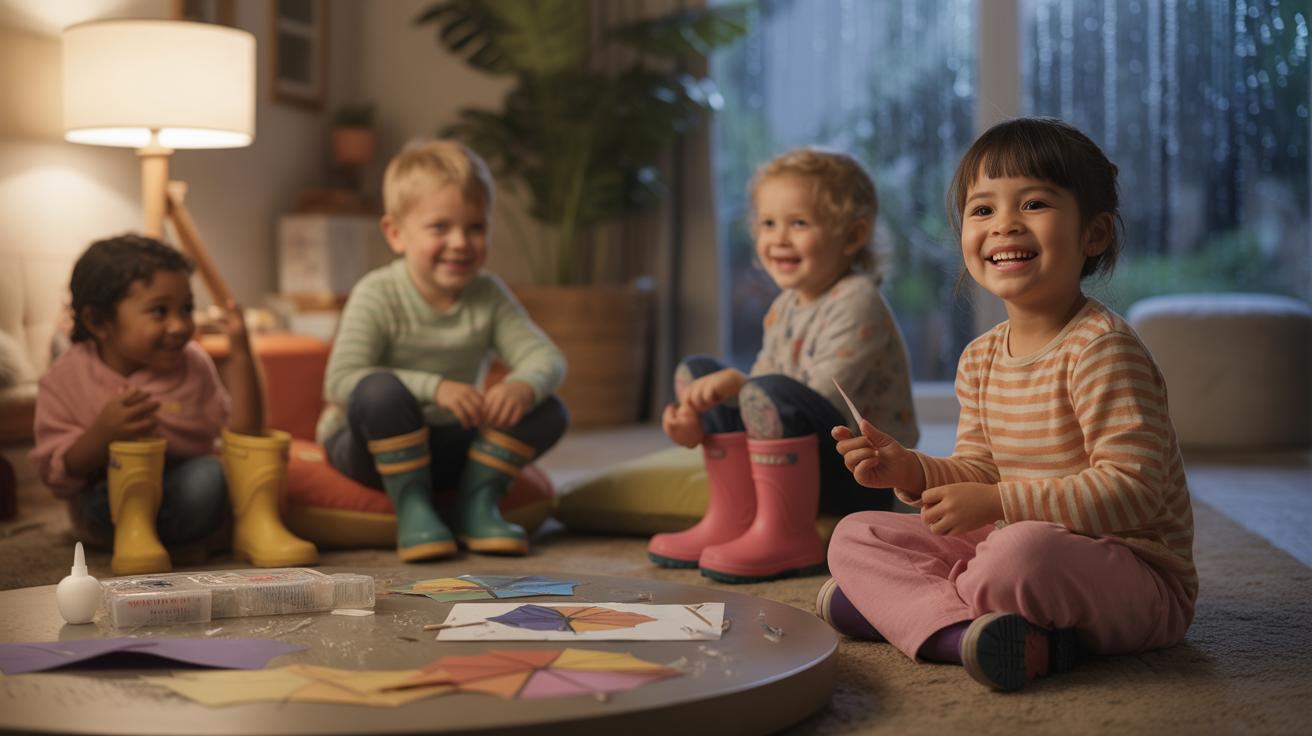
Rainy days can make it hard for kids to play outside. Finding activities that keep children busy and happy indoors is a challenge many parents face. Craft activities serve as a great solution. They engage children in hands-on projects that develop skills and creativity.
This article explores several craft activities perfect for kids on rainy days. You will discover how these crafts keep children entertained while helping them learn. Each section guides you through easy ideas using everyday materials, tailored for various age levels. By the end, you will have a toolbox of fun crafts to make any rainy day bright for your child.
Gathering Simple Supplies For Rainy Day Crafts
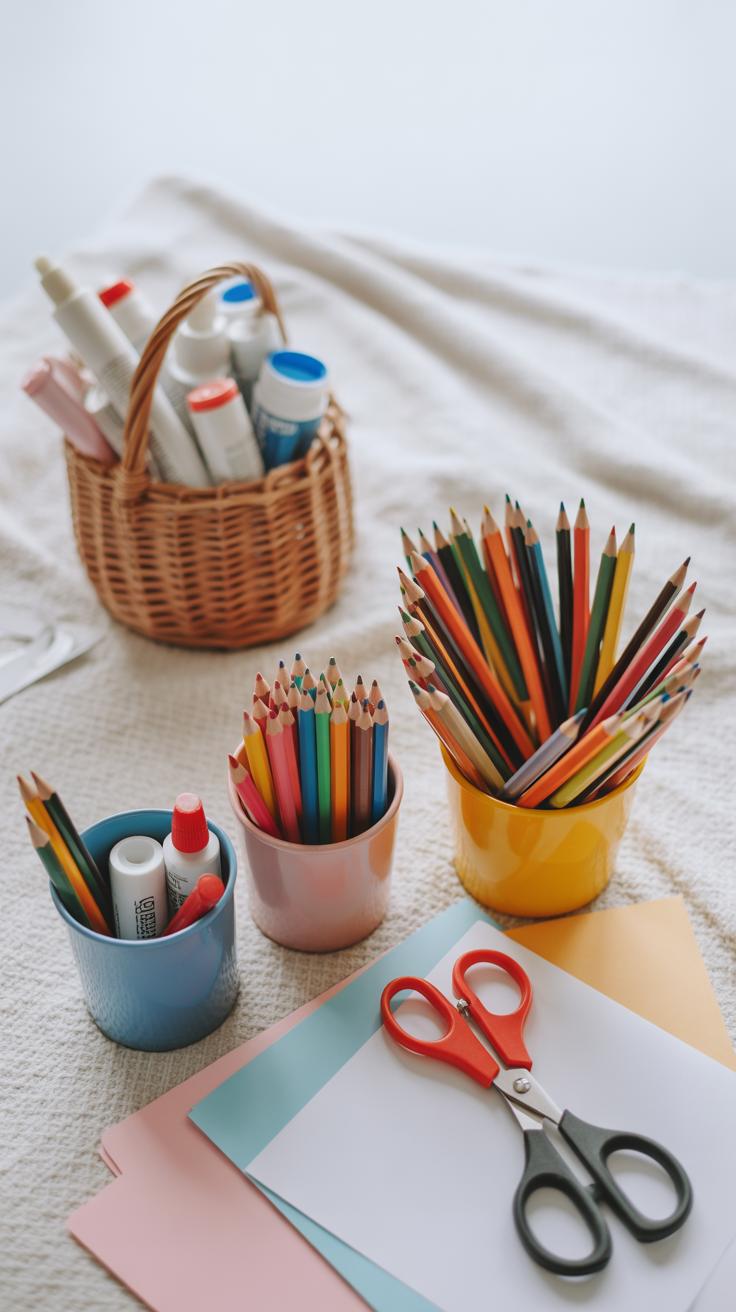
When the rain starts pouring, having some basic craft supplies ready can make all the difference. You don’t need anything fancy—just the usual items you probably already have or can easily get. Think about paper of all kinds, glue sticks or white glue, a pair of scissors, and coloring tools like crayons, markers, or colored pencils. These form the backbone of most indoor craft projects.
Recyclable materials come in handy more often than you might expect. Cardboard boxes, toilet paper rolls, or even scrap paper can transform into something fun with a little creativity. Keeping these simple supplies within reach means you don’t have to scramble or interrupt the fun when a craft idea strikes.
Being prepared this way makes it easier to dive right into projects without delay. It’s less about having a vast collection and more about having a few reliable items that encourage creativity when stuck inside.
Craft Essentials You Already Have
You might be surprised how many household items double as craft tools or materials. Just a quick look around your home reveals plenty that can spark imagination. Different paper types—construction paper, old notebooks, or wrapping paper—offer a range of textures and colors.
- Clear tape or masking tape can hold pieces together when glue takes too long to dry.
- String or yarn is great for hanging decorations or making bracelets.
- Bottle caps make curious little wheels or eyes for craft creatures.
- Buttons add texture and color, turning a simple picture into something more tactile.
- Old magazines can be cut up for interesting patterns, letters, or pictures to collage.
Sometimes, the best supplies are the ones you almost overlook. I’ve found a pile of buttons or a few unused bottle caps can suddenly feel like treasure when planning a project.
Setting Up A Craft Station For Kids
Designating a specific spot for crafts helps keep everything contained and less chaotic. Ideally, find a table or desk where kids can sit comfortably, with enough room for materials and projects. Make sure lighting is good—natural light if possible—or a bright desk lamp.
Keep supplies in clear containers or baskets, so children know where to find items. This independence encourages creativity without constant searching or asking. Safety is key, especially with scissors or anything sharp, so use child-safe tools and establish some simple rules early on.
For cleanup, a wipeable surface or a washable tablecloth makes life easier. Having a small trash bin nearby saves time and stress. Overall, this setup invites kids to start crafting whenever the mood hits, which is pretty much all you want on a rainy day.
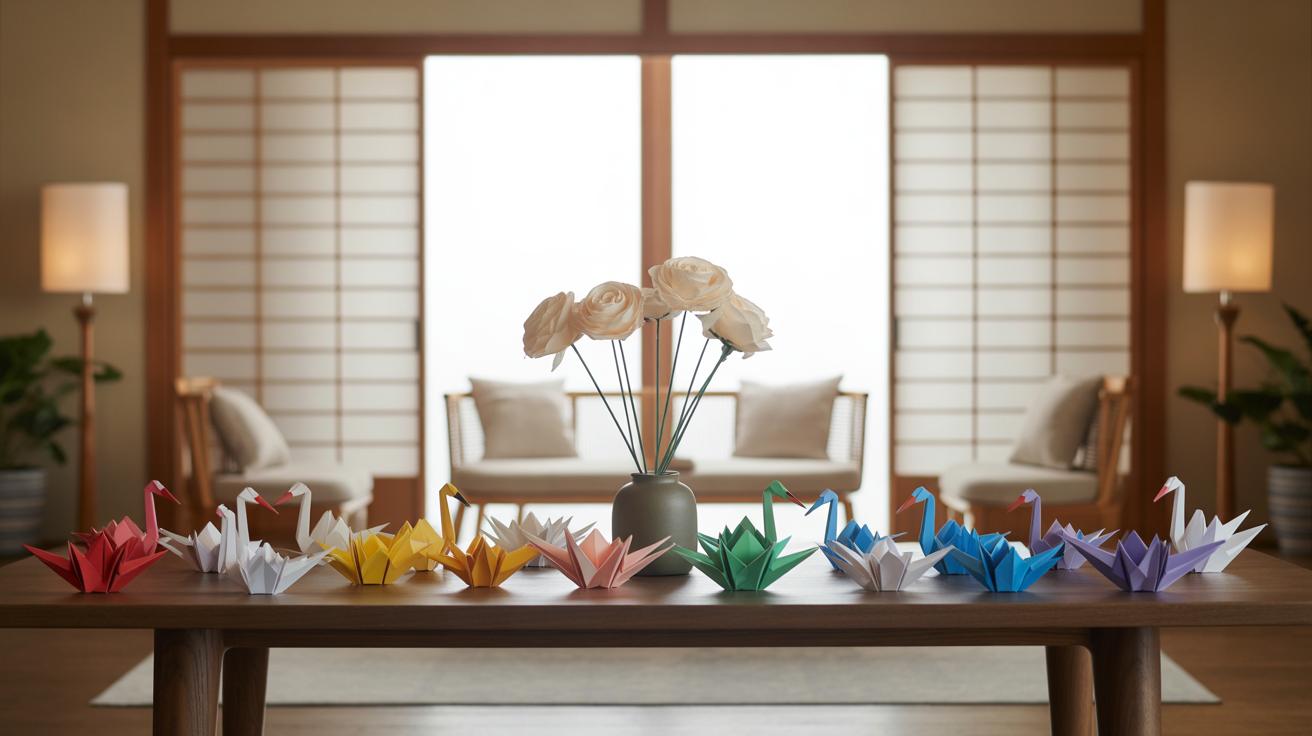
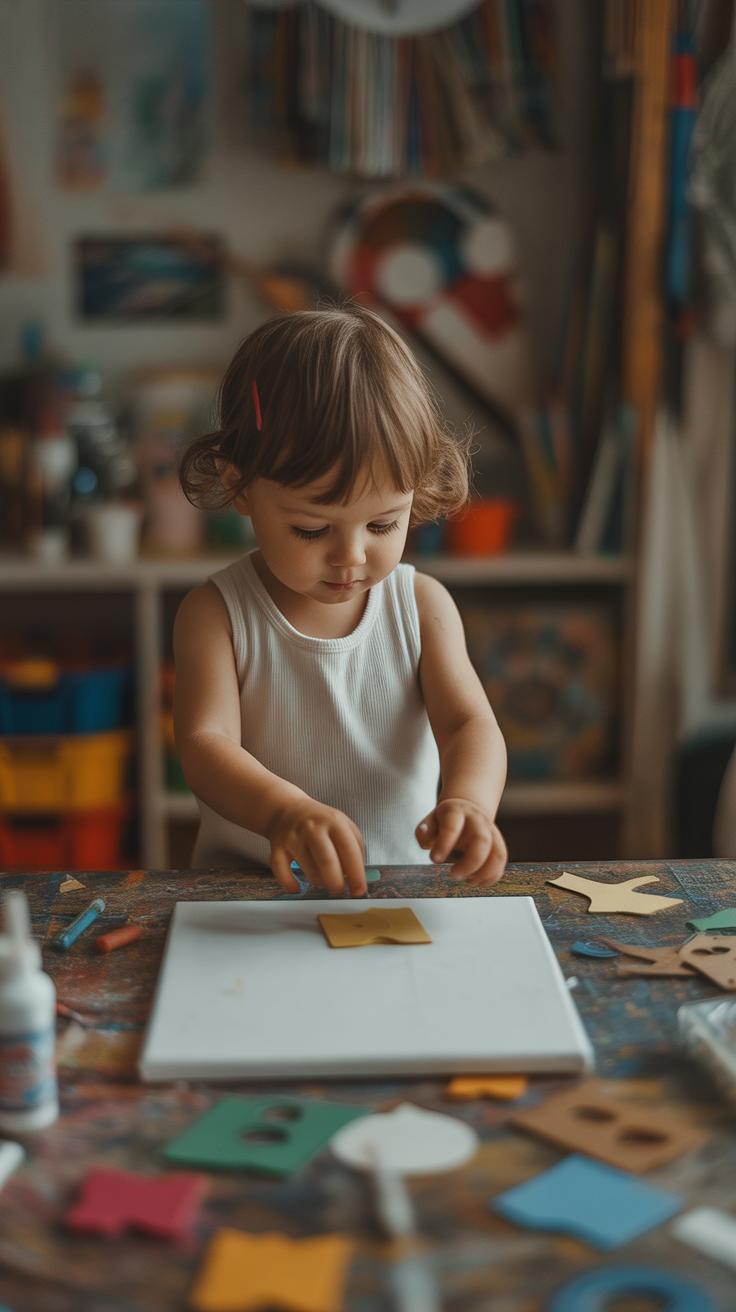
Easy Paper Crafts That Bring Colors To Life
Paper crafts hold a special appeal for kids—simple, colorful, and endlessly adaptable. Origami, paper chains, and paper plate masks are great starters that don’t require fancy materials but still spark creativity. These activities suit a wide age range, from preschoolers to older kids, though some steps might need a bit more patience or adult help.
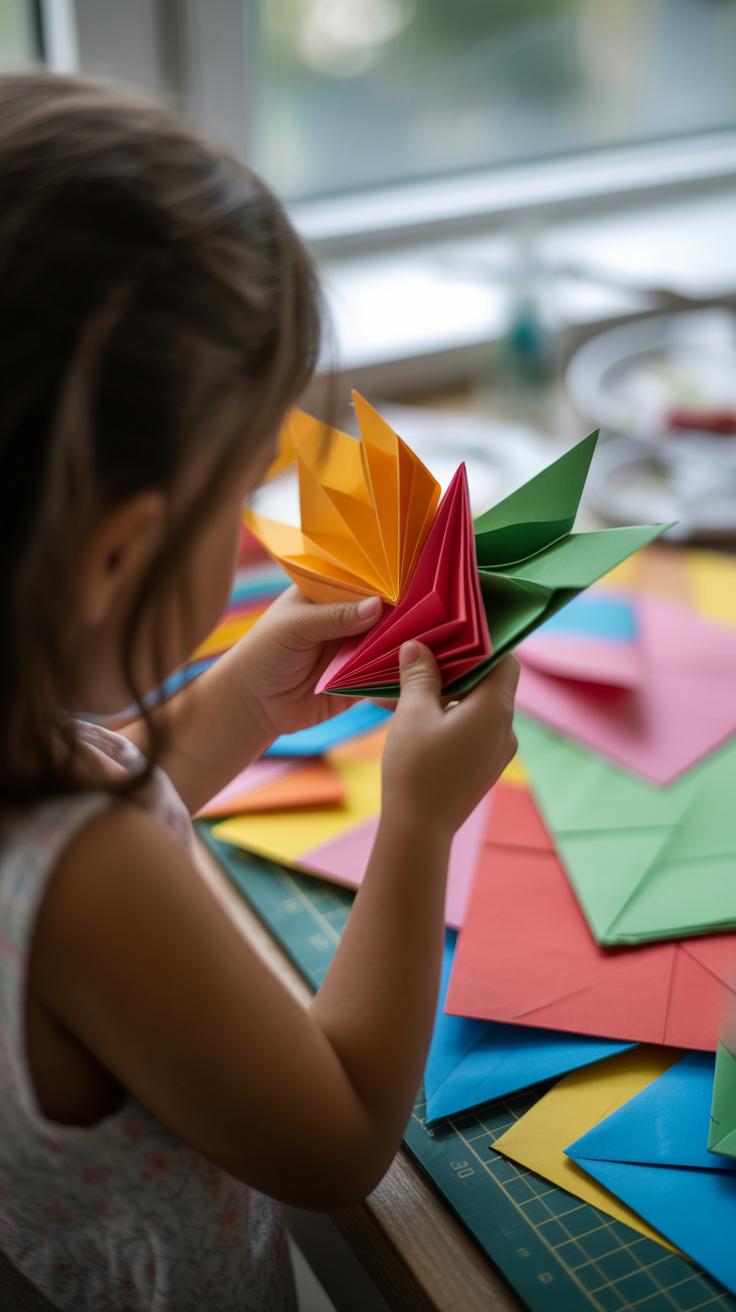
Making Origami Animals Step-by-Step
Origami can be surprisingly approachable. Take a classic origami frog, for example. Start with a square piece of paper. Fold it in half diagonally both ways, then fold the corners to the center. Flip it over, fold the edges to the middle line, and squash fold the bottom part to form the frog’s legs. Your child can try hopping the frog by pressing on its back. It might look tricky at first, but once the basics are clear, it’s pretty fun to experiment with different animals. Younger kids (around 6+) may need some guidance, but older ones can get creative with colors and patterns.
Creating Colorful Paper Chains And Garlands

Paper chains are a breezy way to brighten a room. Cut strips of paper, roughly 1 inch wide and 6 inches long. Loop one strip into a circle and tape or glue the ends. Then, loop the next strip through the first before connecting its ends. Keep adding loops, mixing colors, textures, or patterned paper for variety. It’s a simple concept but watching the chain grow is oddly satisfying—and, well, the colors do bring a bit of life inside on gloomy days. Paper chains suit all ages, and you can even involve toddlers by letting them hold, pass, or choose the colors.
Paper plate masks also offer a chance to create unique faces or creatures. Cut out eye holes, then let kids paint, draw, or glue on feathers, yarn, or buttons. While this lasts longer than quick folding or cutting, it’s a different kind of focus—children often enjoy showing off their “invented characters” afterward.
Have you ever noticed how something as ordinary as paper can keep kids busy, and somehow the simplest crafts become memorable moments? Maybe it’s the quiet concentration or the moment when paper becomes something unexpected. Give it a try and see which paper craft your child surprises you with.
Crafting With Recycled Materials
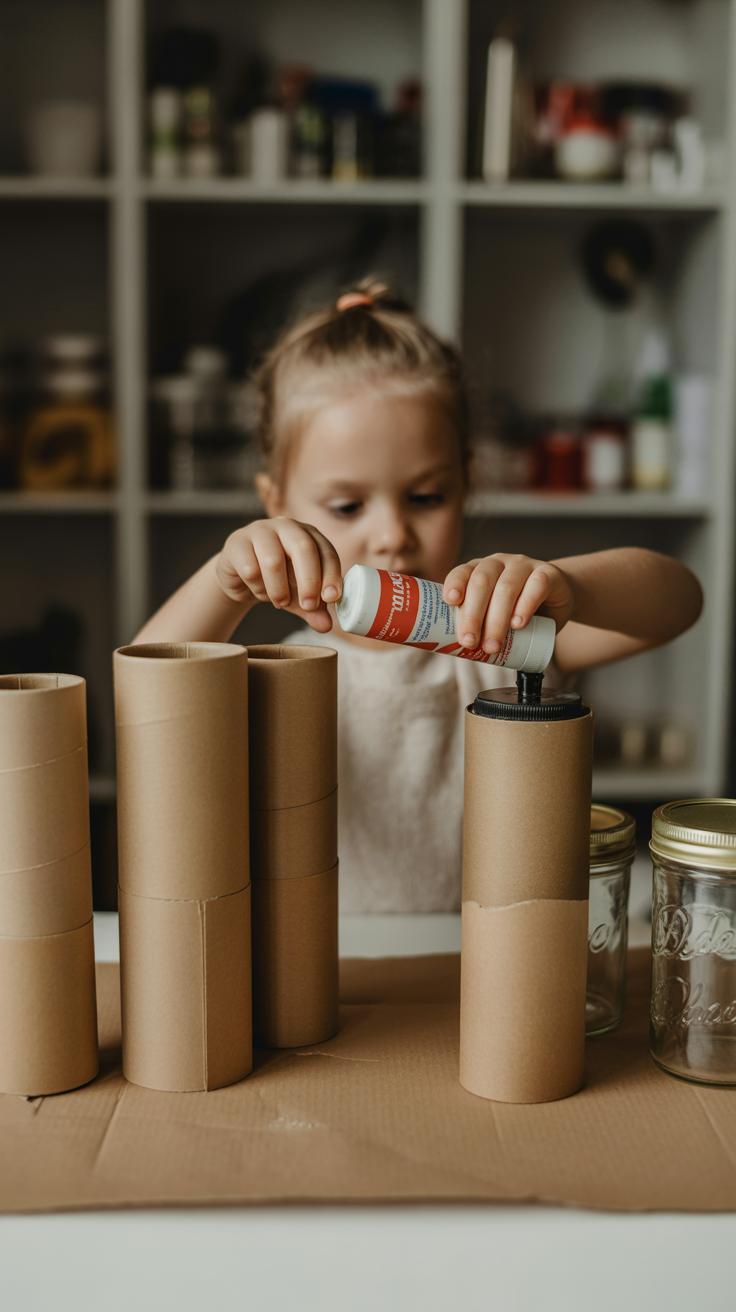
Using recyclable items like cardboard, toilet paper rolls, and bottle caps for craft projects feels both practical and creative. It’s more than just making something fun; it nudges kids to think about waste and how things can be reused instead of tossed. This can quietly build eco-awareness without sounding like a lecture, which I think makes the message stick better.
Cardboard is surprisingly versatile. You don’t need fancy tools—just scissors, glue, and maybe some paint. Toilet paper rolls can become anything from binoculars to mini creatures, encouraging imaginative play. Bottle caps might seem small and dull at first, but they’re perfect for pieces in games or decorations.
By working with recycled materials, kids get to see potential where most adults might only see trash. Plus, it stretches creativity in ways that blank craft kits sometimes don’t, because you have to figure out how to shape or combine objects. It’s a low-cost, low-waste way to keep hands busy and minds thinking.
Building Cardboard Castles And Houses
Constructing simple cardboard structures feels like a step up from cutting and pasting paper. Start by gathering different sized cardboard pieces—boxes, cereal cartons, anything flat. Using glue or tape, piece together walls and roofs. Even irregular shapes work if you get a bit flexible with the design.
Painting and decorating is where it gets lively. Kids can paint bricks, windows, or doors on their castle or house. Adding scraps of fabric or paper for curtains or flags makes the project feel more personal. Some kids might prefer bold primary colors; others may want a fantasy color scheme. Let that happen. It’s part of the fun.
This craft isn’t about precision. Imperfect edges or a leaning tower just add character. You might find kids enjoying the building more than the decorating, or the other way around. Either is fine because it keeps them engaged instead of frustrated.
Turning Bottle Caps Into Game Pieces
Bottle caps cleaned up from the recycling bin can turn into surprisingly fun game pieces. Paint or stick small labels on each cap to make sets. For example, you could create a checkers game with two colors or memory cards by gluing pairs of identical pictures on the caps.
Playing games made from recycled pieces also sparks pride—you made the parts yourself, which sometimes makes the game feel more special. Plus, it’s a quiet way to practice skills like matching or strategy indoors on a rainy day.
Maybe you don’t feel like painting? Stickers or even sharpie doodles work just fine. The point is to stay creative with what’s on hand rather than waiting to buy new supplies. Seeing ordinary items turn into something playful tends to surprise kids in a good way, and that’s worth a try.
Fun And Safe Painting Projects
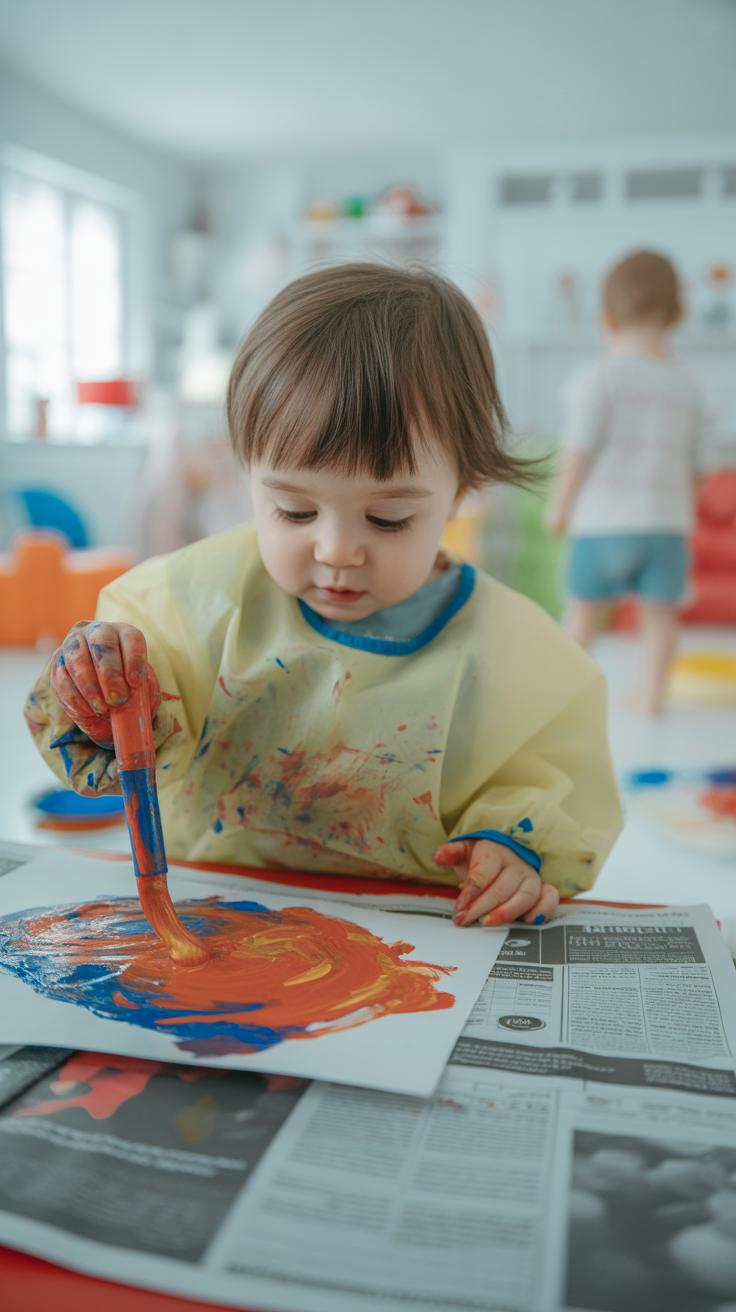
Painting can be a great way for kids to explore creativity without needing too many complicated tools. Finger painting is often a favorite; it’s tactile, messy, and doesn’t require brushes, which means fewer things to clean. You just need washable paints and some paper. Setting up is simple—lay down newspaper or an old sheet to protect surfaces, and encourage your child to wear a smock or an old shirt. Clean-up usually involves wet wipes or a damp cloth nearby, and your child’s skin cleans off easily with soap and water.
Sponge art offers a chance to play with textures. Cut sponges into various shapes or use kitchen sponges. Kids dip them in paint and press or drag them across the paper. This creates interesting patterns and avoids overloading the project with paint all at once. It’s fun, and the sponges are easy to rinse out between colors, which makes it less messy than some expect.
Watercolors are gentle for beginners. A tray with a few colors and thick paper usually works well. Teach your child to pick up paint with a slightly wet brush and drag it across the paper. Dry brushes can add texture, while wet washes produce soft blends. Expect spills, but keep it manageable by giving your kid a small cup of water and paper towels for blotting. Watercolors dry fast, so you can see the results fairly quickly—sometimes that instant reward keeps kids interested longer.
Using Fingers And Sponges To Create Texture
Kids love feeling textures, so using fingers and sponges adds a physical element to painting that brushes don’t. Fingers can dab, smear, or swirl paint in a way that feels immediate and personal. You might find your child experimenting more when they use their hands directly. Sponge edges and surfaces press out shapes and patterns like leaves or bubbles, which helps connect painting to something tangible.
Try encouraging different motions—dabbing lightly, pressing firmly, or dragging a sponge with varied pressure. This variety teaches kids subtlety in art and helps them notice how tools affect their work. It’s a simple concept but keeps things interesting over repeated sessions, especially on rainy days when energy can dip.
Watercolor Washes For Beginners
Watercolor washes sound tricky at first but are surprisingly forgiving for little ones. The trick is to use enough water so the brush flows easily but not so much that colors run everywhere. Starting with just one or two colors keeps things from becoming overwhelming. For example, a basic wash might be a pale blue sky or soft green grass.
Have your child hold the brush flat and move it gently across damp paper. They can layer colors once the first wash dries, creating subtle depth without a mess. Because watercolors fade as they dry, kids often find it fascinating to watch the change—not all art has to be permanent or exact. This makes watercolor a gentle introduction to painting concepts without the pressure of perfection.
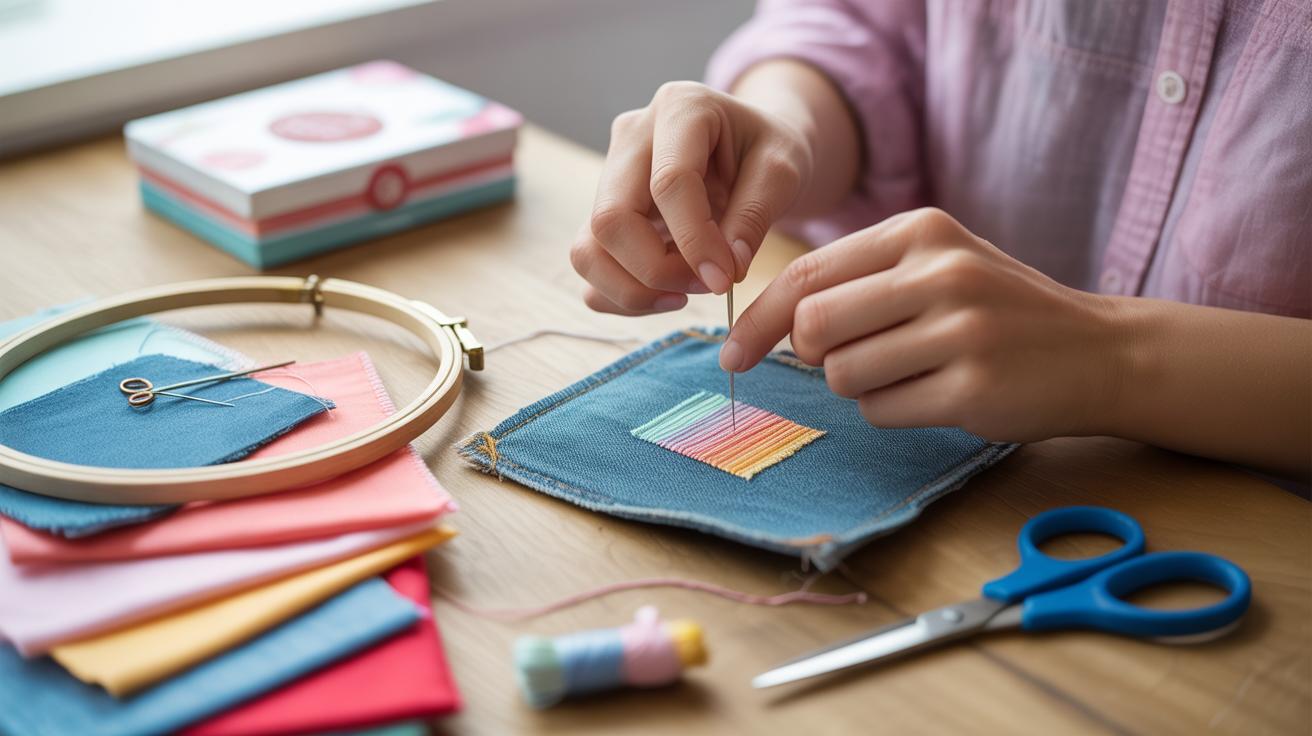
Craft Projects That Help Develop Fine Motor Skills
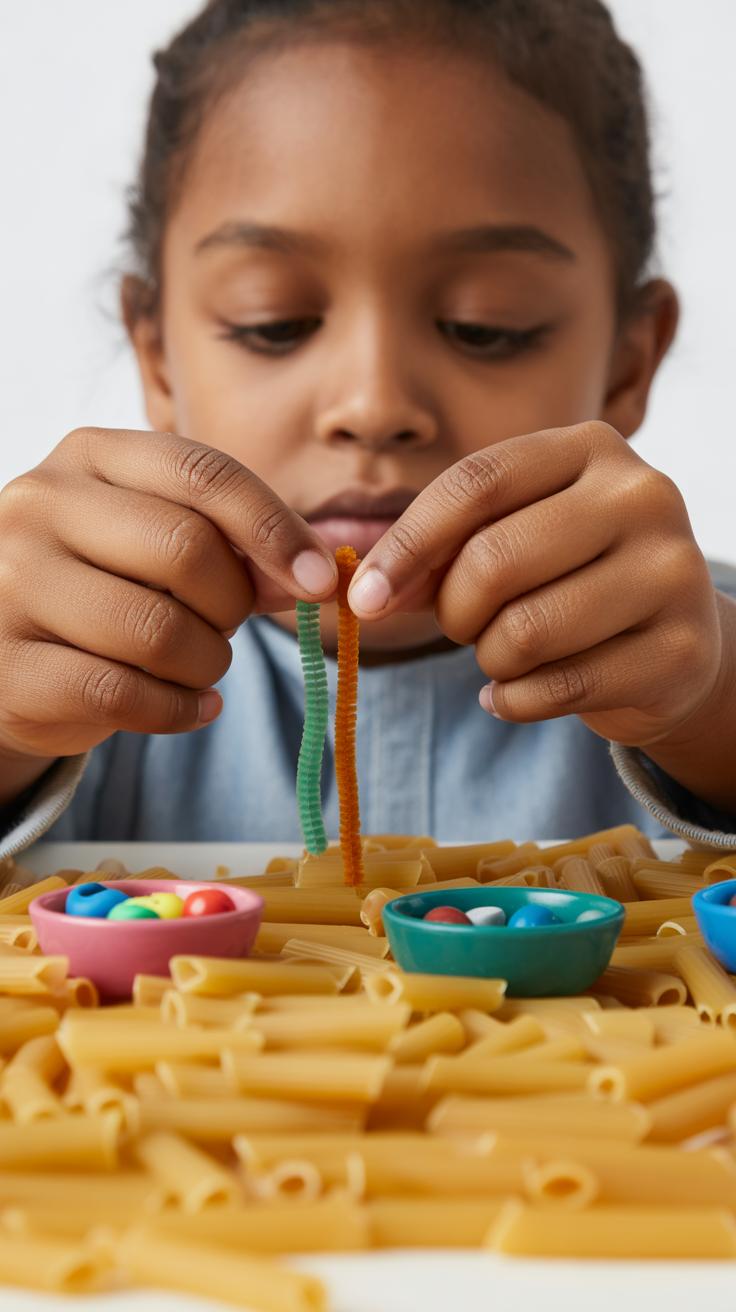
When the rain keeps kids inside, crafting can be more than fun—it’s a chance to practice fine motor skills. Activities like threading beads, cutting shapes, or gluing tiny pieces really focus on hand-eye coordination and precision. These aren’t just busywork; they help children learn control and patience, but at the same time, some might find the small pieces frustrating. That tension can be part of the learning curve, I guess.
Threading beads is a classic, and it’s worth trying with a variety of sizes. Bigger beads work great for younger kids who are just starting to grasp control. You might set up a little station with strings and beads sorted by color or shape, encouraging kids to make patterns. It’s simple, but somehow satisfying. Plus, focusing on placing one bead after another pulls them into concentration.
Cutting shapes with safety scissors is one of those quiet yet focused tasks. Let kids practice cutting out simple shapes like circles or triangles from colored paper or magazines. This helps build muscle memory and introduces them to the basics of scissors management. It can be tricky at first—many kids don’t cut in a straight line or get frustrated easily—but patience wins out eventually.
Gluing small pieces together introduces another layer of precision. Little squares of paper, fabric scraps, or even bits of foil can be arranged into collages or simple mosaics. Choosing the right glue is key—not too runny, so it’s easier to handle. Watching a child carefully place these pieces helps you see a kind of emerging focus, even if the final result looks a bit messy.
Creating Beaded Bracelets And Necklaces
Working with beads feels like one of those crafts that’s quietly magical. For younger kids, pick larger beads and a sturdy string like elastic cord—it’s safer and easier to manage. Start by cutting a piece of string about 12 inches long. Tie one end with a knot or a bead to stop other beads from slipping off. Then, encourage your child to thread beads one by one. Don’t rush this part; it’s about the process, not speed.
You could suggest simple color patterns or shapes to make. Maybe red-blue-red-blue? Or all the beads in a gradient? Kids seem to get really absorbed here, fiddling with the beads as they learn to coordinate their fingers with their eyes. Once they’re done stringing beads, tie the ends tightly, then let them wear their creation proudly. It’s a great confidence booster, and they’ve made something personal with their own effort.
Cutting And Pasting Collages
Collages can turn piles of old magazines and newspapers into imaginative artwork. Cutouts don’t have to be perfect; sometimes jagged edges make the final piece feel more alive. You could ask your child to find pictures of animals, colors, or patterns and arrange them on a piece of paper. The act of cutting and choosing engages both creativity and fine motor skills, but keep in mind—it might get a bit chaotic.
Using a glue stick or white glue, kids can paste these bits down carefully, practicing control as they work with glue amounts and placement. Some kids prefer layering images, others scatter pieces more loosely, which is fine. Each method builds coordination and decision-making. You might even find it sparks conversations about why they chose certain images, blending cognitive skills with their manual work. Let the mess happen; it’s part of the process.
Seasonal Crafts To Celebrate The Year
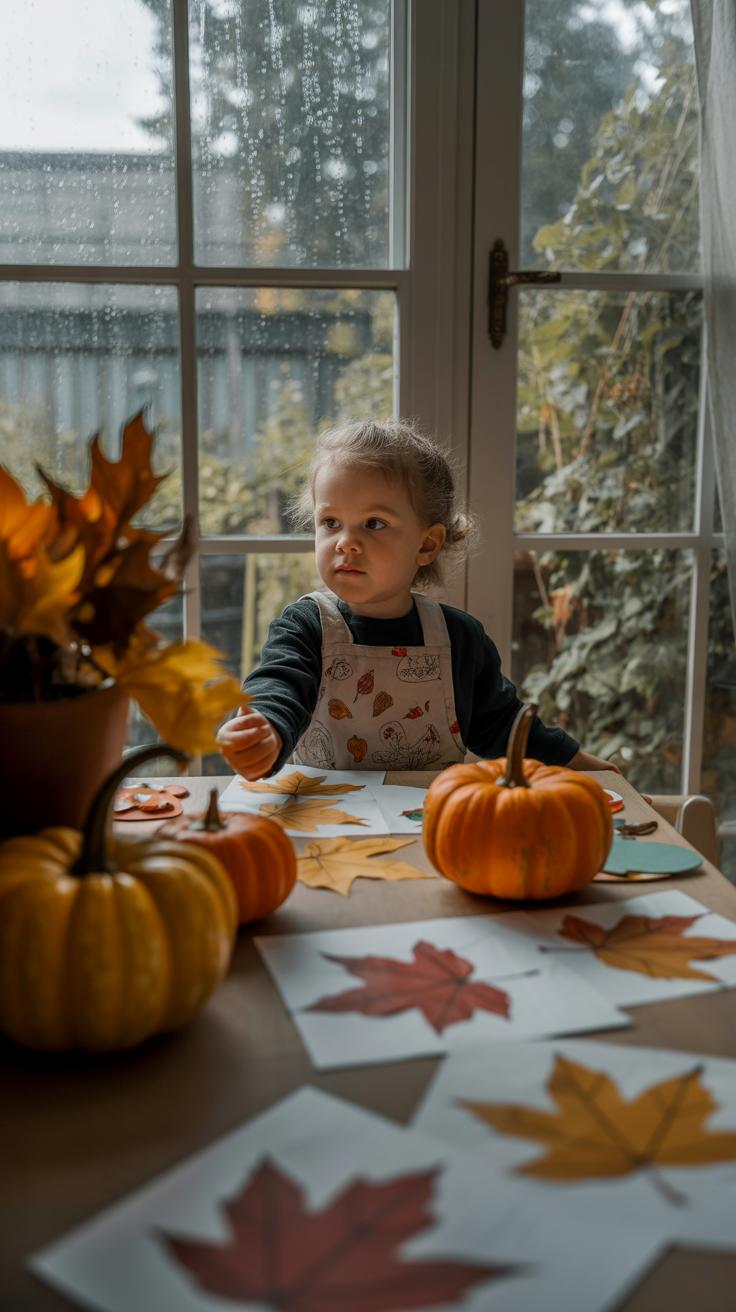
Seasonal crafts offer a great way to connect kids with the changing world outside, even when stuck indoors. You might find that autumn’s colors inspire some kind of leaf rubbing project—simple, yet surprisingly engaging. It’s easy to get leaves of various shapes and sizes, place them under paper, and then use crayons to reveal their patterns. This hands-on activity turns natural objects into visual art and can spark conversations about fall’s unique vibe.
Try gathering leaves on a brisk walk or even from your backyard. The texture differences keep kids curious, and making cards or collages afterward adds a personal touch. It’s not just about art but also about observing nature’s details closely—something many children don’t get enough of these days.
As winter approaches, paper snowflakes take center stage. Folding and cutting paper to create intricate or simple patterns helps refine motor skills and invites creativity. After making a few, you could take it a step further by arranging snowflakes into a winter scene—think snowy hills, pine trees, or little houses. Using cotton balls for snow or drawing icy streams brings the scene to life. These crafts can brighten up a gloomy rainy day while gently introducing kids to the changing seasons.
Crafting Stories And Play With Handmade Puppets
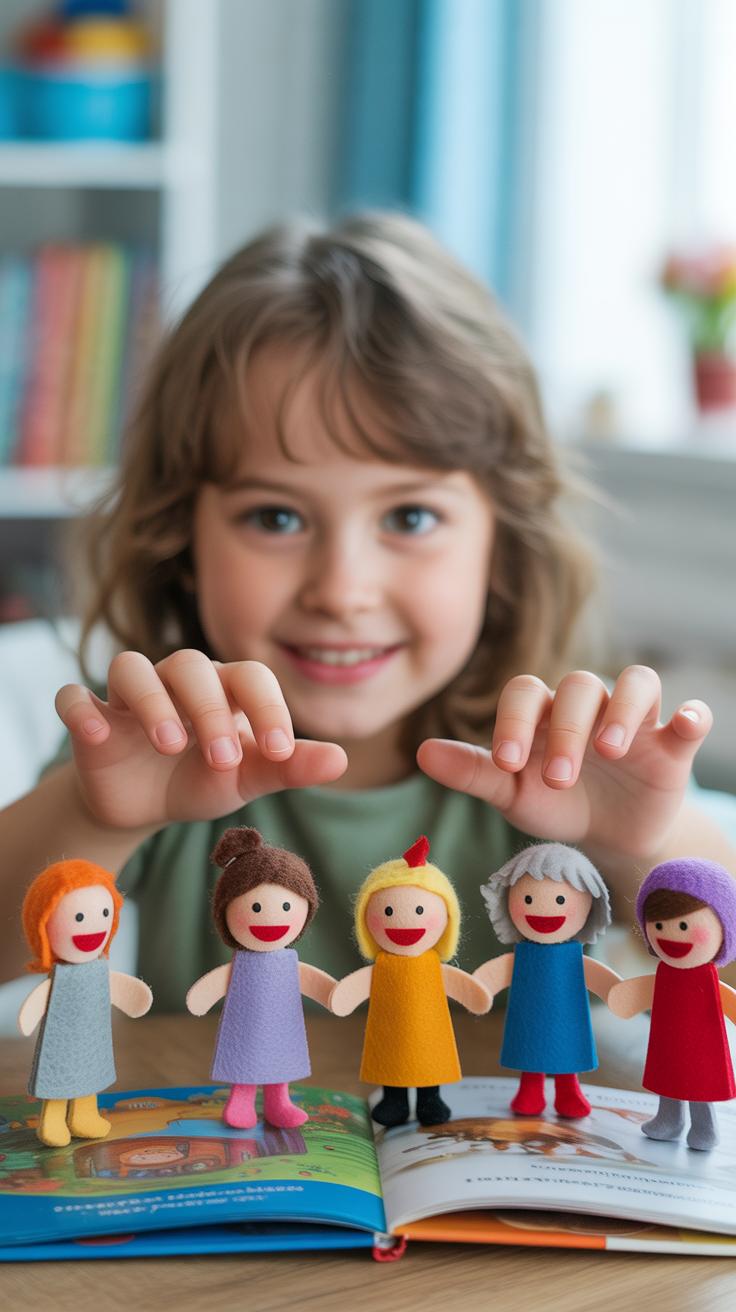
Making puppets from everyday materials is surprisingly simple, and it can turn into hours of imaginative fun. Paper bag puppets, for example, are easy to create with just a few supplies: paper bags, markers, glue, and some scraps of paper. Start by decorating the bag’s flap as the puppet’s face. You can draw eyes, nose, and mouth or cut out shapes from colored paper to glue on. Adding yarn for hair or fabric scraps for clothes gives your puppet personality.
Once your puppets are ready, the real magic begins. Encourage kids to invent stories, giving each character a voice and background. Puppets invite shy kids to express ideas they might not say aloud otherwise. Stick puppets work well here too—just tape paper faces or felt shapes onto craft sticks, and you’ve got simple handheld puppets.
Sock puppets feel different—more tactile and cozy. Old socks can transform quickly with the addition of buttons for eyes, felt scraps for tongues, or even bits of yarn for hair. It’s tempting to do most of it yourself, but letting children design their own puppets encourages creativity and ownership. Afterward, you can prompt them to act out stories, maybe based on their day or even silly made-up adventures.
Have you noticed how kids often invent whole worlds just by moving their puppets around? That’s the beauty of these crafts—anyone can make them, and they usually turn into small theaters of imagination. Perhaps next time you need a quiet, absorbing activity indoors, making puppets might be just the push to get storytelling rolling.
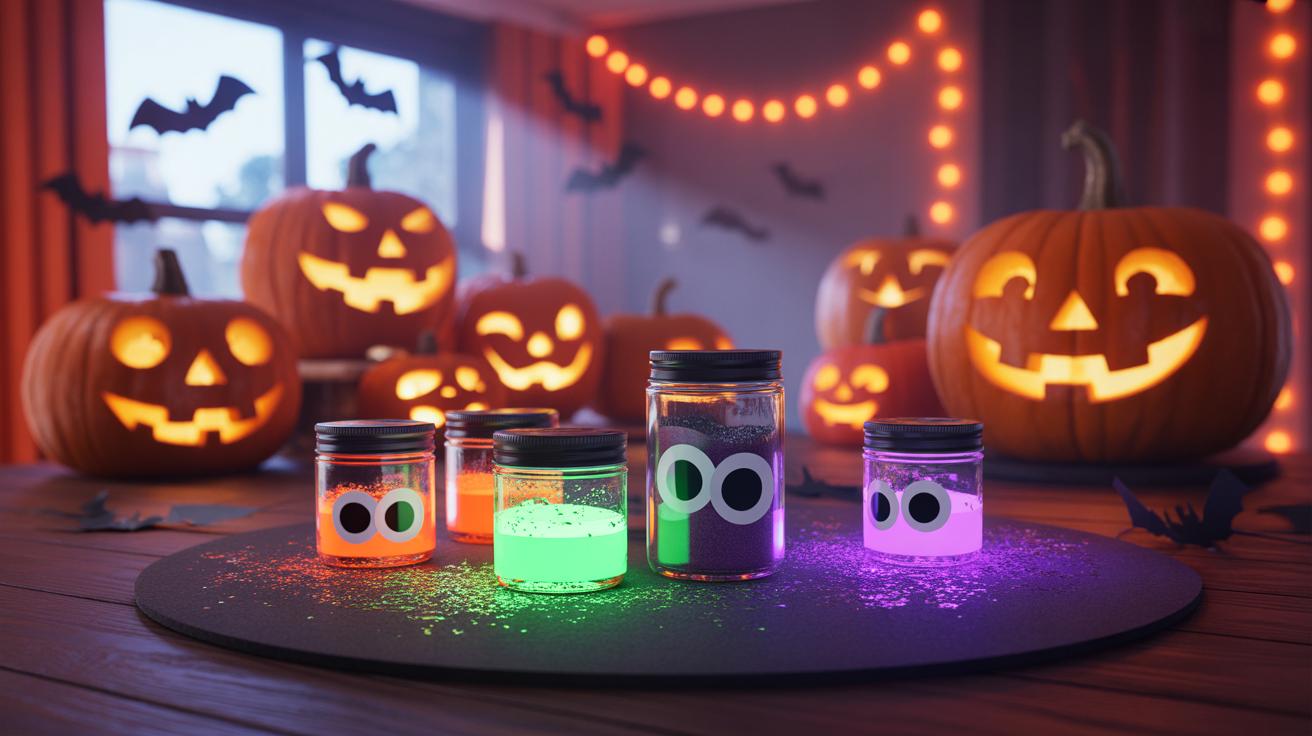
Sensory Crafts For Younger Kids
Sensory crafts are perfect for toddlers and preschoolers because they involve touch, sight, and even sound. These activities keep little ones busy without needing complex instructions, which often means fewer meltdowns—and maybe even some quiet moments for you.
Homemade Play Dough Recipes And Uses
Making play dough at home is simpler than you might think. Try this quick recipe:
- 1 cup flour
- 1/2 cup salt
- 2 teaspoons cream of tartar
- 1 cup water
- 1 tablespoon oil
- Food coloring (optional)
Mix all dry ingredients, add water and oil, then heat gently while stirring until it thickens. Let it cool before handing it over. Kids love squishing, rolling, and shaping this dough—it’s like a blank canvas for their hands. Sometimes, they’ll make simple shapes; other times, just mash it into a ball, which is just as good.
Making Sensory Bottles To Calm And Focus
Sensory bottles are surprisingly easy to assemble and can be a real help when kids feel overwhelmed or restless. Grab an empty plastic bottle and fill it with water, add glitter, beads, small buttons, or even colored rice. Seal it tightly—glue it shut if you want extra security.
Watching the glitter swirl or beads slowly settle can be oddly soothing for children. It invites slow, focused observation without demanding any particular reaction. You might be surprised how something so simple grabs a child’s attention and calms a busy mind. Have you seen a toddler’s face light up watching glitter slowly fall? It’s a small magic moment.
Encouraging Creativity Beyond Instruction
When it comes to craft activities, giving kids space to experiment can make all the difference. Instead of handing out strict steps, try offering a variety of materials and see what they come up with on their own. Paper scraps, buttons, fabric pieces, or even bits of nature—letting children combine these freely often sparks unexpected ideas.
Open-ended play encourages problem-solving and helps kids discover their own style. You might think a project guided closely leads to better results, but sometimes, less direction leads to richer creativity. It’s not about the end product, really. The fun lies in trying new combinations and making choices without rules.
Have you noticed how kids get absorbed when they realize their choices actually matter? It’s a good reminder that crafting isn’t just about following instructions; it’s about exploring possibilities, testing materials, and learning through doing – even if the final craft looks a bit messy or odd.
Letting Your Child Lead The Craft
Supporting your child during craft time means stepping back a bit. Instead of offering solutions or telling them how to do something, try asking gentle questions. What do you want to make? What colors do you like? This invites them to take charge.
Sometimes it’s tempting to jump in and “fix” a child’s work, but that can squash their confidence. Let them decide when a craft is finished or if they want to change their idea halfway through. This way, crafting becomes a chance for personal expression.
Of course, this might mean more patience on your part. A glitter-covered floor or a gluey mess might test your limits. But keeping your role as a guide—not a director—lets your kid own their creative process. You might even be surprised by what they come up with when they lead.
Creating A Keepsake Craft Collection
Saving children’s craft projects can feel overwhelming as pile-ups grow fast. Still, keeping a collection — even a small, curated one — can help celebrate your child’s creative journey. It shows progress and reminds you both of fun moments spent together.
Try setting up a special box or folder where completed crafts go. You could even take photos of larger or fragile items to save digitally. Occasionally, look through the collection with your child, asking what they remember about each piece.
This habit encourages kids to reflect on their work and feel proud. Plus, when rainy days come again, these saved projects can inspire new ideas or show how far they’ve come. It’s more than storage; it’s a little archive of growing imagination.
Conclusions
Craft activities offer more than just ways to pass time indoors. They build fine motor skills, encourage problem-solving, and boost confidence. Kids get to explore their imaginations and create something with their own hands. These benefits last beyond any single project.
Remember to choose crafts that match your child’s interests and abilities. With simple supplies and your support, rainy days can become special moments of learning and fun. Try these activities, watch your kids thrive, and enjoy the calm and joy crafting brings into your home.


