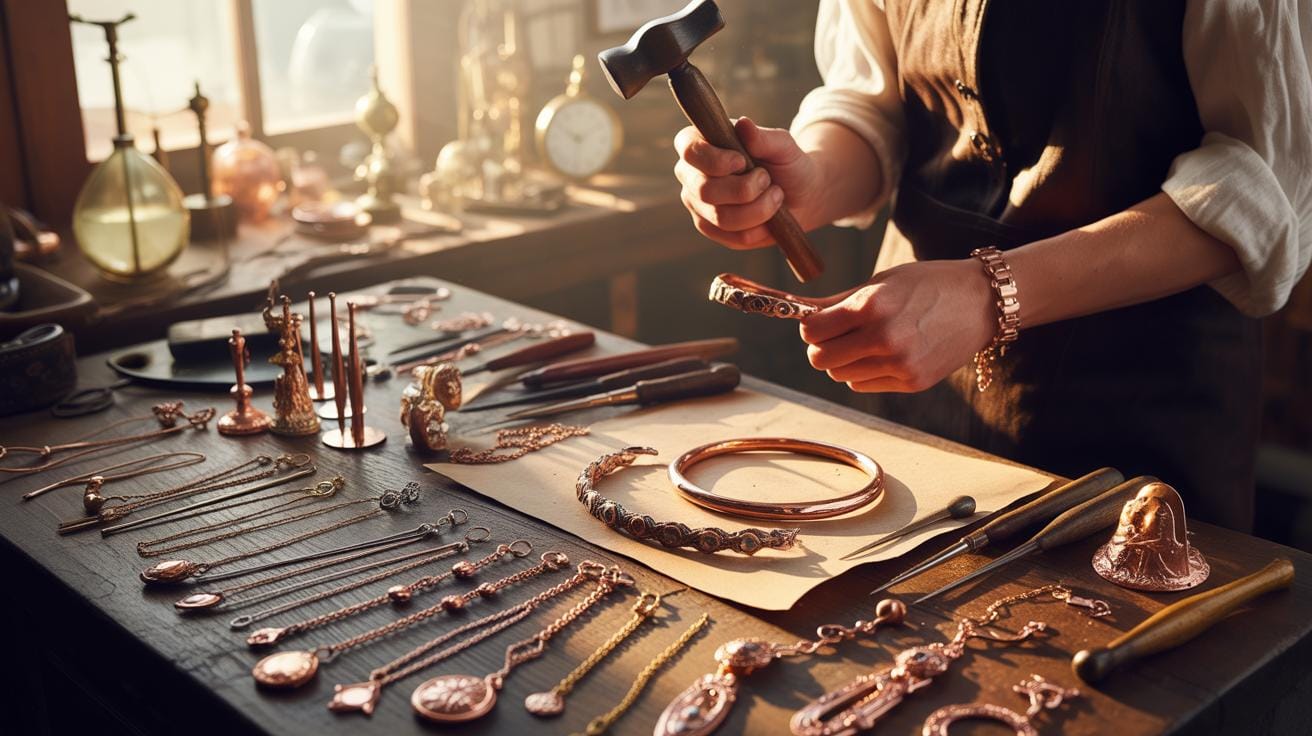
The Ancient Allure Of Making Copper Jewelry
Prehistoric Origins
Copper is the first metal humans used for personal style. People began shaping it into beads and rings around 8000 BC. In ancient Mesopotamia, craftsmen hammered raw chunks of metal into thin sheets. They created beautiful amulets to wear as protection. Early North Americans also used native copper from the Great Lakes. They valued the bright color and worked the material by hand without melting it first.
These early methods laid the foundation for beginner copper jewelry today. Ancient people often used stones to flatten the metal into simple shapes. They enjoyed how the material felt against their skin. Native copper was rare and highly prized in every community. Studying these old pieces helps us understand how to make copper jewelry using simple tools. You can still use basic hammers to recreate those ancient textures in your own home studio.
Alchemical Properties Appeal To Modern Makers
Modern artists value copper because it is soft and easy to bend. It is a great choice for making jewelry with copper wire because it stays in place well. The warm orange glow looks like gold but costs much less. Many people enjoy diy copper jewelry because it changes color over time. This natural patina gives your work a vintage look that feels connected to the past.
Learning copper jewelry making is a great way to practice new skills. You can test different copper jewelry ideas without spending too much money. Beginners often start with diy copper bracelet jewelry making to learn basic sizing. Working with copper wire bracelets allows you to master loops and wraps quickly. Making copper jewelry helps you feel like a part of a long history. Your new hobby connects you to every metalworker who lived before you.
Beginner Copper Jewelry Essentials And Tools
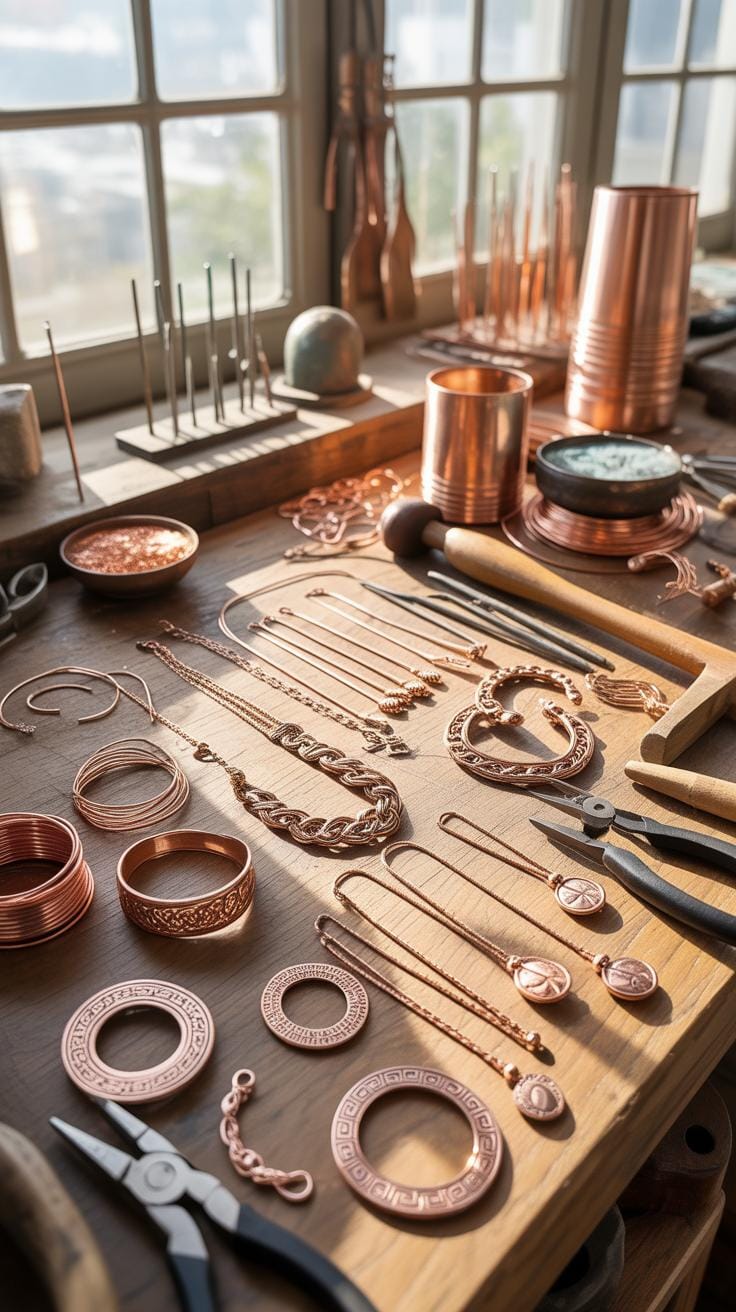
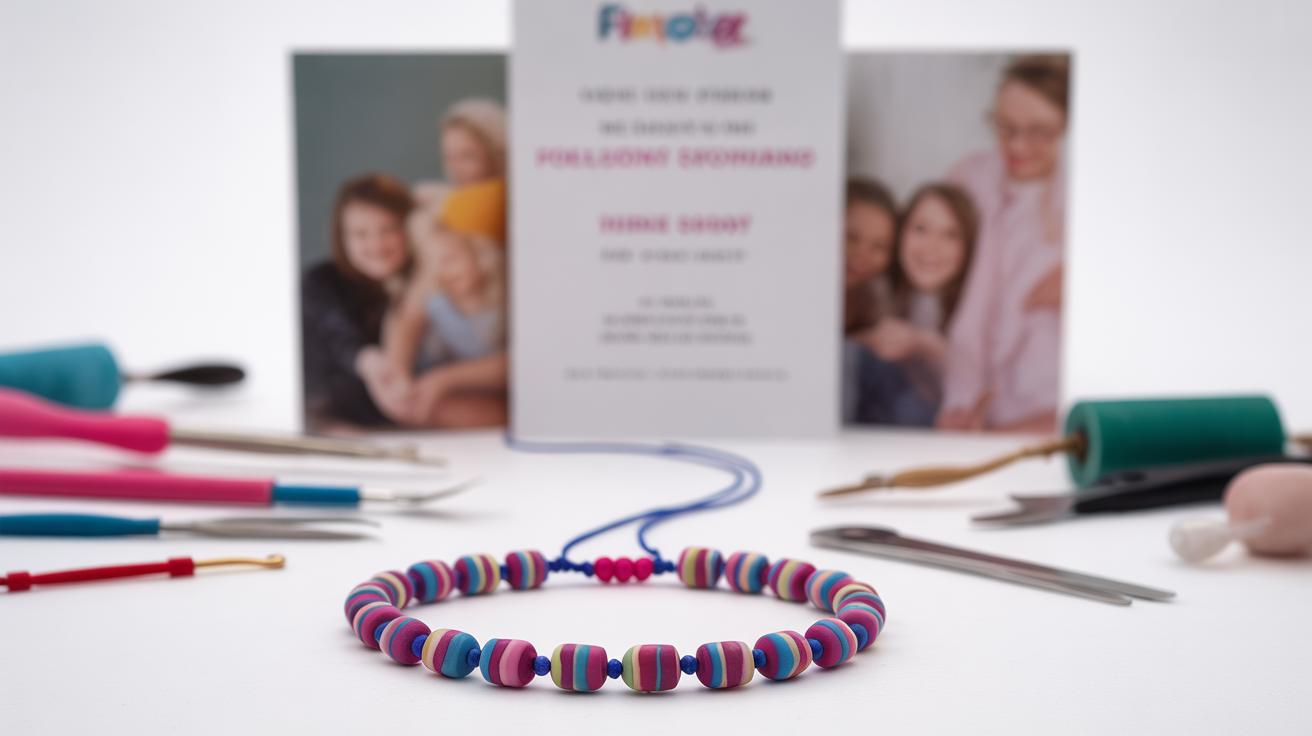
Essential Materials List For Beginners
Starting your journey in copper jewelry making requires a few fundamental supplies to ensure success. Many artisans choose this warm metal because it is affordable and easy to manipulate while practicing new skills. Having the correct items ready helps you focus on the creative process. These basics allow you to master how to make copper jewelry before moving on to more complex historical designs or expensive precious metals.
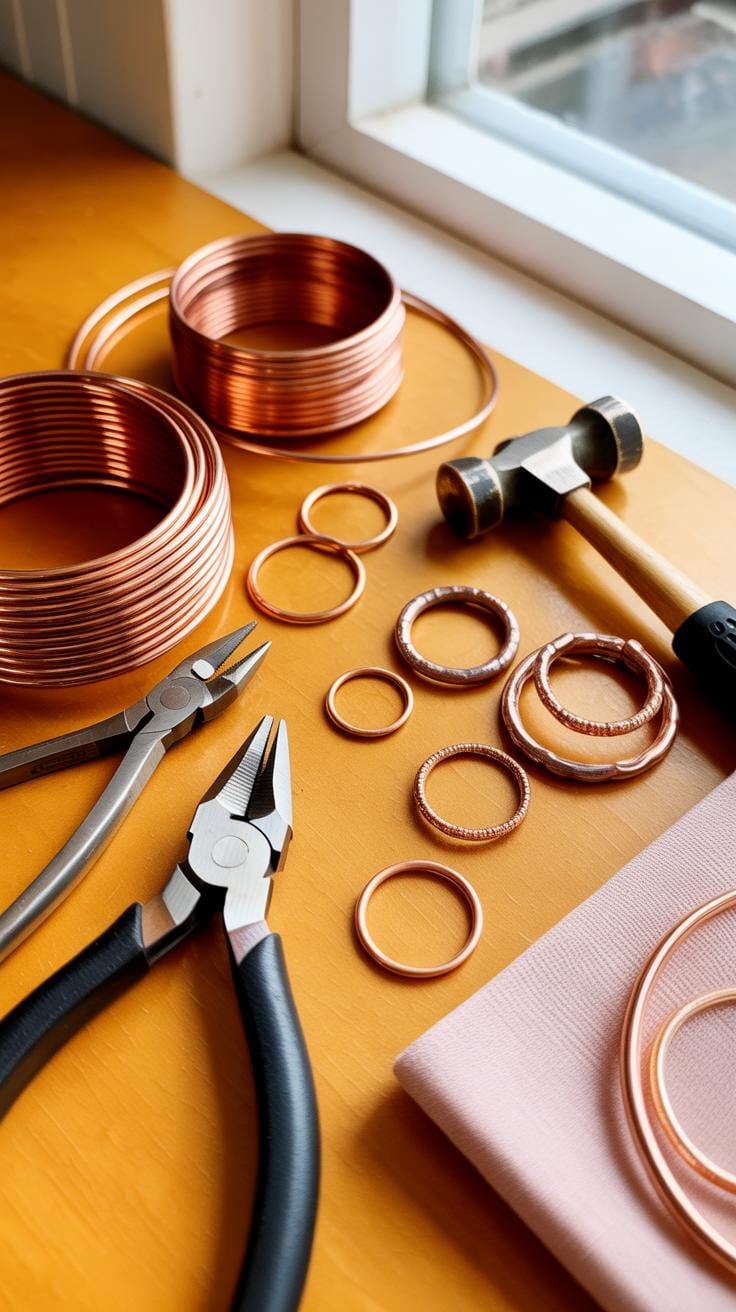
- Dead Soft Copper Wire: This type of metal is very flexible and easy to bend by hand or with pliers. It is the best choice for beginner copper jewelry projects because it does not resist shaping or require frequent heating to stay workable.
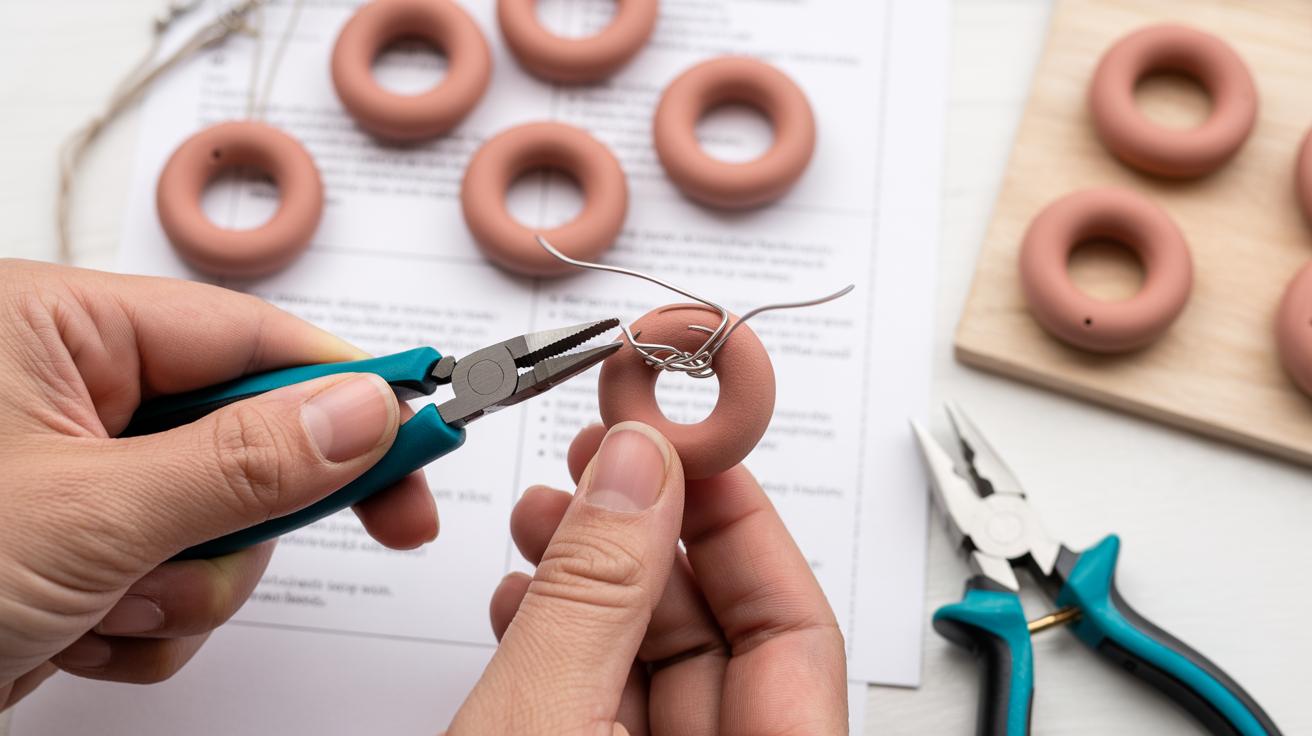
- Chain Nose Pliers: These tools have flat internal surfaces and tapered tips that help you grip small components. They are vital for making jewelry with copper wire as they allow you to open and close jump rings or tuck sharp wire ends safely.
- Flush Cutters: Use these to snip your metal strands without leaving a jagged or pinched edge. High quality cutters ensure your diy copper jewelry has clean finishes and professional looking joints that will not snag on clothing or irritate the wearer.
- Ball Peen Hammer: A small hammer is necessary for hardening your finished pieces and adding interesting surface textures. Hammering your diy copper bracelet jewelry making projects creates a rustic look and ensures the metal frame remains stiff and holds its intended shape.
- Steel Bench Block: This heavy flat surface provides a solid foundation for all your hammering tasks. It absorbs the impact when you are flattening wire or stamping patterns into your copper jewelry ideas, protecting your work table and providing better control over the metal.
Organizing these supplies in a clean workspace makes copper jewelry making a productive and relaxing hobby. Beginners often find that keeping a small file nearby helps smooth out any rough edges on cut wire. As you practice making copper jewelry, you will develop a feel for how the metal moves and reacts to your tools. Proper preparation ensures every piece you create is both beautiful and durable.
Selecting The Right Gauge Wire
Choosing the correct thickness is a vital part of every copper jewelry tutorial because it determines the strength of your piece. Wire thickness is measured in gauge numbers where a higher number means the wire is actually thinner. For instance, 18-gauge wire provides a sturdy frame for copper wire bracelets that need to keep their circular form during daily wear. This thick material acts as the skeleton for your wearable art.
When you want to add delicate patterns or secure stones, you should switch to thinner 24-gauge wire. This fine size is ideal for intricate weaving and detail work that mimics ancient metalwork styles. Using different sizes together allows for more complex diy copper jewelry designs. Mastering the balance between heavy structural wires and thin decorative strands is the secret to creating professional and historically inspired copper accessories.
Mastering Basic Techniques For Making Jewelry With Copper Wire
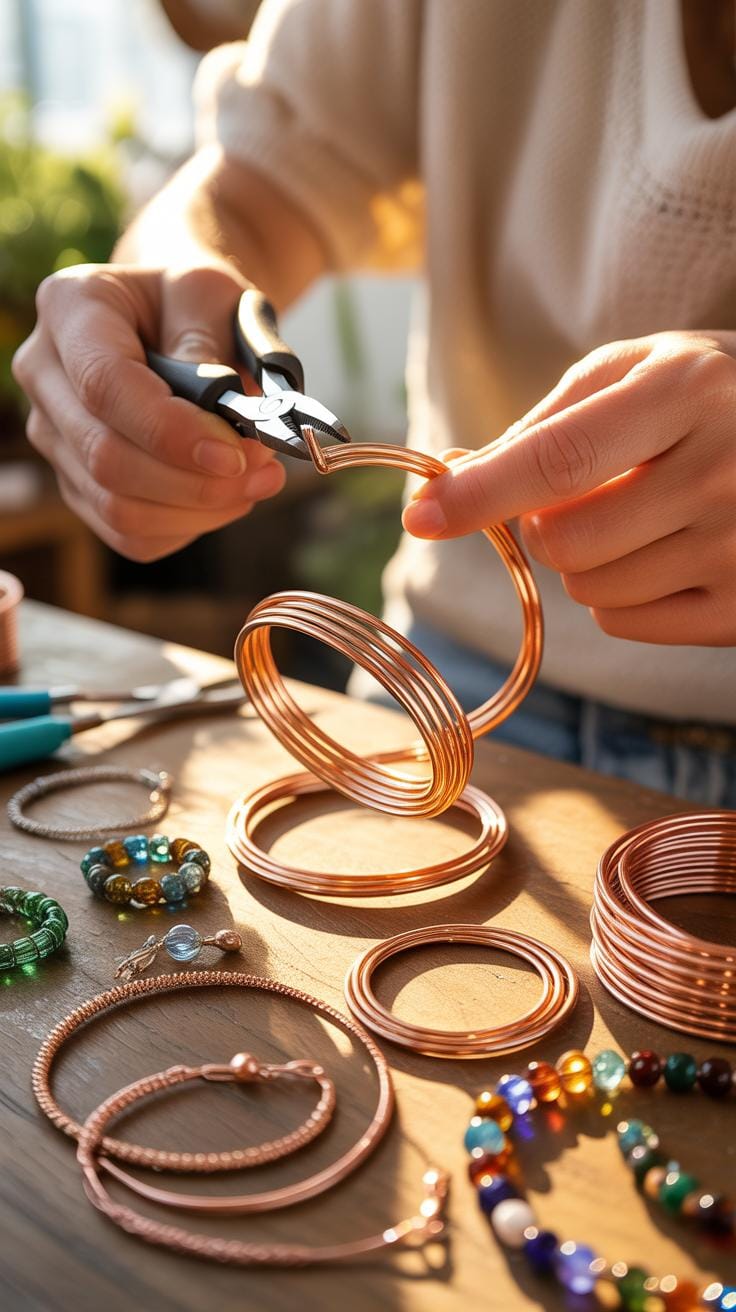
Wire Straightening And Shaping
Making jewelry with copper wire starts with cleaning and smoothing your metal. Copper is soft and often comes in messy coils from the hardware store. Use nylon-jaw pliers to pull the wire straight. The soft plastic jaws grip the metal tight without leaving scratches. This keeps the surface shiny and smooth. Straight wire is necessary for beginner copper jewelry makers to create professional work.
Smooth wire makes diy copper jewelry look like artifacts from high-end museum shops. Once the wire is straight, you can measure and cut it for specific copper jewelry ideas. Hold the wire firmly between your thumb and the pliers. Pull the tool down the length of the metal with steady pressure. Constant tension helps you master making copper jewelry by ensuring every piece of wire stays uniform and flat.
To touch a piece of hand-wrought copper is to shake hands with the centuries that came before us. By shaping metal into the styles of the past, we ensure that the soul of history remains tangibly alive in our own hands.
— William Morris
Creating Perfect Loops And Spirals Tutorial
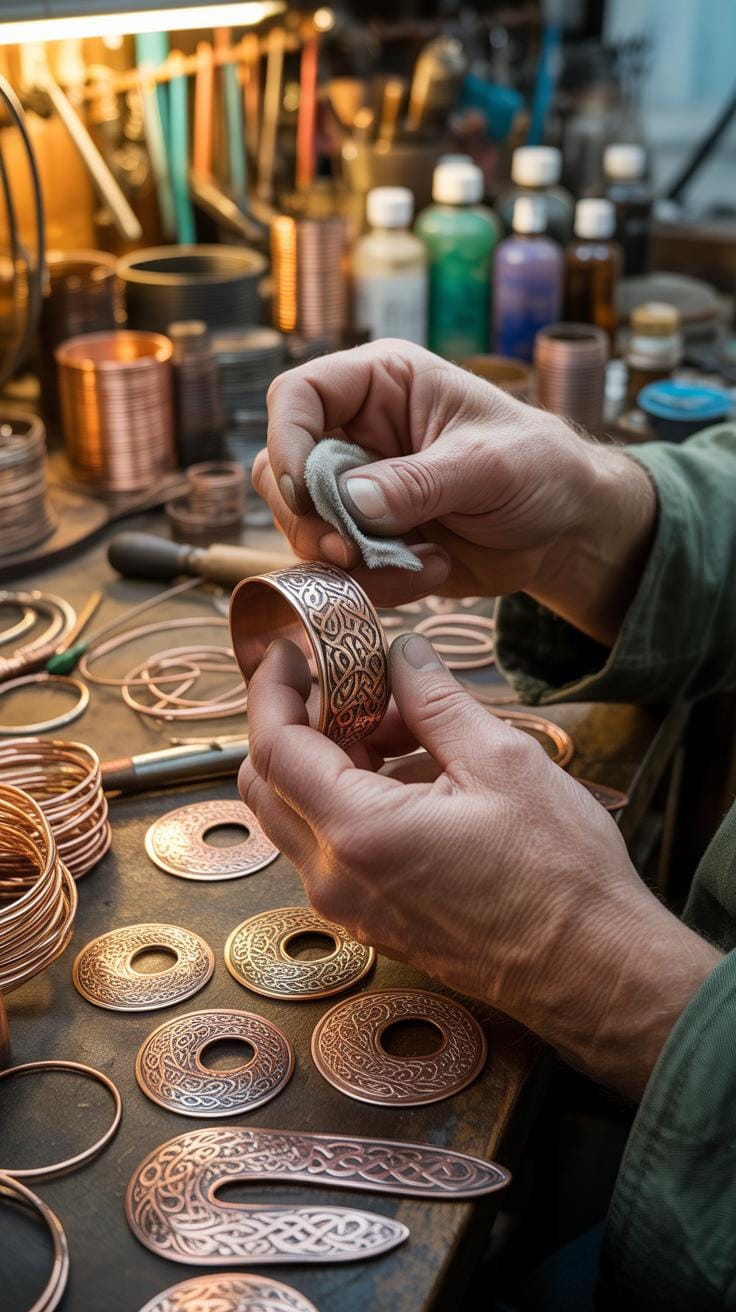
Spirals appear often in ancient Celtic and Viking jewelry. These shapes symbolize growth and time in historical designs. You use round-nose pliers to bend the copper wire into these circular forms. Grip the very end of the wire with the tips of the pliers to start a small loop. Roll the tool away from you to form the first curve. Learning how to make copper jewelry requires patience with these tools.
Tightly wound spirals are great for diy copper bracelet jewelry making projects. You can hammer these flat to give them a rustic look. This technique is basic for anyone starting copper jewelry making. Use the thicker part of the pliers to make larger loops for copper wire bracelets. Consistent loops allow pieces to link together securely. Mastering these shapes helps you replicate the beauty of ancient hand-crafted metalwork.
Historical Inspiration And DIY Copper Jewelry Ideas
Renaissance Filigree Styles
Renaissance artisans prized light and airy looks in their metalwork. They often used a technique called filigree to create beautiful shapes from thin metal threads. You can recreate these classic styles by making jewelry with copper wire to form open circles and loops. This method makes your pieces look expensive and old. Many modern copper jewelry ideas draw from these antique patterns to help you create timeless art.
Beginner copper jewelry projects often start with these simple wire twists. You do not need complex tools to practice copper jewelry making in your own home. Twist thin strands together to form vines or floral shapes that look like historical museum pieces. This style allows light to pass through the metal for a soft effect. Learning how to make copper jewelry this way builds your skills for harder projects later.
Victorian Era Sentimental Designs In Copper
The Victorian era focused on deep meanings and personal memories in fashion. People often wore pieces that symbolized love or loss. They used intricate knotwork to represent strong bonds between friends and family. You can use these themes when making copper jewelry for yourself or others today. Intricate knots and woven patterns work perfectly for diy copper bracelet jewelry making because they add texture and historical depth.
Modern hobbyists love how these antique styles fit into a copper jewelry tutorial for modern wear. You can use hammered surfaces to give your diy copper jewelry an aged look. Creating copper wire bracelets with braided patterns mimics the hair jewelry popular in the nineteenth century. These techniques help you craft items that tell a story. Focused copper jewelry making lets you connect with history through every small link and wrap you finish.
Step By Step DIY Copper Bracelet Jewelry Making

Forging A Historic Cuff Bracelet Steps List Instructions
Romans wore heavy metal bands to show their status and strength. You can recreate this look with simple tools and raw materials. This project focuses on Diy Copper Bracelet Jewelry Making by using a thick gauge wire or a flat strip. You will mold the metal to fit your wrist perfectly. This method provides a solid base for many other Copper Jewelry Ideas you might try later.
- Measure and Cut: Wrap a flexible measuring tape around your wrist to find the length. Add one inch to allow for the gap in the cuff. Use heavy wire cutters to snip your copper strip or thick wire to the correct size.
- File the Edges: Sharp ends can scratch your skin while you wear your piece. Use a metal file to round off the corners of the copper. Rub the edges until they feel smooth and soft to the touch for safe wear.
- Anneal the Metal: Heat the copper with a small torch until it turns a dull red color. This process makes the metal soft and easy to bend. Let the piece cool down in a bowl of water before you start the next step.
- Shape the Curve: Place the copper against a round mandrel or a sturdy pipe. Use a nylon mallet to wrap the metal around the form. This creates a smooth circular shape that fits comfortably around a human wrist without any kinks.
- Final Polishing: Rub the surface with fine sandpaper to remove any dark marks from the heat. Use a polishing cloth to bring out the natural glow of the metal. This step ensures your Beginner Copper Jewelry looks professional and bright.
Making Copper Jewelry requires patience and steady hands during the shaping phase. Ensure the gap is wide enough to slide your wrist through but narrow enough to stay secure. This classic cuff design mirrors the jewelry found in ancient Mediterranean sites. It serves as a great introduction to How To Make Copper Jewelry using traditional cold connections and basic heat treating techniques.
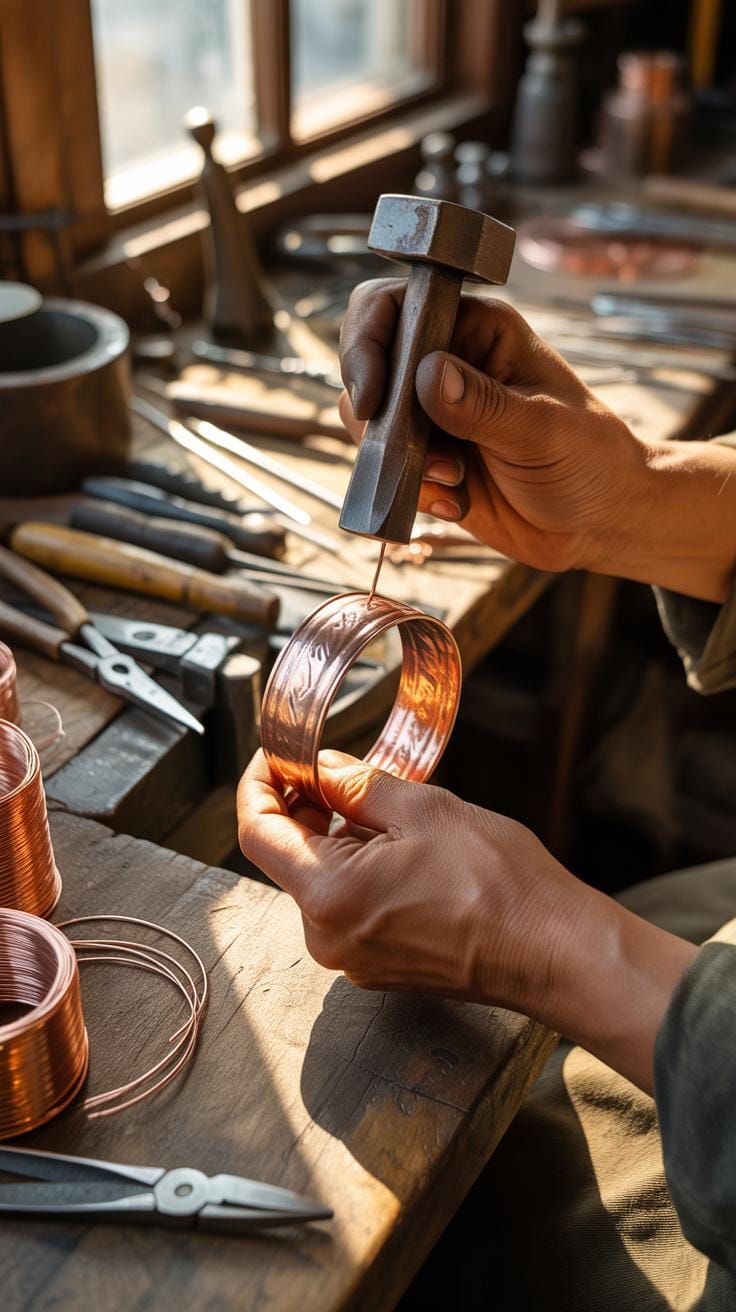
Hammering Textures For Depth And Character
A flat surface looks modern but a hammered finish suggests an ancient origin. Use a chasing hammer to strike the surface of your cuff repeatedly. These small dents catch the light and mimic the look of hand-forged artifacts. Making Jewelry With Copper Wire becomes more interesting when you add these physical details. This technique hides small mistakes and gives the metal a rugged feel.
Diy Copper Jewelry looks best when it tells a story through its texture. Do not aim for perfect patterns or straight lines during this process. Random strikes create a more authentic look that resembles an archaeological find. Copper Wire Bracelets and cuffs gain weight and character from these simple marks. You now have a unique piece of Copper Jewelry Making that feels like a link to the past.
Advanced Finishing For Professional Copper Jewelry Making
Creating A Forced Patina Authenticity Finish
Making copper jewelry often requires an aged look to mimic ancient artifacts. You can use liver of sulfur to achieve this dark finish quickly. This substance reacts with the metal surface to create deep black or brown tones. It mimics the natural oxidation seen on bronze age relics. Beginner copper jewelry makers find this step helps hide small mistakes by adding depth and character to every piece.
After darkening the metal, use fine steel wool to polish the high spots. This technique creates high contrast and makes intricate details pop. It is perfect when making jewelry with copper wire because the shadows stay in the twists and turns. Your diy copper jewelry will look like a museum find rather than a new craft. This simple process brings out the beauty of your handmade copper jewelry making projects.
Sealing And Protecting Your Copper Art Pieces
Raw copper reacts with oxygen and oils from your skin. This process can turn the metal dull or leave a green mark on your wrist. To prevent this, apply a thin layer of microcrystalline wax to your finished work. This wax provides a professional barrier that preserves the color you worked hard to create. It is a vital step for diy copper bracelet jewelry making to ensure long-term wear.
If you prefer a more permanent shield, use a jewelry-grade clear sealant. This keeps your copper wire bracelets looking shiny and new for years. How to make copper jewelry last involves choosing the right protection for the specific era you are mimicking. Proper sealing ensures your copper jewelry ideas remain beautiful and safe for everyone to wear. These final touches separate hobbyist work from professional quality items that people will love.
Crafting Intricate Copper Wire Bracelets With Viking Knitting
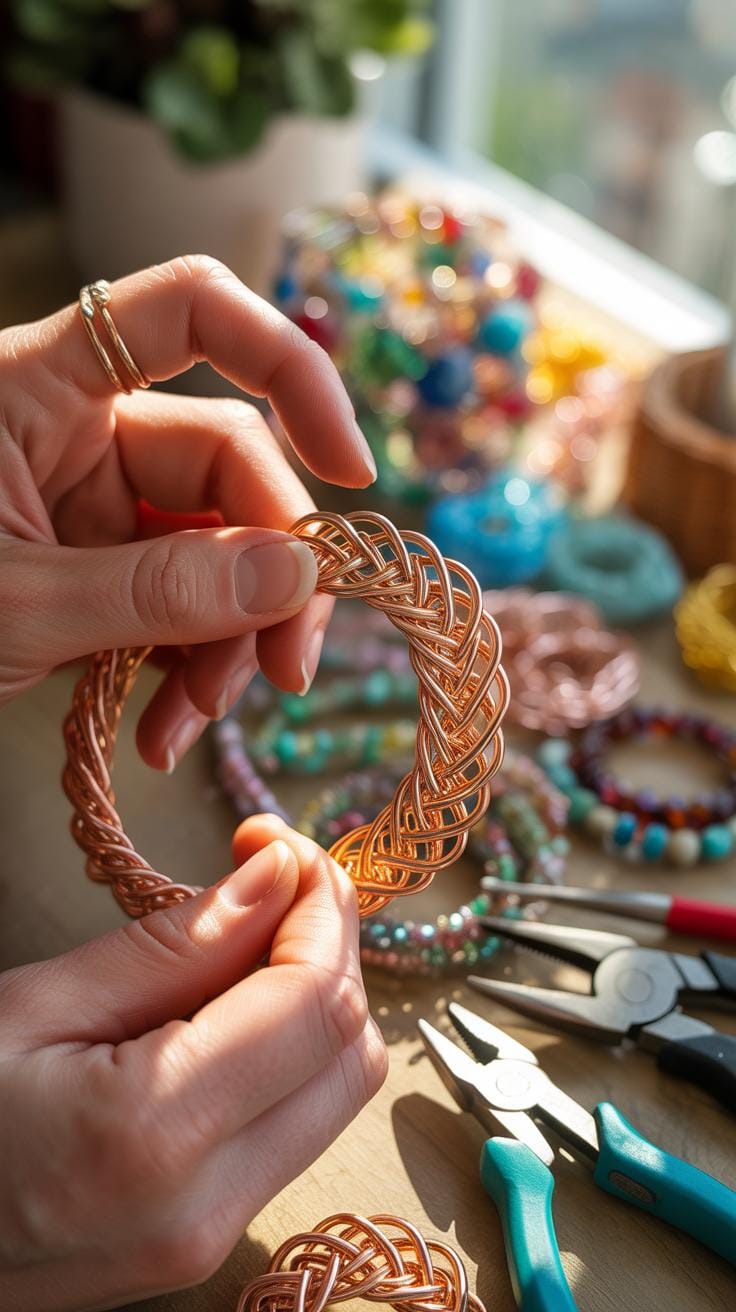
The Art Of The Trichinopoly Chain Method
Viking knitting is an ancient way of making jewelry with copper wire first used by Norse metalworkers. This method produces a hollow rope that looks like woven fabric. It involves looping a single strand of wire around a wooden dowel. Historians found these patterns in silver and copper artifacts from centuries ago. This technique offers great copper jewelry ideas for those who love historical crafts.
Beginner copper jewelry makers often start with this style because it requires few tools. You only need a thin wire and a sturdy stick to begin making copper jewelry. After you finish the weave, you pull the wire through a draw plate to make it thin and smooth. This step turns a bulky mesh into sleek copper wire bracelets. Learning how to make copper jewelry this way connects you to the past.
Finishing Woven Ends With Conical Caps
Good diy copper bracelet jewelry making looks clean and professional. You must hide the messy wire ends at the start and finish of your weave. Decorative metal cones or caps work best for this task. Slide the cone over the ends of the tube to create a neat transition. This step is a vital part of making copper jewelry that people want to wear.
Proper finishing keeps your diy copper jewelry from scratching the skin. You can attach a clasp to the end of the cone using a small wire loop. This method makes copper jewelry making much simpler for students of the craft. It provides a polished look that mimics expensive boutique pieces. Taking the time to add these caps ensures your copper wire bracelets last a very long time.
How To Make Copper Jewelry Stand Out With Mixed Media
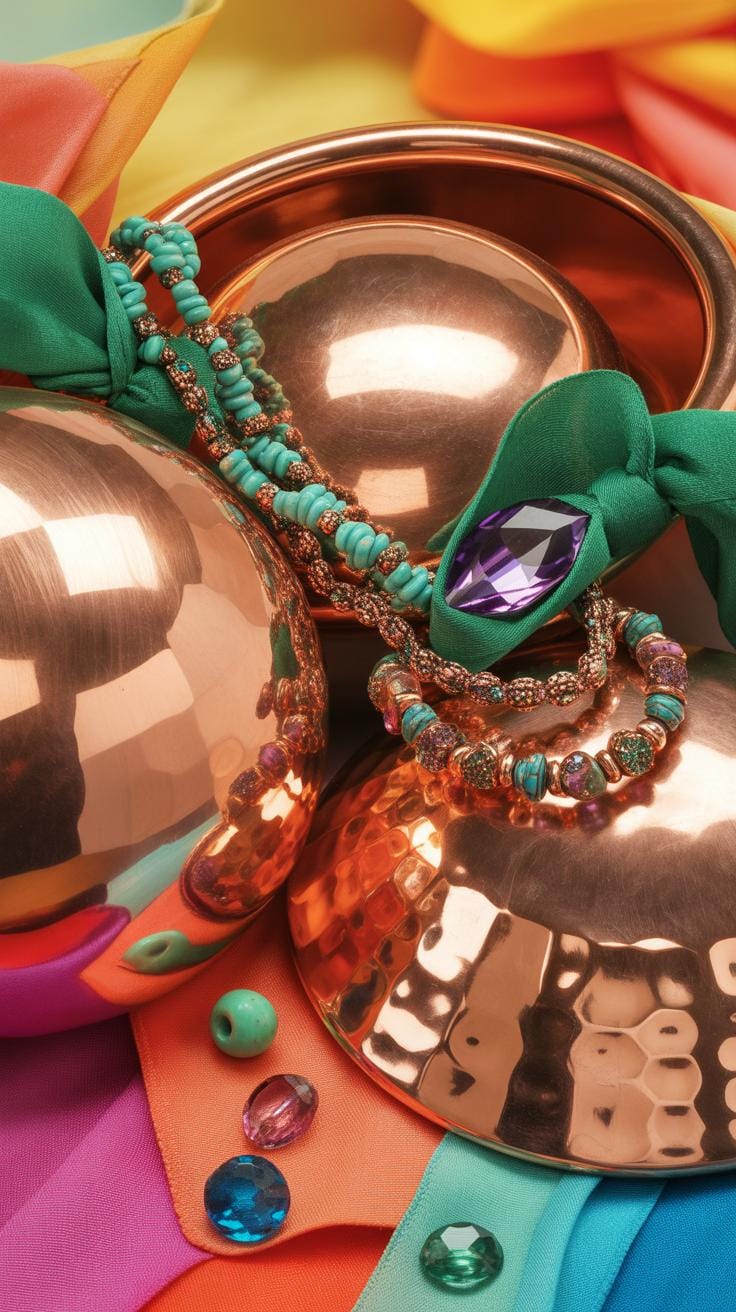
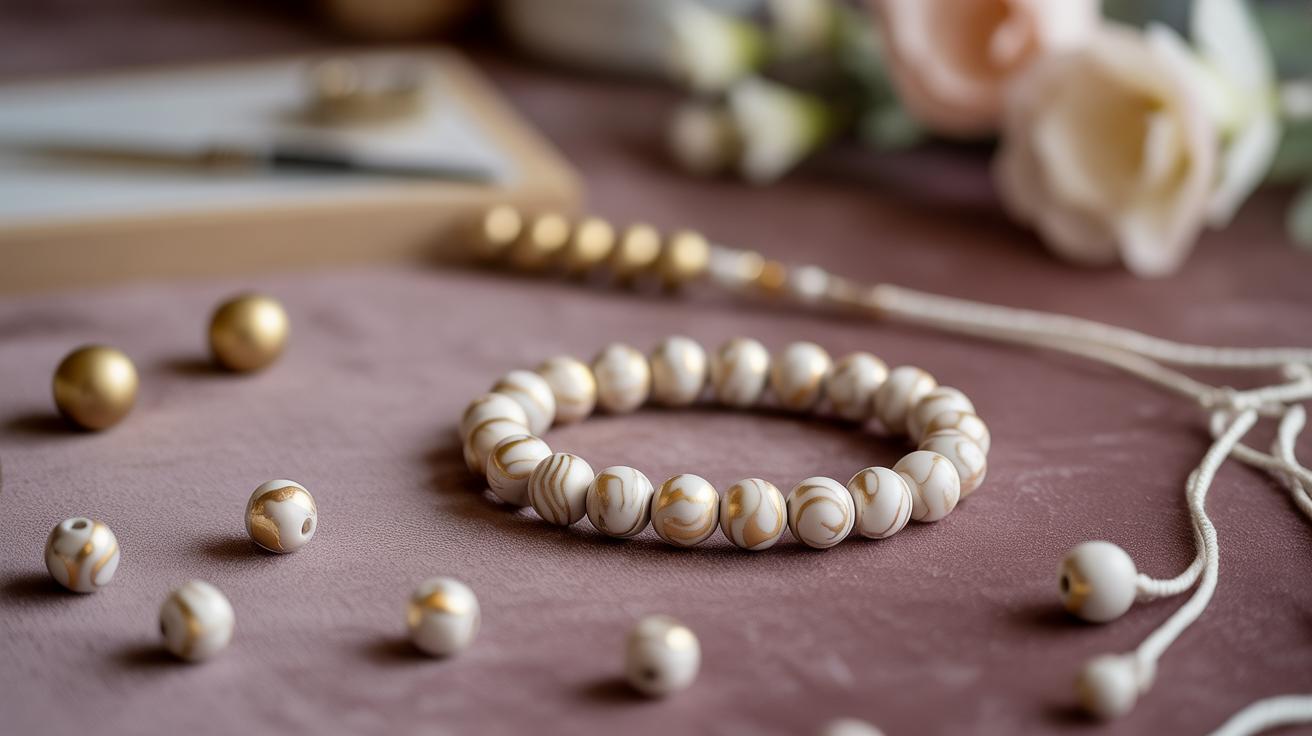
Incorporating Semi Precious Cabochons Into Copper Wire Wraps
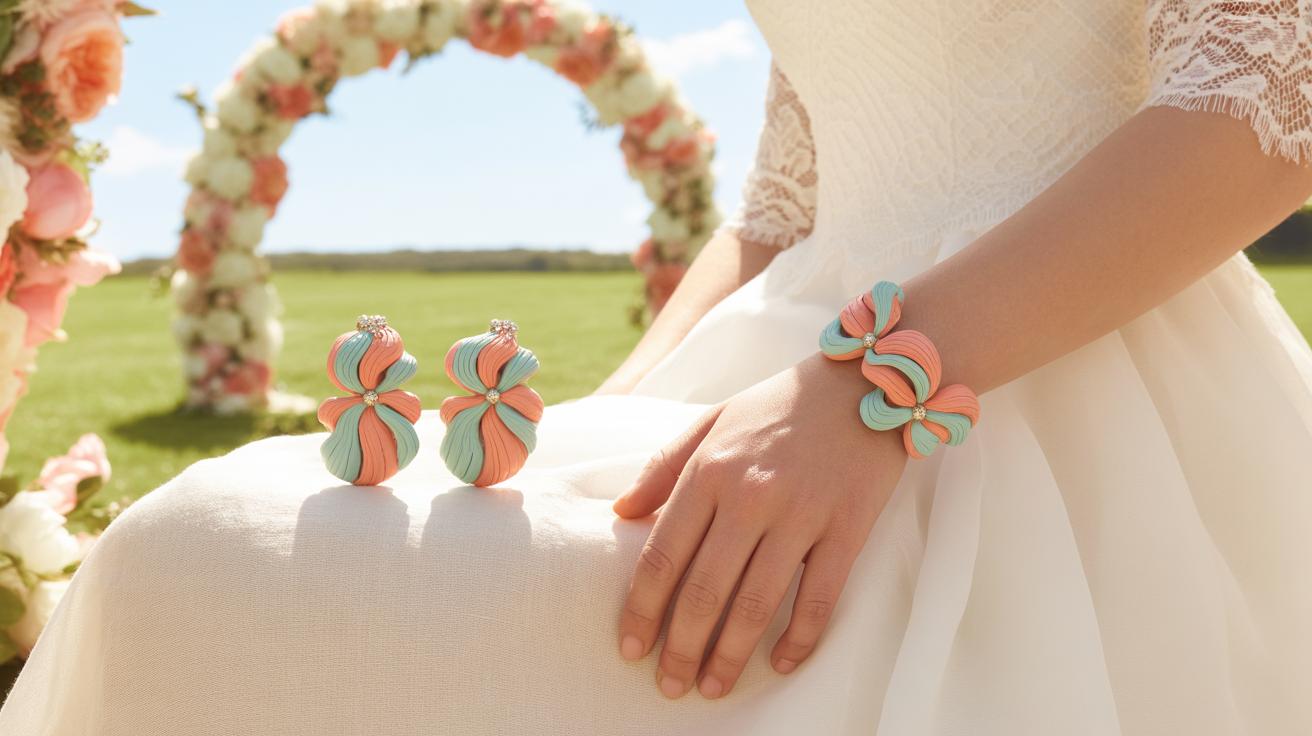
Ancient Egyptian artisans often combined warm copper with vibrant stones like amethyst, turquoise, and carnelian. You can recreate this royal look through making jewelry with copper wire. Focus on secure wrapping techniques to hold a flat-backed cabochon in place. This method turns a simple piece of metal into a regal accessory. It helps beginner copper jewelry projects look professional and historically grounded.
How to make copper jewelry often involves balancing the raw metal color with these earthy gemstones. Use thin gauge wire to create small loops around the stone edge. This creates a frame that mimics gold settings found in pharaoh tombs. Diy copper jewelry benefits from this added color because it brings life to the dark metal. Use these copper jewelry ideas to build a collection that feels ancient yet fresh.
Mixing Copper With Silver For Historical Contrast
Mixing metals was a popular trend during the Victorian era and the Arts and Crafts movement. Using both copper and silver provides a striking visual balance. This bimetallic approach makes copper jewelry making feel more expensive. You can use silver solder or silver beads to accent your copper wire bracelets. The cool silver tones highlight the red glow of the copper parts beautifully.
Diy copper bracelet jewelry making becomes more interesting when you add silver twists. Making copper jewelry with two different metals allows for complex patterns. You can weave a silver strand into a thick copper base for a striped effect. This technique offers many new ways of making copper jewelry for personal use or gifts. It mimics jewelry styles where makers used available materials to create high contrast designs in past centuries.
Frequently Asked Questions

Is copper a good material for beginners learning to make historical jewelry?
Absolutely! Copper is the ideal medium for those starting their first copper jewelry tutorial because it is incredibly malleable and forgiving. Unlike silver or gold, copper allows you to practice intricate ancient techniques, like wire wrapping or cold connections, without a high financial risk. Its warm, rosy glow beautifully mimics the aesthetic of Bronze Age artifacts, making it perfect for recreating timeless designs while you hone your craft.
How do I give my new copper pieces an authentic antique appearance?
To achieve an aged look in your copper jewelry tutorial, you can use a process called patination. The most common method involves using liver of sulfur to darken the metal, followed by gently polishing the raised surfaces with fine steel wool. This creates high-contrast shadows in the recessed areas, highlighting your historical textures and giving the piece a weathered, soulful character that looks centuries old rather than brand new.
Do I need expensive professional tools to start making vintage-style copper pieces?
Not at all. One of the best things about working with copper is its accessibility. Most historical designs can be achieved using basic hand tools like needle-nose pliers, a jewelry file, and a small hammer. You can often source materials from hardware stores or repurposed electrical wire. This makes the hobby incredibly budget-friendly, allowing you to create stunning, era-specific adornments without investing in a costly professional studio setup.