Introduction
Clay jewelry offers a fun and creative way to make personalized gifts for bridesmaids. It stands out because you can design pieces that match your wedding theme and reflect the style of each bridesmaid. This DIY craft is accessible to everyone, even those new to jewelry making. You can create earrings, bracelets, or necklaces that have a professional look without needing expensive tools.
In this article, you’ll learn how to select the right materials and tools for clay jewelry, explore various clay types, and follow a step-by-step guide to make your own pieces. We’ll also cover tips to finish your jewelry beautifully, ensuring your bridesmaids receive stunning keepsakes. Let’s dive into the creative world of clay jewelry DIY perfect for bridesmaids.
Understanding Different Types of Clay for Jewelry
When it comes to clay jewelry, the choice of clay sets the tone for your entire project. The three main types you’ll encounter are polymer clay, metal clay, and air-dry clay. Each one brings different qualities to the table, and they suit different kinds of designs and skill levels. Finding the right clay depends a lot on what you want to achieve—and sometimes, what you’re comfortable working with.
Polymer clay is a synthetic material that remains soft until you bake it in a regular oven. It’s flexible, comes in many colors, and holds details well. If you want vibrant, lightweight pieces that don’t require special equipment, polymer clay is your friend. The downside? It’s plastic-based, so it might not feel as “natural” or precious as metal.
Metal clay, on the other hand, contains tiny metal particles mixed with an organic binder. After shaping, you fire it at high temperatures, burning away the binder and leaving pure metal. This clay creates elegant, lasting pieces that resemble fine jewelry. But it needs a kiln or torch and some practice to get right. Also, it’s pricier and less forgiving with mistakes.
Air-dry clay is more casual and accessible. It dries and hardens by exposure to air, without baking. You can easily experiment with textures and shapes but the finished product tends to be softer and less durable, which means it might chip or break over time. Great for inexpensive keepsakes but maybe not the go-to for daily-wear bridesmaid jewelry.
For bridesmaids’ gifts, polymer clay often wins for its balance between ease and style, especially if you want colorful, personalized pieces. If you want something more refined and timeless, metal clay is worth considering—if you don’t mind the extra effort. Air-dry clay can work if you’re after a rustic, handmade charm, but keep in mind its fragility.
Polymer Clay Benefits and Uses
Polymer clay is probably the most popular choice among DIY jewelry makers—and for good reasons. It’s a soft, pliable material until baked, turning durable and hard afterward. The fact you can bake it in a home oven makes it very approachable. No kilns or special gear needed; just your regular kitchen oven on a low temperature, usually around 265°F to 275°F.
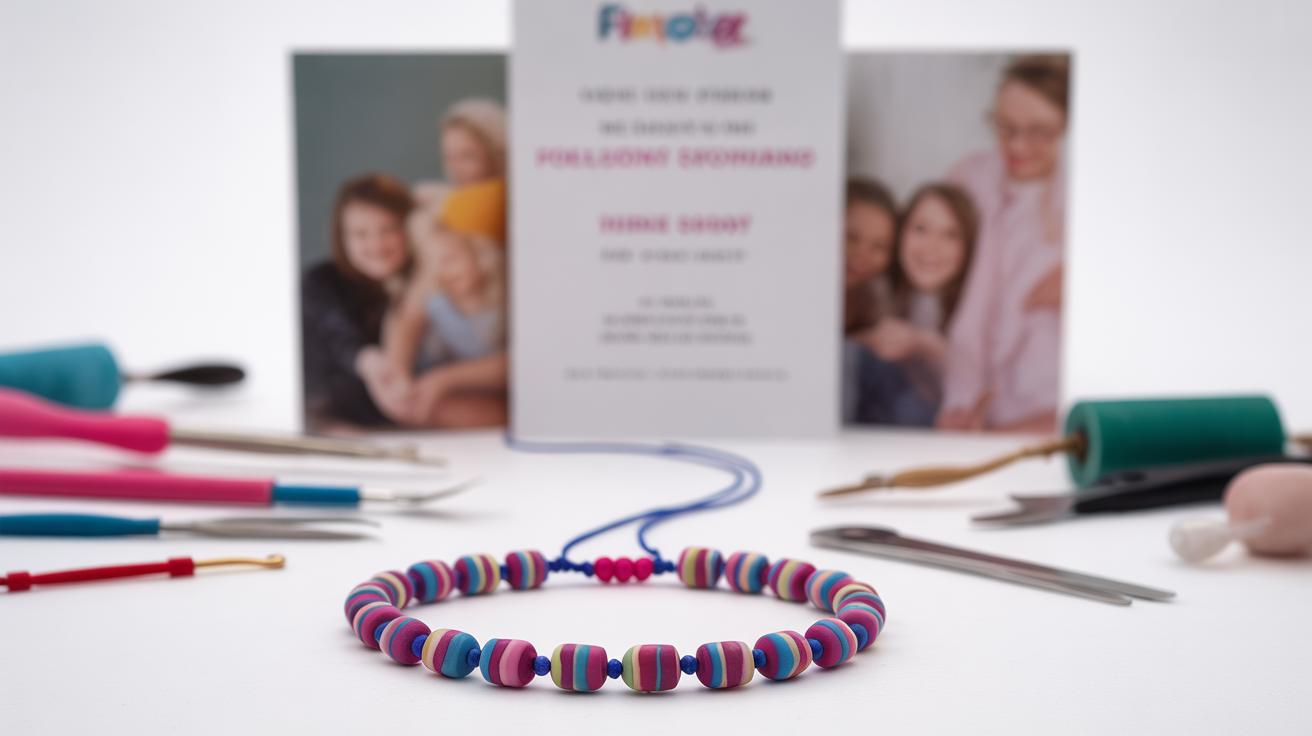
You can shape polymer clay into almost anything—from delicate flower pendants to bold geometric earrings. Colors blend easily, giving you endless possibilities to match the wedding palette or bridesmaid personalities. I’ve found that polymer clay works wonderfully for lightweight accessories, which bridesmaids appreciate when wearing them all day.
The baking process typically takes 15-30 minutes, depending on thickness. Just be cautious not to overbake, or it can discolor. After baking, you can add some gloss or keep it matte; it responds well to varnishes and sealants. It’s forgiving enough for beginners yet versatile for more intricate designs. That’s why it often becomes the go-to material for bridesmaid jewelry projects.
Working with Metal Clay and Air-Dry Clay
Metal clay is quite different. It’s made by mixing fine metal particles—silver, gold, or bronze—with a binder. You shape it like any clay, but after drying, it requires firing in a kiln or with a torch to burn out the binder and fuse the metal particles. This process is thrilling but demands patience and some equipment you might not already have.
The final pieces shine with real metal’s weight and timeless look. But any errors in shaping can be challenging to fix after firing. Polishing and finishing are essential to bring out the best in metal clay jewelry, so you’ll also need some basic metalworking tools. I’ve seen pieces that look stunning on bridesmaids, especially rings or delicate charms, but it’s an investment in time and skill.
Air-dry clay operates without heat. You create your shapes, and the clay hardens just by sitting out. It’s perfect for those who want quick results with minimal gear, probably the most beginner-friendly. Still, the charm comes with a catch: it’s softer and can be fragile after drying. Sprucing up air-dry clay pieces often involves sealing with varnish or paint, but the durability isn’t quite there.
You might choose air-dry clay when you want a natural, earthy feel or when resources are limited. For bridesmaids, it’s an option if you’re going for keepsakes rather than daily-wear jewelry. If you want resilient, long-lasting pieces though, polymer or metal clay would better fit the bill.
Essential Tools and Materials for Clay Jewelry DIY
Selecting Quality Tools That Fit Your Budget
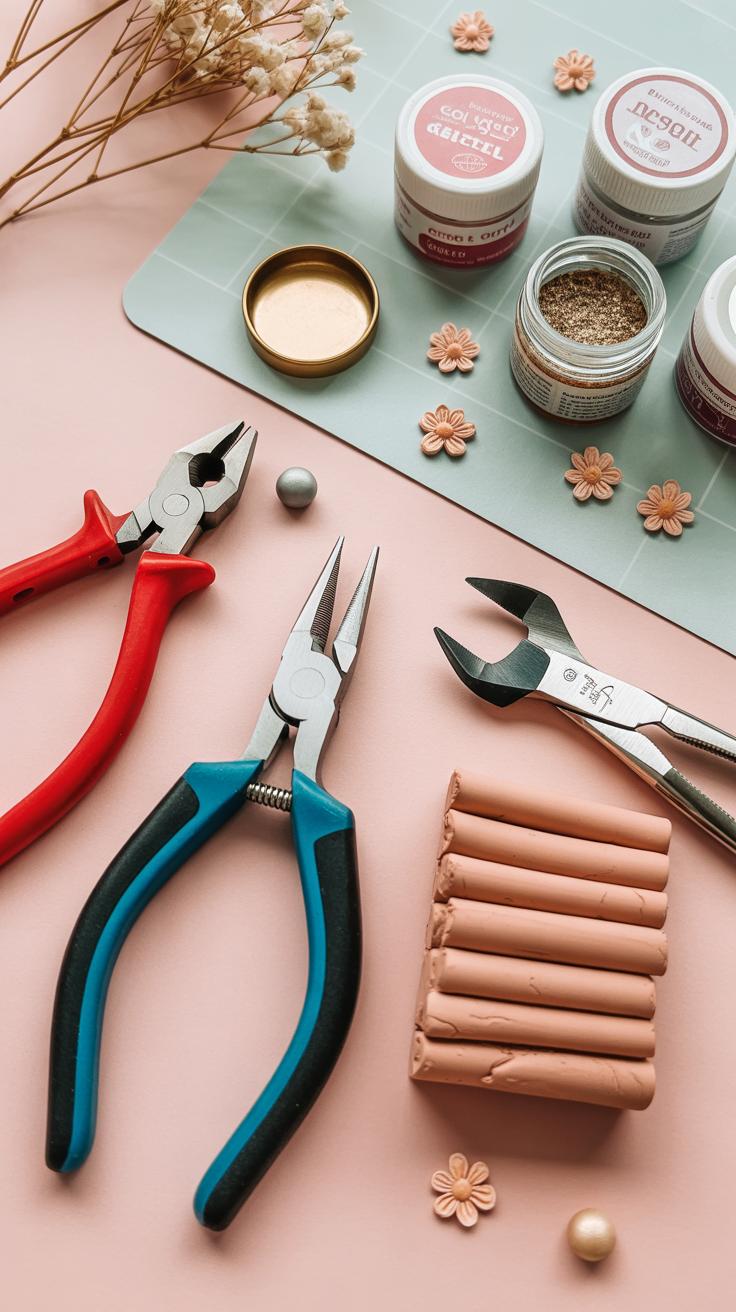
Starting with the right tools makes a big difference, even if you’re just messing around at home. For clay jewelry, you’ll need a few essentials: clay cutters in various shapes to get clean, sharp edges; a roller to flatten your clay evenly; a non-stick surface like a ceramic tile or silicone mat; and a baking sheet for curing polymer clay in the oven.
There’s no need to buy fancy or expensive equipment when you’re just beginning. Brands that offer basic clay tools at reasonable prices are good enough. I know I was tempted to splurge on a high-end roller but found a simple acrylic one did the trick. Sometimes, the cheapest tools work quite well, but take a moment to hold them first. If a cutter feels flimsy and bends easily, you might regret it during your project.
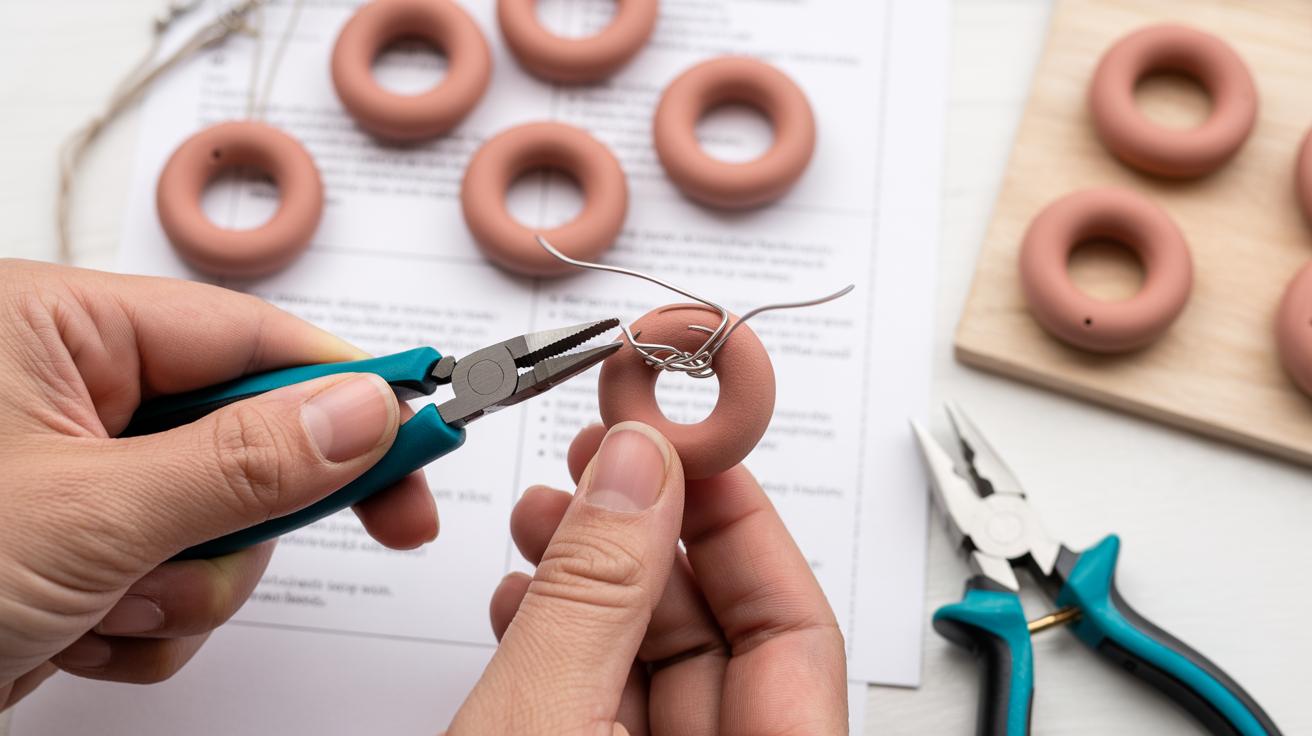
Don’t forget some finishing supplies: a sanding block or fine-grit sandpaper to smooth edges, a small paintbrush for applying sealants or finishes, and a good pair of pliers if you plan on adding jewelry findings like earring hooks or jump rings.
Choosing the Right Materials for Durable Jewelry
The clay itself is just the start. To make jewelry that lasts, consider the finishes and adhesives carefully. For example, a gloss or matte varnish will protect your pieces from scratches and dulling. Some sealants even help waterproof your designs, which I found important when a bridesmaid accidentally spilled some water on a necklace.
For embellishments, tiny glass beads, metal charms, or mica powders can add flair—but pick materials that won’t easily peel off or fade. Strong jewelry glue works best to attach findings; I prefer E6000 or similar adhesives known for durability. But sometimes a quick test with less expensive glue helps you see what holds well before committing.
How long do you want your jewelry to last? If it’s just for the wedding day, lighter adhesives and finishes might be fine. But if you expect the bridesmaids to wear their gifts regularly, investing in better materials upfront will save trouble later.
Design Ideas and Inspiration for Bridesmaid Jewelry
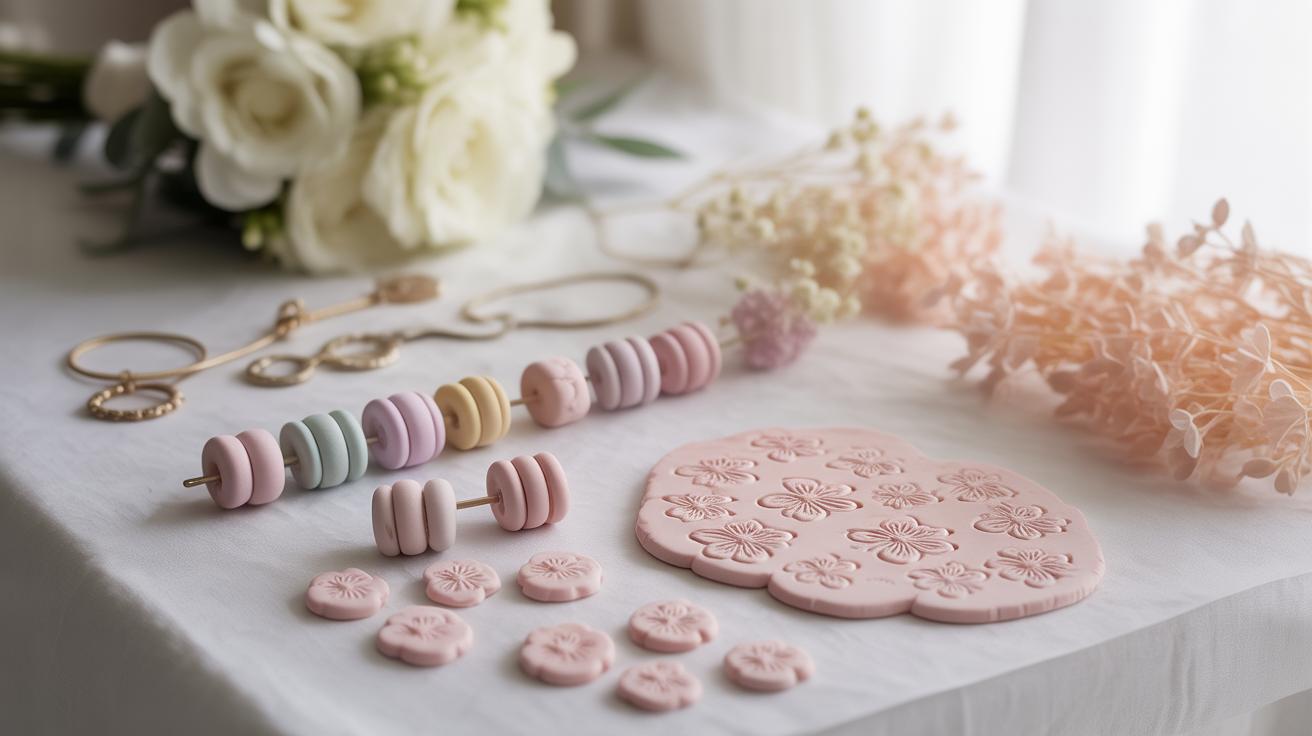
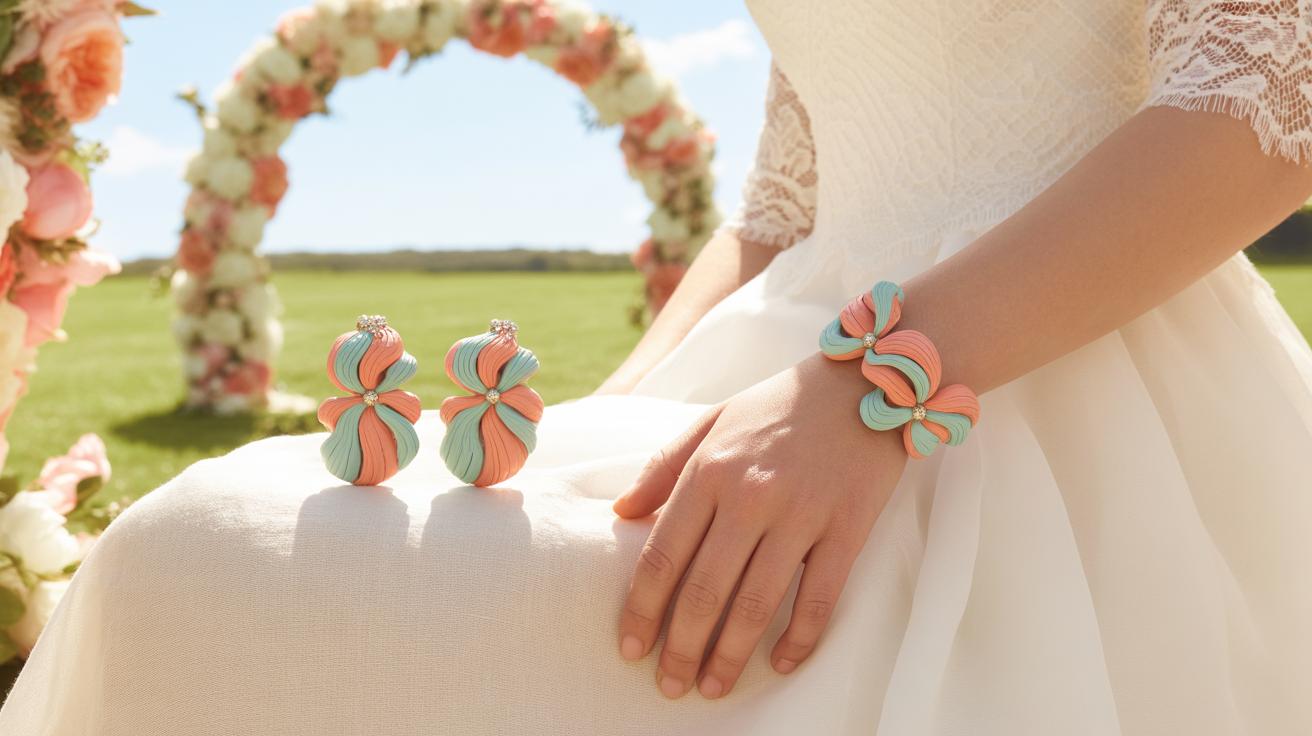
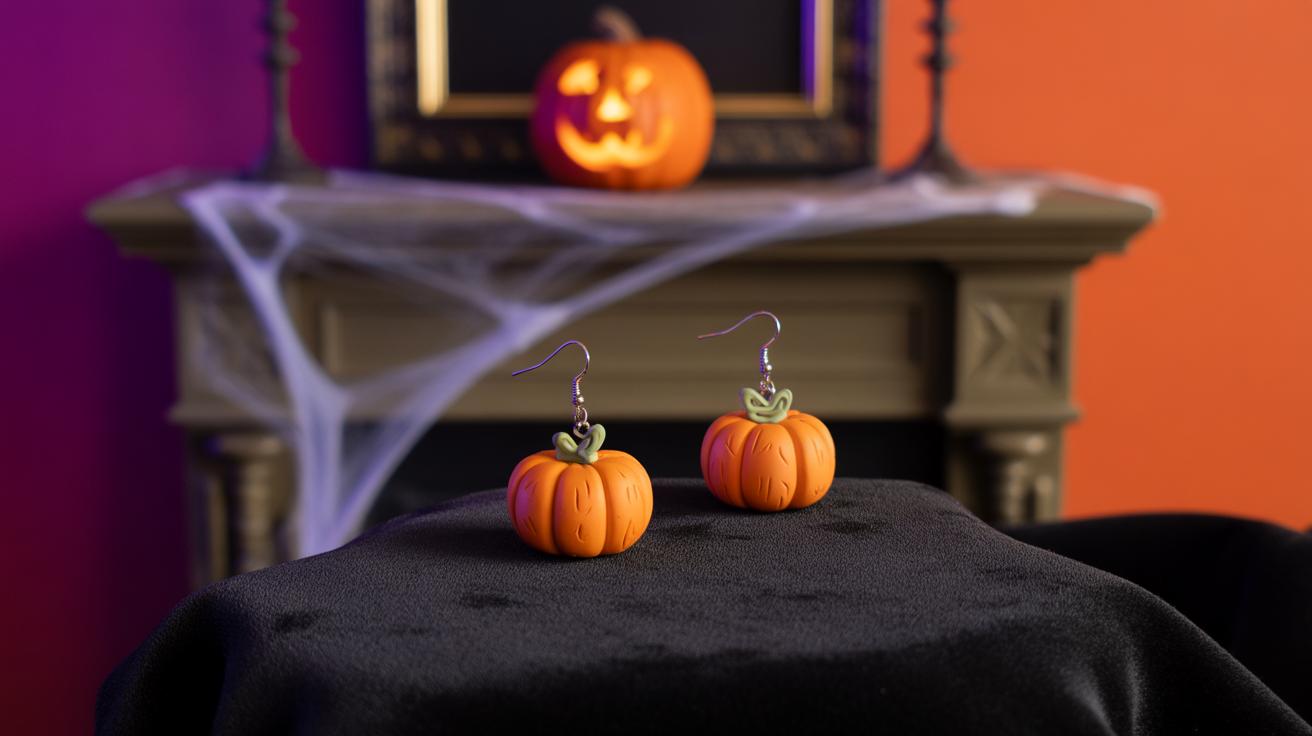
When creating clay jewelry for bridesmaids, think about how the pieces will interact with the wedding’s mood and palette. Soft pastels often work well in spring or summer weddings—blush pinks, mint greens, gentle lilacs. You might try mixing these colors subtly in layered earrings or delicate pendants. Sometimes bolder tones—deep navy or rich burgundy—feel just right, especially with fall or winter weddings.
Shapes play a surprising role too. Geometric forms like simple circles or rectangles stay chic and won’t compete with other accessories. Floral motifs, like tiny blossoms or leaves, bring a touch of romance but try not to overdo it; too much detail can overwhelm an already detailed look. Personally, I once made mint-colored triangle studs that paired unexpectedly well with a mustard-yellow dress—quirky but balanced.
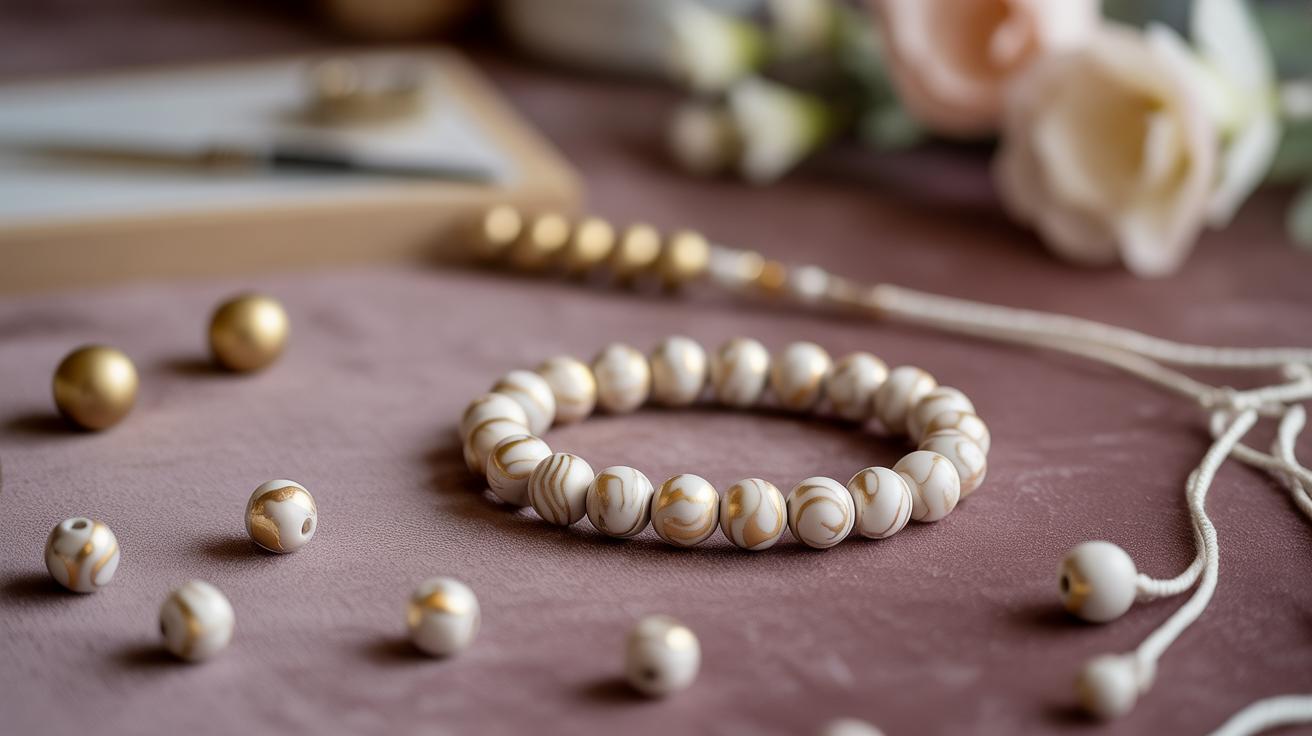
Styles range from statement pieces to barely-there accents. Simple studs or dainty hoops can suit bridesmaids who prefer minimalism. On the flip side, you might craft layered necklaces or drop earrings with subtle glimmers of metallic clay or pearl-like finishes. The key is finding that spot between personal style and overall harmony with the wedding vibe.
Matching Jewelry to Wedding Themes and Colors
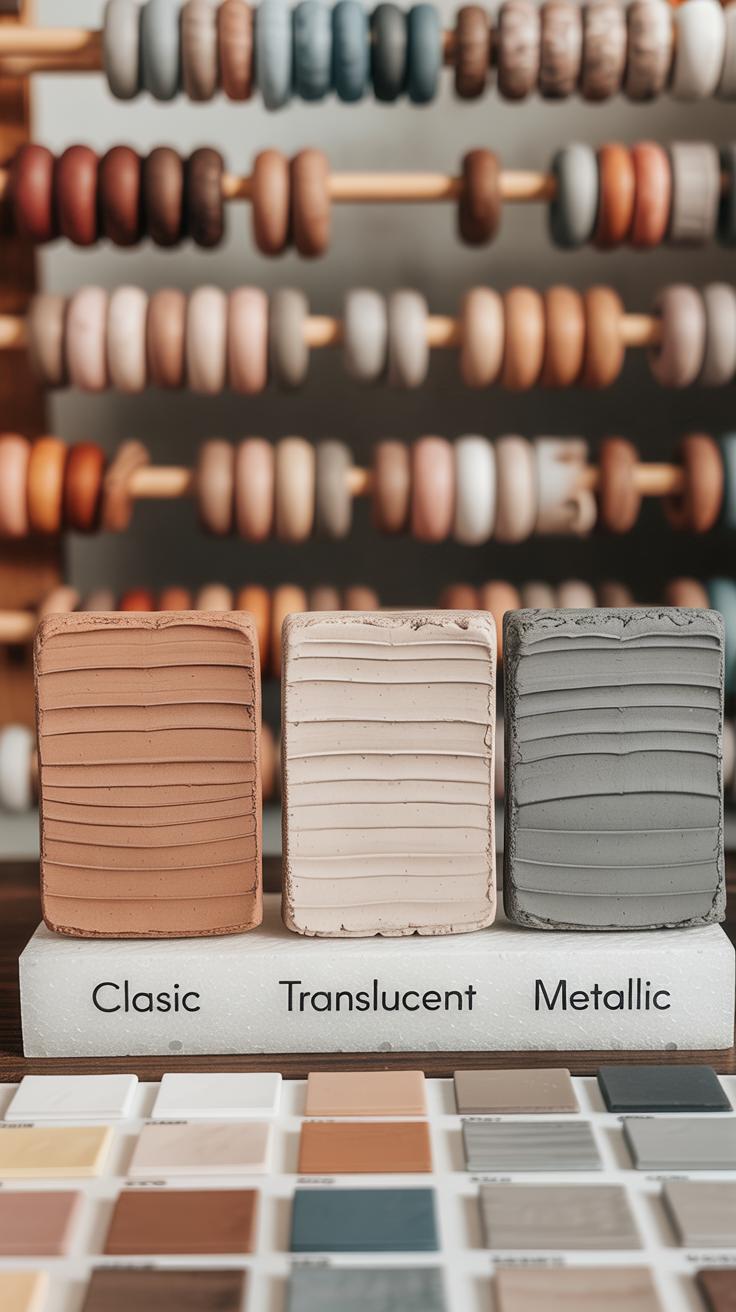
Picking clay colors to match wedding themes can be tricky, but focusing on the bridesmaids’ dresses gives a solid starting point. For example, if the dresses lean toward soft blush or lavender, attempting jewelry in tonal or complementary shades can feel cohesive without being too literal. Think cream instead of white, or muted gold accents rather than bright yellow.
Rustic weddings might call for earthy tones—terracotta, sage, or muted ochres. In contrast, beach-themed ceremonies invite lighter, breezier hues, like seafoam green or sandy beige clay. You might even sneak in a little shimmer to mimic sunlight on water, using mica powders mixed with the clay.
Sometimes matching perfectly isn’t the goal. Would contrasting colors bring energy? For a black-tie affair, consider sleek black and white combinations. Or, if the bridesmaids’ dresses are bold, jewelry in understated metallics offers a nice counterpoint. I recall a woodland wedding where deep forest green earrings paired beautifully with dusty pink gowns, creating an unexpected but striking combo.
Simple Yet Elegant Clay Jewelry Styles
Simplicity rarely goes out of style, especially for bridesmaids who want jewelry that won’t overshadow the dress. Minimalistic clay pieces can be just thin, tiny hoops or small geometric pendants in soft neutrals. Sometimes less really does feel more—like a subtle pop of color near the face without drawing all the attention.
Another elegant approach is using matte finishes or very soft textures. This keeps the look refined and modern but avoids feeling stiff or overly polished. Minimal drop earrings, thin stackable rings, or understated bracelets fit well here. You could even create repeating shapes, like a row of small clay circles on a chain, for rhythm without fuss.
Trends matter a bit; right now, asymmetry is quite popular—different sized earrings or shapes that mirror imperfectly. These can be replicated easily with clay and add a fresh twist to the typical bridesmaid look. Still, sometimes the classic round stud or simple bar shape outshines more complicated designs—especially if you want quick, wearable pieces that everyone will love wearing again.
StepbyStep Guide to Crafting Clay Jewelry
Preparing and Shaping the Clay
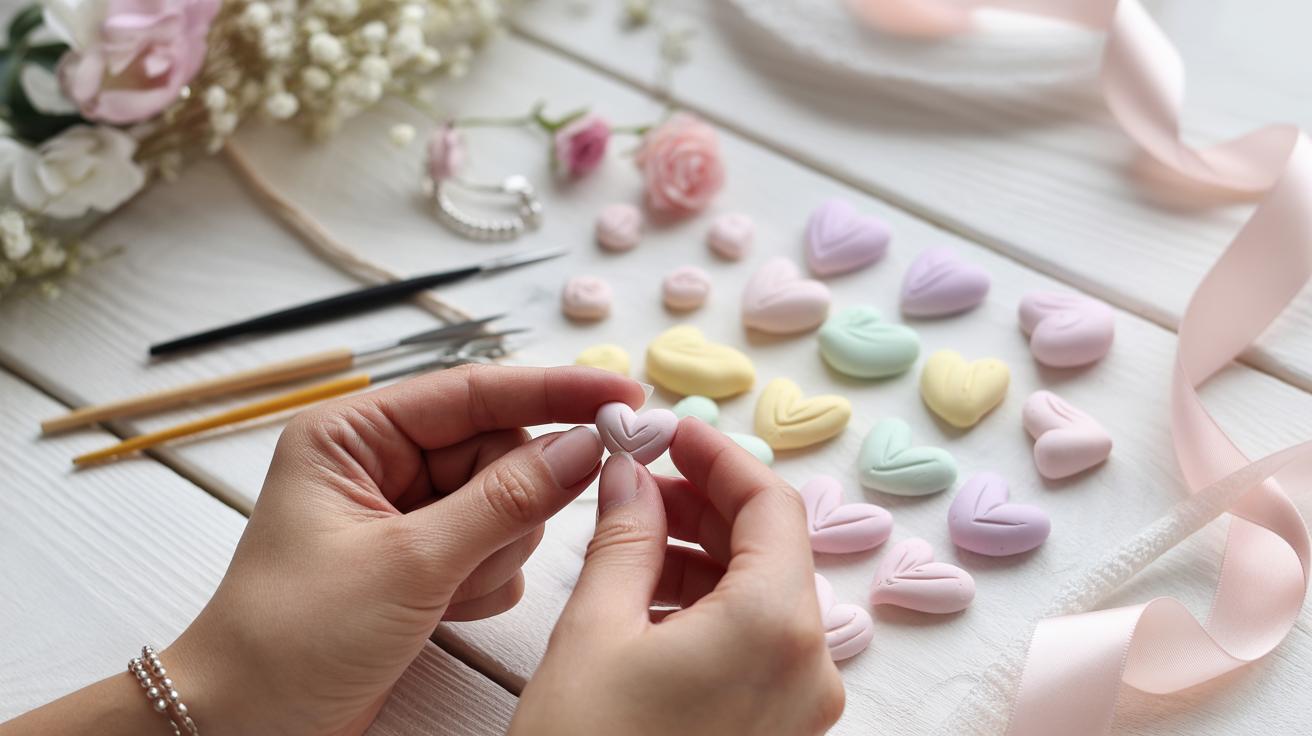
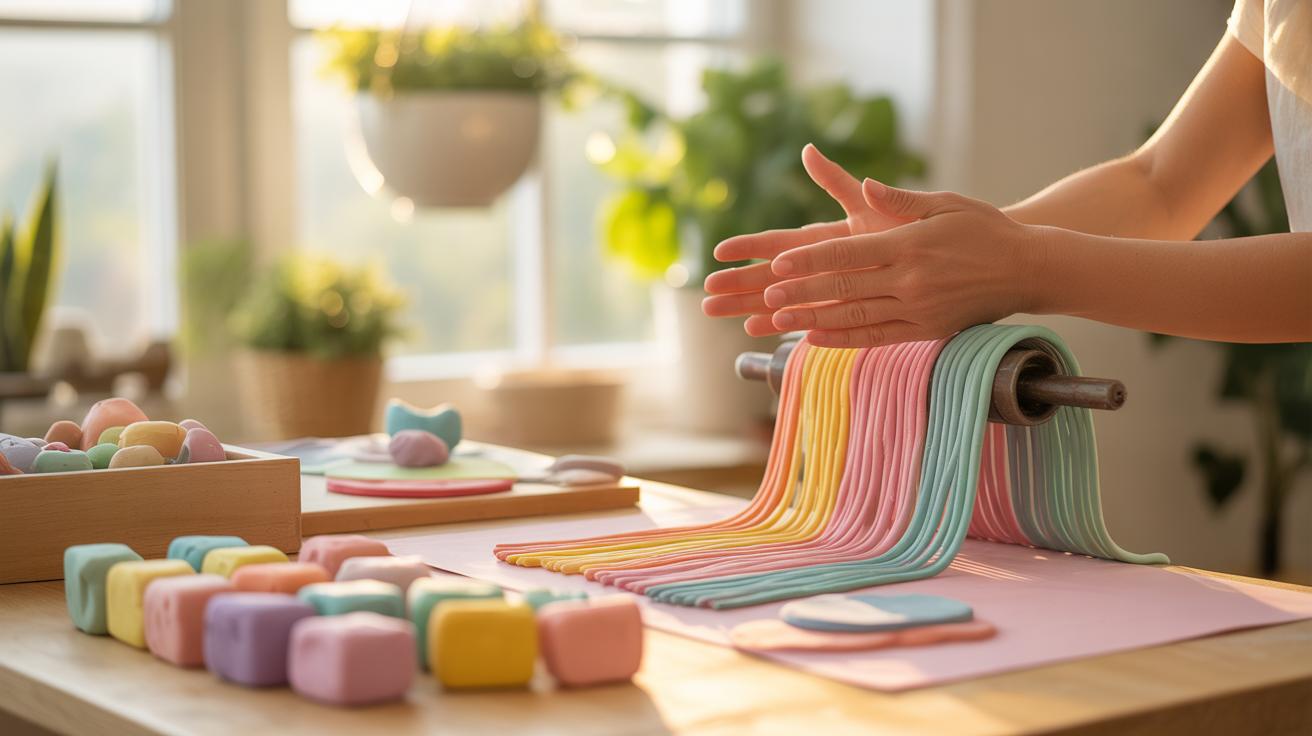
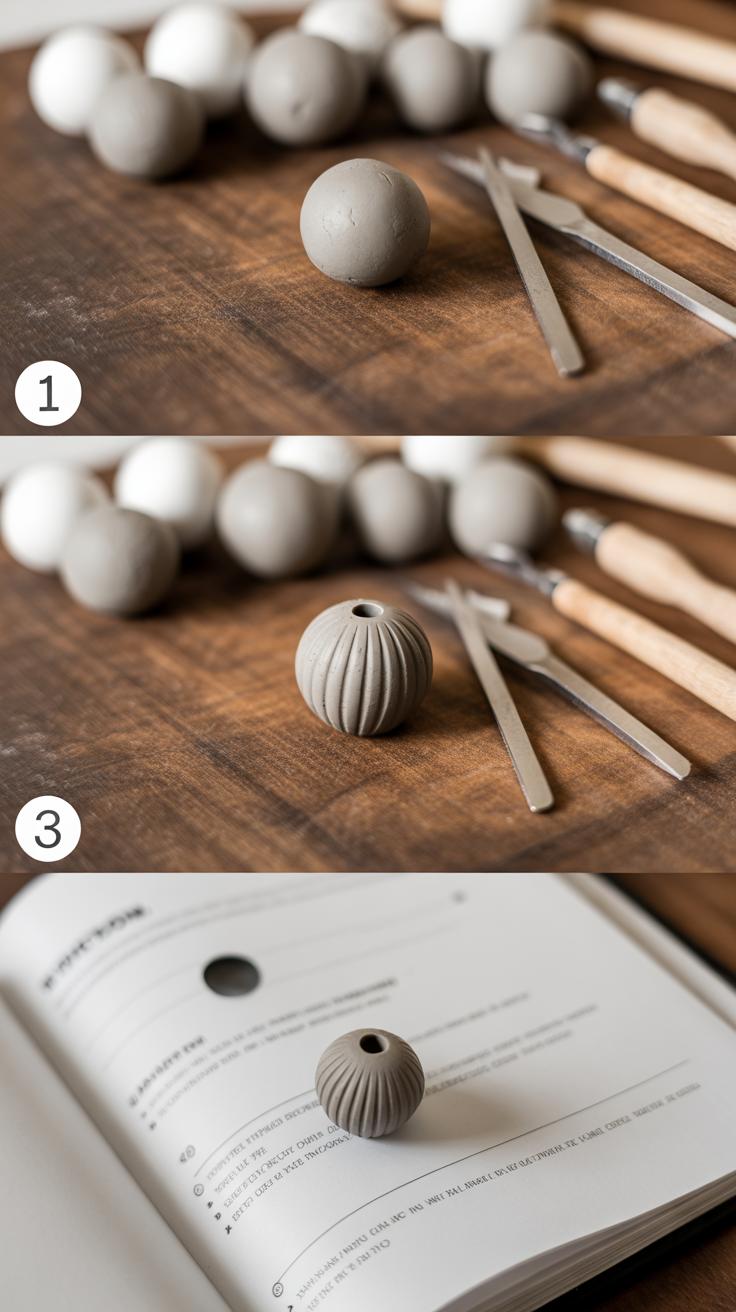
Start by warming your clay in your hands until it’s soft enough to work with but not sticky. This step, called conditioning, helps avoid cracks later, so don’t rush it. Roll out the clay on a clean, smooth surface—something like parchment or a ceramic tile works best. Aim for an even thickness, about 1/8 inch, but you might want thicker pieces if you prefer chunky jewelry.
Cut your shapes carefully using cookie cutters or a craft knife. If the edges seem rough, gently smooth them with a damp fingertip or a small brush—this can feel a bit tedious but makes a difference in the final look. Don’t forget to poke holes for jump rings or earring hooks before baking, because it’s tricky afterward.
Baking and Curing the Clay Jewelry
Once shaped, place your pieces on a baking sheet lined with parchment paper. Bake according to your clay’s instructions—usually around 265°F to 275°F for 15 to 30 minutes per 1/4 inch of thickness. Keep a close eye on your oven temperature with a separate thermometer; home ovens can be surprisingly inconsistent.
After baking, let the pieces cool naturally on the tray to avoid warping. You’ll know they’re cured if they feel completely firm and not at all soft or tacky. Sometimes, pieces that look done turn out a bit brittle, so you might want to test-bake a small sample first. If it crumbles easily, bake a bit longer next time. Balancing baking too little or too much is kind of tricky but rewarding when you get it right.
Adding Details and Finishing Touches
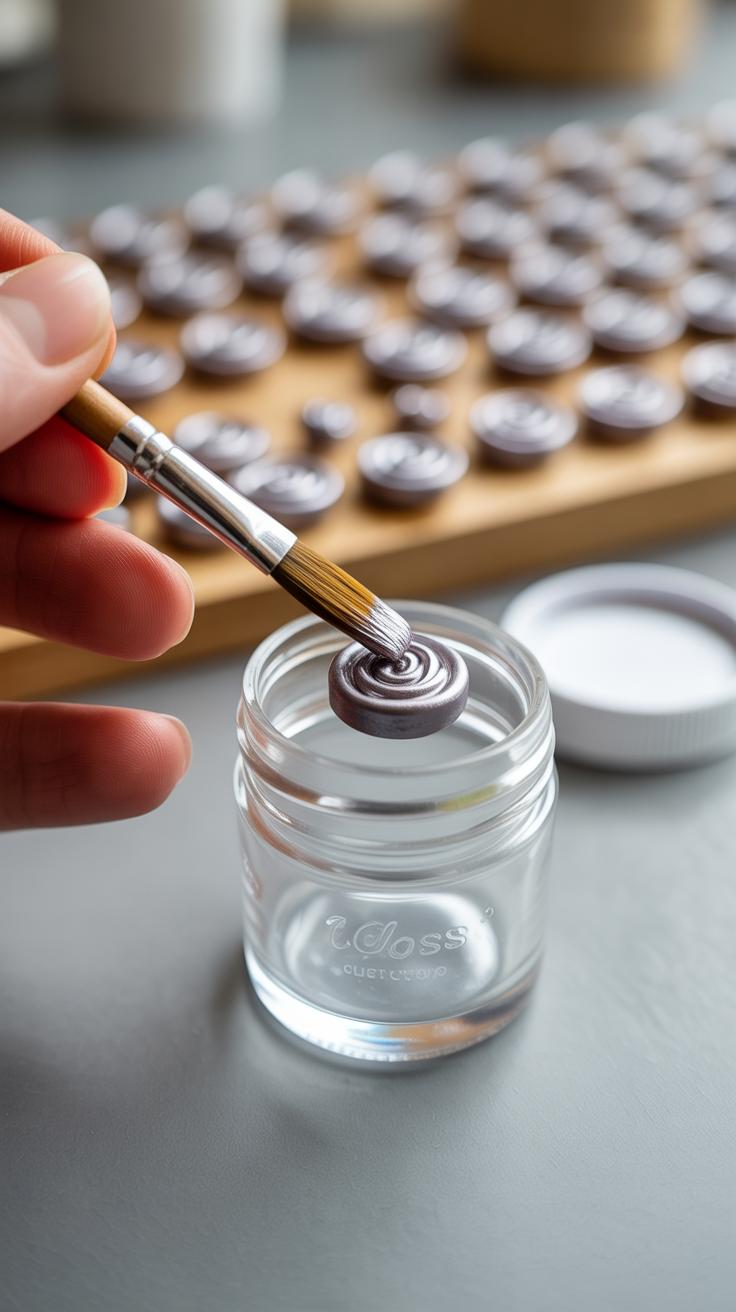
When it comes to finishing your clay jewelry, the decorating stage is where your pieces start to feel truly unique. Paints and glazes can completely change the vibe of a necklace or a pair of earrings. For most clays—like polymer or air-dry—the best results come from acrylic paints. They stick well and offer a wide color palette. You might want to thin them out a little with water for a more even coat, but be careful not to go too far, or the color will become patchy. Sometimes, one layer is enough; other times, two or three coats bring out a richer finish.
Sealing your painted pieces keeps them safe from scratches and moisture. Glossy or matte varnishes work well, but I often lean toward matte finishes. They hide fingerprints and imperfections better, especially on lighter colors. Spray sealers distribute finish evenly, but brush-on versions let you be more precise around tiny details. Test on a scrap piece to see which works for you.
Attaching findings is the final step and can feel a bit tricky if you’ve never done it before. For earrings, jump rings and earring hooks are staples. Use small pliers to twist rings open sideways instead of pulling them apart—that keeps them stronger. For necklaces, eye pins, jump rings, and ball chains come into play. Secure connections matter because no one wants jewelry to fall apart mid-event, right? Take your time threading and closing each loop tightly. If you’re working with heavier pendants or larger pieces, a little jewelry glue inside the jump ring or connector can provide extra peace of mind.
Caring for Handmade Clay Jewelry

Cleaning Clay Jewelry Without Damage
Clay jewelry can be fragile, which means cleaning it requires a gentle touch. Avoid soaking pieces in water, especially if you’re working with unglazed or porous clays like paper or air-dry clay. Instead, a soft, dry cloth often works best to remove dust and dirt. If you do need to clean something stuck on, try a barely damp cloth and dab gently. Using a Q-tip for small crevices can help, but be careful not to scrub hard—scrapes can ruin the surface or paint you worked so hard on.
For glazed or sealed pieces, a light wipe with a mild soap solution is usually fine, just avoid soaking. Personally, I once ruined a favorite necklace by overzealously rubbing it with brush and water. It taught me to test a small area first or stick to dry cleaning unless absolutely necessary.
Best Practices for Storage and Handling
Storing clay jewelry carefully can make a big difference in how long it lasts. Think about something soft to cradle each piece—felt-lined boxes or small fabric pouches work well. Avoid piling pieces on top of each other, since pressure or friction might cause cracks or chip paint.
Temperature matters too. Extreme heat or cold can make some clay types more brittle or cause paint to flake. So it’s usually best to store your clay jewelry somewhere dry and at room temperature.
When handling your creations, try to hold them by the sturdier parts like metal findings rather than thin clay edges. It’s a small habit but it protects your work from tiny cracks over time. Don’t be surprised if you’re cautious at first—you’ll get more comfortable, but it’s worth the effort to keep those bridesmaids’ gifts looking perfect.
Troubleshooting Common Clay Jewelry Issues
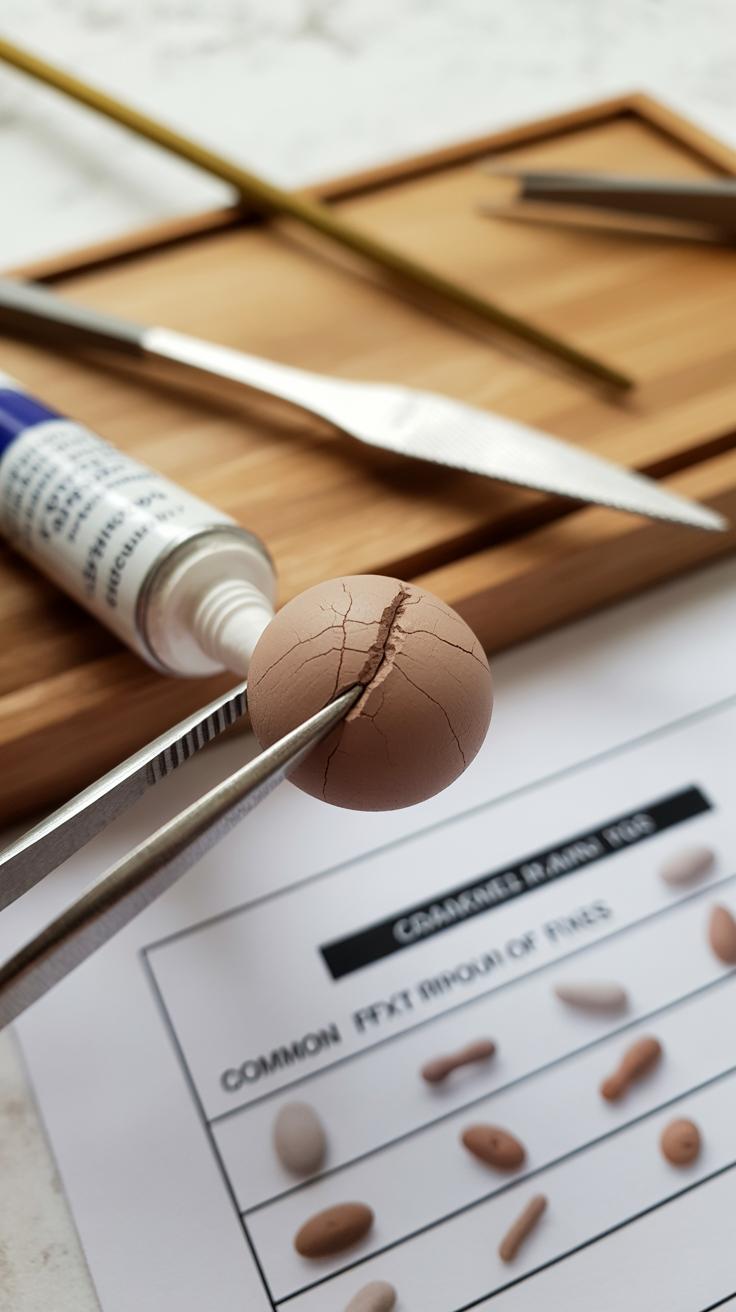
Clay jewelry can be rewarding but tricky. You might run into cracking, color dulling, or bits detaching unexpectedly. These problems often seem random until you spot the pattern. Cracks usually appear when the clay dries too fast or is rolled unevenly. I remember once rushing to bake a batch and ended up with tiny fractures all over—frustrating, to say the least.
To fix or avoid cracks, try these steps:
- Condition the clay thoroughly—work it until it’s soft and pliable before shaping.
- Keep thickness consistent; sudden thin spots often crack.
- Dry pieces slowly at room temperature before baking to reduce stress.
- If cracks form after baking, fill them with liquid clay and rebake carefully.
When attachments like ear wires or jump rings feel loose, pressing clay gently around the metal before baking helps. Also, embedding a small wire or toothpick inside thicker pieces adds strength. Sometimes, a dab of strong glue after baking adds security—but don’t rely only on adhesive.
Preventing and Fixing Cracks and Breaks
Cracking mostly comes from uneven drying or thin spots that dry out first. You might think it’s just bad luck, but controlling air flow around drying pieces helps. I’ve found covering pieces loosely with plastic reduces quick drying and cuts cracking. Strong breaks can sometimes be fixed with thin layers of liquid clay as glue, then rebaked carefully. It’s not perfect but workable for cherished designs.
Ensuring Colors Stay Bright and Stable
Colors in clay jewelry may fade due to sunlight or chemical exposure. I noticed some pastel tones dulling faster when stored near windows, which was disappointing. To keep colors lively, store jewelry away from direct light. Using a clear matte or gloss varnish made for polymer clay can also protect the surface. Don’t assume all sealers work the same; test on scraps first.
Also, avoid perfume or lotion contact—these can dull or stain finishes. If you use pigments or powders, bake your piece fully to lock color in. You might wonder if extra layers of varnish make a difference—they generally do, but too many coats can cause cloudiness, so balance is key.
Personalizing Clay Jewelry for Each Bridesmaid
Giving your bridesmaids clay jewelry is already special, but taking that extra step to customize each piece makes it truly memorable. You might think adding initials or tiny charms sounds fiddly, but it’s easier than you’d expect—and it adds a personal touch that speaks volumes.
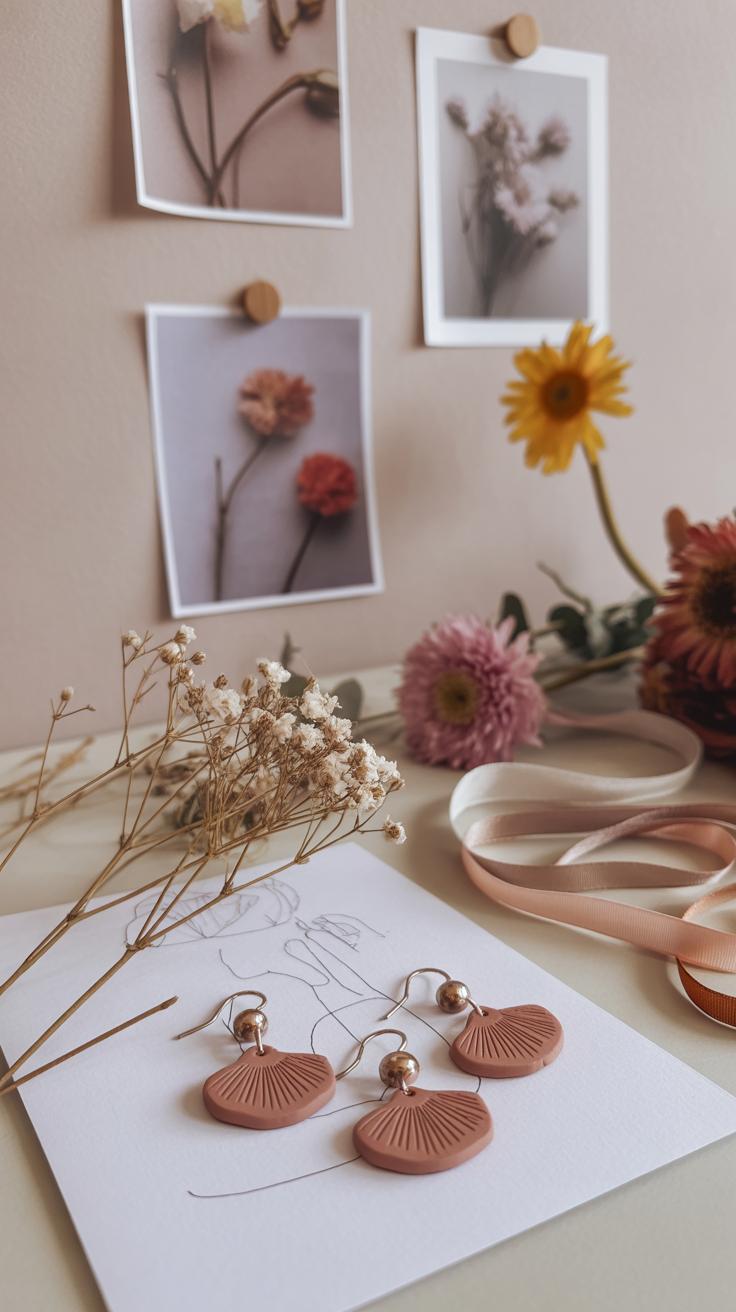
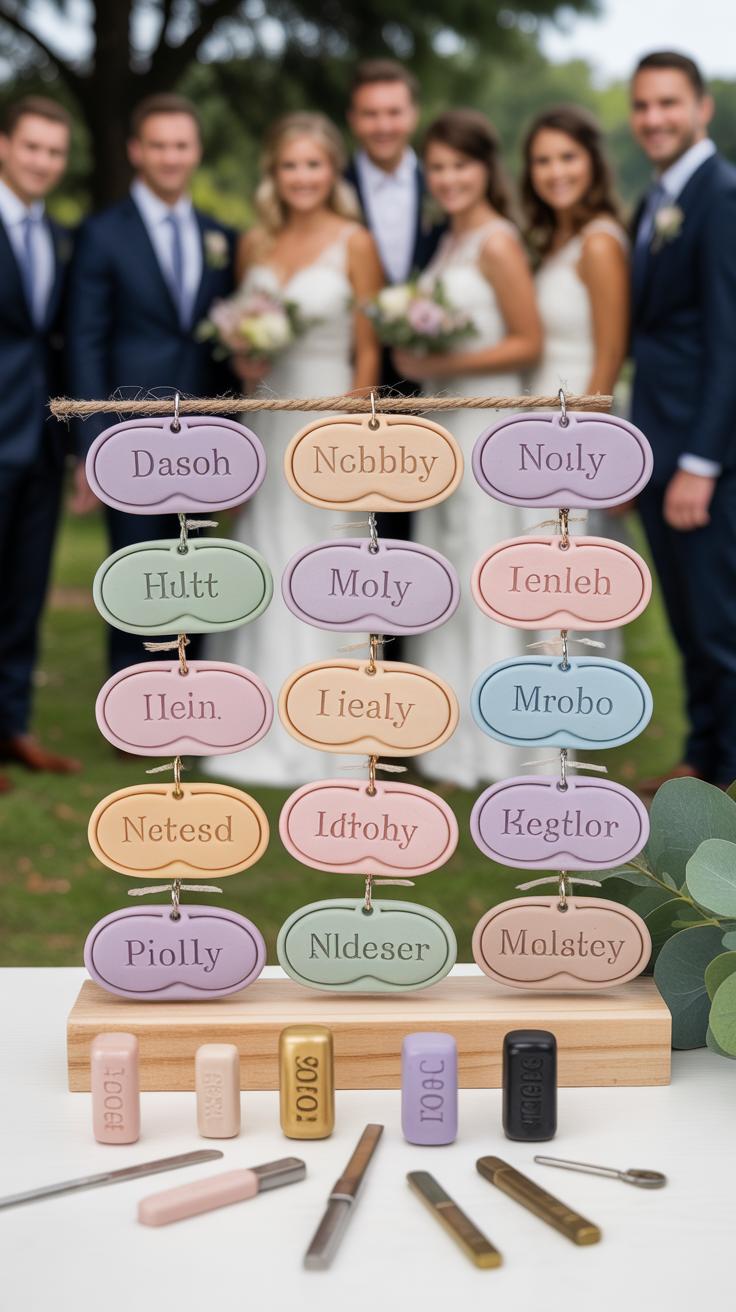
Adding Initials and Personalized Details
One simple way to personalize is by imprinting initials right into the clay before it dries. Pressing letter stamps or even a toothpick carefully can leave clean, clear marks. If you’d rather not risk smudging, painting initials with fine brushes after baking works too. I’ve found experimenting with metallic or contrasting colors can bring the initials out without overwhelming the piece.
Besides initials, think about meaningful symbols. Maybe a small heart, star, or something that reflects a shared memory. You can draw or imprint these lightly, and it doesn’t have to be perfect—sometimes a little imperfection gives it charm.
Using Birthstones and Charms Creatively
Incorporating birthstones or tiny charms introduces another layer of personalization. You don’t need real stones—glass beads or resin pieces that match birthstone colors work fine and keep budgets in check.
Try embedding beads directly into the clay before it bakes, making sure they’re partially set in but securely held. Or attach small charms onto finished pieces using jump rings or thin wire.
Match the charm or stone to each bridesmaid’s personality to make it feel effortless rather than forced—for example, a little leaf for the nature lover, a tiny book for the avid reader, or something reflecting an inside joke only you share. You want the jewelry to say something about her, not just look pretty on paper.
Conclusions
Making clay jewelry for bridesmaids is a wonderful way to add a personal touch to your wedding. You can tailor each piece to suit the individual’s taste and the overall wedding theme. By choosing the right clay and following simple methods, you can create beautiful, lasting jewelry that your bridesmaids will cherish.
As you practice these DIY techniques, you’ll gain confidence in crafting unique pieces. Remember, the effort and thought you put into handmade jewelry show how much you value your bridesmaids. Keep experimenting with designs and materials to perfect your skills and create memorable accessories for special occasions beyond weddings.