
Introduction
Choosing the perfect camping tent can make a big difference in your outdoor adventures. A tent is more than just shelter. It keeps you safe, dry, and comfortable in the wilderness. Whether you go camping for fun or as a way to connect with nature, your tent is your home away from home.
This article will guide you through everything you need to know to pick the right tent. From different types of tents to important features, and setup tips to care advice, you will learn what fits your needs best. Let’s explore how to find a tent that welcomes you to enjoy the great outdoors.
Understanding Different Types of Camping Tents
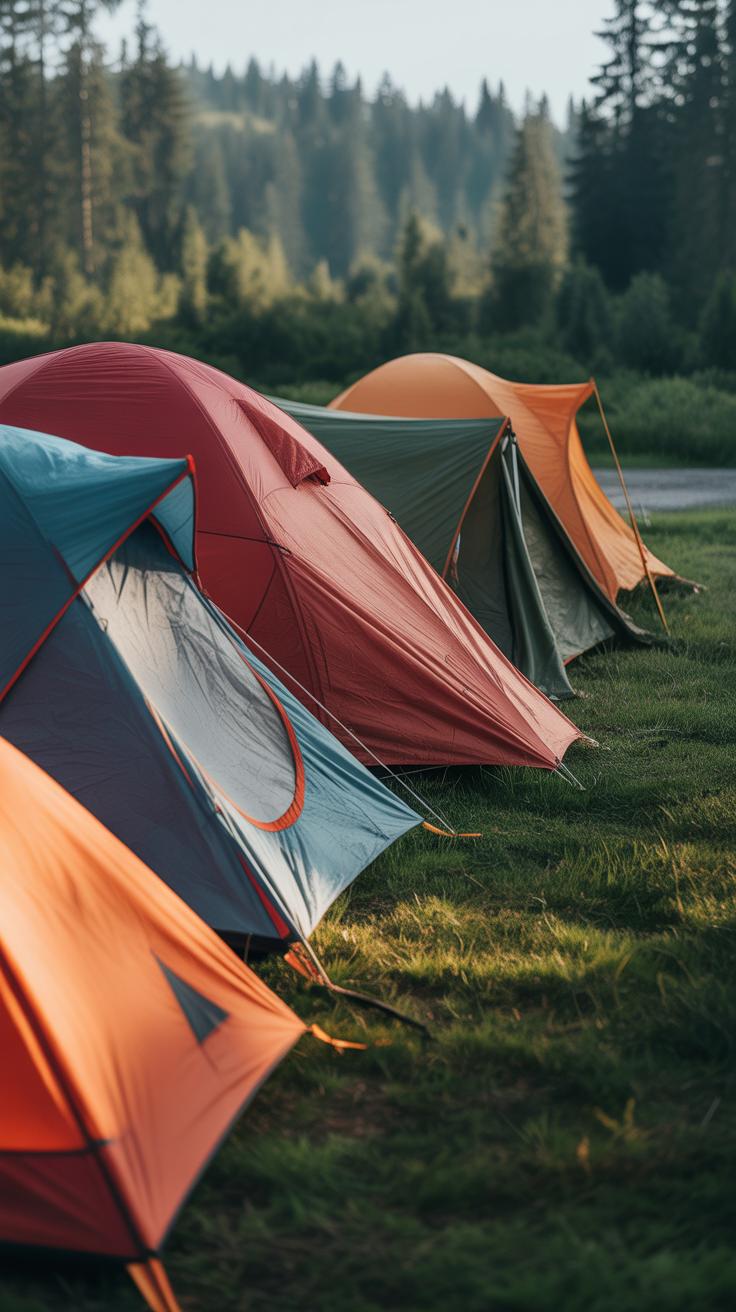
Camping tents come in a handful of main shapes, each with its own strengths and quirks. You’ll usually find dome, pyramid, A-frame, and hoop tents on the market, and knowing what sets them apart can help you pick a shelter that fits your style and trip.
Dome tents have that rounded, bubble-like shape. They’re freestanding thanks to their flexible poles crossing at angles. These tents are popular because they’re generally lightweight and quick to pitch, making them great for backpacking or casual weekend trips. Think easy setup after a long hike when you just want to relax.
Pyramid tents are a bit different—usually just one central pole supporting a slanted roof. You’ve likely seen these in photos of nomads or desert travelers. They manage wind well and shed rain due to their steep sides, but they need staking to stay upright. If you’re camping somewhere unpredictable or near open landscapes, these might come in handy.
A-frame tents look just like the letter “A.” They have two poles at each end holding up a ridgepole, creating a simple triangular profile. This simplicity means easy assembly and decent durability. They aren’t the roomiest inside, but for short trips or solo campers, they offer a no-fuss shelter.
Hoop tents use flexible poles forming multiple arches along the tent’s length. The result? Lots of interior space, often with a curved ceiling that lets you move around comfortably or even stand in parts. Campers who want a longer stay, like families or groups, might find these ideal.
Each tent type fits certain scenarios. For example:
- Dome tents suit quick getaways or treks where weight matters.
- Pyramid tents shine in windy or open terrain, even if setup takes a bit more time.
- A-frame tents work well if you want simplicity without carrying extra weight.
- Hoop tents are best when you prioritize space and comfort over packability.
Choosing between them involves balancing your needs: Are you hiking miles to camp? Is wind a constant worry? How much room do you want inside? Answering these can steer your pick toward the right shape and style.
Recognizing Dome and Pyramid Tents
Dome tents curve with flexible poles that cross over to form a rounded shell. This structure makes them freestanding, so you don’t have to stake them down, which is convenient on rocky ground. I’ve found dome tents usually pack small and set up in minutes—even when I’m tired or the light is fading. Their shape also handles moderate winds well, but don’t expect them to stand strong in high gusts without extra anchoring.
Pyramid tents, by contrast, use a main center pole with fabric draped around, creating a steep, pointed roof. Nomads and desert dwellers love these because they’re sturdy against wind and easy to repair on the go. They aren’t freestanding and need stakes for stability, which can make pitching a bit trickier if the ground is hard. Still, their simple frame means fewer parts to lose or break.
Comparing A-frame and Hoop Tents
A-frame tents rely on two poles at the ends with a horizontal pole between them. This basic structure offers quick pitching and solid support but limits headspace and interior layout. If you want something straightforward and lightweight, especially for solo or minimalist camping, A-frames might appeal to you. Just keep in mind: it’s more cramped than other designs.
Hoop tents use multiple flexible poles arched from side to side, creating roomy interiors with curved ceilings. This design gives more usable space and allows campers to stand or move around easily. Families or small groups camping longer tend to prefer hoops for the comfort offered. I once stayed in a hoop tent on a prolonged trip and appreciated the space when the rain kept us inside for hours.
Ultimately, knowing these tent types helps you match your shelter to your trip. Do you need light and fast? Something tough against harsh weather? Or maybe roomy comfort? Each has a role, and your choice says a lot about your camping style.
Key Factors to Consider When Buying a Camping Tent
Choosing the Right Tent Size and Weight
Picking the right tent size can feel tricky. You want enough space for people and gear but not so much that you end up hauling unnecessary bulk. A good rule? Count each person and add some room for backpacks or equipment. For example, if three people camp together and each has a fair share of gear, a 4-person tent often gives a bit of breathing room.
Weight might not matter much if you drive to your site, but for backpackers, it’s a critical factor. A tent that’s just a pound or two lighter can make a noticeable difference after hours of hiking. Think about what you’re willing to carry versus what you need, because sometimes lighter means sacrificing space or sturdiness.
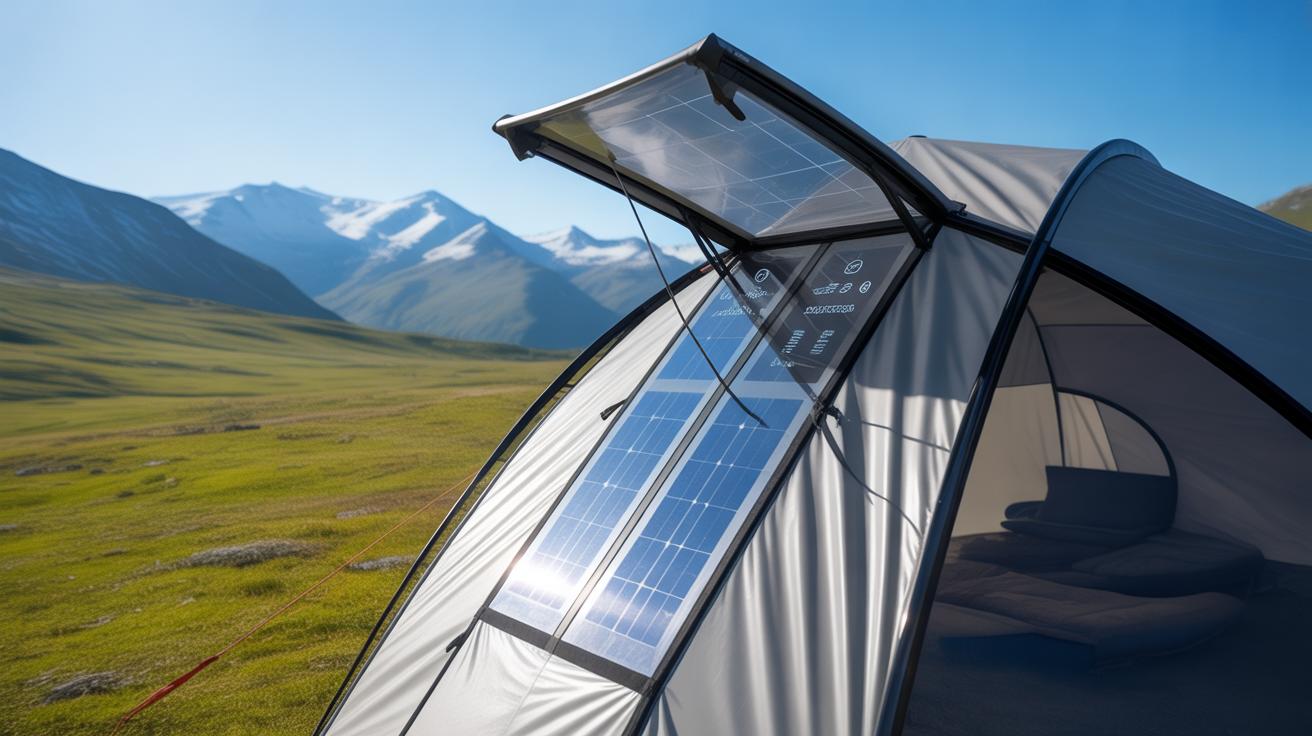
Weather Resistance and Material Durability
Tent fabrics aren’t all the same. Most use nylon or polyester with waterproof coatings like polyurethane or silicone. These coatings keep rain out but also affect breathability. If you know you’ll camp in rainy or windy spots, look for tents with higher hydrostatic head ratings—this number tells you how waterproof the fabric is.
Frames usually feature aluminum or fiberglass poles. Aluminum lasts longer and handles wind better but costs more. Fiberglass tends to bend or break with rough use. It may sound obvious, but check the stitching and zippers too. They often tell you how long the tent will last under real use.
Matching tent features to your camping style means thinking about what you actually face outside. If you camp mostly in mild weather, a lighter tent with simple design might work fine. For harsher conditions, choose something sturdier and more protective—even if it’s heavier or more complex to set up. No tent is perfect for every trip, but knowing your main needs helps narrow down the options.
Setting Up Your Camping Tent Correctly

Selecting a Campsite for Your Tent
Picking the right spot for your tent can make or break your night’s rest. Aim for a flat area—nothing too sloped, or you’ll be sliding off your sleeping bag in the middle of the night. Ideally, find a place that’s slightly elevated or has natural drainage nearby. You don’t want water pooling under your tent after a rain.
Look around carefully. Avoid places near dead branches or unstable trees that might fall. Check for insect nests too; nobody wants to share a tent with a swarm of ants or bees. Also, try to find some natural windbreaks like shrubs or hills, which can shield the tent from gusts.

Sometimes it’s tough to find a perfect spot, but try to stay away from low points that collect water or areas with sharp rocks that could damage your tent floor.
Assembling and Securing the Tent
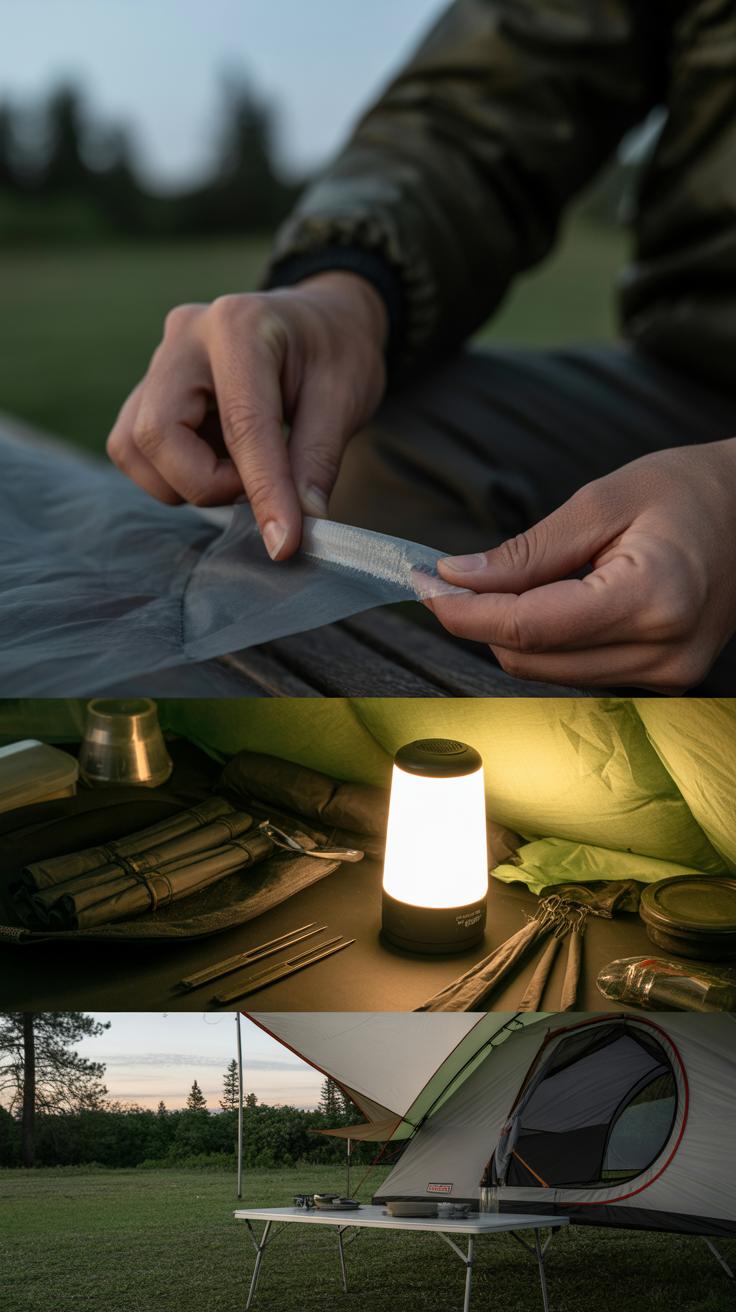
Start by laying out your tent footprint or tarp to protect the floor. Next, spread out the tent body flat on the ground. It might seem obvious, but twisting the fabric here can cause trouble later.
Next comes the poles. Most modern tents use flexible poles that fit together like a puzzle. Take your time inserting them into the right sleeves or clips—rushing can bend or break them. I’ve learned it’s better to patiently follow the instructions. You want the poles to curl naturally into the tent’s shape.
Once the poles are in place, the tent will start standing. Now, stake down the corners firmly. Use stakes that suit the soil; thin metal pegs might pull out easily on sand or loose dirt. Don’t forget any guy lines. Attaching these properly keeps the tent stable during wind or rain.
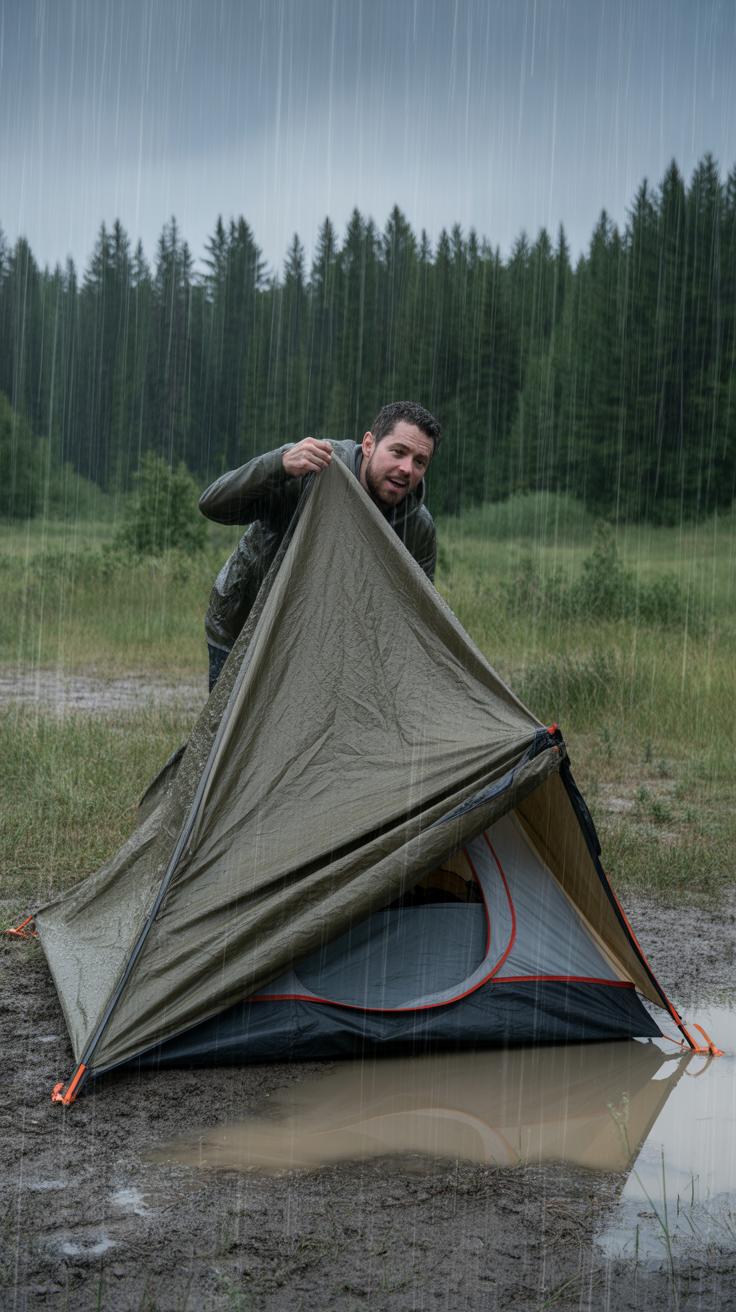
Finally, put on the rain fly if you have one and tension it just enough that it’s taut but not overly tight—you want to avoid putting stress on seams. Secure its stakes and guy ropes. Sometimes, setting up in a strong wind feels tricky; in those moments, it helps to have a friend or just take a breath and slow down.

Common mistakes? Over-tightening stakes and guy lines can damage fabric or poles. Also, skipping the footprint or tarps almost guarantees a worn-out floor over time. Another misstep is pitching without checking the interior angle of poles, which can cause the tent to sag or collect rainwater on top.
Maintaining and Caring for Your Tent
Cleaning and Drying the Tent
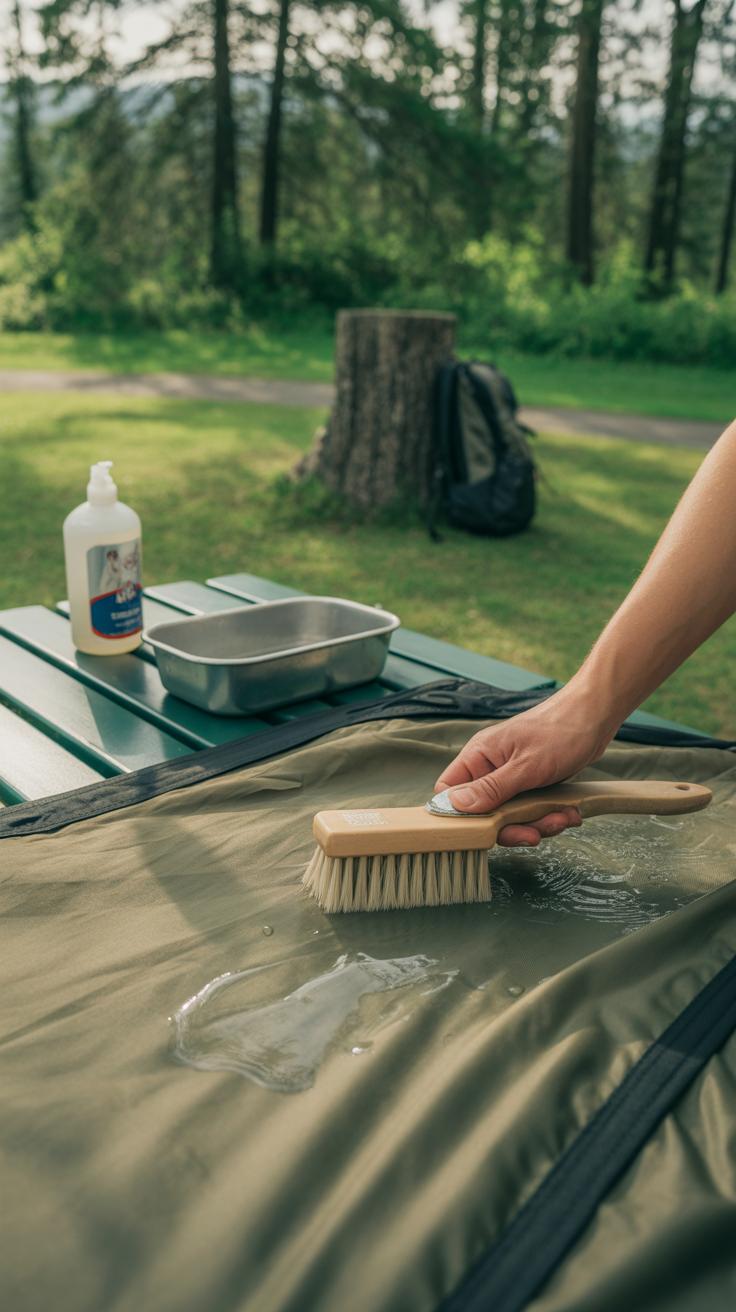
Keeping your tent clean doesn’t need to be complicated. Usually, a gentle wash with lukewarm water and a small amount of mild soap does the trick. You want to avoid harsh detergents or bleach—they can damage the fabric or coatings that keep water out. Use a soft sponge or cloth to spot clean, rather than scrubbing hard. If mud or dirt is stubborn, soak the affected area briefly, then gently rub.
Once washed, drying becomes crucial. You might think tossing a damp tent into its sack is no big deal, but dampness invites mold and bad odors. Air-dry your tent completely, ideally in a shaded spot, because sunlight can degrade some materials. It might take longer, but I find it’s better than discovering mildew later. Have you ever noticed that weird smell when opened after storage? That’s the kind of hassle skipping this step brings.
Storing and Repairing Your Tent
How you store your tent matters. Don’t just shove it tightly back into the carrying bag and stuff it away in a damp corner. Loosely folding or rolling it and keeping it somewhere dry and cool extends its life. A large breathable sack or a dedicated storage bag works well. Some campers even store their tents hung up—sounds strange, but it stops fabric stress and creases.
Small tears and zipper snags happen. Fix minor rips quickly with patch kits that usually come with your tent or can be bought separately. For zippers, dirt can jam them, so a bit of lubricant like candle wax or graphite pencil works wonders. If a pole breaks, a swap with spare sections or temporary splints can hold things up until you get home. Repairing early might not sound urgent, but it keeps damage from worsening. You don’t want a tiny hole becoming a big problem mid-trip. Maintaining your tent well may take a little effort, sure, but it really pays off in usability and longevity.
Choosing a Tent for Different Seasons and Weather
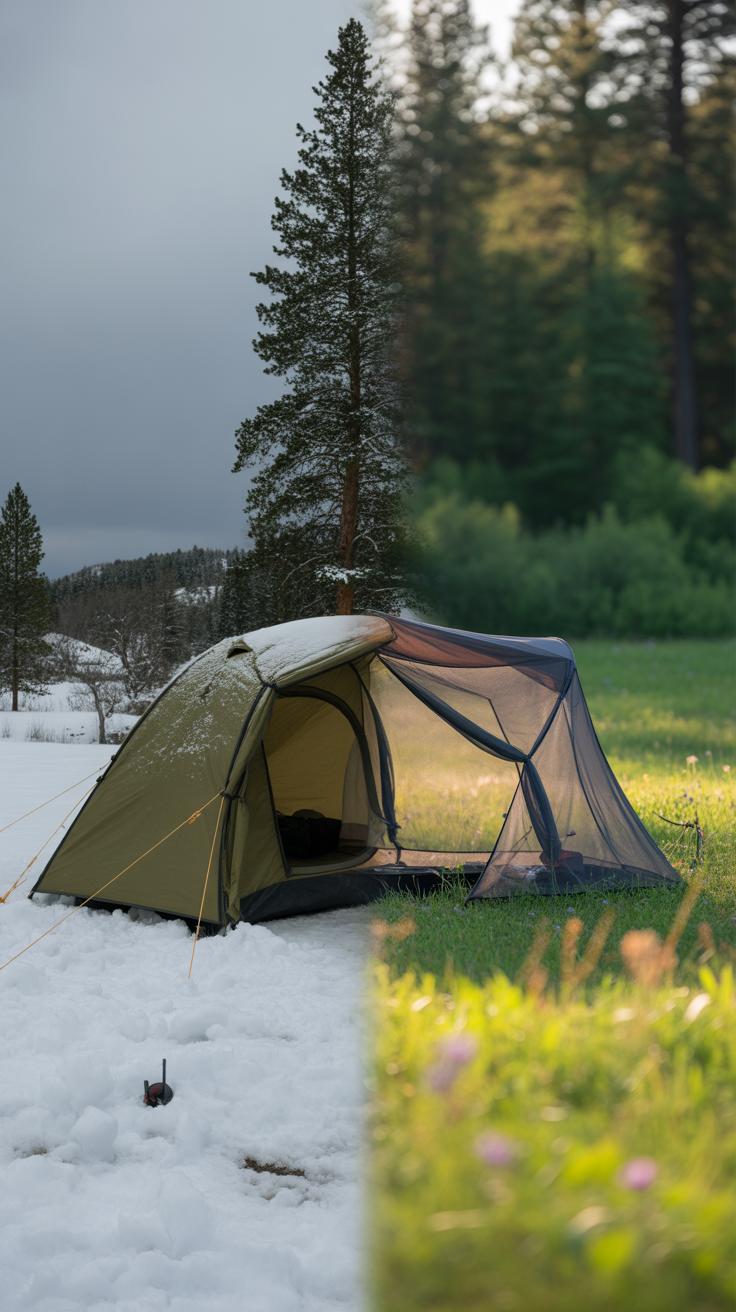
When picking a tent, the season you camp in matters a lot—really, it shapes what kind of shelter works best. For summer, tents usually come with lots of mesh panels. You might wonder why so much mesh? Well, it’s all about airflow. Good ventilation keeps you cooler and cuts down on moisture buildup inside, which can get pretty uncomfortable. I remember last summer, camping with just a solid-walled tent—it felt stuffy and damp by morning.
Winter tents, on the other hand, are built differently. They have sturdy frames designed to handle heavy snow loads, and less mesh so the cold wind doesn’t sneak in. Their materials trap warmth better, but that can sometimes make them a bit claustrophobic. Still, if you’re braving snow or freezing rain, that tradeoff is worth it.
All-season tents try to strike a balance—enough ventilation to avoid condensation, but with stronger poles and weatherproof fabrics to handle rain or light snow. But honestly, one tent won’t always cut it for every weather scenario, so think about where you camp most often. What’s your usual weather like? That question might steer you more than any marketing label.
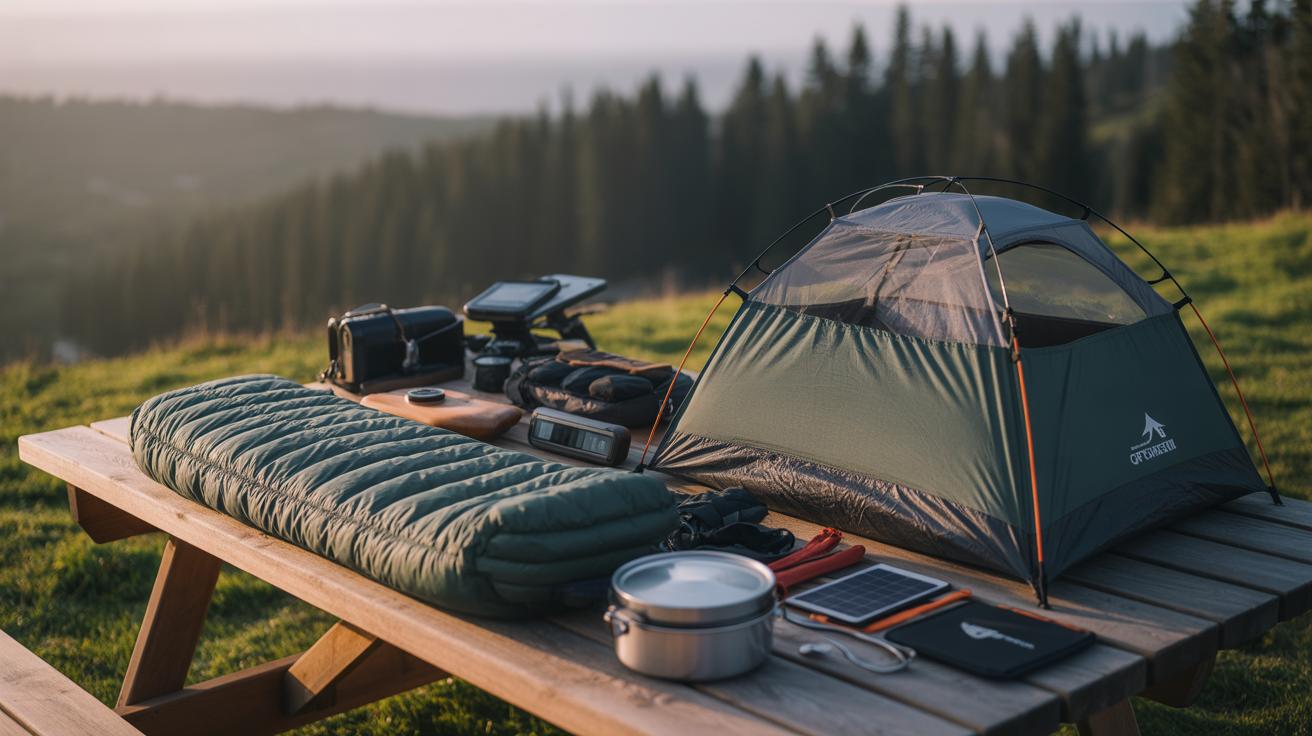
Understanding the Importance of Tent Accessories


When you think of a tent, the fabric and poles usually come to mind first. But those accessories—rain flies, footprints, vestibules—they quietly make a big difference in your camping comfort and protection. You might not notice them until the rain starts or your tent floor begins to wear away after a few trips. At that point, these extras feel pretty crucial.
Using a Rain Fly and Footprint
A rain fly extends over your tent’s main body to provide an extra layer of waterproofing. It helps keep heavy rain and wind from soaking through the mesh or seams. I’ve camped without one once and quickly regretted it when everything inside started getting damp. It’s not just about keeping out rain, either—a fly also offers shade and helps reduce condensation on chilly nights.
The footprint—basically a ground sheet tailored to your tent’s floor—protects against abrasion and moisture from the ground. Without it, your tent floor may wear faster or let in dampness after a night of dew or light rain. I found that when I used a footprint, packing up was easier too since the bottom stayed cleaner. It’s a small addition that can extend the life of your tent quite a bit.
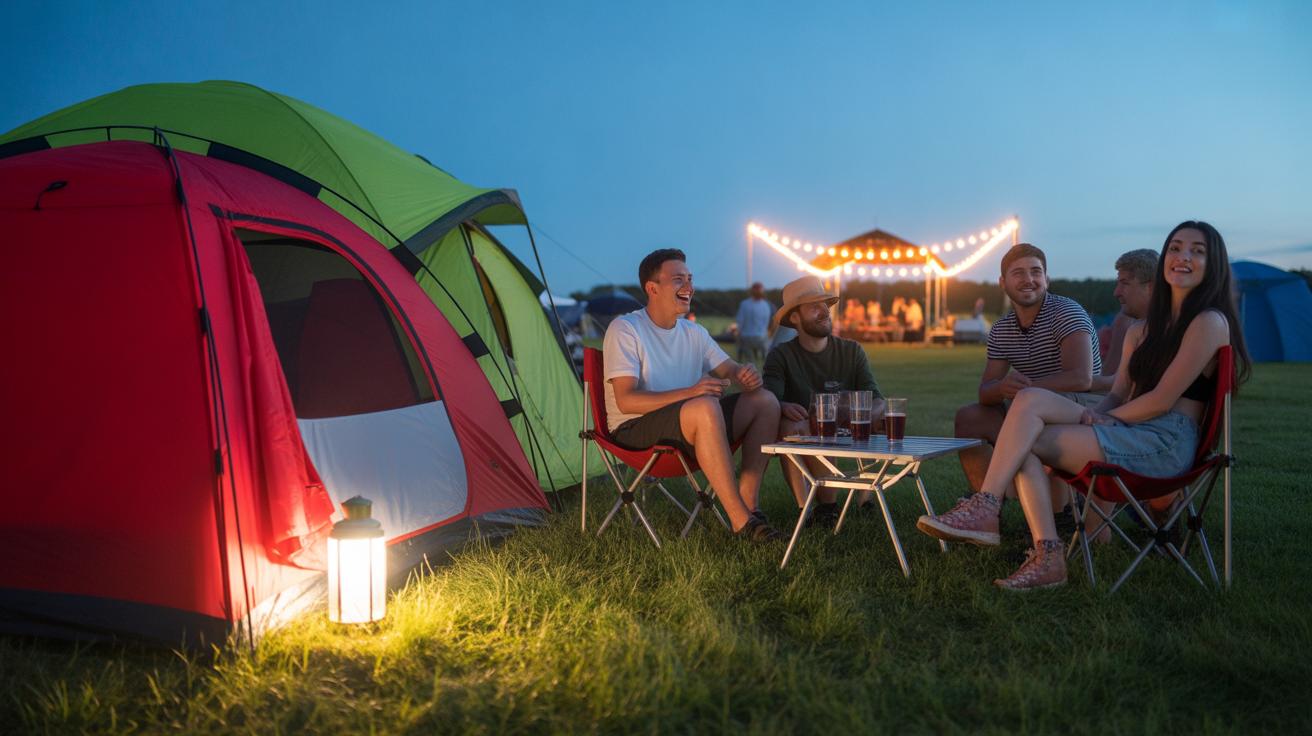
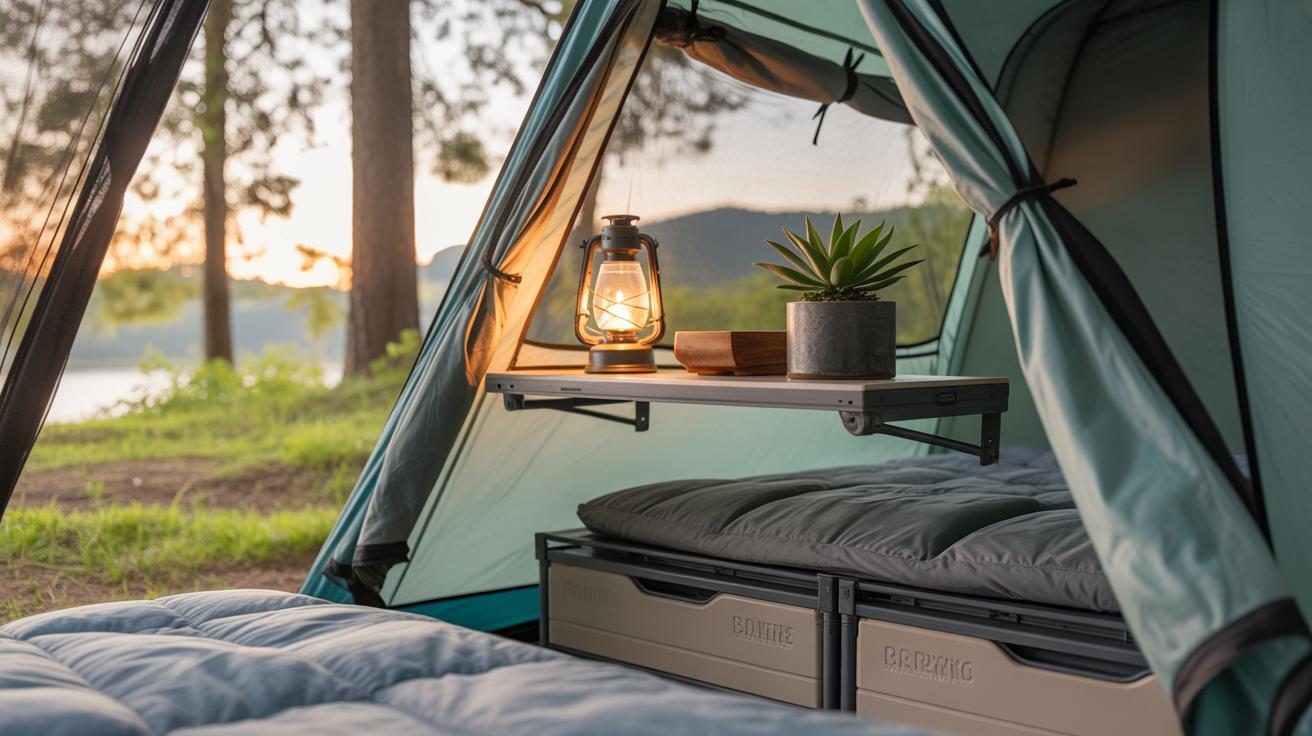
Benefits of Vestibules and Storage Options
A vestibule is a covered space outside your tent’s main sleeping area, often attached at the entrance. It’s surprisingly handy: you can keep muddy boots, backpacks, or wet gear there while staying dry inside. On longer trips, that little extra covered space turns into a mini-landing zone for all the clutter of camp life.
Inside many tents, small storage pockets help keep your gear organized. It’s easy to lose a headlamp or phone in the dark, but those pockets offer a dedicated place to stash essential items. While they might seem trivial, they actually make evenings and mornings smoother—less scrambling for stuff you thought you packed but can’t find. So, don’t overlook these little touches. They quietly improve your camping experience more than you might expect.
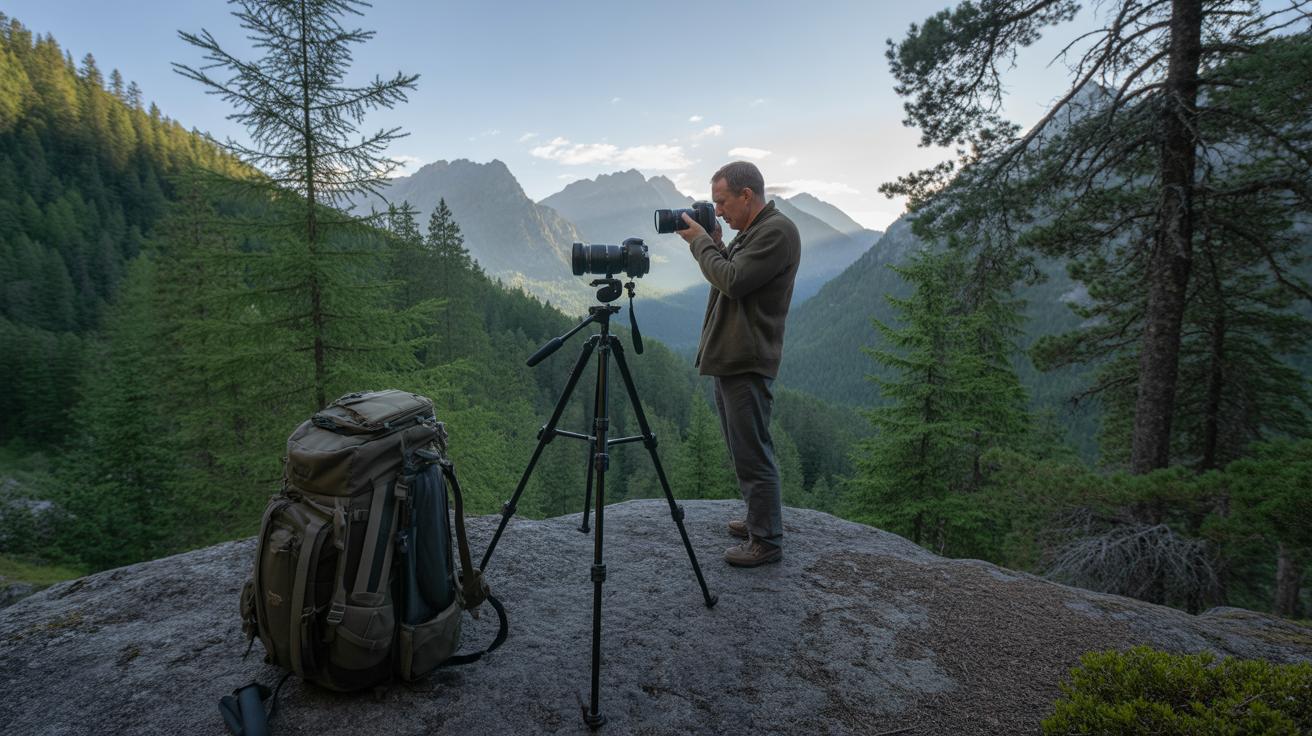
Tips for Choosing a Tent for Backpacking Adventures

When picking a tent for backpacking, weight is often the first thing on your mind. You want it light enough so it doesn’t weigh down your pack but still comfortable enough to sleep in without feeling cramped. There’s always that tricky balance between carrying ease and comfort—you might find yourself sacrificing a bit of room to save ounces, or maybe choosing a slightly heavier tent for extra living space. It’s a personal call, really.
Focus on tents that pack down small—they’ll give you more room for food, water, and gear. Look for options under 3 pounds if you can, but don’t expect a palace in such a tiny package. If you tend to camp in windy or wet spots, a tent that’s quick to set up makes a big difference. Something simple with fewer poles or a single-hub design can save you time when you’re tired or the weather’s turning.
Materials matter here, too. Nylon or polyester usually keep the weight low, but pay attention to the denier count—a higher denier can add durability but also bulk. For the floor, a robust yet lightweight footprint can protect your tent without adding much weight. Features like mesh panels for ventilation and integrated vestibules for storing boots or packs are handy extras that keep your gear out of the way and your tent more comfortable.
Common Mistakes to Avoid When Buying and Using Camping Tents
One of the most frequent mistakes I see is picking the wrong tent size. People often buy a tent that looks roomy in stores but ends up feeling cramped once bags, gear, and maybe a partner get inside. On the flip side, some choose oversized tents thinking extra space means more comfort, but then they’re stuck carrying unnecessary weight or struggling to pitch it in tight spots. It’s tricky because you want enough room—not just to sleep but to store gear and move a bit. A good rule is to aim for a tent labeled for one or two more people than you actually have. That avoids squishing but doesn’t add too much bulk.
Weight matters just as much as size. If you’re backpacking or hiking, lugging a heavy tent can ruin the trip before it begins. You might think a few extra pounds aren’t a big deal, but over miles, it really adds up. Check the packed weight, not just the advertised size, and be honest about how much you can comfortably carry.
Another common pitfall is ignoring weather conditions when choosing a tent. I’ve heard stories of campers caught in sudden storms with tents that barely shielded them. If you’re expecting rain or wind, a tent with a sturdy frame and full rainfly isn’t optional—it’s necessary. Sometimes people focus so much on tent weight or style they forget these basic protections.
Think about the climates you’ll visit. For colder weather, tents with better insulation or fewer mesh panels prevent chills. In hot or dry areas, ventilation is key to avoid stuffiness. And if you expect mixed conditions, pick a tent that can adapt—partial rainfly options or adjustable vents can make a big difference.
Choosing without considering these factors can mean discomfort, wet gear, or worse, but at the same time, over-preparing might weigh you down unnecessarily. It’s a balance, and you might end up adjusting your choice trip to trip.
Conclusions
Choosing the right camping tent means thinking about where and how you camp. The size, weight, and style all play a part. Picking the best features for your trips ensures your tent will protect you and feel comfortable. Good planning leads to better camping.
Remember, your tent is more than a shelter. It helps you rest, recharge, and enjoy your time outside. By following these tips, you can select a tent that matches your adventure style. Your perfect camping tent is waiting to help you make great memories outdoors.


